START agile micro glider + model stand


Print Profile(7)


Description
SIMPLE. FLYING. FUN
I’m excited to share my new model, START, which I’ve been working on for the past few weeks. The goal was simple - create a clean “print-in-place” glider that is easy to use, flies well, and feels friendly for beginners.
1 - Model Description
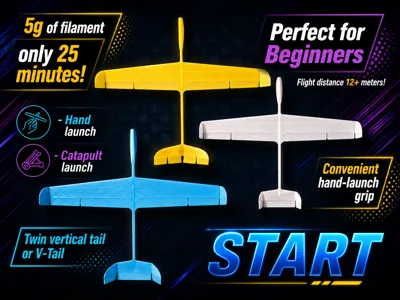
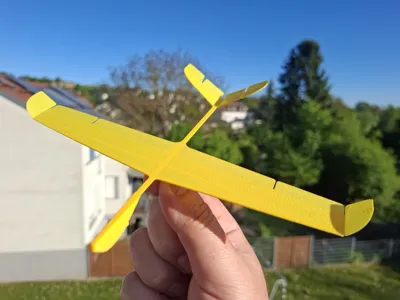
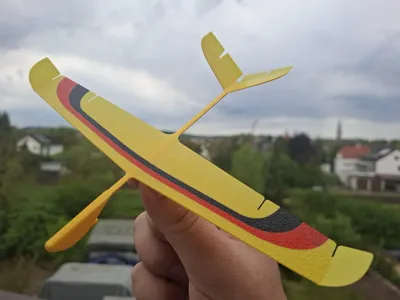
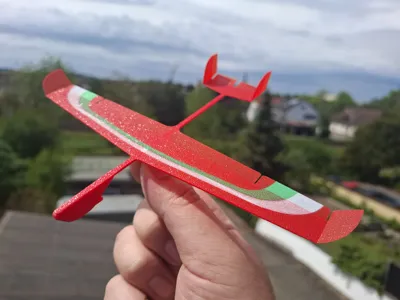
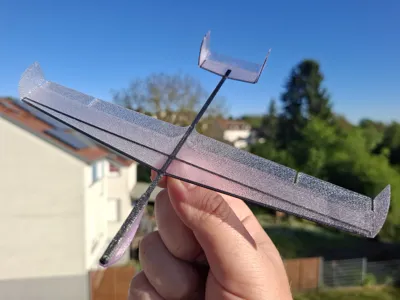
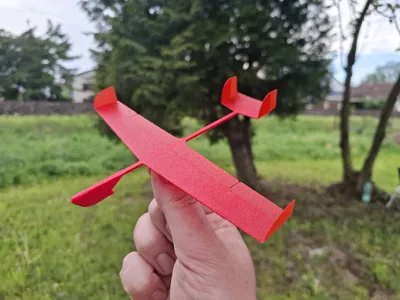
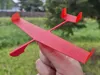
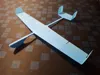
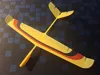
START is a simple beginner miniglider made for a simple and fun first step into flying. Model has 195 mm wingspan and 5 gramm flight weight. Model has a convenient grip for hand launch.

In addition, model can be launched with catapult.
Just print it, make a quick check, and send it into the air. It helps you see how balance works and how a plane can smoothly glide through the sky.
2 - Model Print
The model is designed and tested using PLA Basic from Bambu and PETG Translucent from Bambu.
Please choose proper print profile optimized for PLA Basic or PETG Translucent.
It is highly recommended to print on a standard PEI textured build plate.
Allow the build plate and printed parts to cool for 5–7 minutes before removal.
From received experience, preferrable to print PETG Translucent version on textured PEI plate. Removal of the PETG material model also may need additional patience.
3 - Model Adjustment
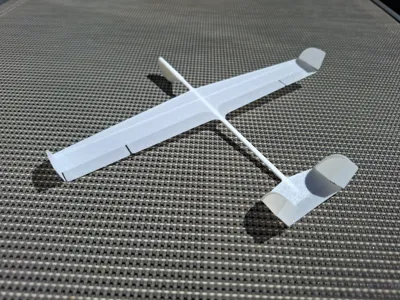
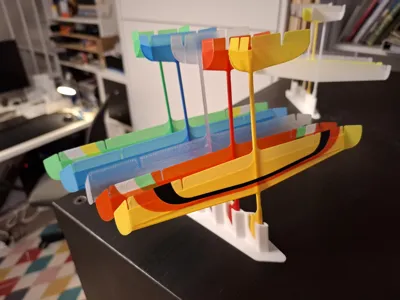
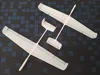
Model can be configured with different tail types and wing tip angles.
First, bend the elevator up by 5–10 degrees. Then bend the tail surfaces and wing tips as desired, as shown in the images below.
Twin vertical tail with 90° wing tips

Twin vertical tail with 45° wing tips

V-tail with 45° wing tips

4 - Model Flight
The model can be flown outdoors in calm weather as well as indoors.
The model can be launched by hand or using a catapult.
Hand Launch
Launch the model with a smooth push, horizontally or with a slight nose-down angle. Always launch into the wind.

If the model dives (nose down), bend the elevator slightly up.

If the model climbs too much, bend the elevator slightly down.

If the model rolls to the right, bend the right aileron slightly down.

If the model rolls to the left, bend the left aileron slightly down.

Do not launch the model toward people or animals.
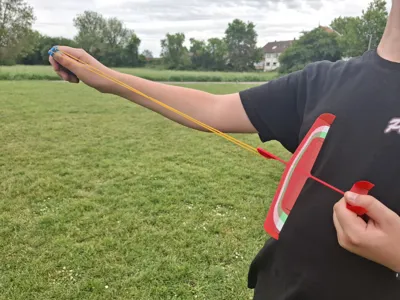
Catapult Launch
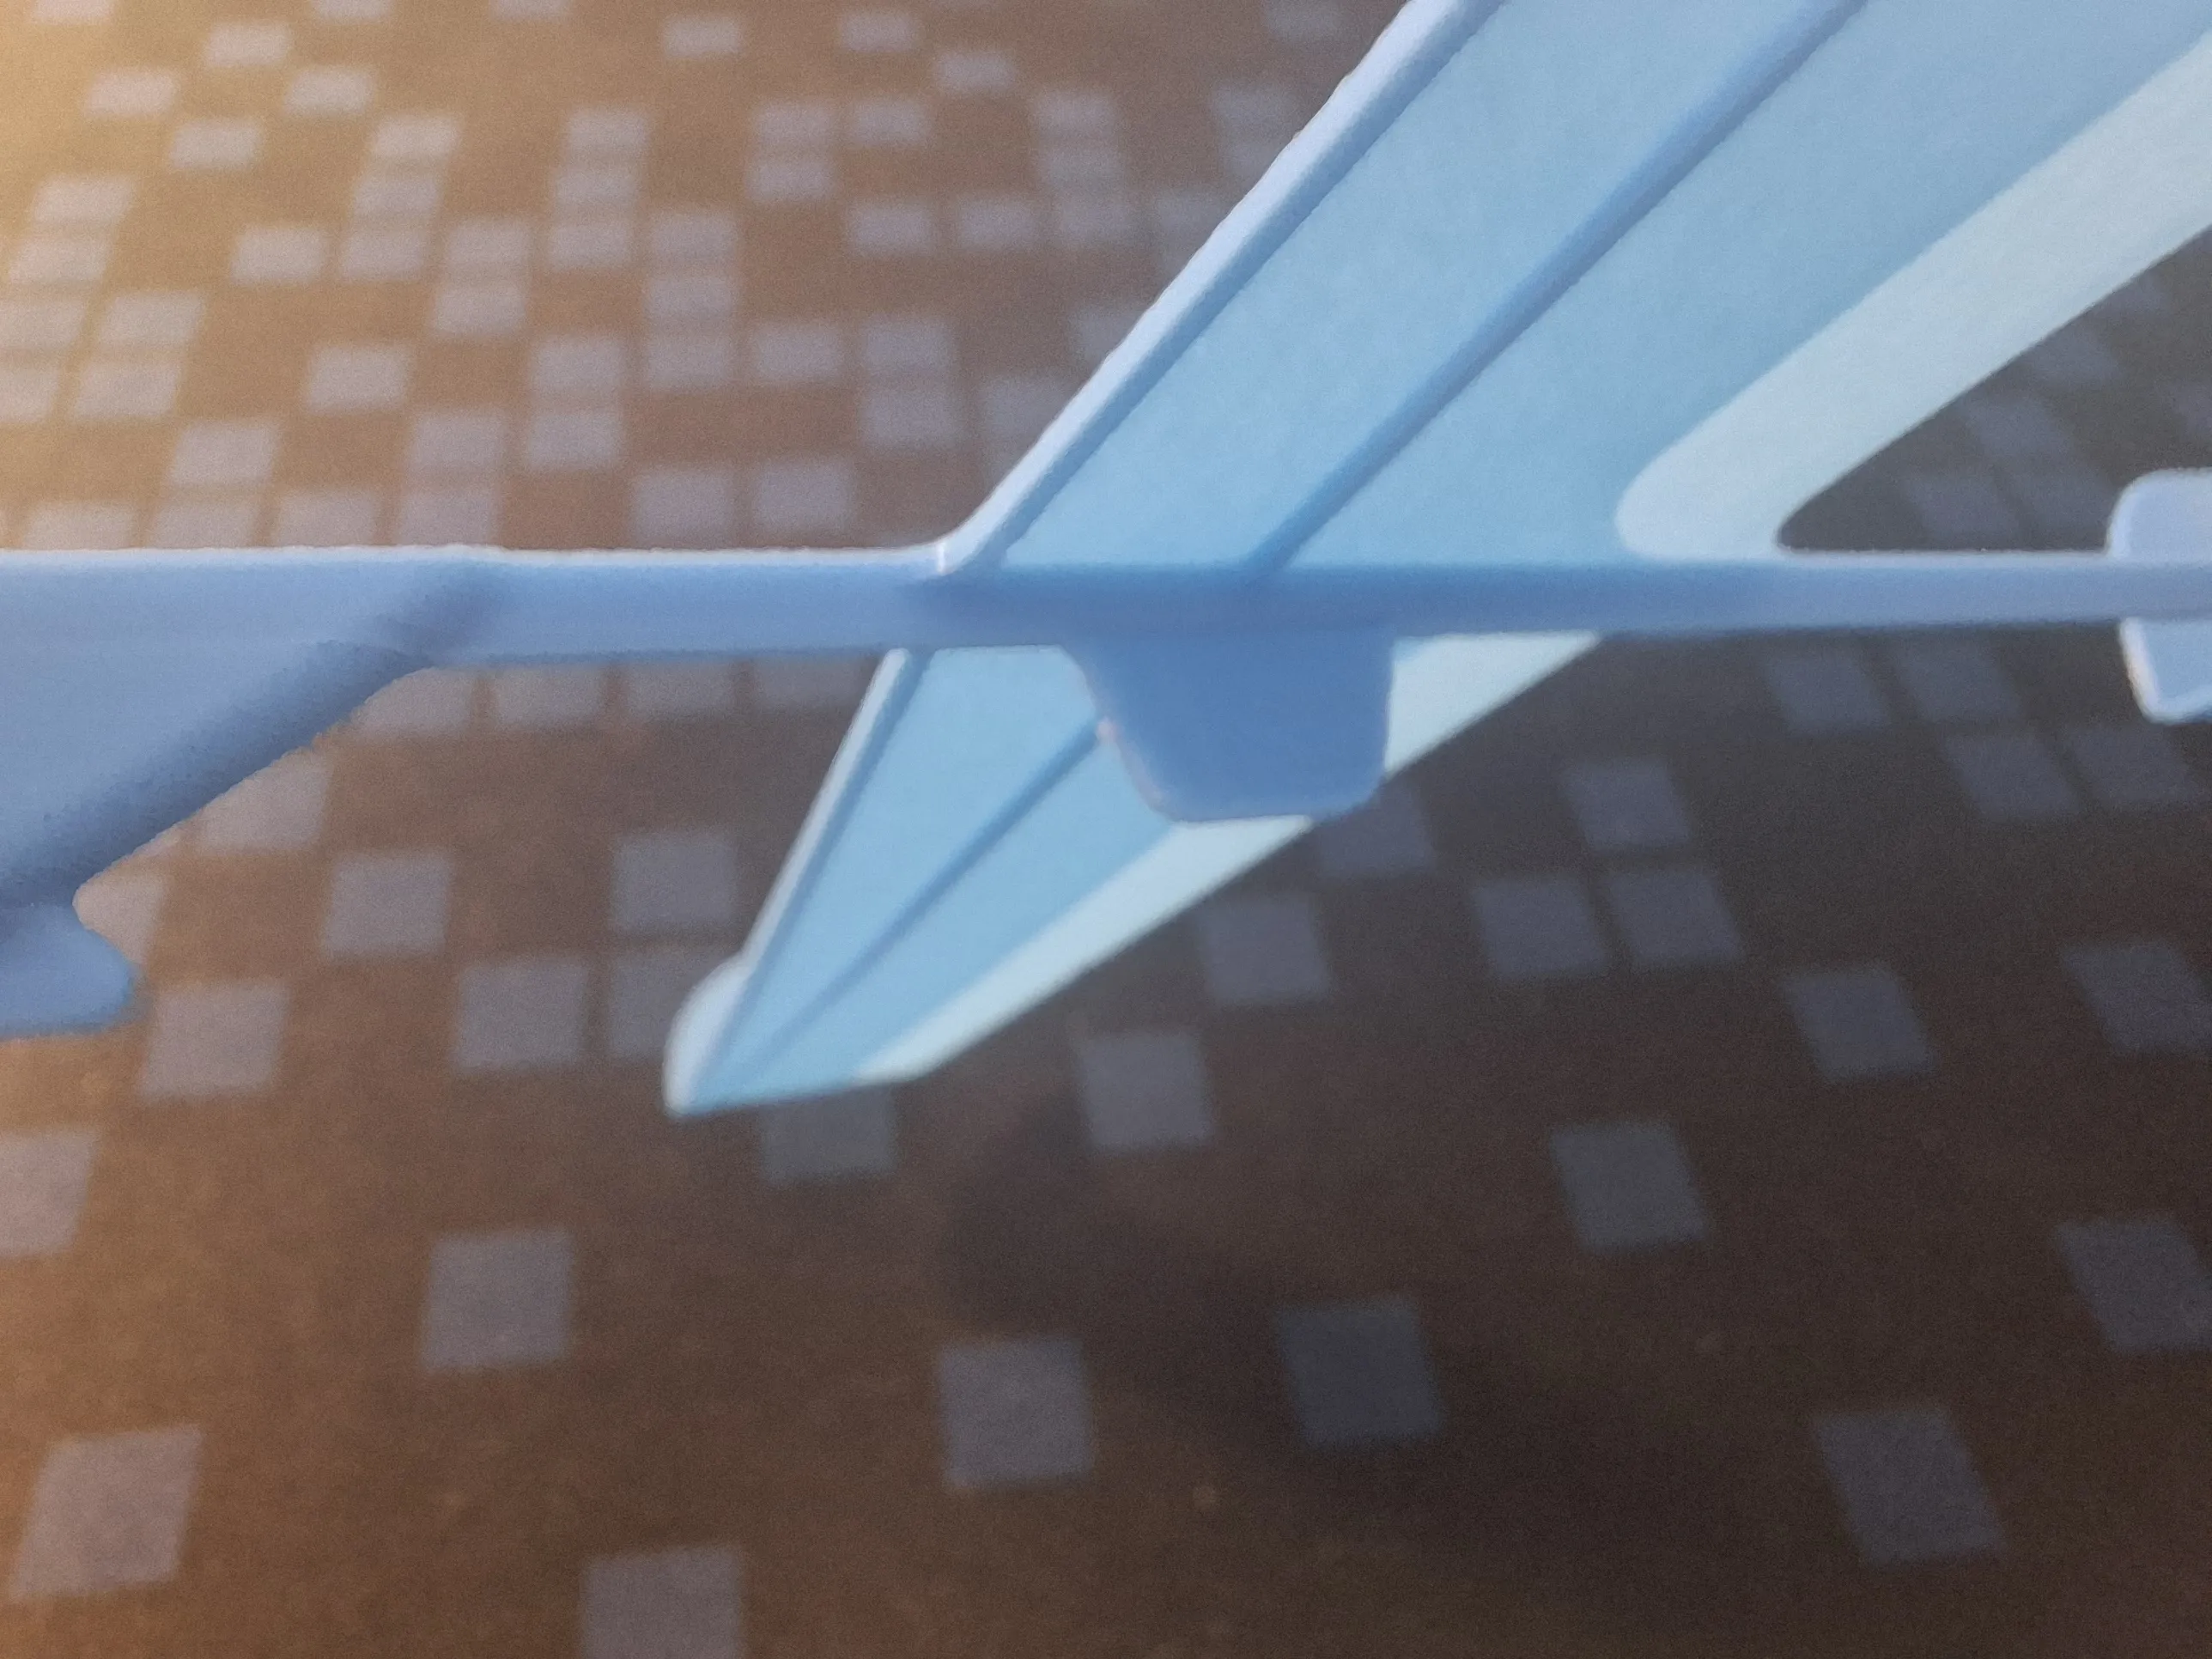
The model can be launched using a simple rubber catapult, as shown in the image.

It is recommended to use a foldable rubber launcher from Tommy 3D Lab:
https://makerworld.com/en/models/1931138-pocket-slingshot#profileId-2073094
or OPTIONAL - Launcher catapult for “Swallow” miniglider:
https://makerworld.com/en/models/1538229-mini-glider-swallow#profileId-1663131
WARNING! Never launch the model with a catapult toward people or animals!
Use the catapult only in a large open area, away from people, buildings, and other objects to avoid any damage!
For the most efficient and visually appealing catapult launch, hold the model by the stabilizer (also for V-tail version).

The model should be launched with a significant bank angle (about 65° or more) and at an upward angle of 25–40°.
With this launch technique, the model will perform a deep turning climb and gain maximum possible altitude (as shown in the video). Model can stay in the air 12 seconds and more!


START small - Fly Big!
Boost Me (for free)
If you like my models, hit that Boost button like it's a launch switch! 🚀
License
You shall not share, sub-license, sell, rent, host, transfer, or distribute in any way the digital or 3D printed versions of this object, nor any other derivative work of this object in its digital or physical format (including - but not limited to - remixes of this object, and hosting on other digital platforms). The objects may not be used without permission in any way whatsoever in which you charge money, or collect fees.
Comment & Rating (20)