Search models, users, collections, and posts

Display Frame(s) for Hueforge Lithophanes
IP Report

Print Profile(2)

All
P1S
P2S
A1
X1E
H2C
H2D Pro
X1 Carbon
H2S
P1P
X1
X2D
H2D
A2L

0.2mm layer, 2 walls, 15% infill - USB-C LED Light Panel
Designer
4.1 h
2 plates
5.0(6)

0.2mm layer, 2 walls, 15% infill - LED Light Strip
Designer
4.1 h
2 plates
5.0(1)

Open in Bambu Studio
Boost
39
92
14
1
62
33
Released 

Bill of Materials

Maker's Supply Kits and Parts
Select all
White CCT Tunable COB LED Strip Light Combo Kit - ZH059
CMYK LED Backlight Board (1pcs) - FAZ007
Bambu Filaments
Select all
Jade White (10100) / Filament with spool / 1kg
Black (10101) / Filament with spool / 1kg

Description

-------------------------------------------------------------------------------------------------

Boost Me (for free)

In case no one has told you today, YOU ARE AMAZING! -------------------------- Thank you for supporting me!

-------------------------------------------------------------------------------------------------

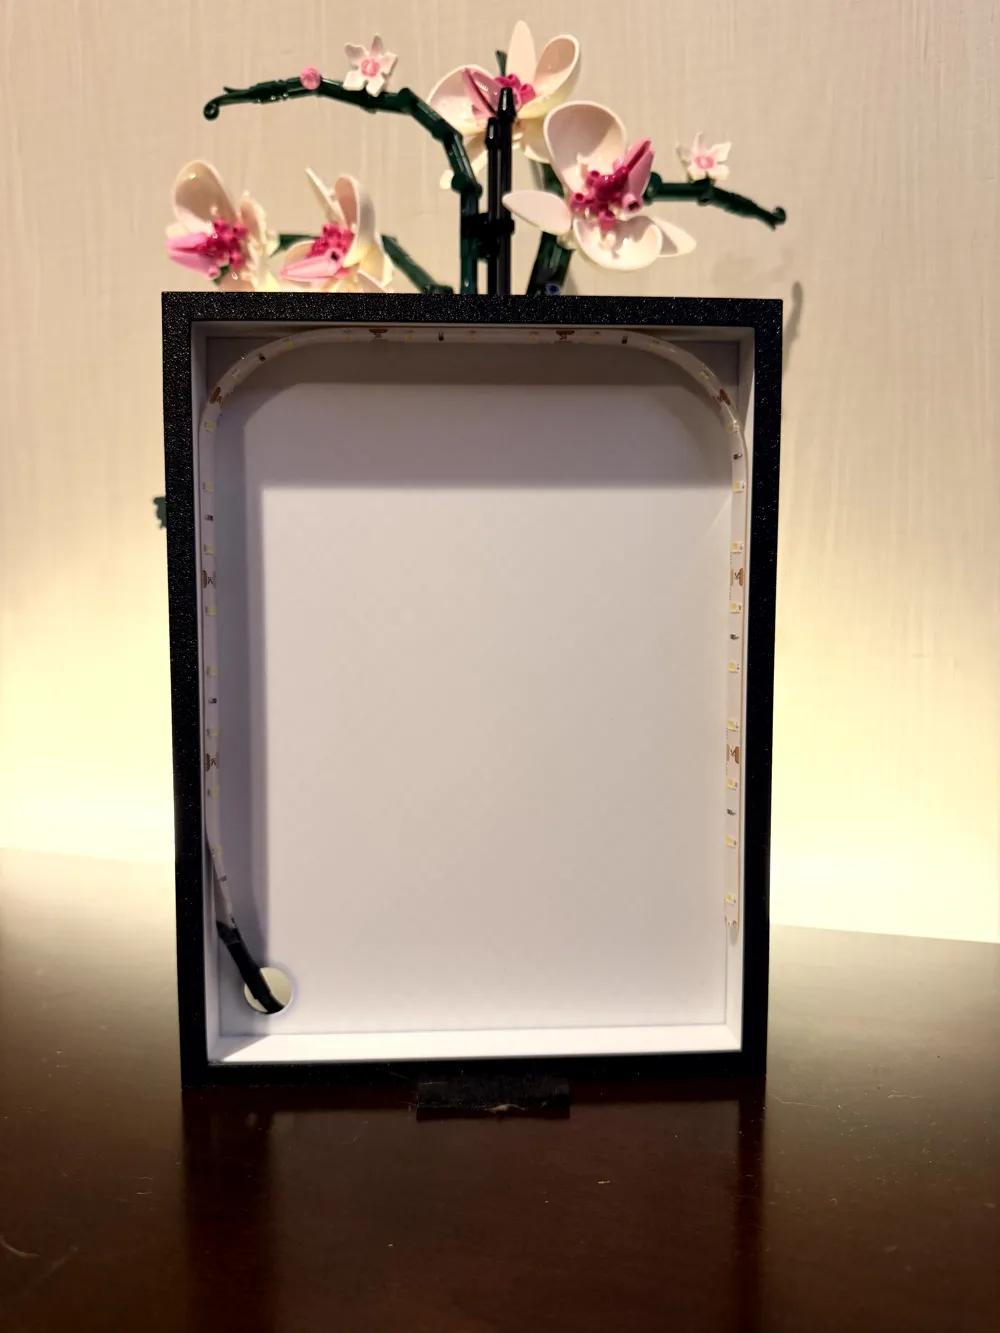
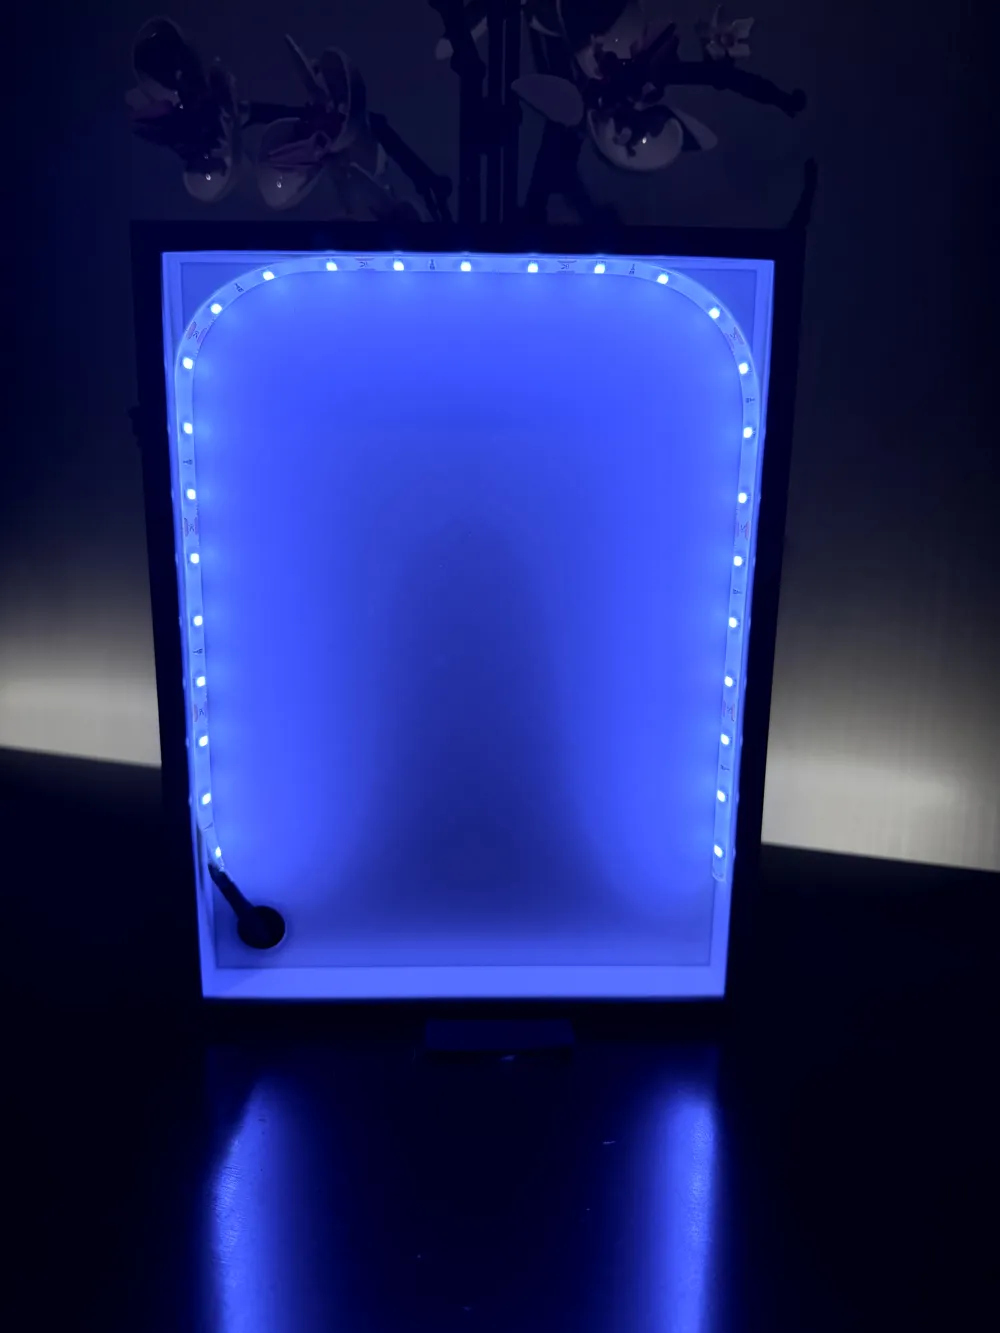
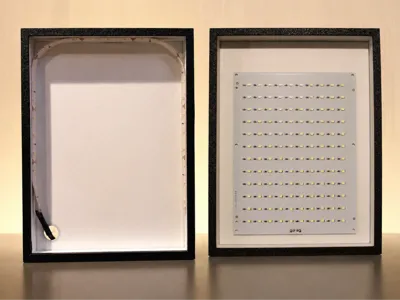
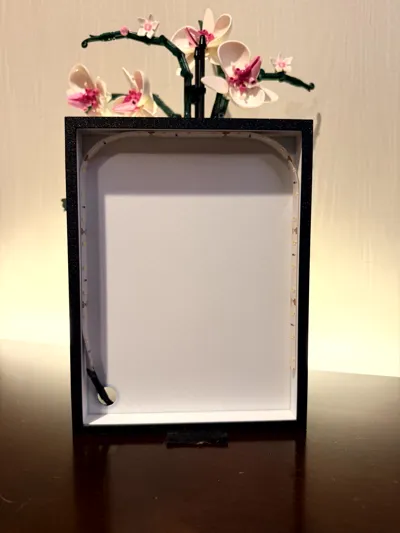
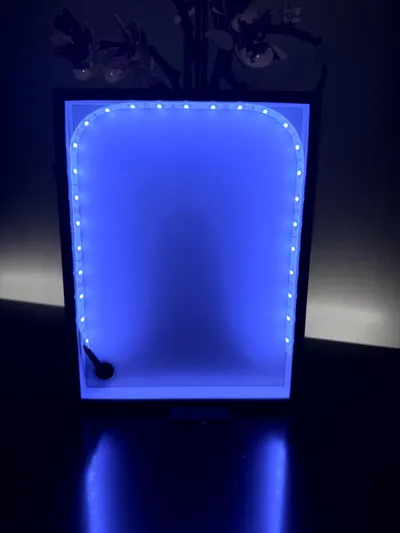
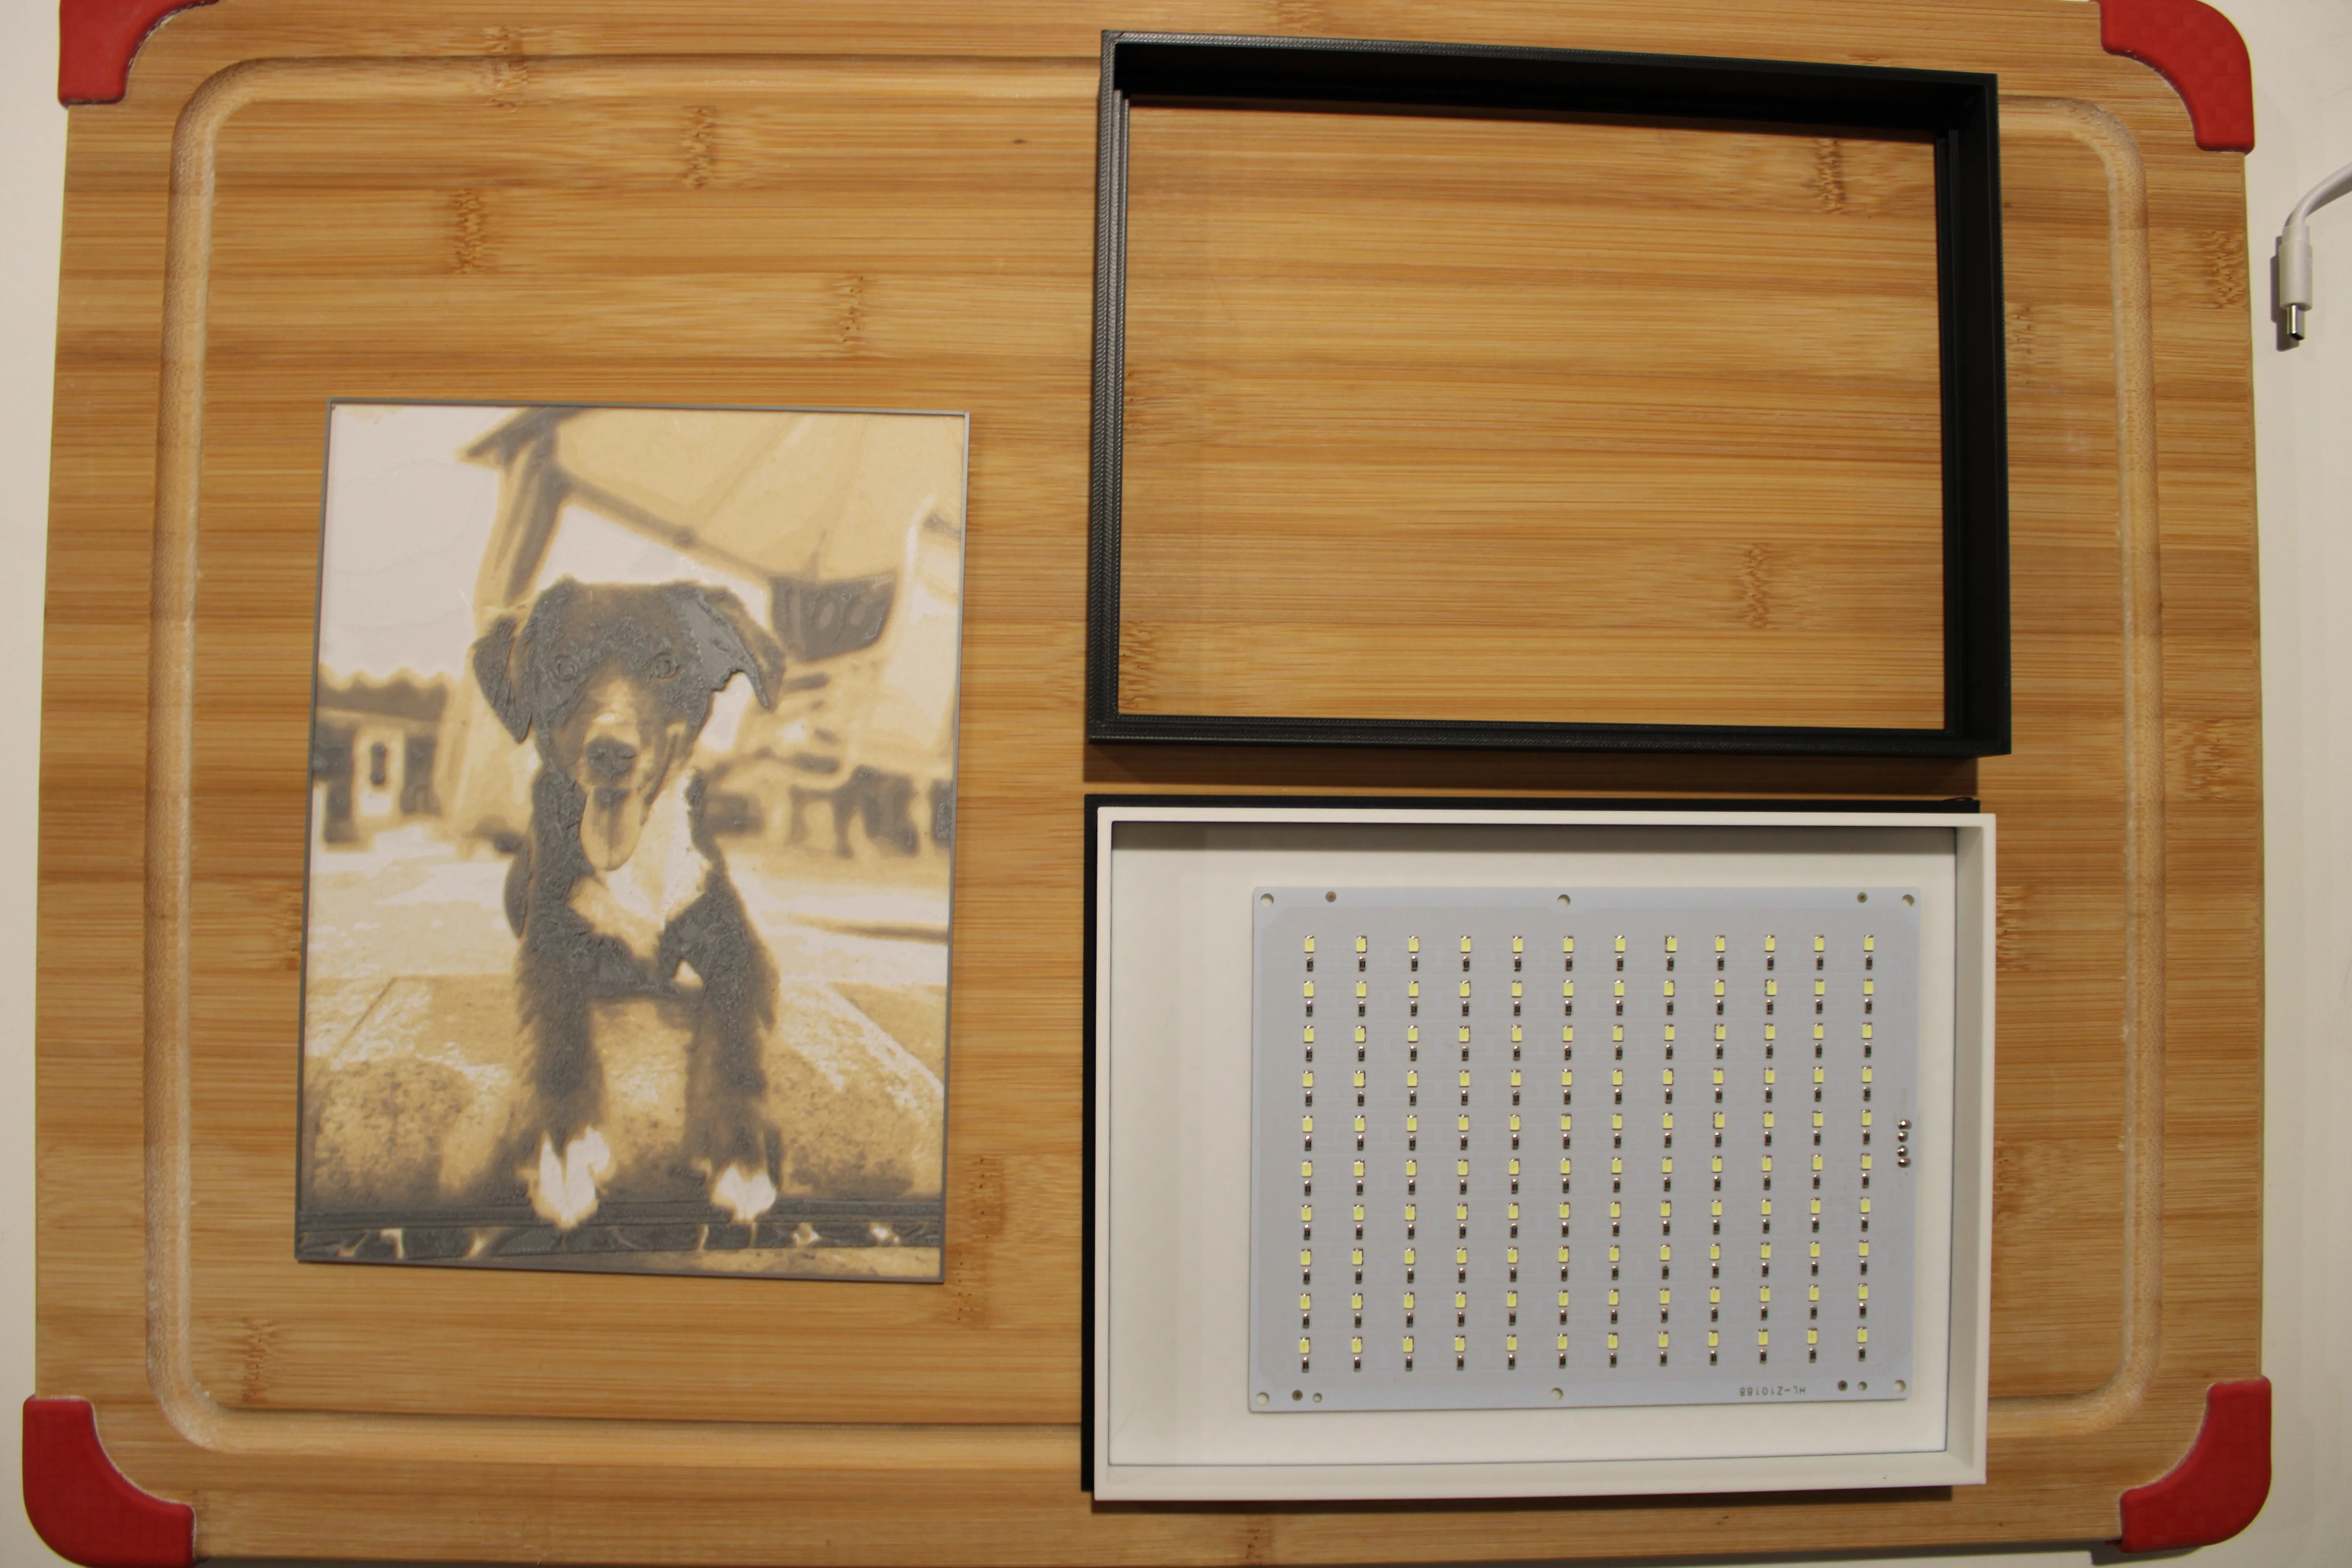
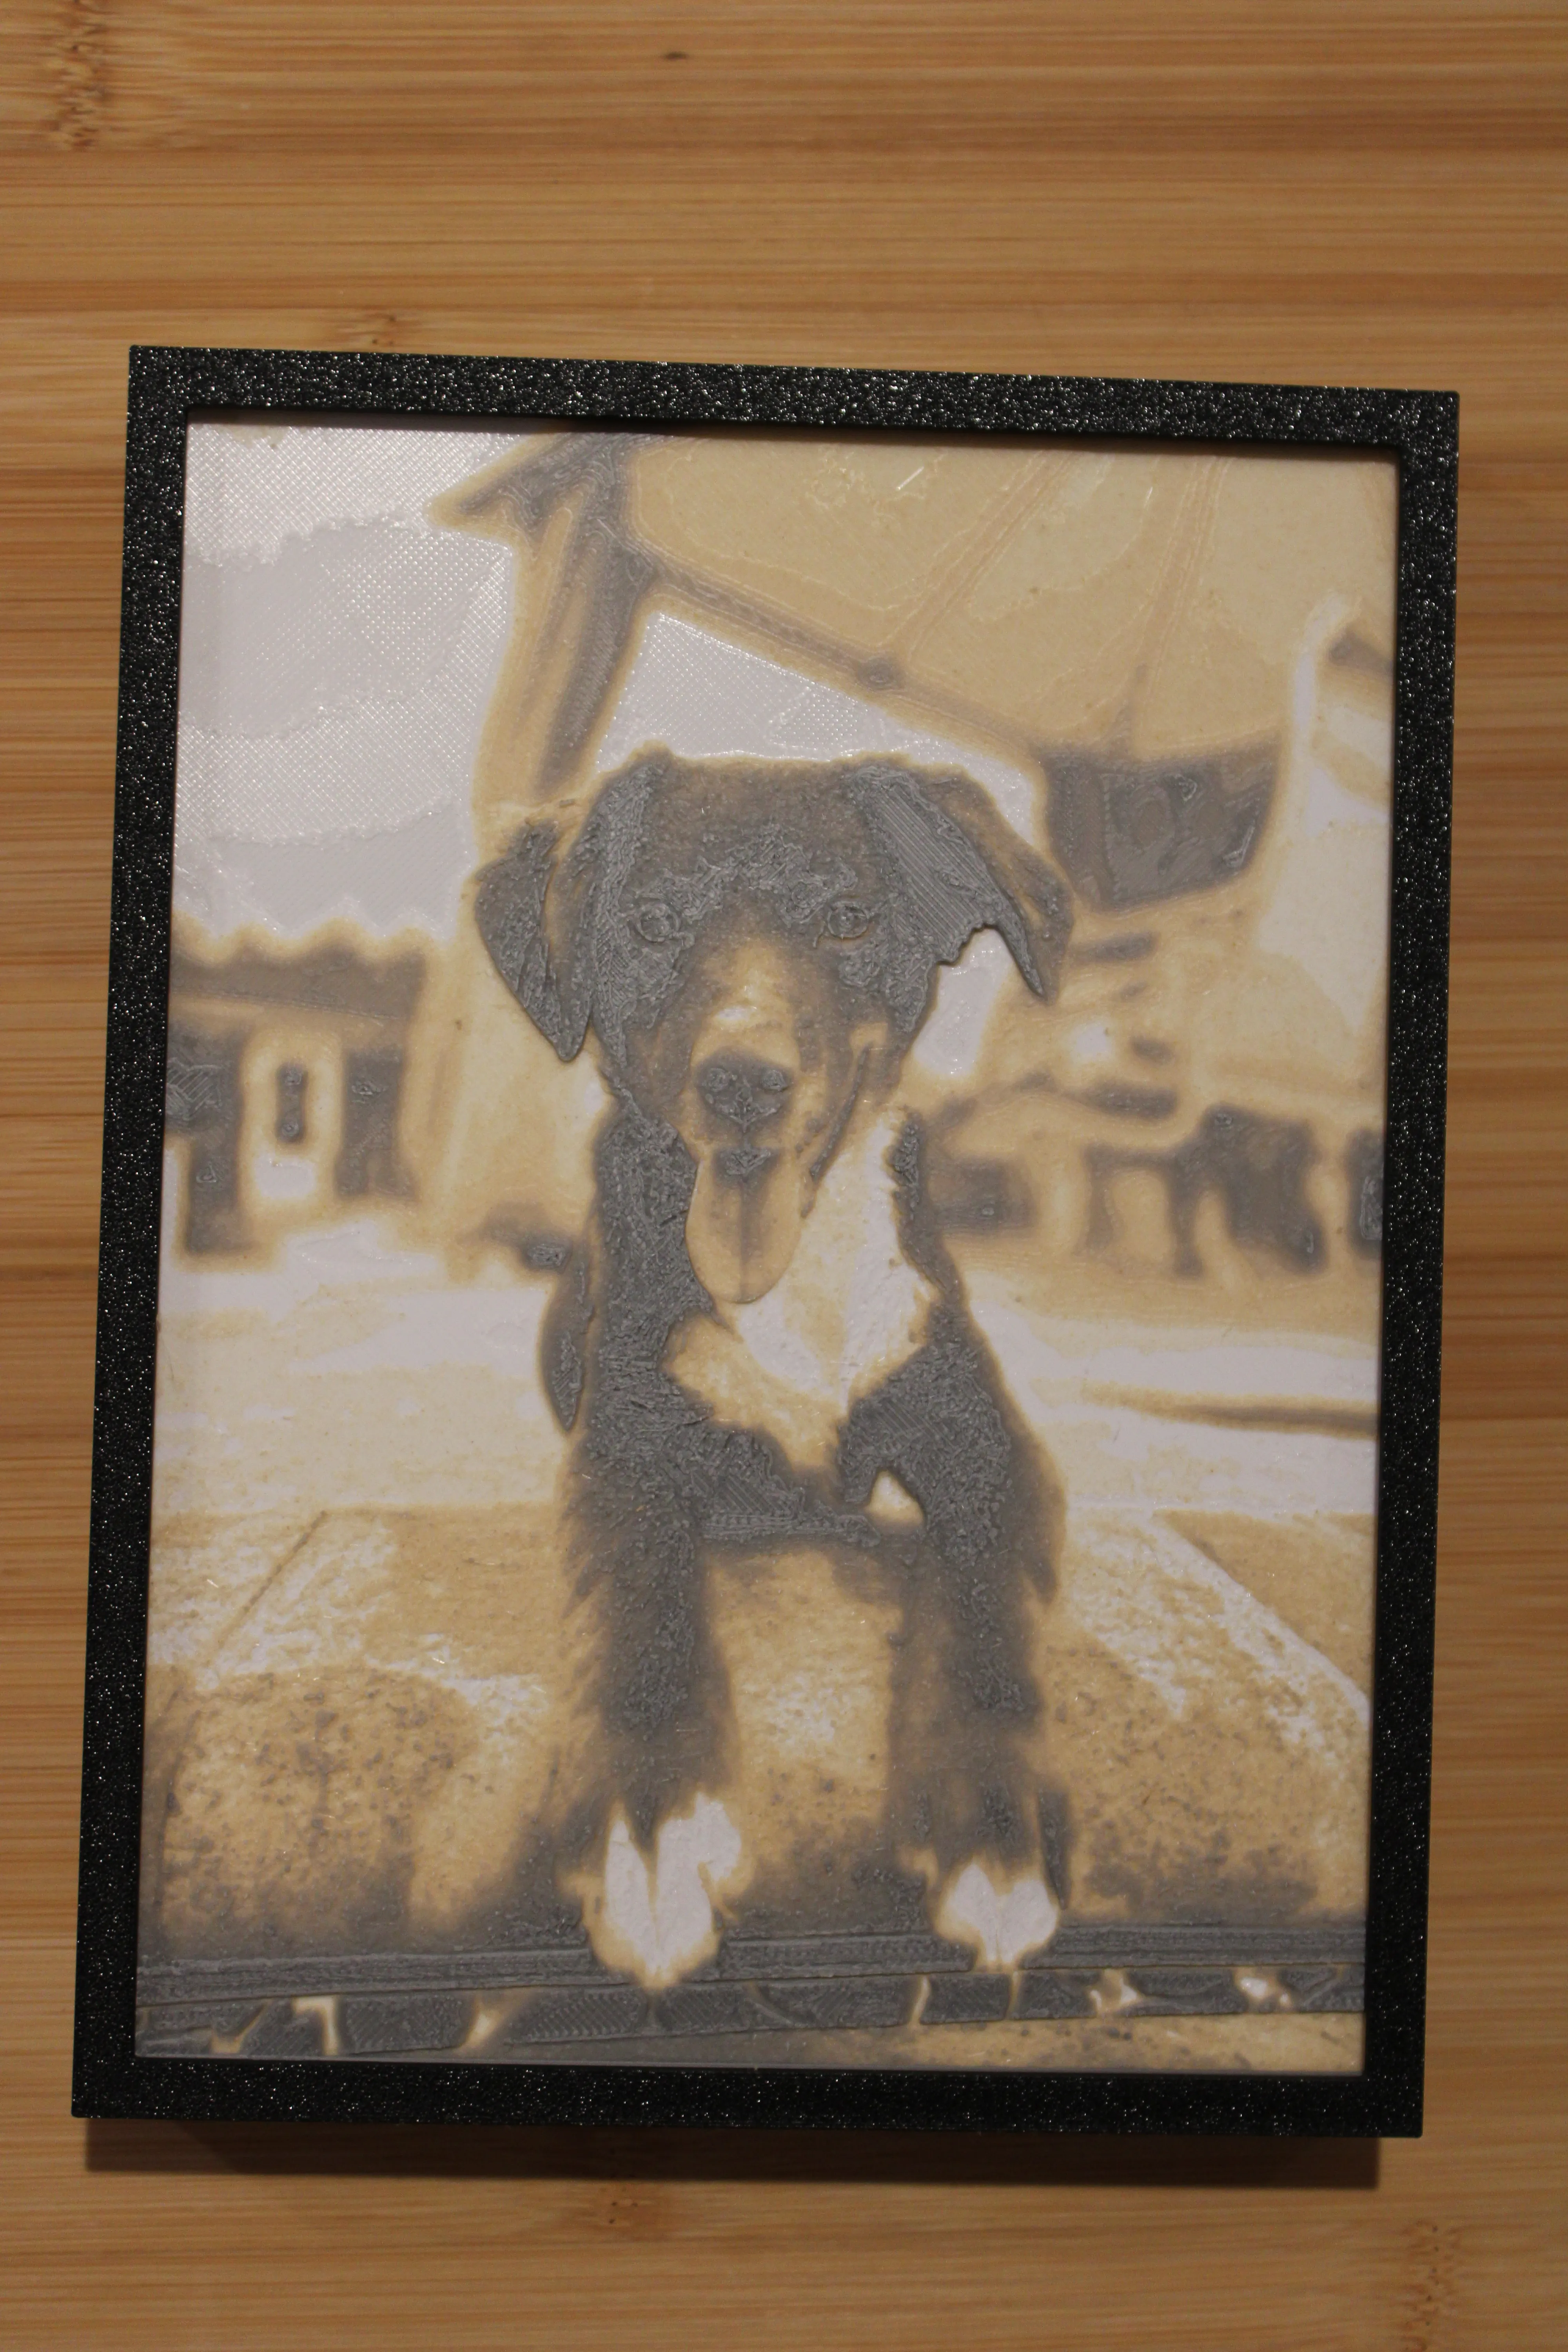
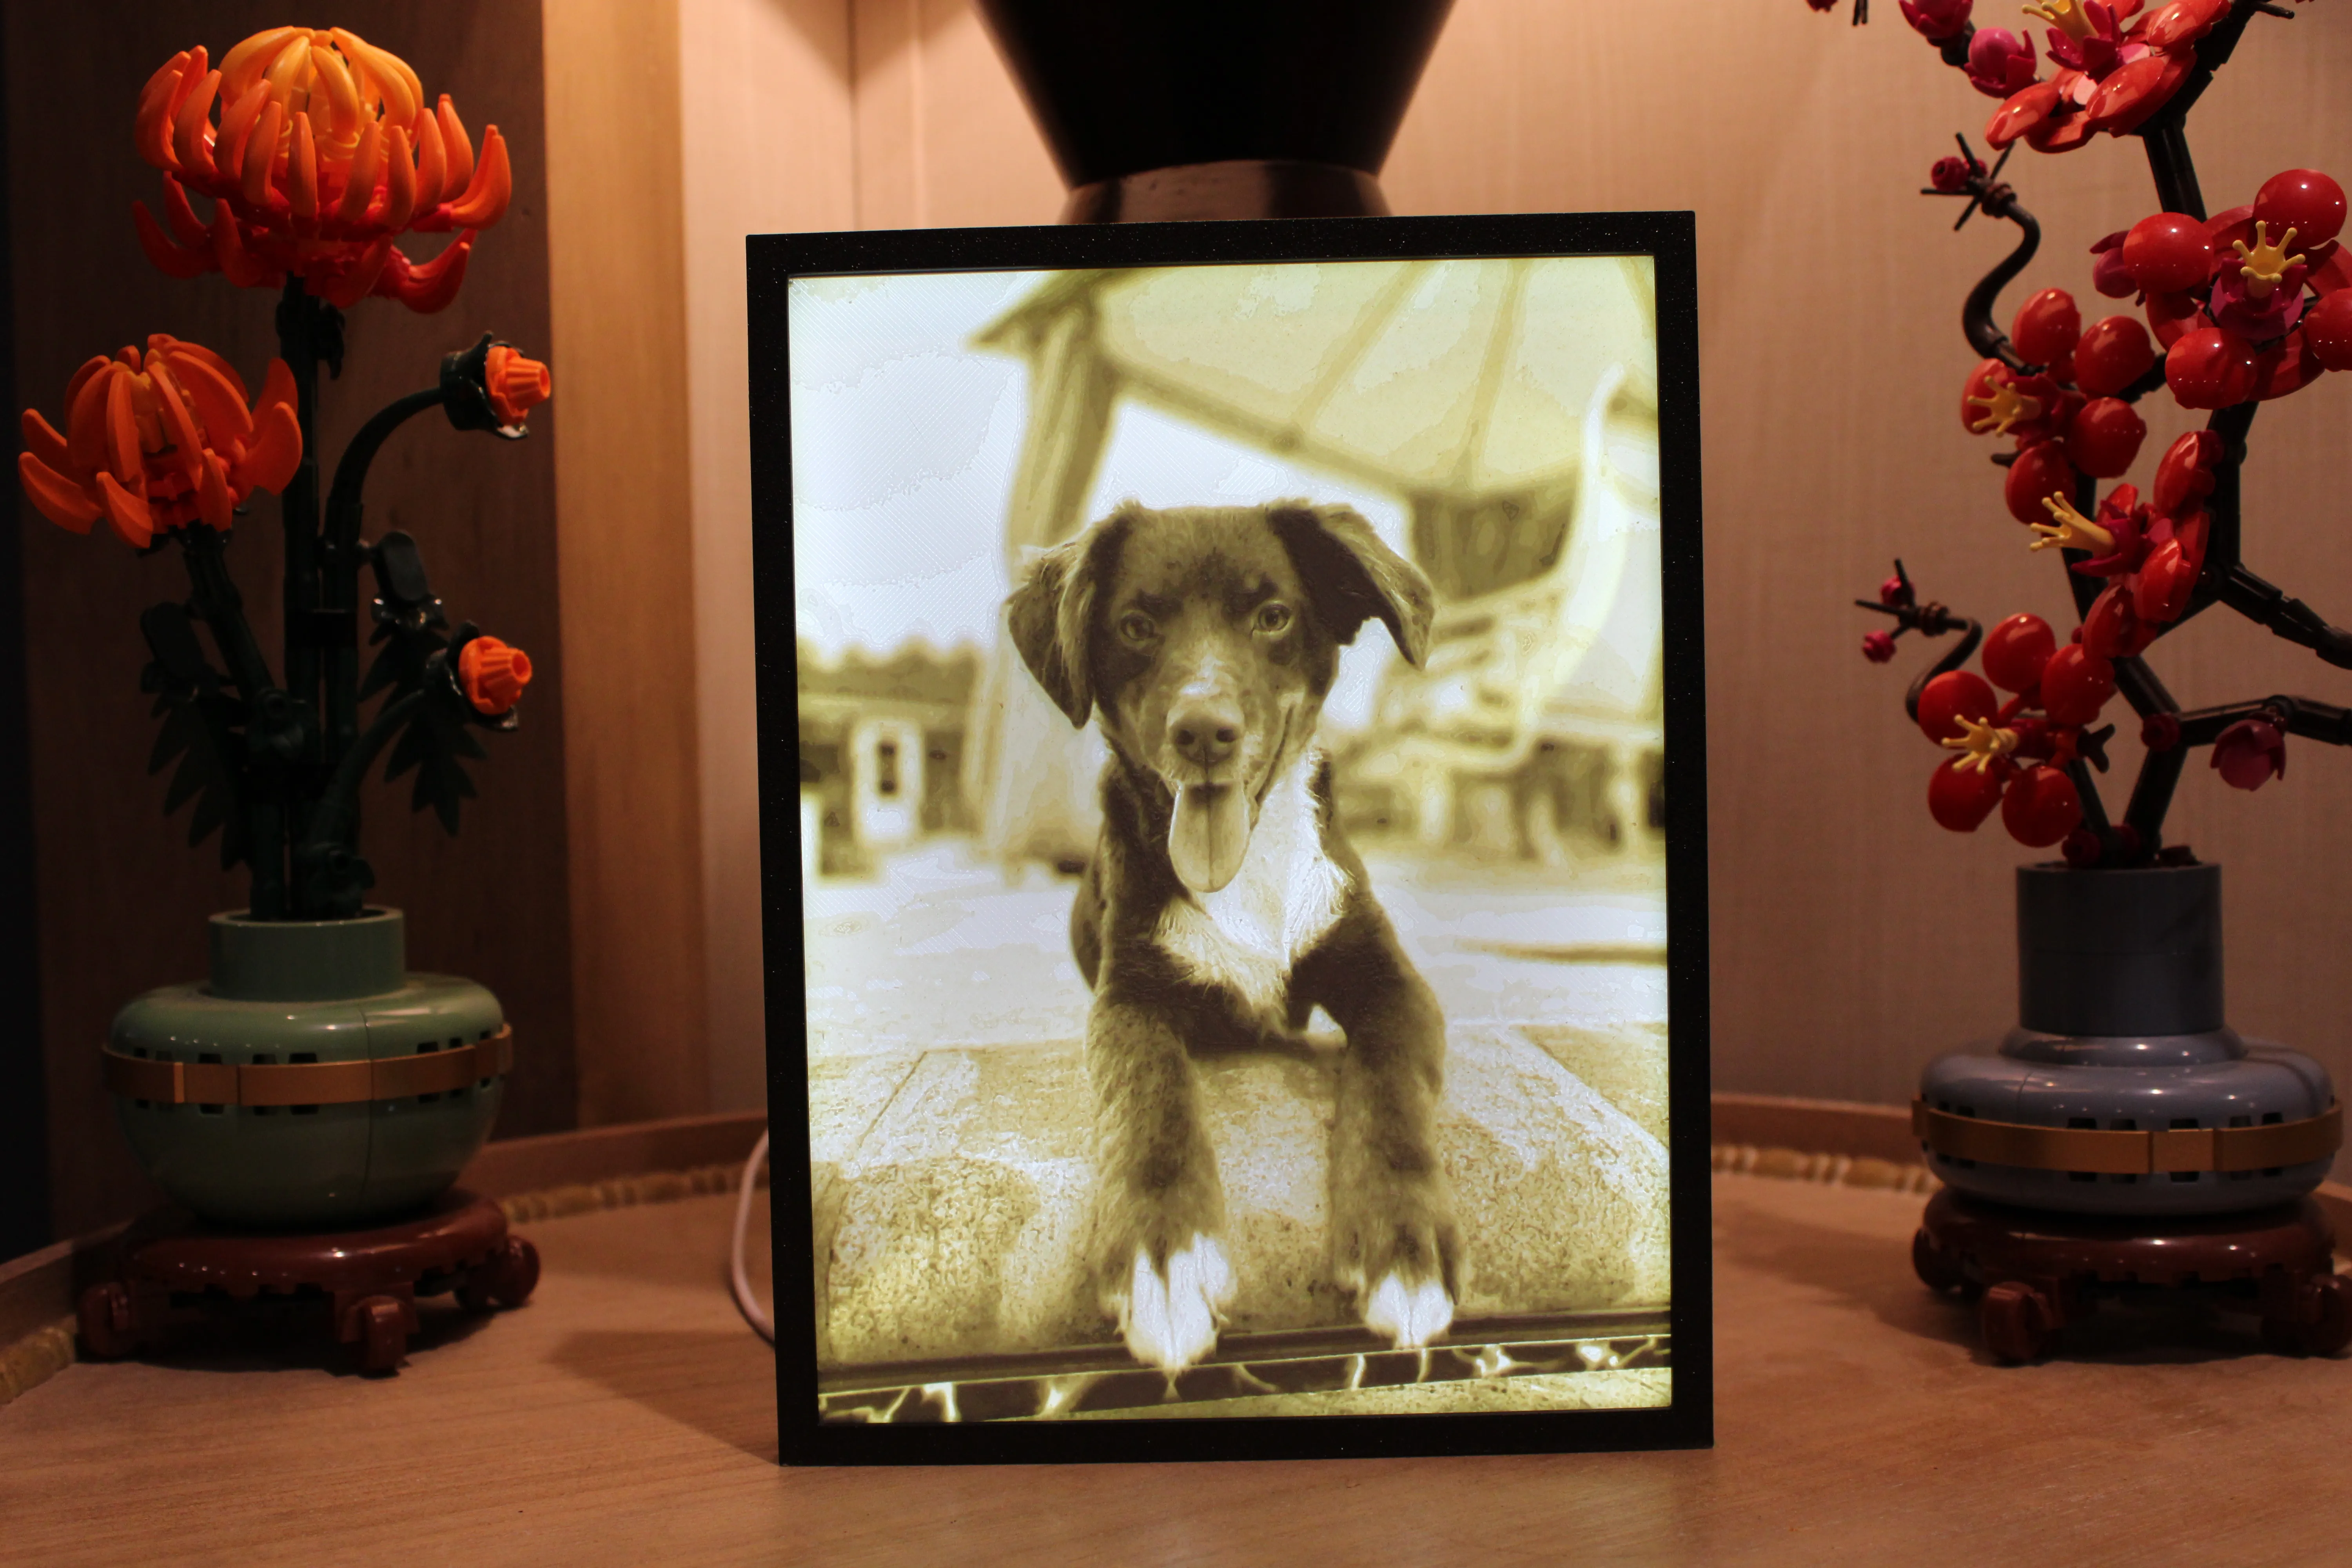
This is the frame for the S England Creative HueForge Lithophanes and meant to hold and display HueForge Lithophanes!

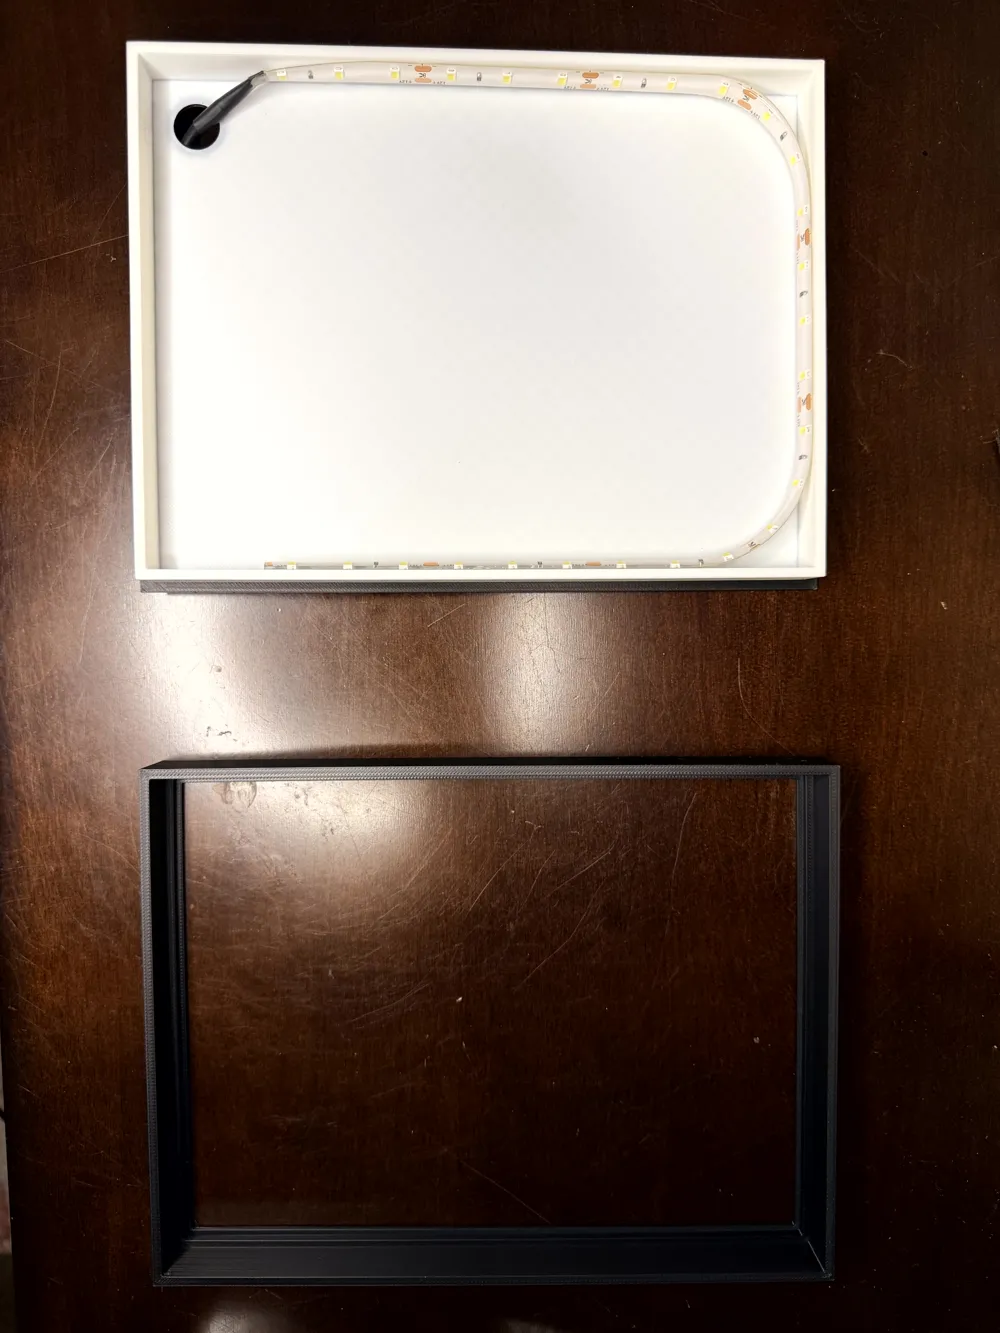
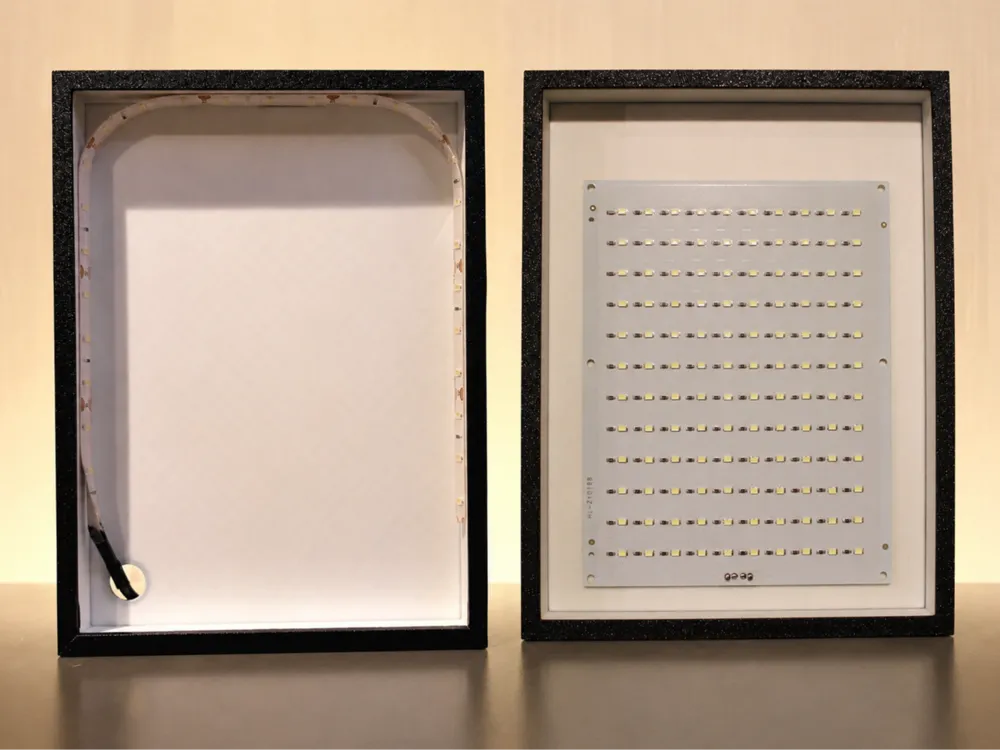
For instructions on the LED Light Strip profile, download the attached assembly guide. 

For the USB-C LED Light Panel profile, see instructions below. 
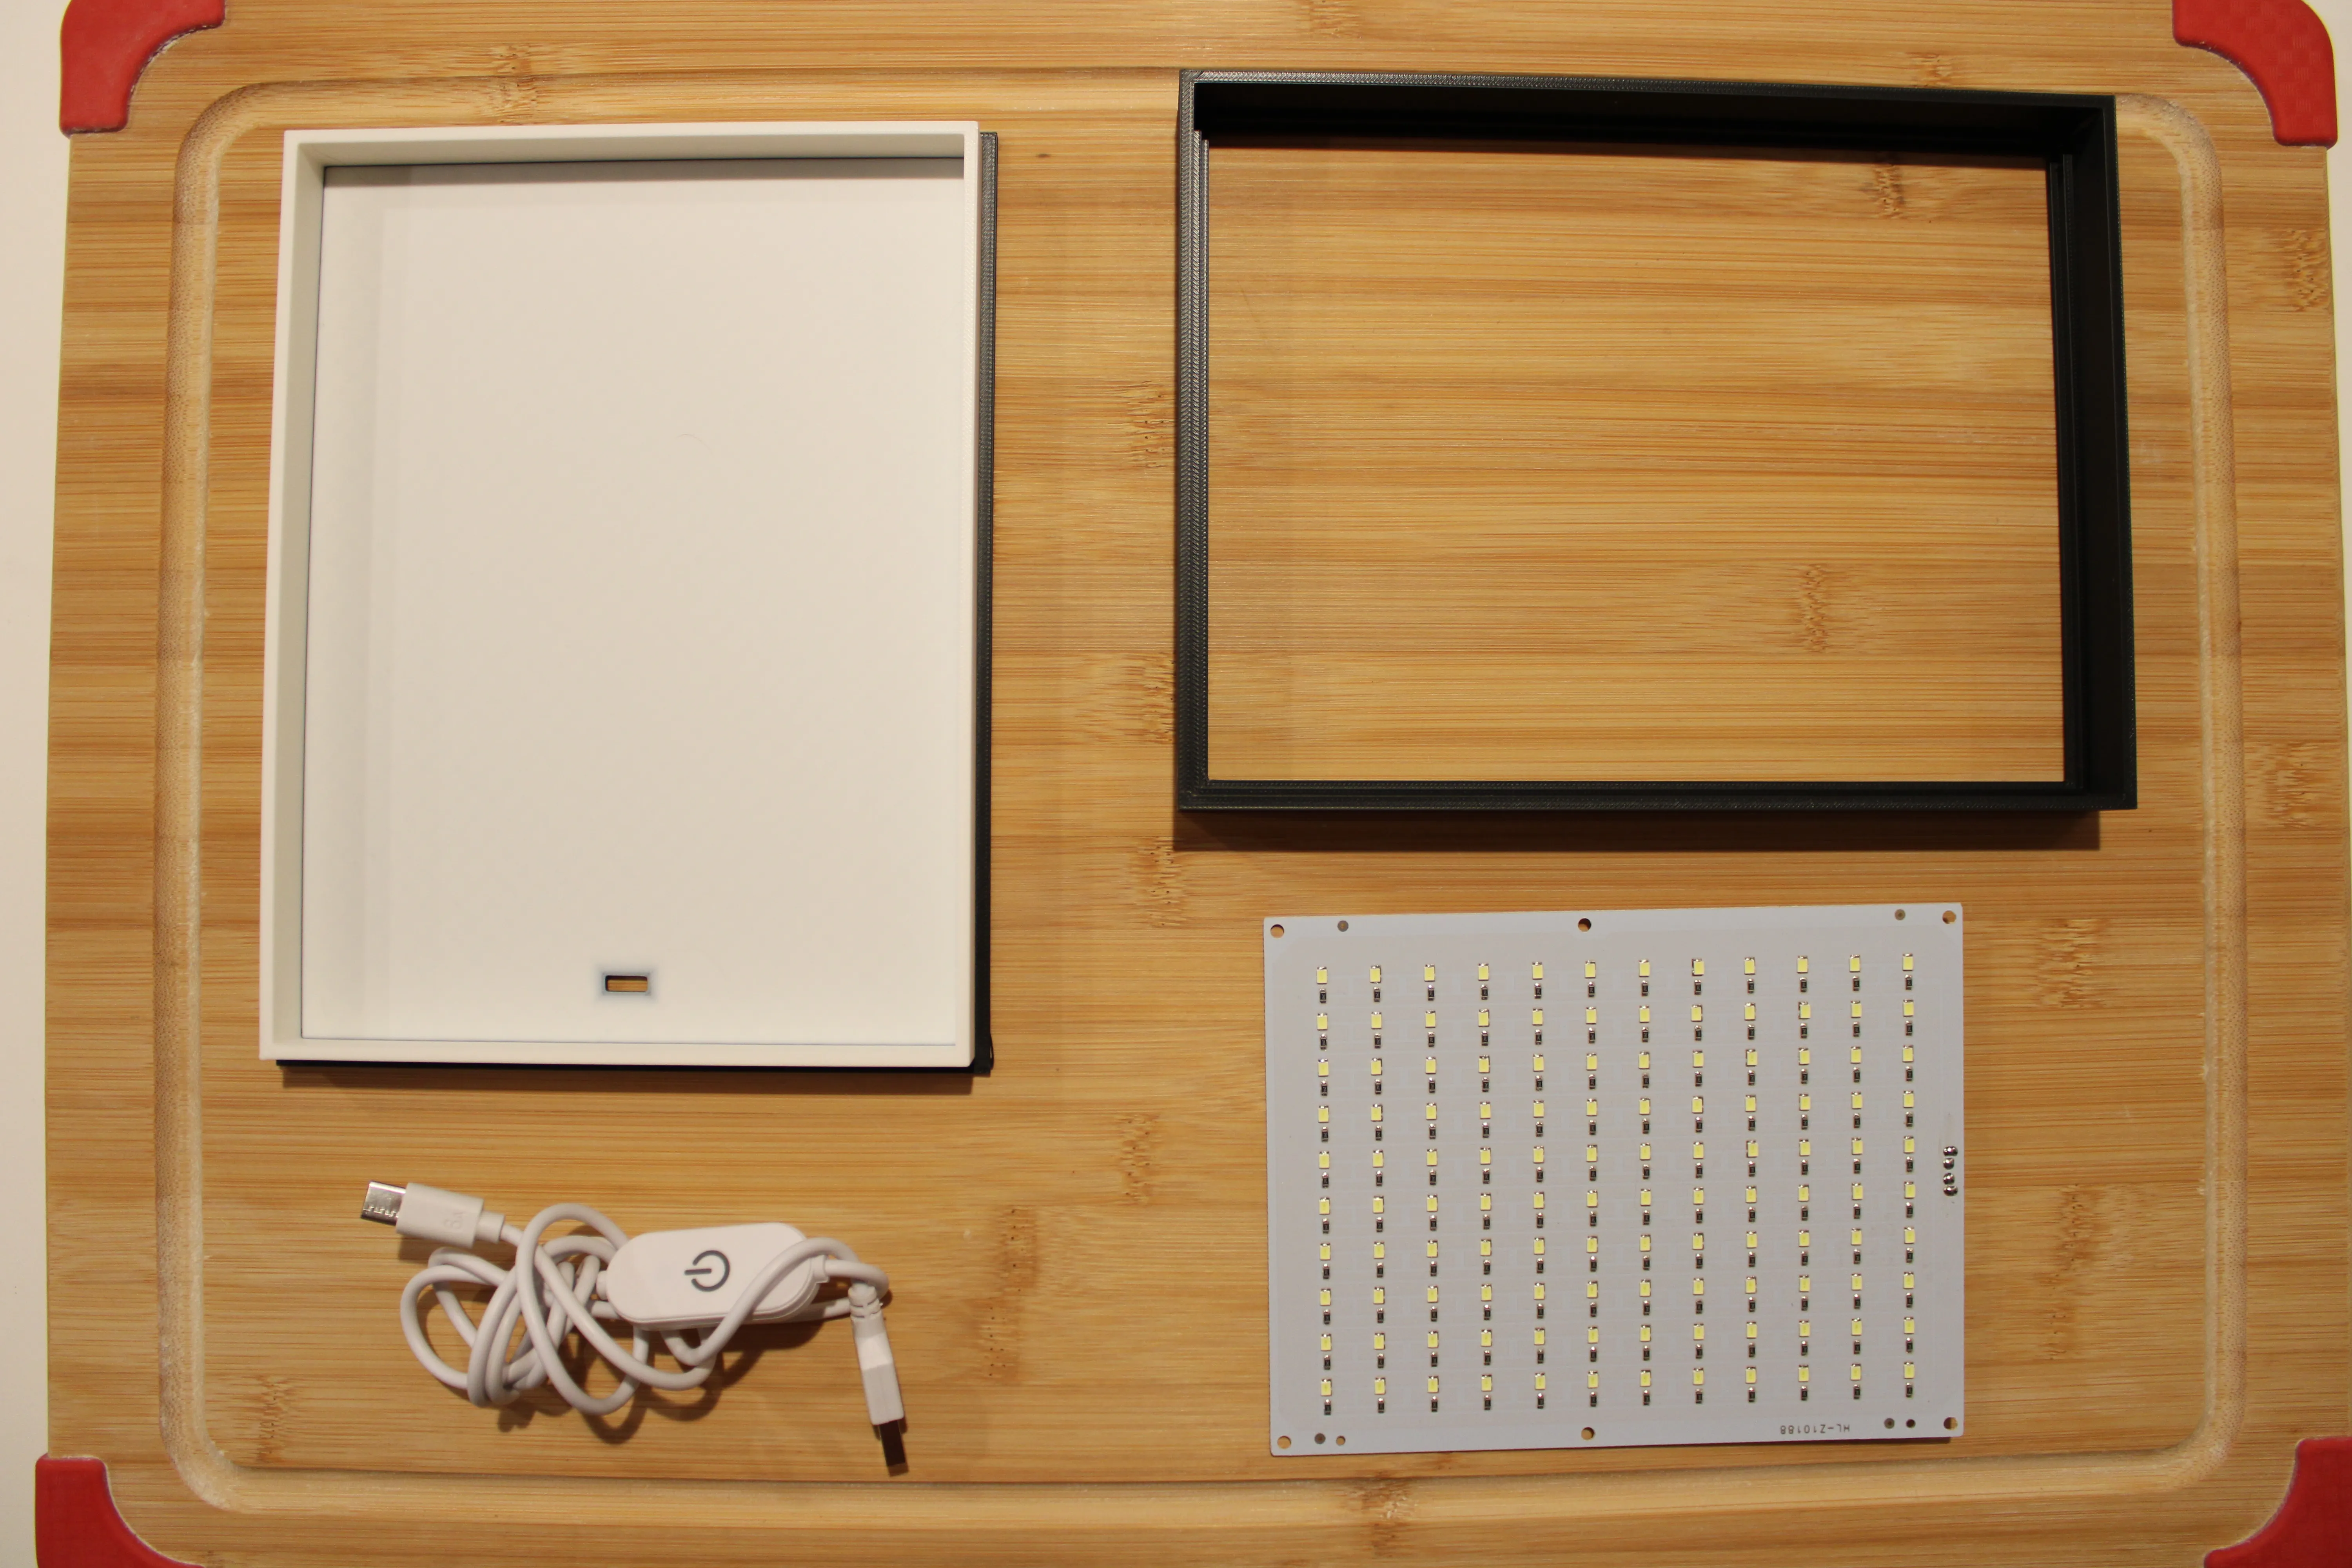
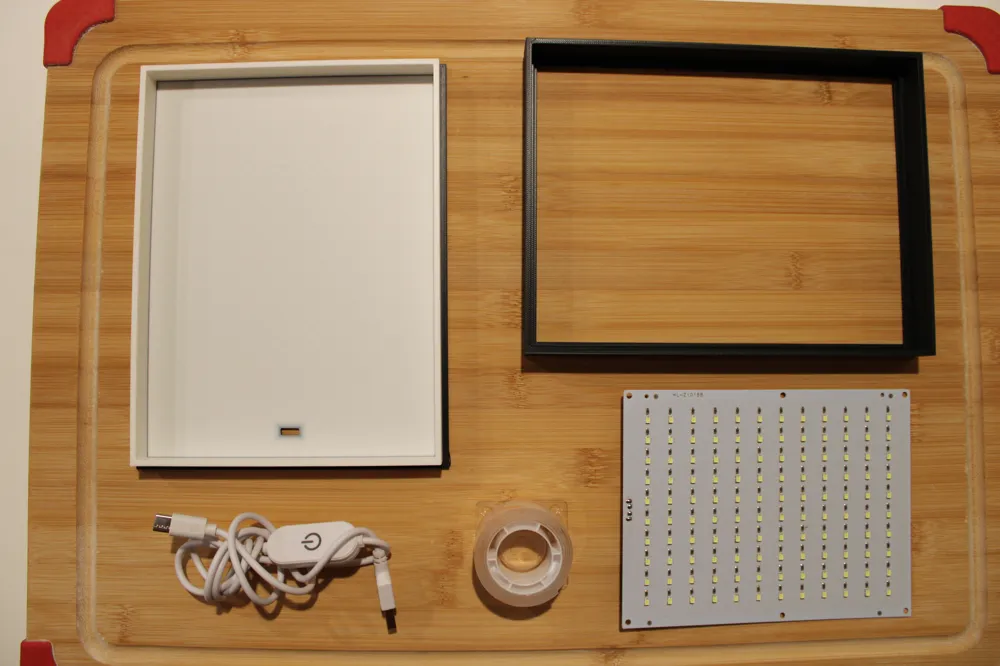
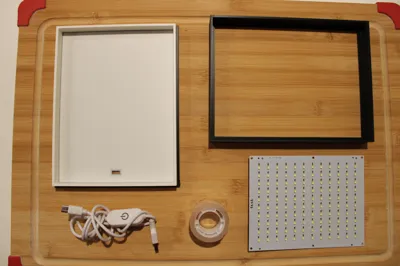
Require Materials: 

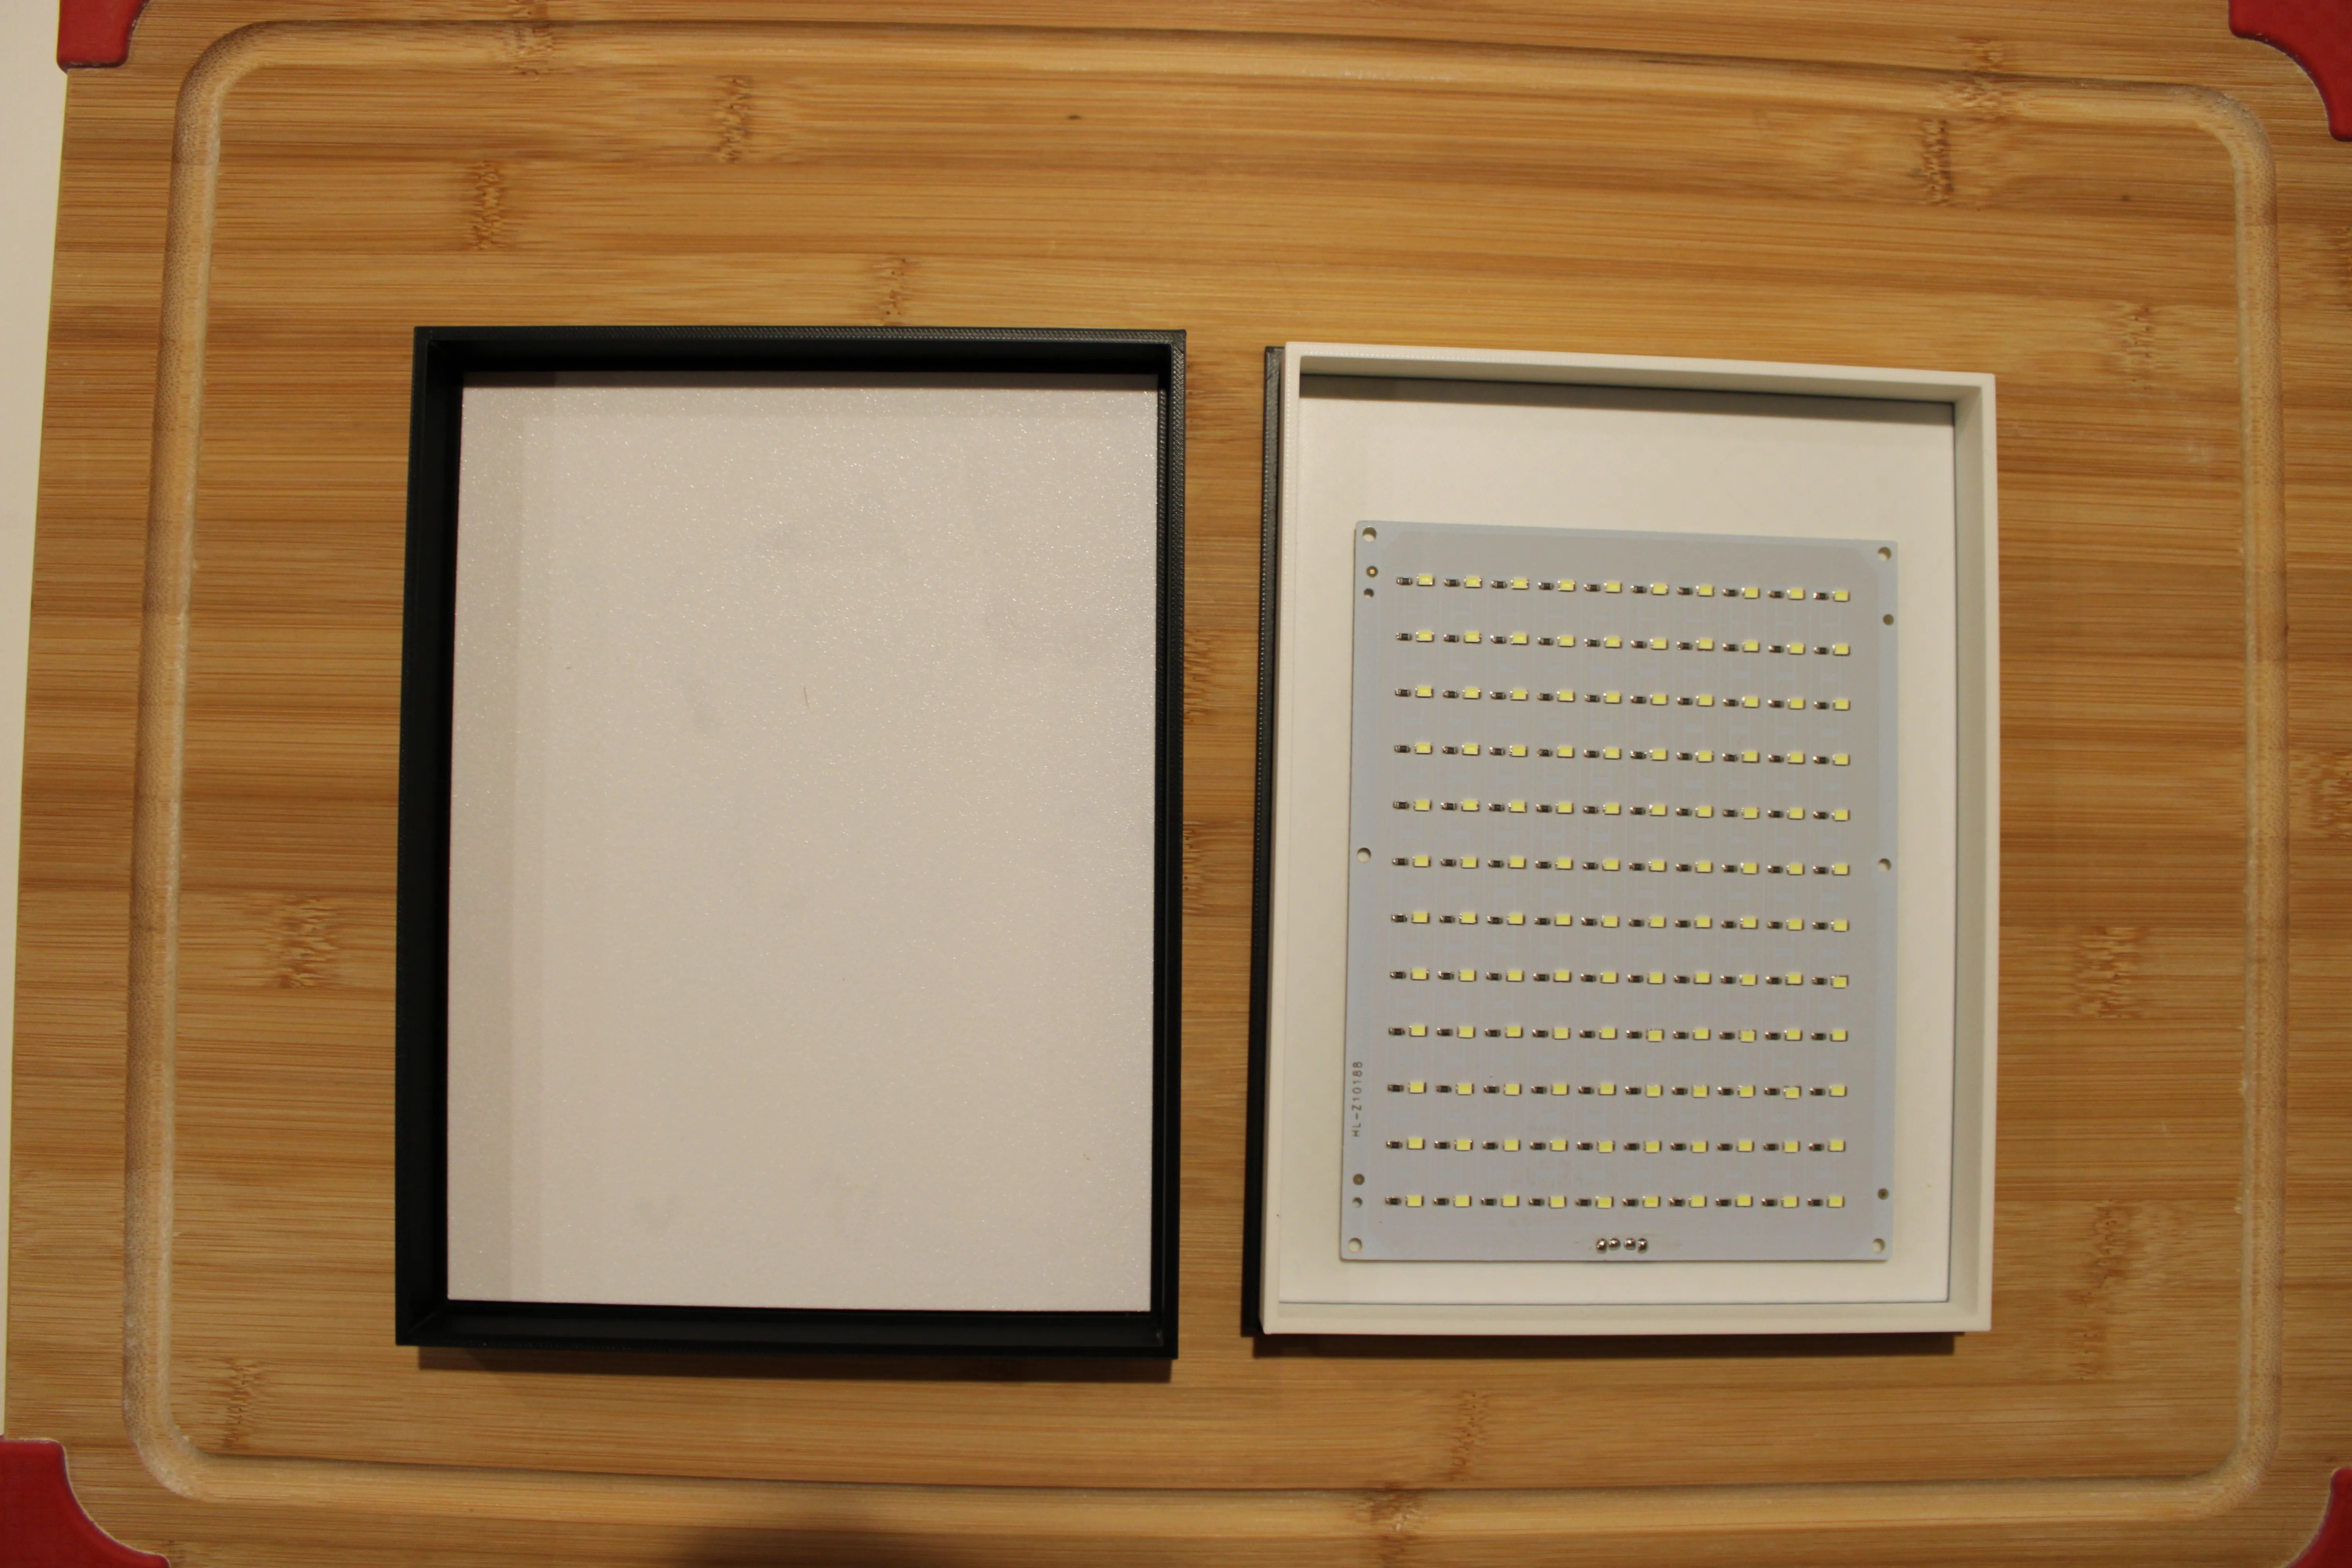
  • Printed USB-C LED Light Panel profile
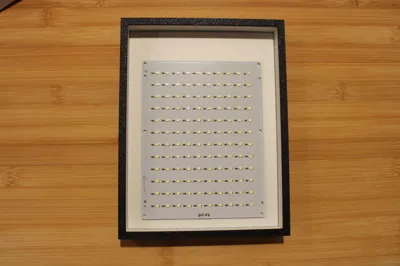
  • LED Light Panel (from amazon or bambu)
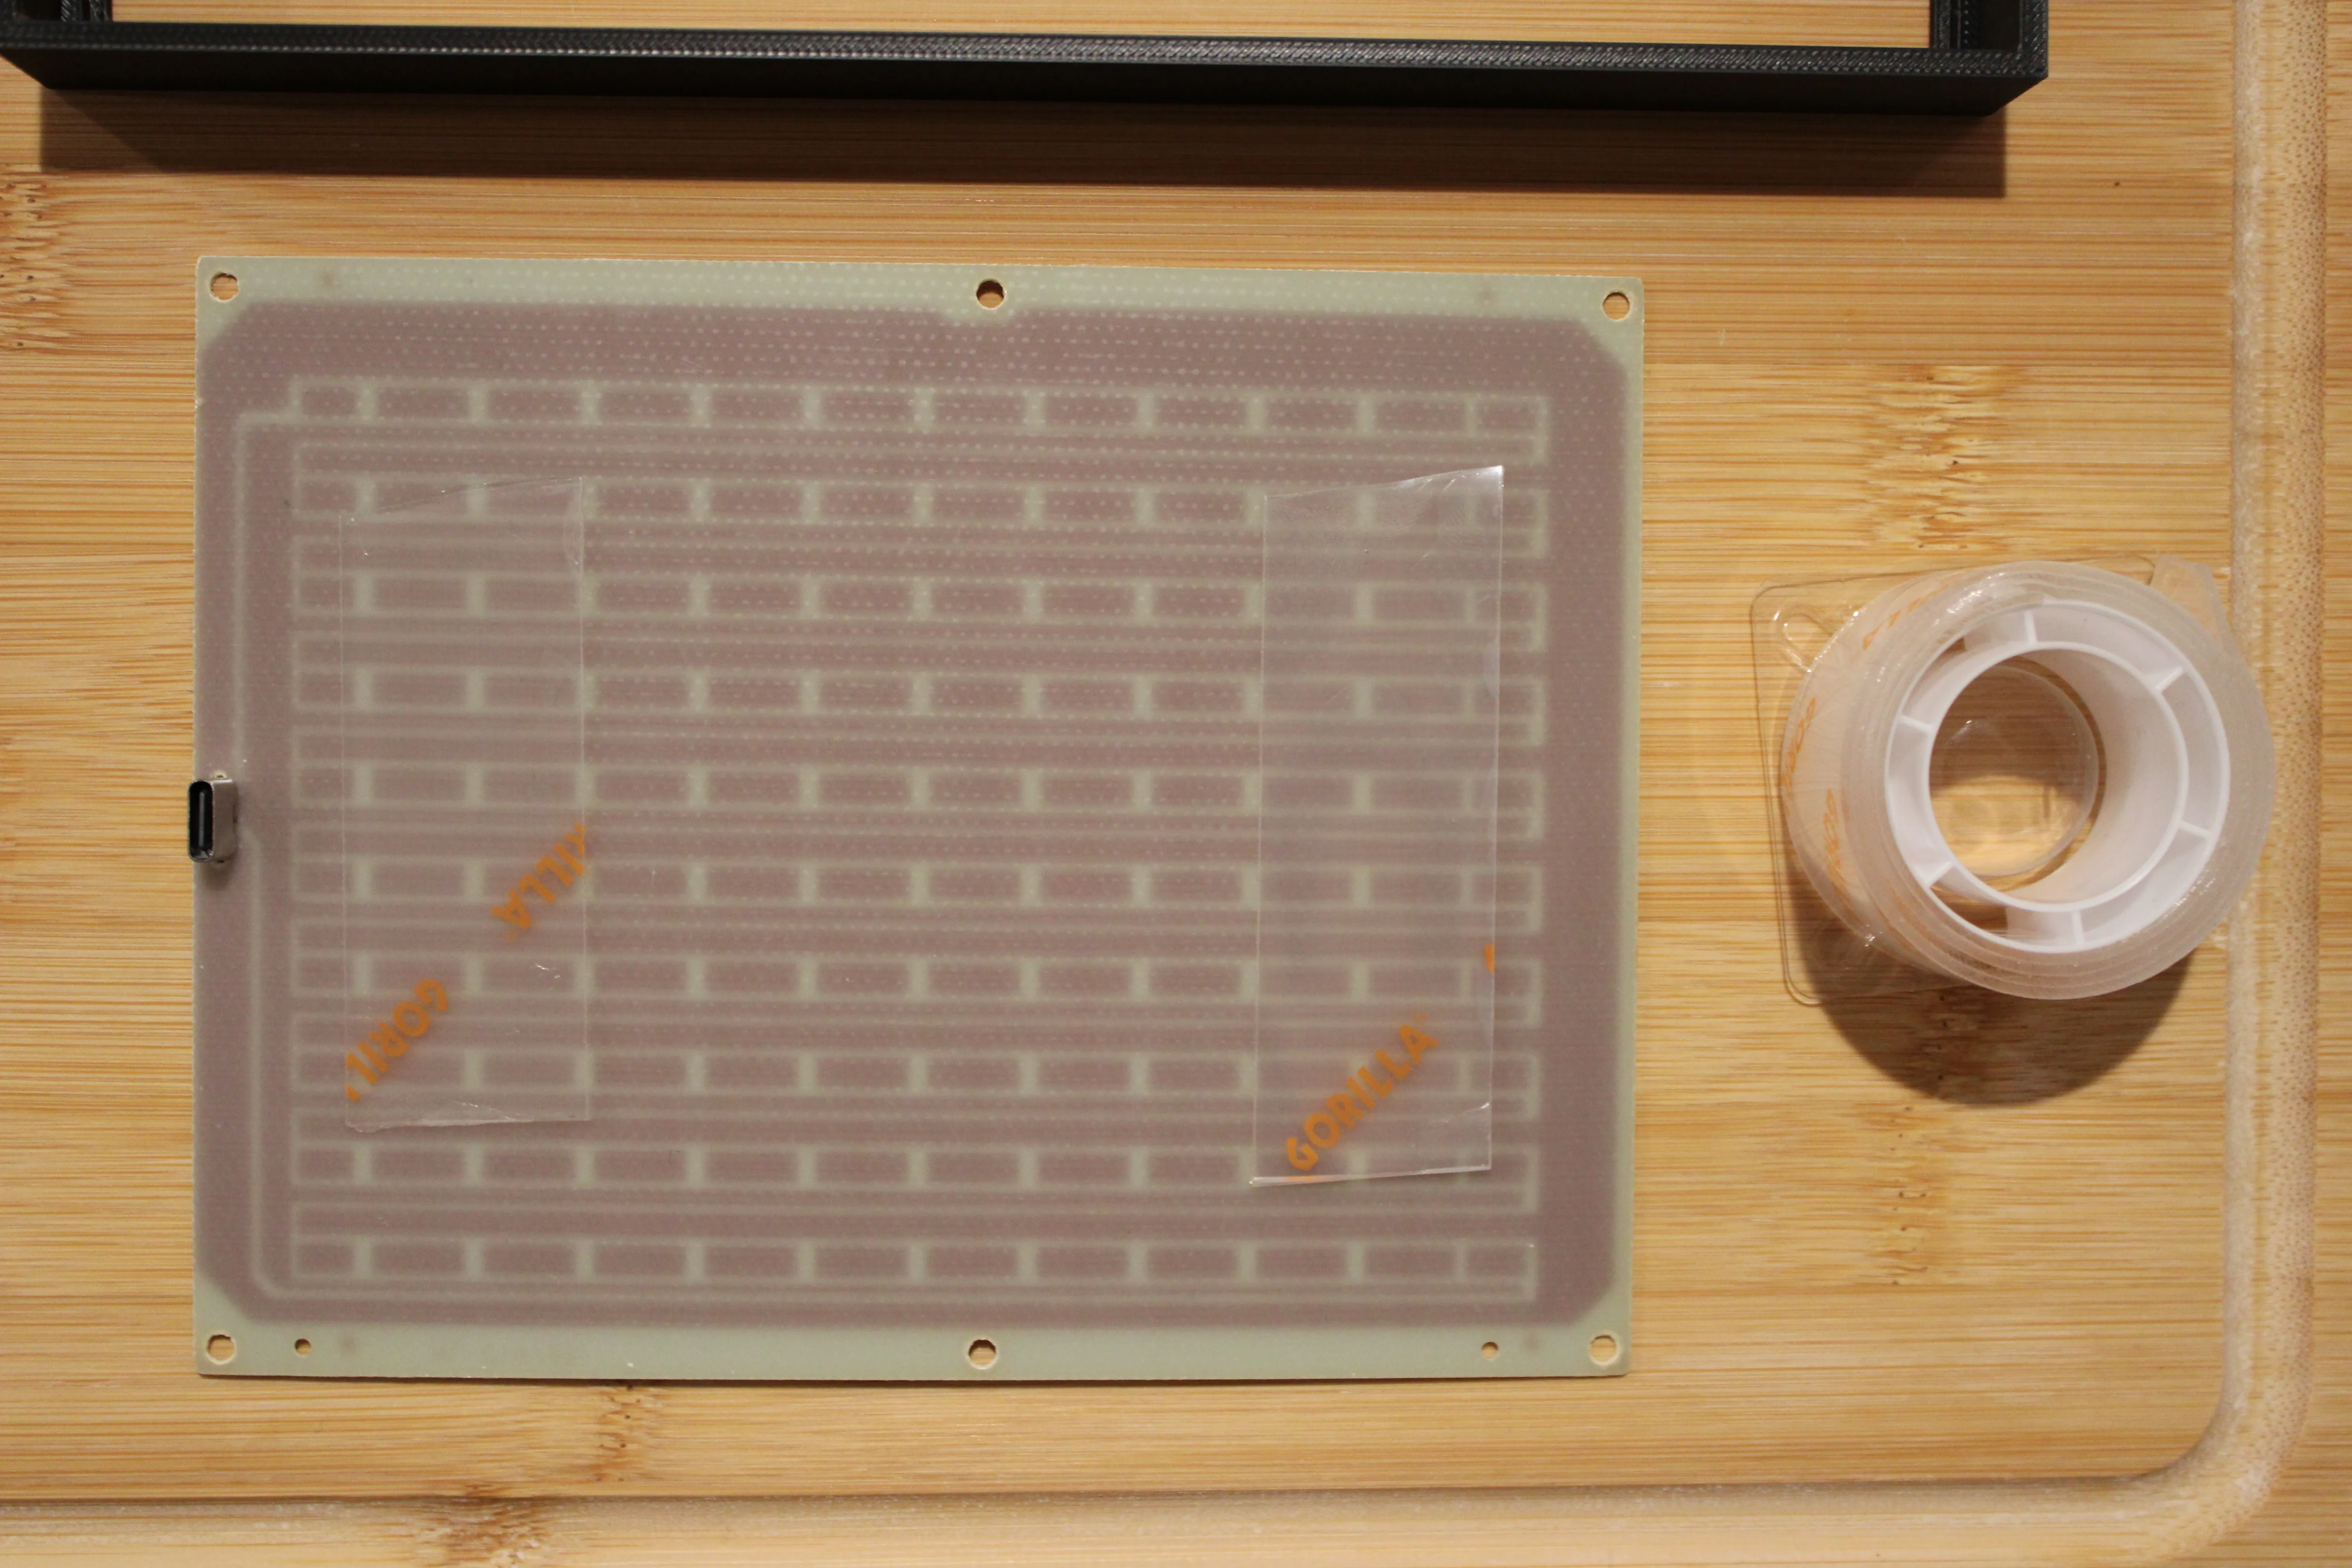
  • Some type of adhesive (i used double sided tap)
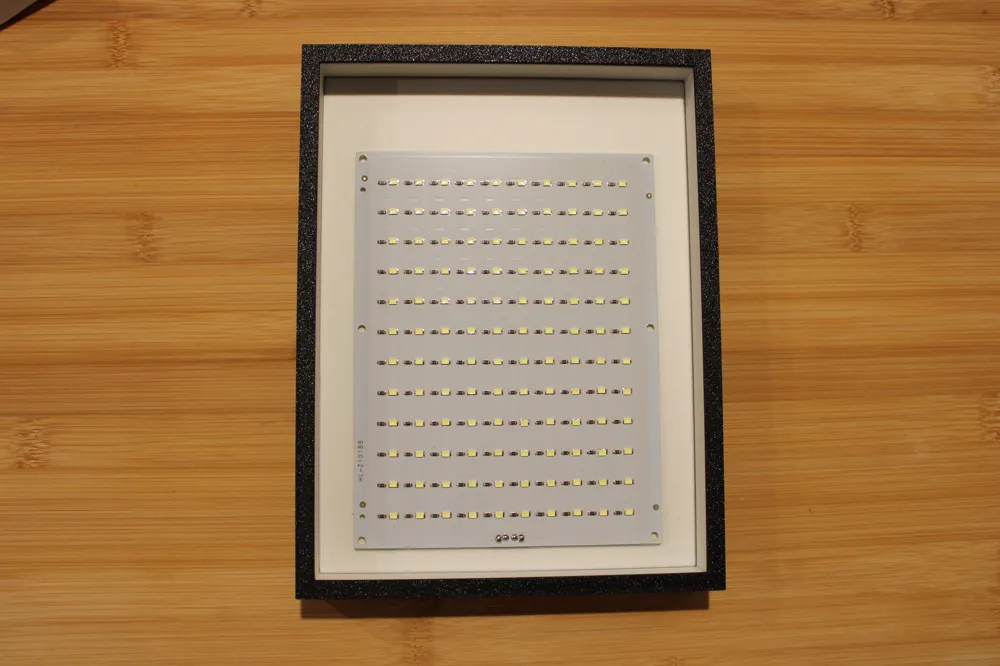
  • Add you adhesive to the LED panel back
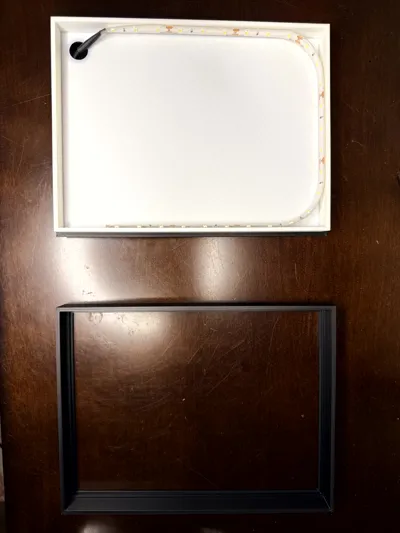
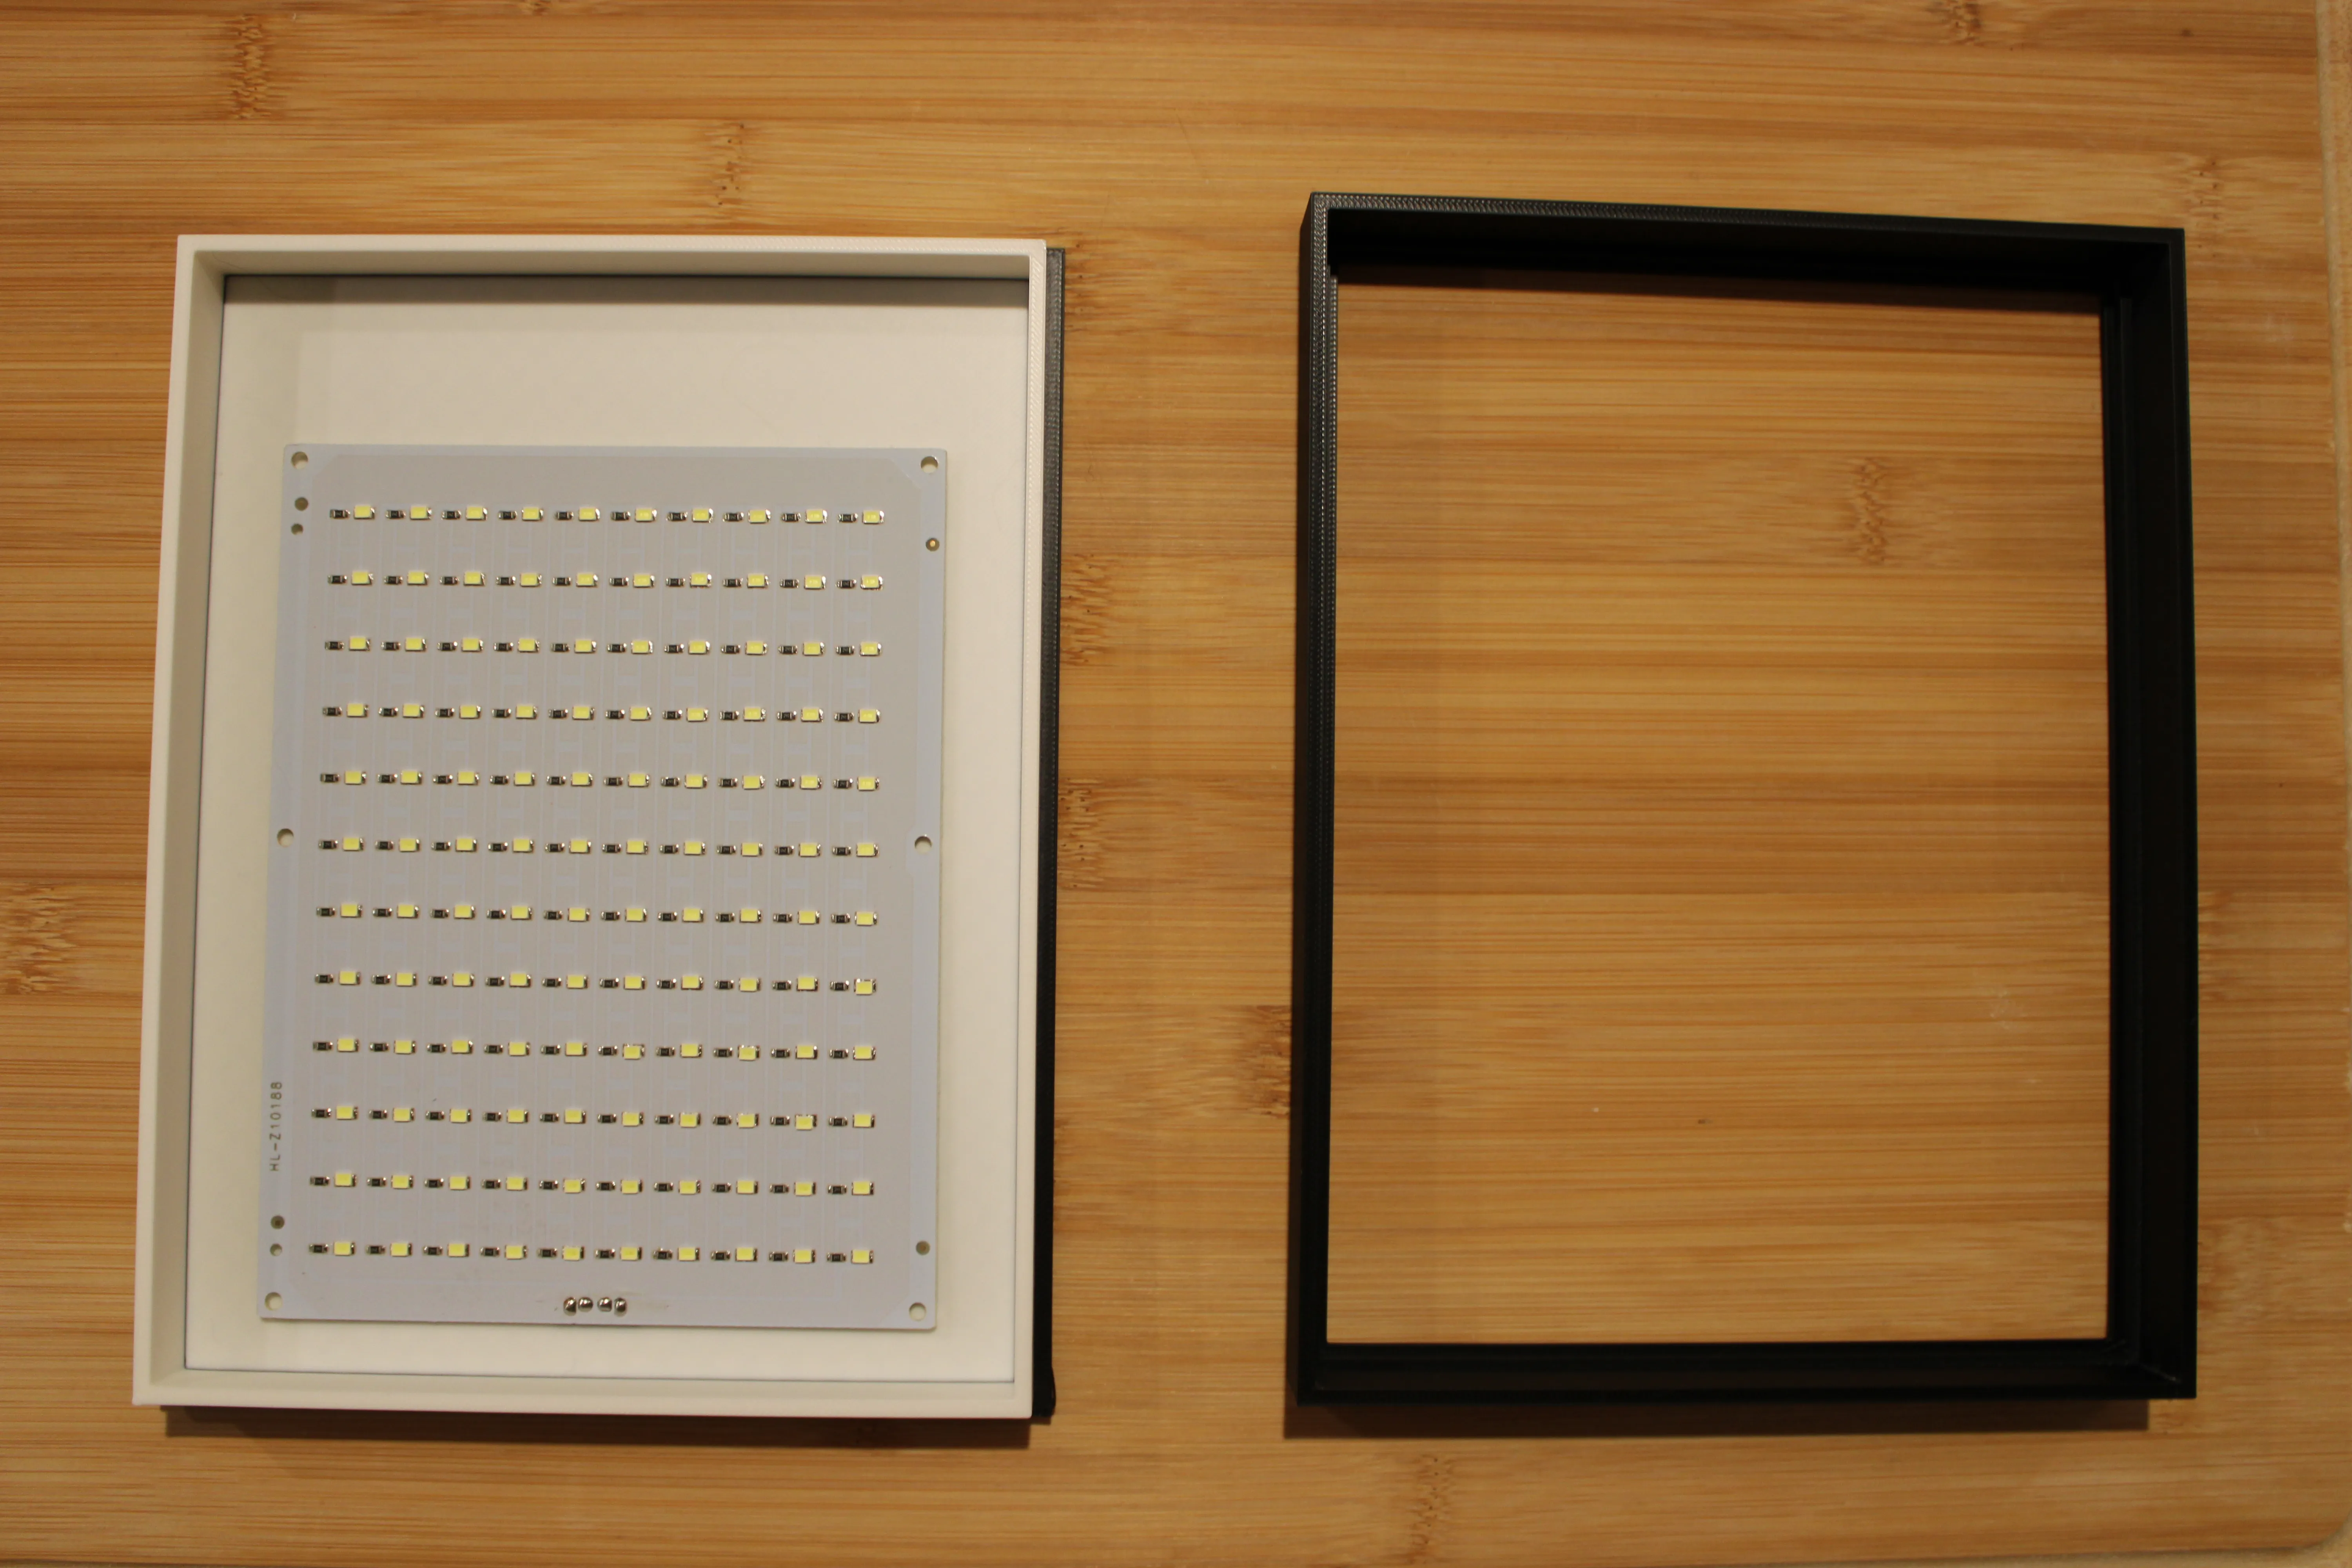
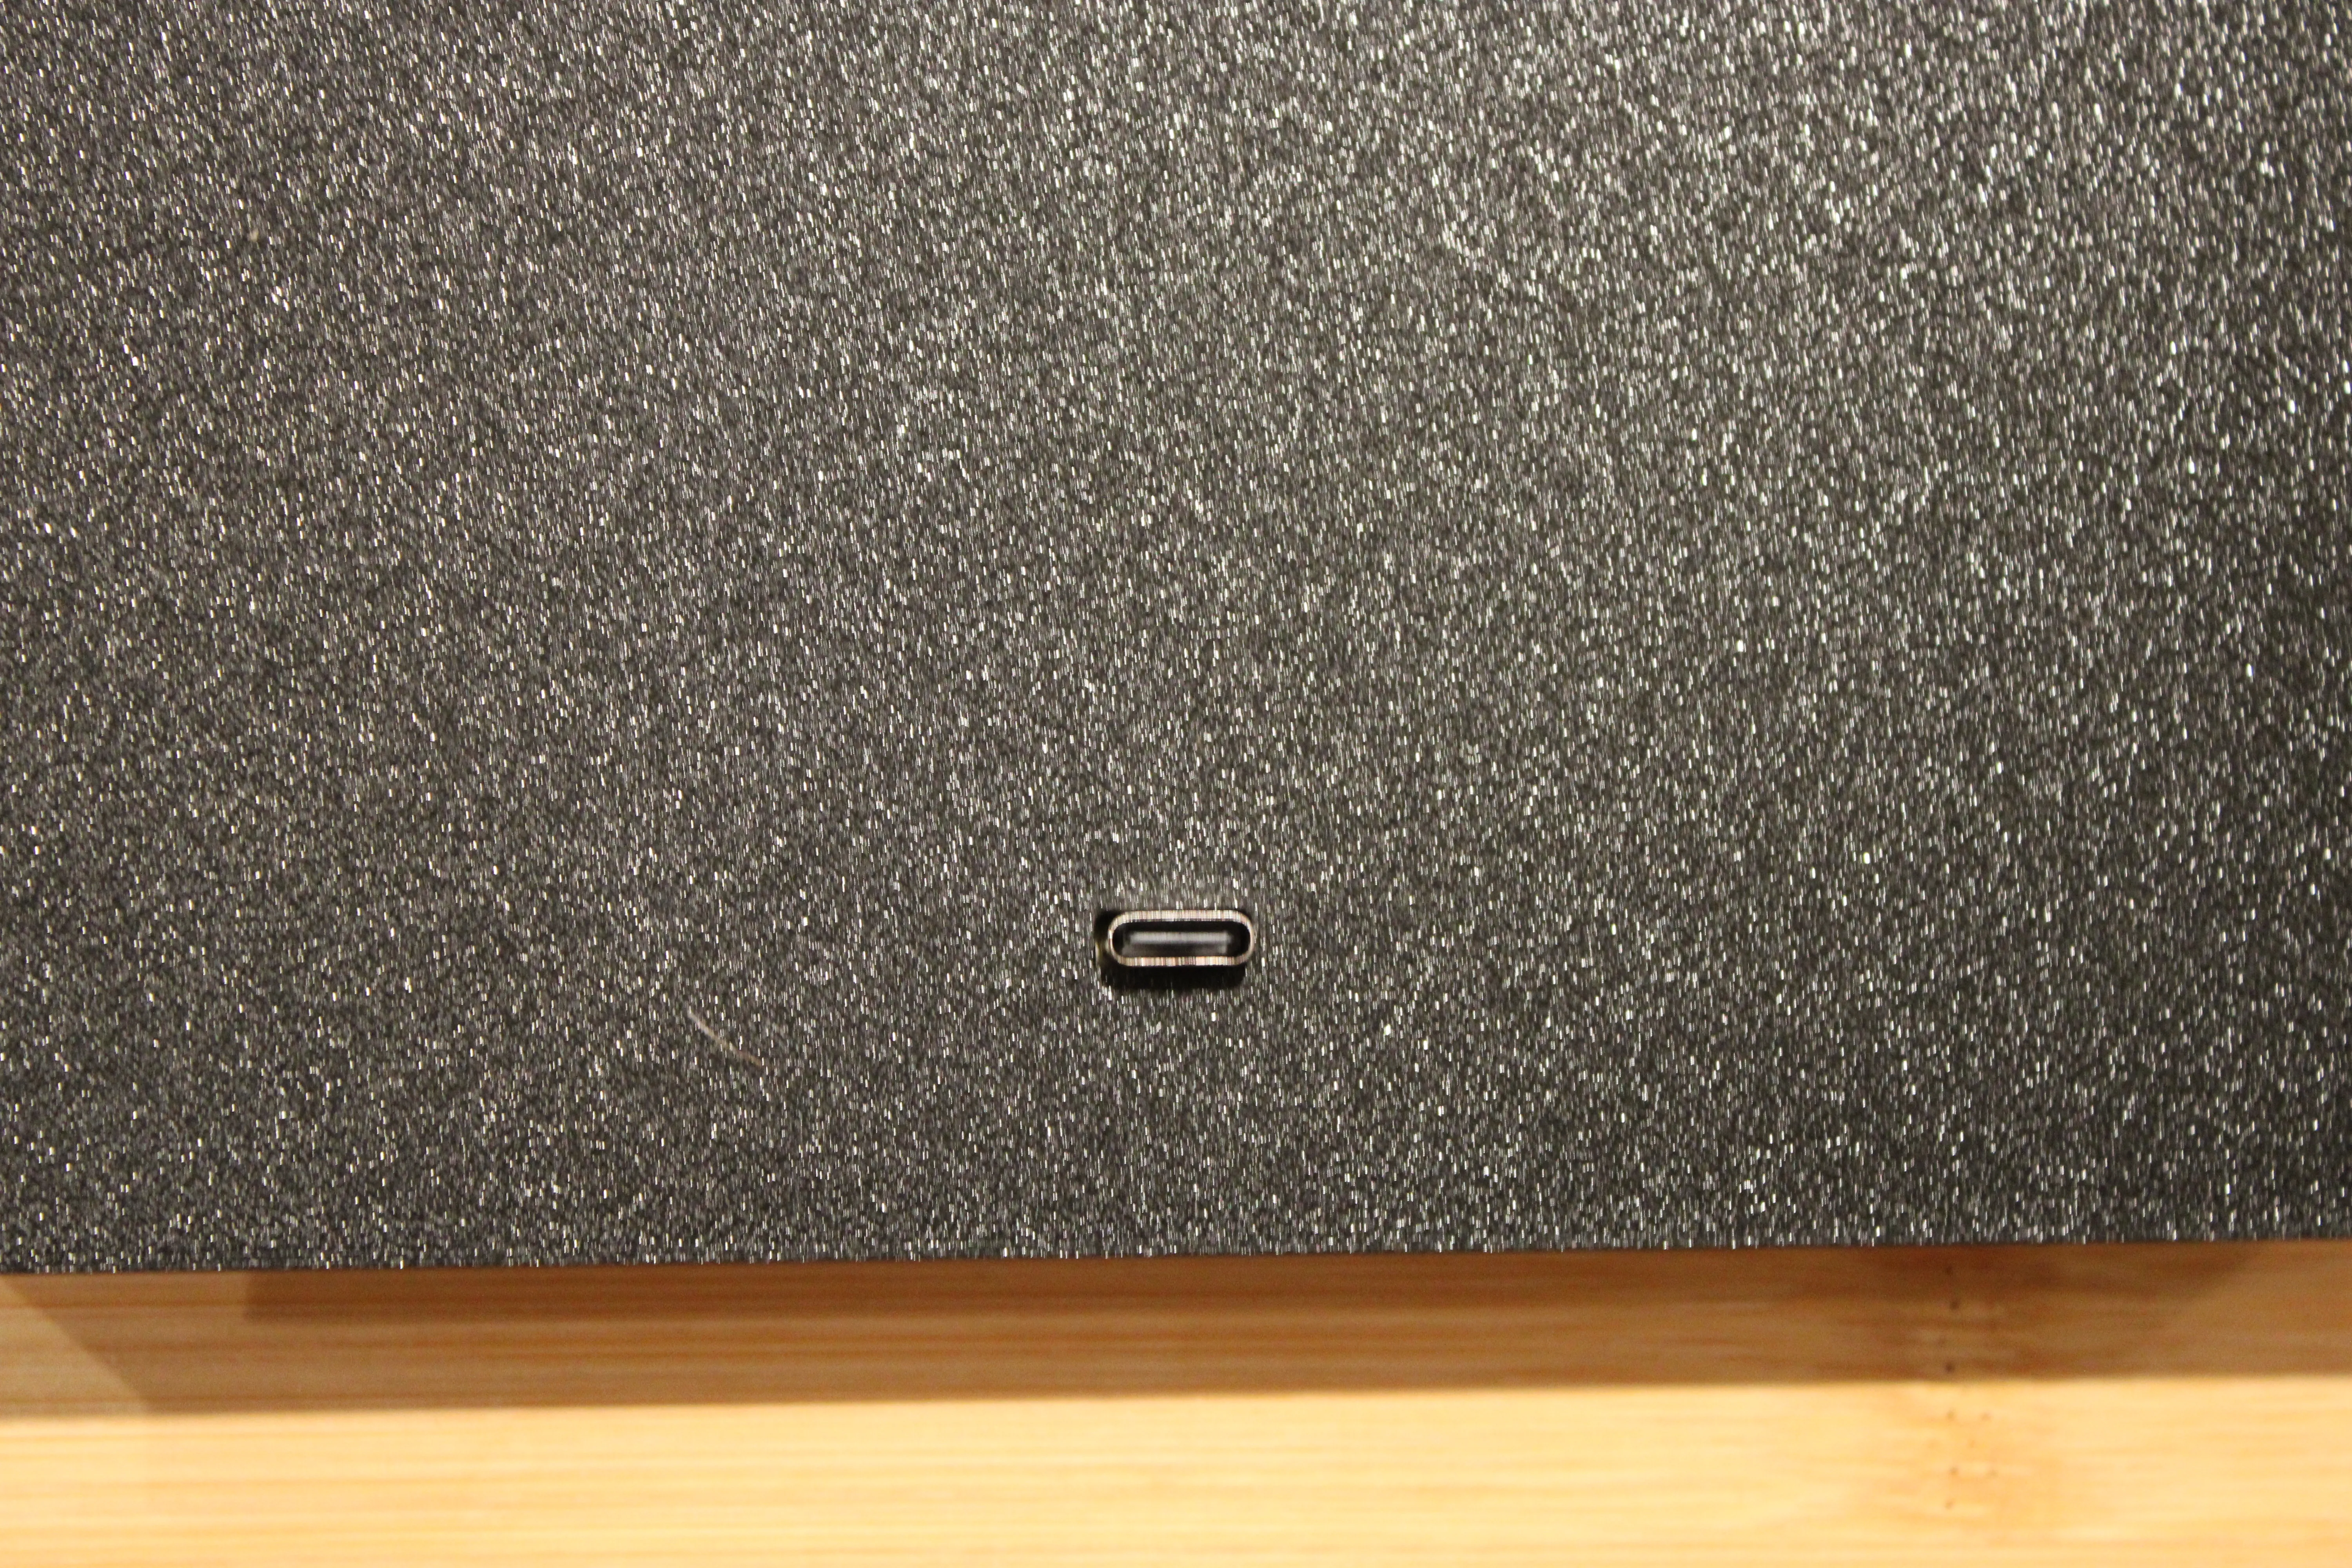
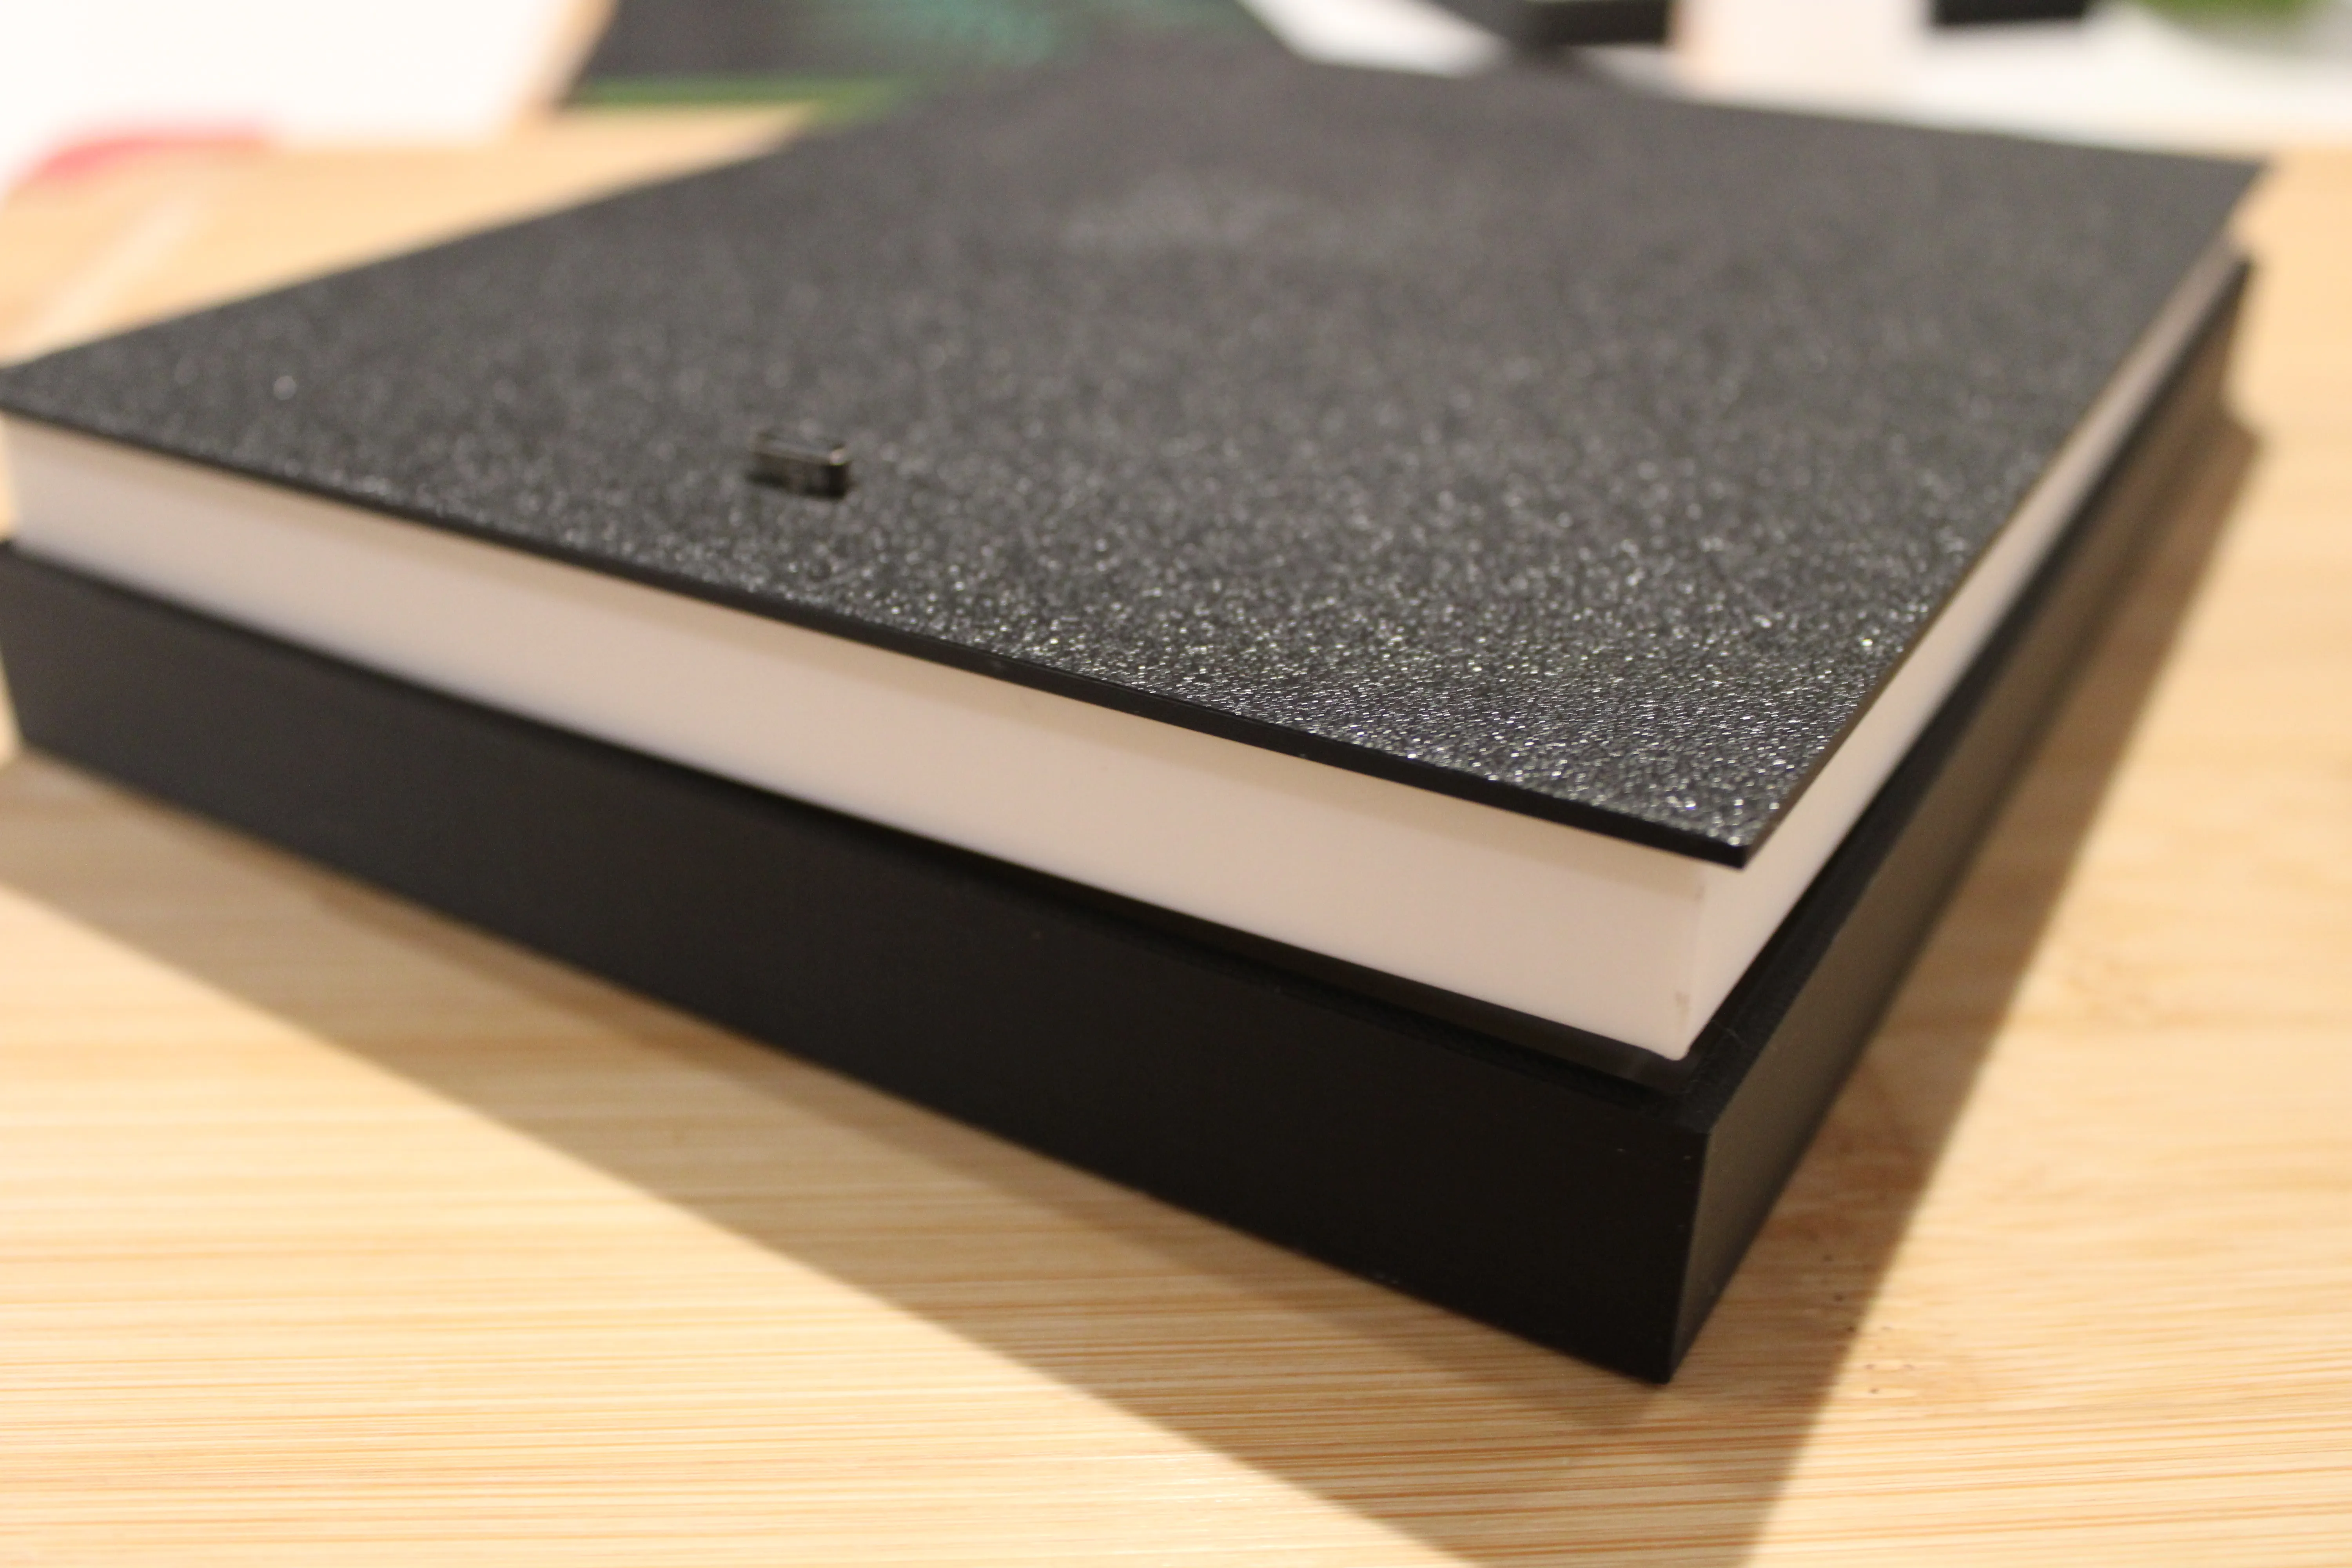
  • Placed LED Light Panel into back of the Light Box and make sure to insert the USB-C port into the hole and then press the light panel firmly to bond the adhesive. 
  • Once the LED Light Panel is secured into the back back of the light box, get your printed lithophane. 
  • Place your printed lithophane into the front panel. 
  • It should fit into a recess built into the front piece of the light box.
  • Slide the back piece into the front piece. It will be a snug fit so you will have to make sure it slids in evenly and not on corner at a time. 
  • Once the two pieces fit together, flip over and make sure the lithophane is sitting properly into the recess of the front plate and nothing moved. 
  • The plug in the lithophane into the USB-C power source and turn on the light and enjoy! 


-------------------------------------------------------------------------------------------------
 

🔓 Commercial License Available

Love this design? You can sell physical prints of my models with an active commercial license!

✔ Sell finished prints (online, markets, etc.)
✔ Access to current + future designs
✔ Simple, creator-friendly terms

👉 Join here: https://www.patreon.com/cw/SEnglandCreative

If you are not in a position to subscribe to a commercial license, consider boosting me for free! 


Membership

If you want to sell any of these prints, you will need a commercial license!  Join for as little as .41 cents a day! :D

Join


Documentation (1)

Assembly Guide (1)
S England Creative Getting Started Guide.pdf

Comment & Rating (14)

(0/1000)

License

If you want to use this model commercially, please join my membership.
Join Now
This user content is licensed under a Standard Digital File License.

You shall not share, sub-license, sell, rent, host, transfer, or distribute in any way the digital or 3D printed versions of this object, nor any other derivative work of this object in its digital or physical format (including - but not limited to - remixes of this object, and hosting on other digital platforms). The objects may not be used without permission in any way whatsoever in which you charge money, or collect fees.