
Mini Wind Turbine with LED Light
Print Profile(1)
Bill of Materials


- 3mm LEDs x 2: https://amzn.eu/d/00UoJtZK
- 47µF 16V Capacitor x 1: https://amzn.eu/d/0fiJ46uP
- 0.9V–5V to 5V Step-Up Converter Module x 1: https://amzn.eu/d/04laRKNS
Description
Boost Me (for free)
Leave a like if you find this concept interesting and would like to see it developed further! 😀

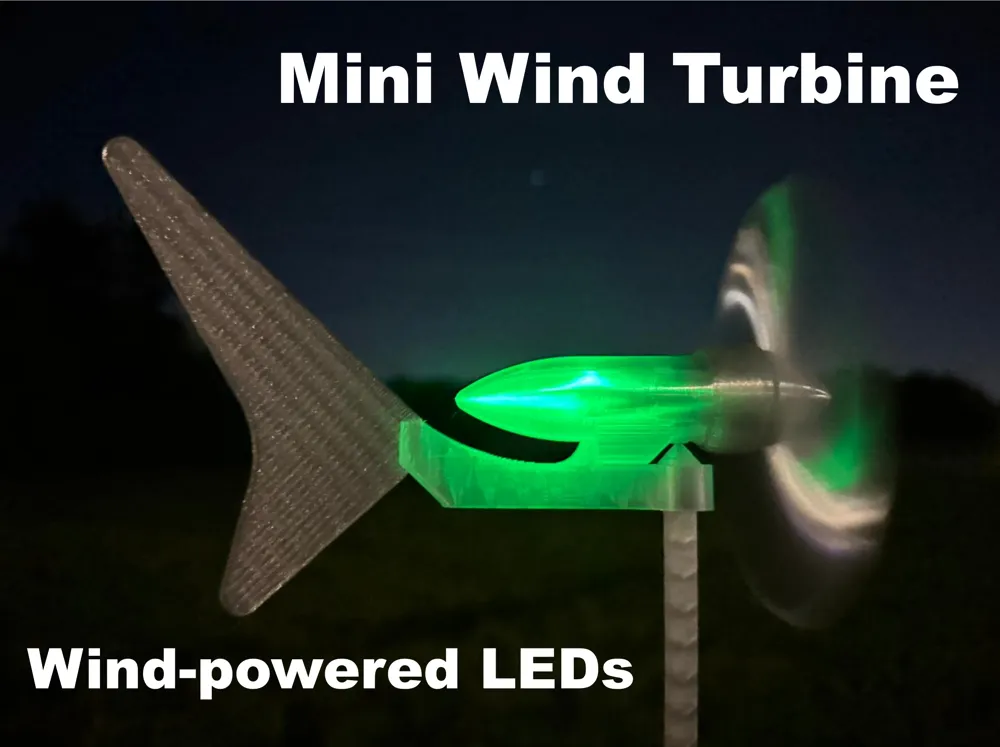
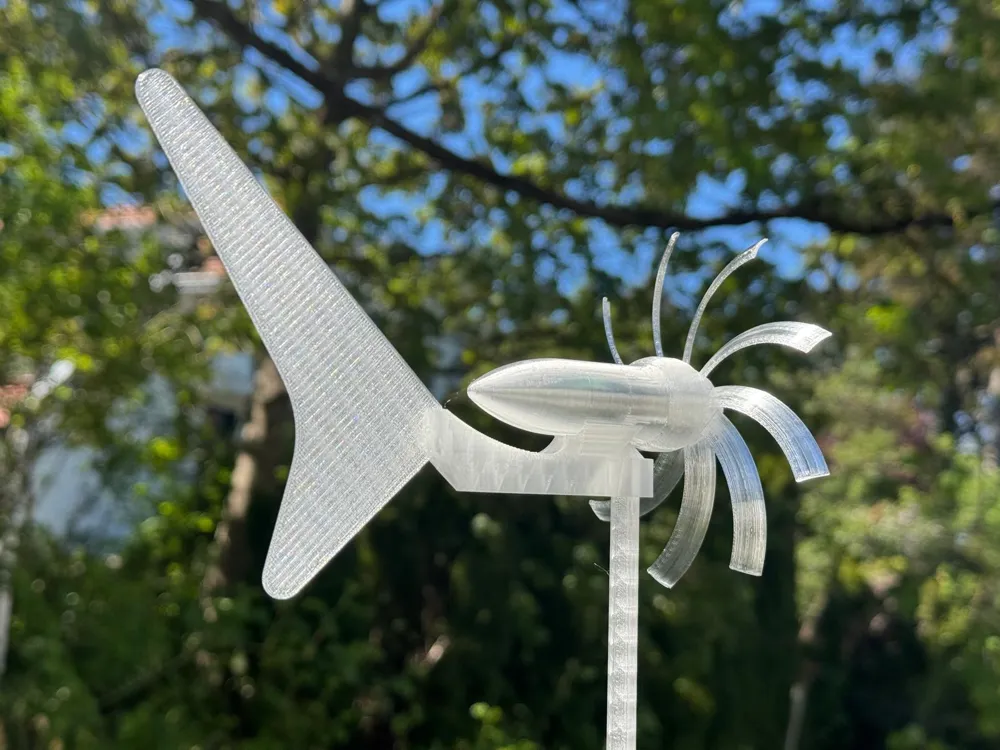
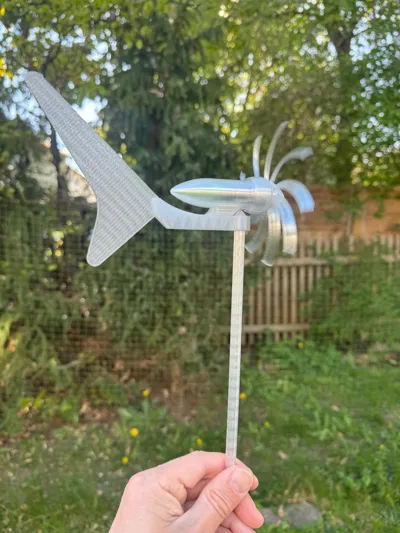
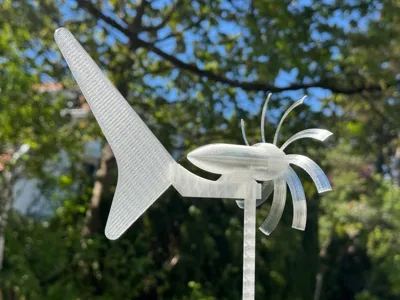
Wind-Powered Mini Turbine with LED Illumination

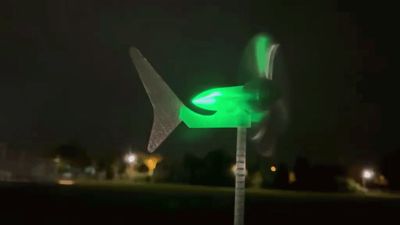
A working wind turbine that uses normal wind to power two LEDs.
New Version: Dual-Rotor Mini Wind Turbine with LED Illumination:
https://makerworld.com/en/models/2758026-dual-rotor-mini-wind-turbine-with-led-illumination#profileId-3061389
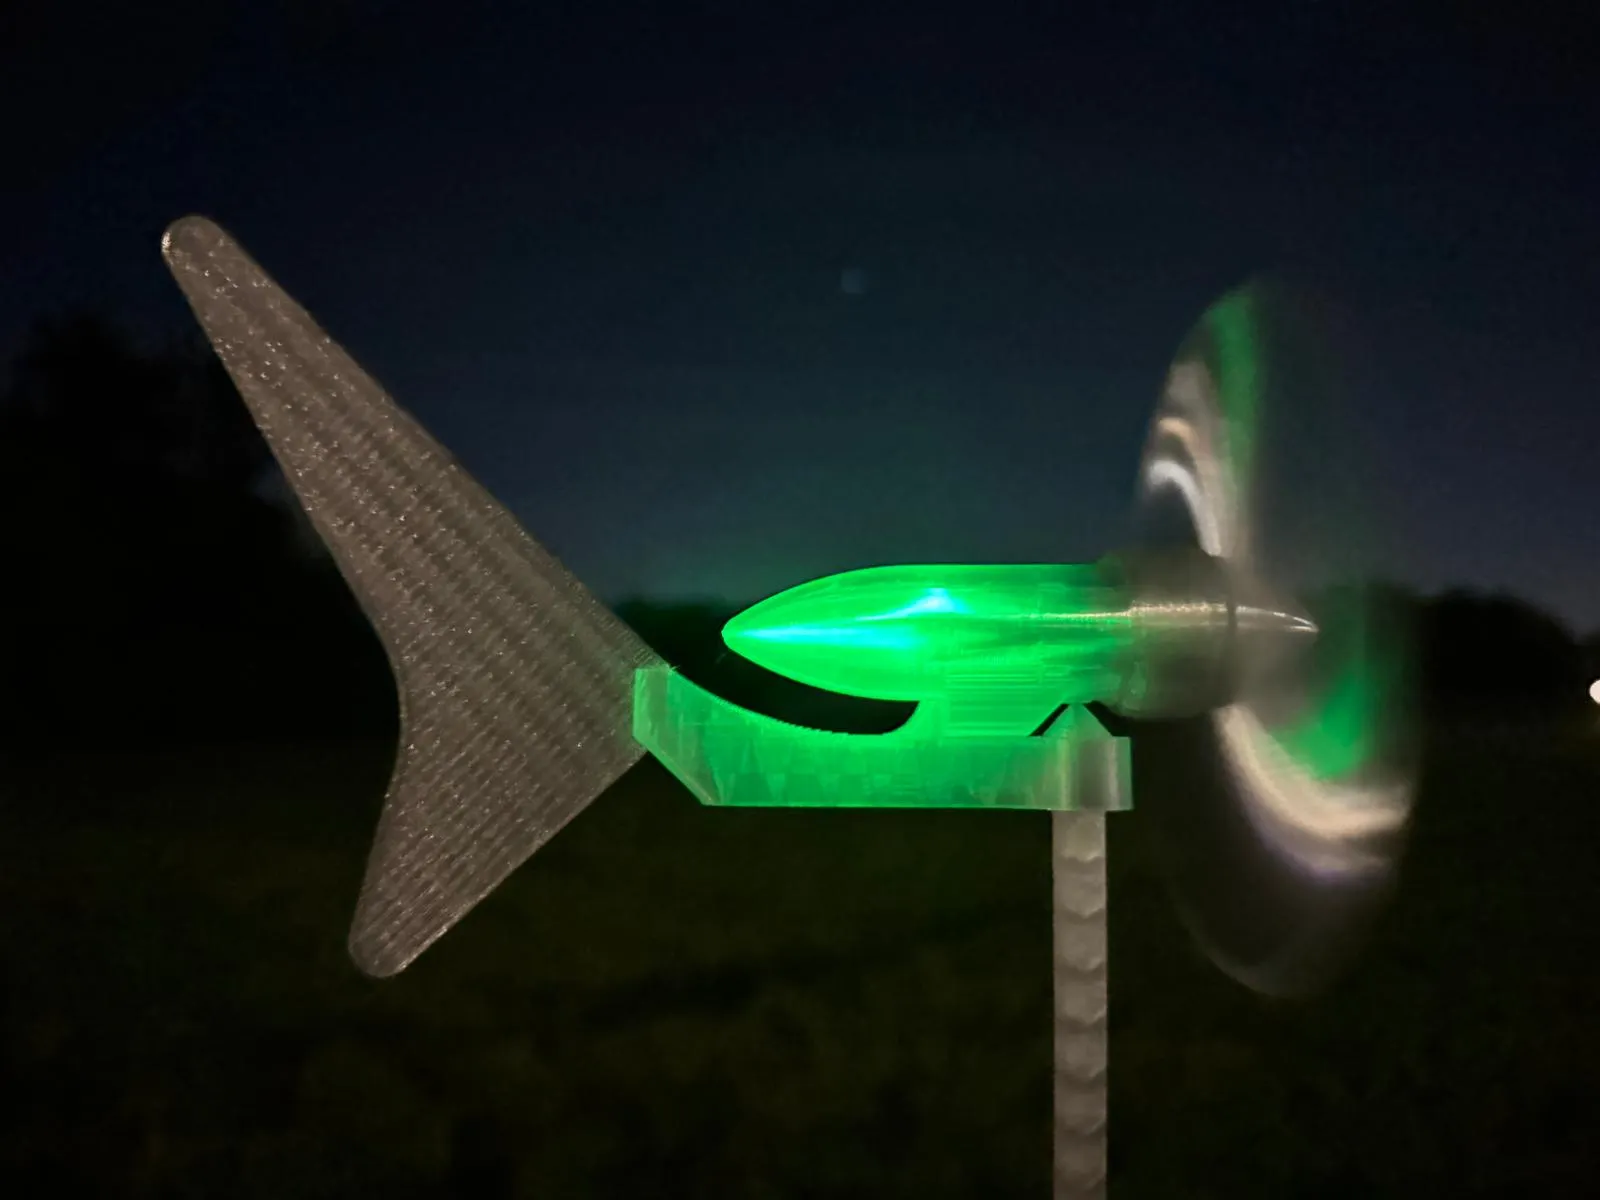
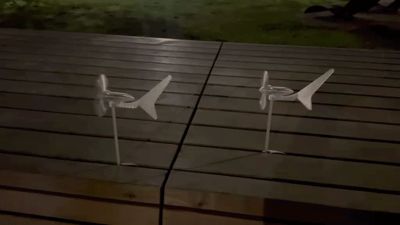
I wondered if it would be possible to build a small wind turbine that actually works outdoors and doesn’t need to be powered by a hair dryer. Unfortunately, there has been very little wind here in recent weeks, which made development a bit more difficult. Perhaps because of that, I may have found a solution that works even in low wind conditions.
Note before you start: Make sure to read the complete assembly guide before printing or buying any components.
To make it work, the following components are needed:
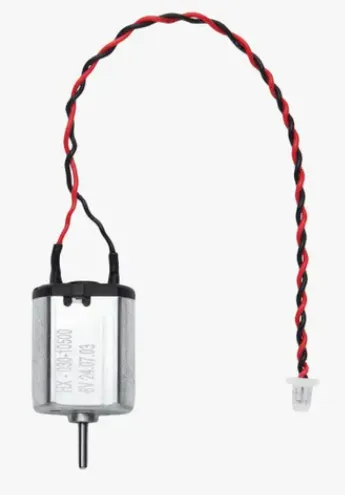
030 DC Motor – LA024 from Makers Supply. If needed, please use the Bill of Materials below to purchase it and support this project.
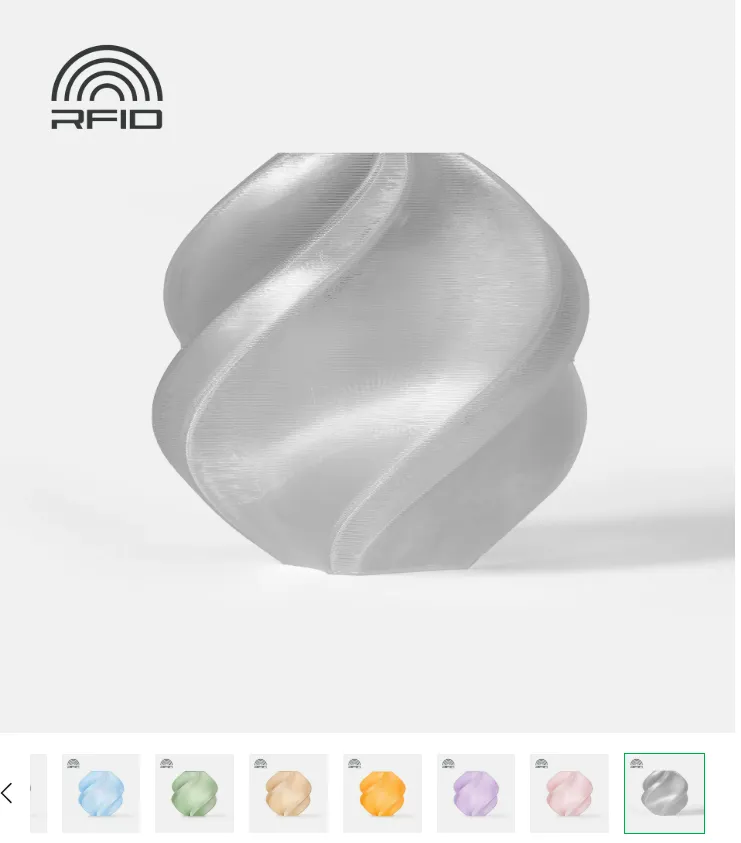
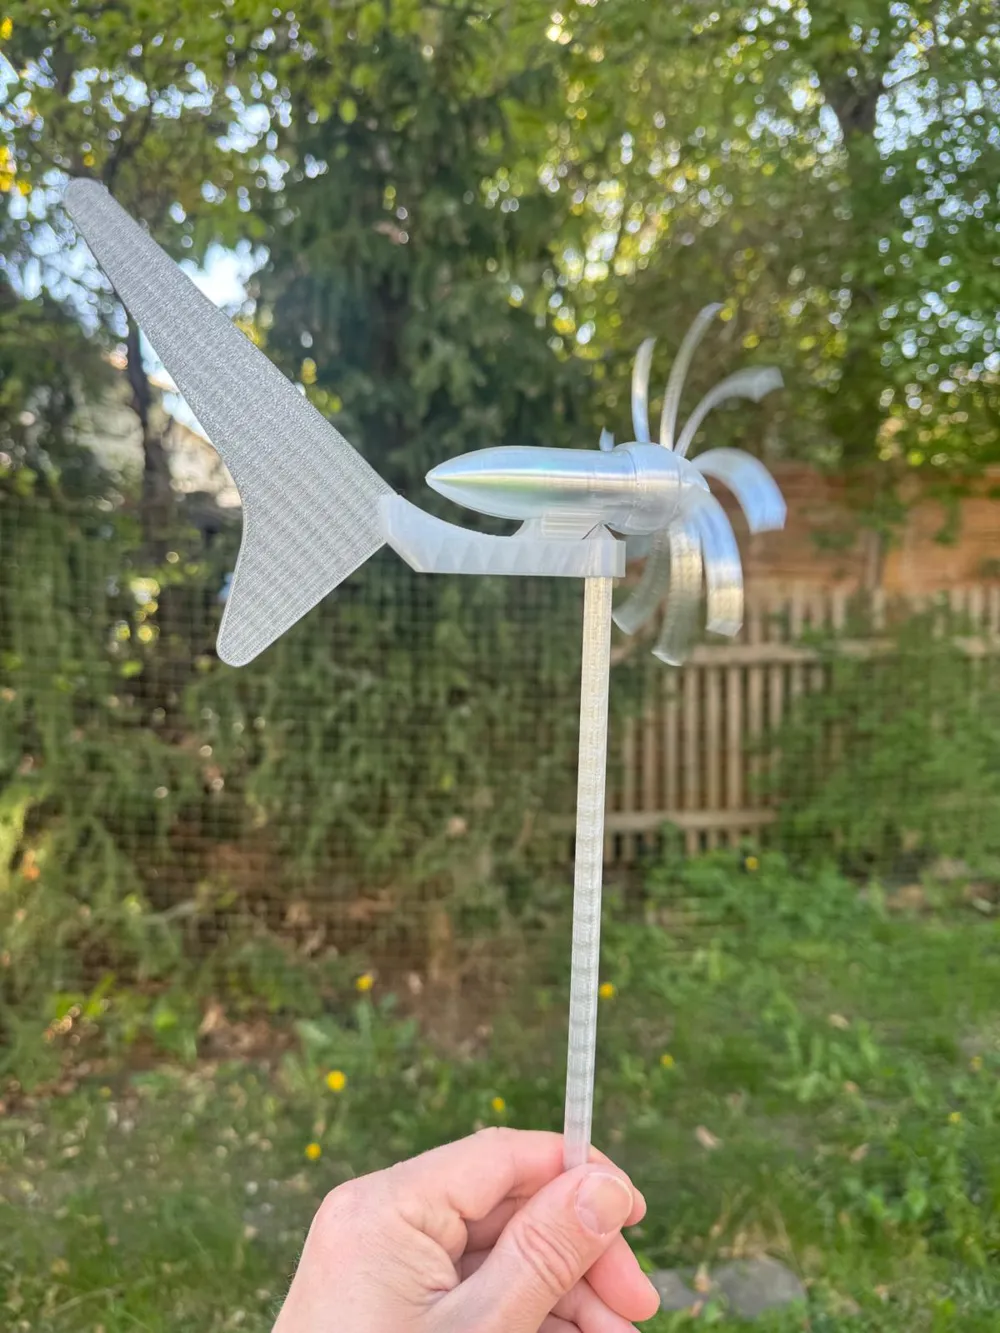
PETG translucent filament – at least the body must be transparent so the LED light is visible. Multiple colors can be combined. If needed, please use the Bill of Materials below to purchase it and support this project.
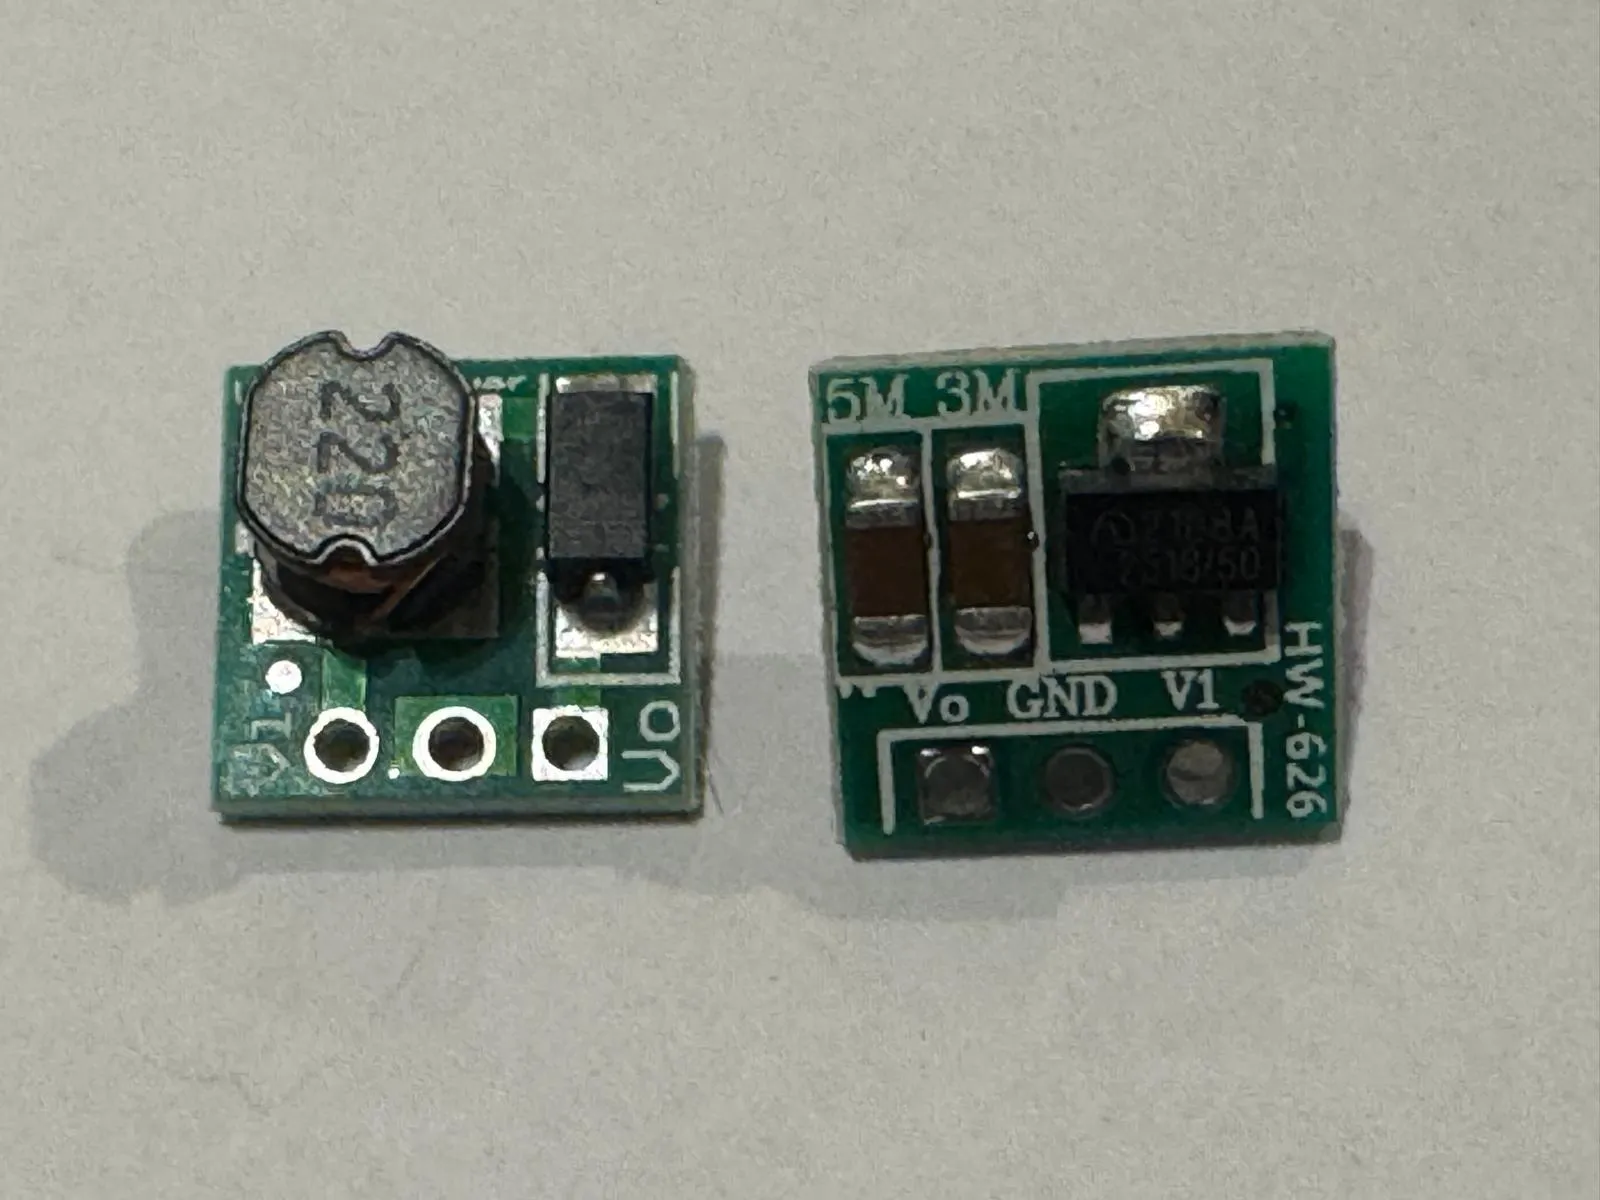
0.9V–5V to 5V Step-Up Converter Module – This component ensures that the motor doesn’t need to reach high RPMs for the LEDs to start lighting up.
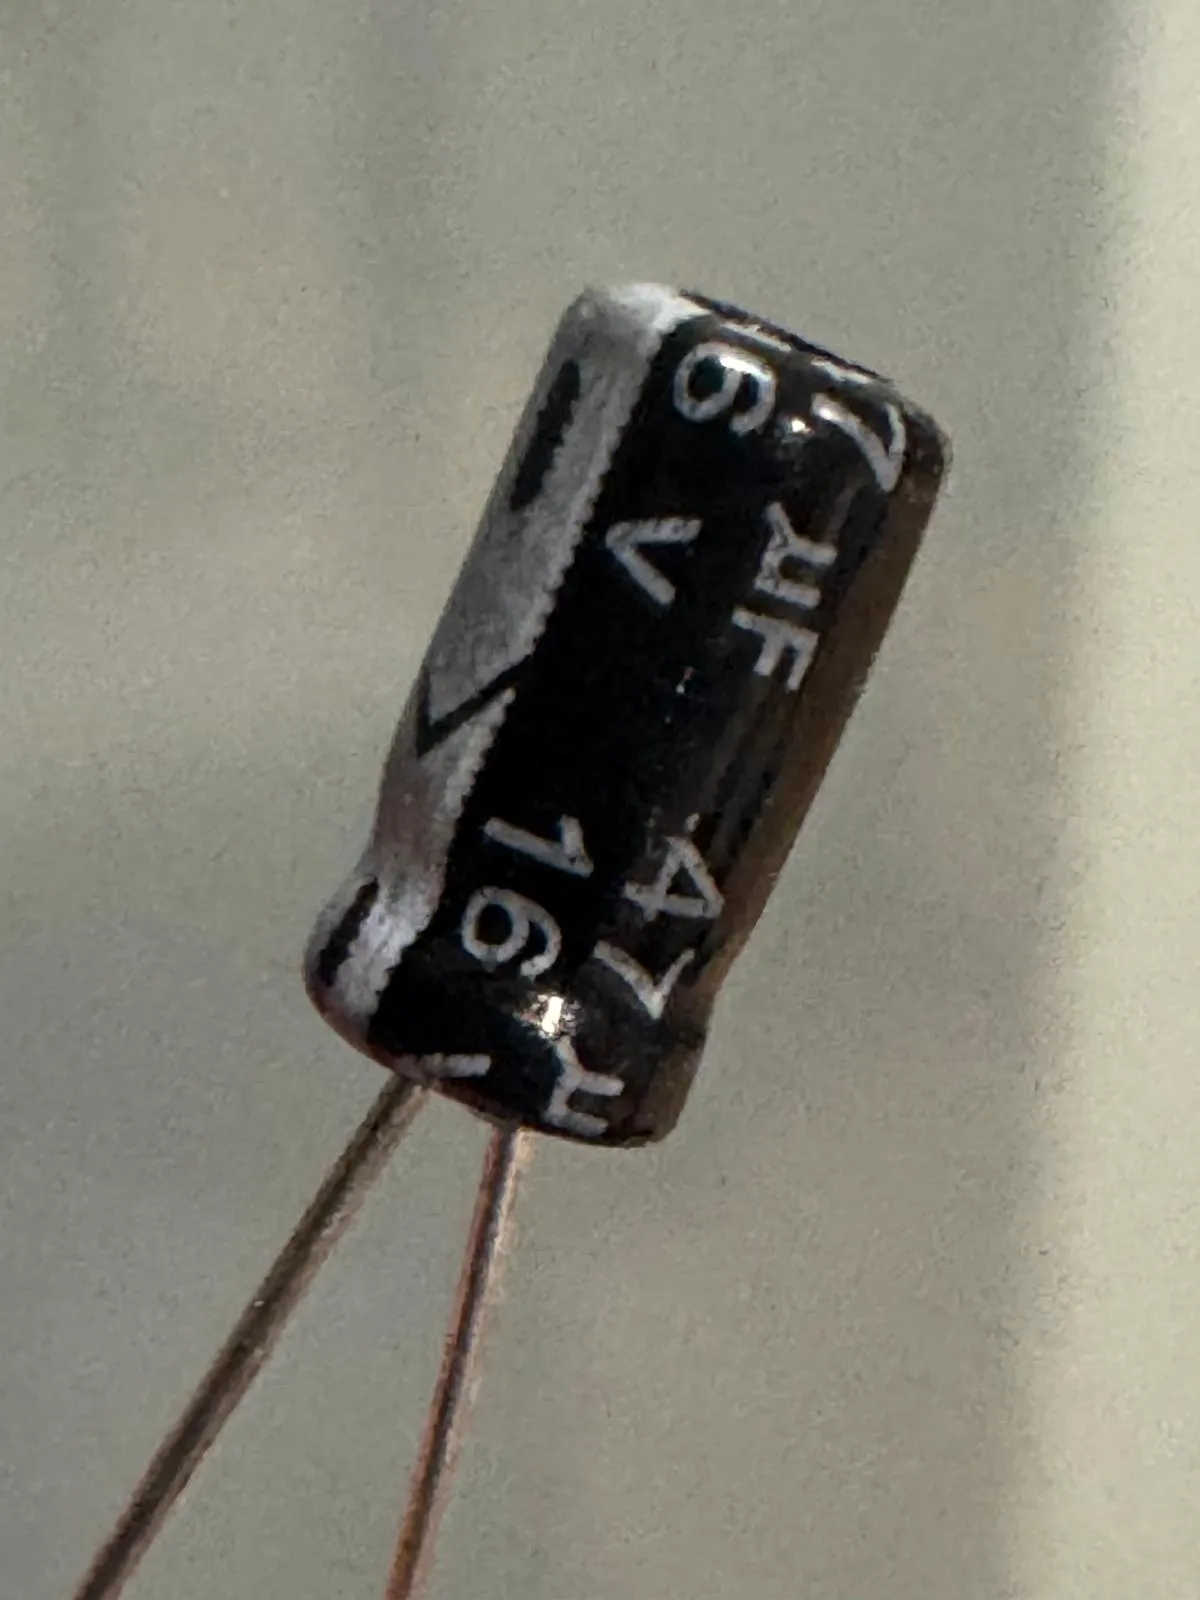
47µF 16V Capacitor – It helps stabilize the LEDs by storing a small amount of energy and will later help when soldering the electrical components together.
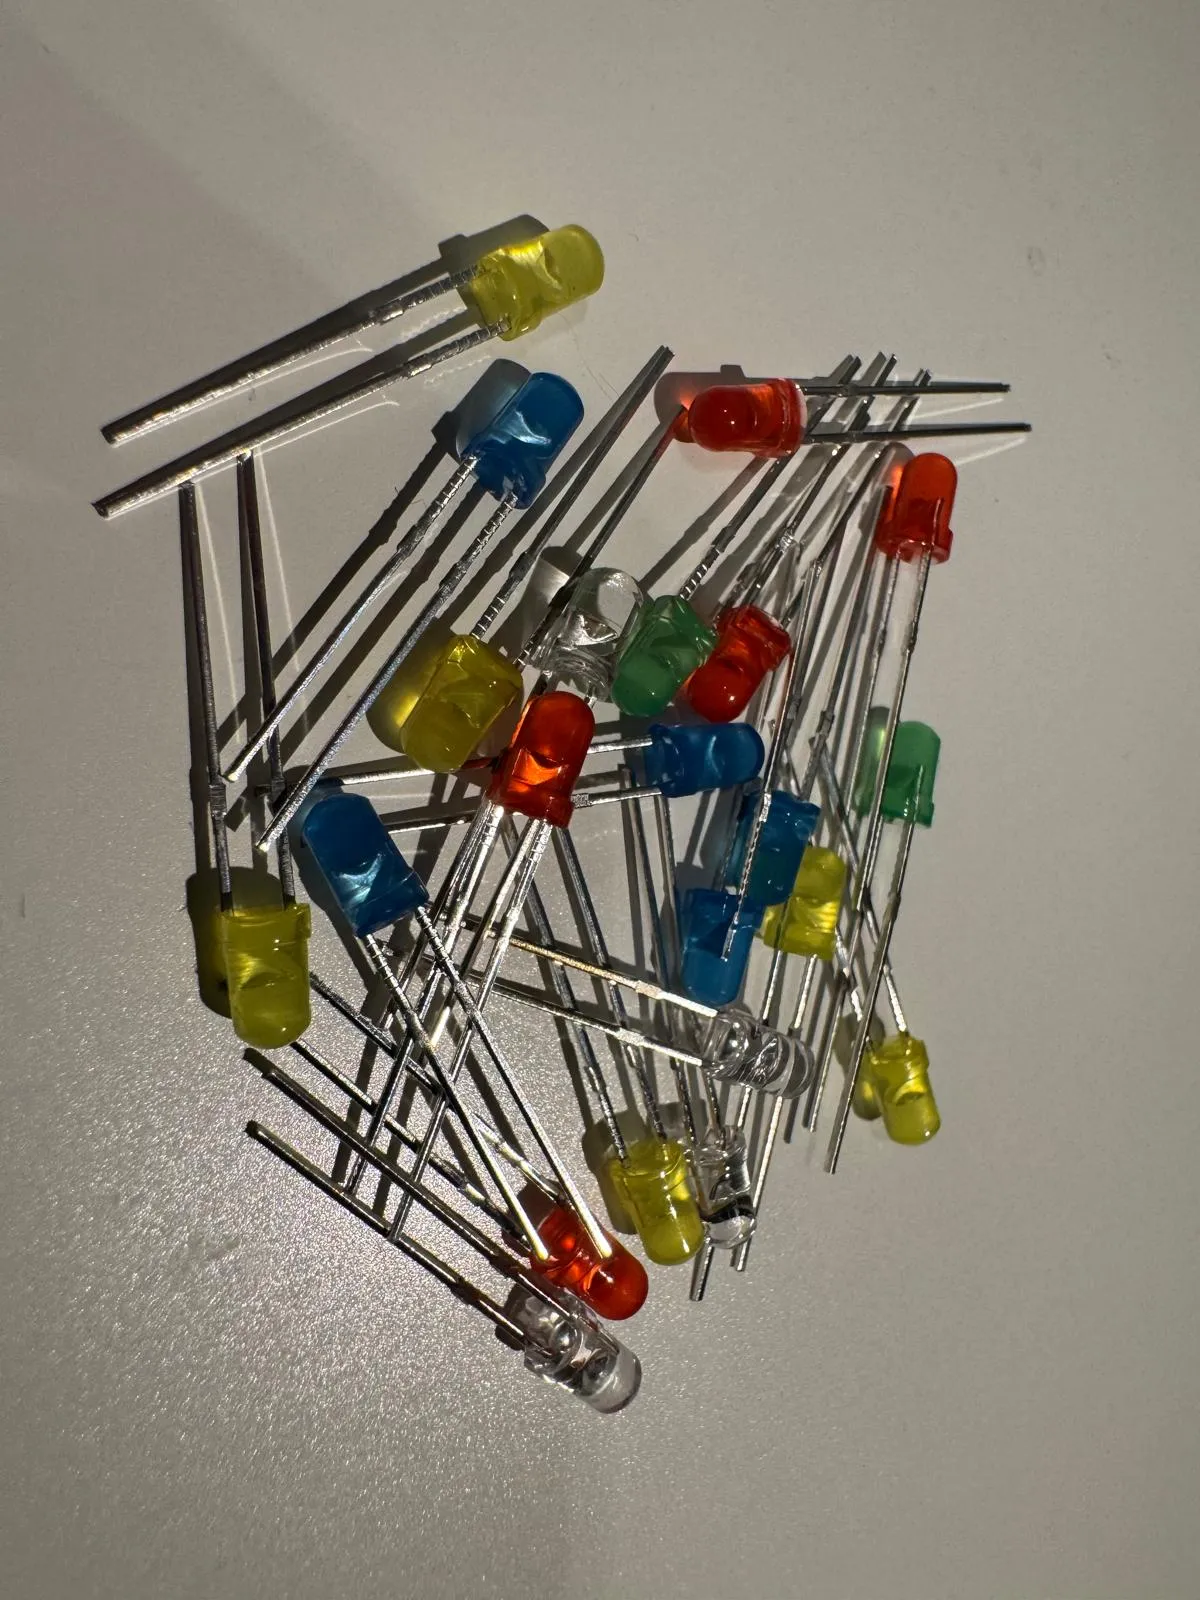
3mm LEDs – various colors can be used, but only the same color should be used within one turbine.
Red starts lighting up the fastest, while green shines noticeably brighter.
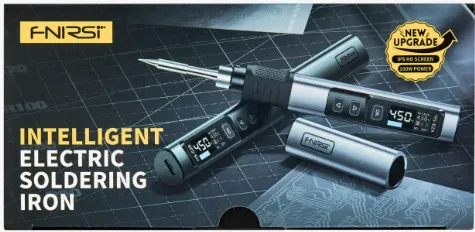
Soldering iron and Solder – It requires some soldering skill to assemble the small parts. If you don’t have any yet, it’s a great opportunity to get started :D
Print Instruction
- 0.2mm Standartsettings are used global
- Support is not needed
- Infill density is 15% where present
- The turbine itself takes approximately 1 hour 51 minutes to print and weighs about 25g.
- It should be printed with PETG, as it is more weather-resistant than PLA.
- The turbine body should be transparent so the LED light is visible.
- The body and the nut must be printed with 4 walls.
- The layer height of the turbine is set to 0.2 mm, but it can be increased to reduce print time. (This does not apply to the rotor)
- The rotor takes approximately 30 minutes to print and weighs about 5g.
- The rotor should be printed with a maximum layer height of 0.2 mm to ensure the overhangs print correctly.
- There are currently three different rotor sizes—try them out to see which works best for you.
Notes and TODOs
- Wind is required for the LEDs to light up.
- In direct sunlight, the LED light may not be visible.
- There may be more efficient rotor designs—I’ll continue exploring this.
- If the motor provides too much power (HAHA), a resistor can be added to protect the LEDs.
- I may improve the settings for transparent PETG in the future.
- …
Boost Me (for free)
If you like this project, please support it
Documentation (1)
License

You shall not share, sub-license, sell, rent, host, transfer, or distribute in any way the digital or 3D printed versions of this object, nor any other derivative work of this object in its digital or physical format (including - but not limited to - remixes of this object, and hosting on other digital platforms). The objects may not be used without permission in any way whatsoever in which you charge money, or collect fees.


Comment & Rating (14)