
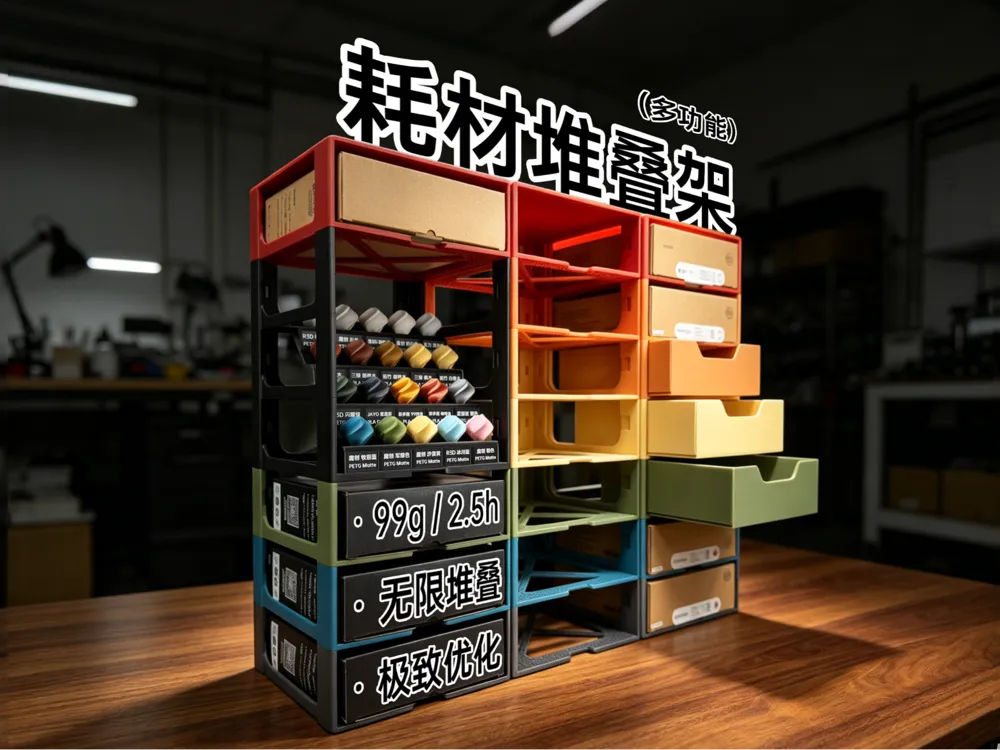
Filament Storage/Stackable Rack | No Unnecessary Redundant Structures
Print Profile(9)
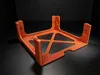
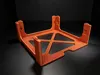
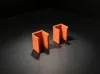
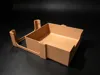
Description
Membership
Want to print and sell my models? Subscribe to my Commercial License Membership and start selling legally with commercial-use rights included.
For more storage/desktop organization/office series works, please follow the collection:
Mainland China site: https://makerworld.com.cn/zh/collections/4264605
International site: https://makerworld.com/en/collections/29141745
🆕 Update Log:
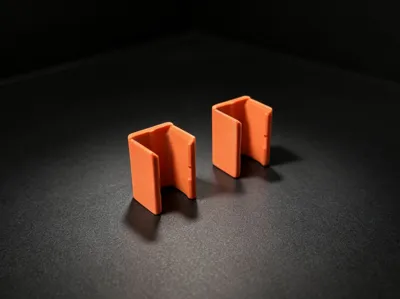
- 2026.06.22_Short filament adapter component updated to V1.1, now supports spool-less filament boxes (Bambu Lab)
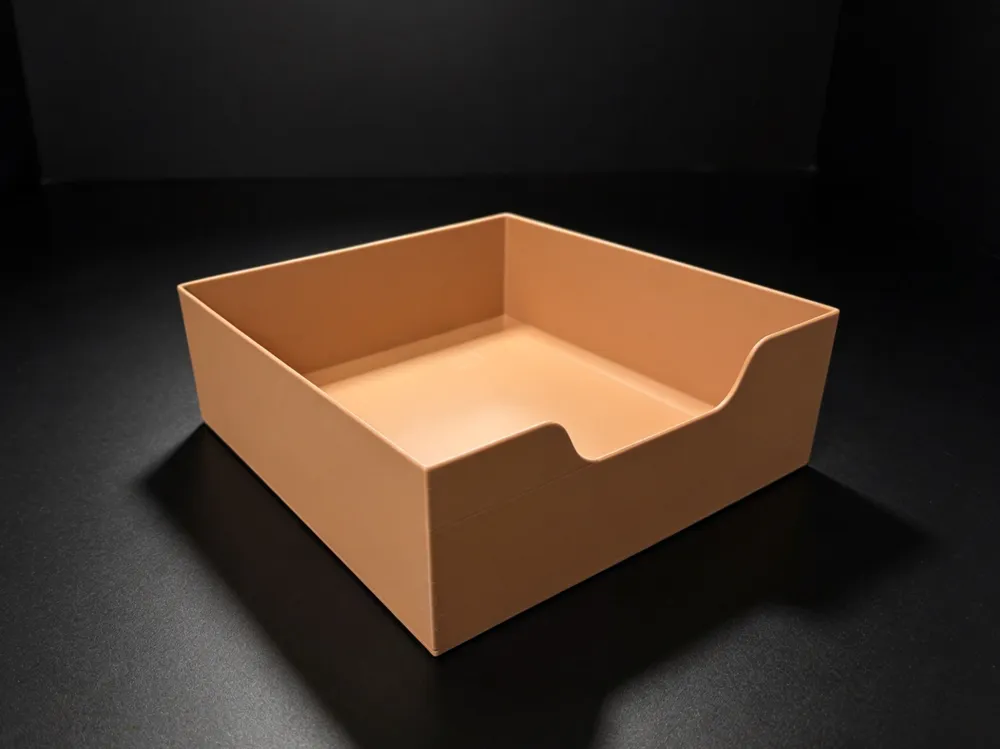
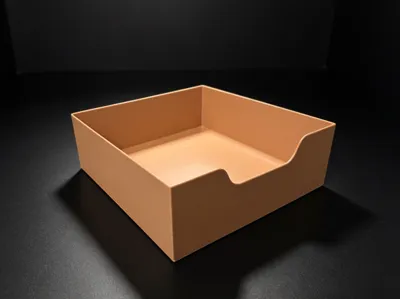
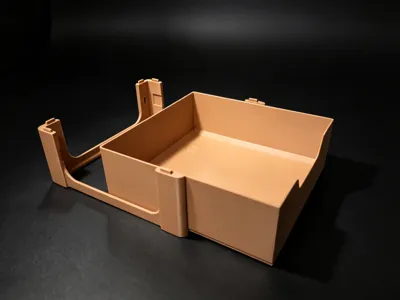
- 2026.06.21_Drawer component updated to V1.1: A drawer with dividers has been added by popular demand
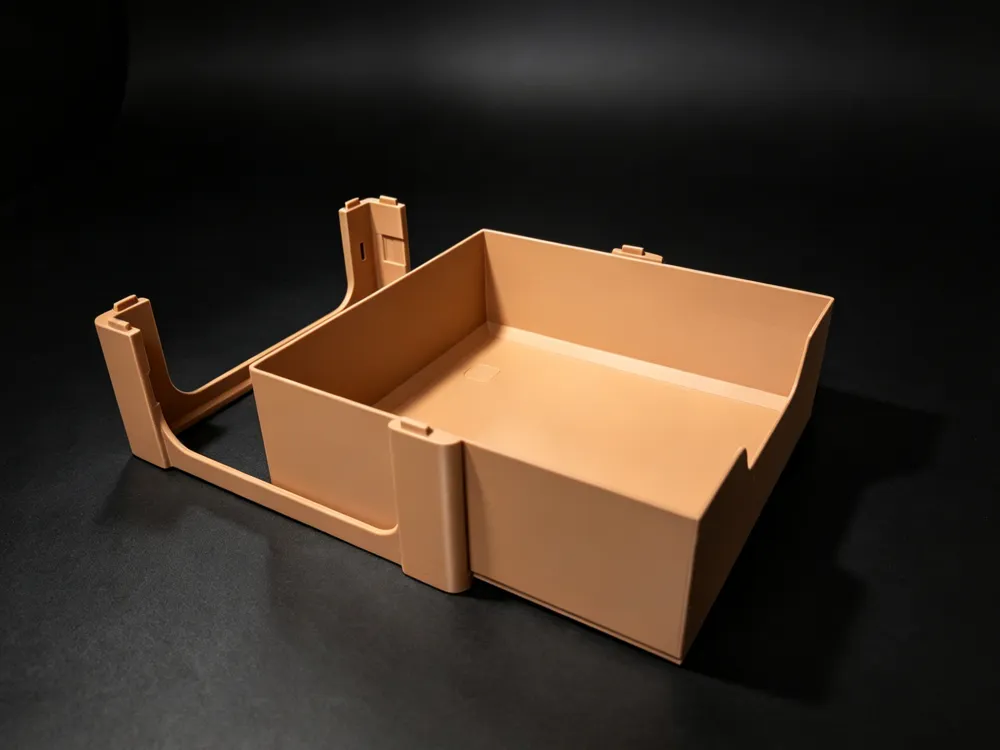
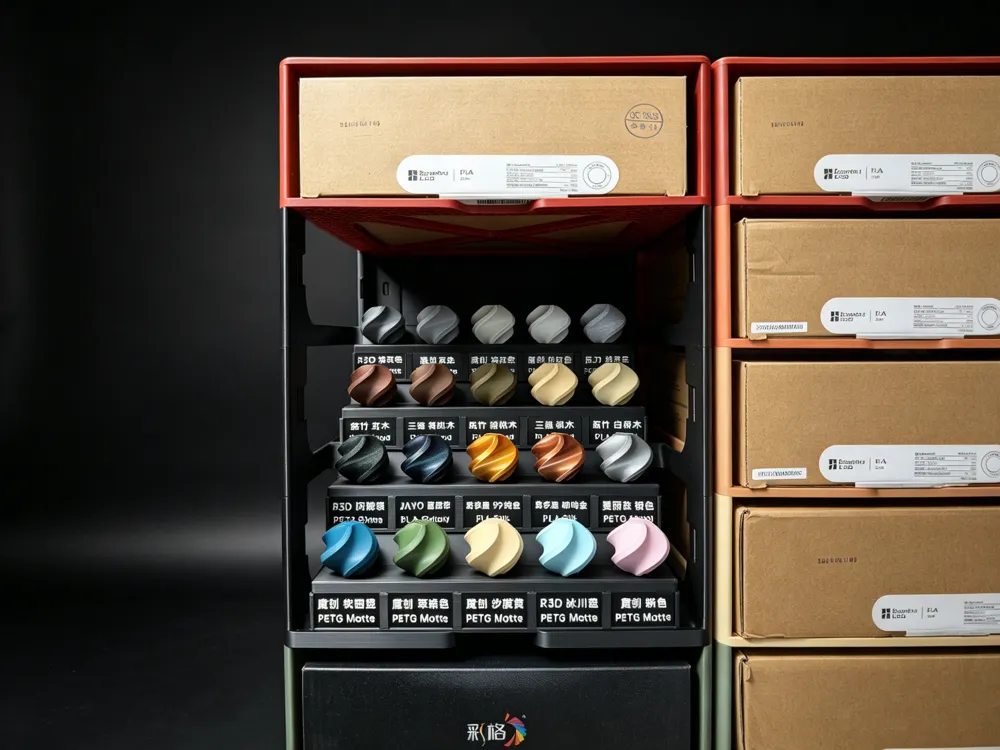
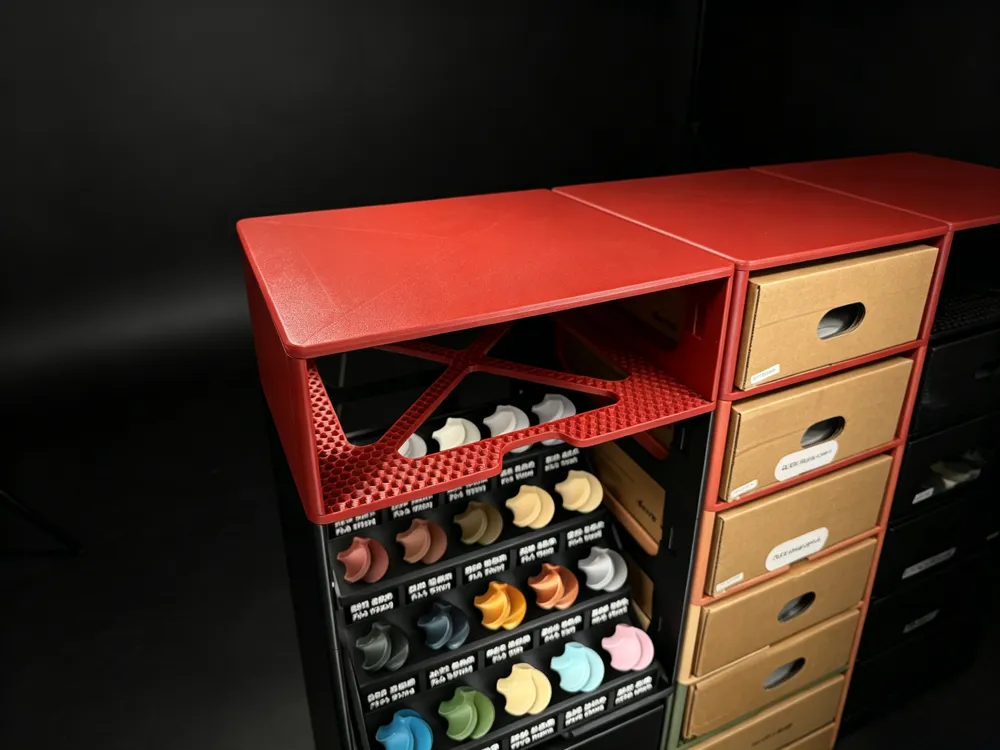
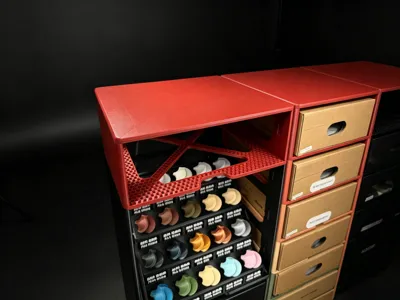
- 2026.05.27_Drawer component redesigned, added a dedicated drawer frame (with position limit), a new no-drill top cover, and updated high-quality accompanying images (printed 21 more racks for the images)
- 2026.05.26_Main body updated to V1.2.3: printing profile now includes a skirt to prevent warping to some extent. Since P1 and X1 series have print blind spots where skirts cannot be added, the printing profiles are uploaded separately
- 2026.05.23_Main body updated to V1.2.2: fixed a minor bug
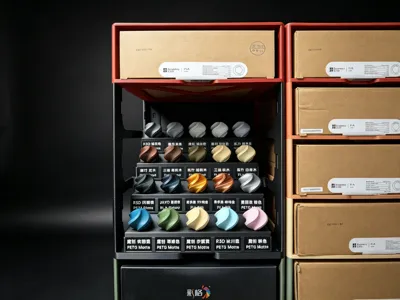
- 2026.05.21_Main body updated to V1.2.1: added a material swatch display component, removed the chamfer from the bottom positioning holes of the frame (testing showed it didn't help much with vertical alignment during installation and could cause print imperfections, so it was removed)
2026.05.16_Main body updated to V1.2:
1. Increased the depth of the bottom positioning grooves to prevent slight sagging of filament with poor overhang performance, which could lead to accumulated small errors and inconsistent heights on both sides when two rows of racks are placed side-by-side
2. The author used brute force, printing nearly 100 racks and trying all possible infill types, finally settling on 12% honeycomb infill (multi-line infill: 1)
3. Upper pillars and lower base infill are aligned, no longer requiring a 100% infill transition layer
4. The walls of the upper pillars (main load-bearing structure) are aligned with the edges of the honeycomb infill, maximizing force transfer efficiency
5. This version of the main body is essentially the final version, and the main structure will not be changed in the future
2026.05.14_Main body updated to V1.1:
1. Optimized modifier parameters to directly connect the hollow infill part of the base plate with the frame, reducing the risk of stress-induced delamination
2. Parameters are written into the object to prevent loss of global print parameters
3. Further optimized structural design, reducing filament usage to under 100g (the author used PETG filament with a density of 1.23 g/cm³, filament with different densities may show slight variations in weight displayed by slicing software, usually within ±5g)
- 2026.05.10_Added hollow heightened component
- 2026.05.06_Added a drawer that supports adding dividers
The model and parameters are meticulously designed. Please do not arbitrarily adjust parameters or move the model (you might accidentally move the modifier). Simply select your filament and print!⚙️
A single-layer rack may appear to lack rigidity, but this will be resolved once a second layer or the top cover is added!
Highly recommend printing with PETG filament - it's inexpensive and strong!💪
For models with large bases, please ensure no warping by using an enclosure, glue, skirt, or a 1.3mm build plate (filaments with strong shrinkage might even lift thin build plates). Warping is not a model issue. If you have questions, please comment or message me privately!
🪜 Product Comparison
Product Comparison | This Filament Rack | Other Filament Racks | Notes |
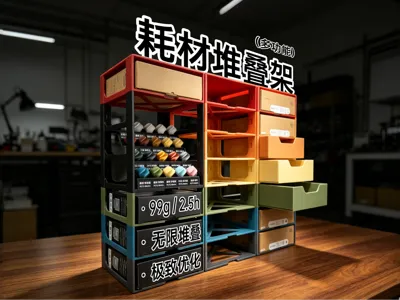
Filament Usage | 99g | 250g+ | Significantly reduced filament usage without compromising infinite stacking |
Print Time | 2.5h | 4-6h | Fine-tuned parameters significantly reduce print time while ensuring print quality |
Structural Design | Optimized for FDM characteristics Eliminating unnecessary redundancy | Over-designed Diagonal braces and hollows Excessive load redundancy | For FDM printing characteristics, hollowing does not reduce filament usage; instead, it reduces structural rigidity. Diagonal braces are also ineffective for most scenarios involving vertical loads. Both significantly extend print time. Most filament racks on MakerWorld are not designed with FDM characteristics in mind |
Compatibility | Compatible with 99.99% of 1kg packaged filaments on the market | Larger boxes like Magic Creation are not compatible | The author researched most 1kg filaments and their packaging on the market and finalized the dimensions accordingly |
Accessory Design | Front-end design reservation | Afterthought design remedy | Some filament racks did not consider various accessories during the initial main design. When compatibility was addressed as an afterthought, various problems arose. For example, once a buckle is locked, it cannot be removed, and left/right buckles encroach on the internal clear space, worsening already poor compatibility |
📖 Foreword
As more and more filament is purchased, organized stacked storage has become a necessity. I tried printing some stackable filament racks available on the market and found that most still had the following characteristics that did not meet my needs:
- Excessive filament consumption, with single-layer usage often exceeding 250g. In reality, for a load of around 1kg per layer, the shelves are often over-designed
- Some filament racks under 150g sacrifice the structural strength of the four corner pillars, making them unable to stack beyond 20 layers
- Too many hollows and diagonal braces were designed. In reality, for FDM printing characteristics, hollowing does not reduce filament usage; instead, it reduces structural rigidity. Diagonal braces are also ineffective for most scenarios involving vertical loads. Both significantly extend print time
- Dimensions were designed only for Bambu Lab official filament boxes; slightly wider third-party filament boxes cannot fit
- Left and right interlocking buckles encroach on the internal clear width, preventing even originally compatible filament boxes from fitting
- Top and bottom interlocking buckles can be omitted through design optimization
- Once a buckle is locked, it is difficult to remove
- And other defects
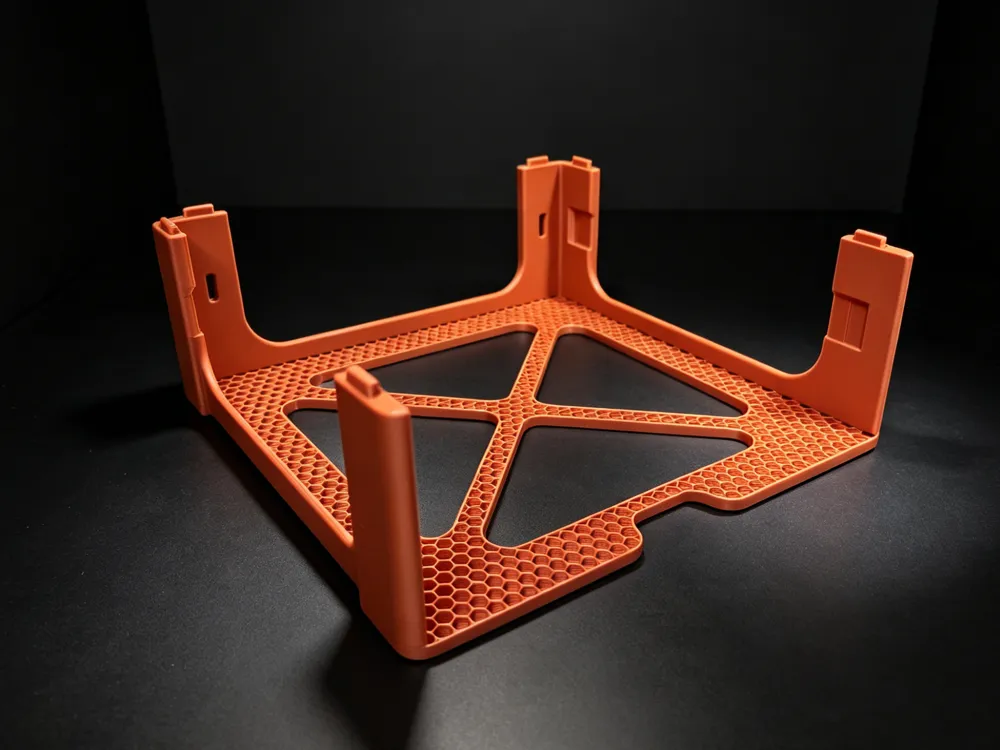
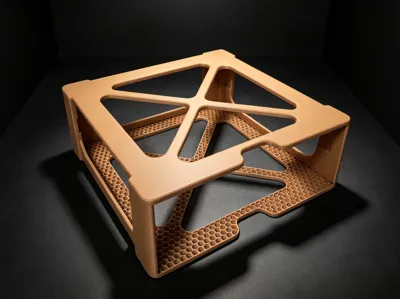
📦 Single Layer Rack Dimensions:
Internal clear dimensions: 22cm*22cm*8cm (compatible with 99% of 1kg boxed filament/spools on the market)
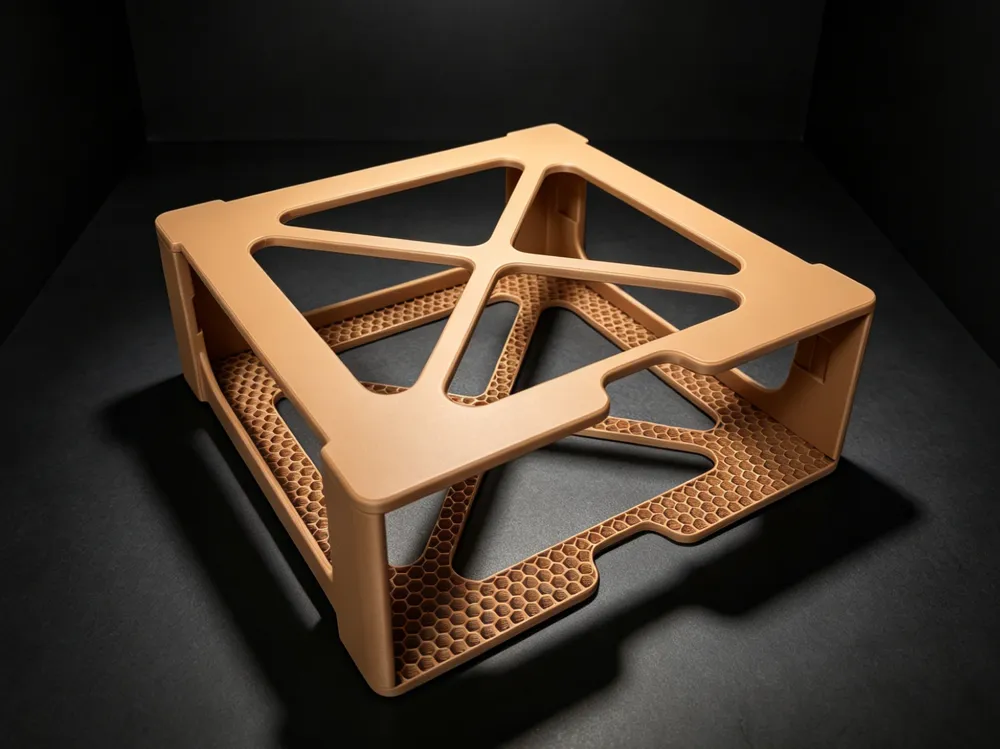
Overall external dimensions: 23.6cm*23.6cm*8.5cm (not including top pins)
🌟 Main Design Highlights
- 📏 Extremely Small Footprint: Stacking 24 layers of filament (2.04 m high) occupies only 0.056 m² of space, allowing utilization of various narrow spaces
- 🏗️ Superb Stacking Capability: The 8 mm thick load-bearing pillars at the four corners can be stacked to a height well beyond what a normal person can reach (2 m+)
- ⚖️ Lightweight Design Optimization: Each filament rack uses only 99g of filament. Designed for 1kg filament/spools, it reduces unnecessary structural redundancy. All structures are designed to "efficiently transfer loads to the four pillars." Many filament racks on the market weigh 200g+ each, appearing sturdy, but the structural strength of each layer's base plate is over-designed for 1kg of filament, leading to unnecessary filament waste
- ⚡ Fast Printing Optimization: Each filament rack takes 2.5 hours to print. The main body is printed with a 0.28 mm layer height, eliminating unnecessary diagonal braces and hollows. Tested results show that in FDM 3D printing, since inner and outer walls are the main consumers of filament, extensive hollowing does not reduce filament usage but significantly slows down print time. This design has undergone targeted optimization, resulting in print times much lower than the market average of 4-6 hours, greatly improving production efficiency
🧩 Detail Design Optimization:
The design also includes numerous optimizations for FDM 3D printing, including but not limited to:
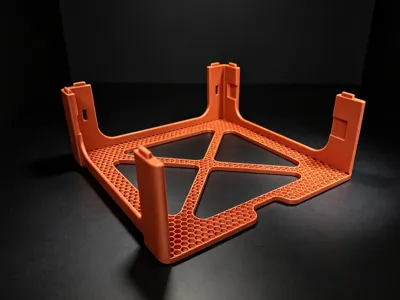
- Print in Place, no assembly required, no supports needed
- No large base, reducing warping risk
- Uses honeycomb infill to accommodate forces primarily from the Z-axis
- Base plate removes solid infill on top and bottom surfaces to greatly reduce filament usage
- All edges are chamfered to enhance aesthetics and safety
- Left and right fixing buckles do not occupy internal clear space
⚠️ Precautions
- Weight calculation uses PETG filament with a density of 1.23 g/cm³. If printing with other filaments, the filament usage weight may vary slightly!
- Print time for PXH series is within 2.5 hours, A series will be about 40 minutes slower than the former. Print speed is calculated using PETG filament with a maximum volumetric speed of 30mm³/s; actual speeds will vary for different filaments
- If you dislike the layer lines at 0.28 mm layer height, you can print the 0.2 mm layer height profile, though print time will be longer than the former
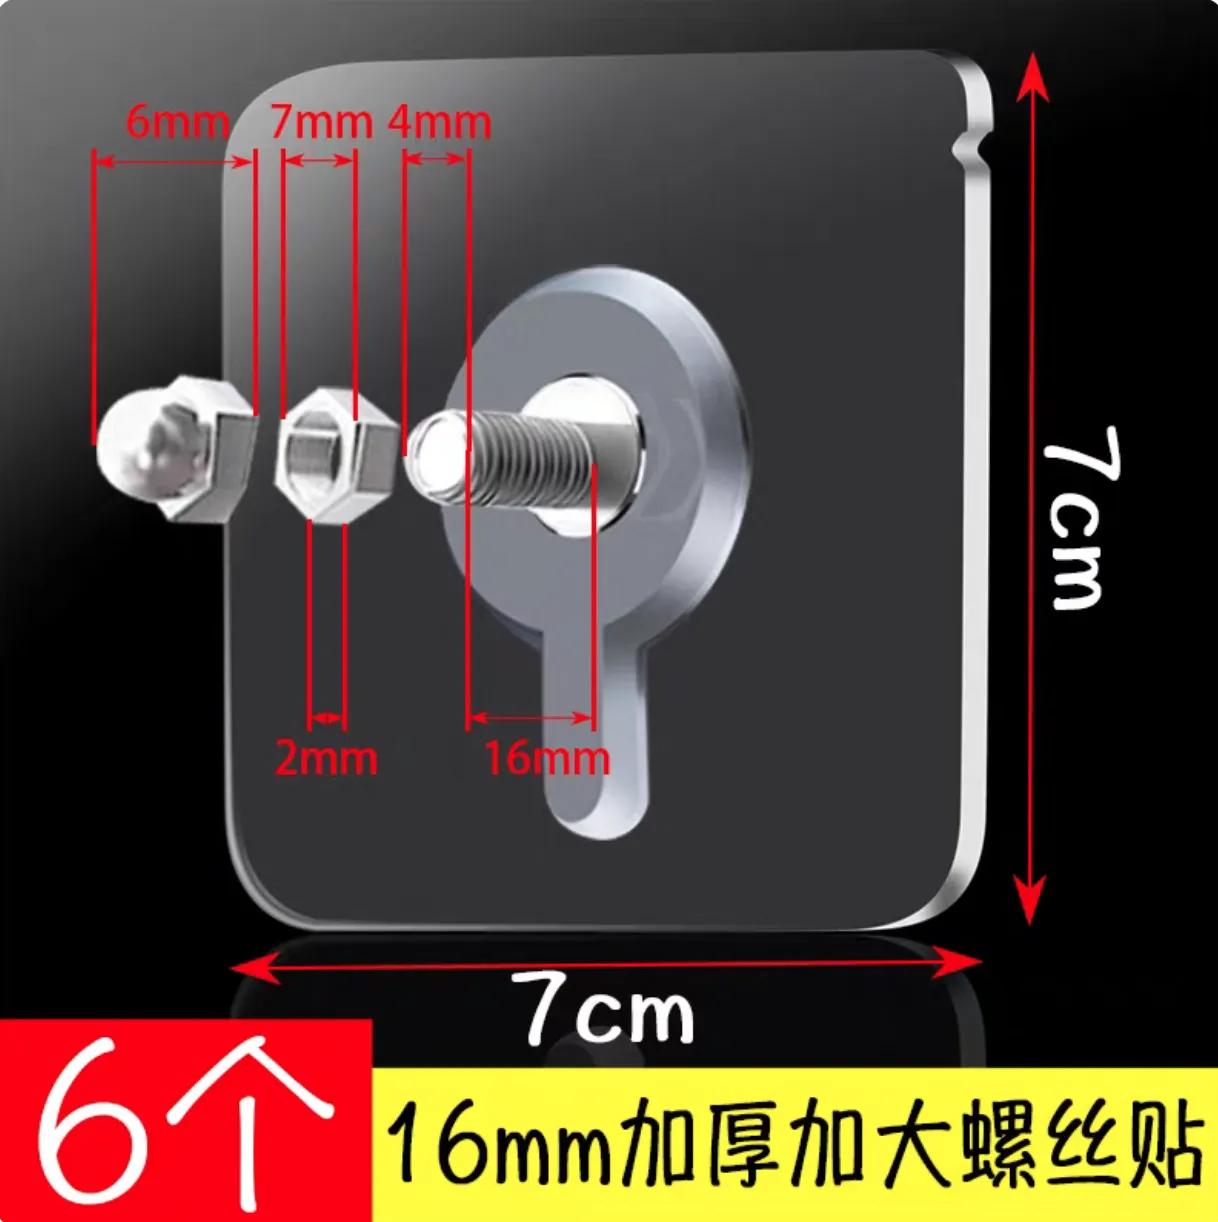
The filament rack has reserved holes to support fixing it to the wall with traceless adhesive nails. When purchasing traceless adhesive nails, please buy ones with a screw diameter of 4mm and a screw length of ≥12mm (the bracket wall thickness is 8mm, allowing at least 4mm for threading the nut; if there is a baseboard in the corner, more length may be needed)
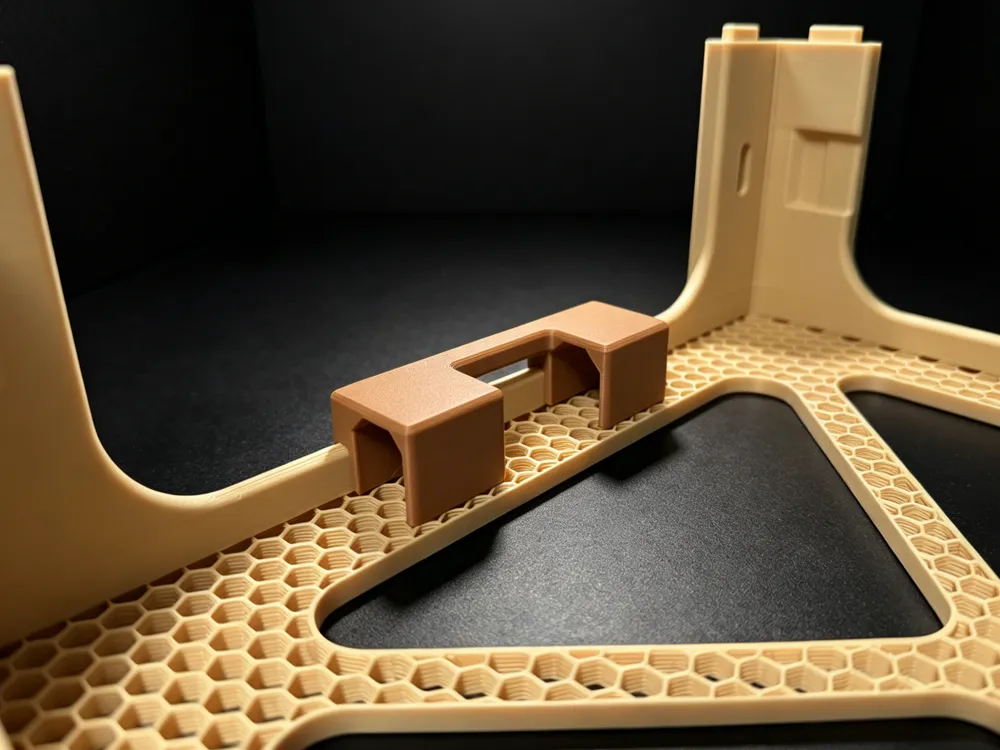
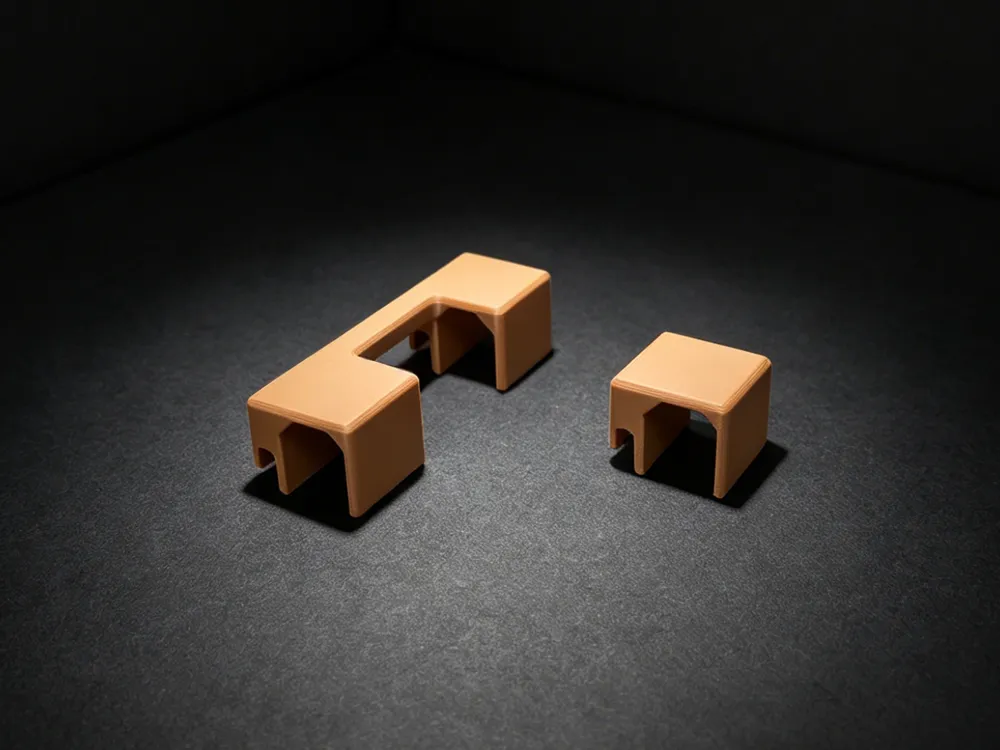
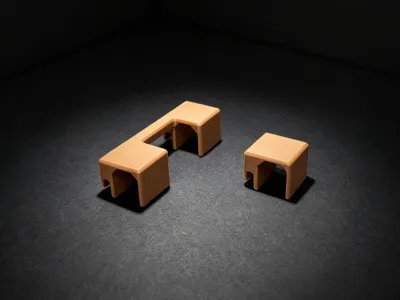
To accommodate longer filament boxes, the rack is designed deeper. If a Bambu Lab original filament box is pushed all the way back, it might be difficult to remove. To solve this, a short filament box adapter has been specifically designed, weighing only 4g. Print it and clip it to the back of the rack. You can choose either of the two styles, as shown in the image below
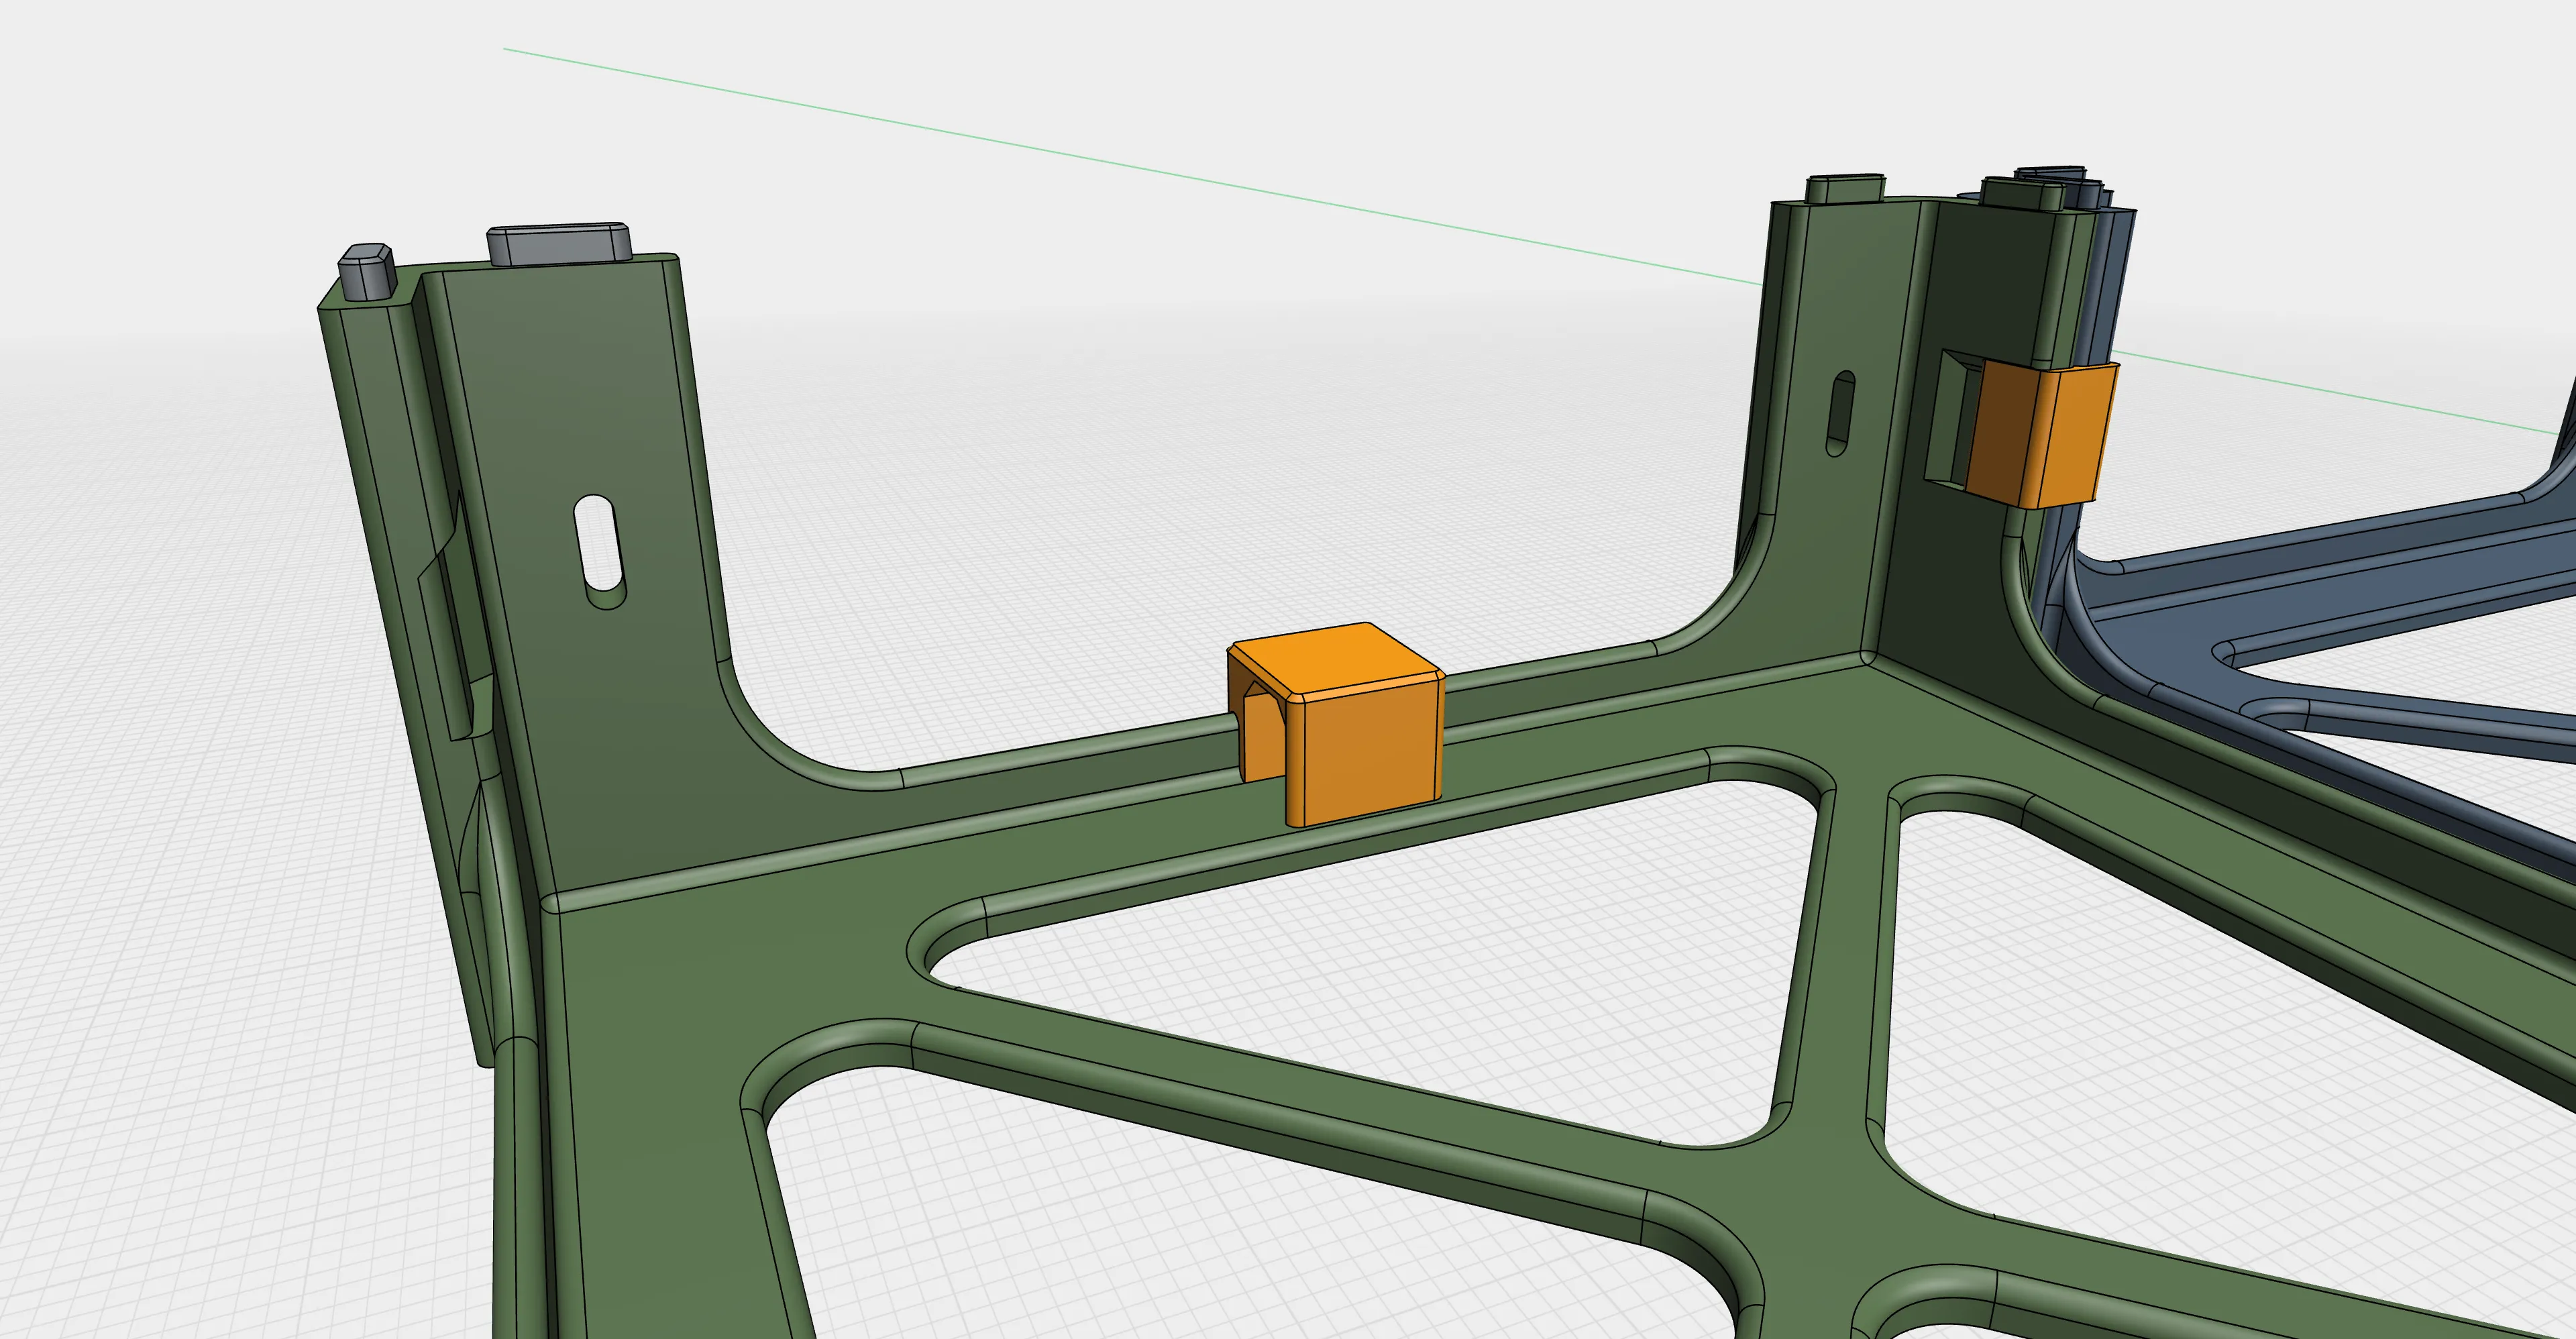
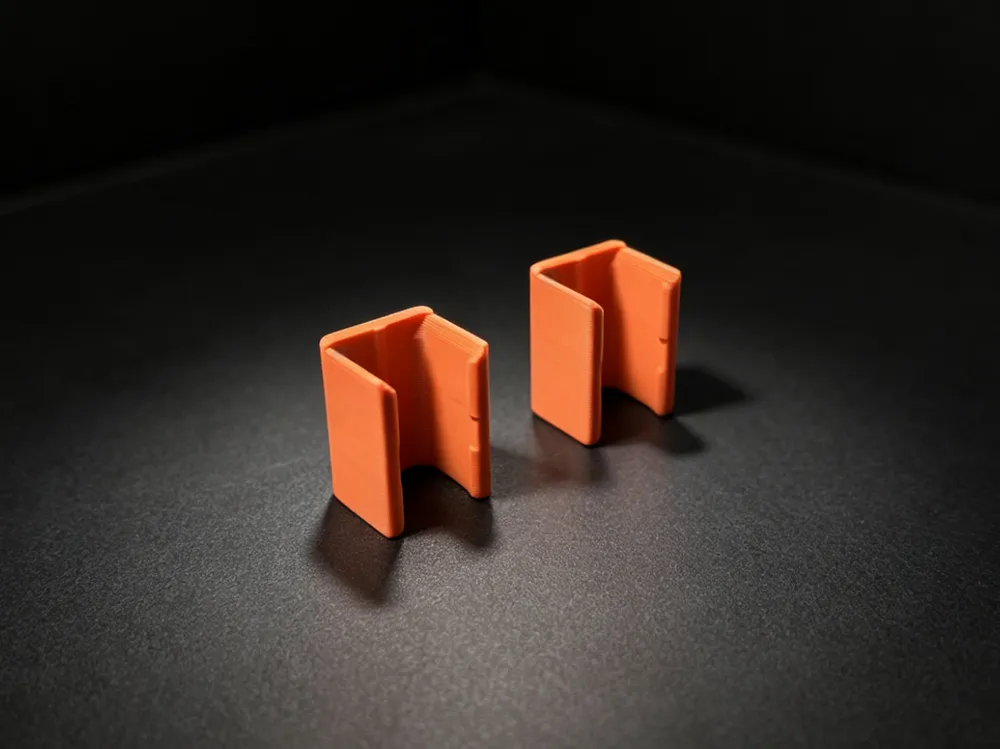
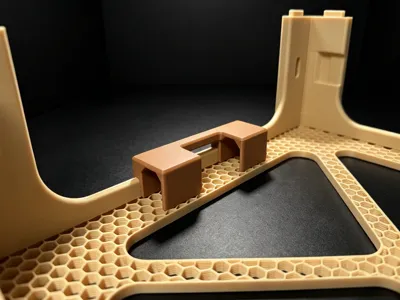
When using the left and right locking buckles, please ensure the sloped side faces upwards, as shown in the image below
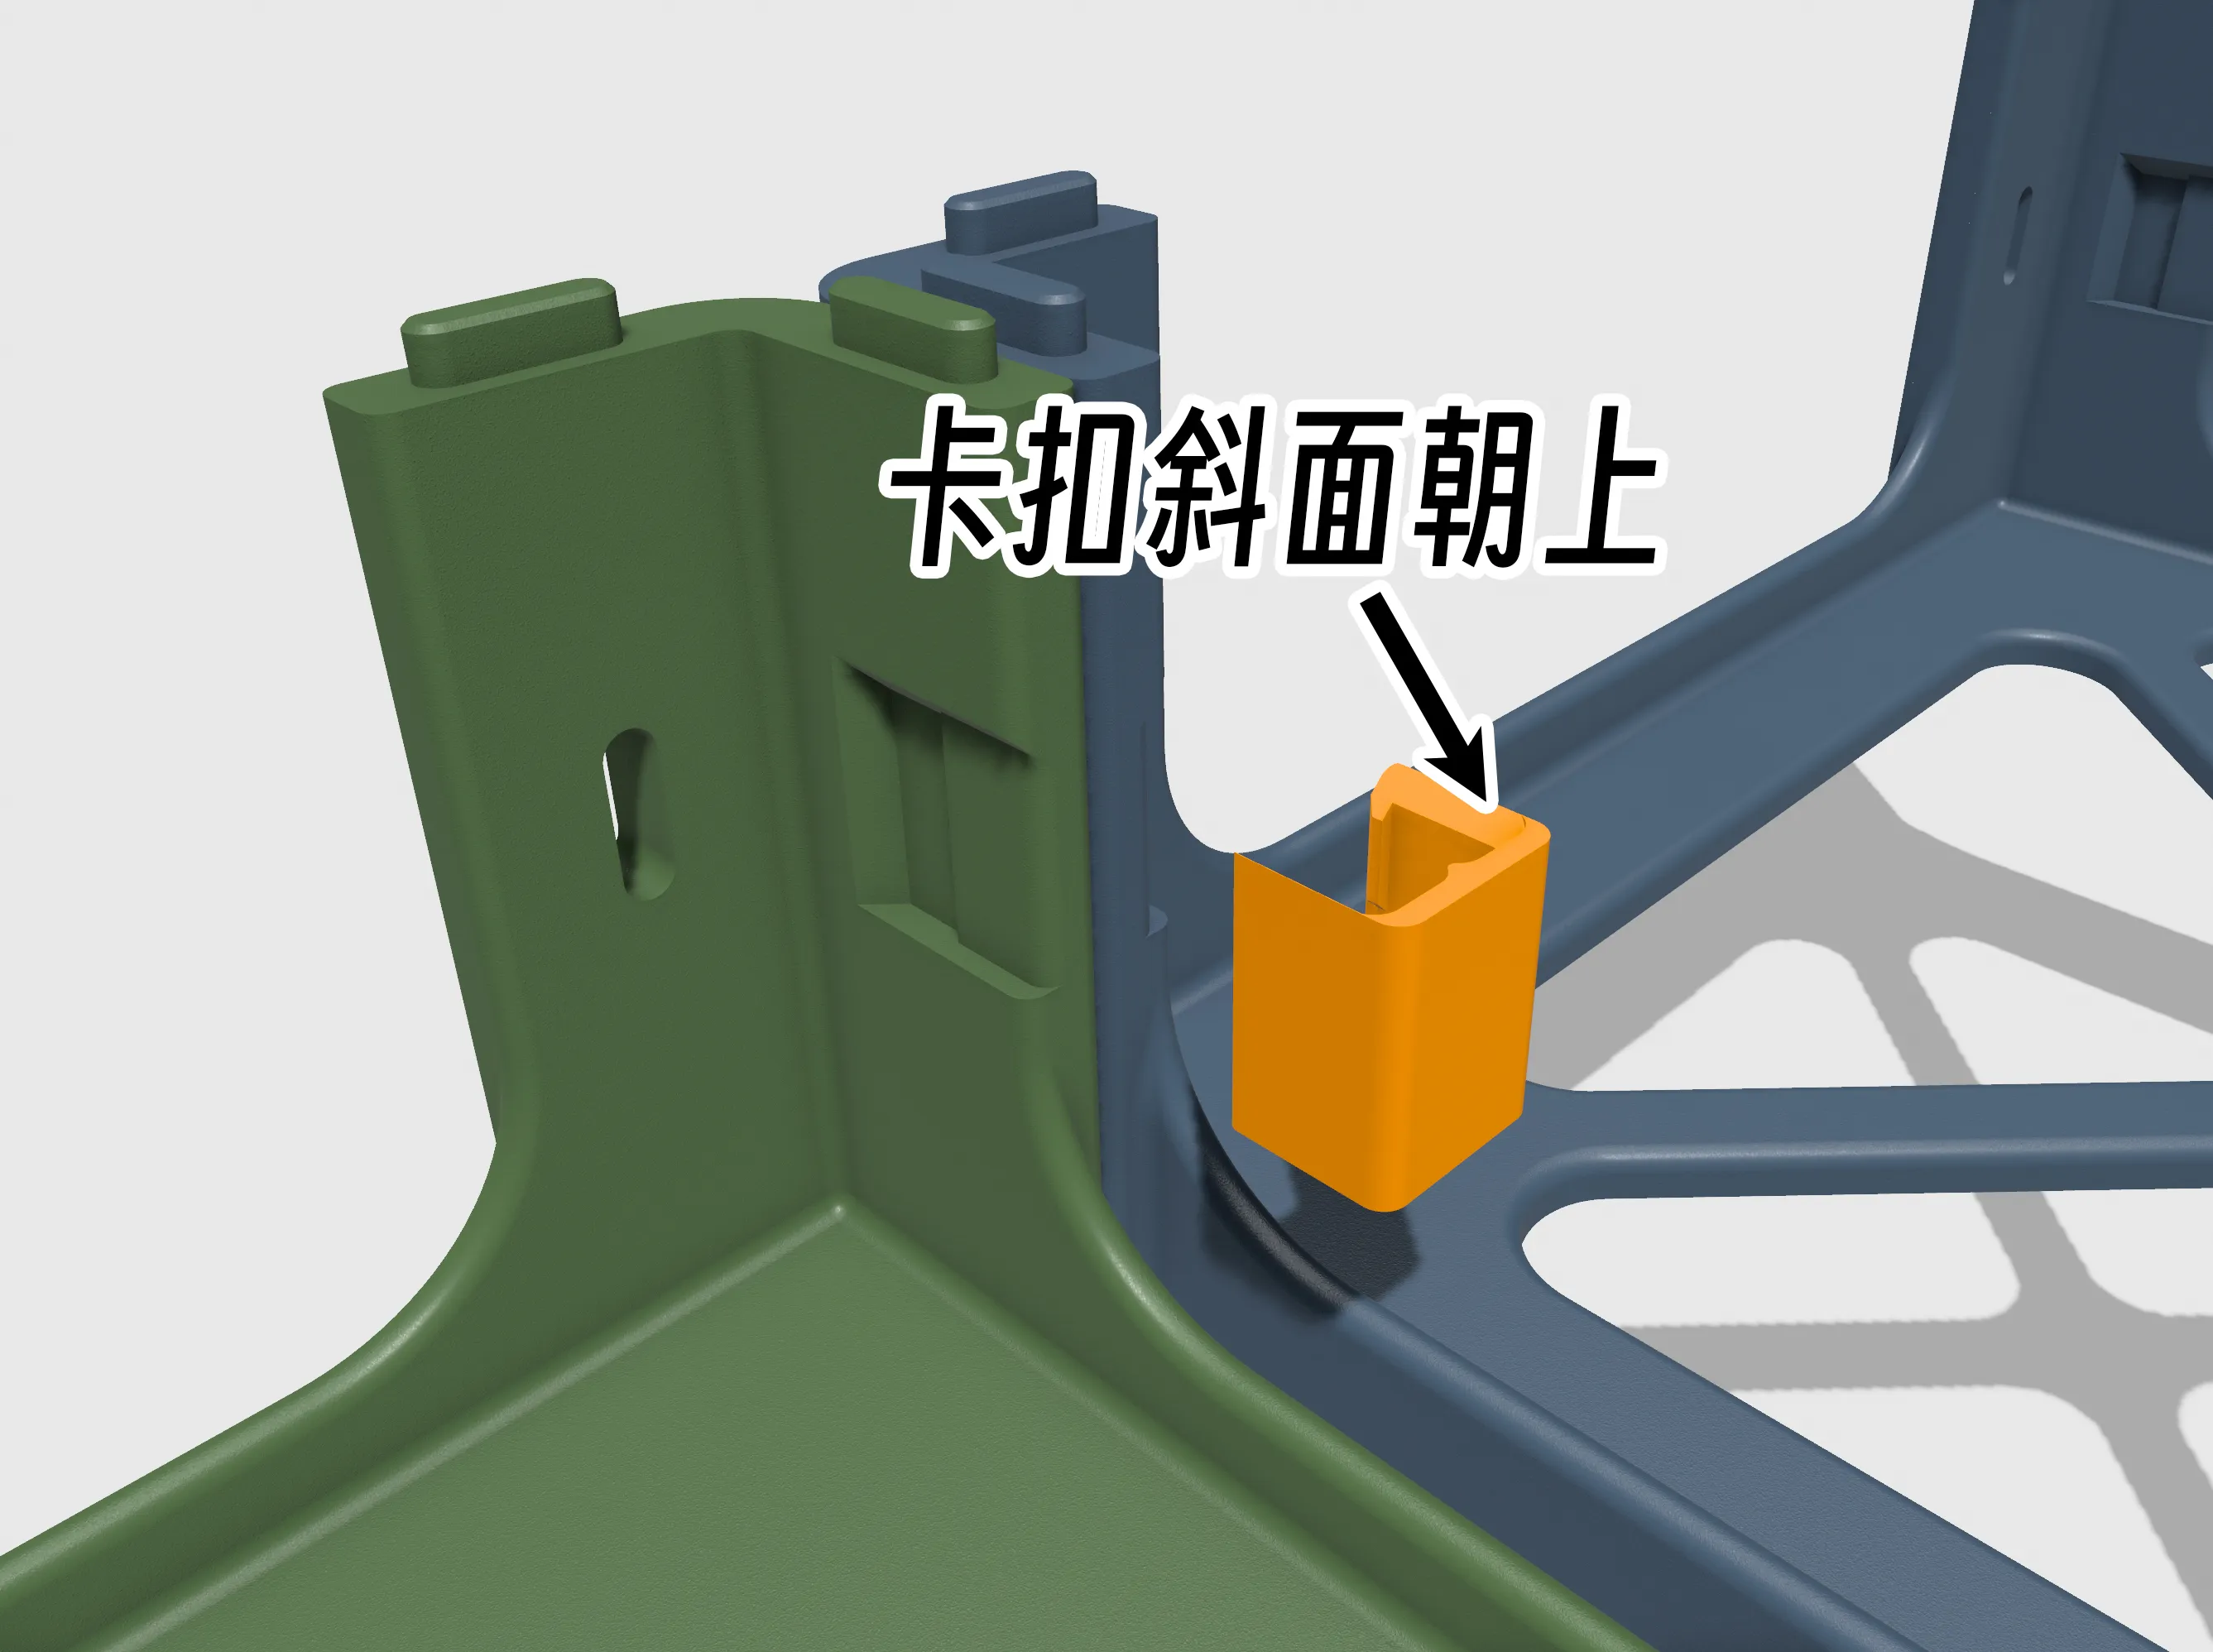
After slicing, it should look like this
⚜️ Structural Design Analysis
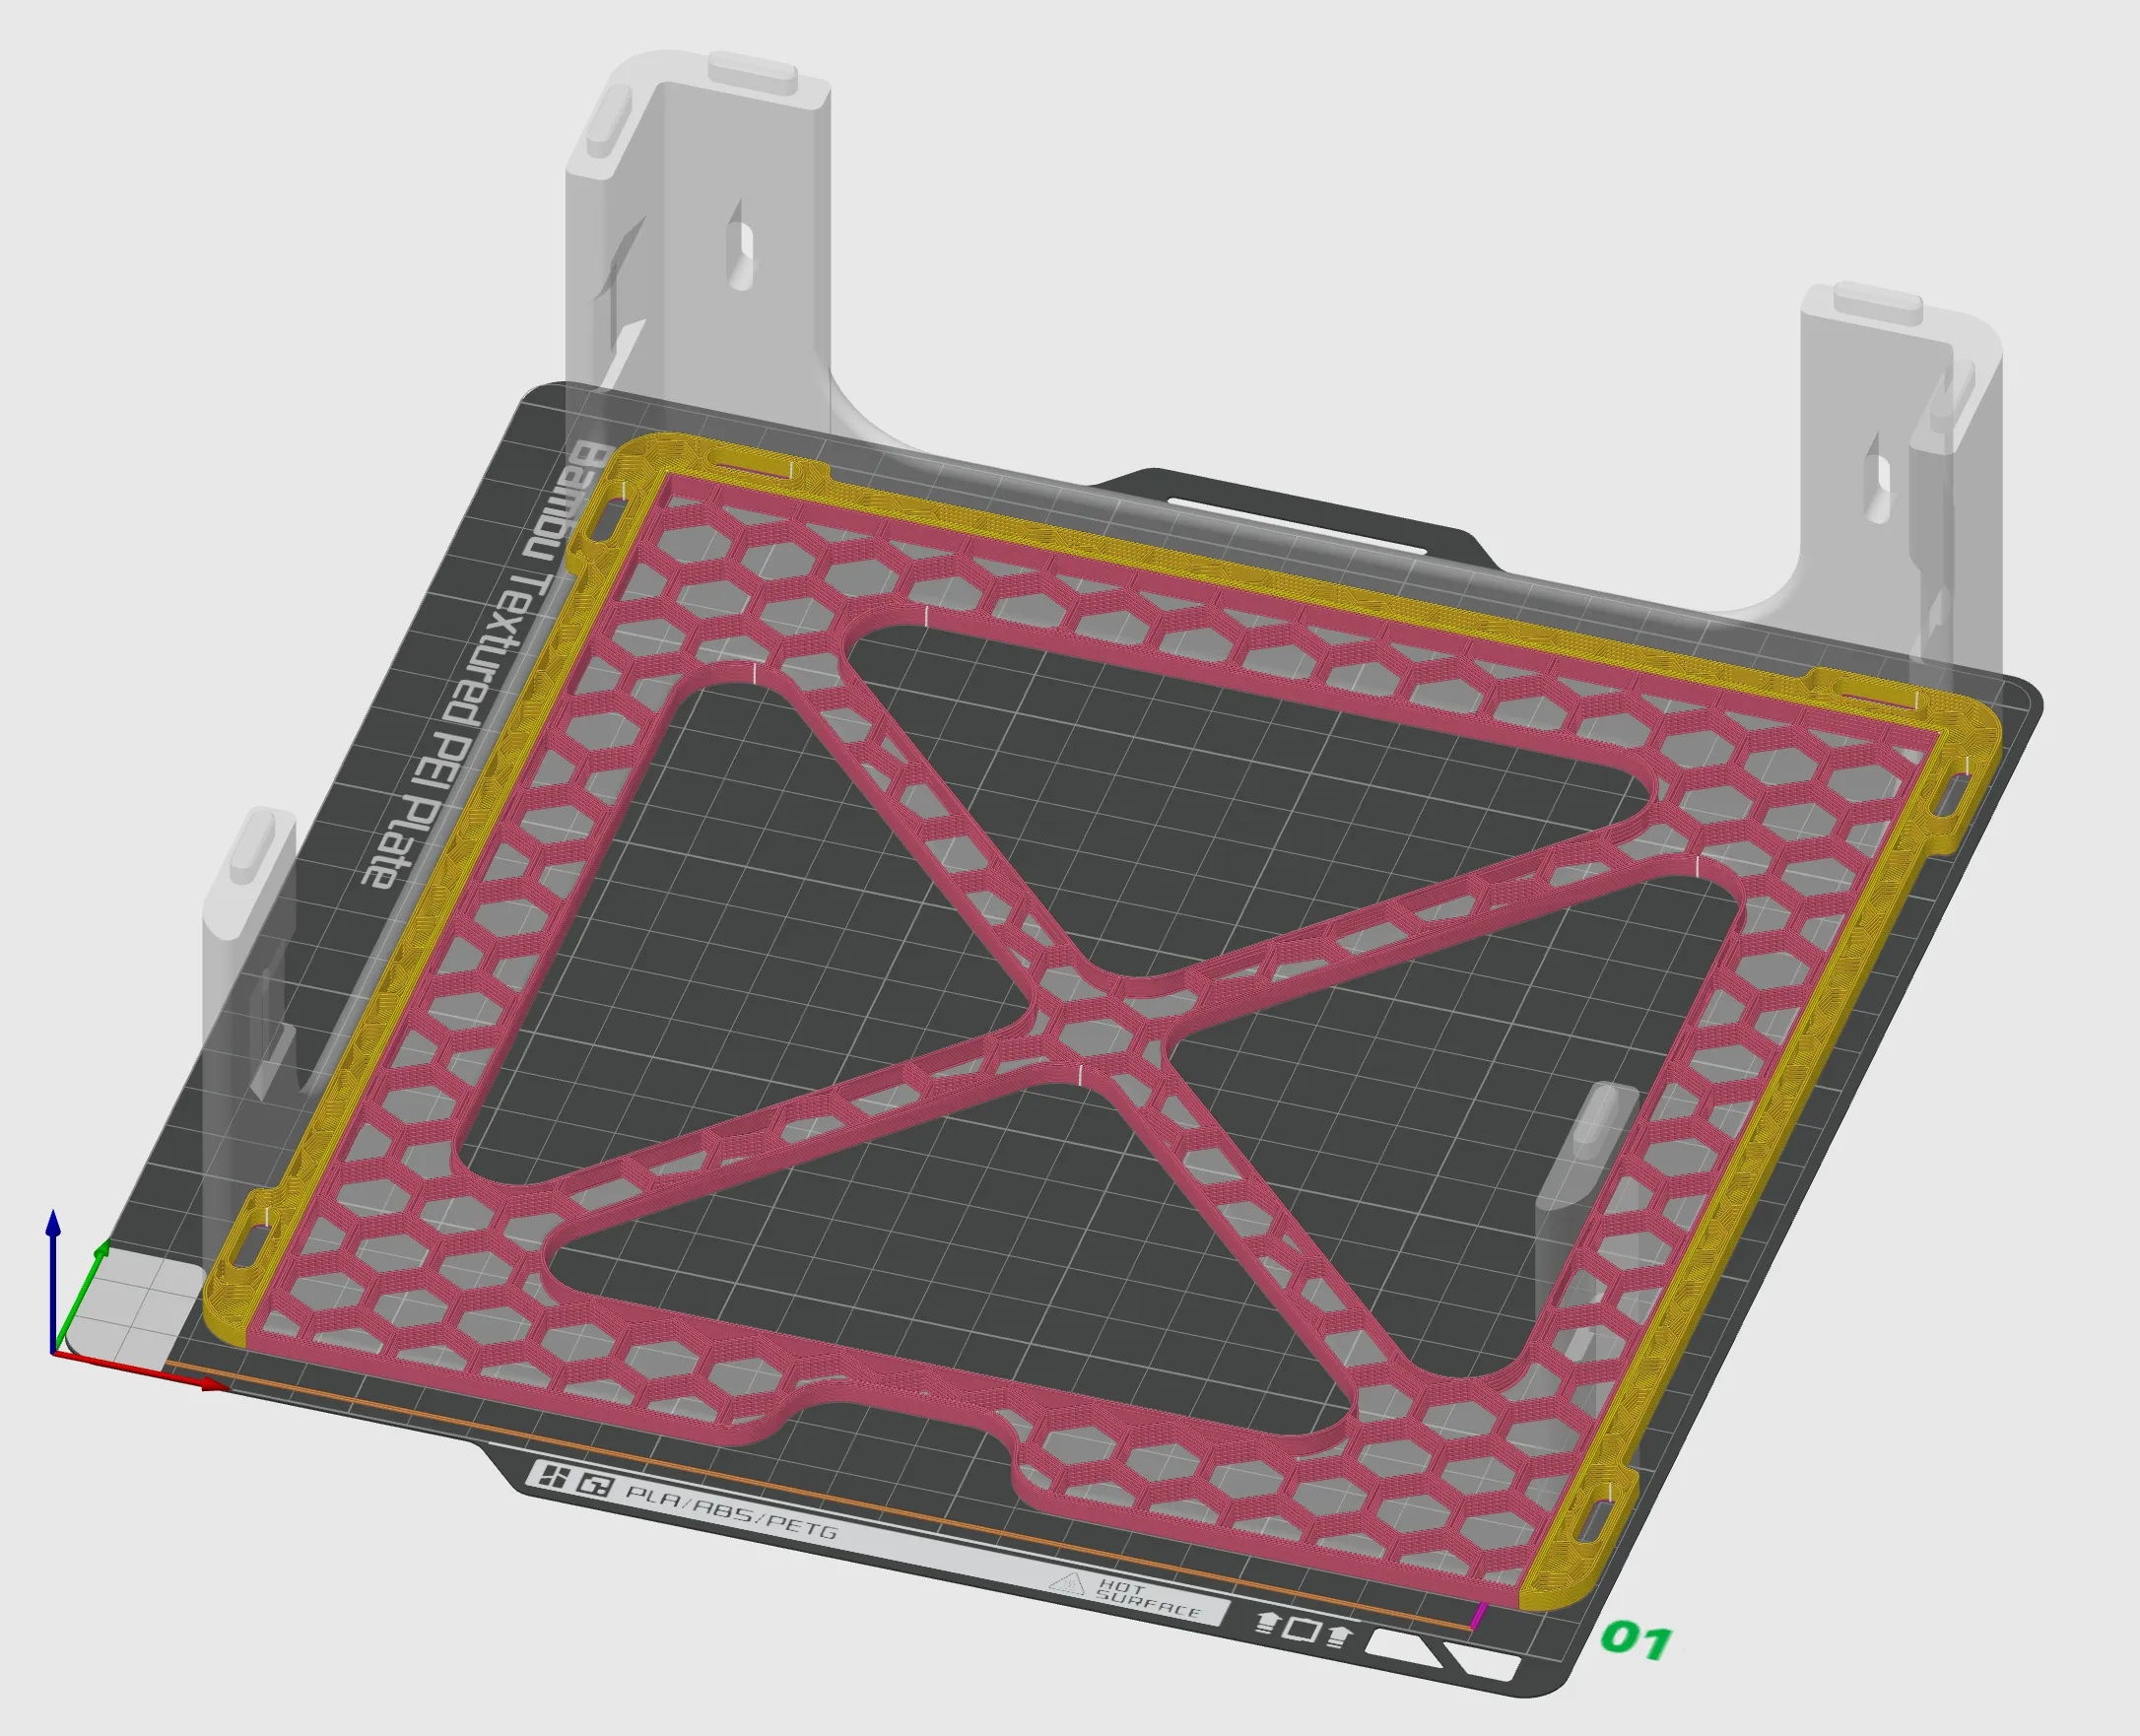
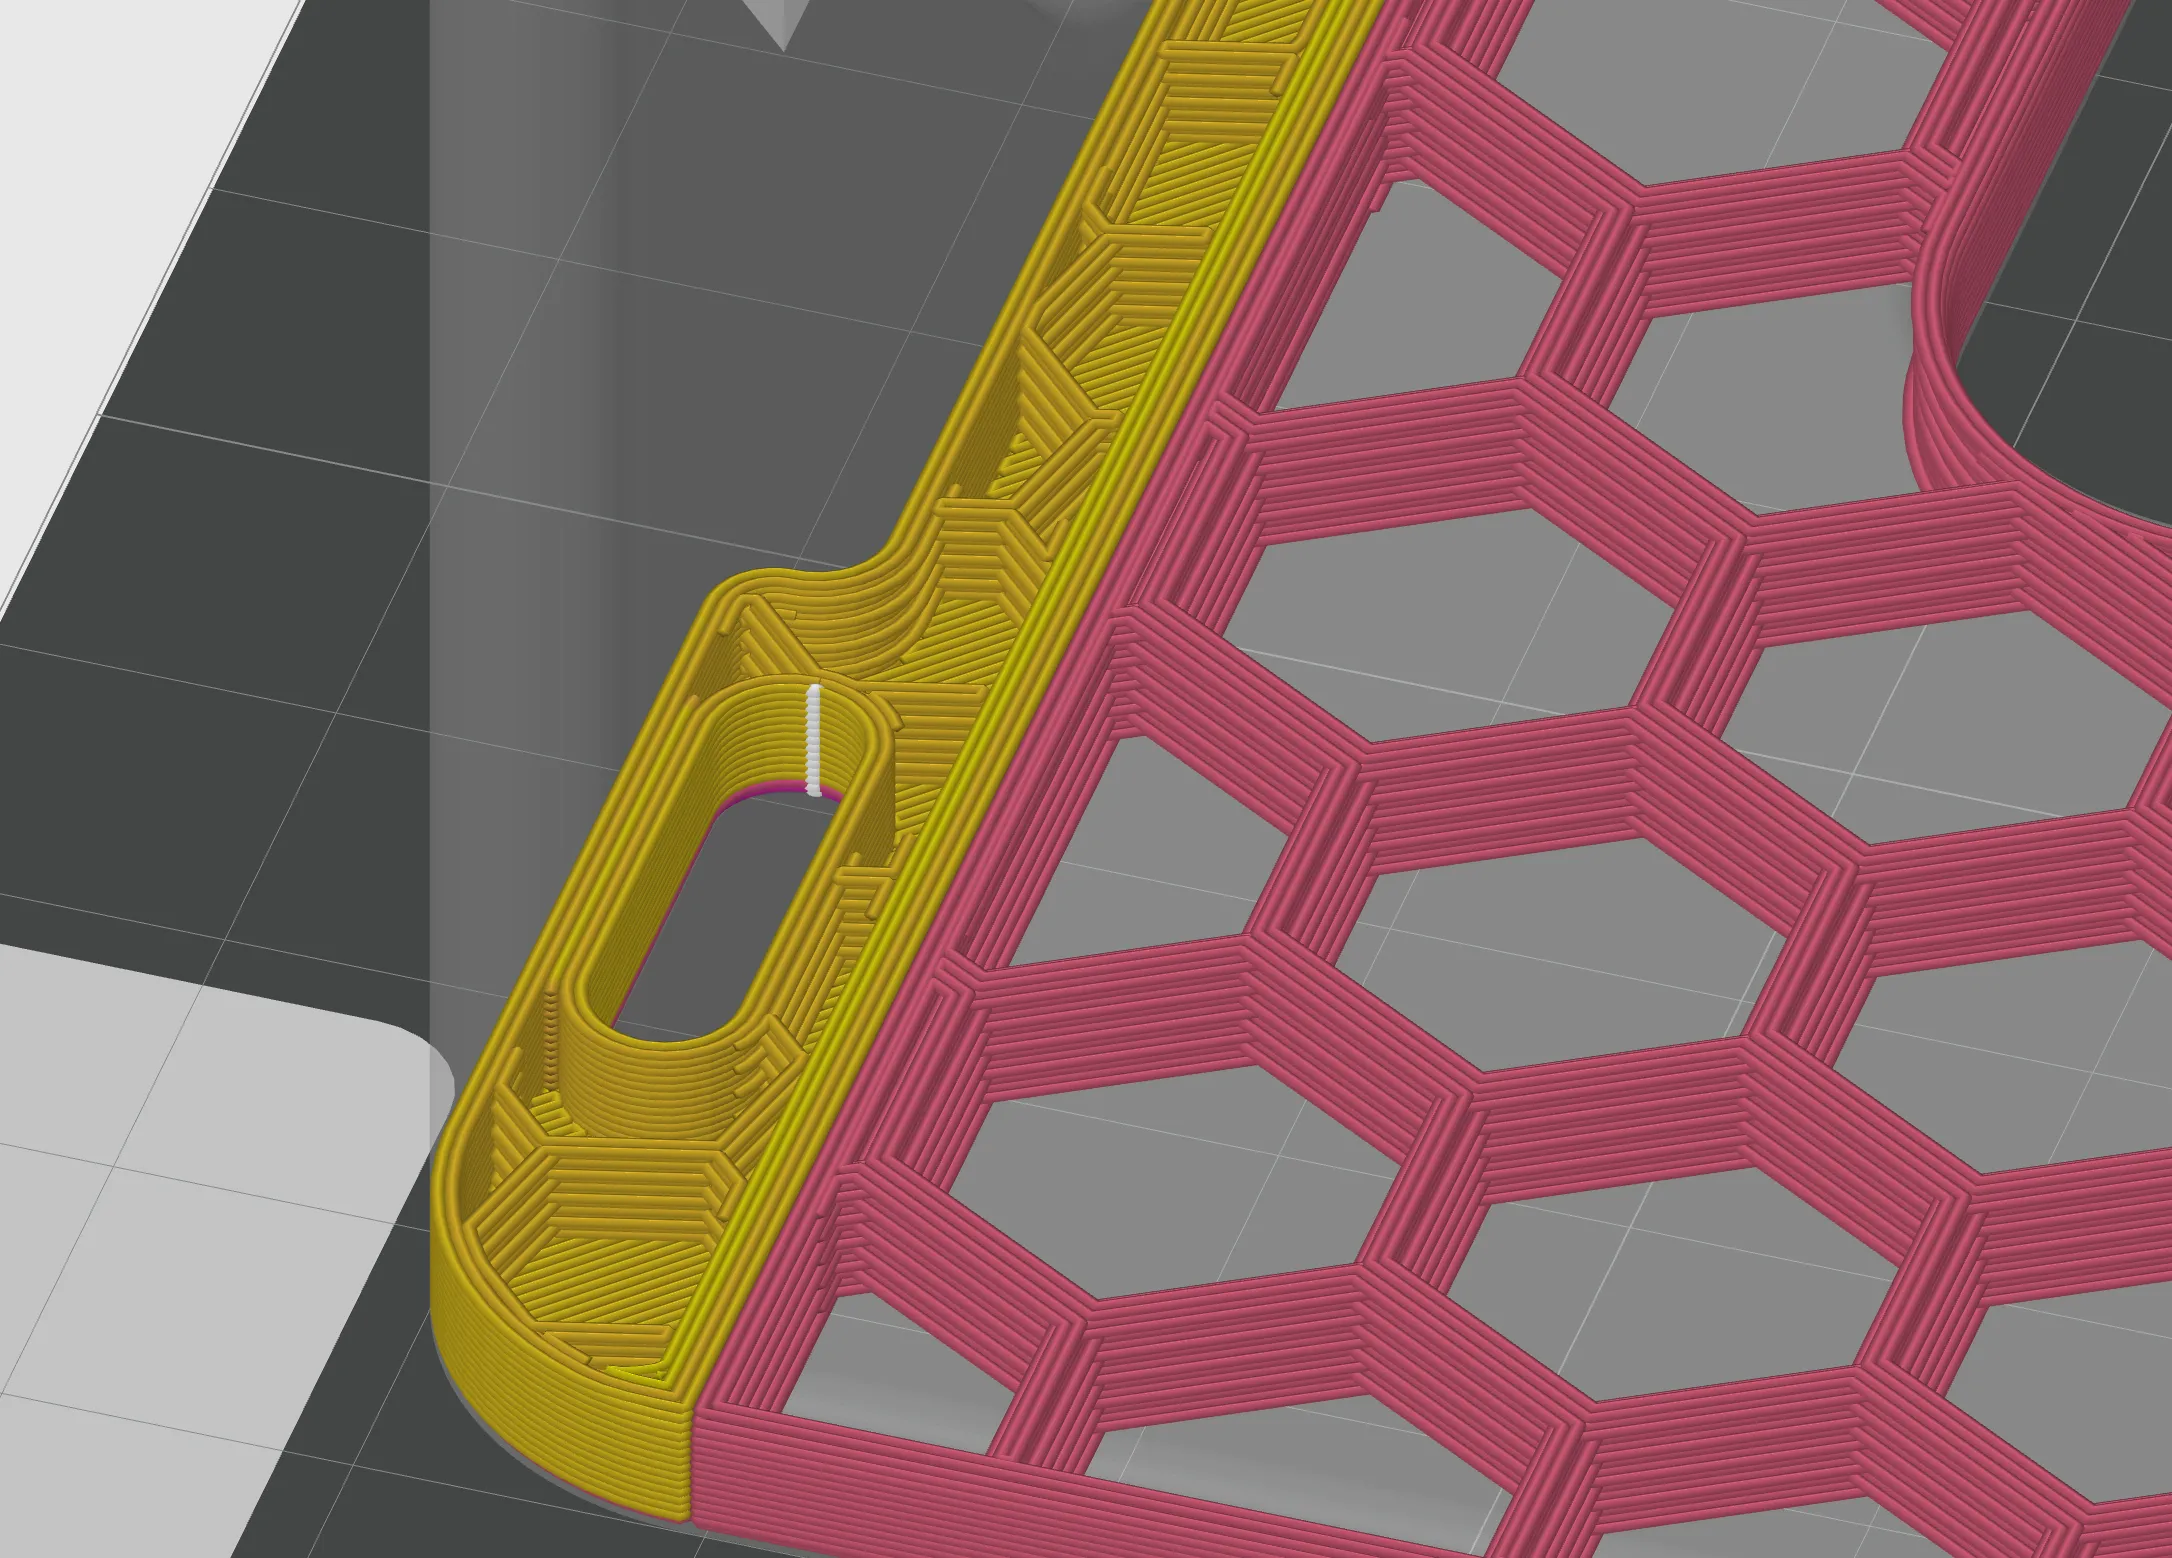
Many racks on the market that use modifiers to print hollow base plates have a common problem: the modifier portion is connected parallel to the frame, essentially using the strength typically found along the "Z-axis" for load-bearing. This often leads to delamination over time, or even immediately after printing
As shown below:
Zoomed in view:
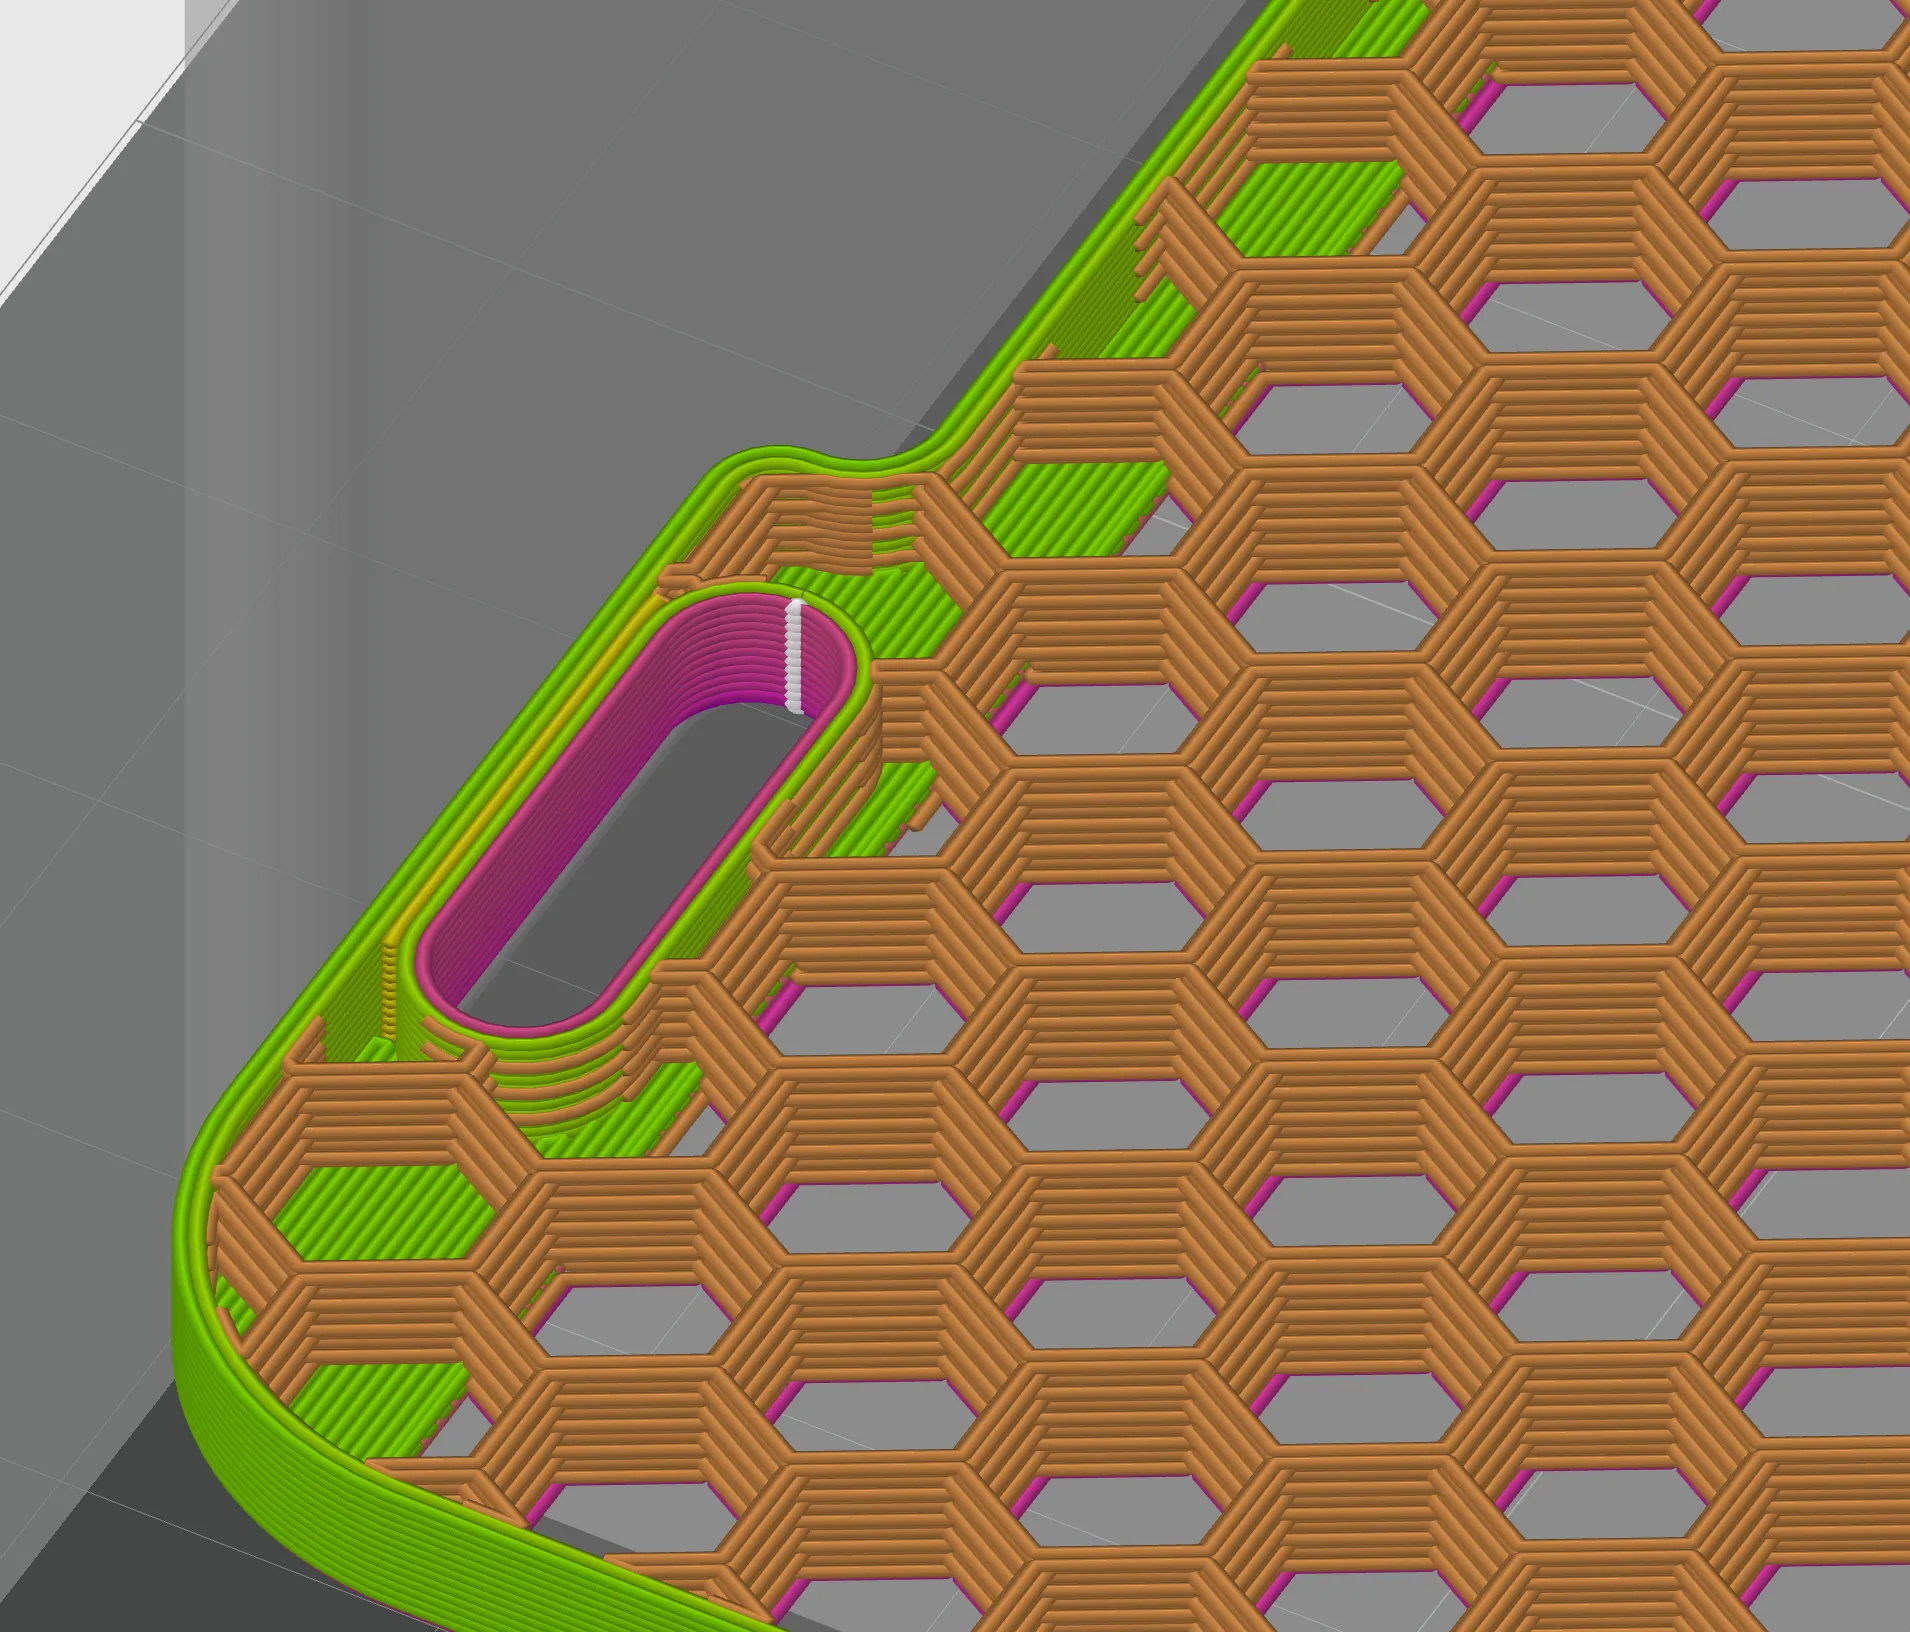
Through parameter optimization, the hollow infill at the bottom of this design directly extends into the frame, participating in force transfer directly in the XY direction
As shown below
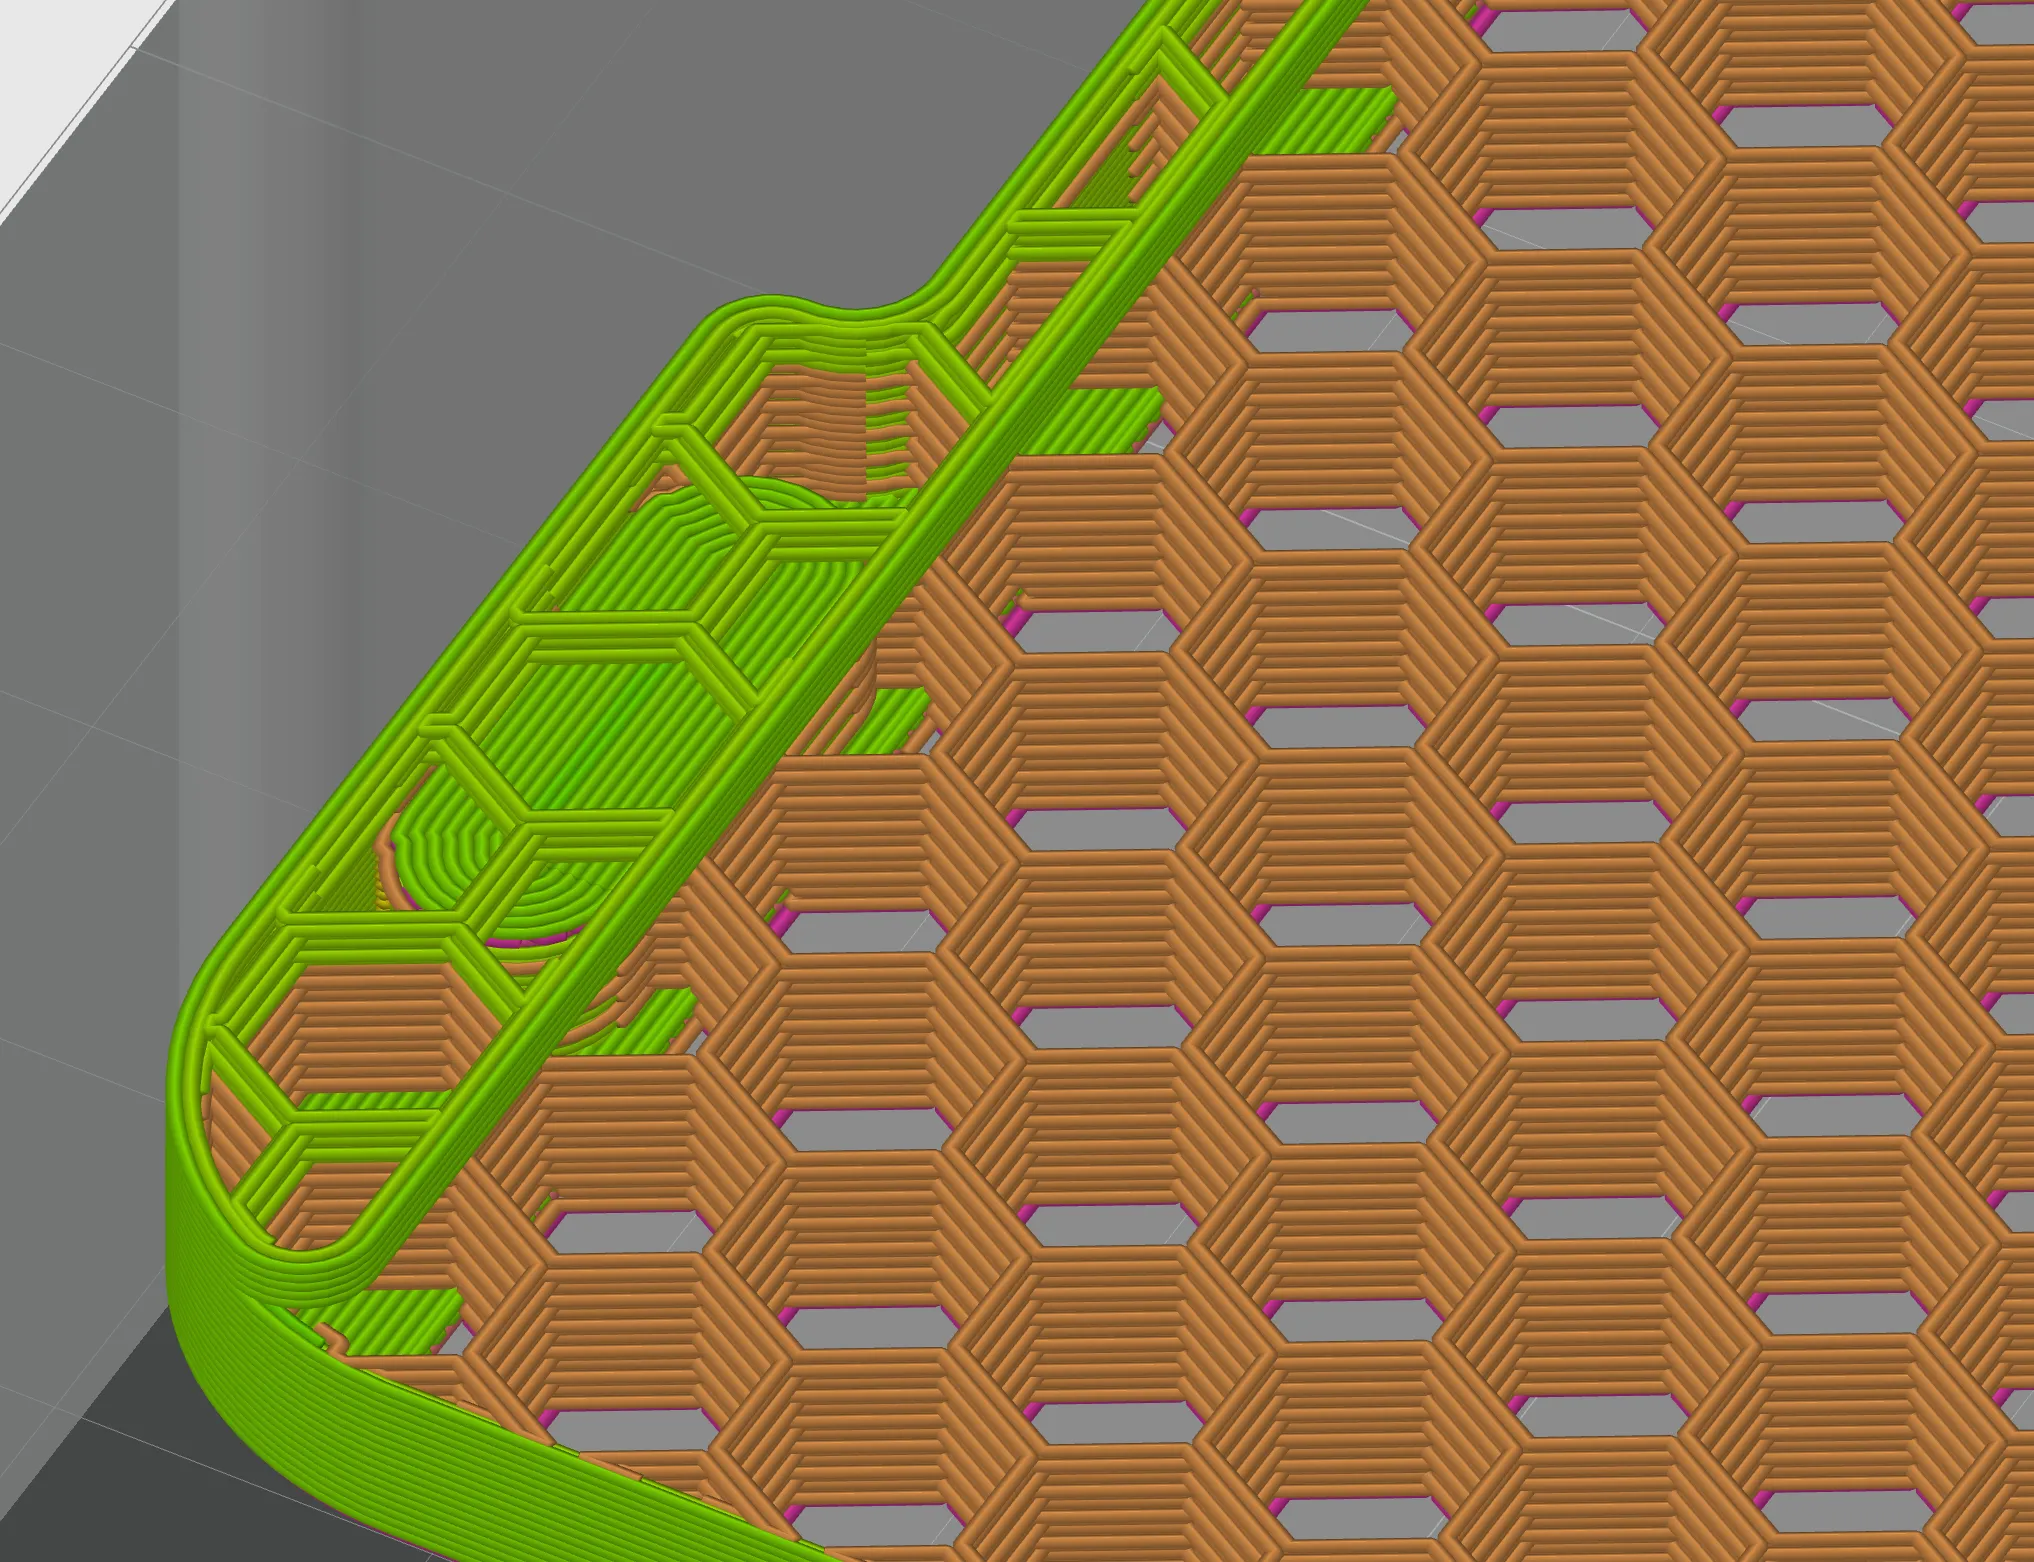
Furthermore, the infill of the upper pillars is aligned with the lower part, and the inner and outer walls of the pillars are directly supported on the edge of the lower infill, eliminating the need for a 100% infill transition layer
As shown below
The author printed 100 racks, experimenting with various infill types and densities such as triangular, hexagonal, spiral, and 3D honeycomb. Ultimately, 12% honeycomb infill was chosen, with multi-line infill disabled, to achieve stacking capabilities beyond 3m with the least amount of filament.
🏎️ Tips for increasing print speed (for PETG, not for PLA):
1. In filament settings, increase the maximum volumetric speed of the filament. Most PETG filaments used by the author, including various inexpensive filaments purchased from PDD, work fine at 40 mm³/s. The nozzle temperature needs to be increased appropriately to 250-255 degrees. A volumetric speed of 40 mm³/s already exceeds the 300mm/s speed limit of a standard 0.4mm nozzle. If you need even faster speeds, you can purchase a high-flow nozzle (make sure to buy an official Bambu Lab one); tested speeds of 500 mm/s are completely fine

2. In filament settings - cooling mode, uncheck "Slow down for better cooling." PETG filament generally does not have cooling issues, so you can uncheck this option

These two combos should significantly increase print speed. Note, after setting them up,
DO NOT use "Sport Mode" and "Ludicrous Mode"
Hope you have fun!😄
License

You shall not share, sub-license, sell, rent, host, transfer, or distribute in any way the digital or 3D printed versions of this object, nor any other derivative work of this object in its digital or physical format (including - but not limited to - remixes of this object, and hosting on other digital platforms). The objects may not be used without permission in any way whatsoever in which you charge money, or collect fees.


Comment & Rating (3)