
Print Profile(1)
Description
Description
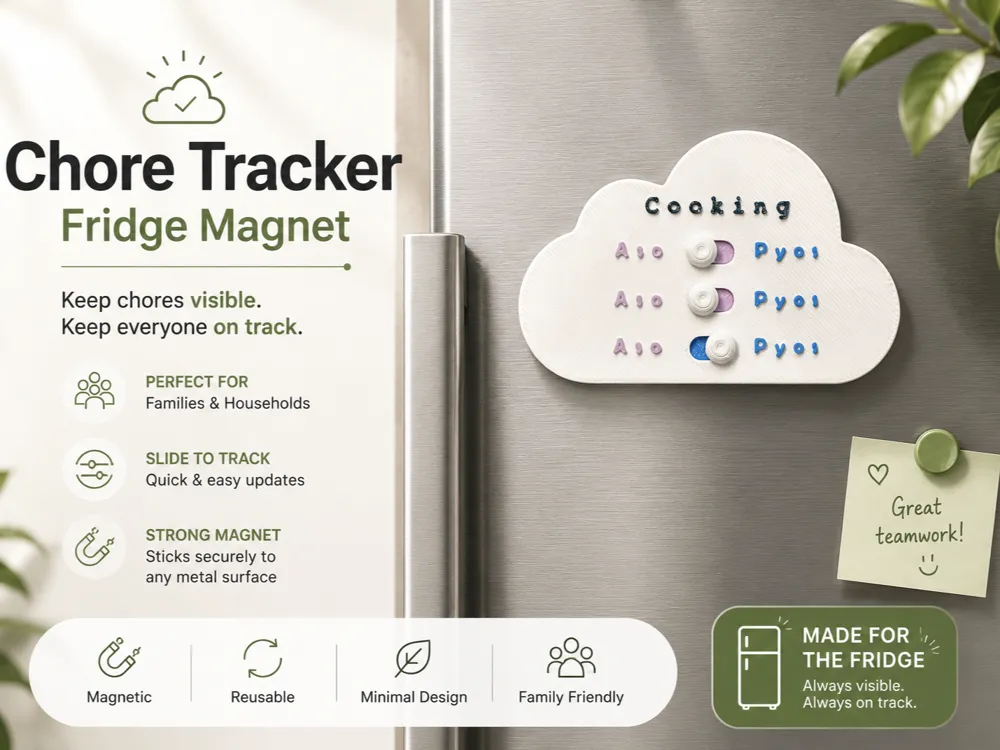
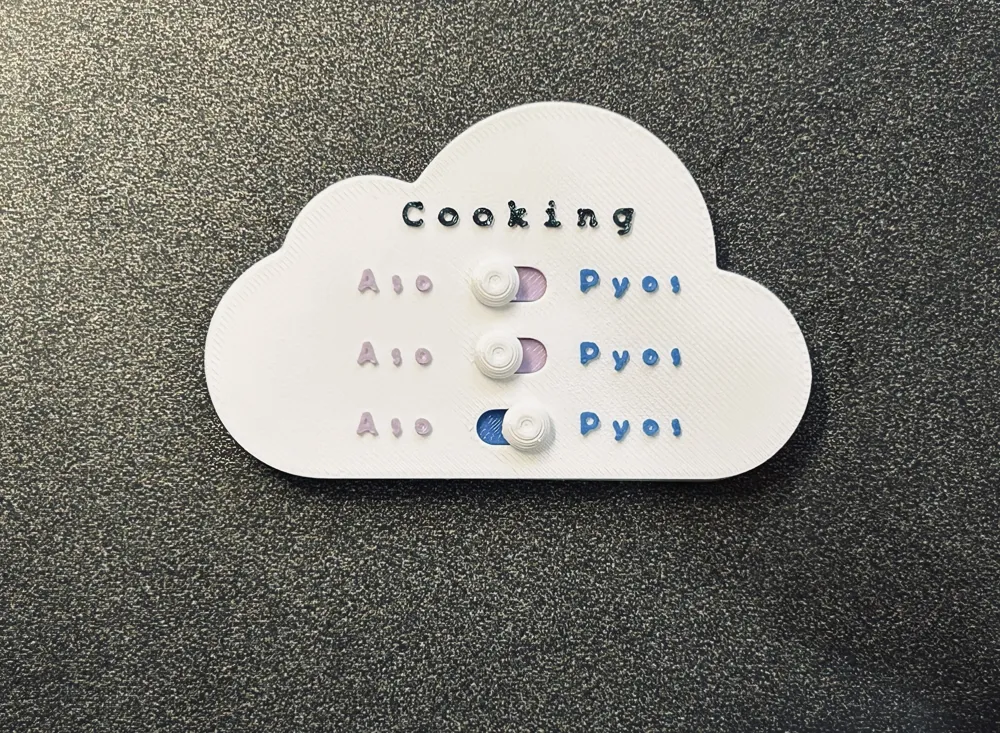
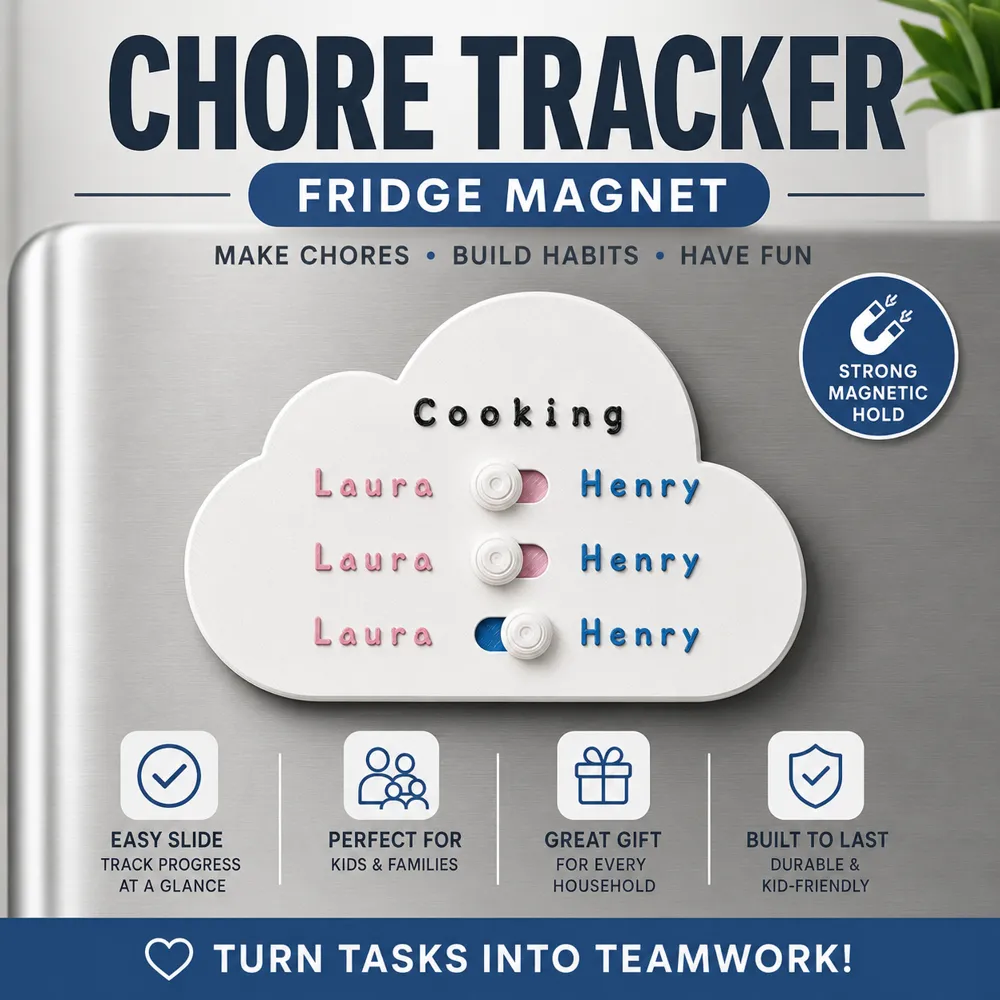
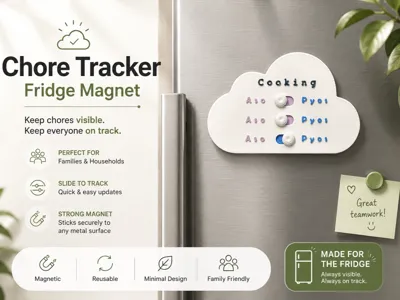
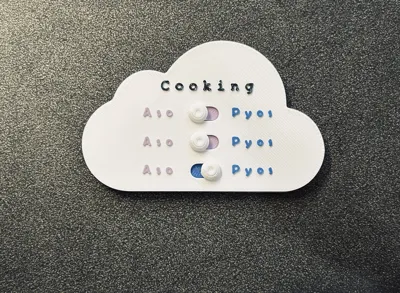
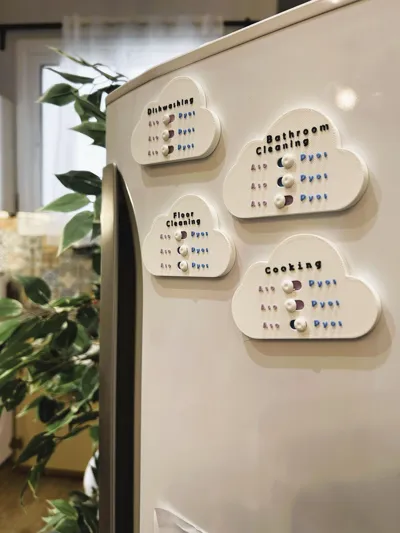
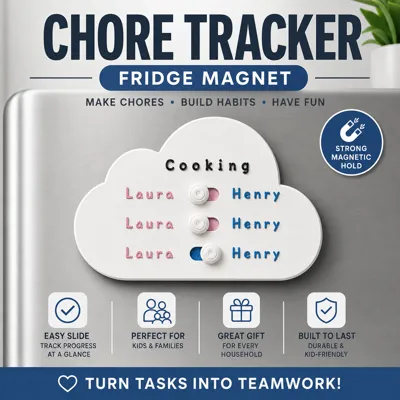
Cloud Chore Magnet ☁️ – 3D Printable Fridge Game
Turn everyday chores into a simple, visual game with this cloud-shaped fridge magnet.
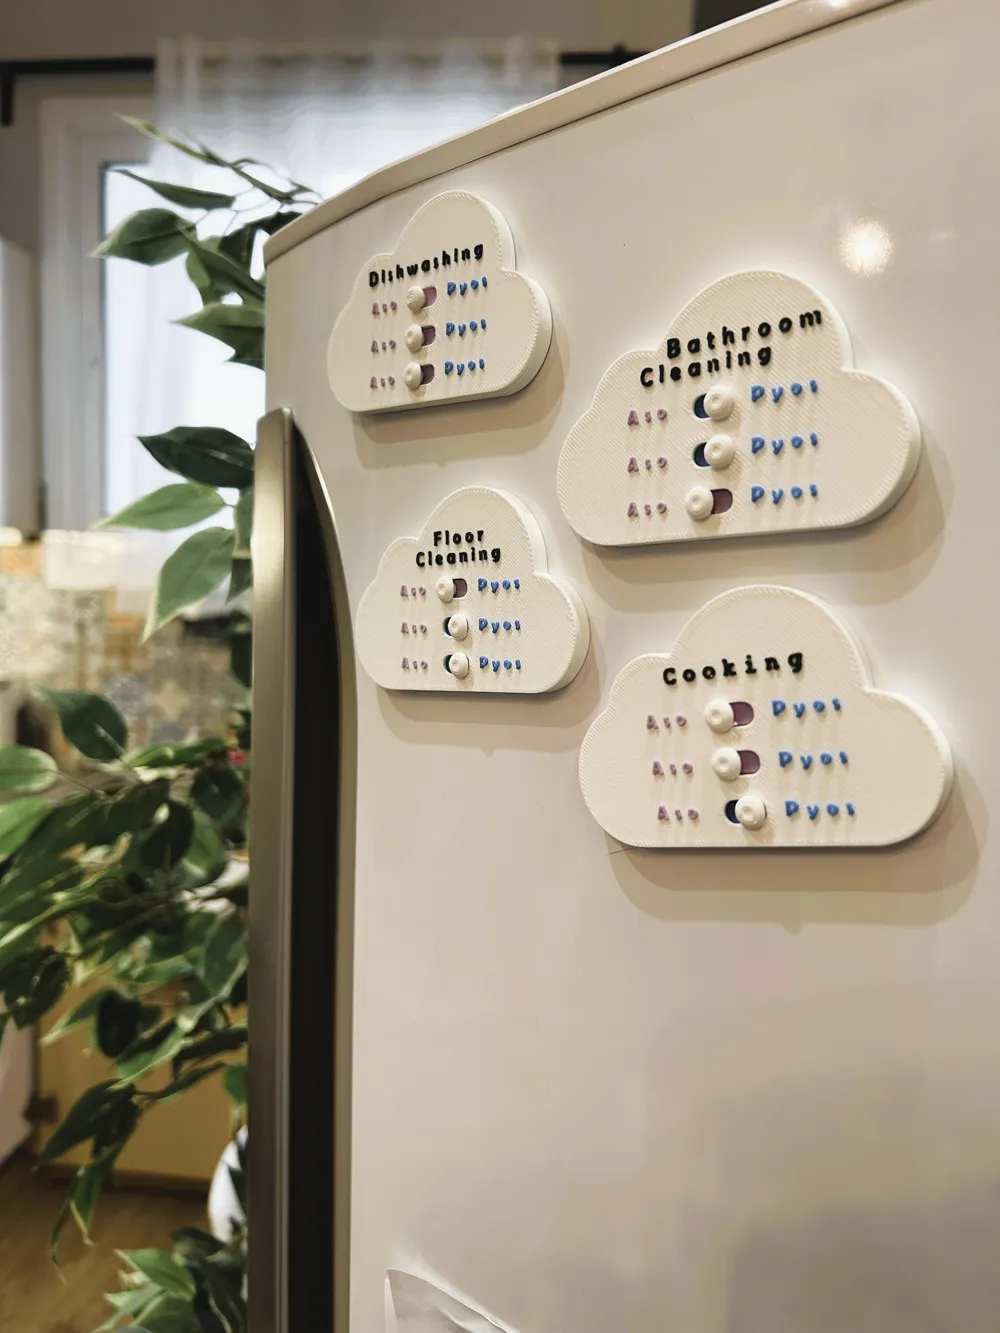
This model features 3 slots, designed for families, pairs or roommates who want a clear and fair way to manage tasks, without the tension.
How it works
- Each chore is assigned to a cloud slot
- Every person must complete the task twice (flip the slot each time, to the corresponding name)
- When the third flip appears, it signals an emergency 🚨
→ the other person must step in and handle it
...Or you can use it your way, adapt the system, invent your own game, or just flip the clouds however it works best for you.
Why it’s fun
- No reminders, no nagging, just flip and track
- Clear responsibility at a glance
- Adds a playful system to daily routines
Design concept
If you don’t like cloudy skies between you and your partner, roommate or family member…
keep the clouds on the fridge, not in your home.
Perfect for:
- Couples
- Roommates
- Families
Minimal, functional kitchen organization. Simple, clean, and a little bit playful !!
Assembly tips
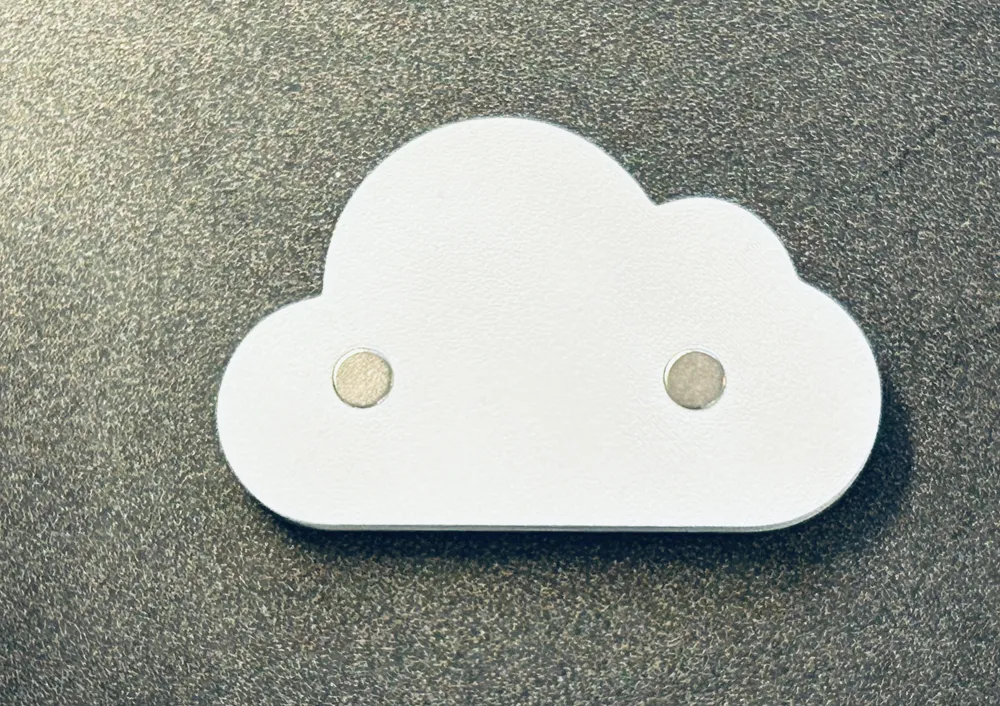
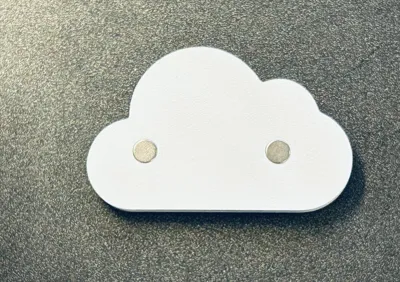
1. Magnets (holes: diameter 0.80cm, length 0.258cm) [Many suppliers advertise this as length 3mm] OR make your own hole.
- Insert the magnets into the holes
- Place the part on a flat, steady surface
- Press down firmly until fully seated
- Optional: use pliers for extra pressure
- Do this before assembly to avoid damaging the text
2. Slider Installation
- Take the top cloud (with the text)
- Insert the slider from the bottom side
- Make sure the knob is facing up
3. Secure the Slider
- Apply a small amount of super glue around the bottom area
- Ensure the slider is held firmly in place
4. Close the Model
- Attach the bottom part to the top
- Press together and hold briefly for a strong bond
License

You may create derivative works based on this object, provided that all such derivative works are published exclusively on the MakerWorld platform and include proper attribution to the original creator. You may not share, upload, host, distribute, or publish this object—or any derivative work of this object—on any other digital platform, marketplace, or distribution channel. Commercial use of this object and any derivative works is strictly prohibited. This includes, but is not limited to, selling, renting, sublicensing, or using the object in any context in which you receive monetary compensation or other financial benefits.


Comment & Rating (0)