
Print Profile(2)
Bill of Materials



Description
Hello fellow makers,
Ace_17 here with a new upload. I use an upgraded Bambu Lab P1P→P1S model for all my prints and have a base AMS.
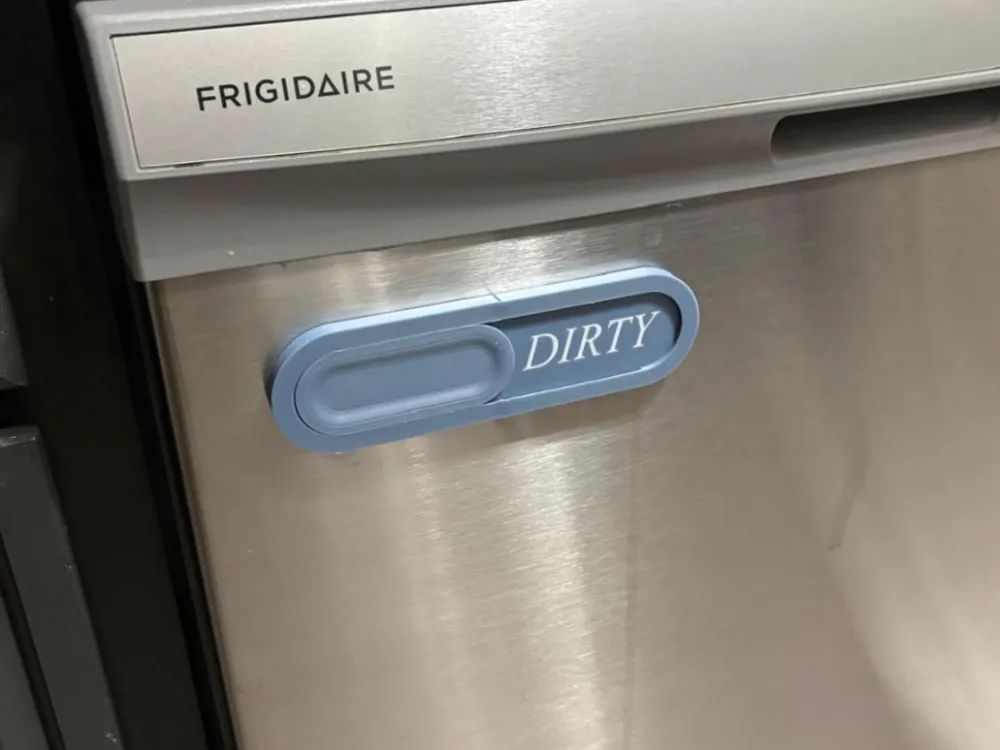
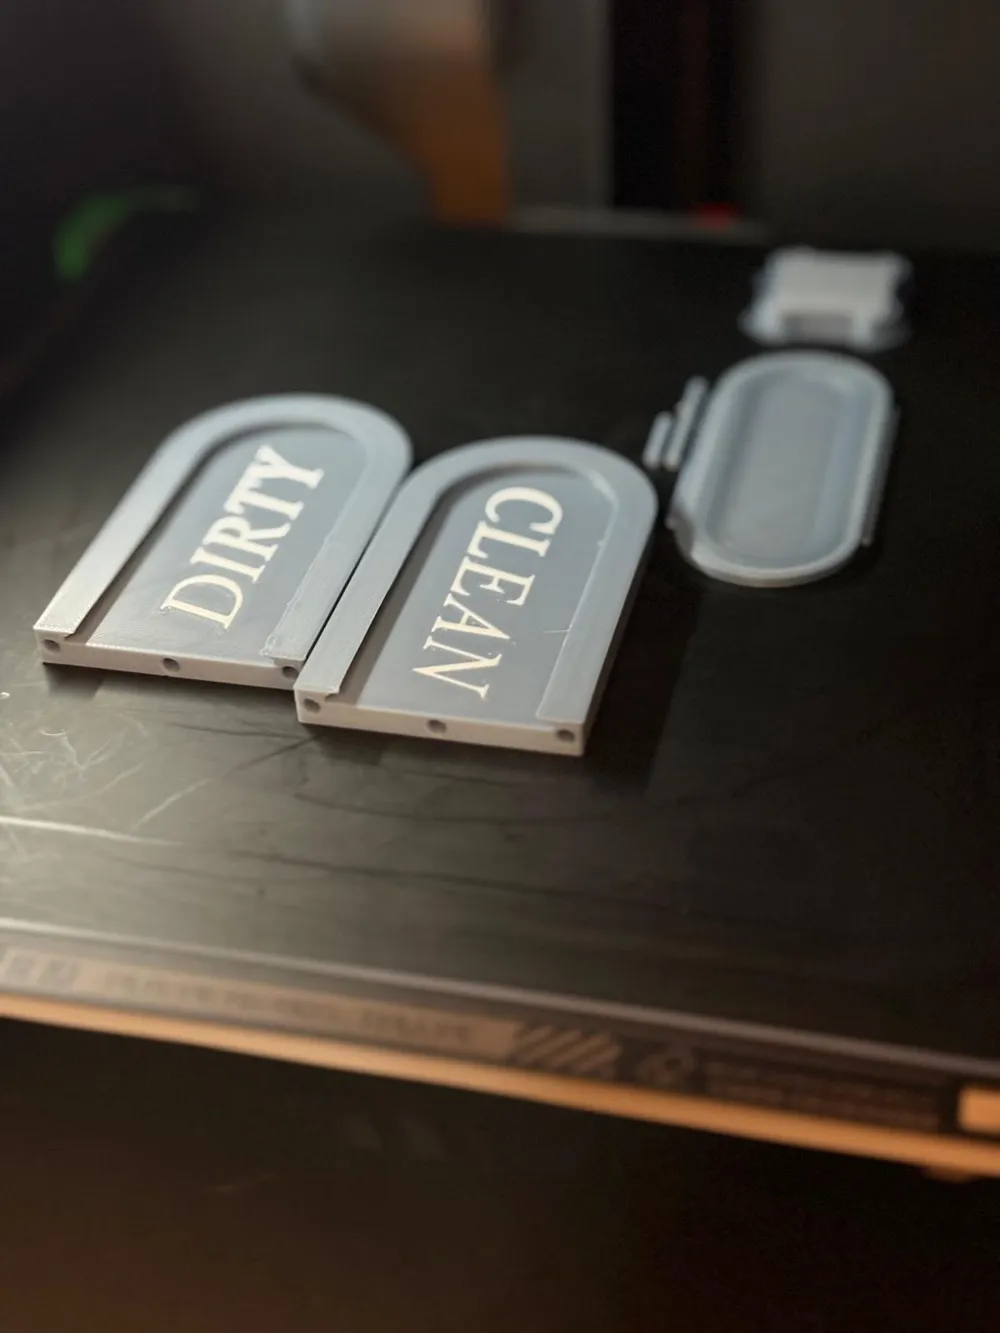
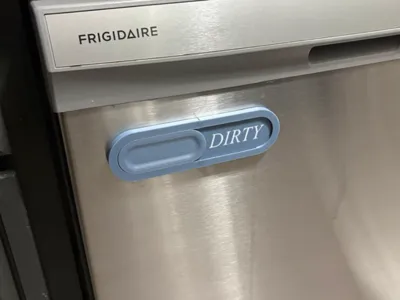
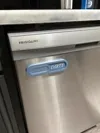
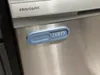
The model is printed out of PLA Basic, and the two colors that were used are blue gray and jade white. The model is a fun piece intended to help keep the household chores in order, particularly the status of the dishwasher. Everyone knows that no one really likes doing the dishes, but at least there's a visual aid now that can help track if the task is completed or not.
***The first 4 assembly instruction steps pertain to both print profiles available to choose from***
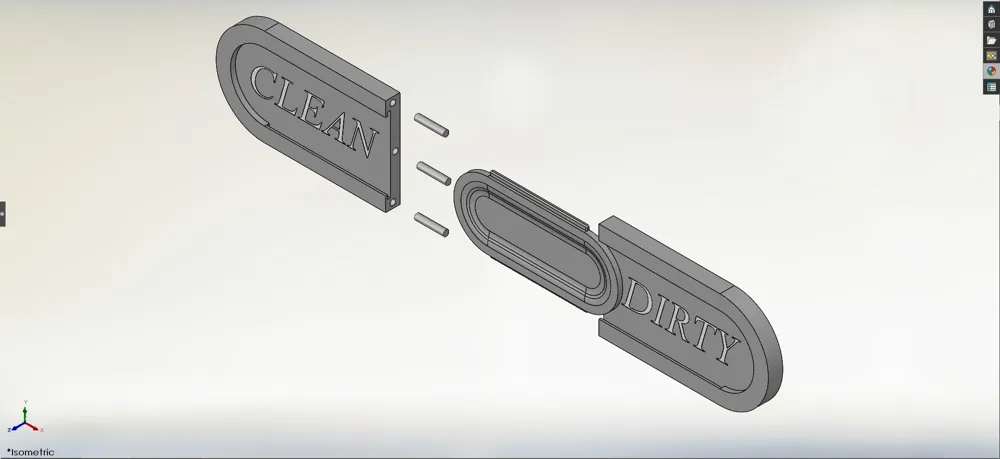
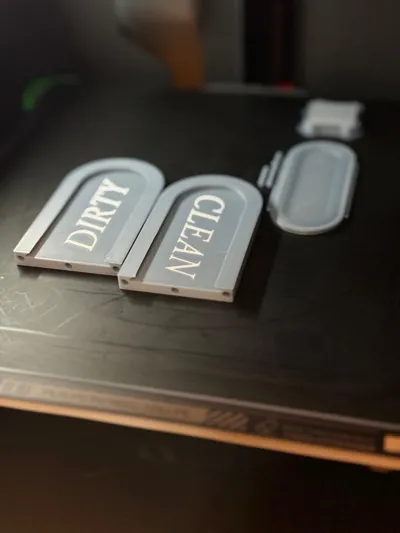
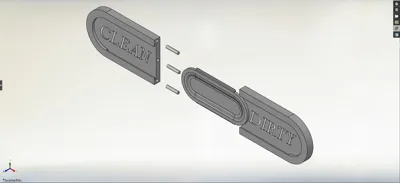
There are 6 pieces in total for the print: the left half with the “CLEAN” lettering, the right half with the “DIRTY” lettering, the sliding window, and 3 press-fit dowel pins. For assembly, follow the exploded view picture for reference and the following instructions:
- Insert one of the dowel pins into one half of the main body, a few millimeters at least. There will be some-significant resistance since the pin is oversized for the hole. ***IT IS CRITICAL TO INSERT THE PIN WITHIN ~10 MINUTES OF THE PRINT FINISH SO THAT THE MATERIAL IS STILL WARM AND WORKABLE***
- Repeat process for remaining dowel pins. Then find a flat, sturdy surface to put the protruding pins facing down, in contact with the surface, and push VERTICALLY down into the table trying to maintain an even height of the protruding pins. Continue to push until all pins bottom out. This may take several cycles, and be careful to not apply brute force to avoid snapping the pins.
- Insert the sliding window piece into both halves of the main body and move it back and forth several times to break in the fit. Then fully insert it in one half.
Take the half of the main body without dowel pins and press it down VERTICALLY onto the other half of the body with the pins. The same methodology applies for joining these two halves as inserting the pins. However, the main half of the body with the pins will have a rounded base in contact with your assembly surface so be careful to not rock the halves back and forth as you are pressing them together.
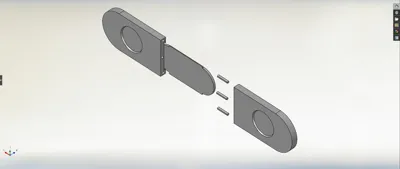
*****V2 UPDATE INSTRUCTIONS*****
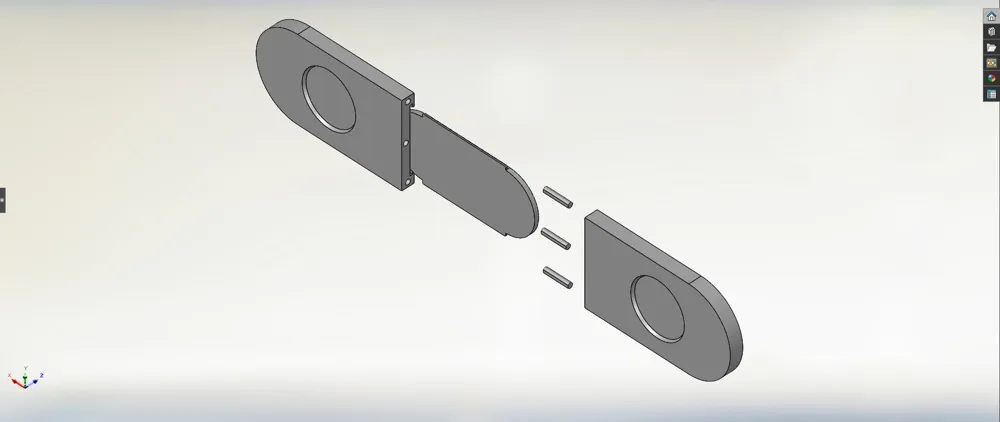
- V2 assembly should be smoother with smaller diamter press-fit dowel pins
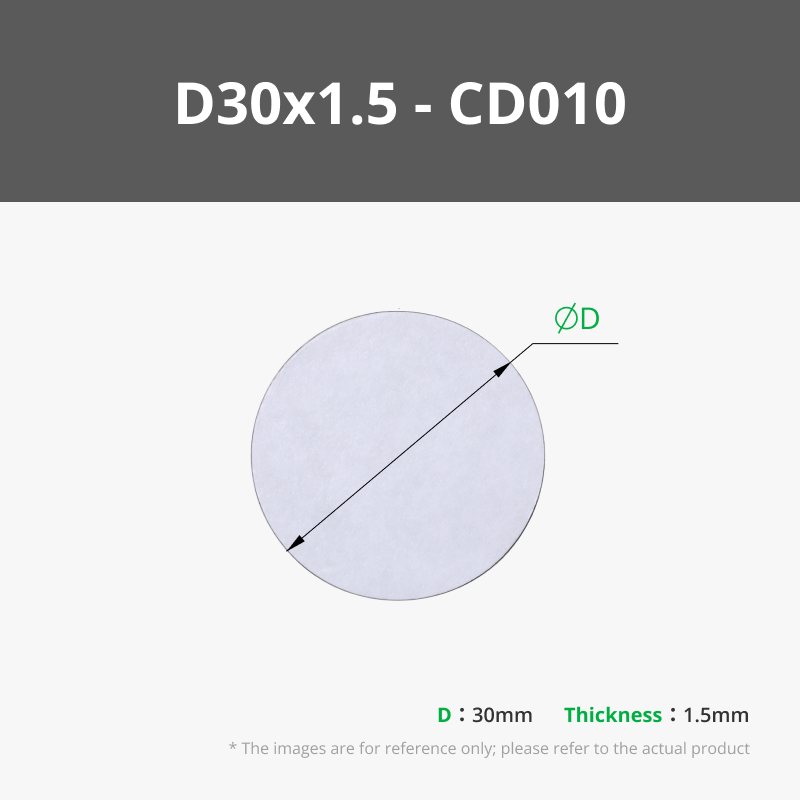
- Remove adhesive from 2 magnets and apply 1 in each slot on the backside of the sign
- Display in kitchen for the family to use, hopefully…
Thanks to @user_1064900276 and @MarkWBrooks for the magnet idea and allowing for easier assembly, respectively.
Thank you for viewing my upload and please consider printing or downloading it. Additionally, please leave any comments below regarding model or print profile improvements.
Boost Me (for free)
If you enjoyed my design, please consider leaving me a boost token as well as I am the original creator of these models and put hard work into making sure they are successful during printing and look aesthetic. Thank you, Ace_17
License

You may create derivative works based on this object, provided that all such derivative works are published exclusively on the MakerWorld platform and include proper attribution to the original creator. You may not share, upload, host, distribute, or publish this object—or any derivative work of this object—on any other digital platform, marketplace, or distribution channel. Commercial use of this object and any derivative works is strictly prohibited. This includes, but is not limited to, selling, renting, sublicensing, or using the object in any context in which you receive monetary compensation or other financial benefits.


Comment & Rating (25)