
DIY A1 enclosure (3D Printed parts)
Print Profile(1)
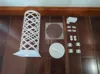
Description
Boost Me (for free)
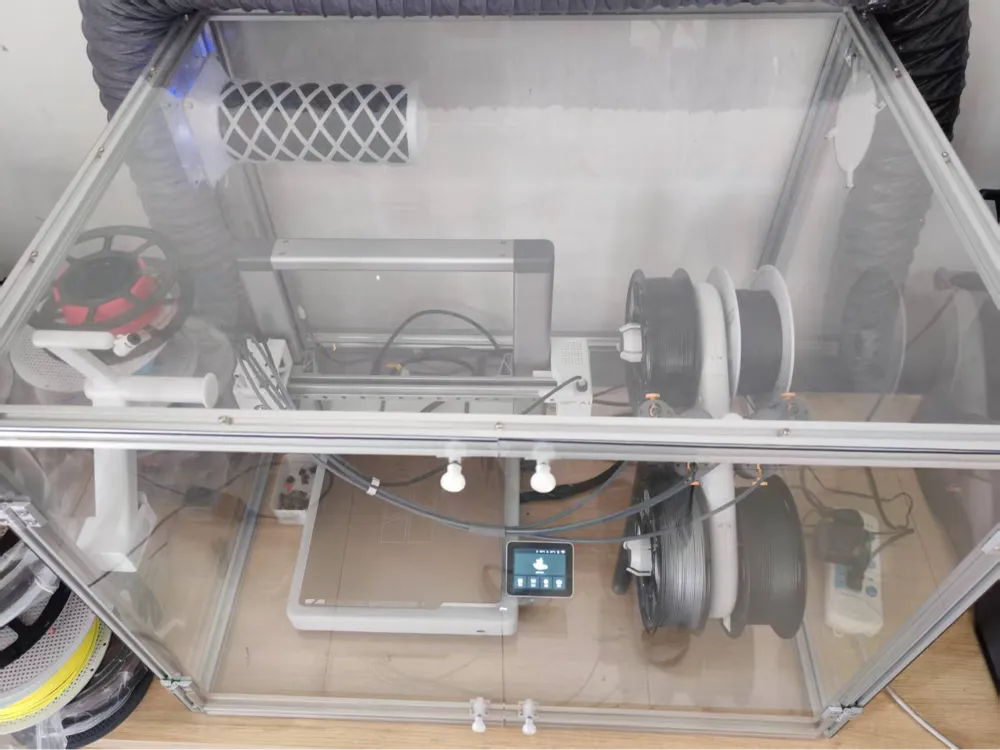
A1 users, are you still worried about the plastic smell in your house from printing? Are you still troubled by models not sticking to the build plate in winter? Here comes the enclosure with an air purifier!!!
Disclaimer: This model was completed in collaboration with @lxm. The cover image is an old version; this model has optimized some parts, and the actual product shall prevail.
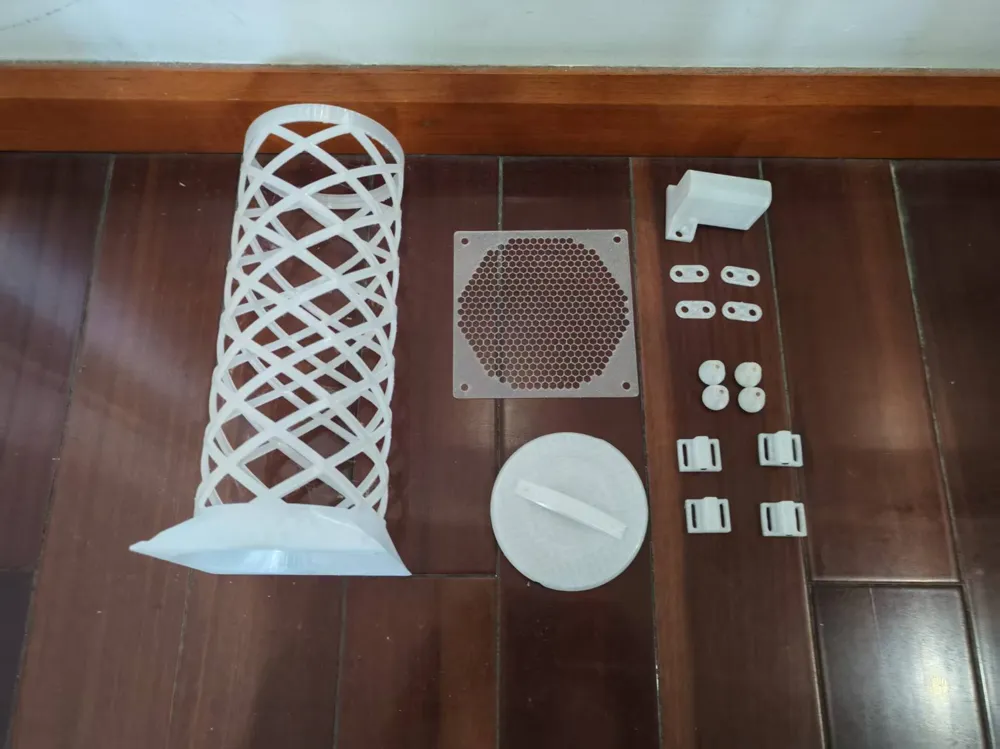
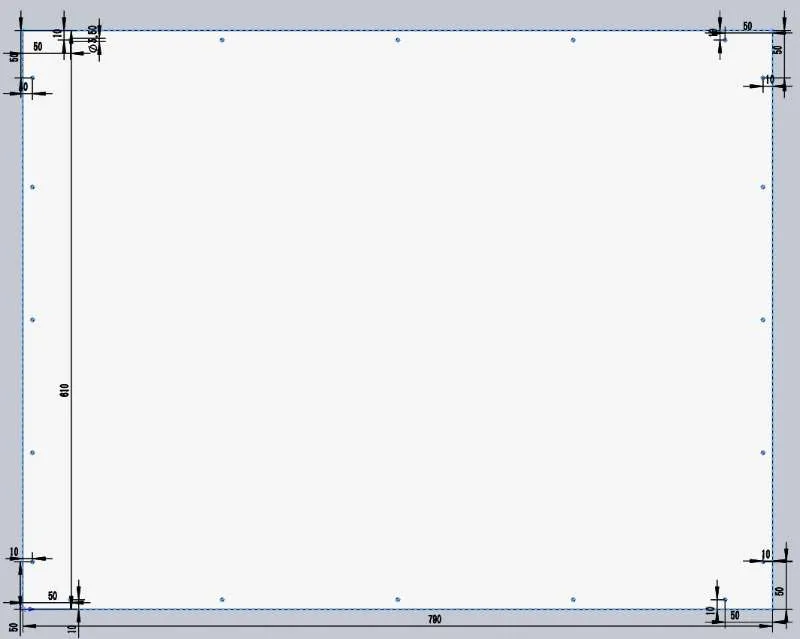
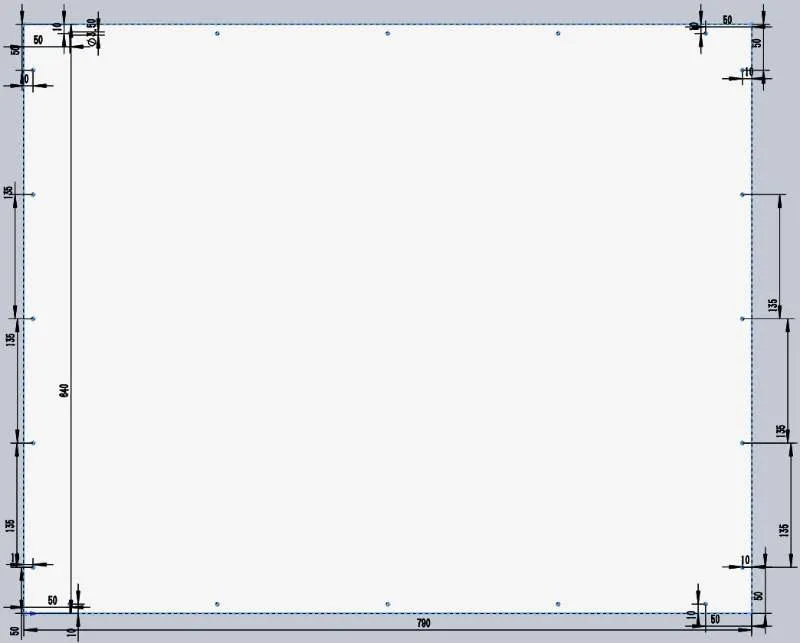
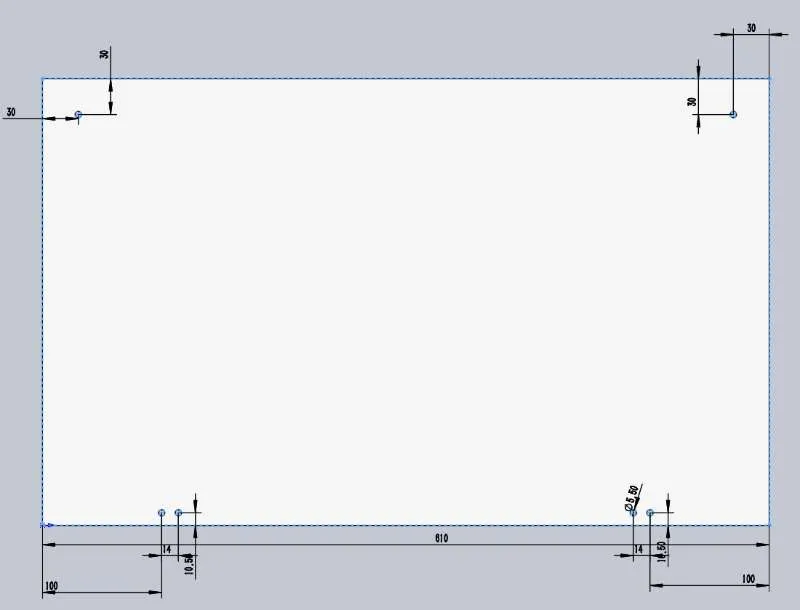
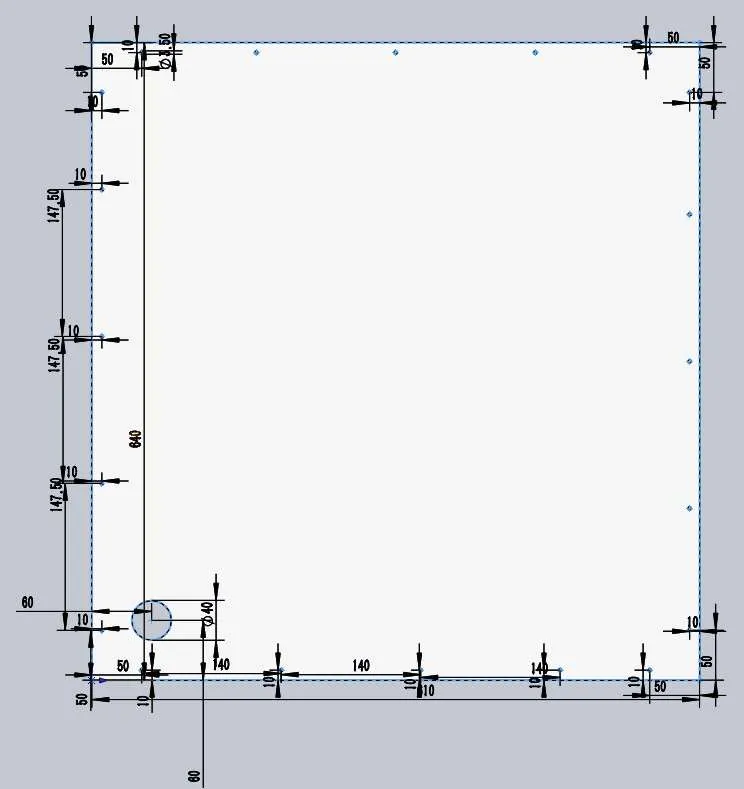
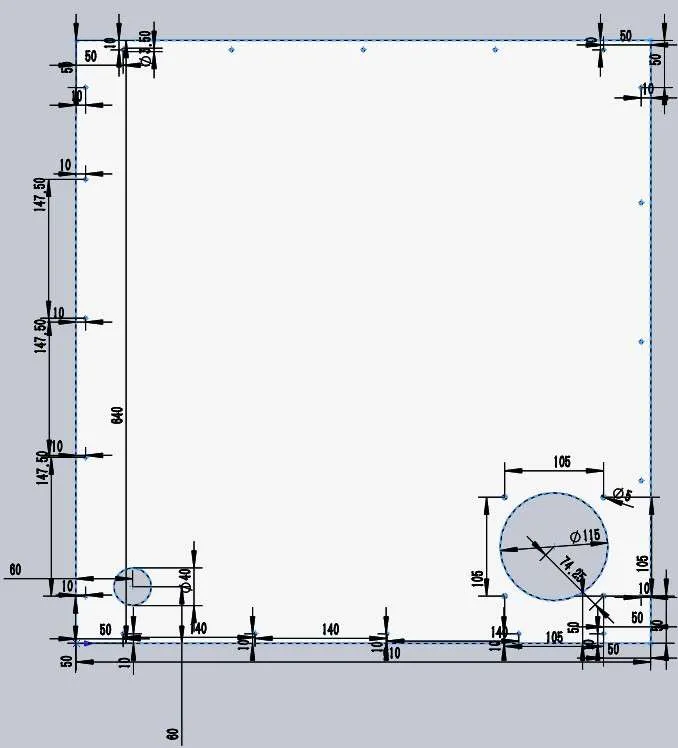
I made an oversized enclosure that can cover both the A1 and AMS lite. It comes with an air purifier and has a position for mounting an external filament spool holder. The main body of the enclosure is built from aluminum profiles and PC panels, along with screws, hinges, and 3D Printed parts. Below are the zip file for the PC panel cutting drawings and the BOM for hardware accessories; please download and view them.
I don't make exploded view assembly instructions. As the assembly method is easy to understand, I will only provide a simple pictorial introduction here. If you have any questions about assembly, please ask in the comments section.
1. Enclosure Main Body
Build the frame using 2020 aluminum profiles and right-angle 3D connectors (with screws). Pay attention to the direction of the 3D connectors, as shown in the figure
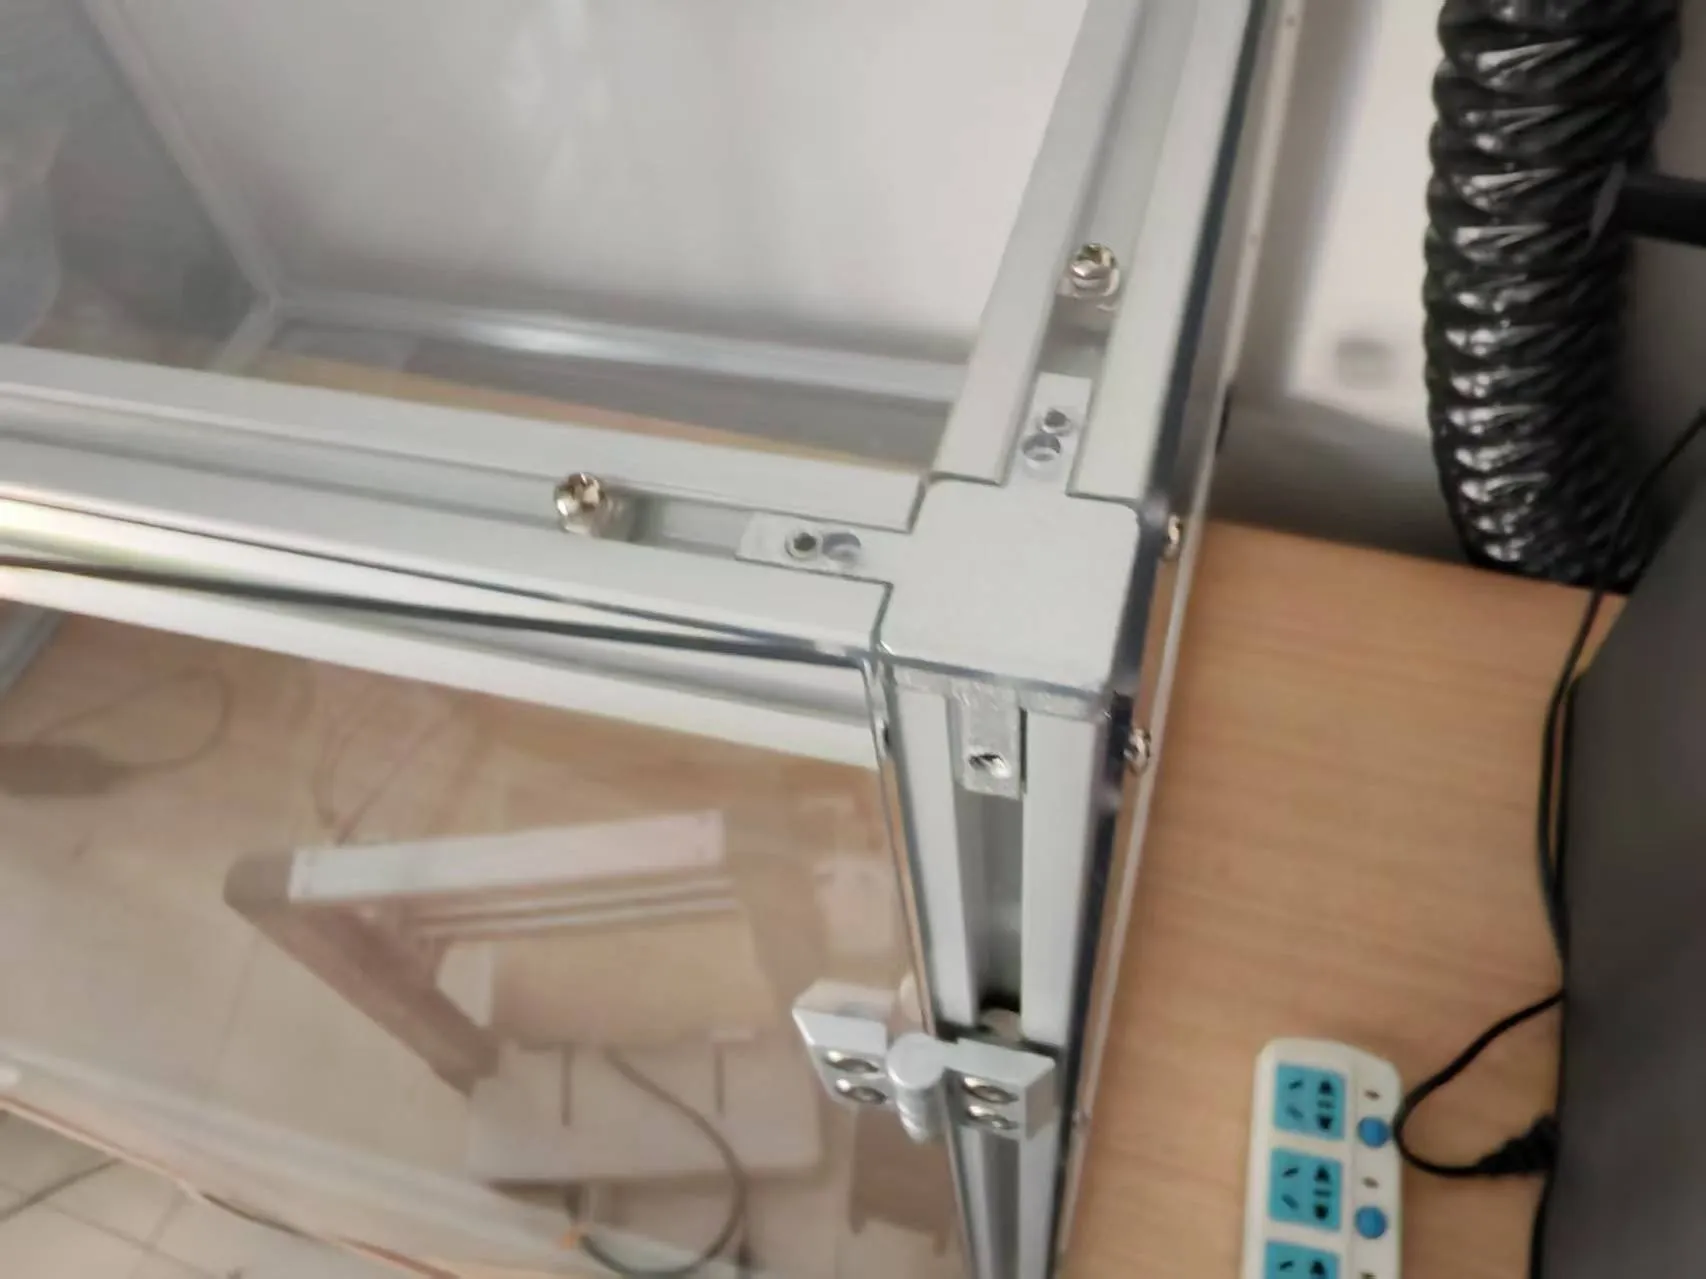
Then use 20TM3 nuts and M3×50 pan head screws to fix the PC panels. Note that the bottom PC panel does not require screws; it just needs to be pressed down.
The door panel is fixed with aluminum profile hinges, 20TM3 nuts, M5 nuts, and M5×10 countersunk hex screws. The 3D Printed shims are placed between the hinges and the aluminum profiles.
2. Cable Management Holes
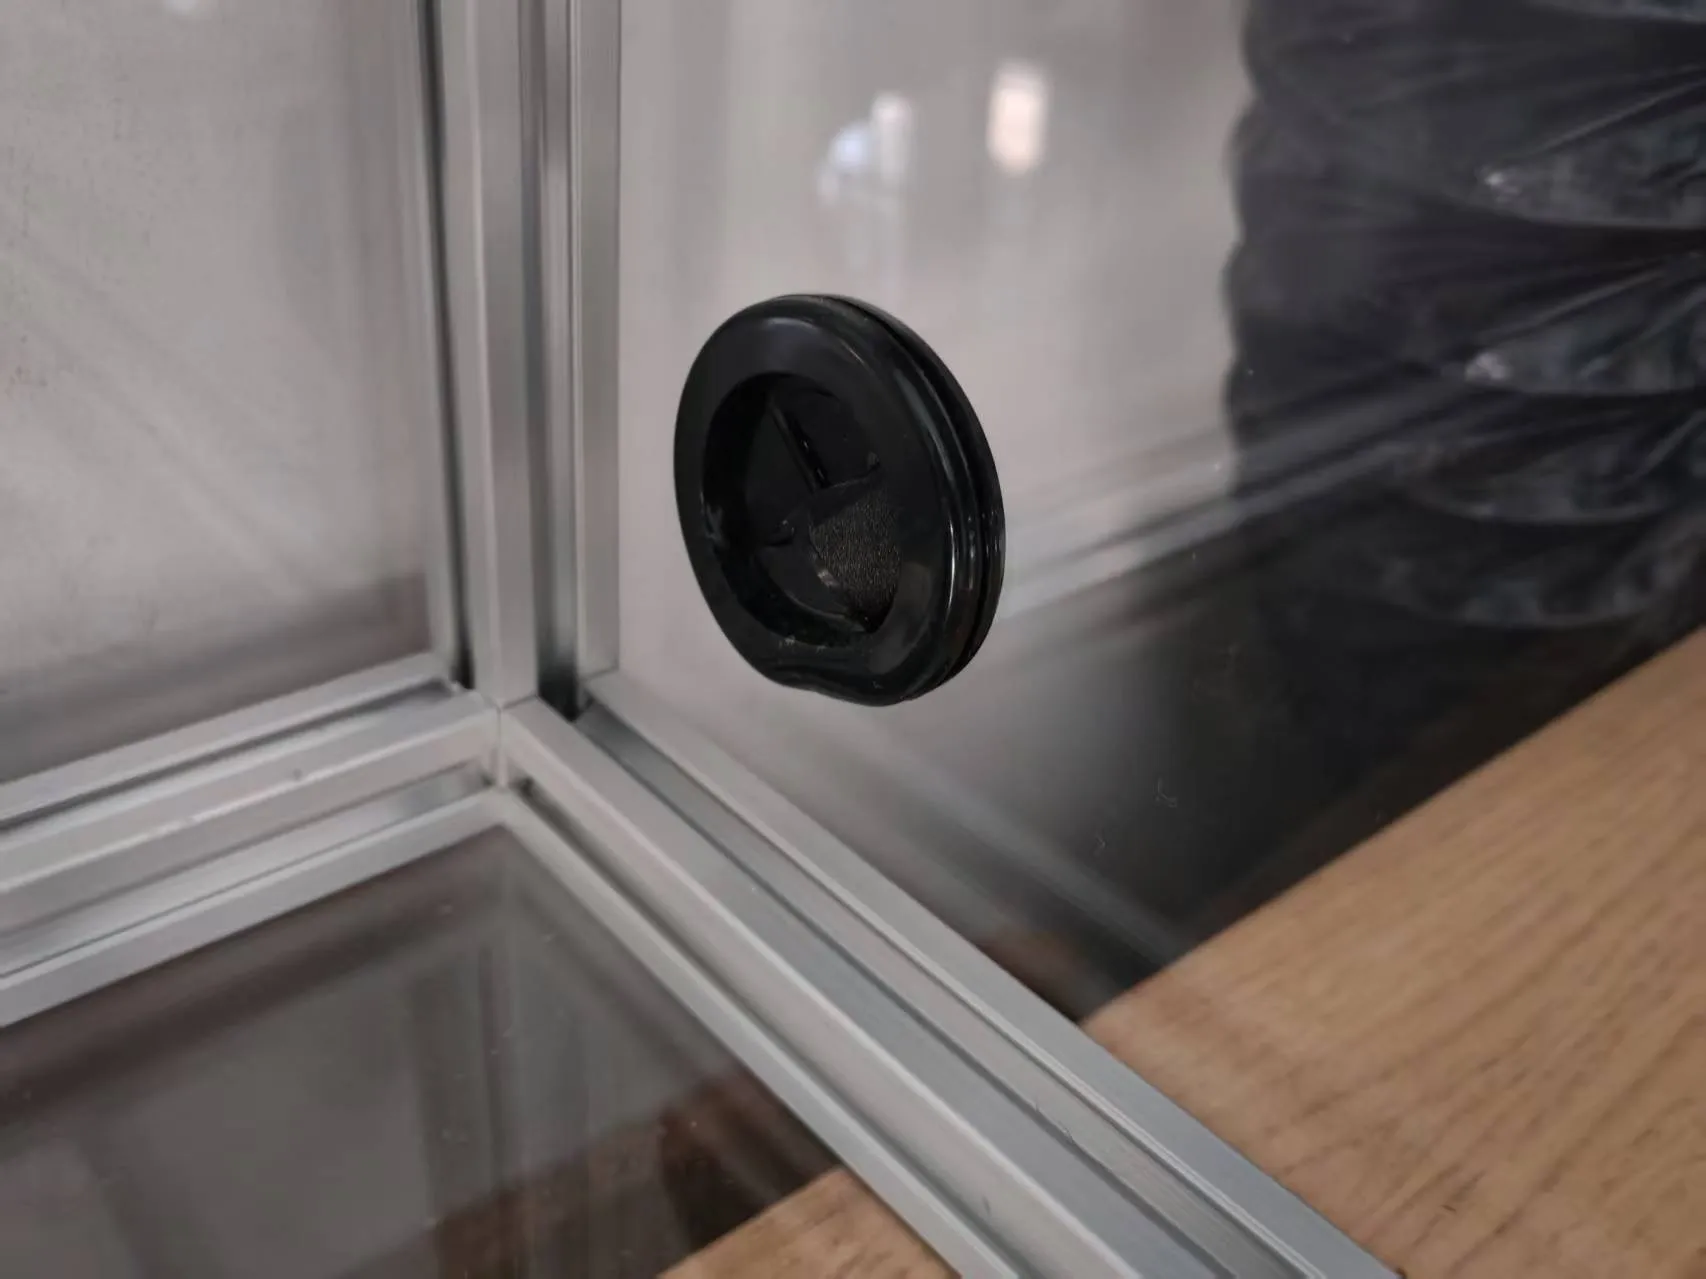
In the round holes at the bottom of the left and right side panels, insert black double-sided rubber grommets respectively.
3. Air Purifier
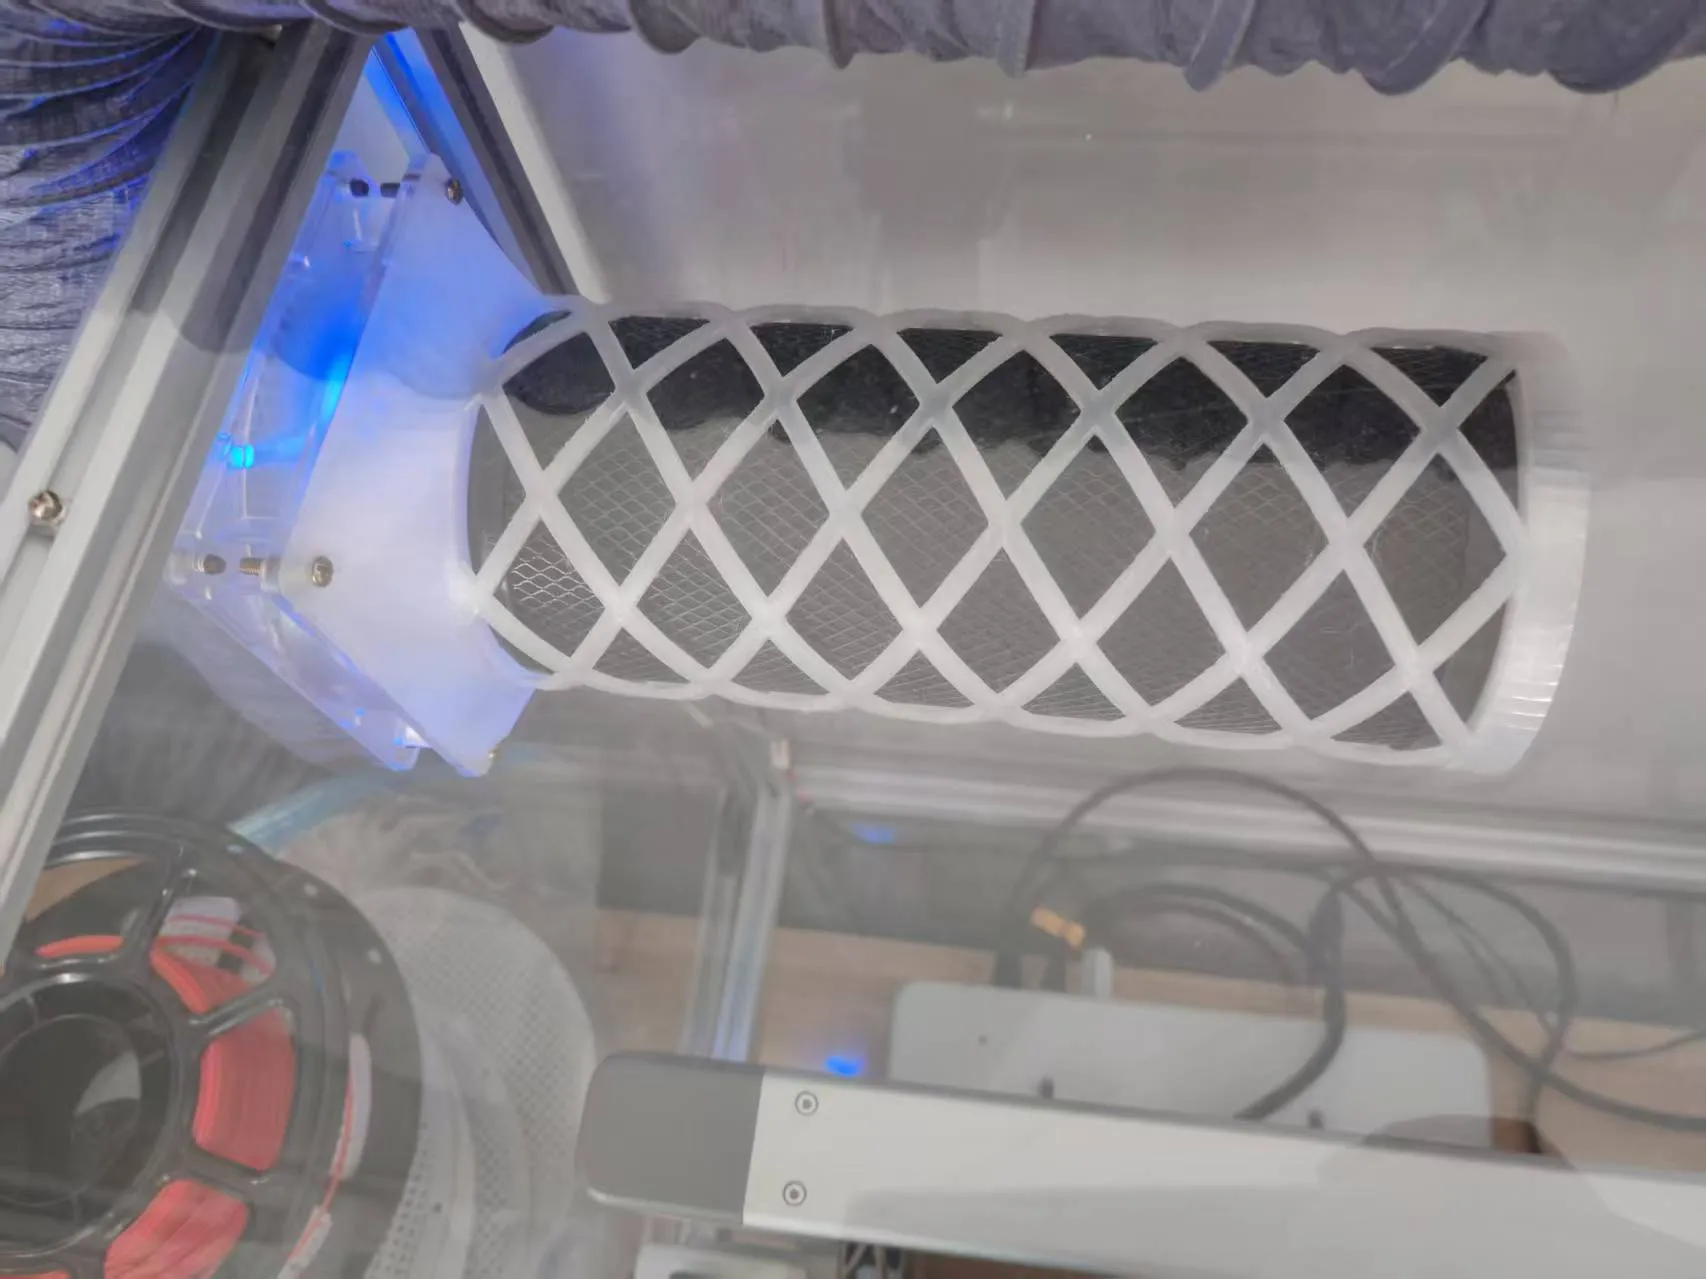
Insert the Xiaomi car air purifier filter element into the 3D Printed part from plate 1, then screw on the cover 3D Printed from plate 1. Next, use M4×20 screws and nuts to install a 12cm silent fan. Finally, use the self-tapping screws that come with the 12cm silent fan to fix the whole assembly to the PC panel. Remember to add a 3D Printed protective mesh between the PC panel and the air purifier to prevent hands or foreign objects from getting caught. After assembly and power-on, it looks as shown in the figure.
4. External Filament Spool Holder
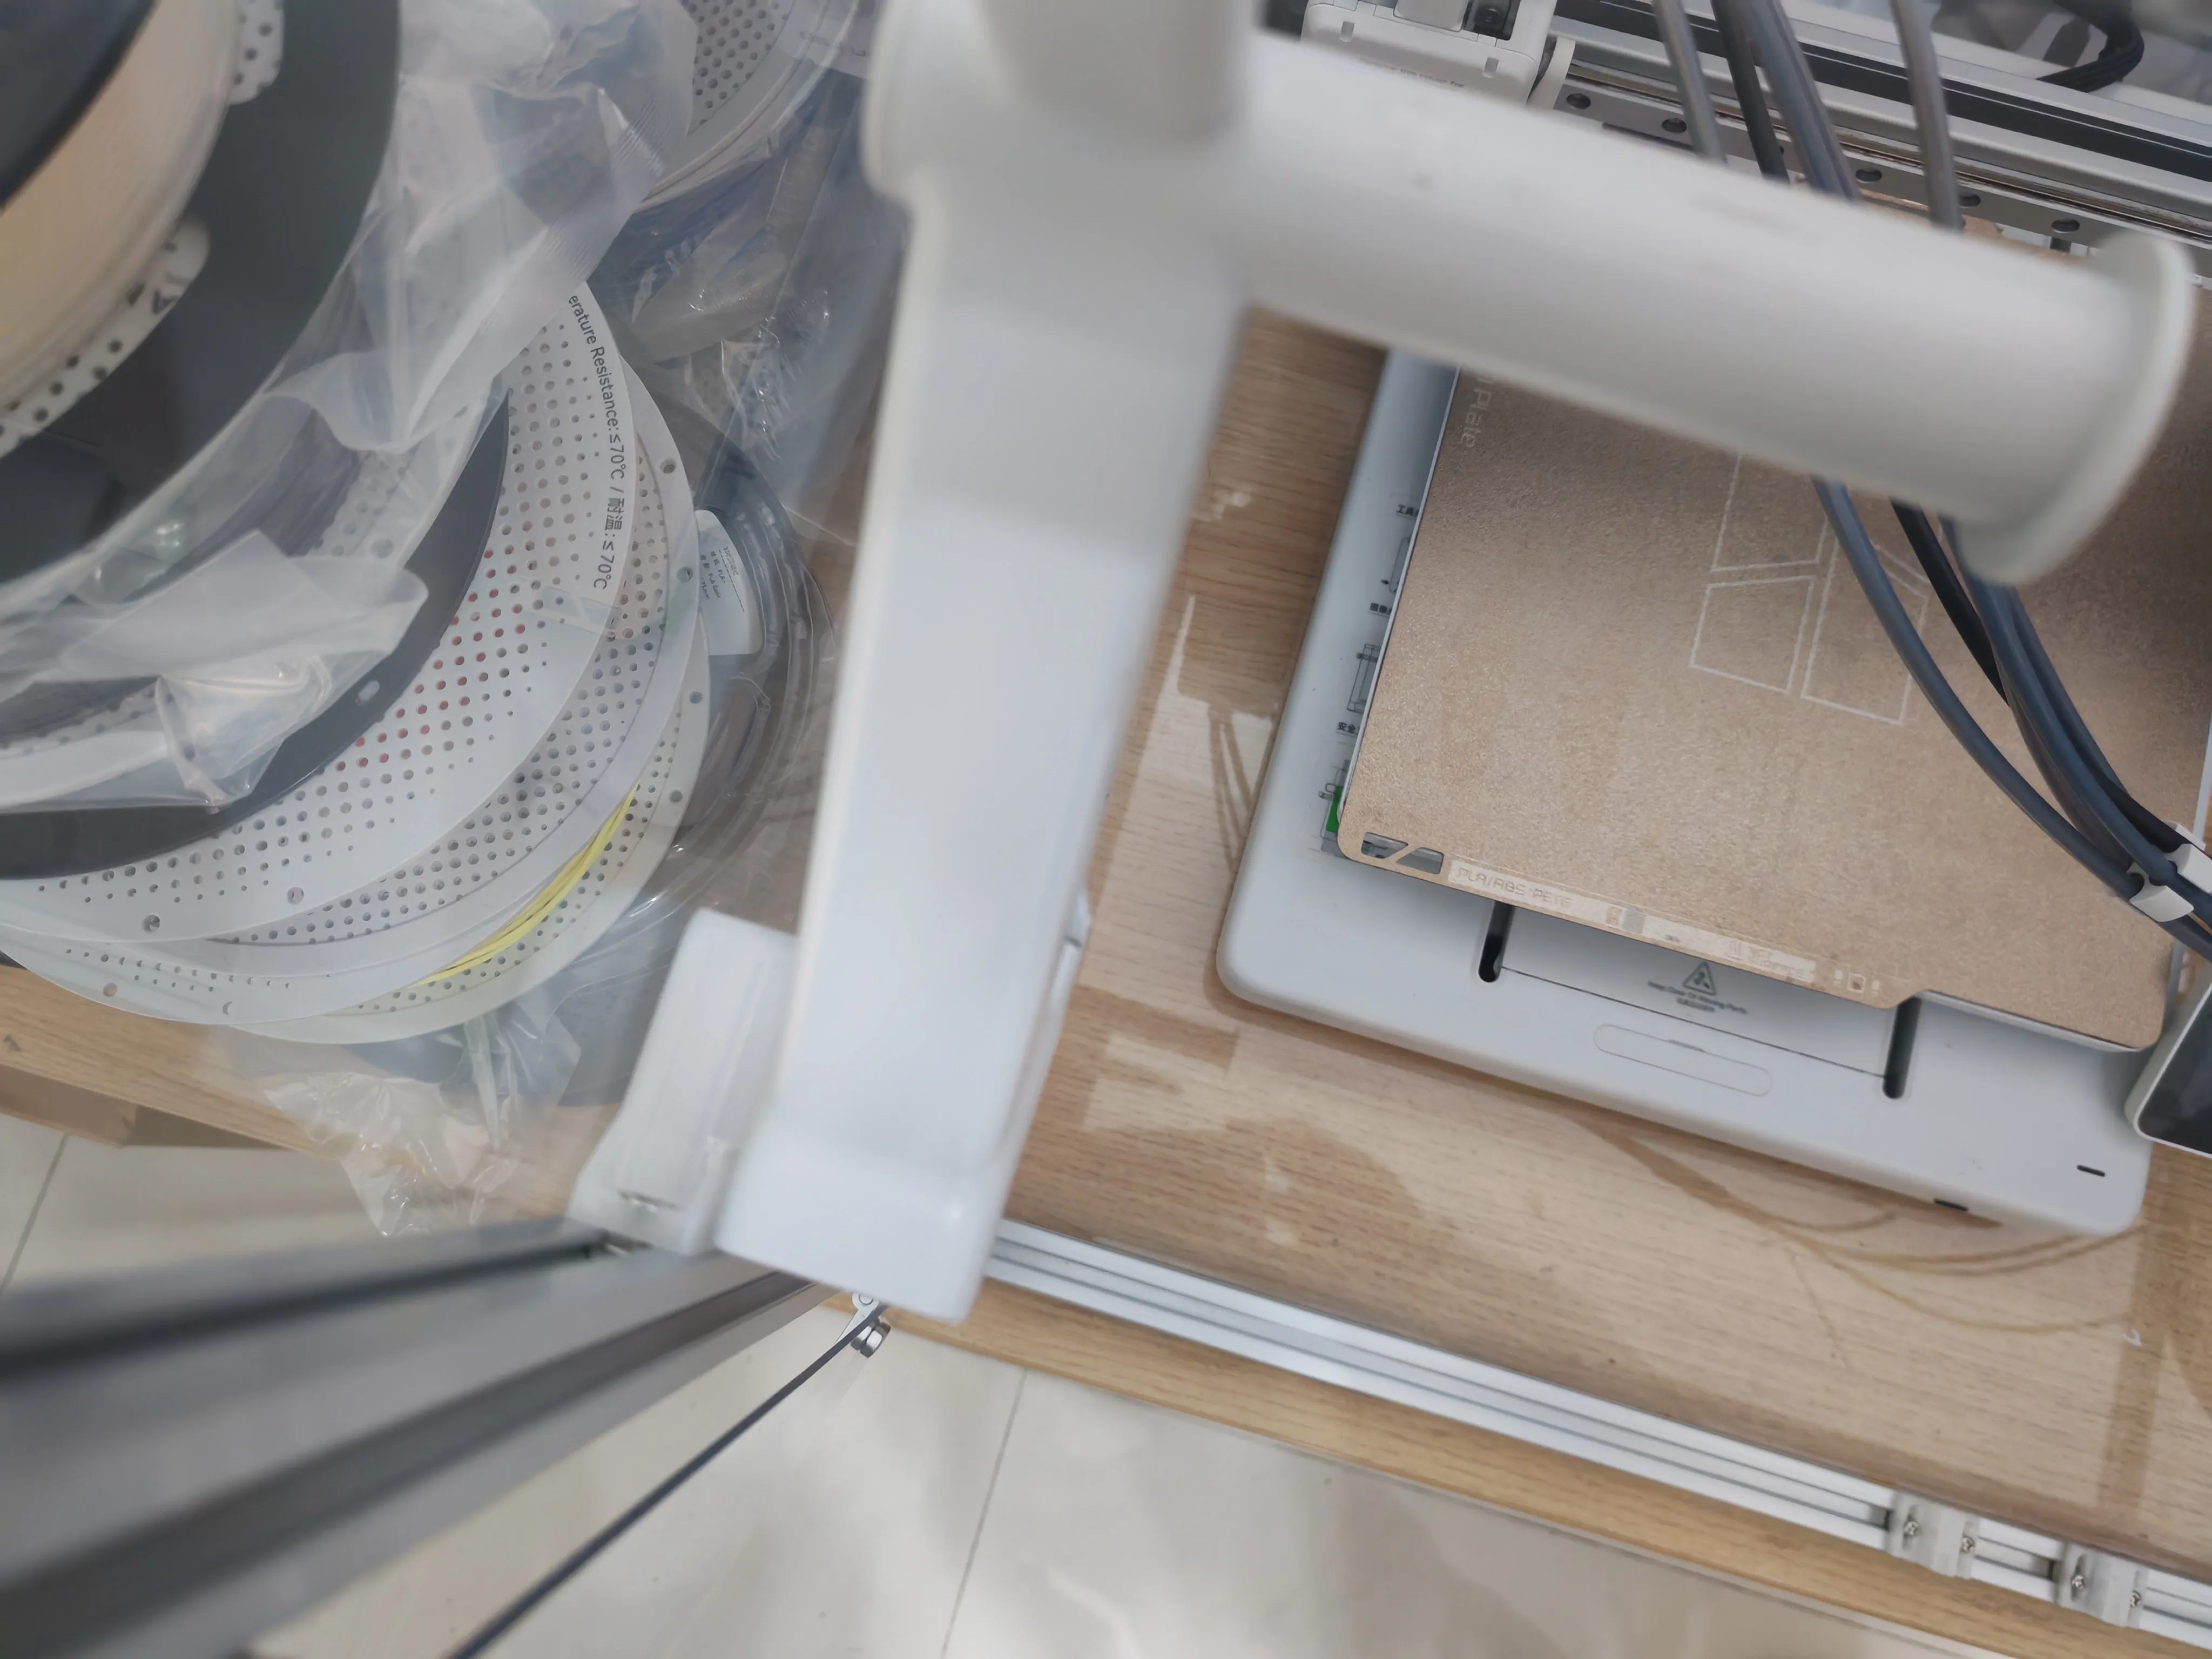
Use 20TM3 nuts and M5×10 countersunk hex screws to fix the 3D Printed part to the aluminum profile on the inner side of the enclosure. The position can be adjusted as needed. Then snap on the external filament spool holder.
5. Door Handle and Magnetic Catch
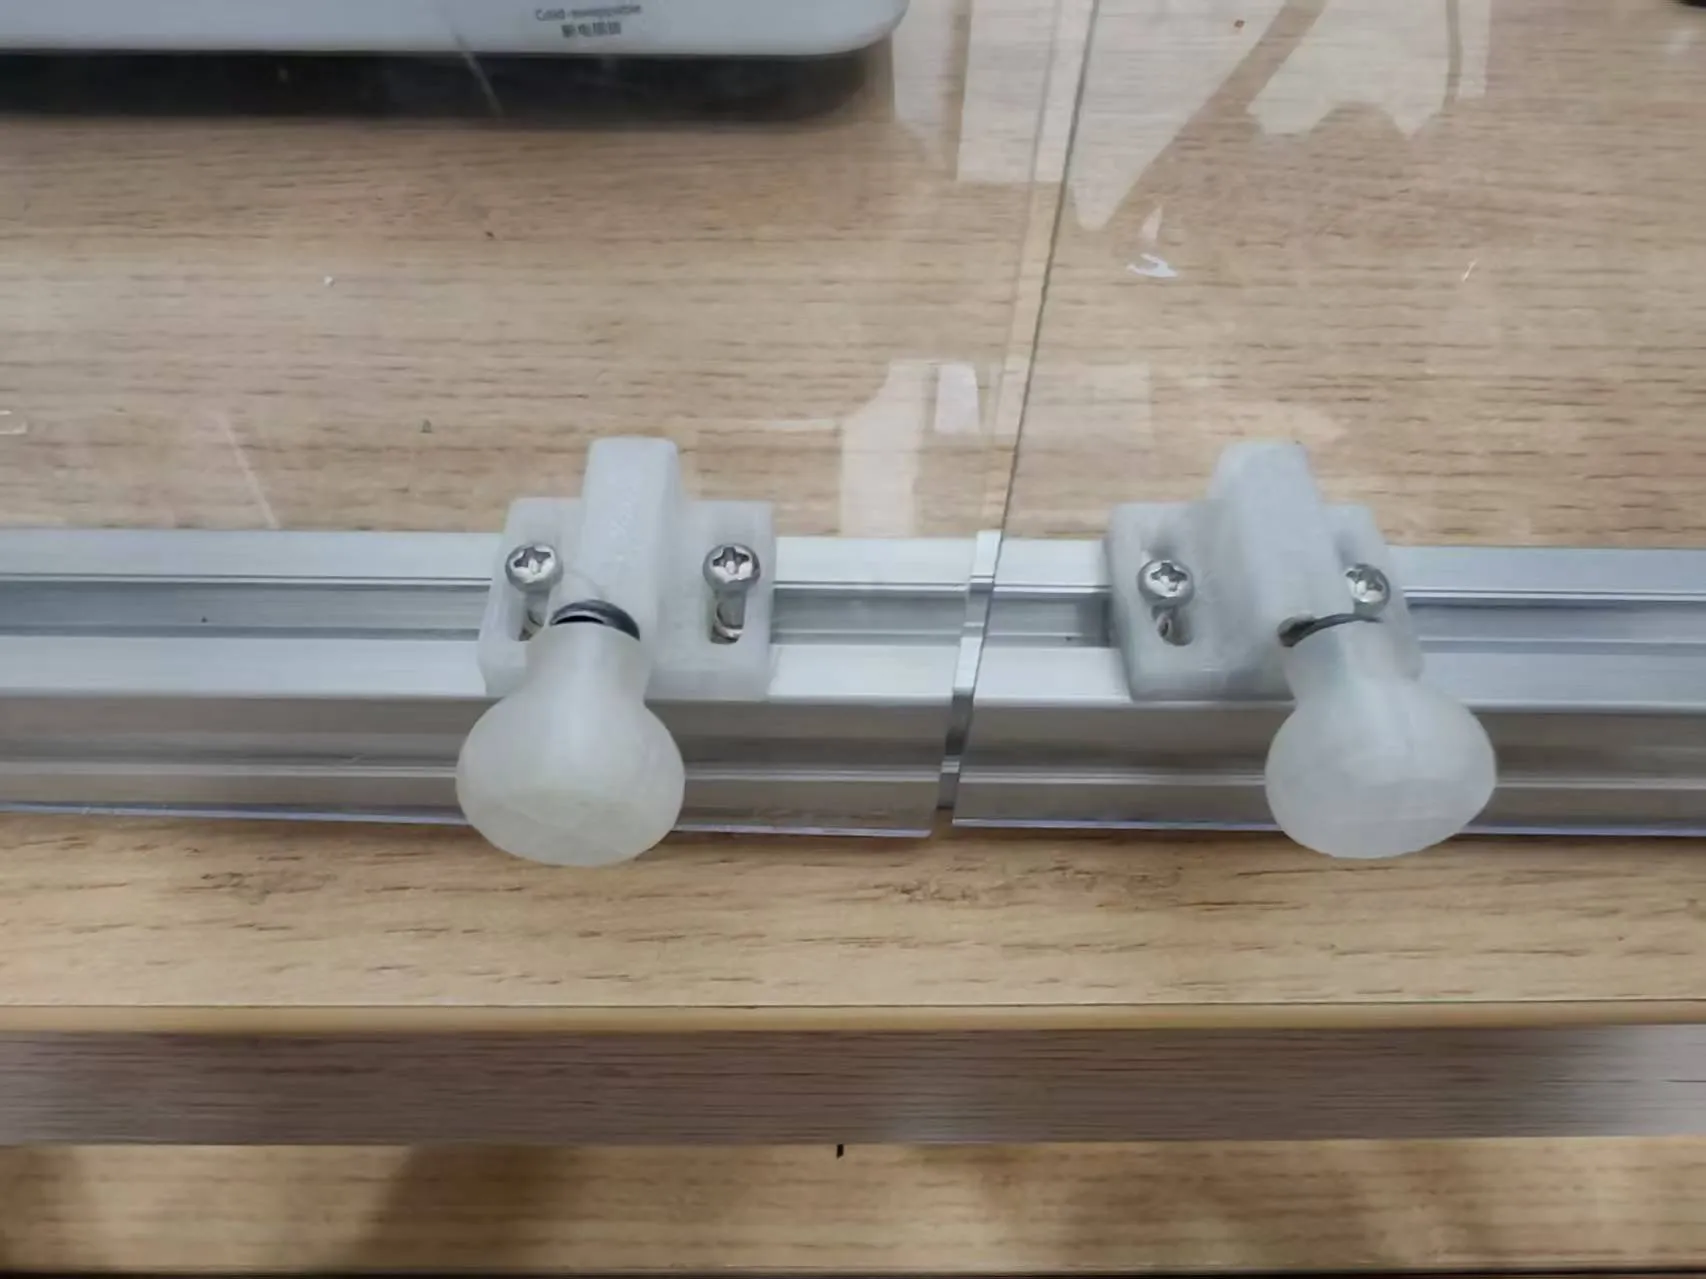
Insert the 3D Printed door handle into the hole on the door panel and fix it with an M3×8 cross pan head self-tapping screw with washer. Afterwards, install the 3D Printed magnetic catch on the corresponding aluminum profile. Embed a 4×6mm cylindrical magnet into the magnetic catch, or replace it with 3 Maker's Supply 4×2mm cylindrical magnets. After installing the door handle and magnetic catch, it is recommended to fine-tune the hinges and magnetic catch so that the screw behind the door handle aligns with the magnet on the magnetic catch, and to ensure the door closes tightly.
PC Panel Drawing Preview:
Documentation (2)
License

You shall not share, sub-license, sell, rent, host, transfer, or distribute in any way the digital or 3D printed versions of this object, nor any other derivative work of this object in its digital or physical format (including - but not limited to - remixes of this object, and hosting on other digital platforms). The objects may not be used without permission in any way whatsoever in which you charge money, or collect fees.


Comment & Rating (0)