
The Last Circuit Board Holder You'll Ever Need
Print Profile(2)
Bill of Materials
- 6mm Steel Rod x 2:
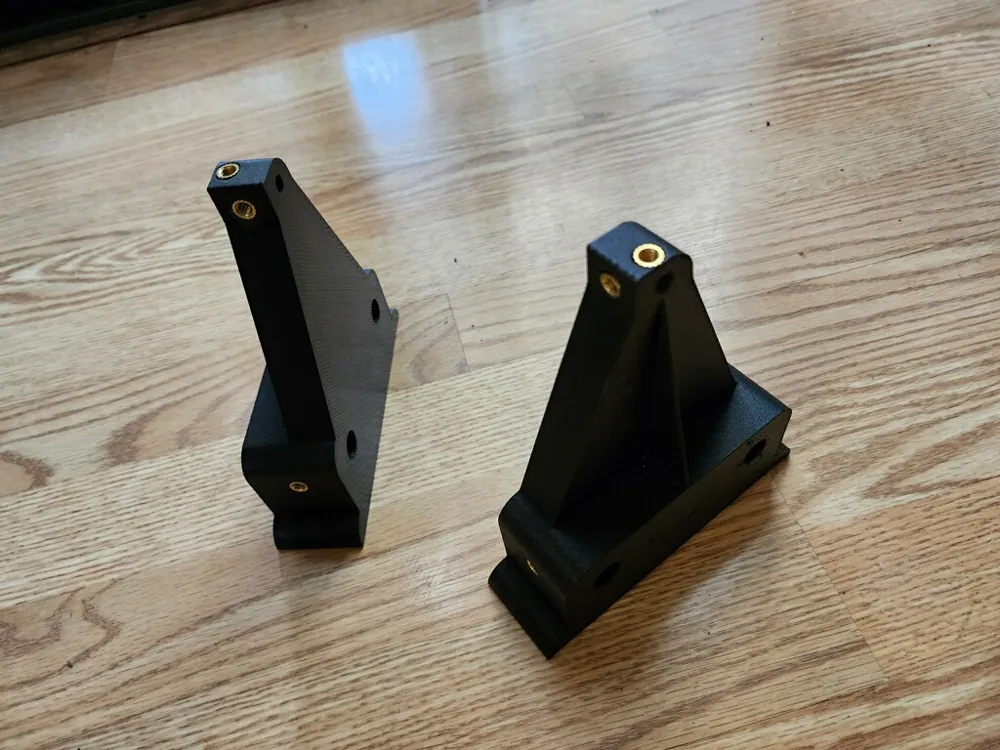
- M6 Short Heat Insert x 6:
- M6 Threaded Knob x 6:
Description
Boost Me (for free)
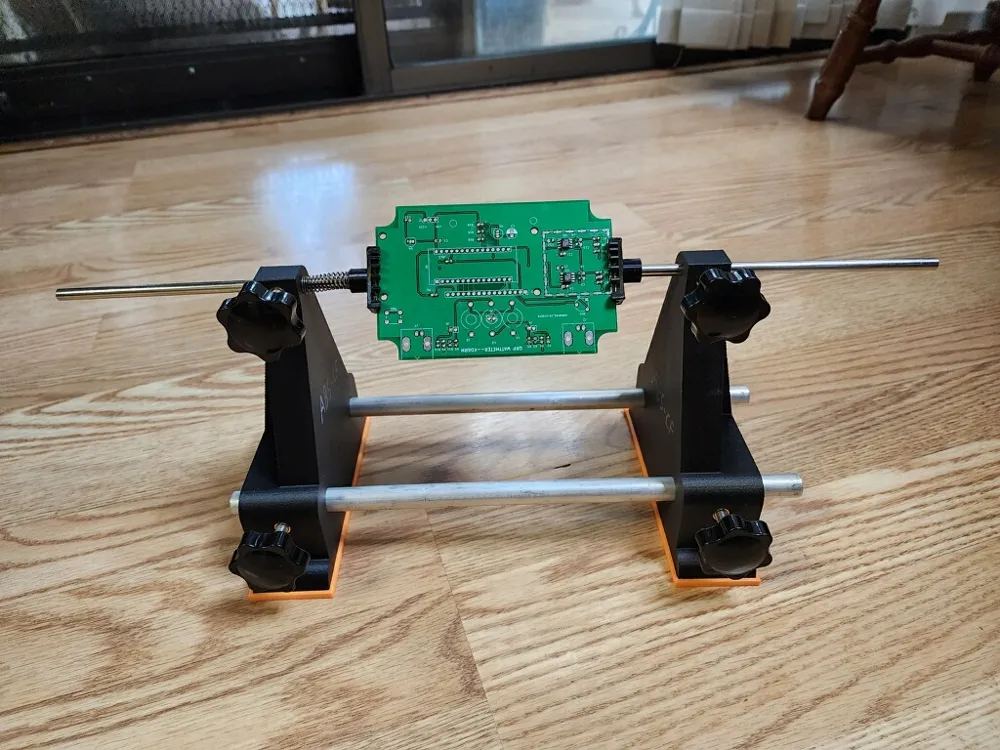
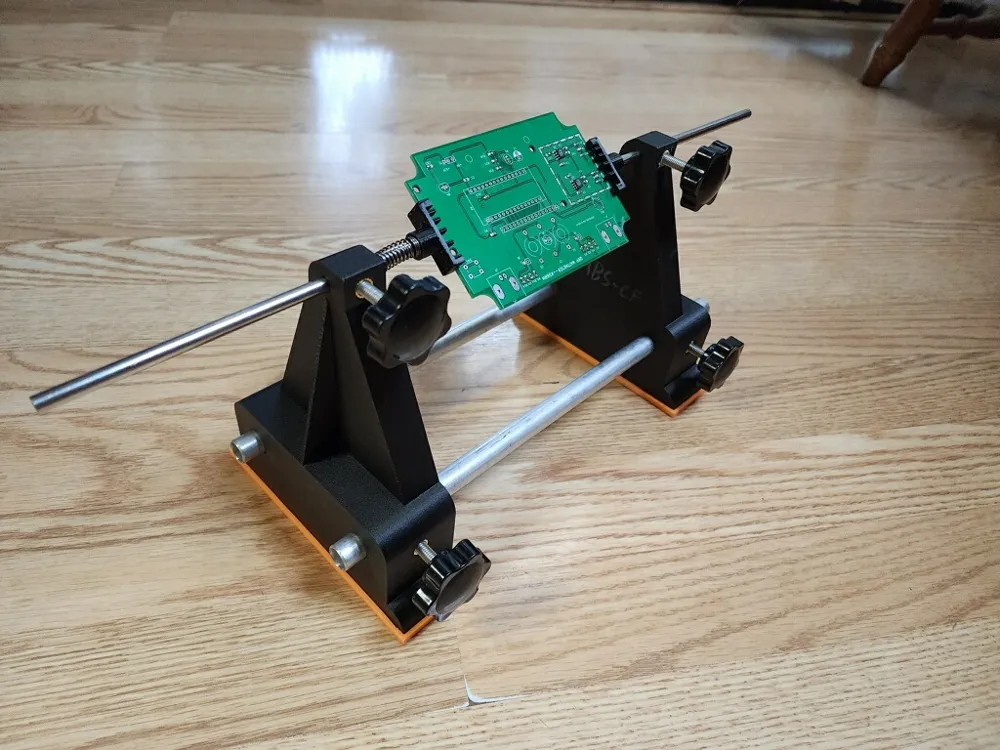
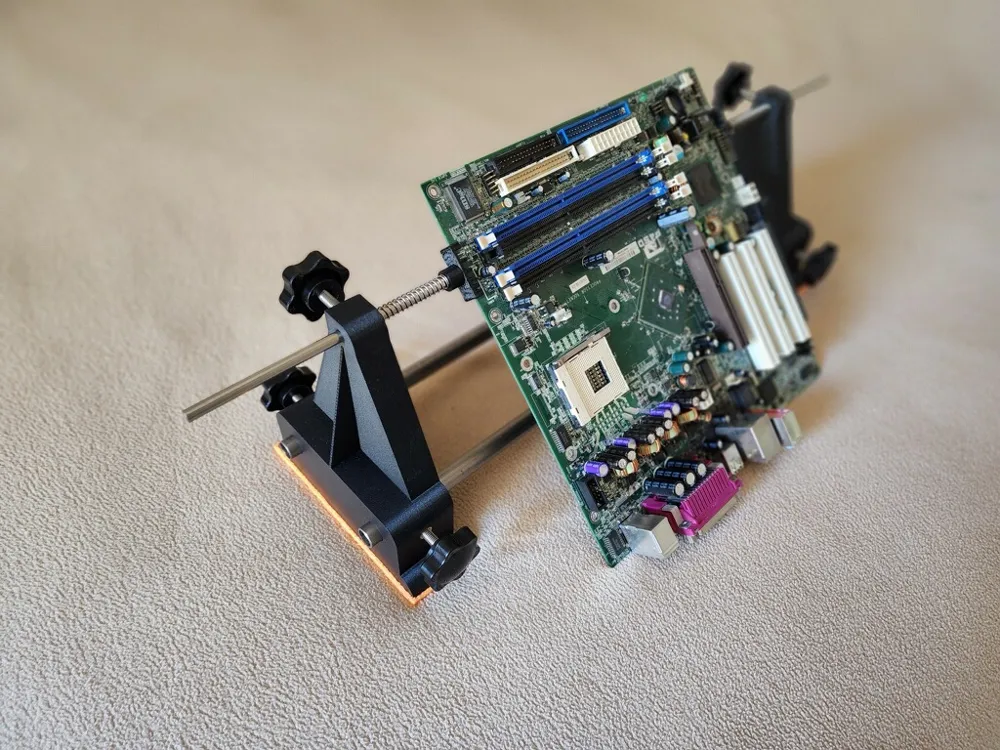
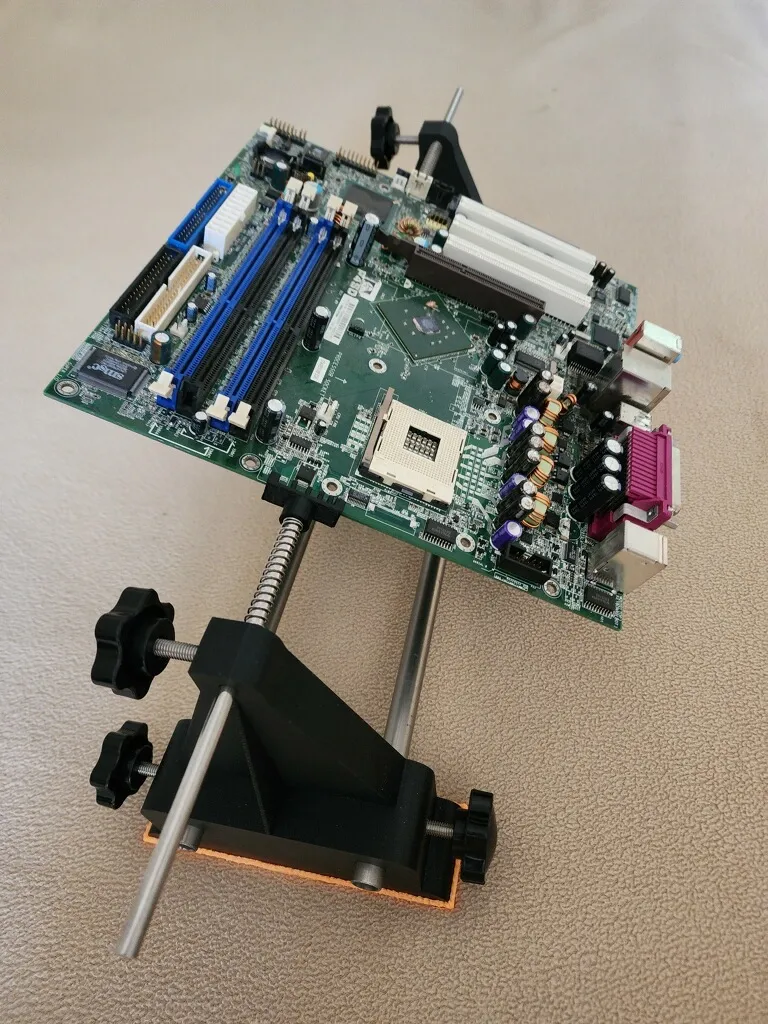
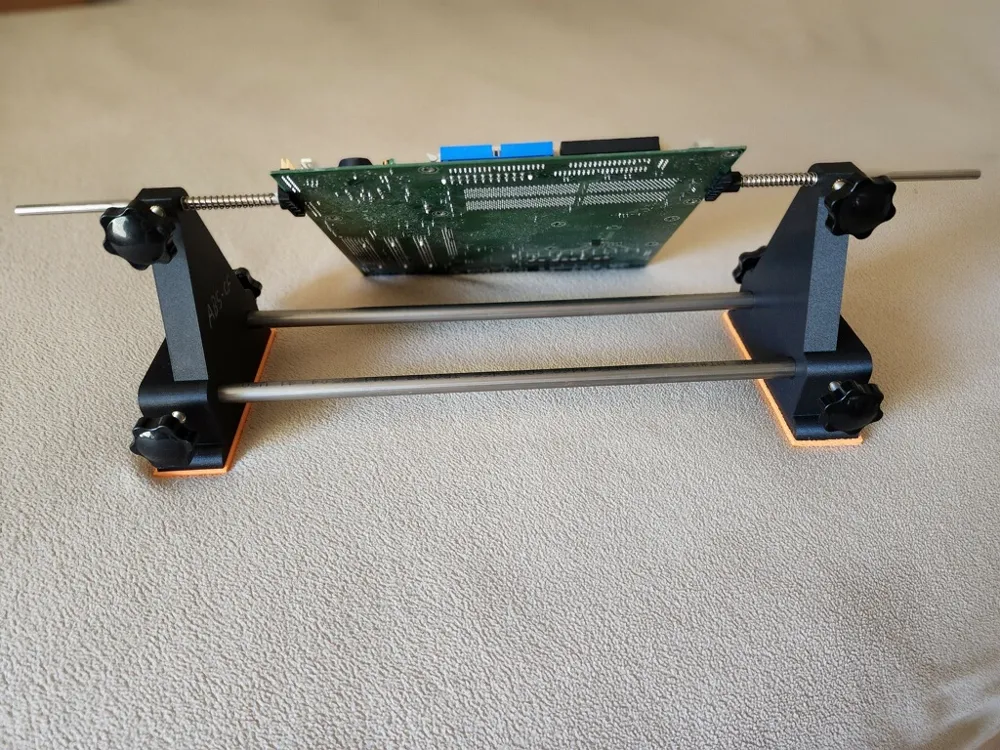
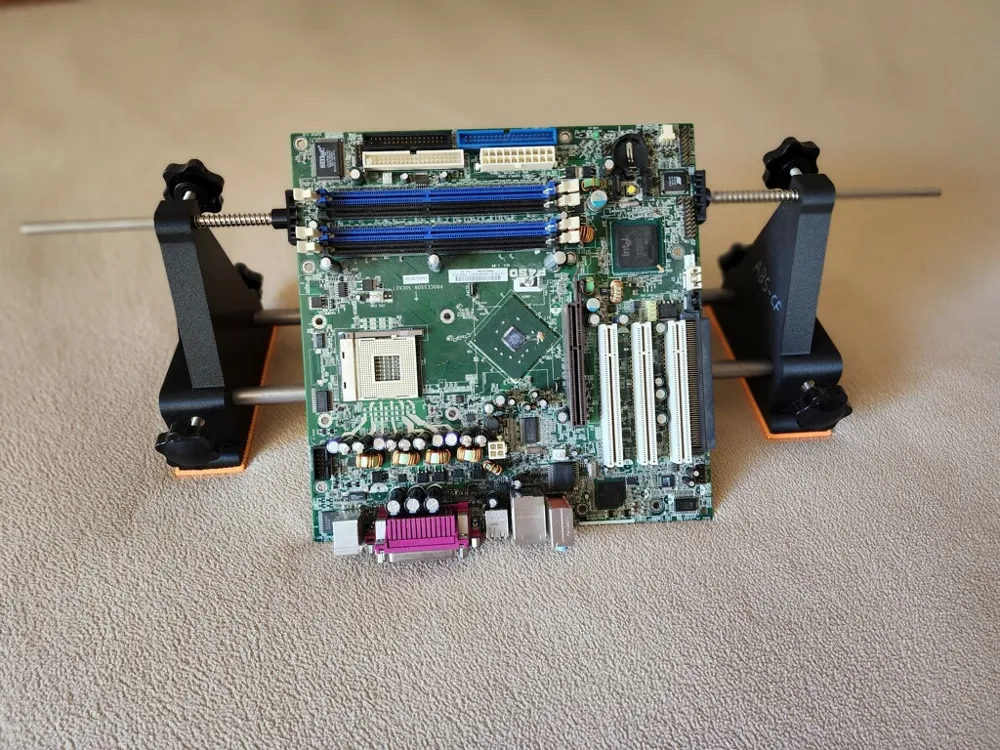
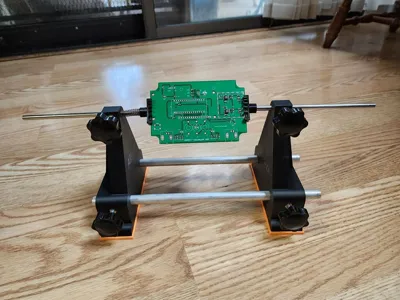
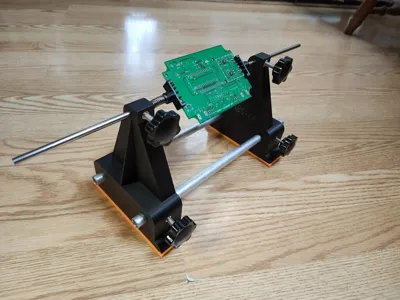
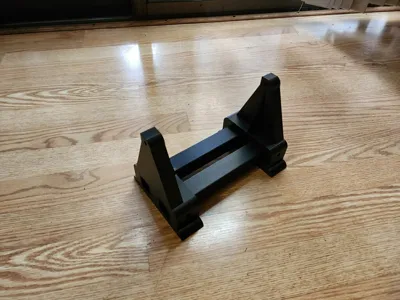
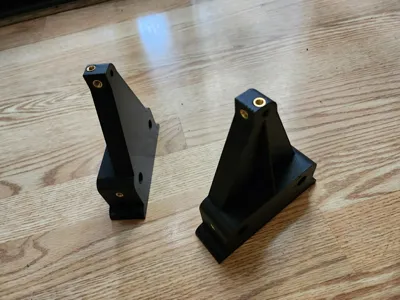
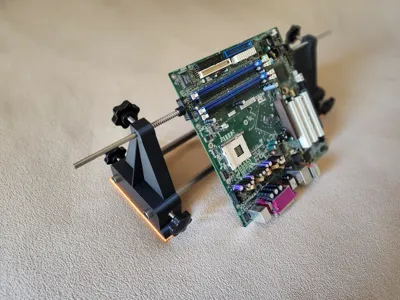
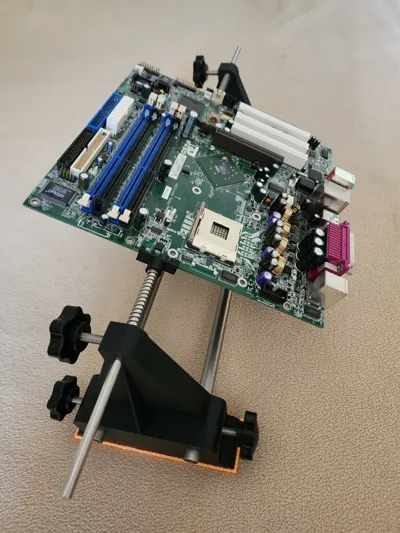
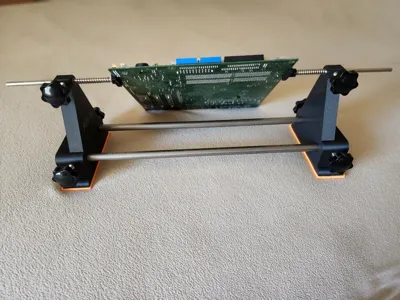
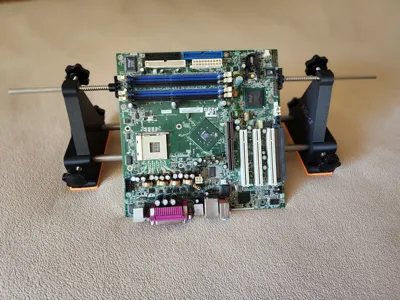
This project was a special request from my dad, who works on everything from tiny little circuit boards up to computer motherboard-sized, 12-inch monsters. This circuit board stand will handle it all! The base design is two towers held together with a pair of rails along their base. The top of the towers house 6mm shafts that the circuit board fingers attach to, which then gives you the ability to rotate the board 360 degrees around the Y axis.
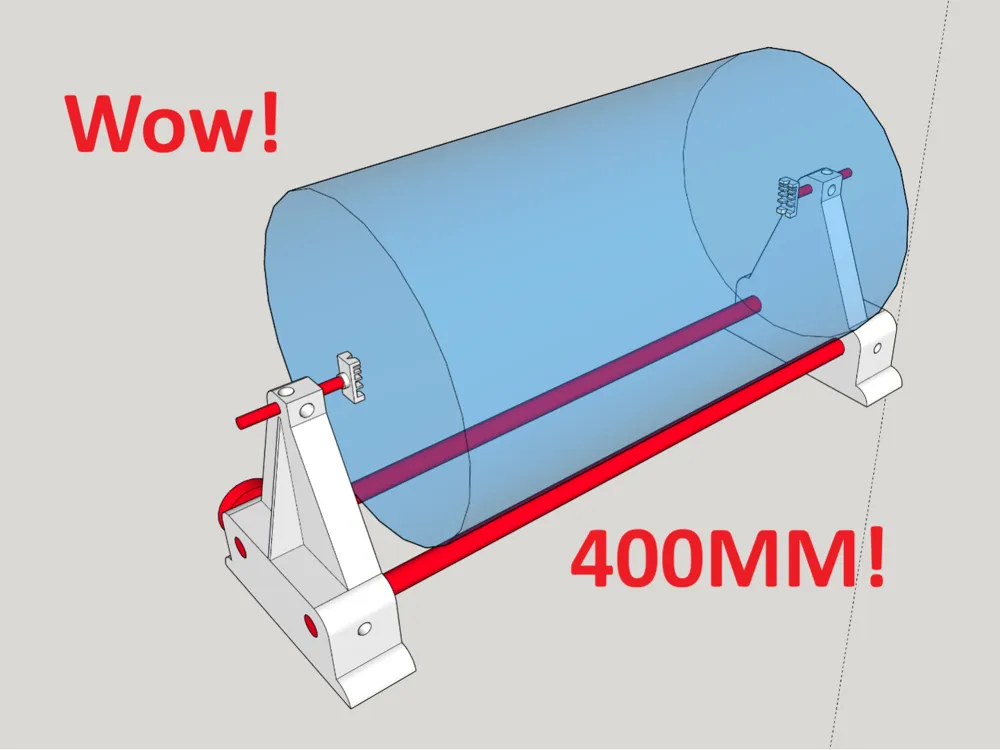
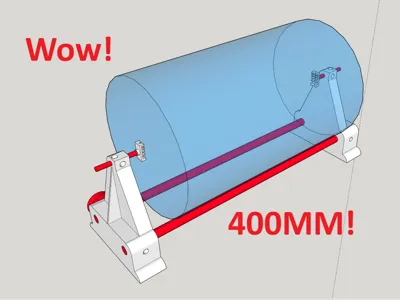
The holder can be resized for larger or smaller projects by either moving the 6mm rods in or out, or by moving the base towers closer or farther apart.
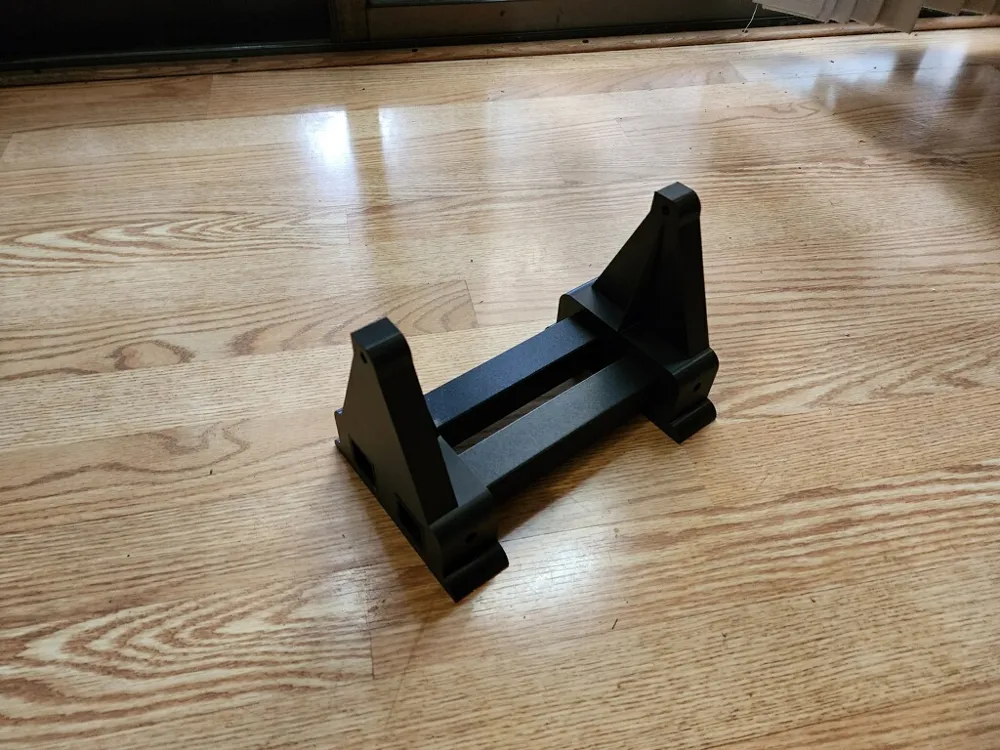
You'll notice that there are two versions of the design in the print profiles: One takes ½" (12.7mm) tube, while the other has 3D printed square rails. The advantage of the tube version is essentially unlimited distance between the towers and a greater swing between centers, but obviously you must source tube to make this work.
I highly recommend a ½" reamer and a 6mm reamer for the absolute best fit. If you ream the holes after printing, the rods and tubes will slide in with no discernible play, and reamers are super-extra cheap these days.
I used Poly Carbonate (PC) for the board fingers, since those are in danger of getting hit with a soldering iron. I've test printed the towers out of everything from PLA to PPA-CF and honestly, PLA works just as well as anything. Pick a rigid filament though: PETG probably would not be a good choice for this project, especially if you're going with the printed rails. They need to be as rigid as possible, or your towers will flex away from each other.
This project does require some additional materials, which I've tried to keep to a minimum:
Common:
M6-Short heat insert: 6
M6 threaded knob: 6
M6 x 80mm steel rods: 2
Tube Version:
½" x 300mm aluminum or titanium tube: 2
It's important to ensure you do not over-insert when installing the heat inserts, or the 6mm rods won't pass through their holes. This can also be solved with a reamer, however. The completed project is shown in the main image for this listing for assistance in assembly.
License

You may create derivative works based on this object, provided that all such derivative works are published exclusively on the MakerWorld platform and include proper attribution to the original creator. You may not share, upload, host, distribute, or publish this object—or any derivative work of this object—on any other digital platform, marketplace, or distribution channel. Commercial use of this object and any derivative works is strictly prohibited. This includes, but is not limited to, selling, renting, sublicensing, or using the object in any context in which you receive monetary compensation or other financial benefits.


Comment & Rating (0)