
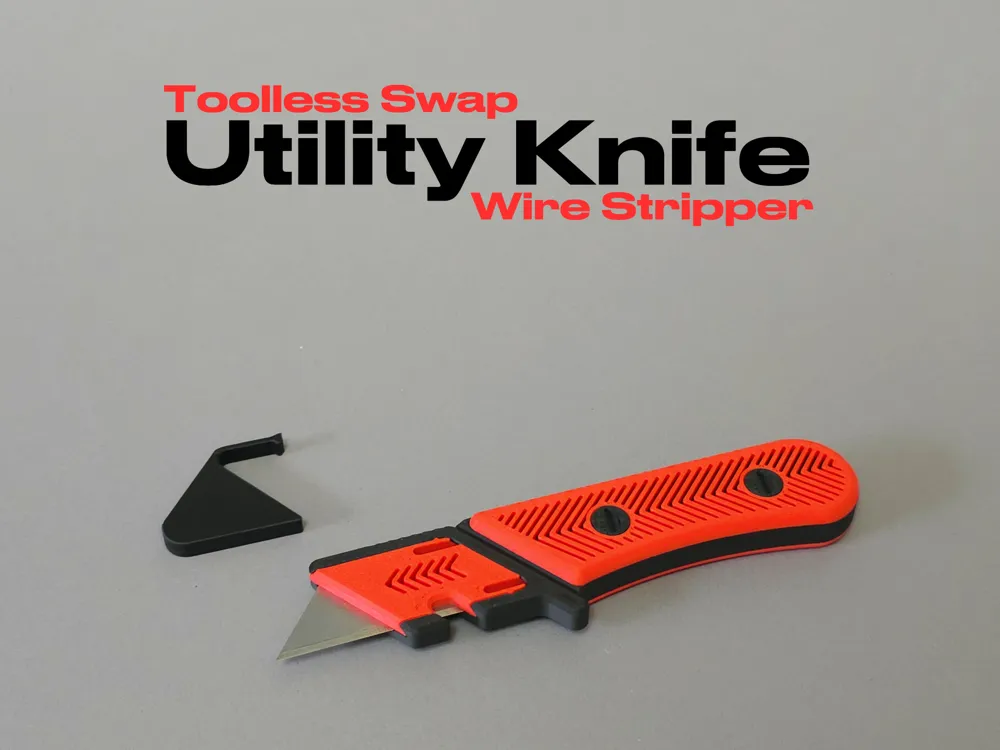
Utility Knife - Toolless Swap & Wire Stripper
Print Profile(1)
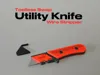


Description
Boost Me (for free)
Enjoying this print? Give it a boost! 🚀 It’s a free way to support my work and help others find this design. Thanks a million!
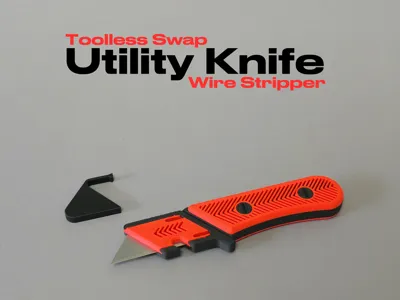
🚀 Utility Knife – Toolless Swap & Wire Stripper
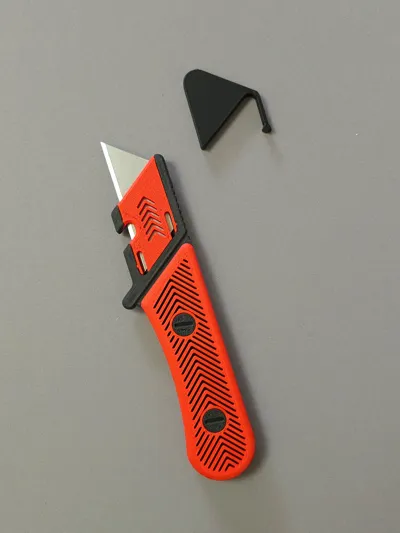
The Toolless Swap Utility Knife is engineered for maximum convenience and self-sufficiency. Say goodbye to searching for screwdrivers or buying extra hardware—this version is 100% 3D printed (except for the blade itself). Utilizing custom 3D-printed screws and a clever quick-release mechanism, it’s a rugged, high-performance tool ready to be printed and used immediately.
✨ Why print this?
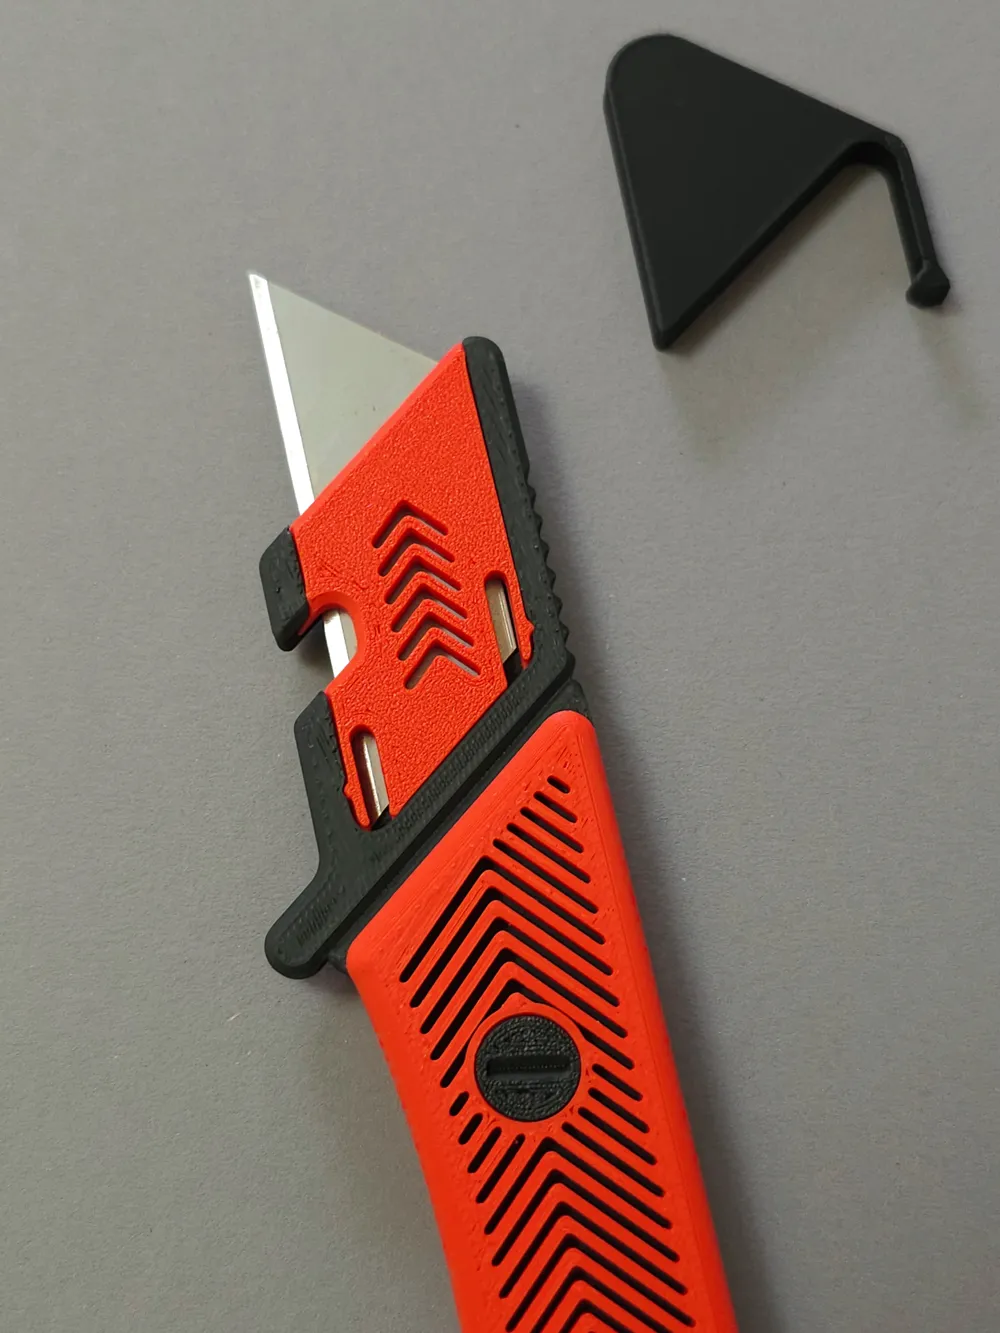
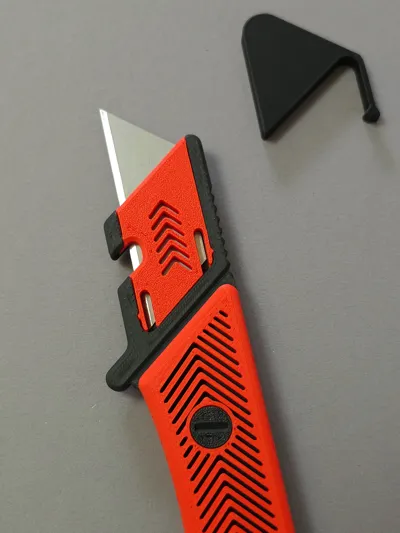
- Toolless Quick-Swap: Replace dull blades in seconds without any tools. The clever quick-release design allows for rapid and safe blade changes on the fly.
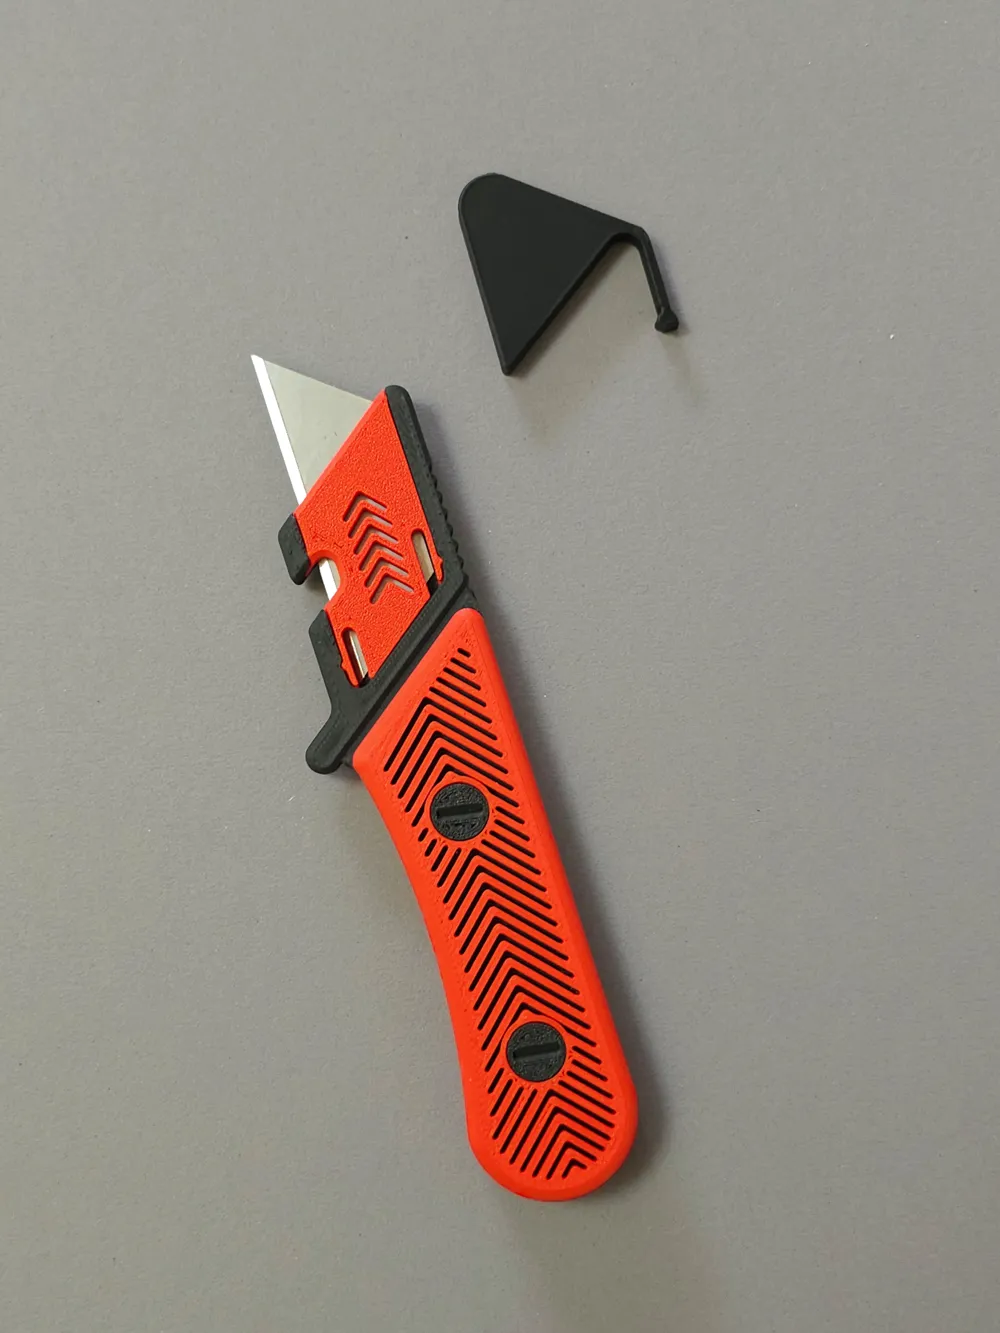
- 100% 3D Printed Hardware: No metal screws required! The decorative grips and blade system lock securely into place using custom 3D-printed screws.
- Dual-Purpose Utility: Features the signature built-in wire stripping notch, allowing you to prep cables efficiently without swapping tools.
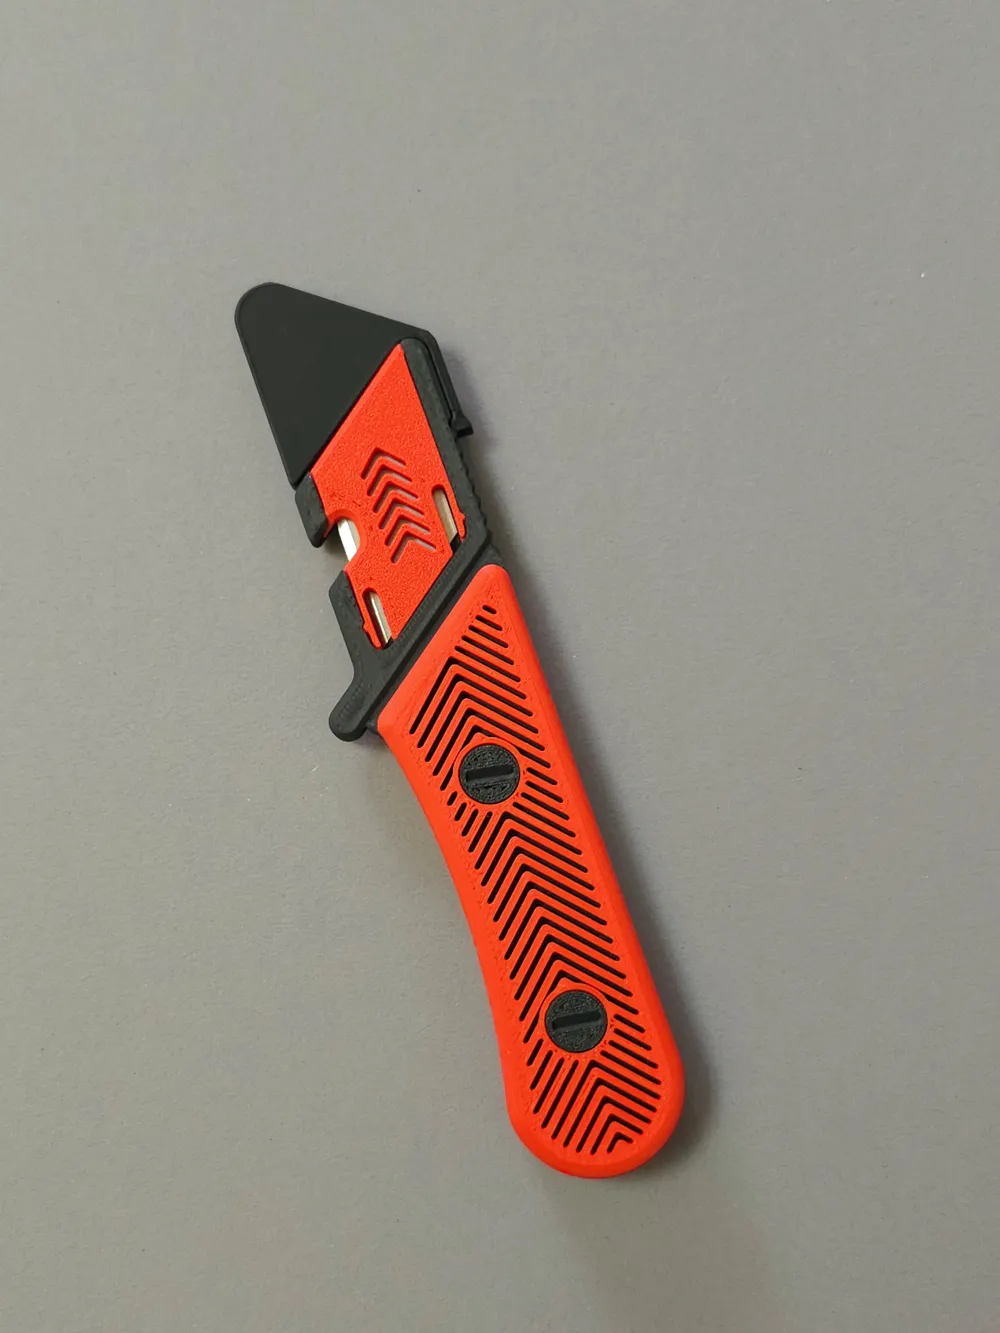
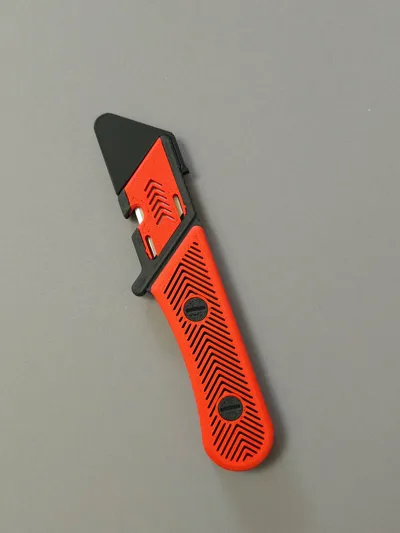
- Safety First: Comes with a custom-fitted, snap-on blade guard to keep your fingers and workbench safe when the tool is stored away.
- Two-Tone Aesthetics: Designed for high-contrast color combinations—print the grips, body, and 3D screws separately to customize your toolbox style.
🛠️ Compatibility & Requirements
- Hardware: ZERO hardware required! Everything you need is included in the print profile (including the 3D-printed screws).
- Blade: Precision-engineered for standard trapezoid utility blades. The internal tolerances ensure the blade stays rock-solid with zero wobble.
- Print Optimized: Designed with smart orientation in mind, ensuring a sturdy build and clean threads straight off the build plate.
💡 Usage Tips
- Pro Tip: For maximum durability and tough threads, I highly recommend printing the "Knife Body" and the "3D Screws" with at least 3-4 walls and 100% infill for the screws. Using PETG or PLA+ will ensure the mechanism remains strong over time.
- Assembly: Place the blade into the main body, secure it with the quick-swap clamp, then attach the decorative grip plates using the 3D-printed screws. Note: Tighten the 3D screws firmly, but do not overtighten!
License

You shall not share, sub-license, sell, rent, host, transfer, or distribute in any way the digital or 3D printed versions of this object, nor any other derivative work of this object in its digital or physical format (including - but not limited to - remixes of this object, and hosting on other digital platforms). The objects may not be used without permission in any way whatsoever in which you charge money, or collect fees.


Comment & Rating (11)