External Filament Spool Feed Inlet Ceramic Ball Protector 0.97g Anti-wear Brand New Original Design


Print Profile(2)


Description
Boost Me (for free)
Keep it up! Keep it up! Keep it up!
Original model! No splicing! No derivatives! No copying!
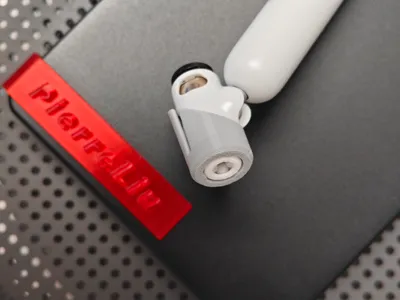
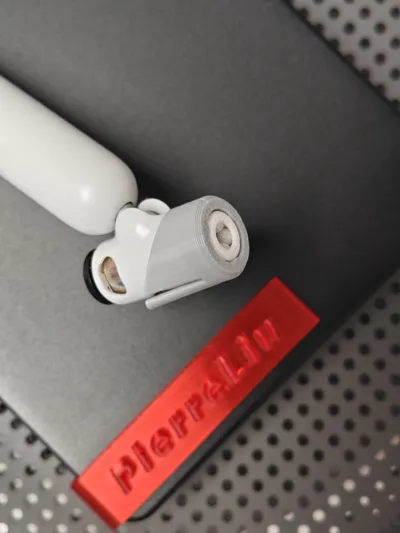
My friend said the external filament spool feeder is not wear-resistant
I think so indeed, blended materials generally cannot be used with the AMS system, and the external filament spool feeder is still under a lot of pressure.
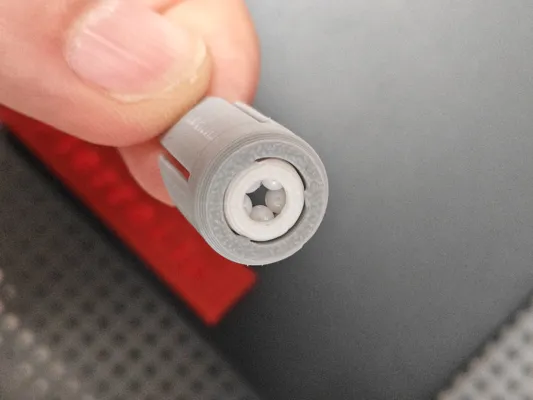
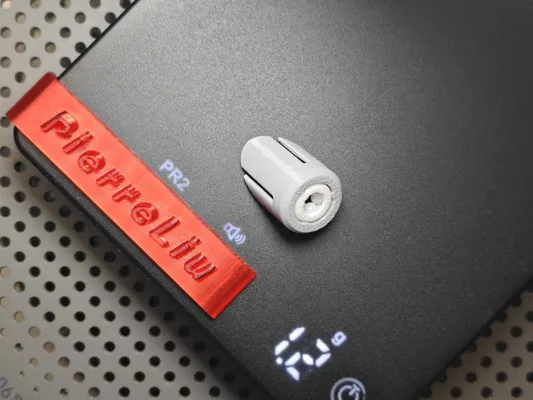
So I designed a ceramic ball engineering filament feeder
Required accessories:
Ceramic balls 2.778mm x 5 pieces

This price is not even enough for the shipping cost of ceramic eyes! So I gave up on using ceramic eyes.

Installation instructions:


build plate:
Be sure to carefully clean off grease from the build plate with dish soap, this is crucial!
If the build plate has been used for a long time and is no longer sticky, it is recommended to apply glue to increase model adhesion.
If the build plate is too sticky, you can try lowering the hotbed temperature.
Calibration:
Before printing, please perform the official hardware and software calibrations (dynamic flow calibration, flow rate calibration).
To ensure easy removal of the model, it is strongly recommended to perform filament shrinkage calibration before printing
Model removal:
After printing, be sure to wait for natural cooling before removing the model (removing the model prematurely can easily cause deformation).
Boost Me (for free)
More updates! More updates! More updates!
License
You shall not share, sub-license, sell, rent, host, transfer, or distribute in any way the digital or 3D printed versions of this object, nor any other derivative work of this object in its digital or physical format (including - but not limited to - remixes of this object, and hosting on other digital platforms). The objects may not be used without permission in any way whatsoever in which you charge money, or collect fees.
Comment & Rating (0)