
Print Profile(4)

Bill of Materials




Description
Update 22.07.2026
Today, by popular demand, I have added 2 new print profiles with connectors for simplified assembly!
When loading the profile, please pay attention to which infill you need for your application.
As before, “Lightning infill and grid 15% infill” are available.
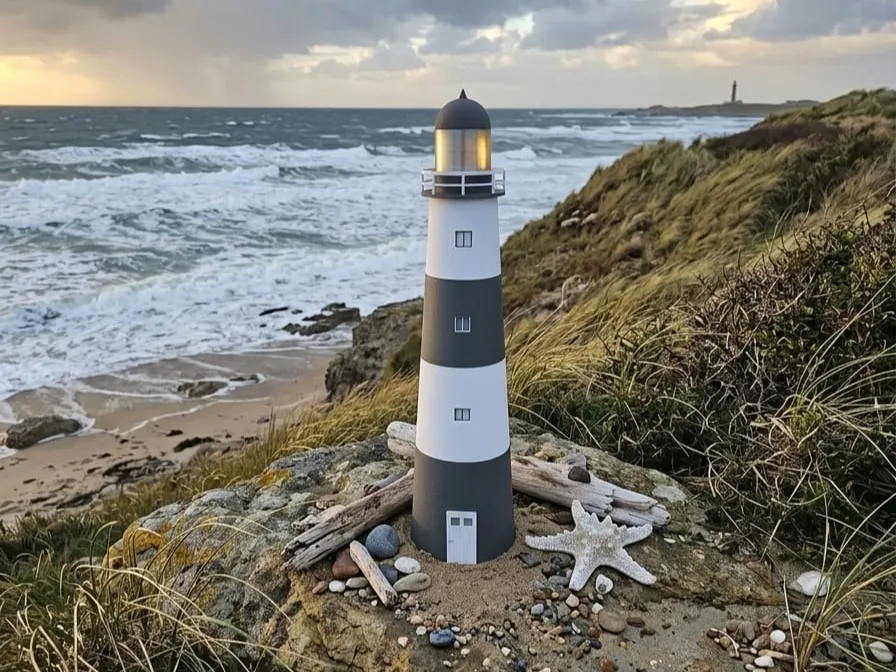
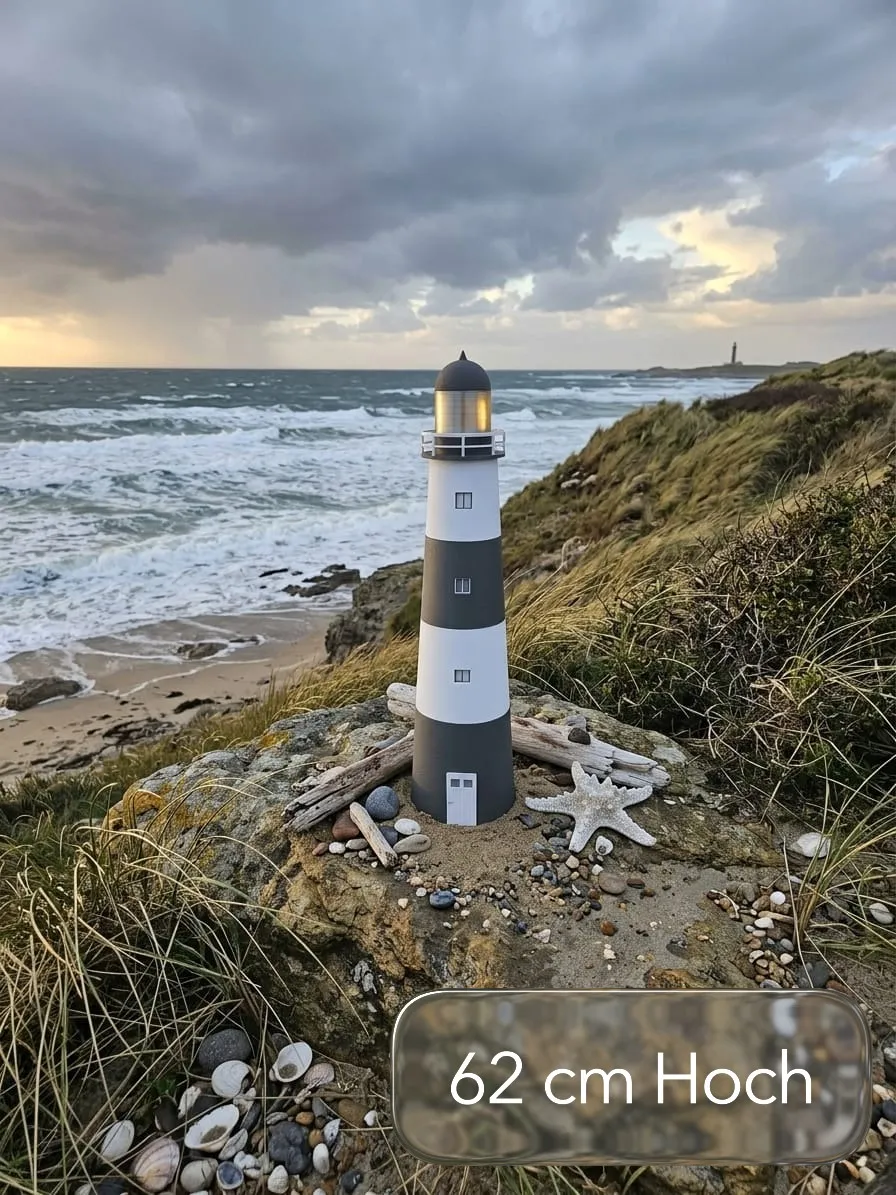
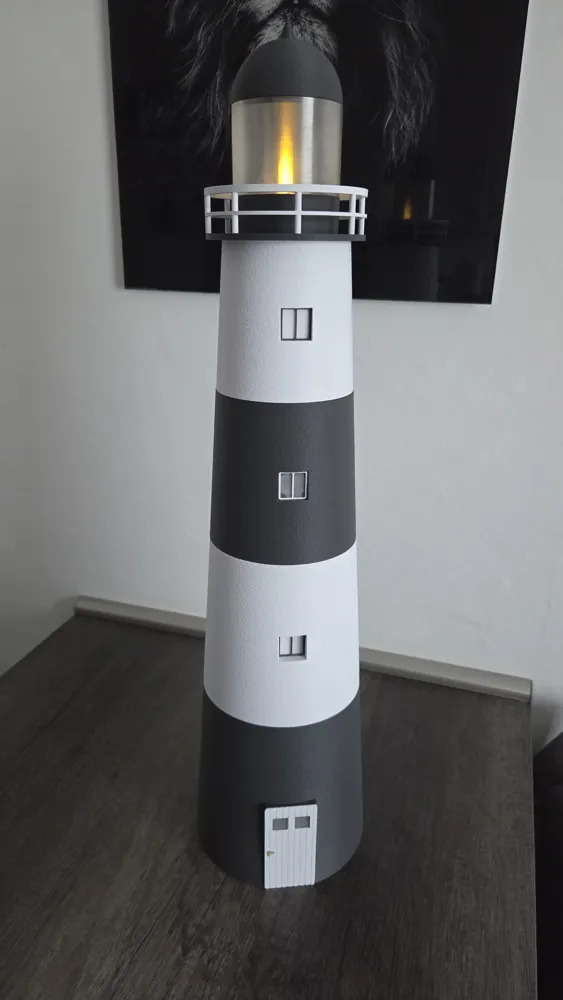
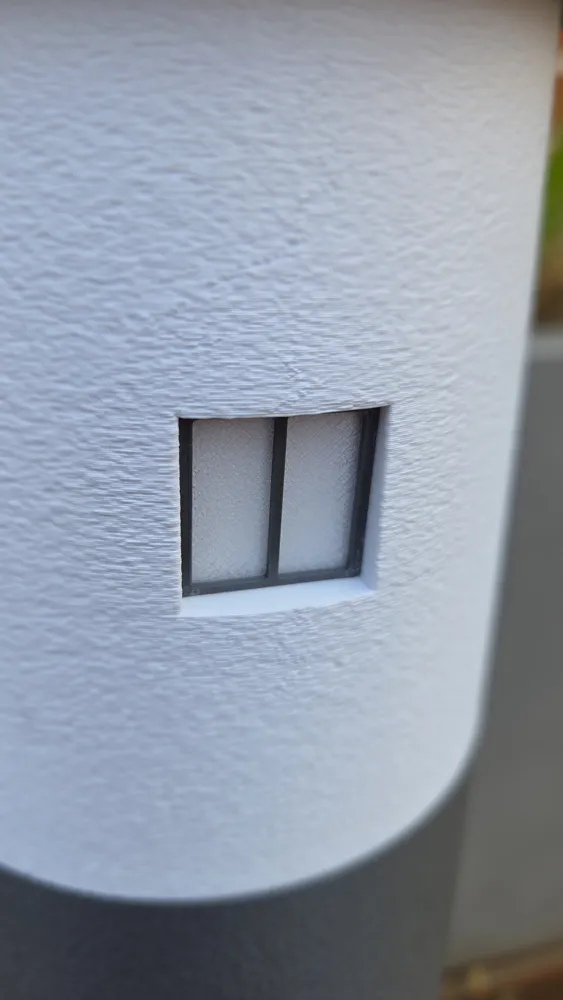
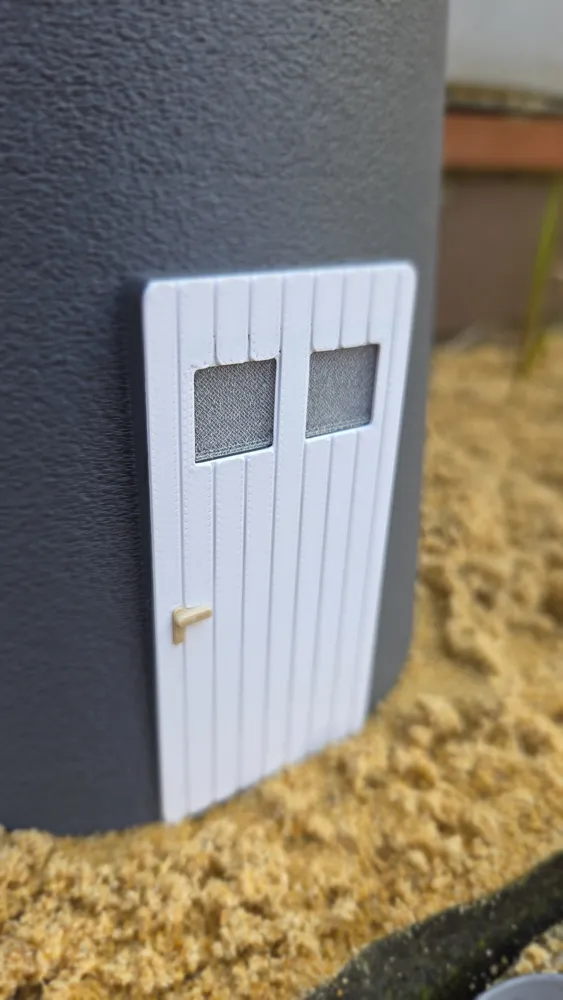
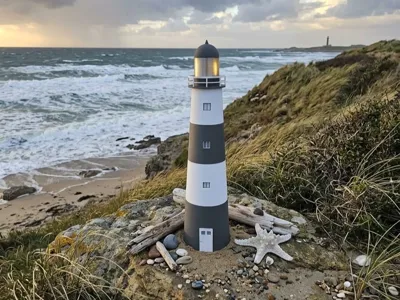
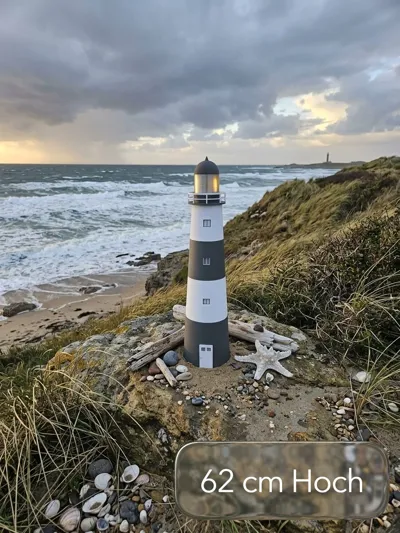
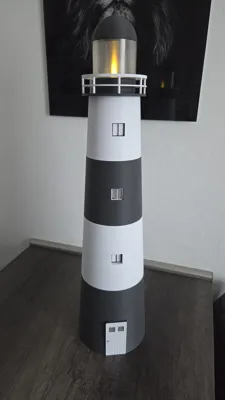
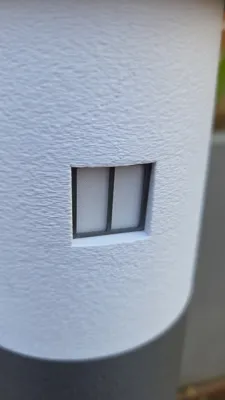
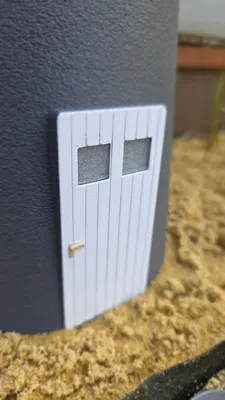
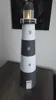
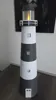
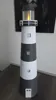
This modern lighthouse model was created as a decorative element that is easy to print, yet impresses with details such as the recessed door, windows, and delicate railing.
The surface of the lighthouse is rough, which makes it appear high-quality, and when it gets dark, you can turn on the light for a beautiful atmosphere.
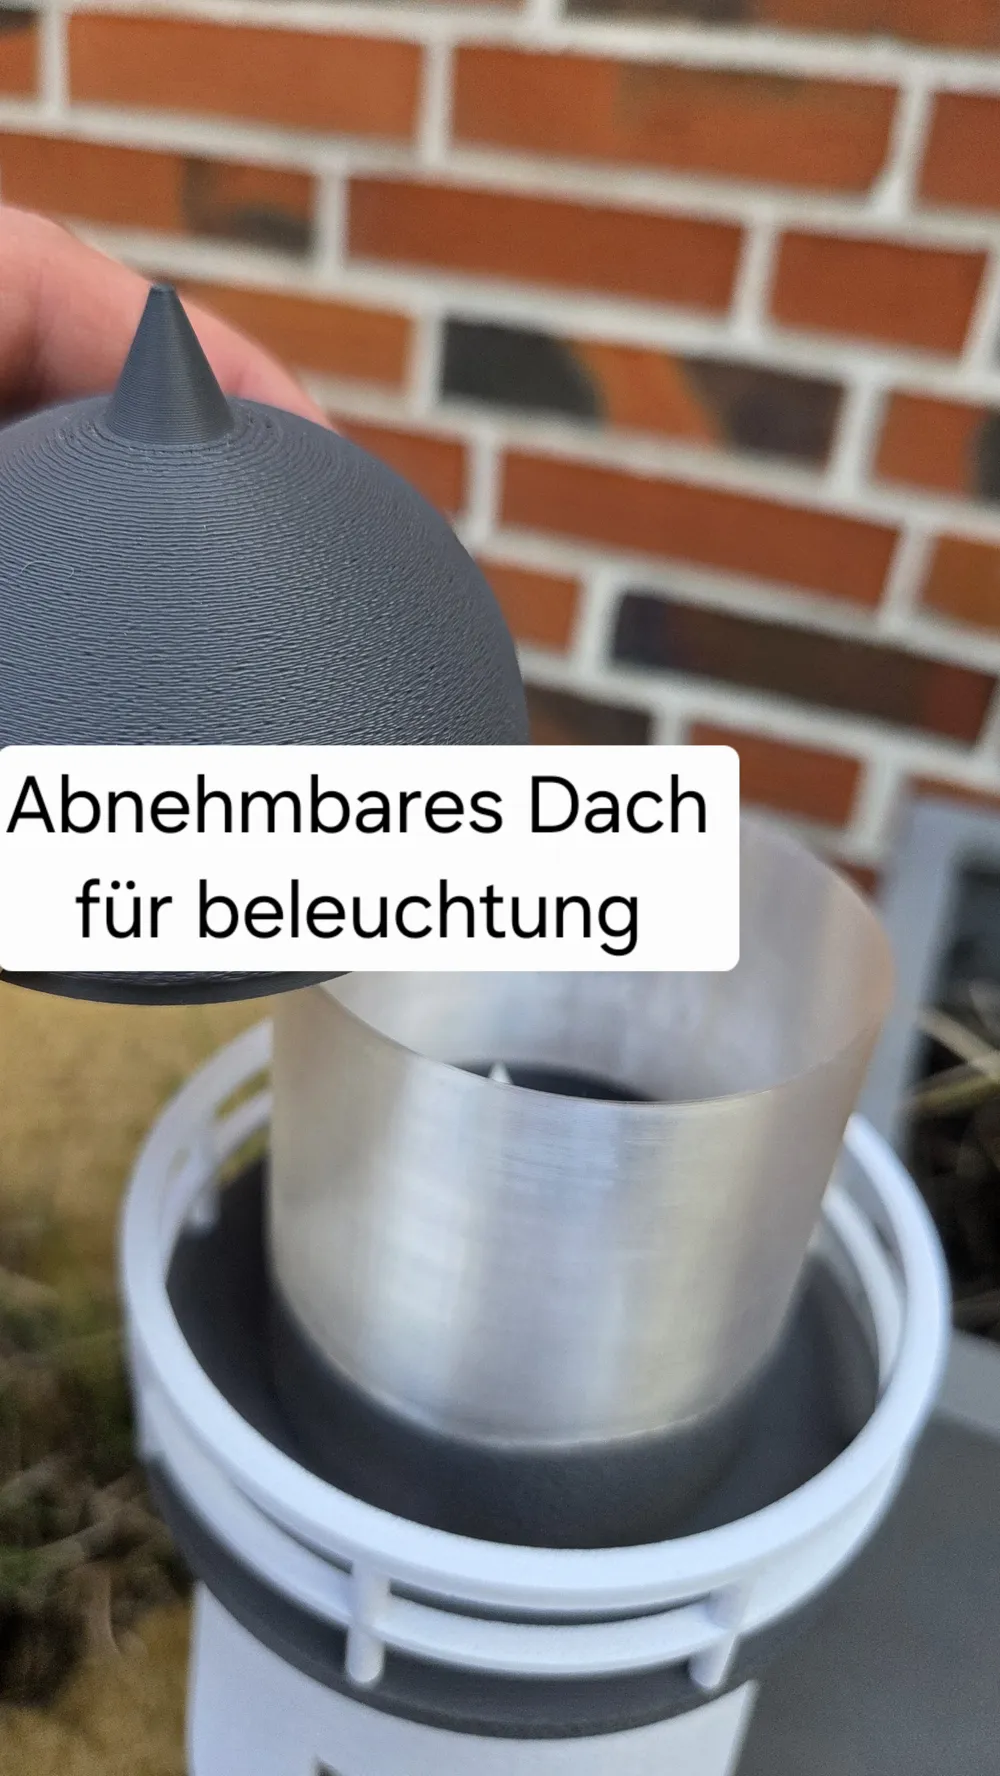
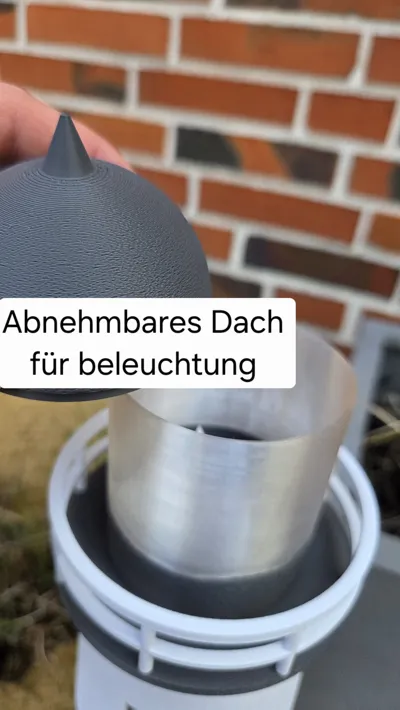
A light source can be placed in the head of the tower; whether an LED tealight, there is plenty of space. (The light source in the picture was an LED tealight)
You must adapt the material you use for printing to your application. (Mine is made of PLA)
Please also pay attention to the infill. I used Lightning Infill, which consumes less PLA, but if you need weight, for example outdoors, you should switch to
min. 15% infill or add approx. 500g weight into the lower foot of the tower.
Assembly;
After printing all tower parts, the door and windows can be glued to their designated positions.
Now glue the tower columns one above the other in the correct order. (The roof should not be glued due to lighting)
The railing consists of two parts and should be assembled in two steps.
The railing part with the thinner rail is first glued onto the platform of the tower, and after drying, the remaining railing part
is glued onto the already attached railing part.
License

You shall not share, sub-license, sell, rent, host, transfer, or distribute in any way the digital or 3D printed versions of this object, nor any other derivative work of this object in its digital or physical format (including - but not limited to - remixes of this object, and hosting on other digital platforms). The objects may not be used without permission in any way whatsoever in which you charge money, or collect fees.


Comment & Rating (31)