
Timeless Love Sculpture




Print Profile(1)

Description
This 3D Printed sculpture is a touching work that captures a moment of deep tenderness and lasting love.
Work Description
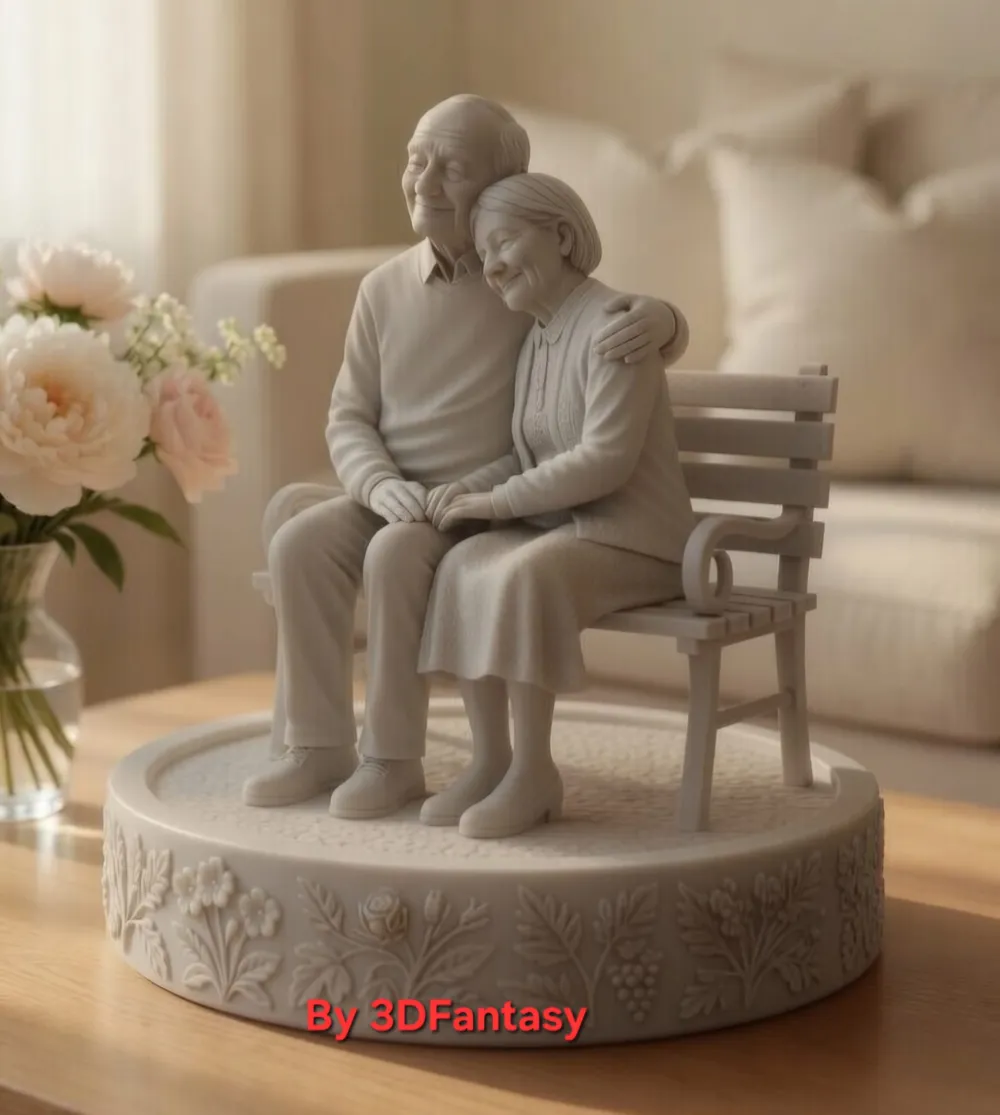
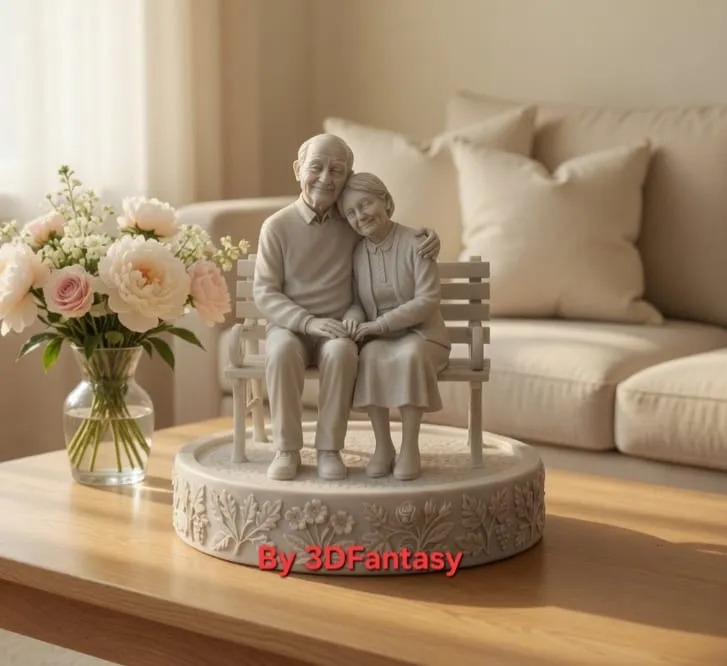
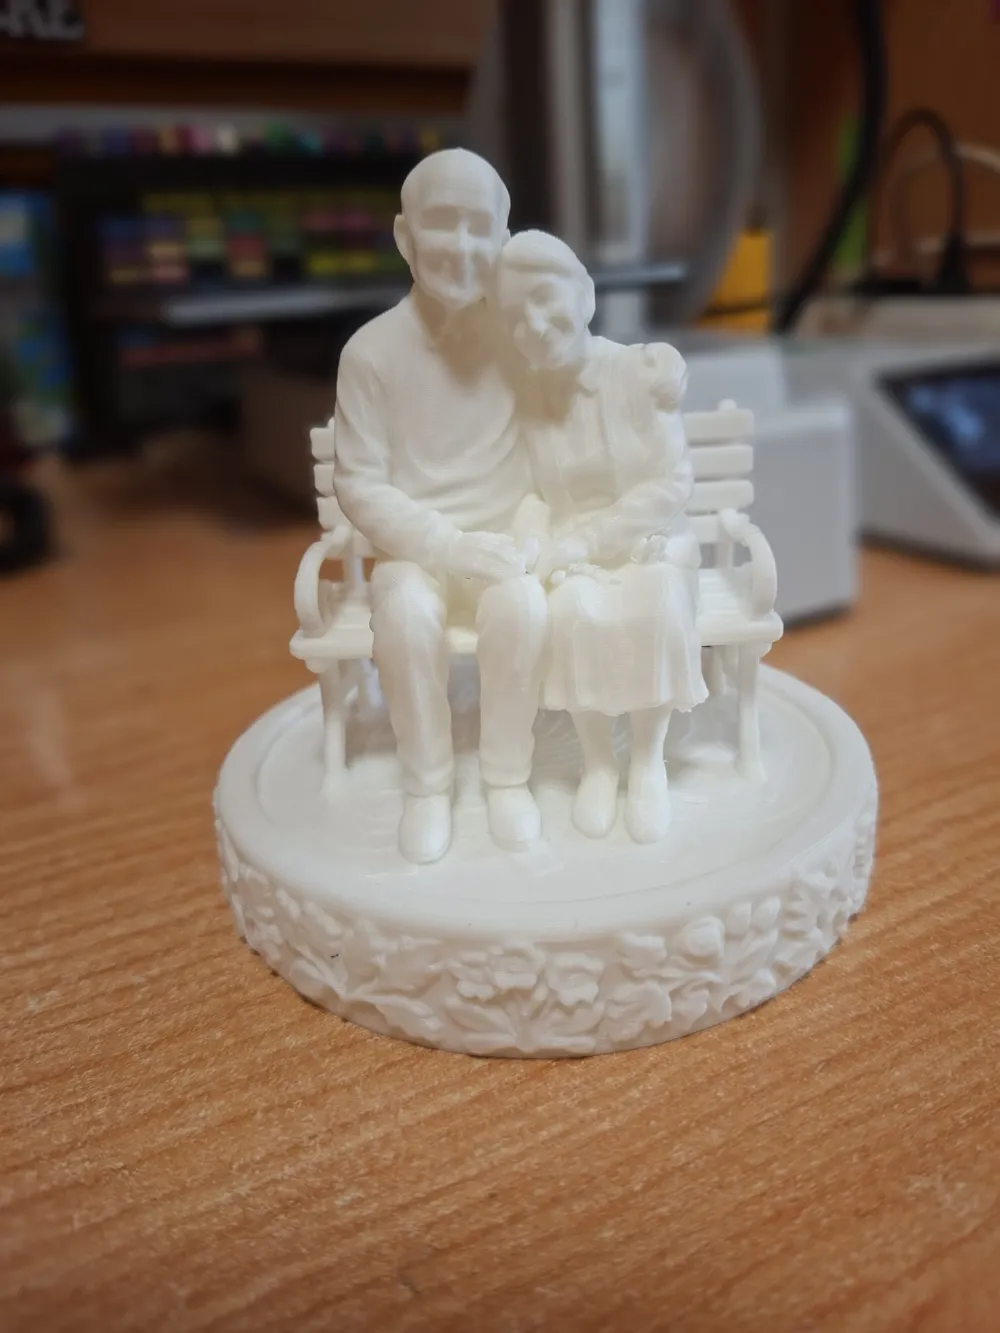
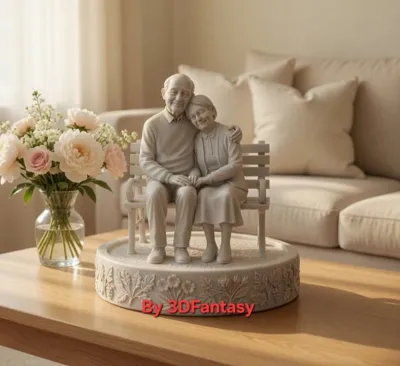
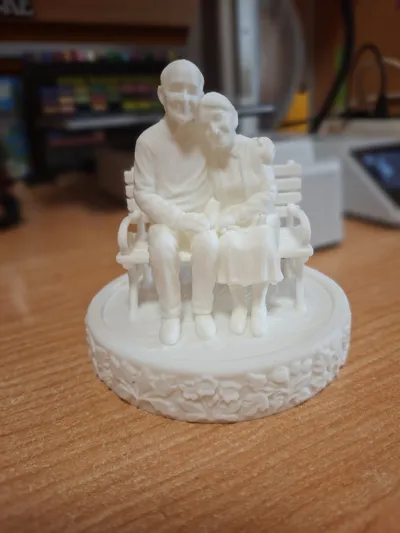
The sculpture depicts an elderly couple seated on a wooden bench, resting on a finely decorated circular base. The man has a serene and protective expression, with an arm wrapped around his companion's shoulders, while she gently rests her head on his shoulder, conveying a sense of absolute peace and complicity.
The details are extraordinary: from the textures of the clothes (his ribbed sweater, her skirt and cardigan) to the delicate wrinkles on their faces that tell of a life lived together. The base is adorned with a continuous floral bas-relief with vine leaves, flowers, and roses, symbolizing the growth and blossoming of a bond over time.
This 3D Printed sculpture is a touching work that captures a moment of deep tenderness and lasting love.
3D Printing Instructions
To achieve a result that does justice to these details, the use of a resin printer (SLA/DLP) is strongly recommended, although it can also be realized in FDM with the right precautions.
Recommended parameters:
- Layer Height: 0.03 - 0.05 mm (Resin) or 0.1 - 0.12 mm (FDM with 0.4 or better 0.2 nozzle).
- Orientation: Tilt the model back approximately 30-45 degrees. This helps to better distribute supports on the back and under the bench, preserving the details of the faces and the decorated base.
- Material: High-precision "Grey" or "Beige" resin to highlight shadows, or PLA Marble or ivory filament for a classic statue effect.
Caution: Support Removal
This is the most critical phase due to the many "suspended" and fragile parts.
- Critical areas: Pay extreme attention to the intertwined hands, the bench legs, and the neck area. These parts are thin and can break easily if the support is too tenacious.
- Heat technique: Before removing supports (especially if using resin), immerse the model in warm water (not boiling) for about 30-60 seconds. The heat softens the support contact points, allowing them to detach almost like velcro without tearing off surface pieces.
- Tools: Use flush cutters. Never pull supports with your hands; cut them one by one, starting from the outside inward.
- Post-curing (Resin): Remove supports before final UV polymerization (curing). The "green" resin is more flexible and less prone to chipping during detachment.
Boost Me (for free)
help me grow support me with a boost THANK YOU!!
License

You shall not share, sub-license, sell, rent, host, transfer, or distribute in any way the digital or 3D printed versions of this object, nor any other derivative work of this object in its digital or physical format (including - but not limited to - remixes of this object, and hosting on other digital platforms). The objects may not be used without permission in any way whatsoever in which you charge money, or collect fees.


Comment & Rating (0)