

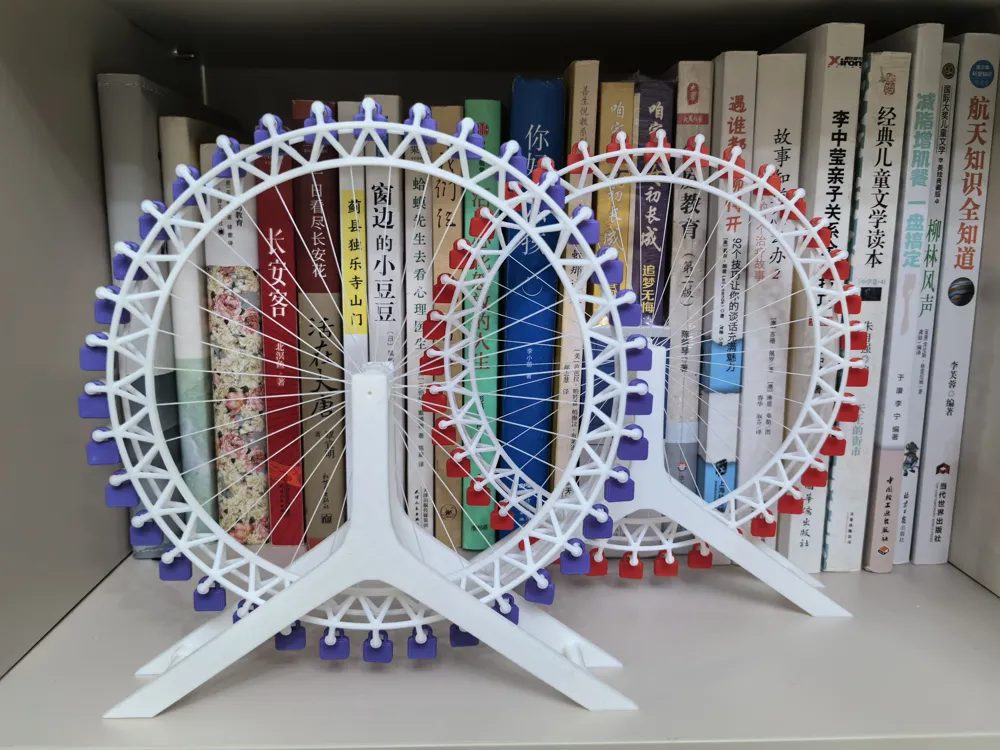
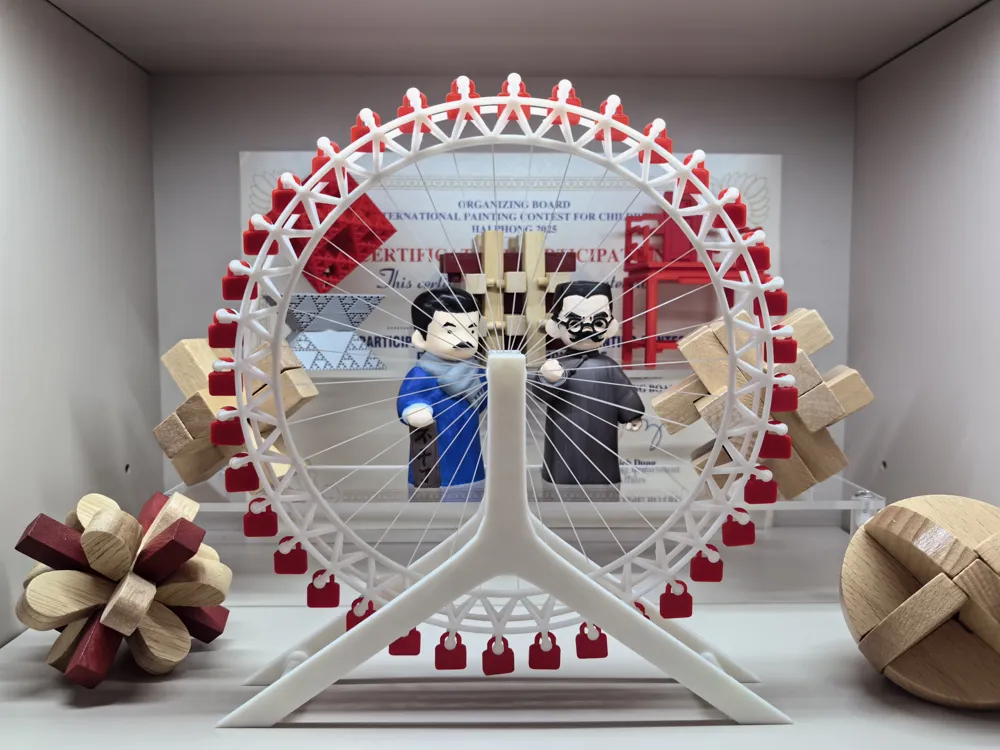
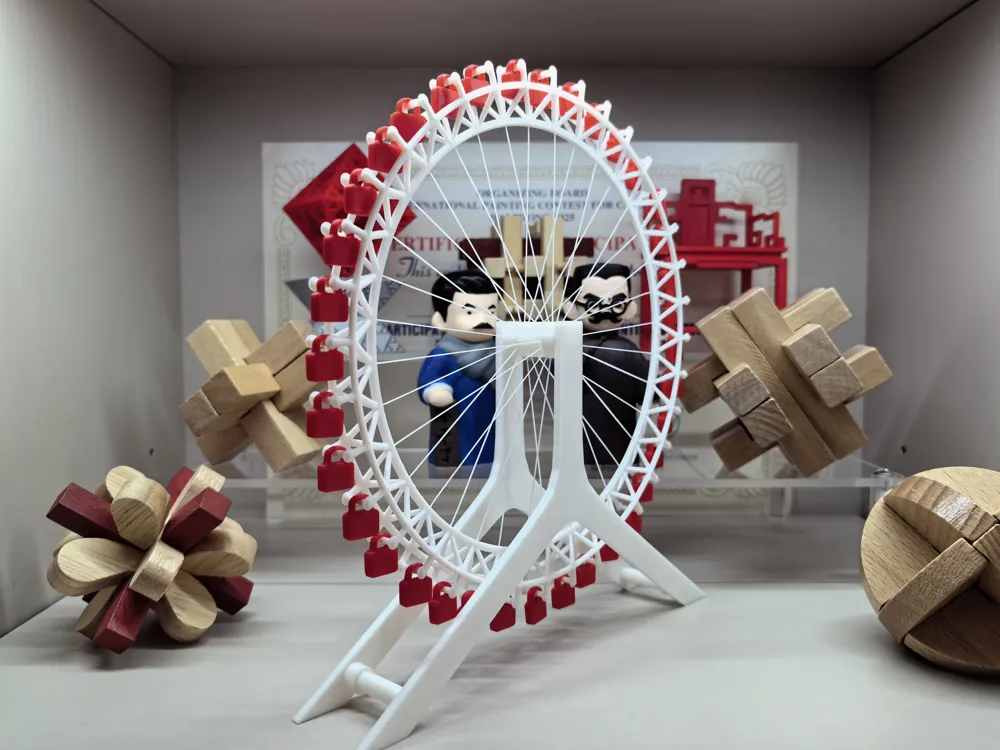
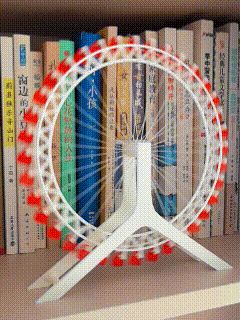
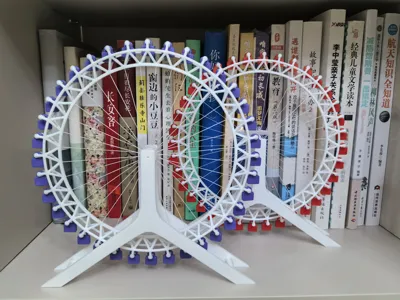
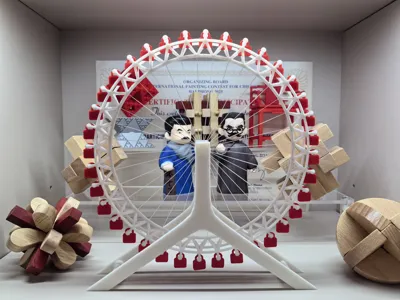
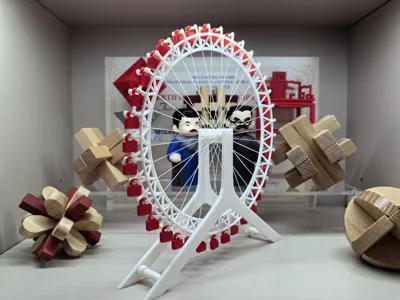
"The Tianjin Eye" Ferris Wheel (Optimized! Success rate greatly improved!)
Print Profile(0)
Description
After multiple tests, a version without supports has been uploaded. Everyone is welcome to test and provide feedback; I will make adjustments if there are issues.
!!Very important!! There are small parts on the first layer, be sure to clean the plate, clean the plate, clean the plate. Textured PEI plates must be sprayed or coated with adhesive. It is recommended to use a cold build plate (because I succeeded with a cold build plate)!! Also, be careful when removing prints, do not damage the model, especially the delicate 'steel cables' (fine threads of a few tenths of a millimeter; the essence of this model lies in using these fine threads to support the Ferris wheel rim)!!
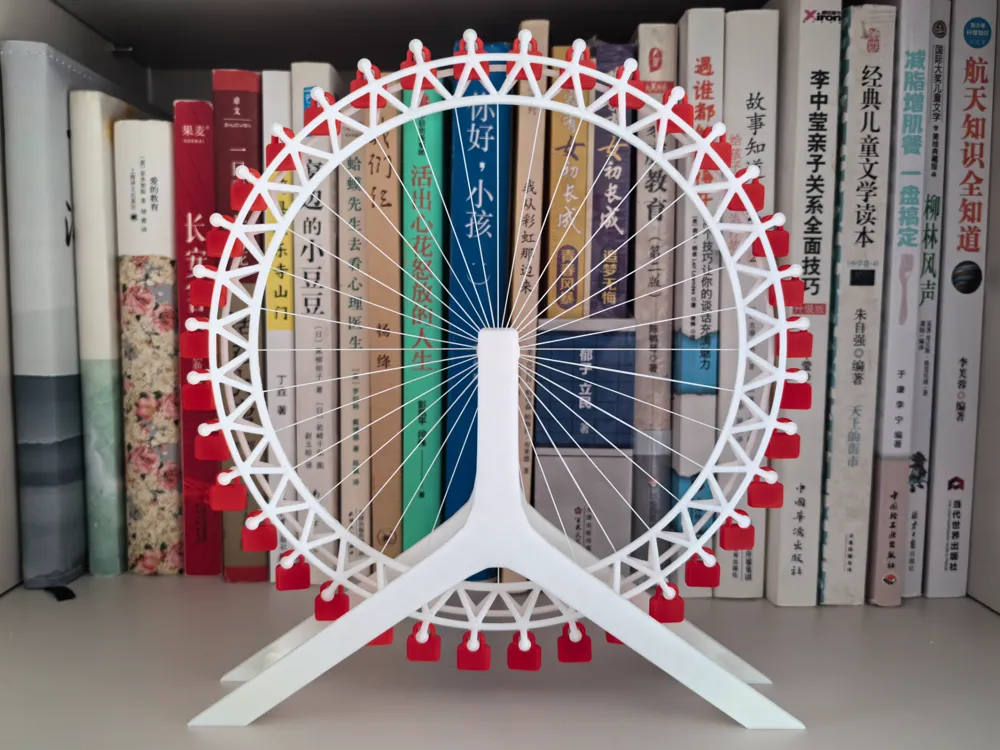
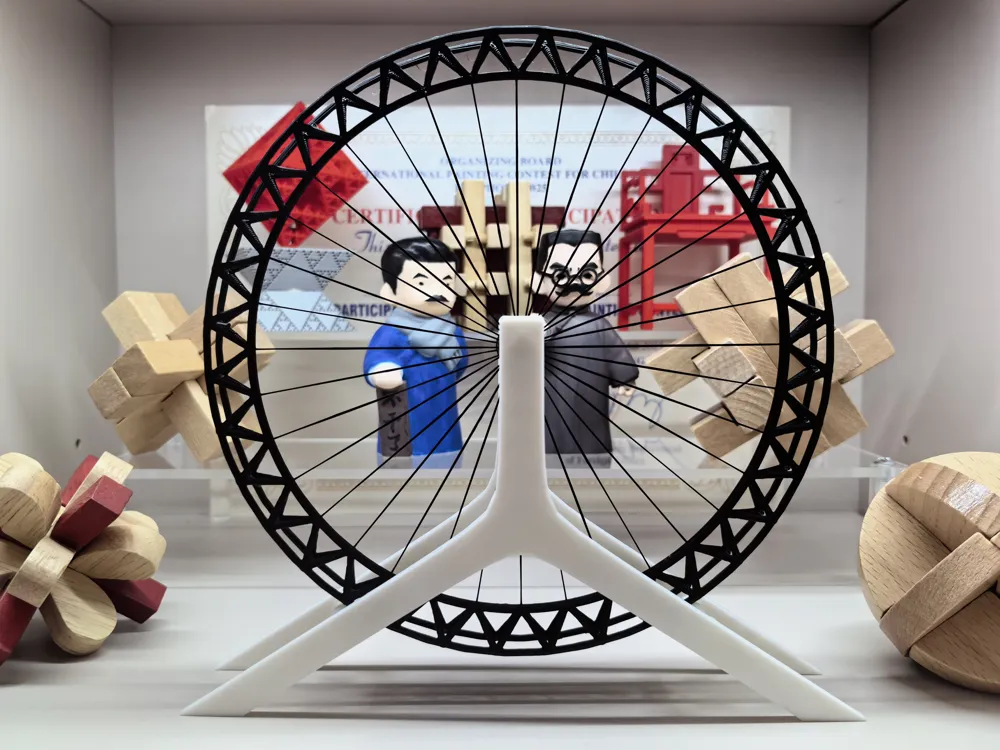
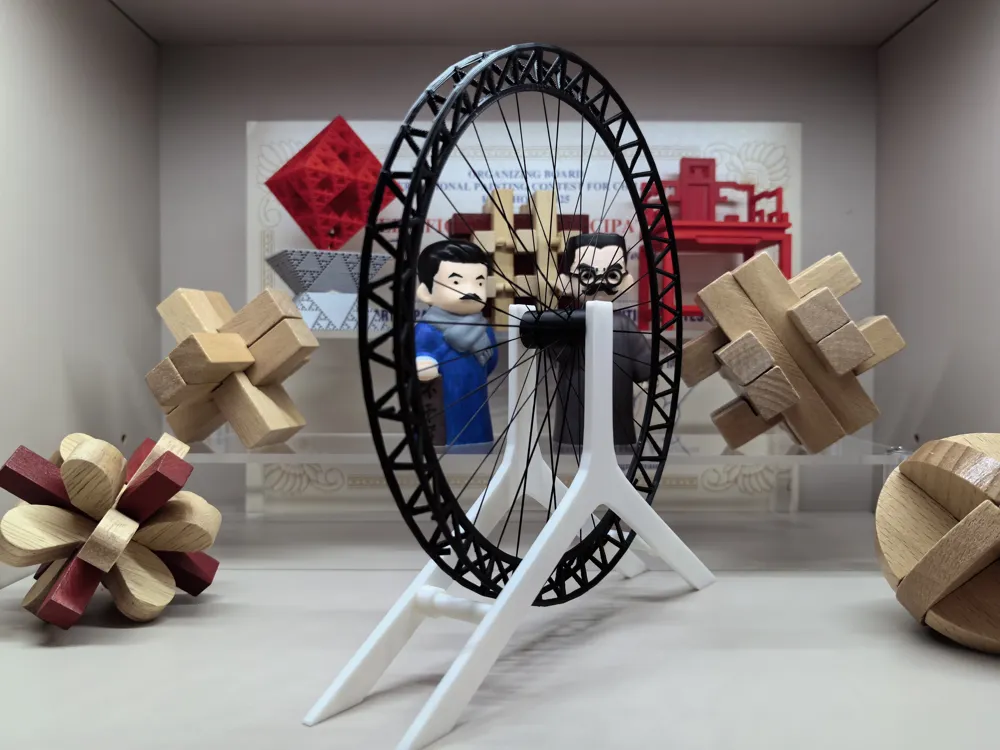
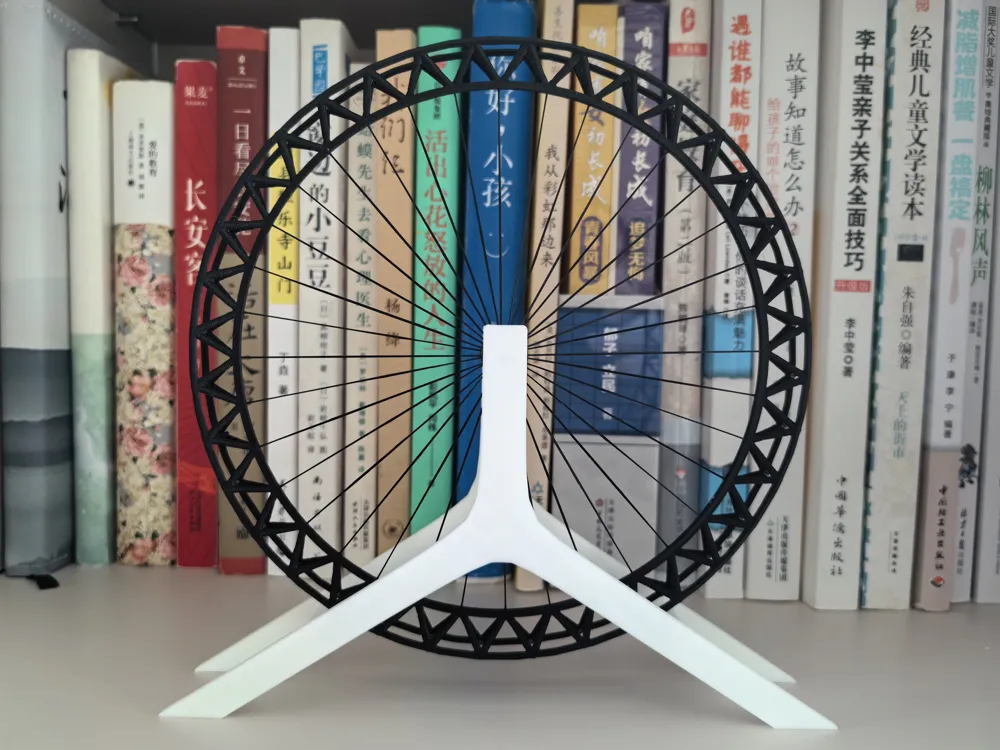
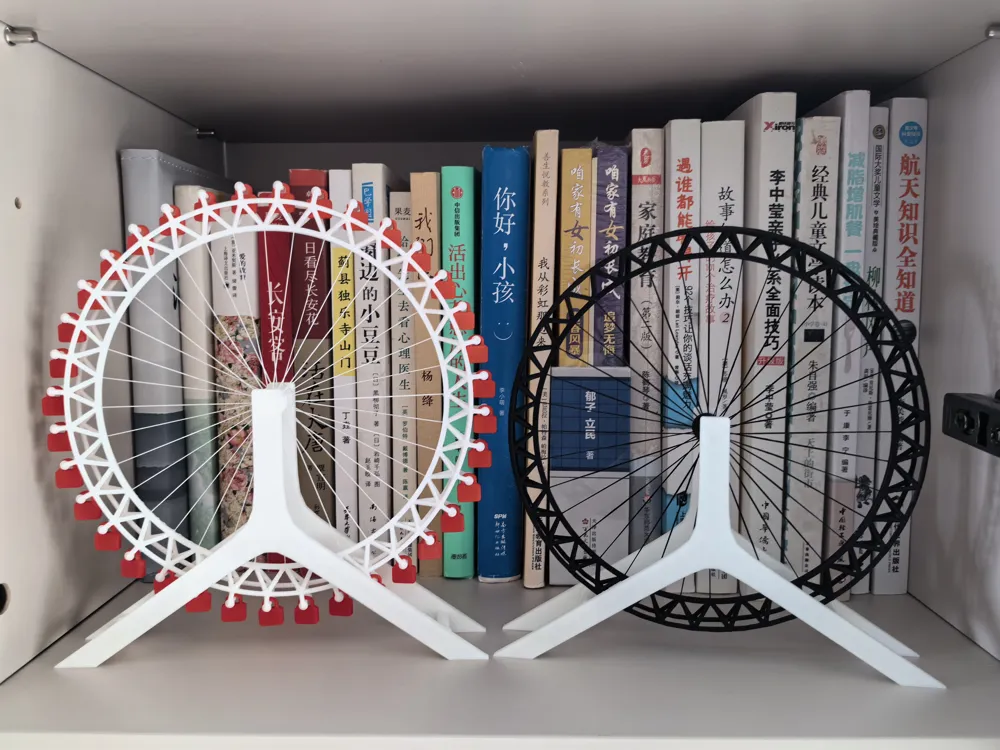
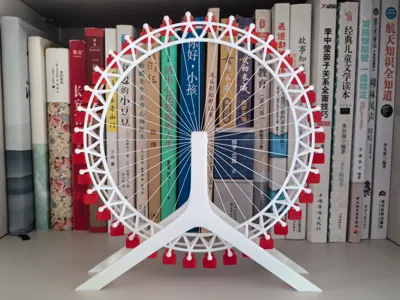
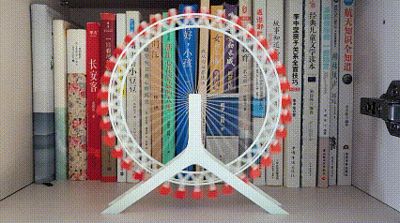
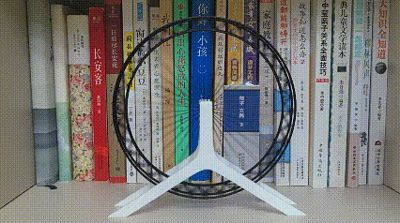
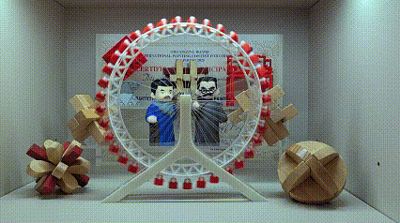
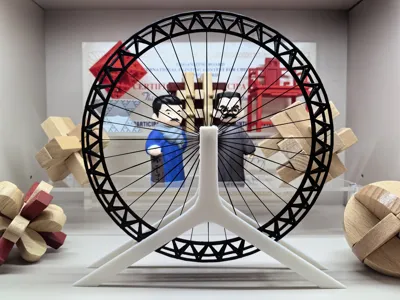
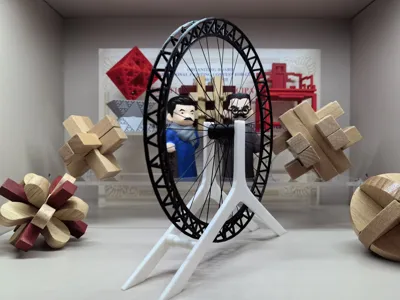
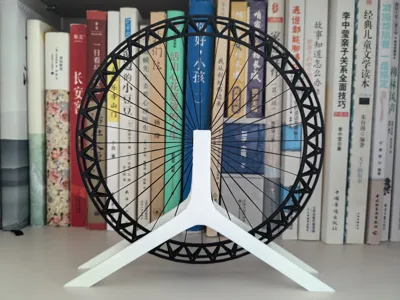
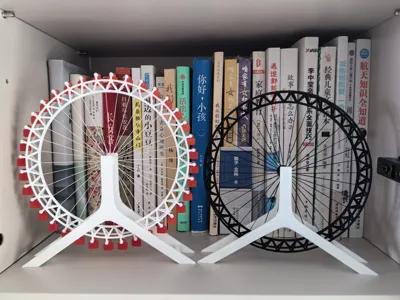
The model's development and creation incorporated my structural engineering expertise, featuring trusses and a fully flexible spoke-cable structure. It can be said to be the most lightweight version online, closely mimicking the actual appearance and engineering structure. The production process underwent multiple iterations and simultaneously launched two versions: a full version and a simplified version (The simplified version will be shared in the print profile). The full version includes movable gondolas, and the gondolas move synchronously when the Ferris wheel body rotates (The finished product is around 40g, with minimal supports, less than 5g). The simplified version focuses more on lightness and structural simulation (Because there's no gondola interference, this version rotates more flexibly and freely, highly recommended, the finished product is about 27g).
Assembly requires a bit of hands-on skill. The assembly process is briefly introduced below:
0. Important things first: Because there are small parts, be sure to clean the plate, clean the plate, clean the plate; for textured PEI plates, it is recommended to spray or coat with adhesive, and a cold build plate is recommended (because I succeeded with a cold build plate). Even with a cold build plate, clean the plate, clean the plate, clean the plate!! When removing prints, be careful not to damage the model, especially the delicate 'steel cables' (fine threads of a few tenths of a millimeter).
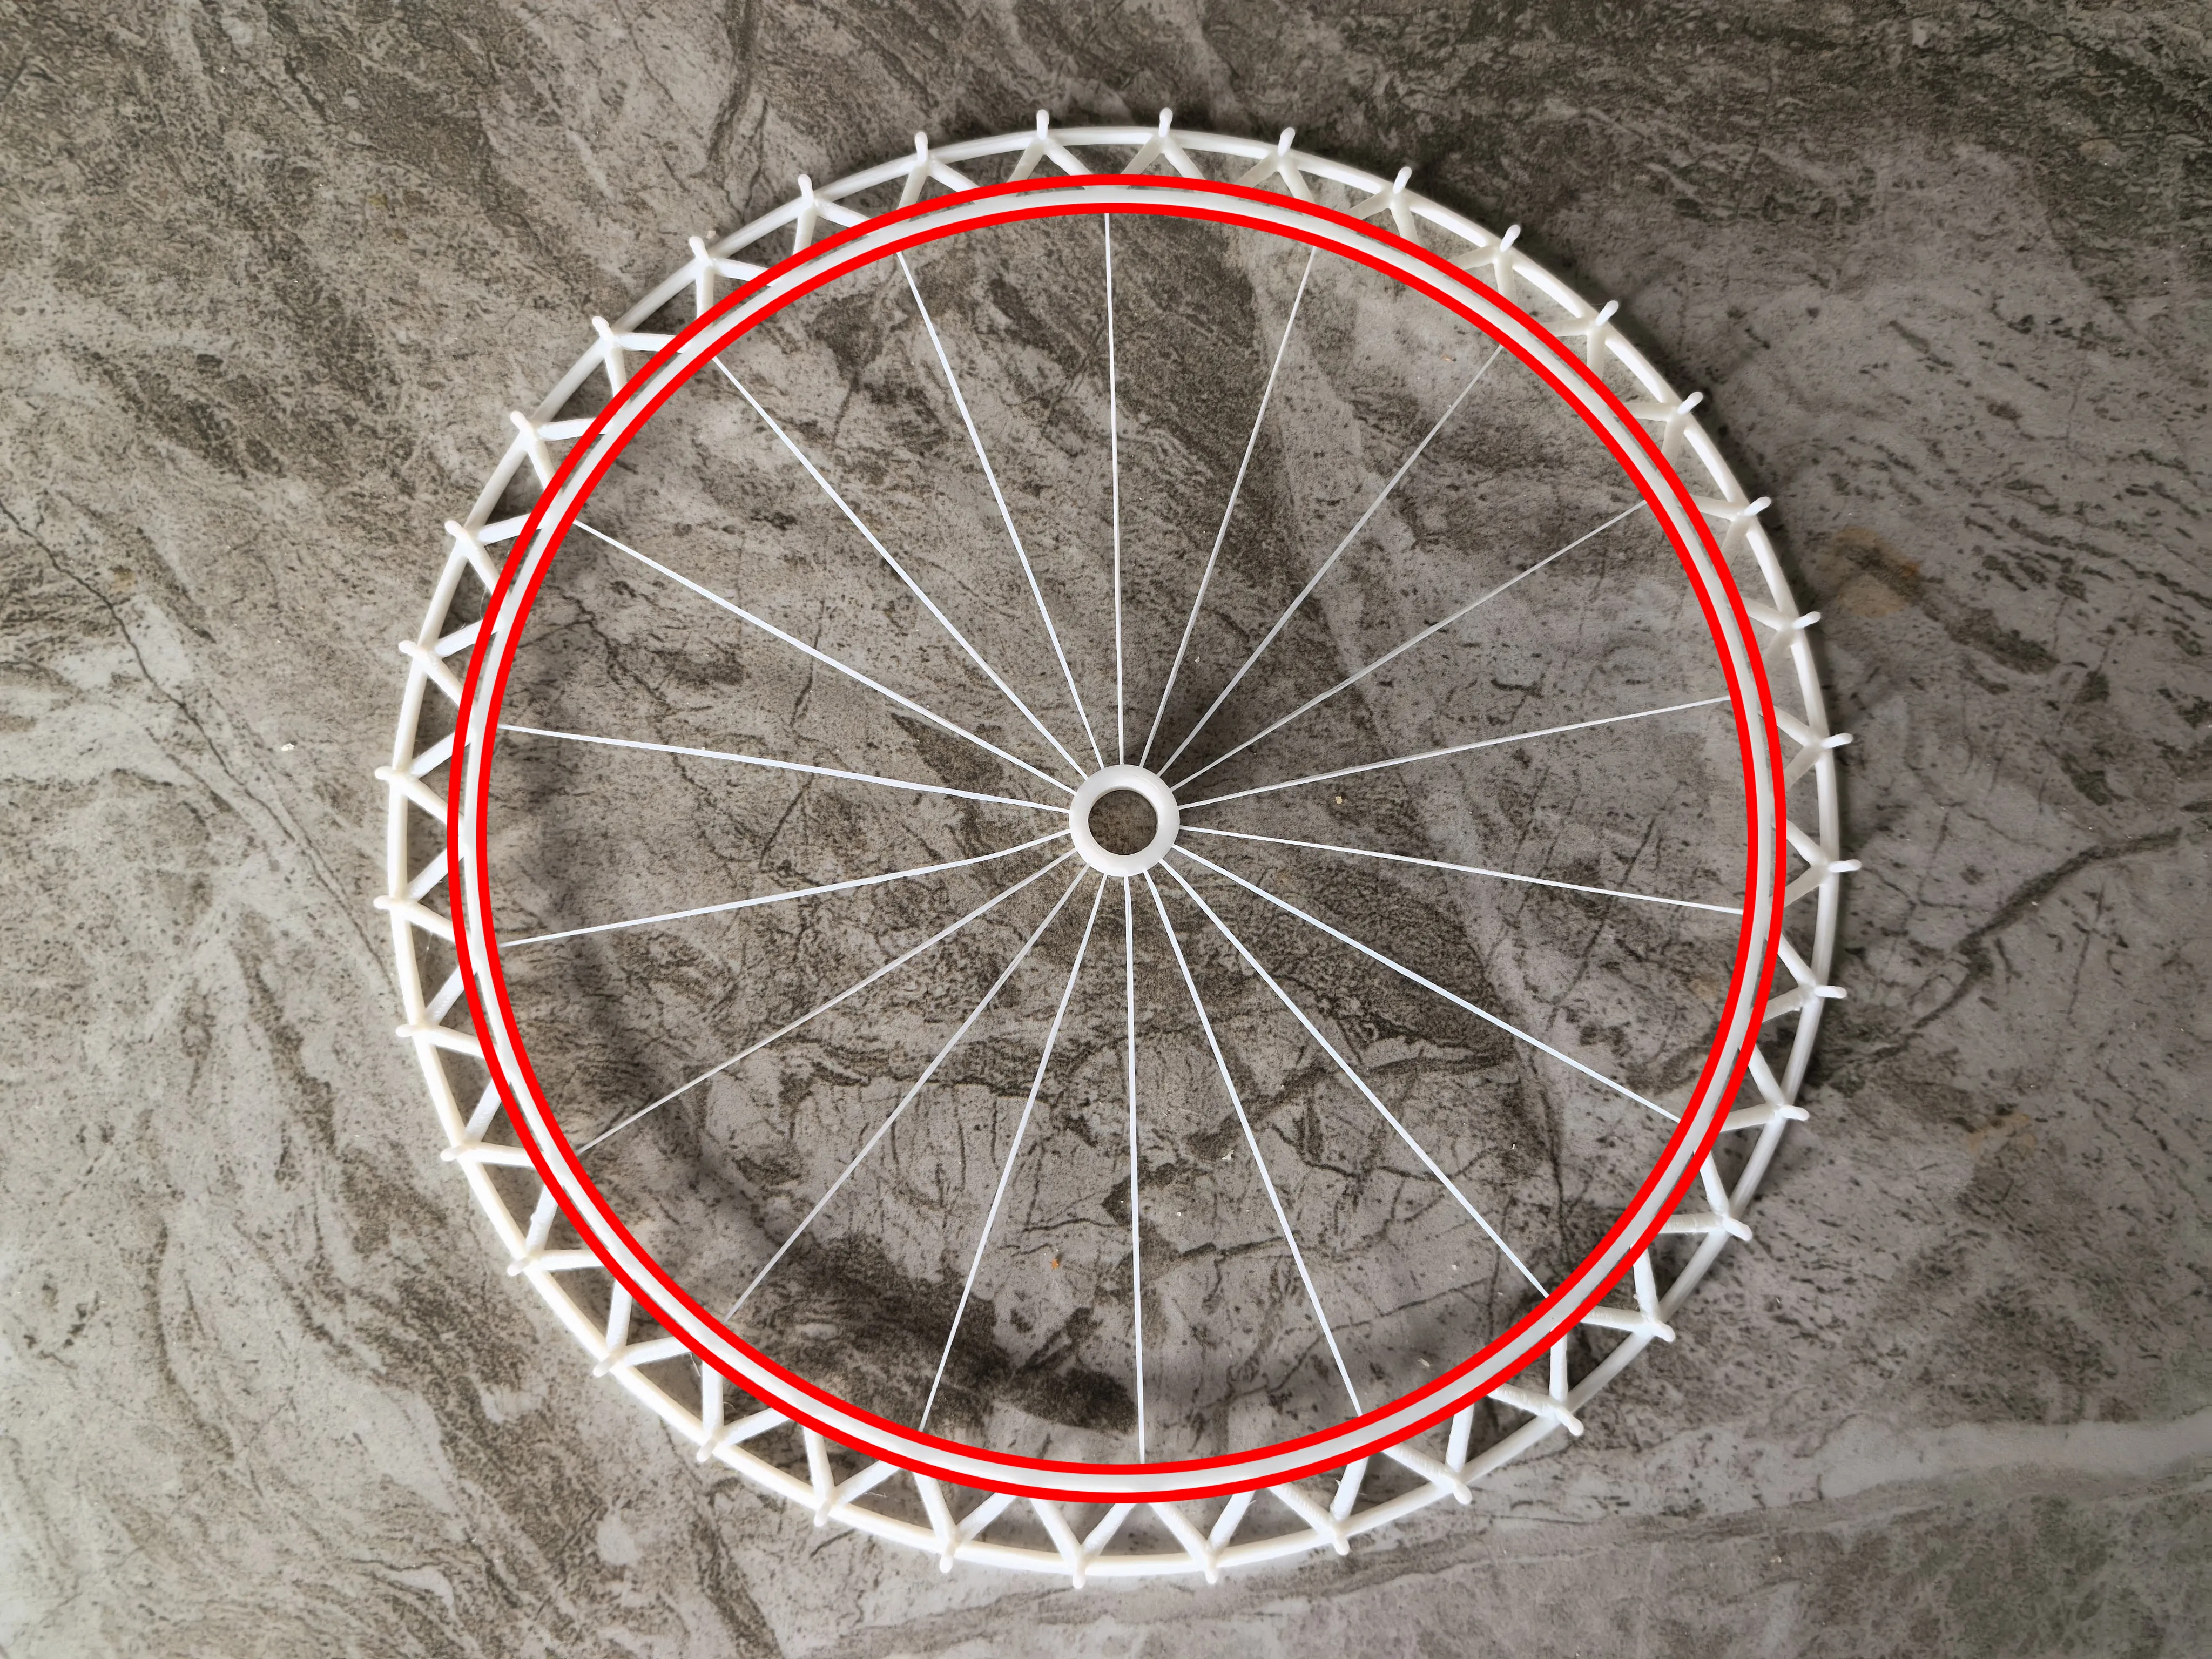
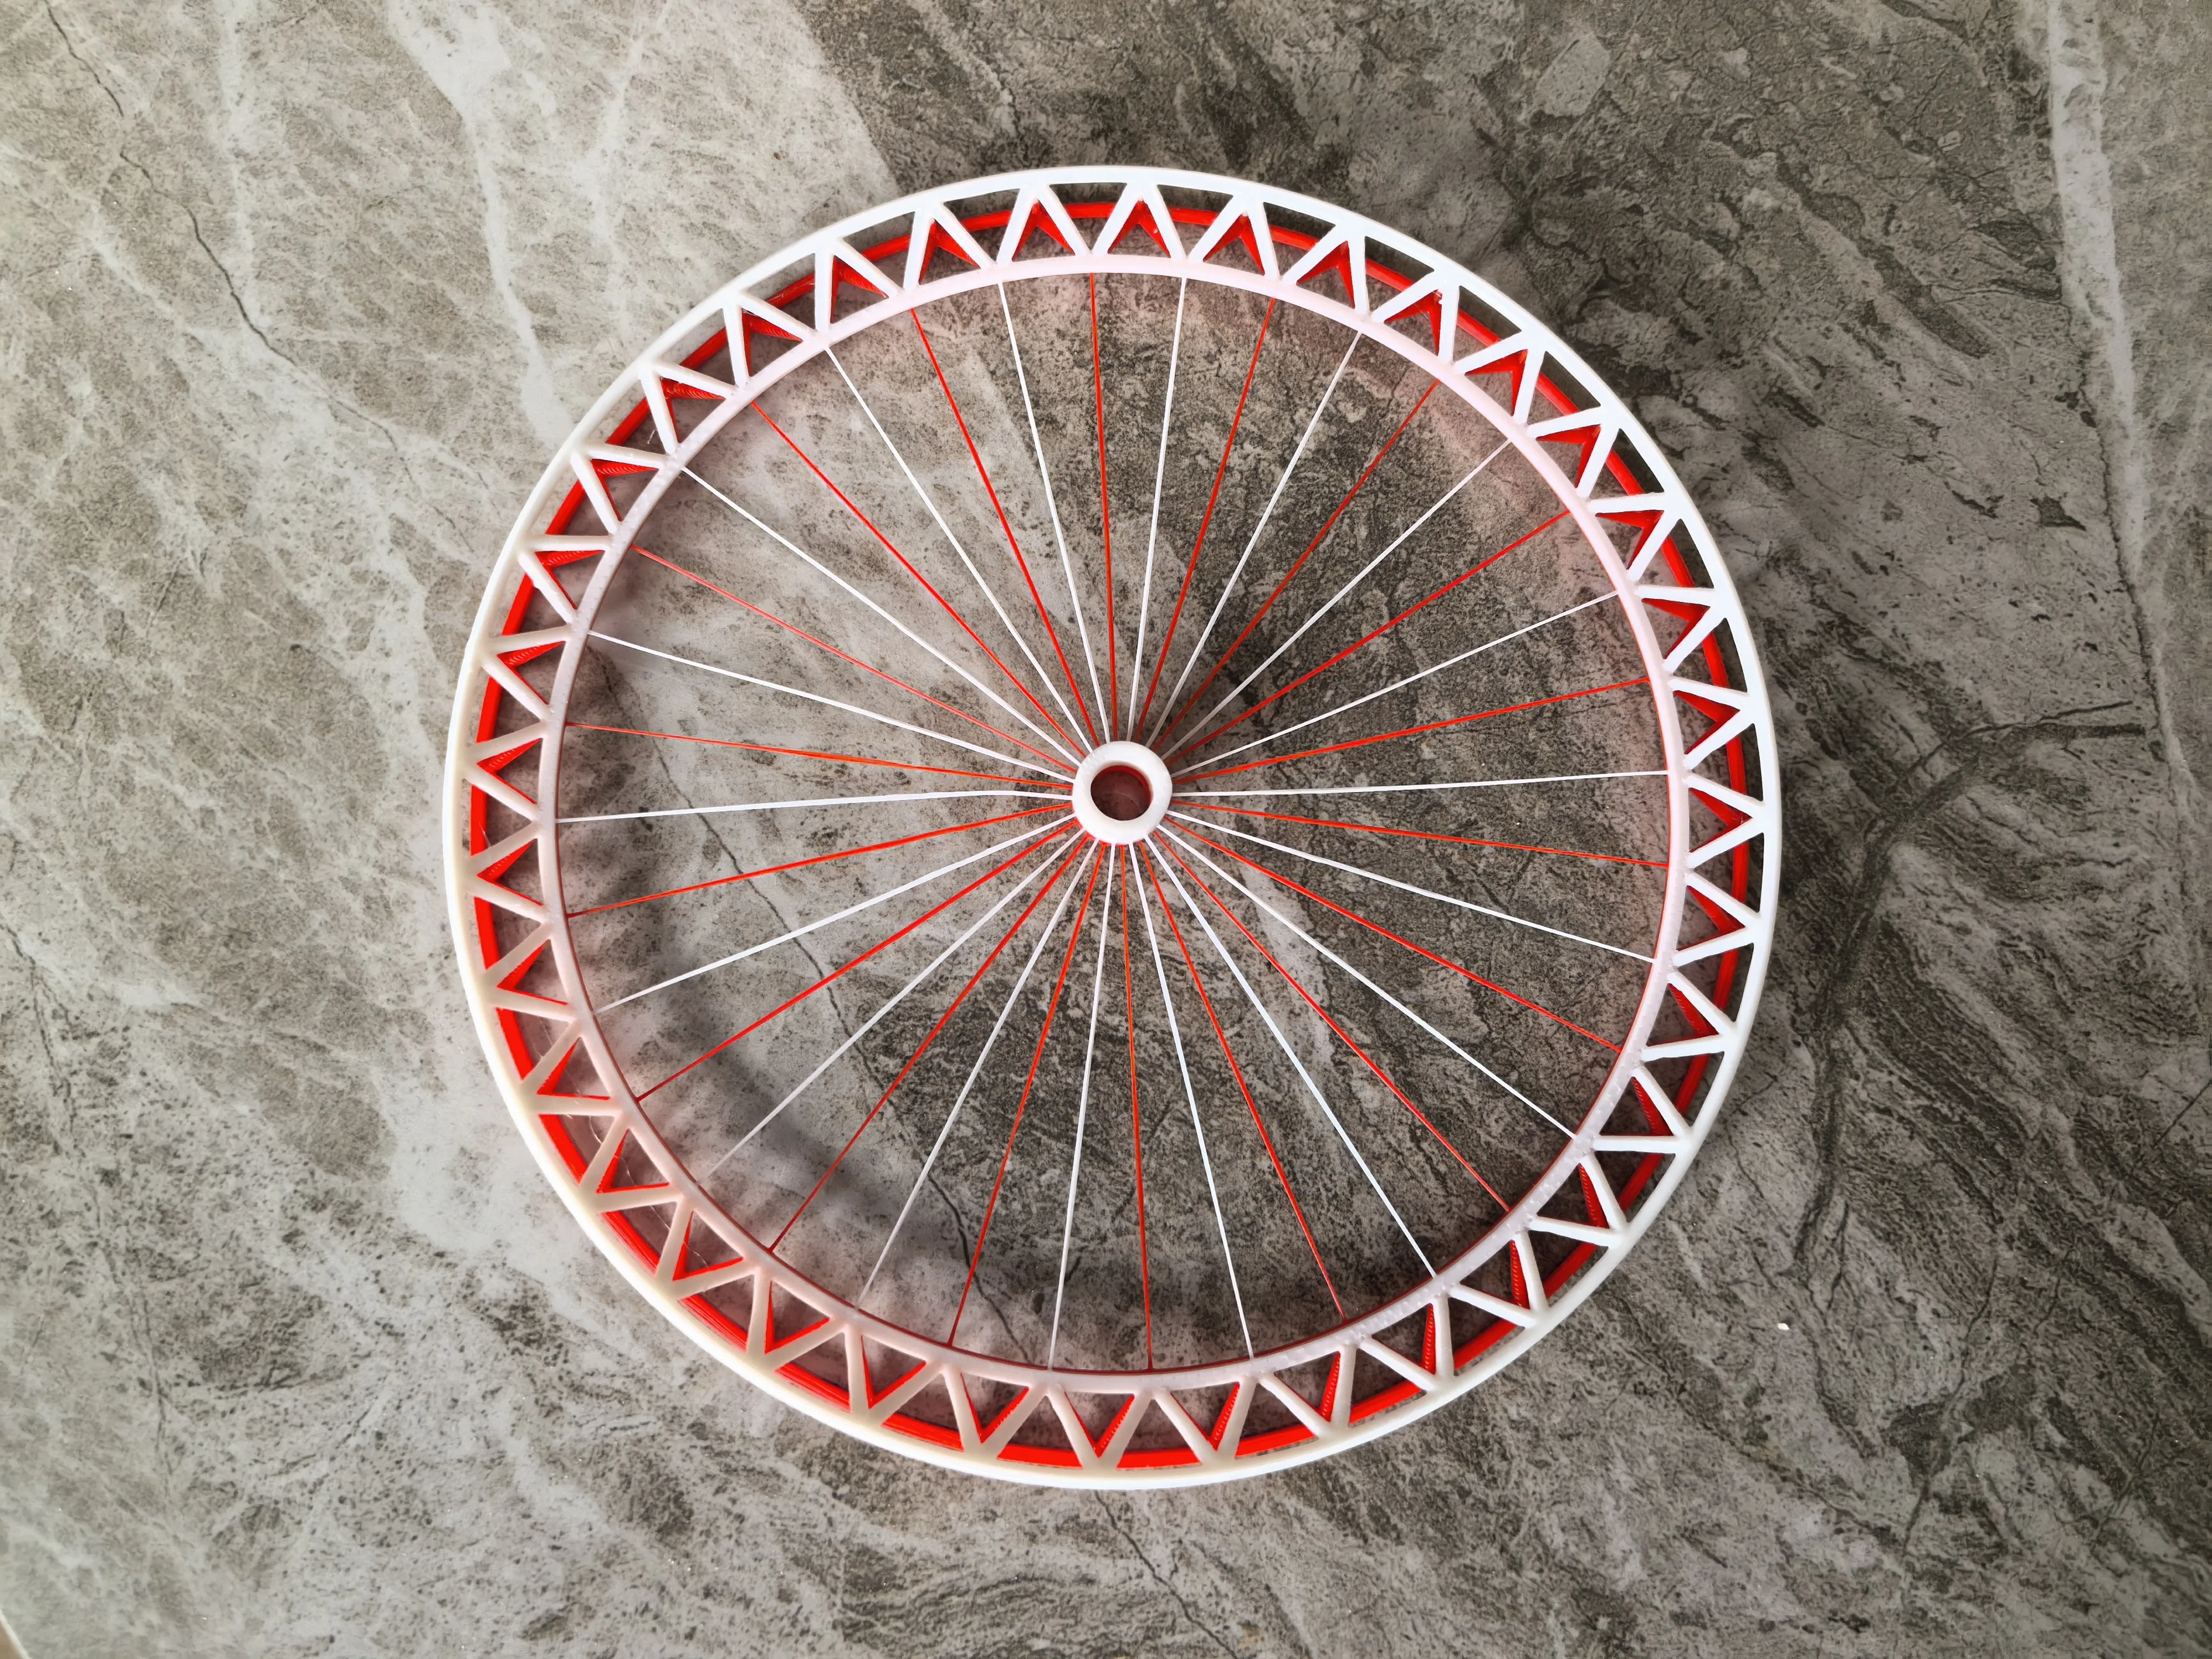
1. To reduce supports and easily achieve the spoke-cable structure, the Ferris wheel body is printed in two halves (the left and right halves are identical, the first plate needs to be printed twice). During assembly, apply a circle of glue to the inner ring of the truss (red circled area in the figure below), then join the two halves. Be careful to assemble the spokes in an offset manner (this is how the real thing is). Refer to the images below for details ↓↓↓↓
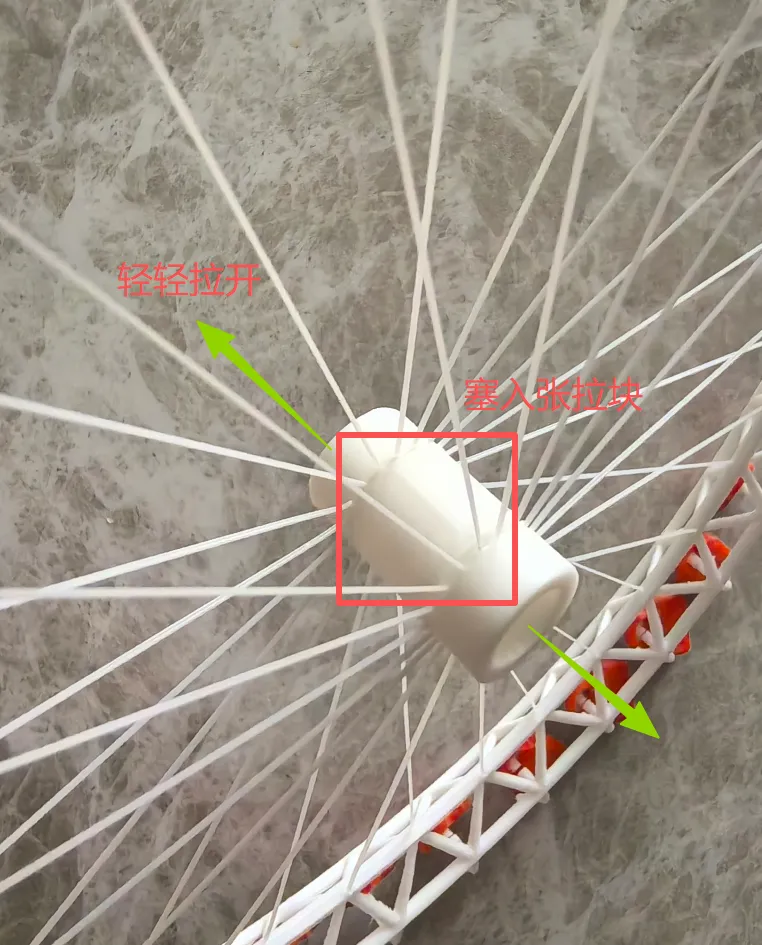
2. Tensioning. After the glue solidifies, gently pull apart the left and right two axes with both hands, and insert the tension block between the two axes. Once in place, the tension block will automatically lock into position without the need for adhesive. Be careful here to avoid breaking the 'steel cables'; it will be easier if two people work together. Details are shown in the figure below.
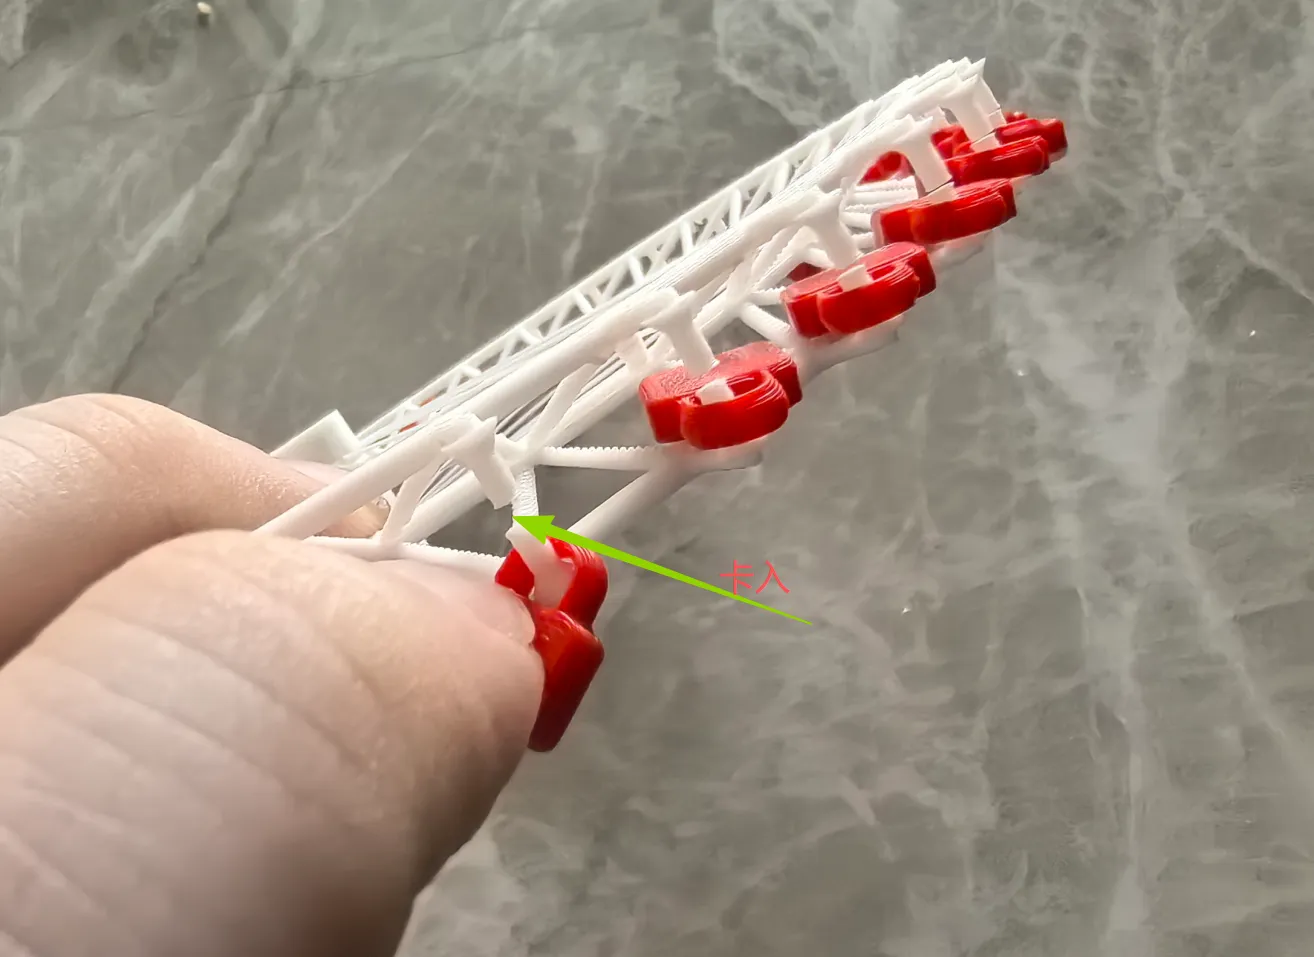
3. Gondola and support installation. From this point, the remaining steps are straightforward. Simply gently pry open the gondola mounting position and snap in the gondola. No glue is needed here, and it will not affect the model's operation at all. For support installation, you can slightly use glue at the tenon joints. Note that this is for the lower, pluggable part of the support; do not use glue at the pivot point (otherwise, you know what happens). Due to support strength issues, there is a bit of play at the pivot point. If you mind, you can thread a piece of filament through to pull the left and right support pieces together (a tiny bit of glue should suffice; do not let glue overflow or pull too tight, as both will affect smooth rotation. I did not use filament, awaiting everyone's verification)
At this point, your masterpiece "The Tianjin Eye" is eager to perform its rapid rotation. Go for it!!!
Boost Me (for free)
Looking forward to your verification and comments.
License

You may create derivative works based on this object, provided that all such derivative works are published exclusively on the MakerWorld platform and include proper attribution to the original creator. You may not share, upload, host, distribute, or publish this object—or any derivative work of this object—on any other digital platform, marketplace, or distribution channel. Commercial use of this object and any derivative works is strictly prohibited. This includes, but is not limited to, selling, renting, sublicensing, or using the object in any context in which you receive monetary compensation or other financial benefits.


Comment & Rating (0)