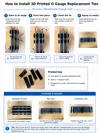
Lionel / Menards Style O Gauge Track Ties


Print Profile(1)

Description

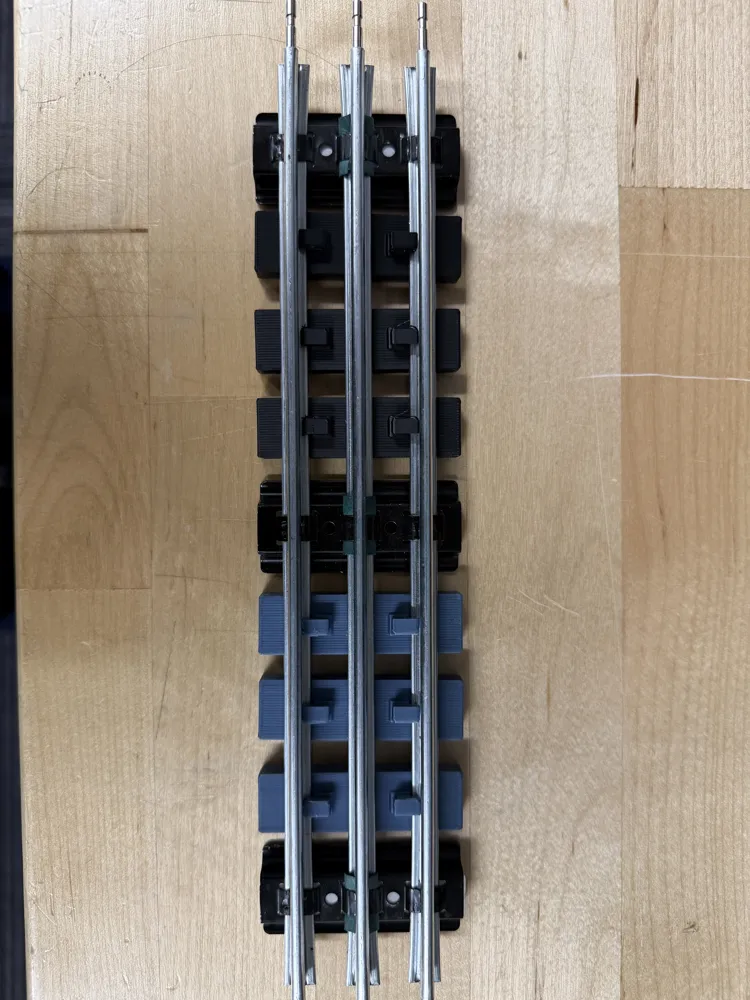
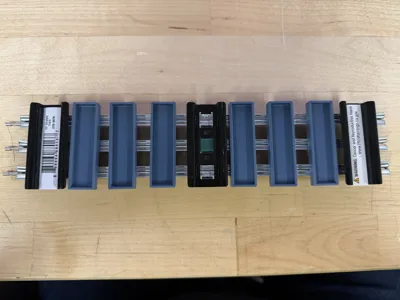
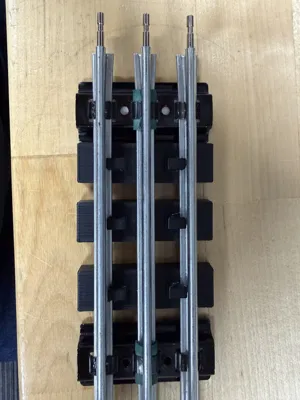
One-piece add-on ties for O gauge tubular track, designed to twist into place using built-in 7-shaped hooks that grab over the rail flanges.
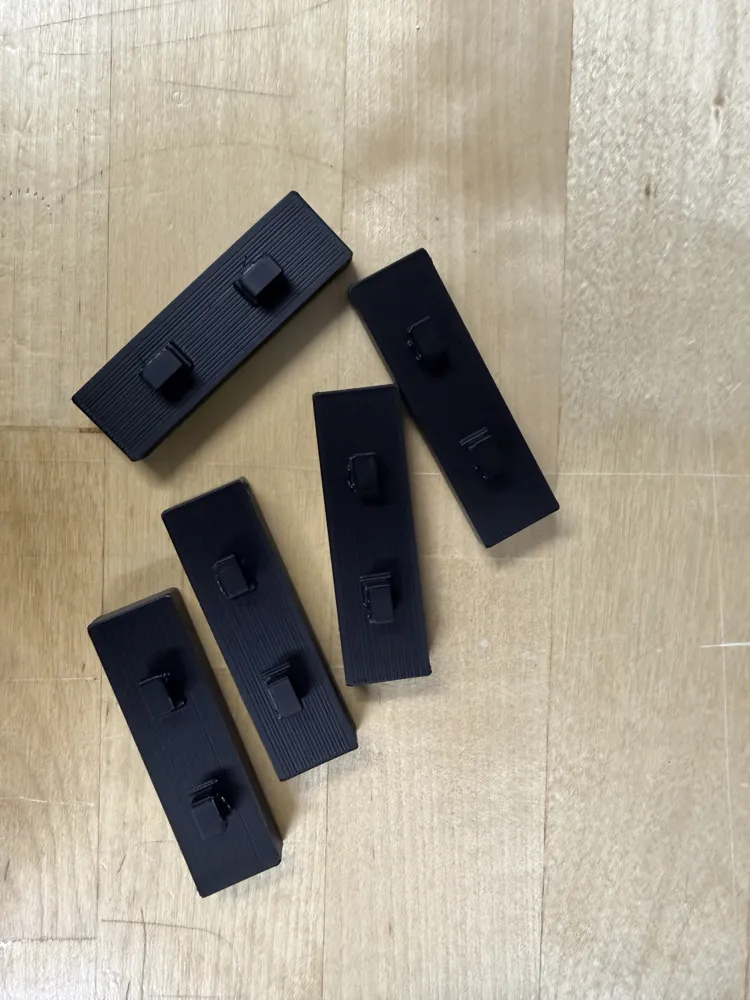
The tie is printed as one solid piece with the hooks built in, so there are no separate pegs or clips to lose. The two 7-shaped hooks are angled between the rails during installation, then the tie twists into its locked position so the hooks go over the rail flanges.
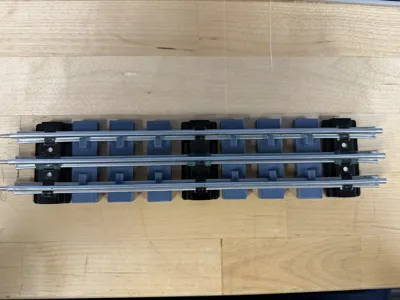
These are sized to fit the Menards / Lionel style O gauge track I tested with. I printed a handful of them and they installed as expected on my test section.
Features:
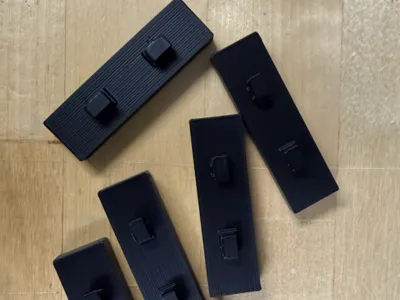
- One-piece print
- Built-in 7-shaped locking hooks
- Hollow underside
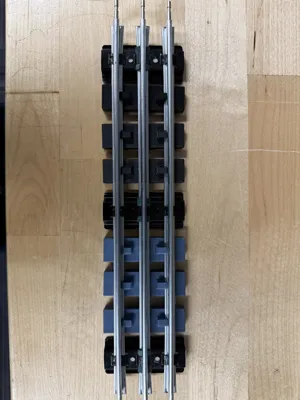
- Textured top surface
- Designed around Lionel / Menards style O gauge tubular track
- Useful for making your track look pretty, adding support or filling out custom track sections
Installation is basically:
- Angle the tie so the hooks fit between the rails.
- Slip one hook over a flange.
- Twist the tie until the second hook clears and locks over the opposite flange.
- Check that the tie sits flat and centered.
- Repeat as needed.
For the third rail area, it may help to slip one hook over the flange first to create enough clearance for the other hook to fit between the rails.
These were designed from measurements taken from actual track, but stamped metal track can vary a little depending on how the rail/flange is bent. Test fit one first before printing a whole pile.
Notes
These are not official Lionel or Menards parts. They are a 3D printed replacement / accessory part designed for hobby use.
Fit may vary slightly depending on your printer, filament, and the exact track section. If the fit is tight, try another section of track first before changing the model. Some stamped track sections have slight variation in the rail/flange bend.
Documentation (1)
License
You shall not share, sub-license, sell, rent, host, transfer, or distribute in any way the digital or 3D printed versions of this object, nor any other derivative work of this object in its digital or physical format (including - but not limited to - remixes of this object, and hosting on other digital platforms). The objects may not be used without permission in any way whatsoever in which you charge money, or collect fees.
Comment & Rating (1)