
Camera stabilizer v3
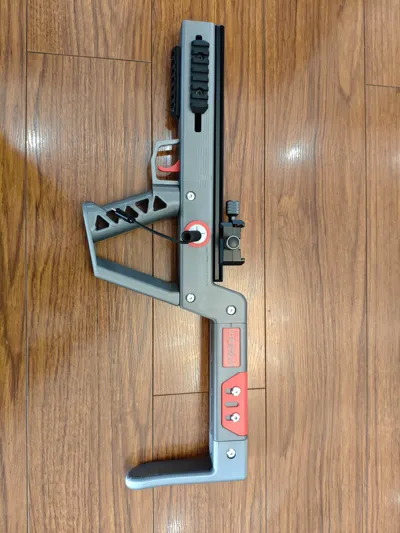
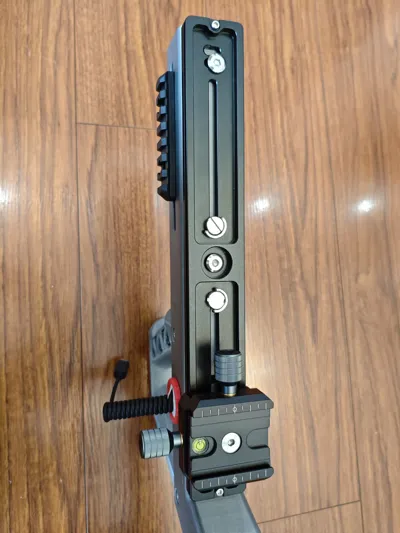
Print Profile(3)
![[20260424 Update] Gun head threaded extension flashlight mount](https://makerworld.bblmw.com/makerworld/model/US1e466fb1197094/782732983/instance/3a2b5c8dc7dbe9fa.png?x-oss-process=image%2Fresize%2Cw_100%2Fformat%2Cwebp)
![[20260613 Update] stock conversion part, separable object (default Picatinny rail)](https://makerworld.bblmw.com/makerworld/model/US1e466fb1197094/816661886/instance/28d9a65440cb9d72.png?x-oss-process=image%2Fresize%2Cw_100%2Fformat%2Cwebp)
Description
Boost Me (for free)
I have limited design experience, so some aspects might not be fully thought out. If it works well, please give me a boost; if not, please be understanding.
If printing for others, please cite the source and copy the following information into the product description:
MakerWorld model: Camera Stabilizer v3
Model ID: 2497396
Author: 0o布娃娃o0 (@0obuwawao0)
=========================================================
2026-06-13 Configuration Update 3: Stock Conversion Part
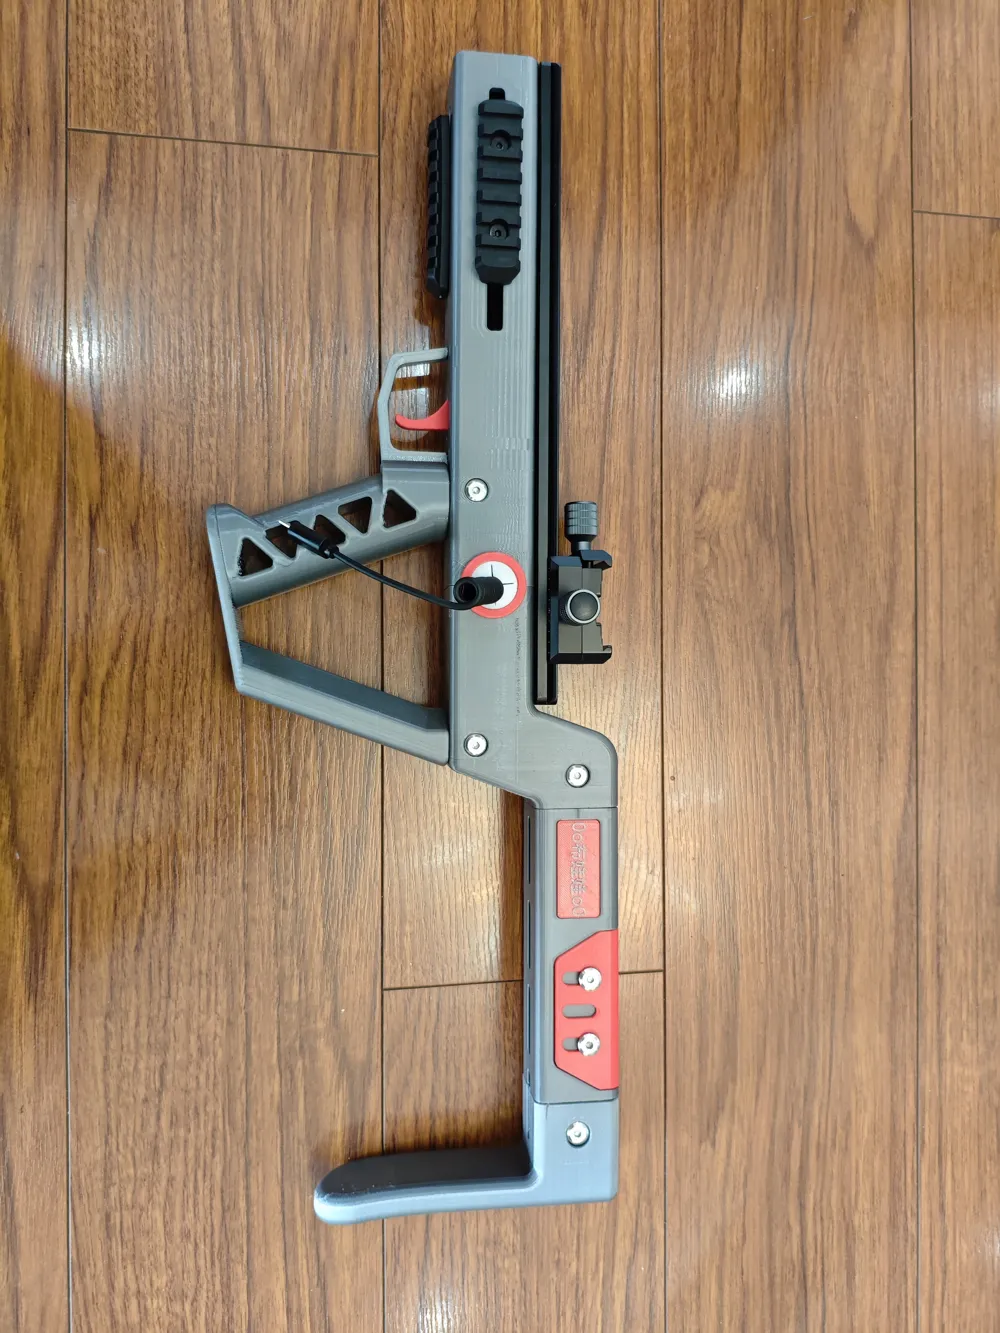
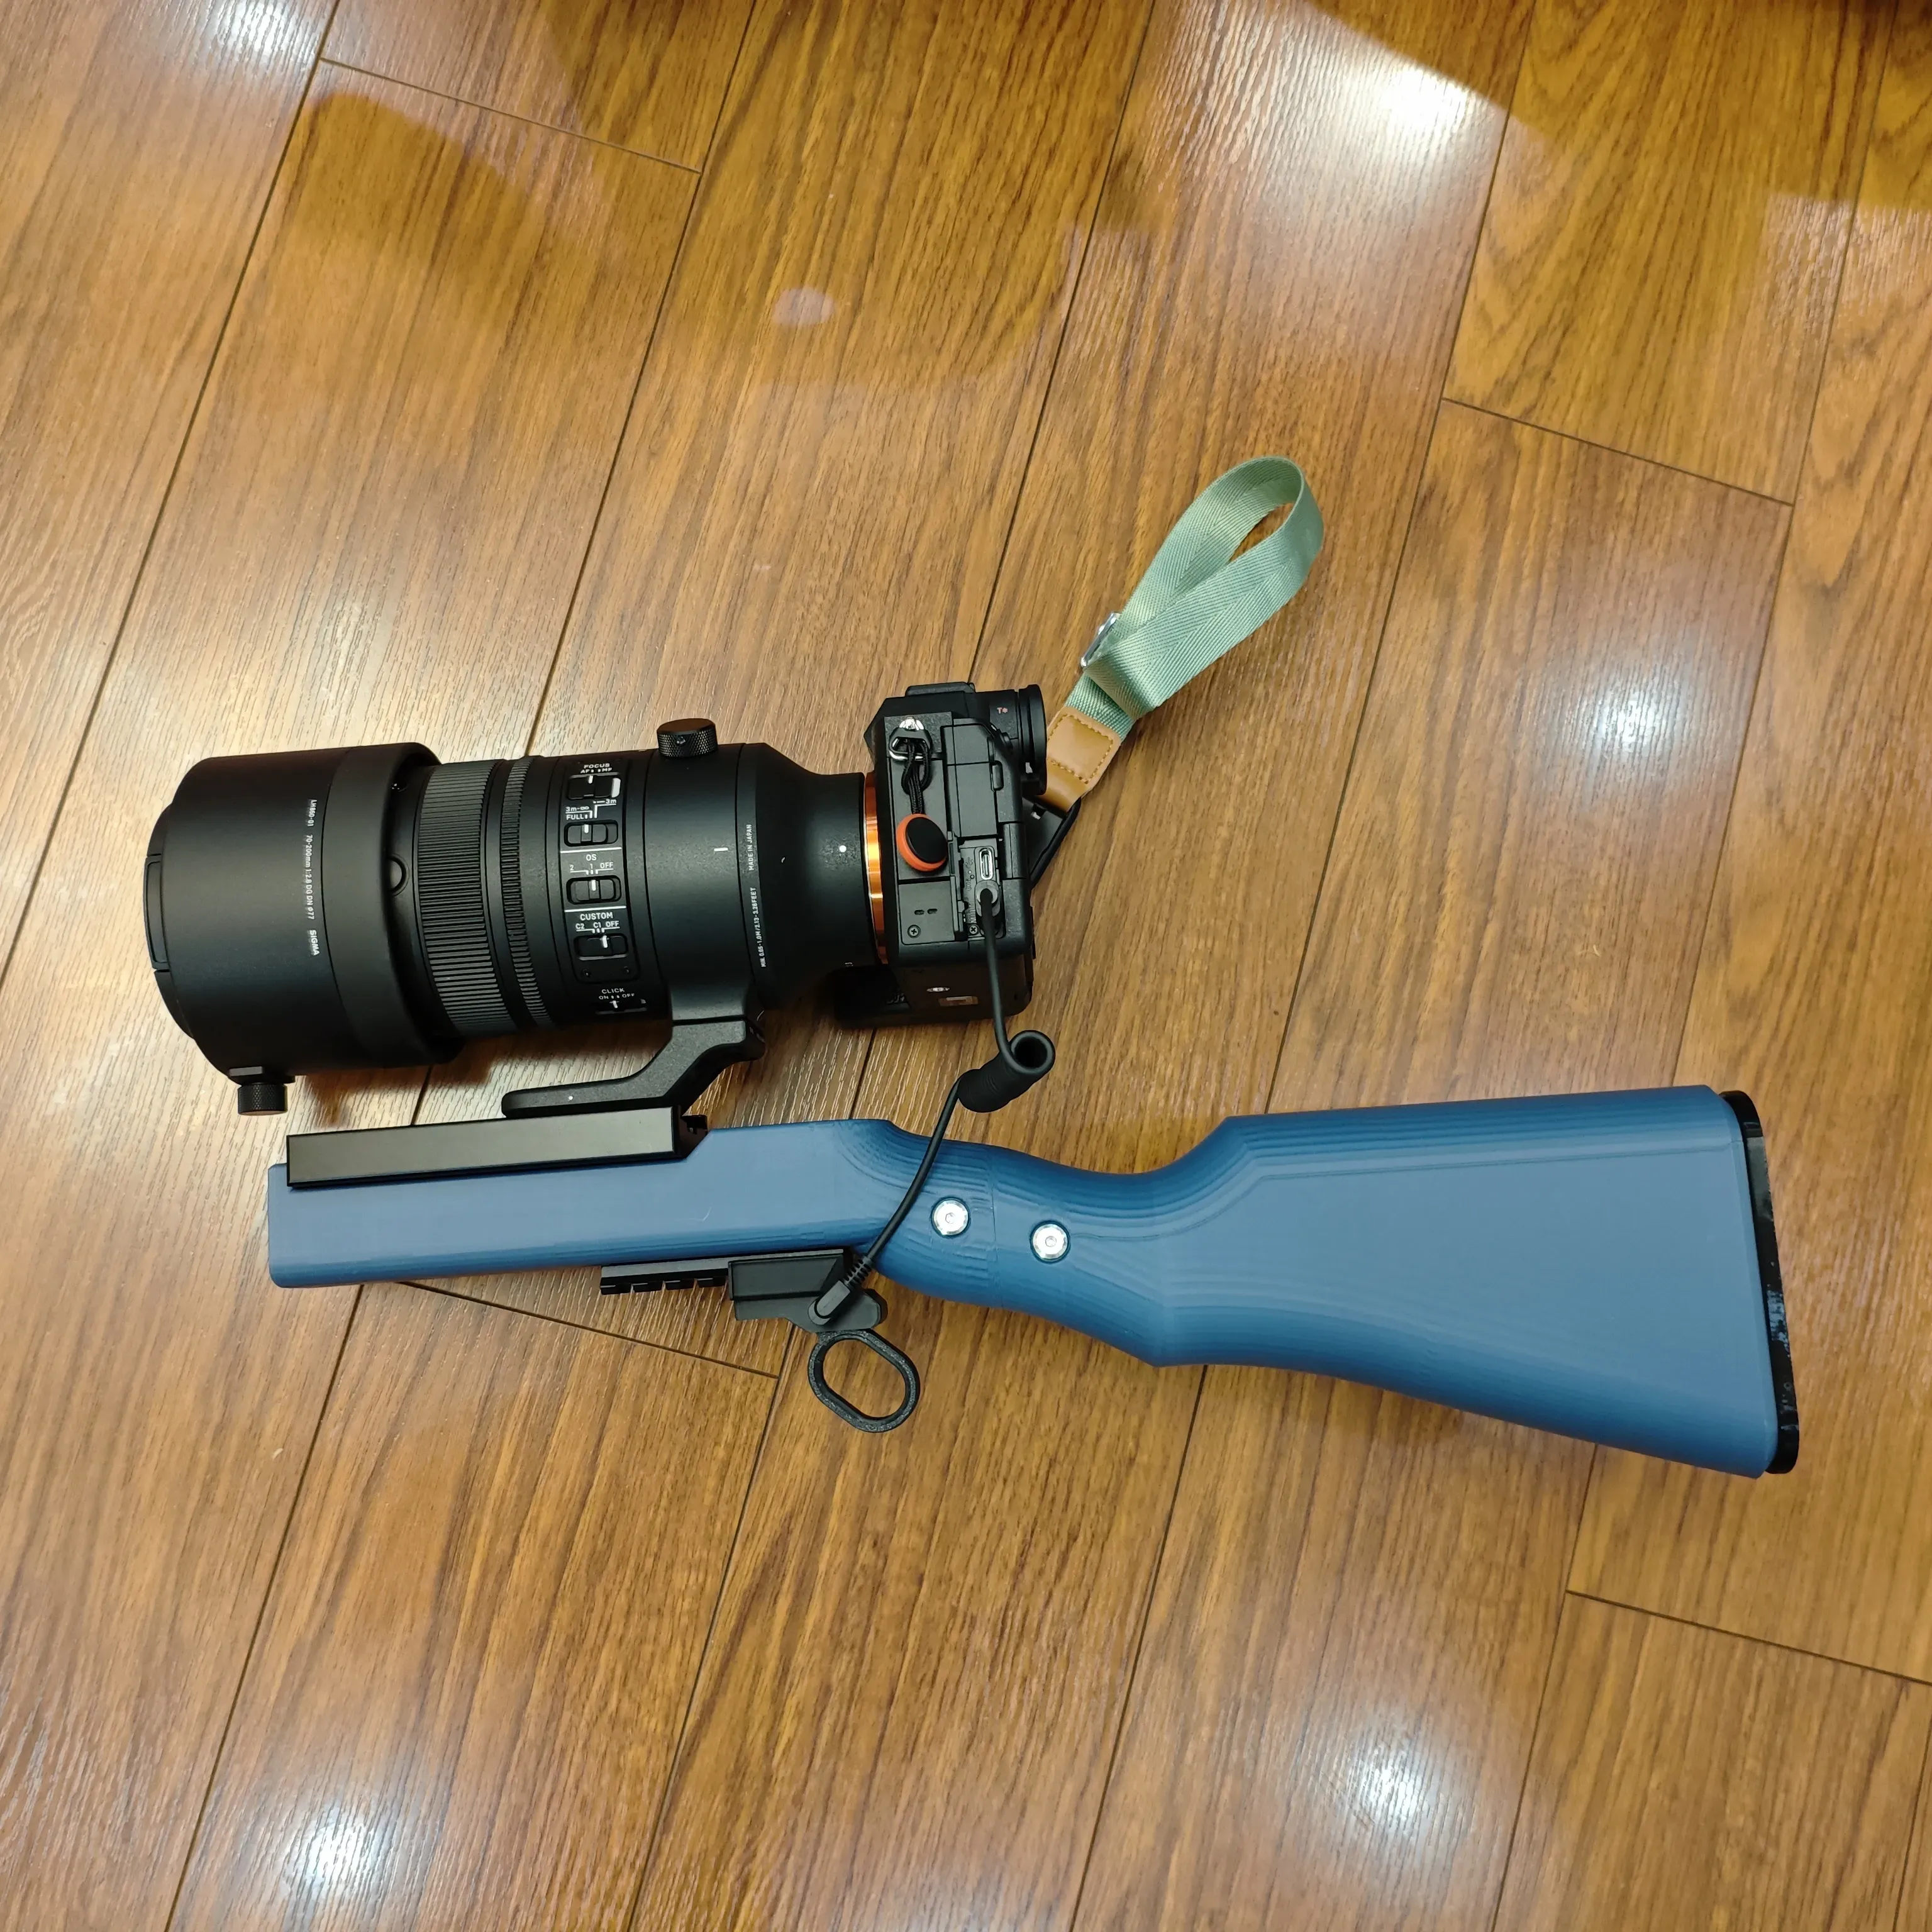
Used for converting existing stocks, with Picatinny rail by default. The configuration can be split into objects for combination with other models.
=========================================================
=========================================================
2026-05-24 Configuration Update 2: Added Threads and Barrel
The reason for this was that a friend wanted to install a flashlight on the muzzle. So, I came up with a method to bypass the internal protruding screws and directly sacrifice some redundant space at the muzzle to add a threaded structure.
Currently, a barrel with a 27mm inner diameter is provided by default. You can actually disassemble it yourself to create the desired diameter, and also drill holes for retaining pins based on your flashlight's features.
Friends who have already printed Configuration 1 will need to reprint the front section and the barrel part; other components remain compatible.
=========================================================
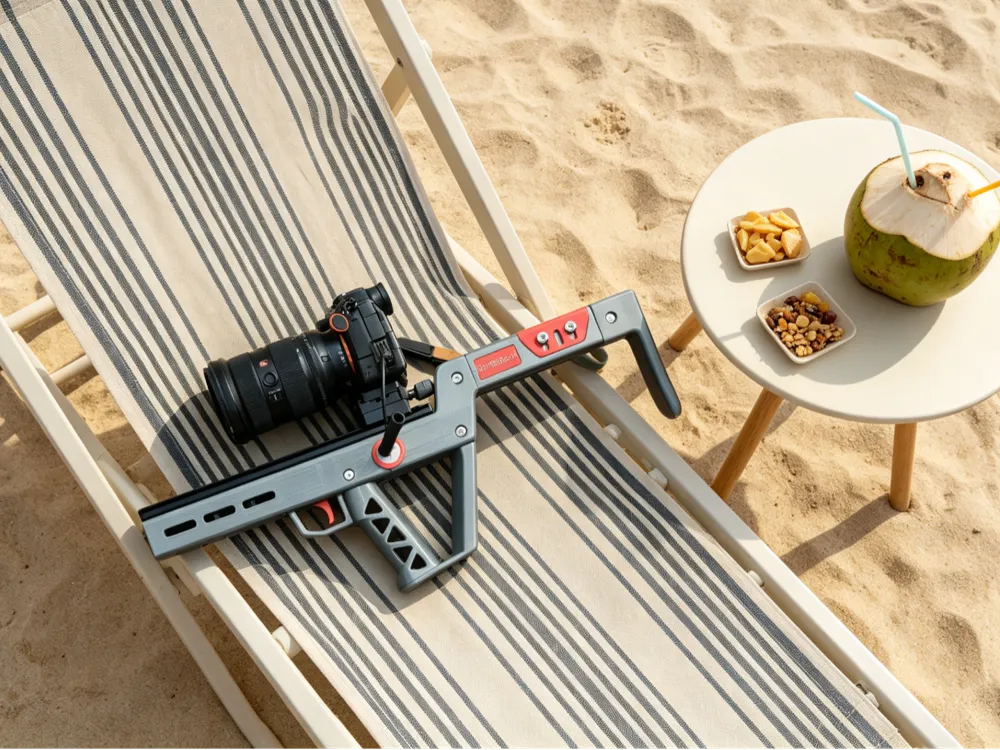
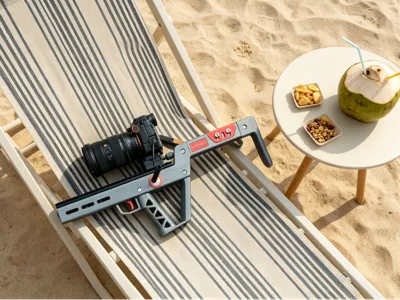
Summer is approaching. Imagine eating icy watermelon, drinking cold cola, and having a blast by the water, with children running barefoot and building sandcastles, full of joy. Adults also need their toys, and this camera stabilizer is not only a great helper for recording happy moments during travel and vacation but also an excellent item to attract countless gazes on the beach.
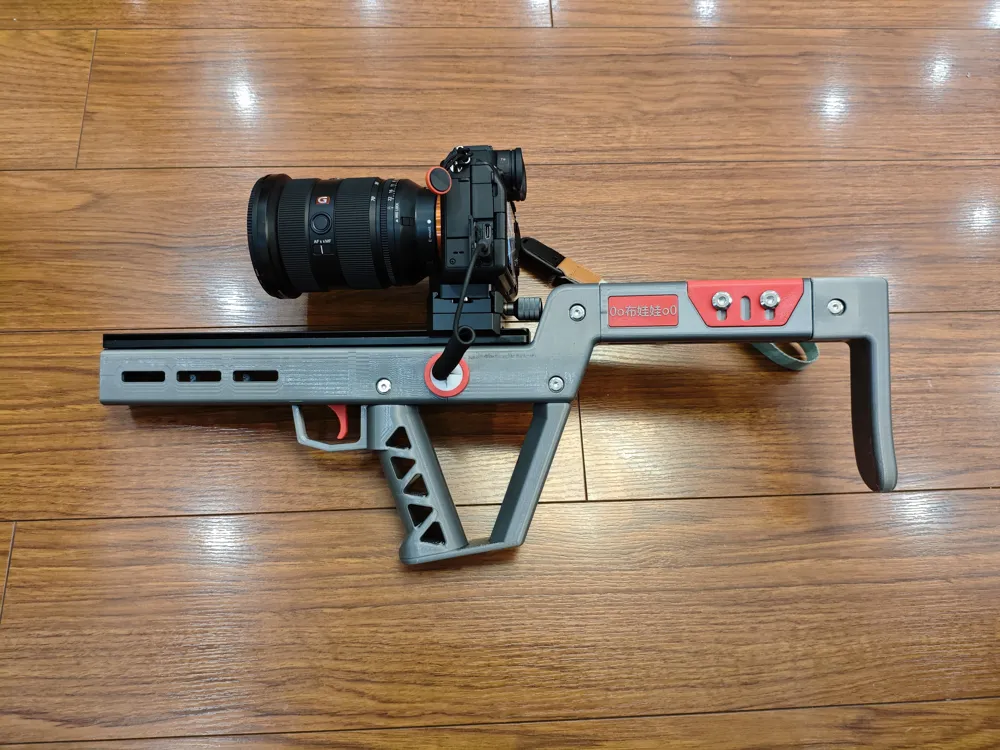
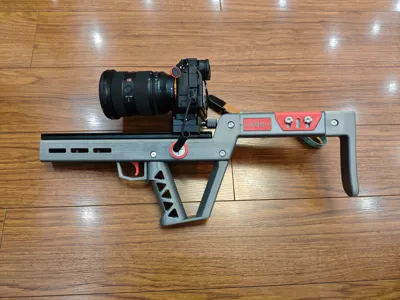
I still remember the first camera stabilizer. Although its appearance was simple, as an inexperienced designer at the time, I haphazardly bought many clamps and sliders, and eventually completed the design with some struggles. After becoming more proficient, I looked back at so many accessories collecting dust and decided to put them to good use again, designing another stabilizer.
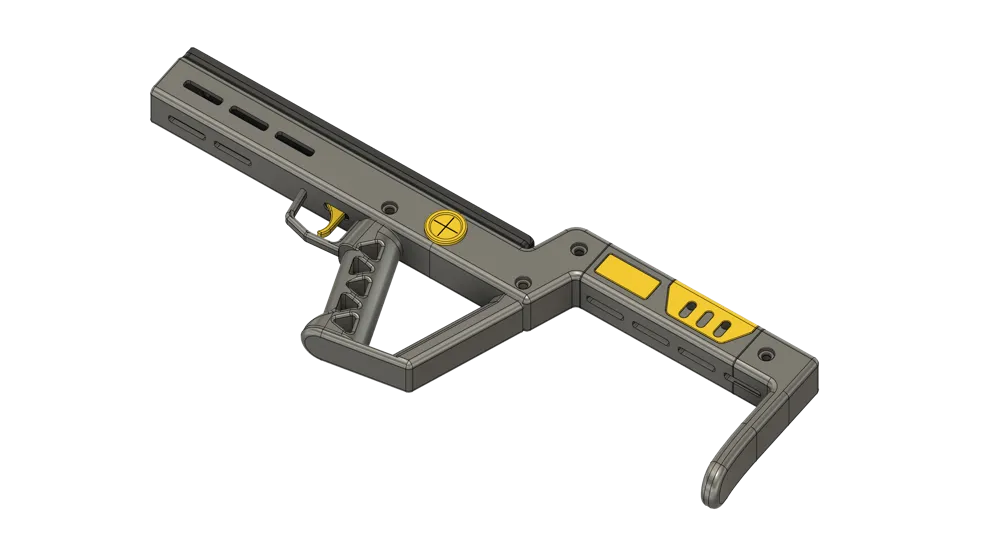
The latter part of this model (nameplate part, low shoulder part) can have its infill density modified by object to appropriately increase weight, balancing the center of gravity when unloaded.
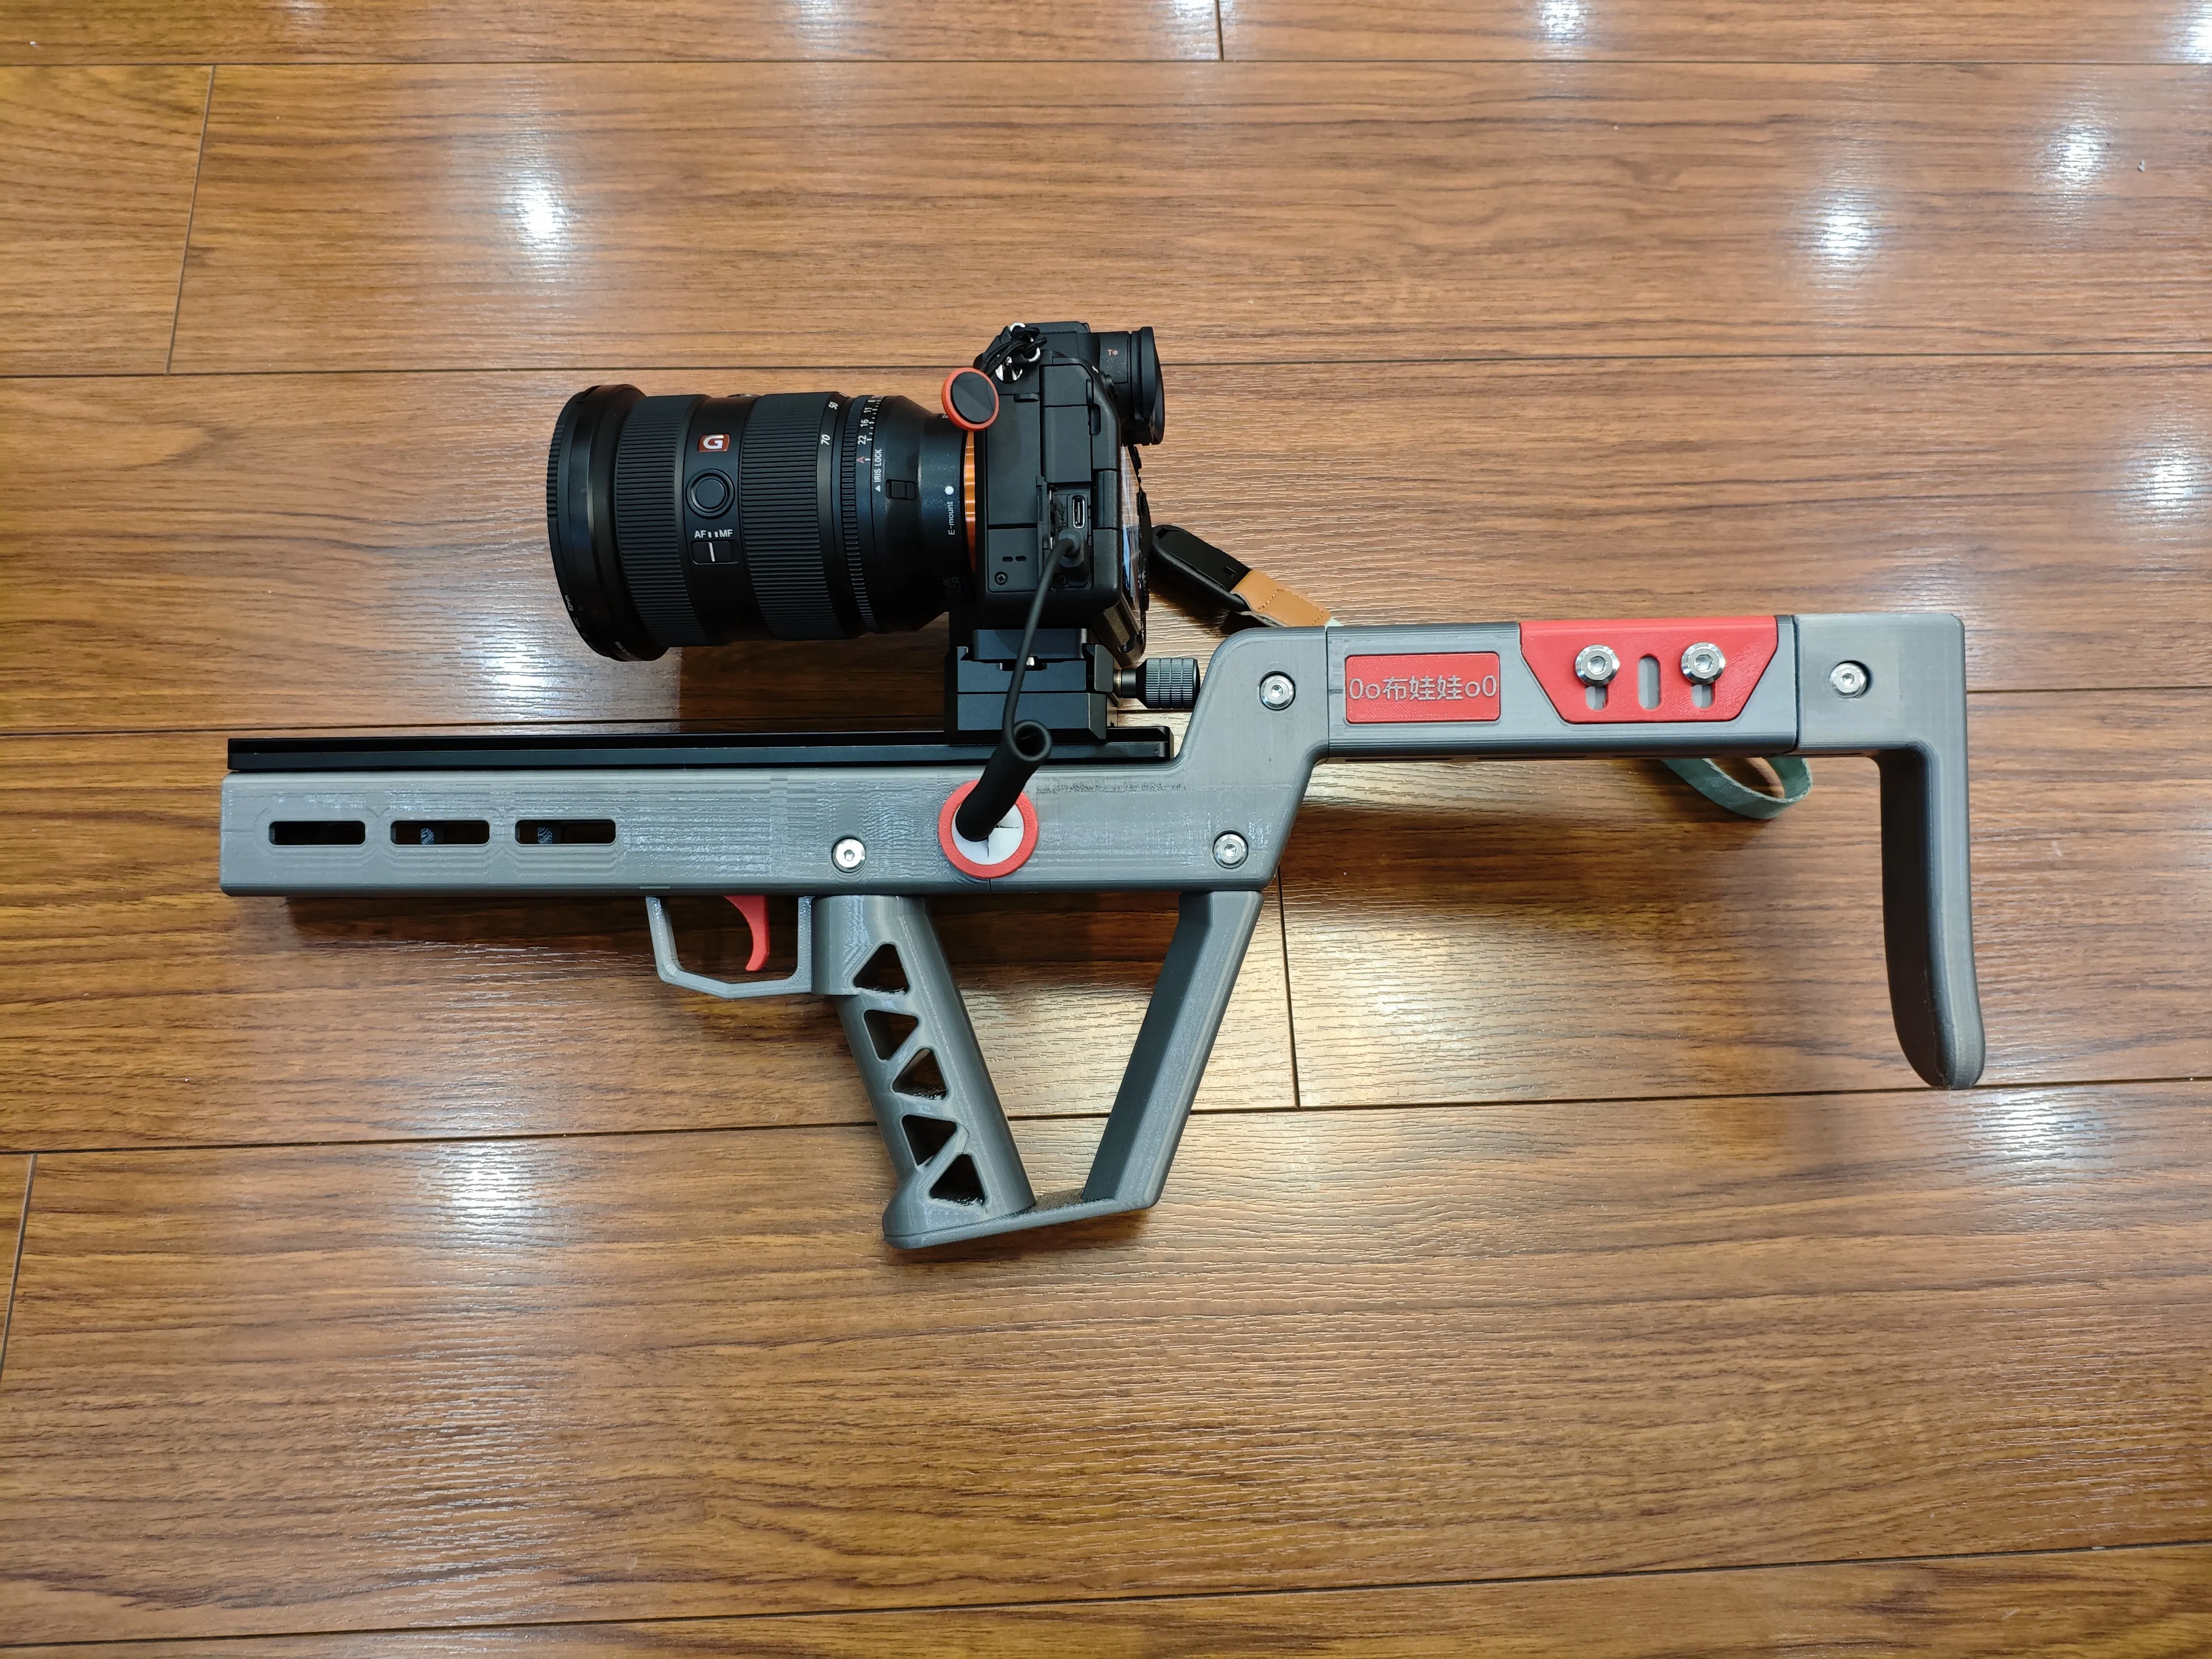
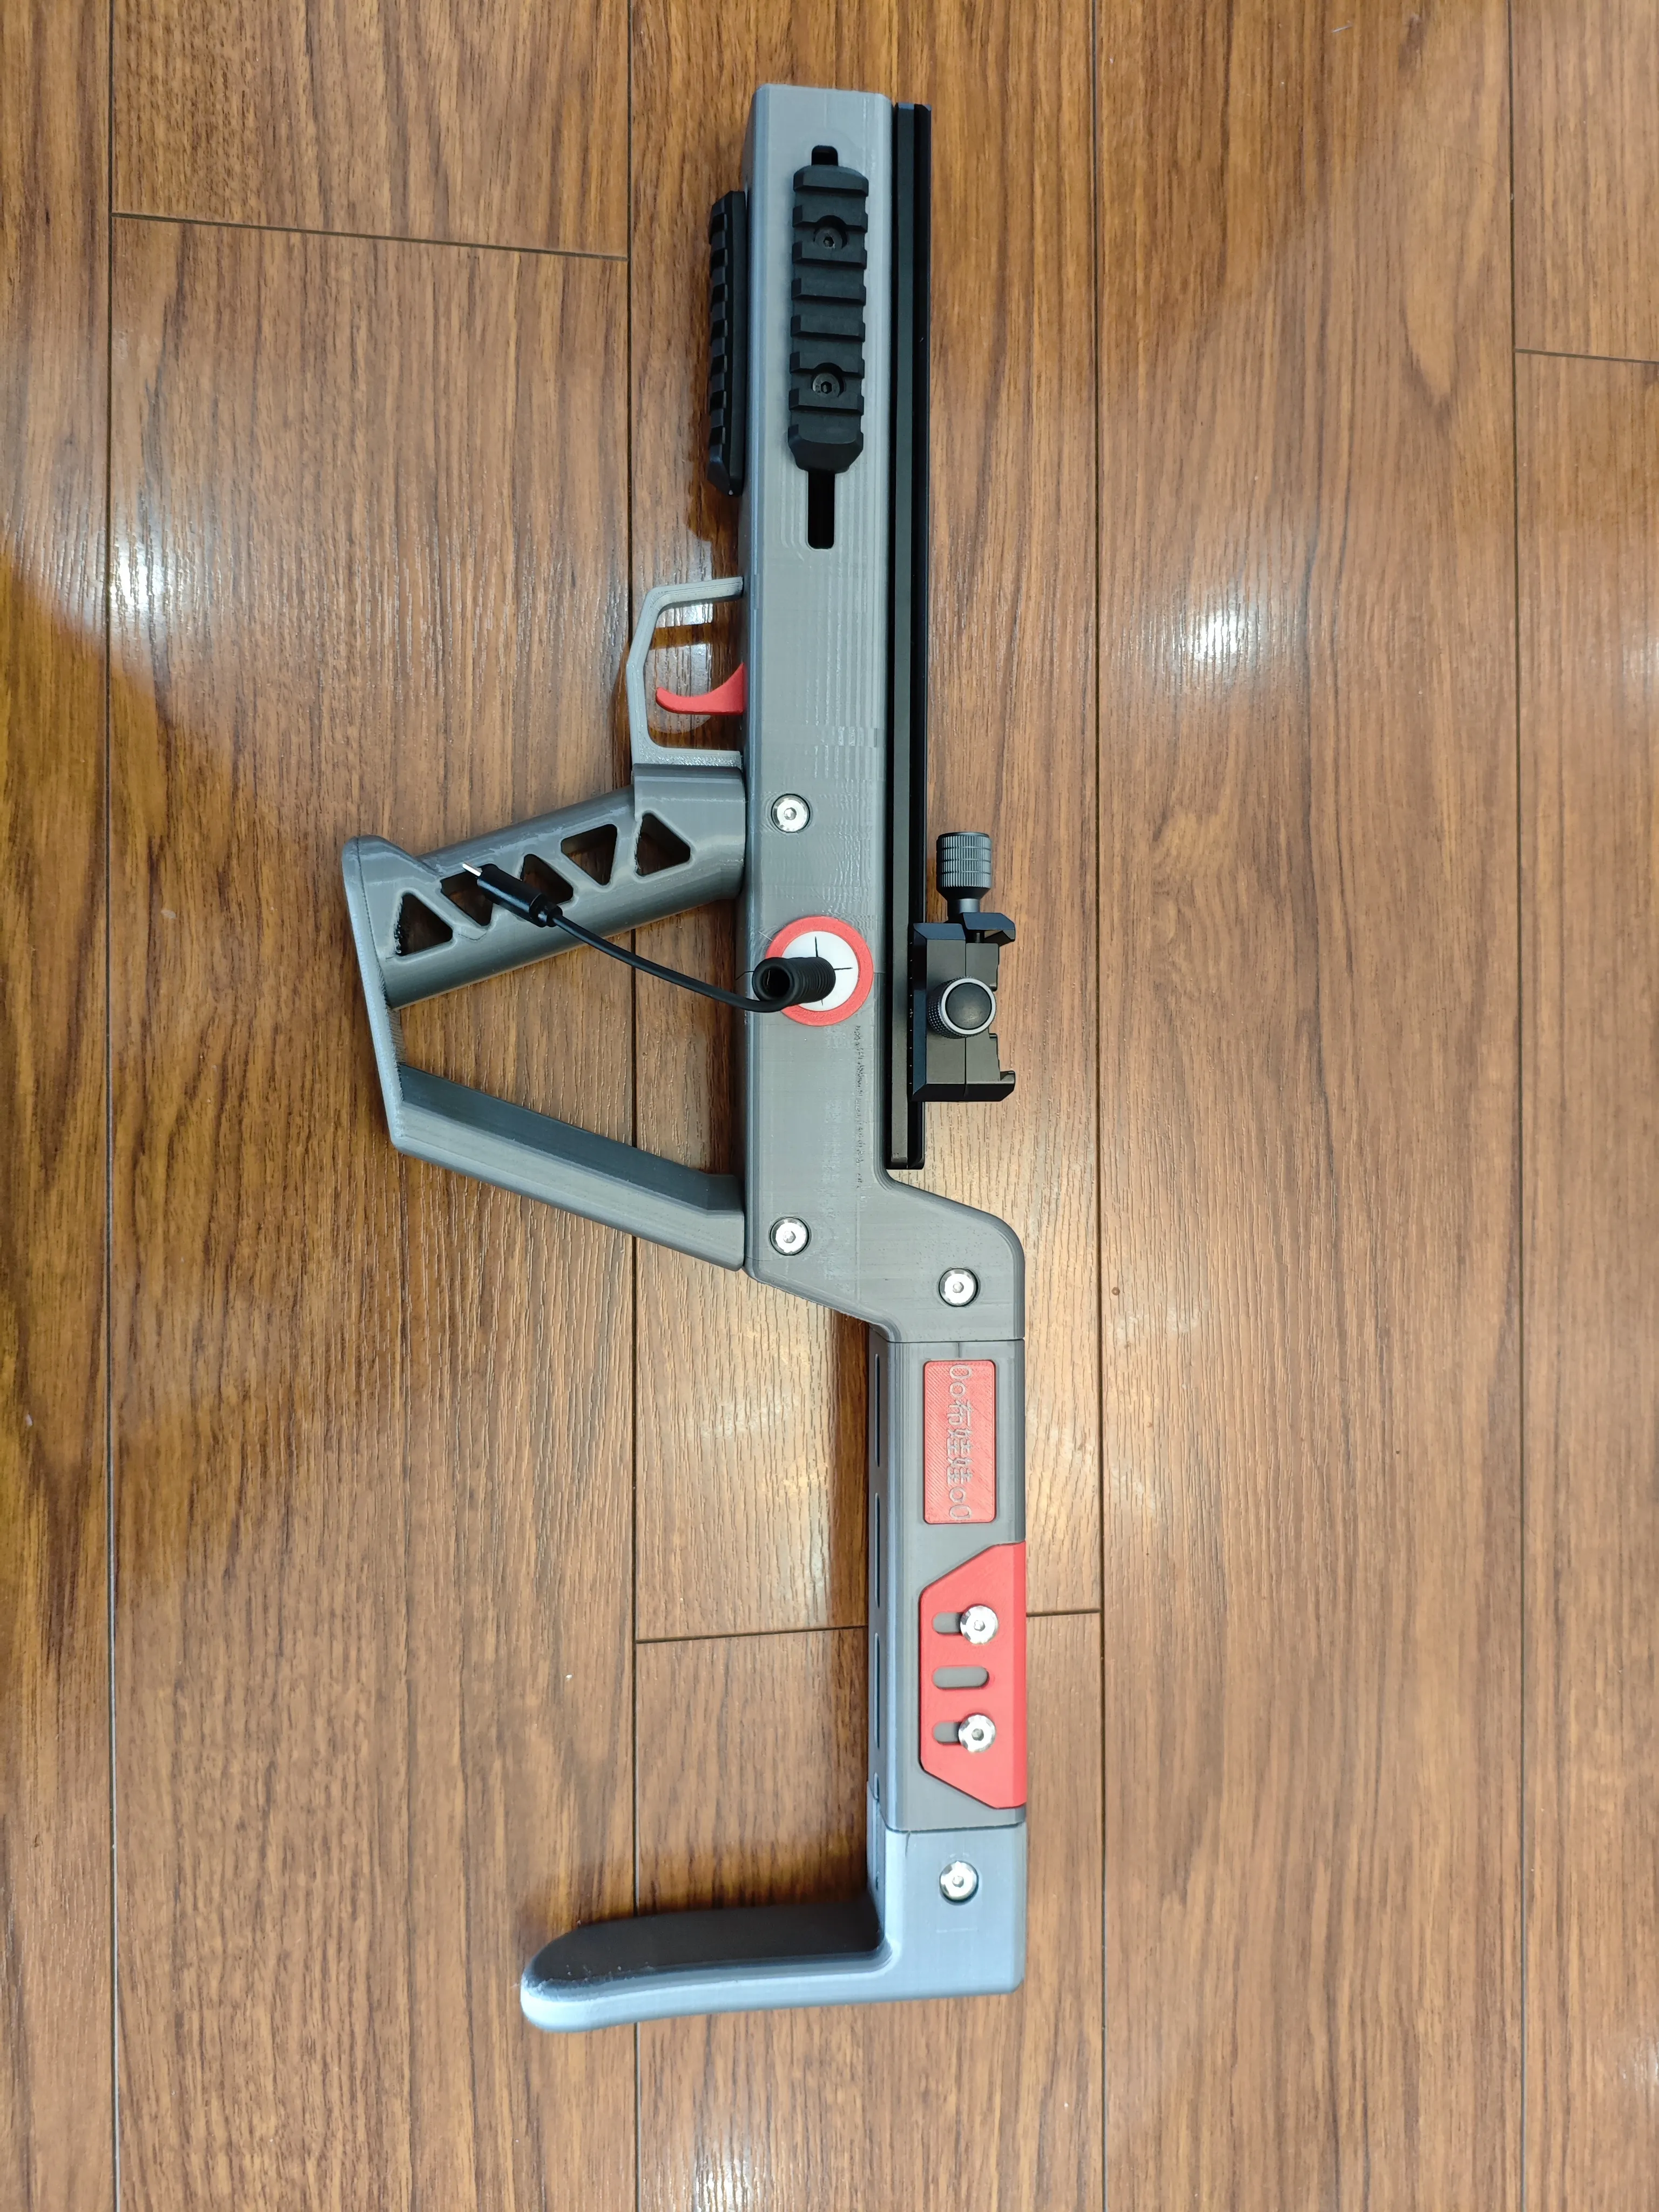
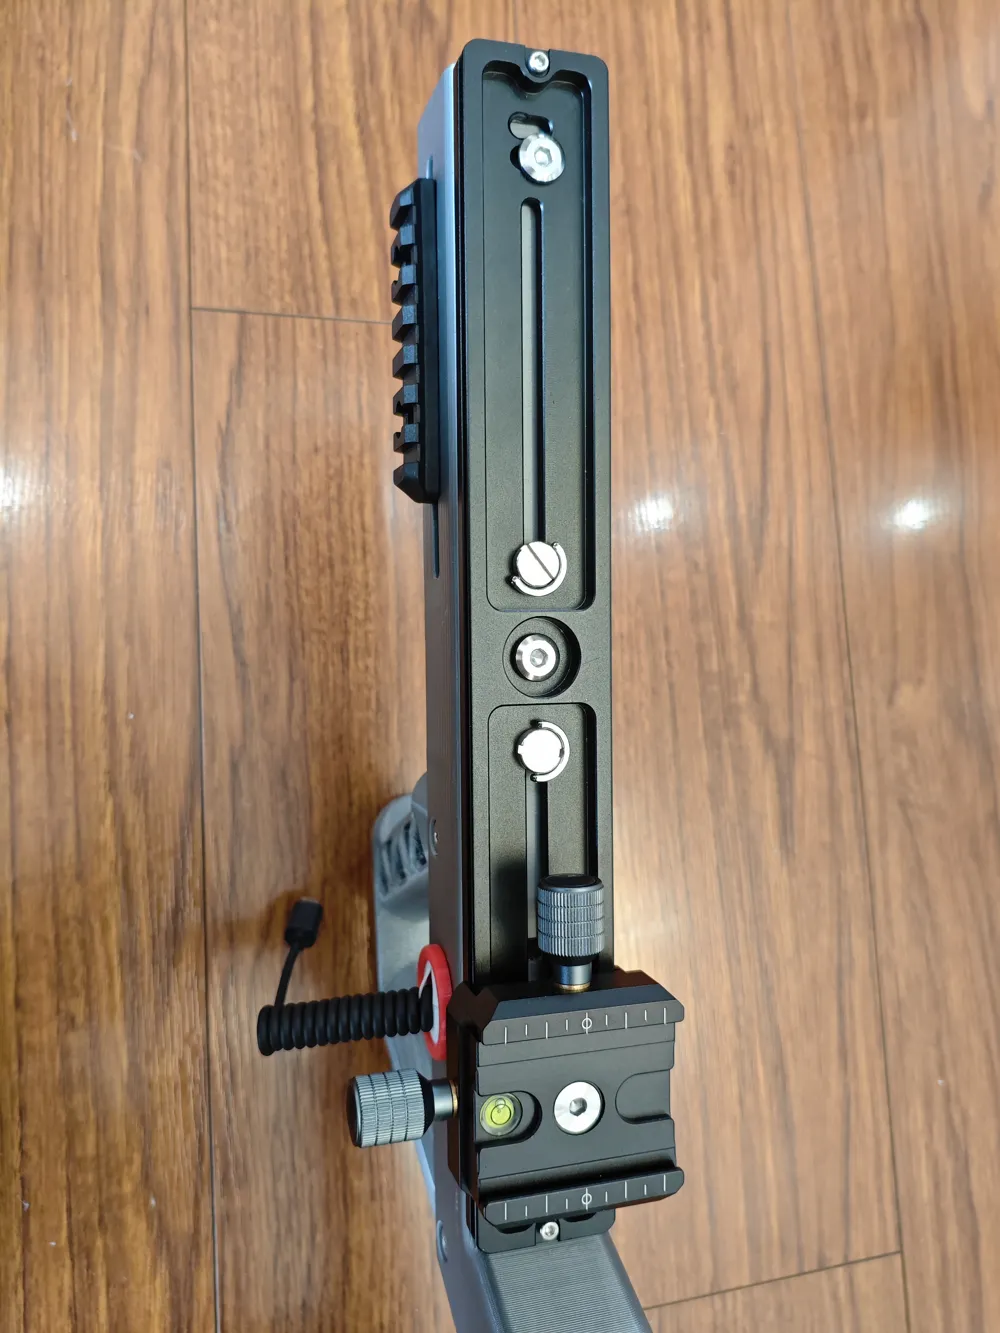
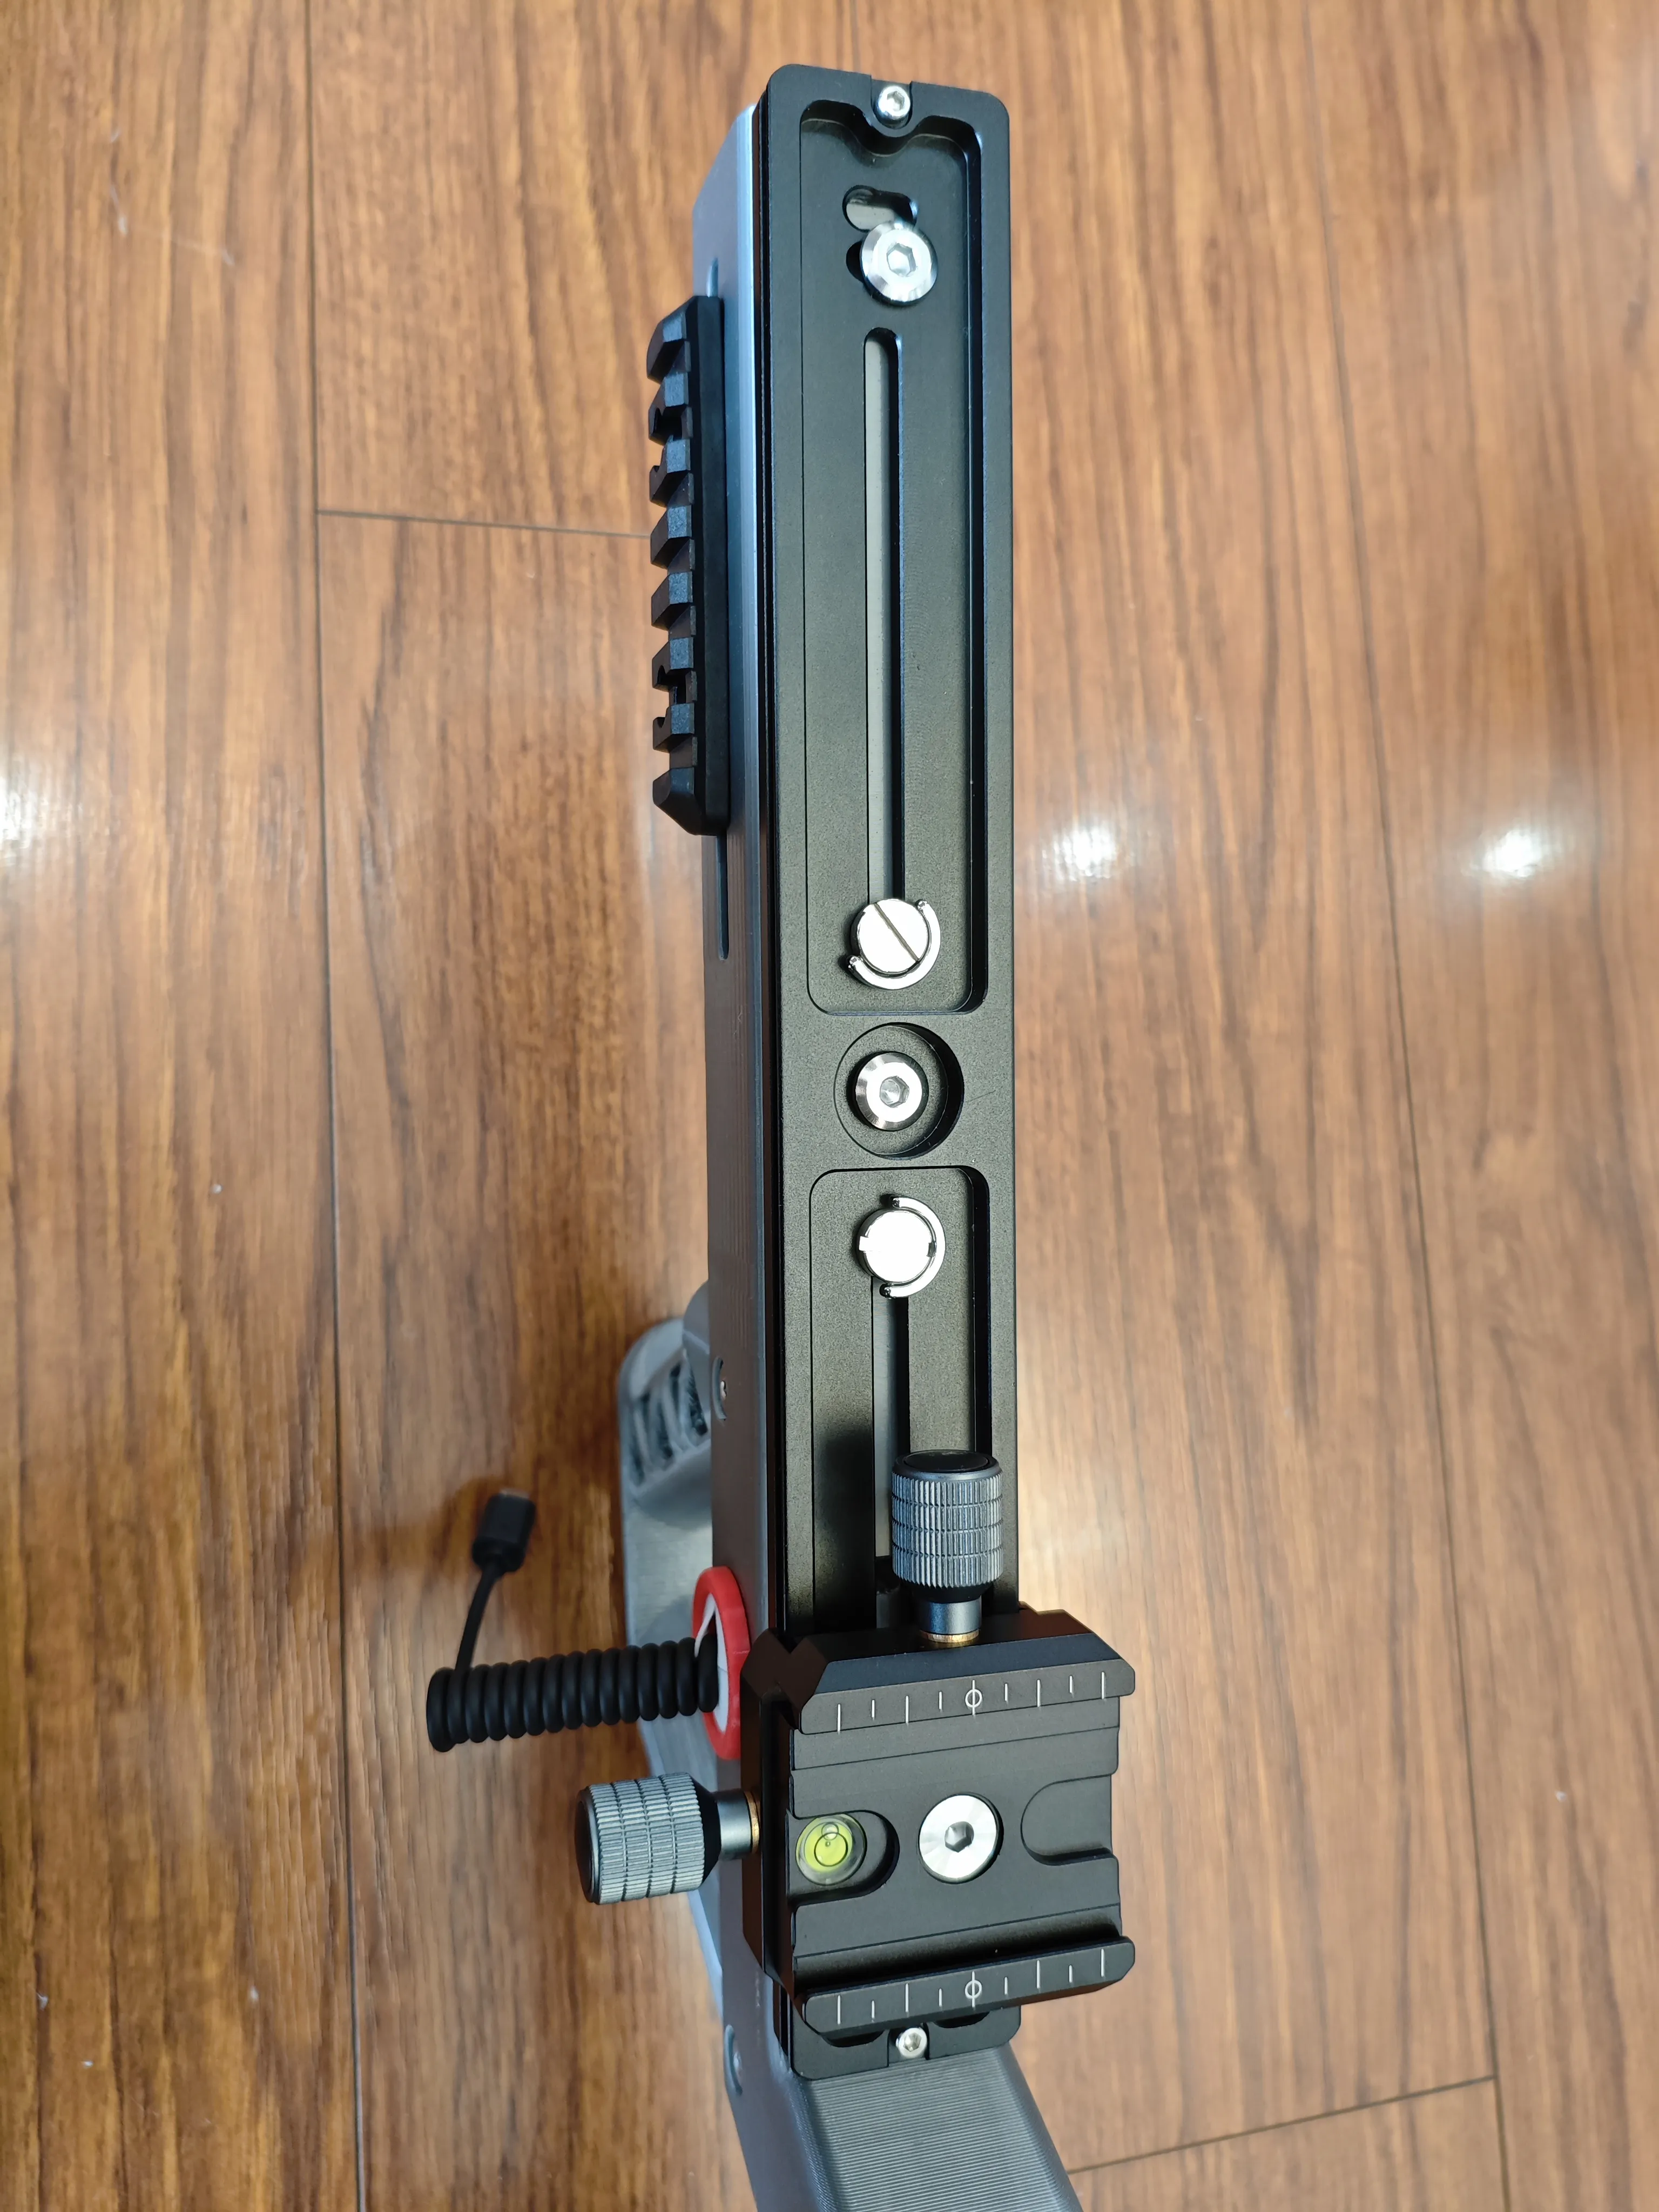
Note that the quick release plate is mounted in reverse, with the bottom facing up.
There are quite a few hardware parts to purchase this time. Please refer to the attached PDF document for the detailed list and purchase links.
1、85 * 20 mm Picatinny rail * 3 Optional, the body already has m-lok slots, so any with suitable hole spacing will fit.
2、6mm diameter captive screws * 6 sets
3、1 / 4 - 20*5 / 8 screws * 3
4、1 / 4 - 20 nuts * 3
5、25mm opening, 2.2mm groove width cable grommet * 2 Can also be printed
6、Two-way Arca clamp * 1
7、Quick release plate pu300 * 1
8、Quick release plate pu50 * 1
9、Cangye shutter cable * 1 Needs to have the main board removed, and the original screws kept as spares。
10、Glue the nameplate, use cable ties to prevent the shutter cable from falling off
Plate Description:
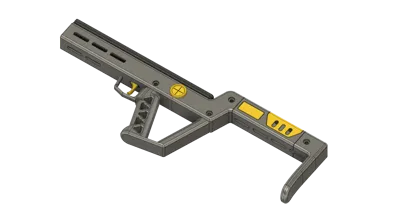
Plate 1: Stabilizer main body
Plate 2: Nameplate (text or image customizable)
Cable grommet ring part (can be skipped if purchasing finished product)
Plate 3: Cable grommet round hole cover part (requires TPU filament, can be skipped if purchasing finished product)
Safety usage rules:
1、Use a neck strap or wrist strap for the camera, and ensure the strap length is not too long
2、Properly use the Arca clamp and quick release plate, ensuring that the limit mechanisms are functioning correctly
3、When using the stabilizer at any time, the lanyard must serve as a fall prevention measure. After all, the value of the equipment is greater than that of the printed part itself!
For installation steps, please watch the video:
Friends who like this model can click here
https://makerworld.com.cn/zh/models/1743493-xiang-ji-wen-ding-qi#profileId-1921454
International site:
https://makerworld.com/zh/models/1962063-camera-stabilizer#profileId-2108997
Boost Me (for free)
I have limited design experience, so some aspects might not be fully thought out. If it works well, please give me a boost; if not, please be understanding.
Documentation (1)
License

You may create derivative works based on this object, provided that all such derivative works are published exclusively on the MakerWorld platform and include proper attribution to the original creator. You may not share, upload, host, distribute, or publish this object—or any derivative work of this object—on any other digital platform, marketplace, or distribution channel. Commercial use of this object and any derivative works is strictly prohibited. This includes, but is not limited to, selling, renting, sublicensing, or using the object in any context in which you receive monetary compensation or other financial benefits.


Comment & Rating (0)