
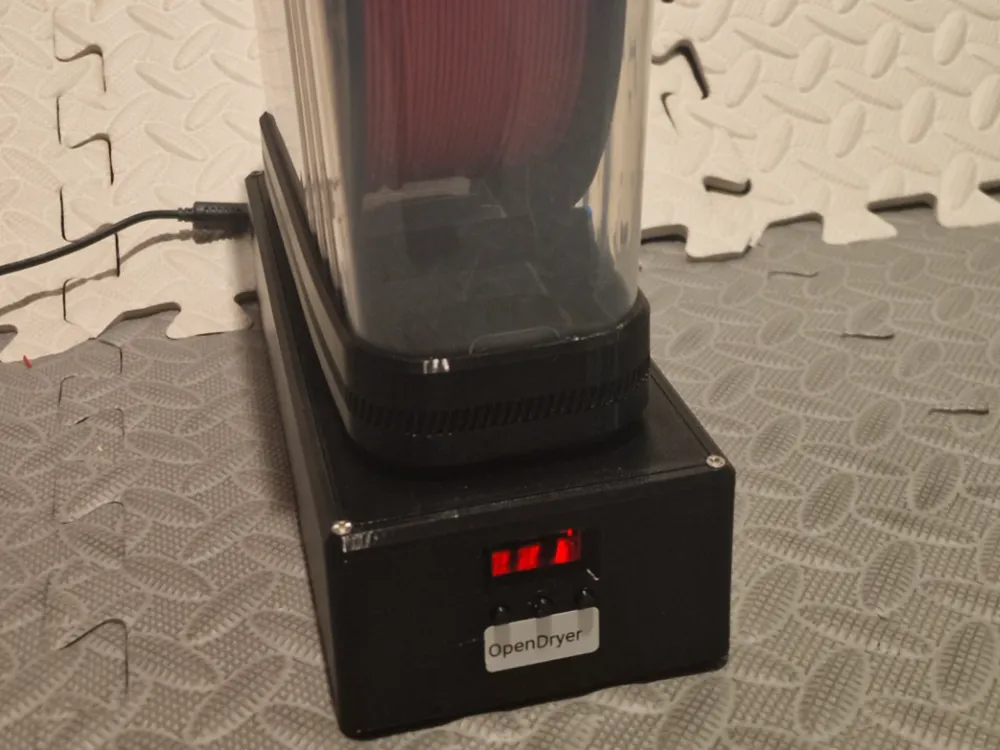
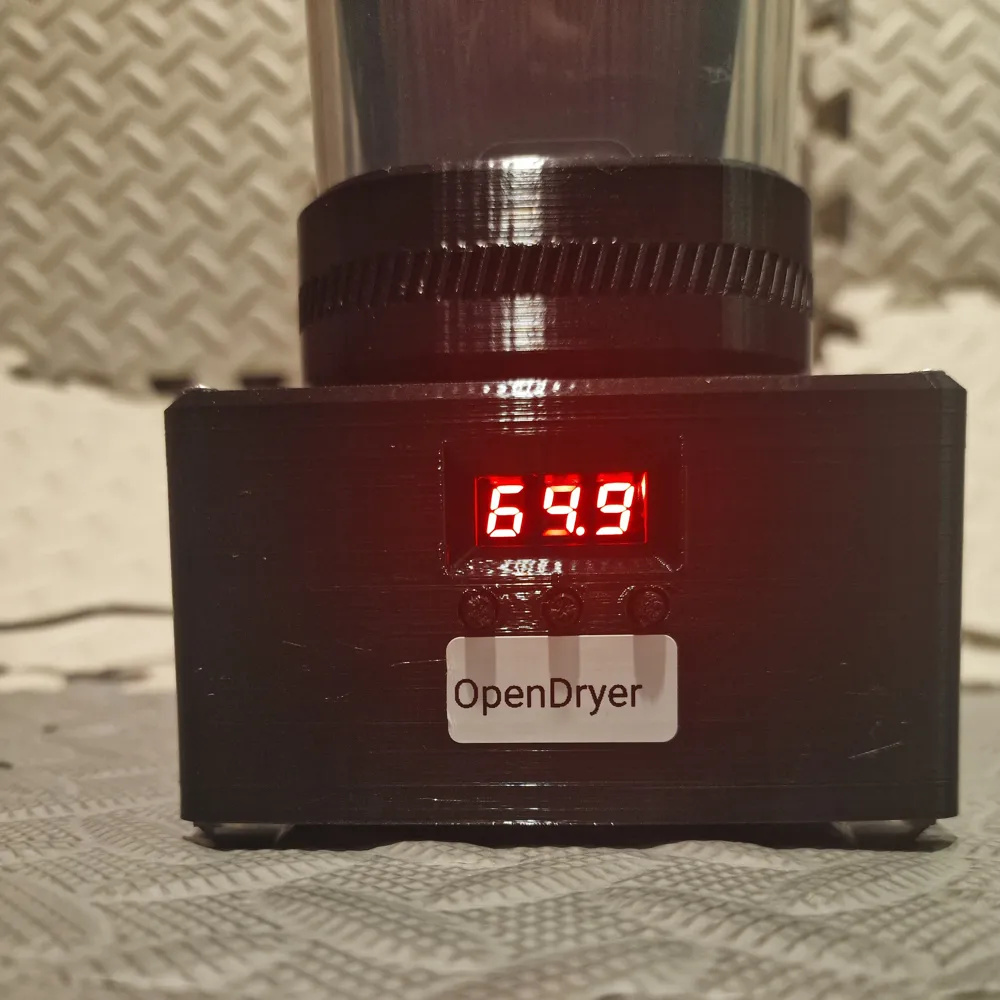
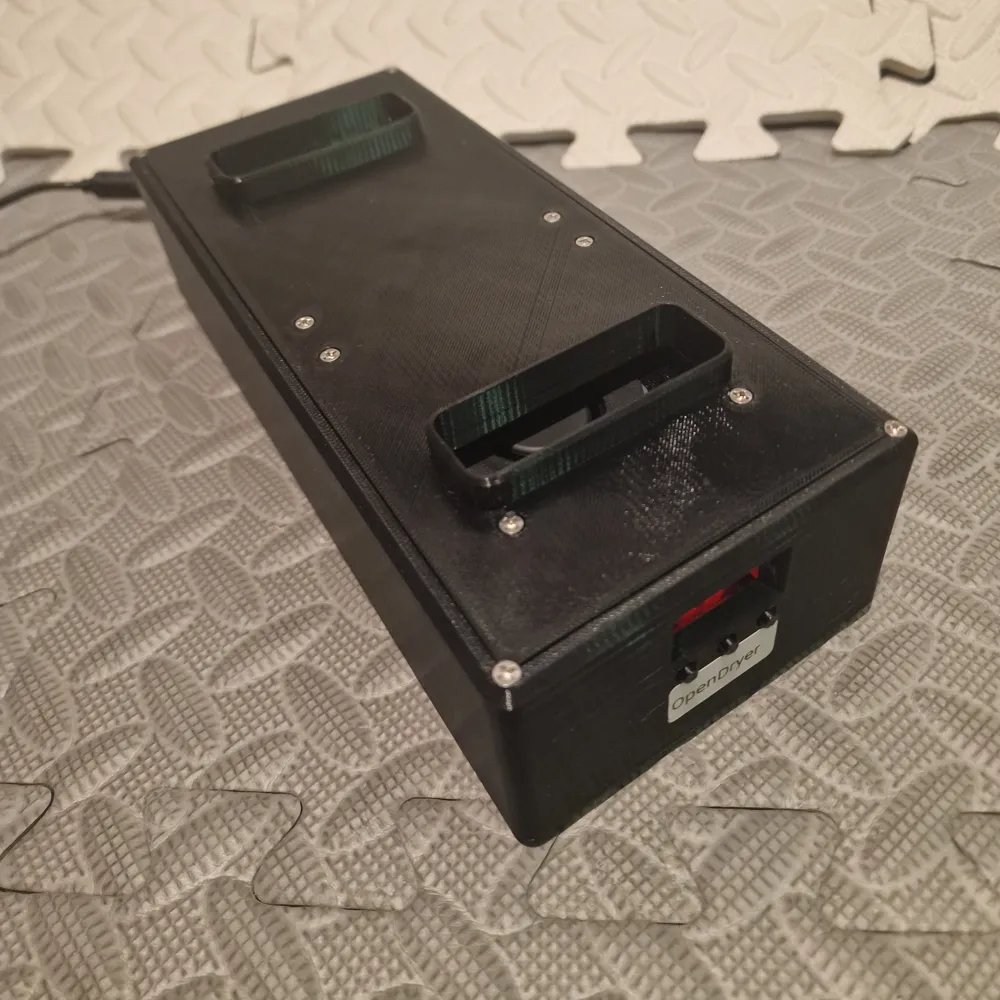
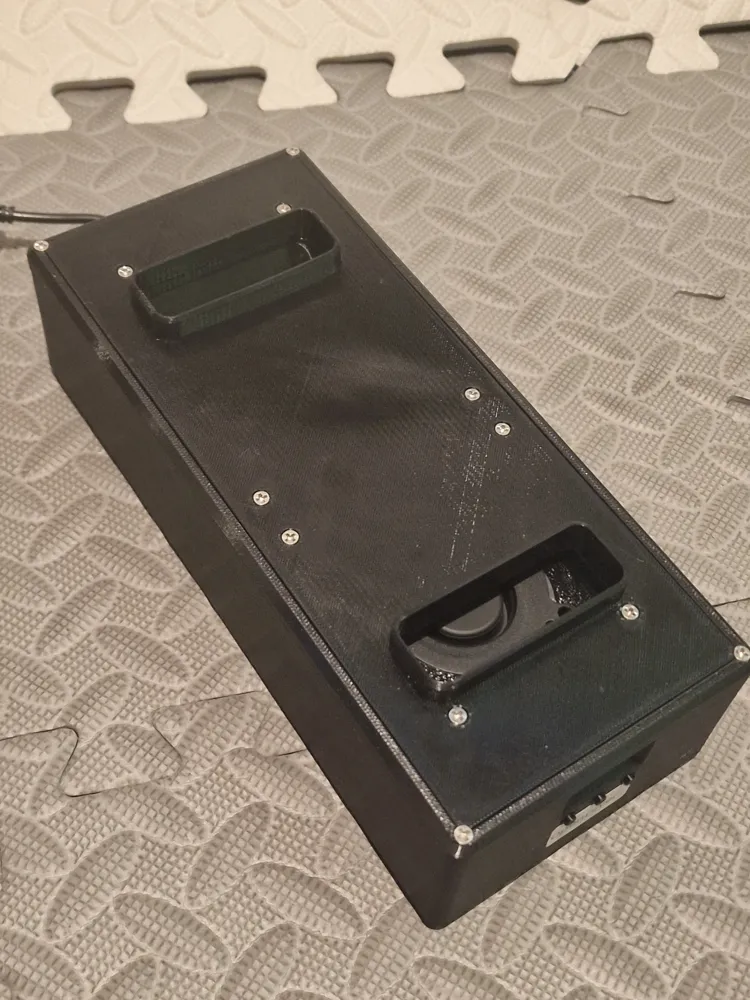
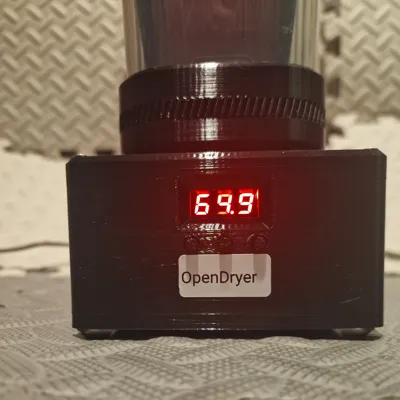
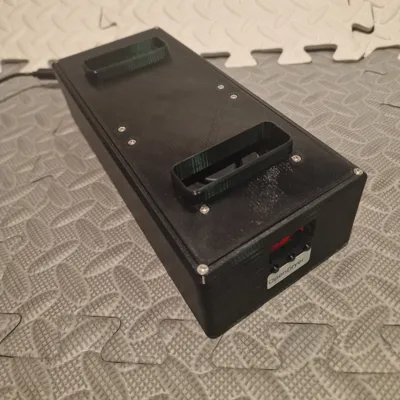
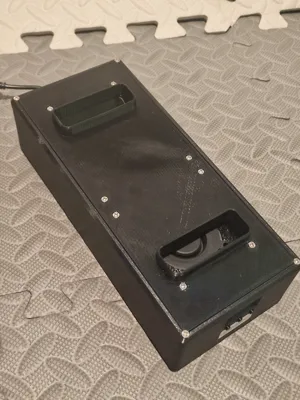
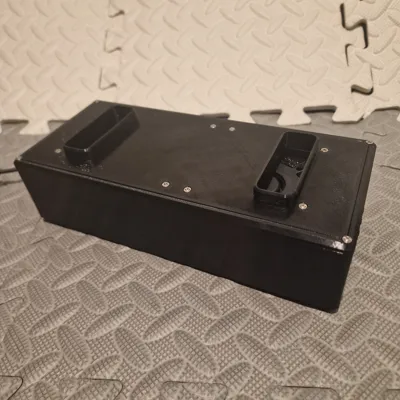
OpenDryer [Filament Dryer]
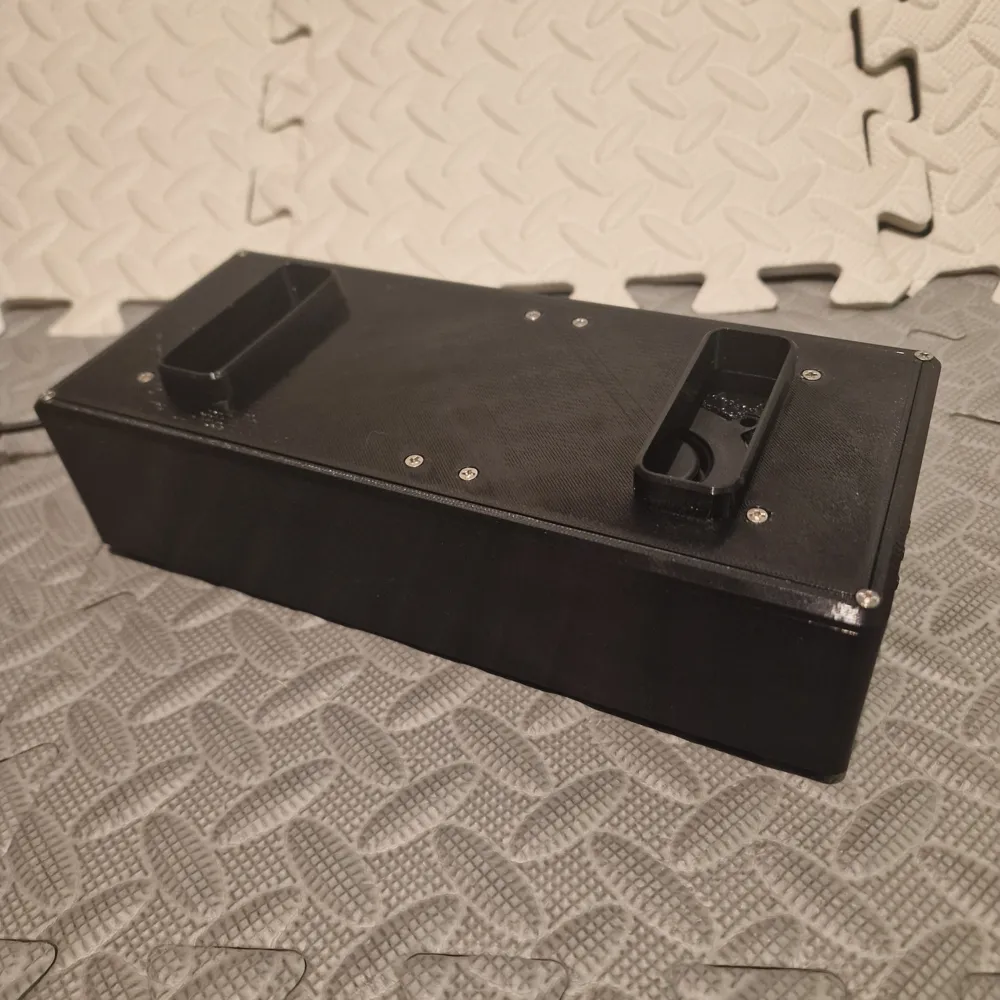
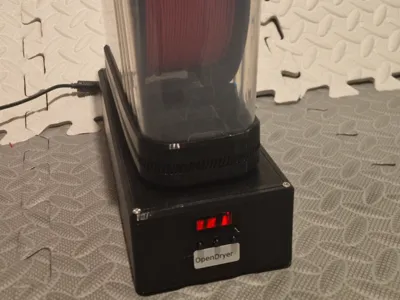
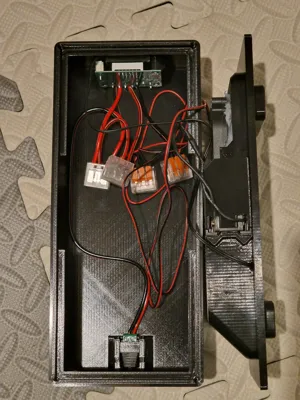
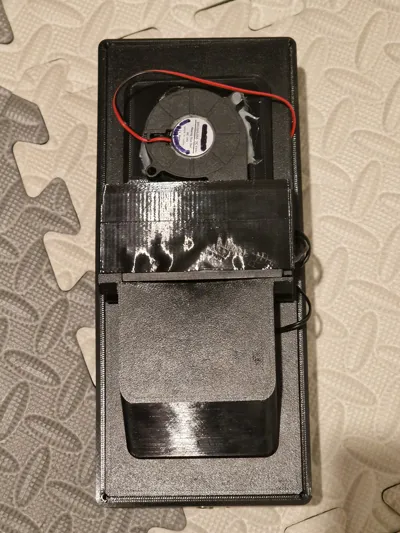
Print Profile(1)
Description
Boost Me (for free)
🔩For more electronics stuff⚡
First question: WHY. Why not just buy a PolyDryer?
My answer: full control.
The PolyDryer isn't a bad machine, but the fact that it only has three settings instead of letting you adjust the temperature is just ridiculous. And the price isn't something everyone can easily afford either.
Here are a few reasons why Opendryer:
- Compatible with most PolyDryer mods (in terms of the top connections)
- Set your own temperature, whether it's 75, 66.5, or 55.3 or more.
- As the name OpenDryer suggests, it’s OPEN for improvement, customization, and creation. A Step file is provided. And I ask that any remixes be linked to the project.
Price: Opendryer costs between $20-30+-.
Parts list:
| 13x | M3x10mm (Self-tapping flat head screw) |
| 1x | 24V Power Supply 5A (6A is a little better) |
| 1x | 24V PTC Heater Element 95*31mm 100W |
| 1x | 24V 5015 Turbine Blower Fan (5000RPM+) |
| 1x | 24V W1209 LED Digital Temperature Controller |
| 1x | 2.1mm DC Female Power Plug |
| 18 awg wire or (16 awg wire if a6 Supply is in use ) |
Assembly instructions:
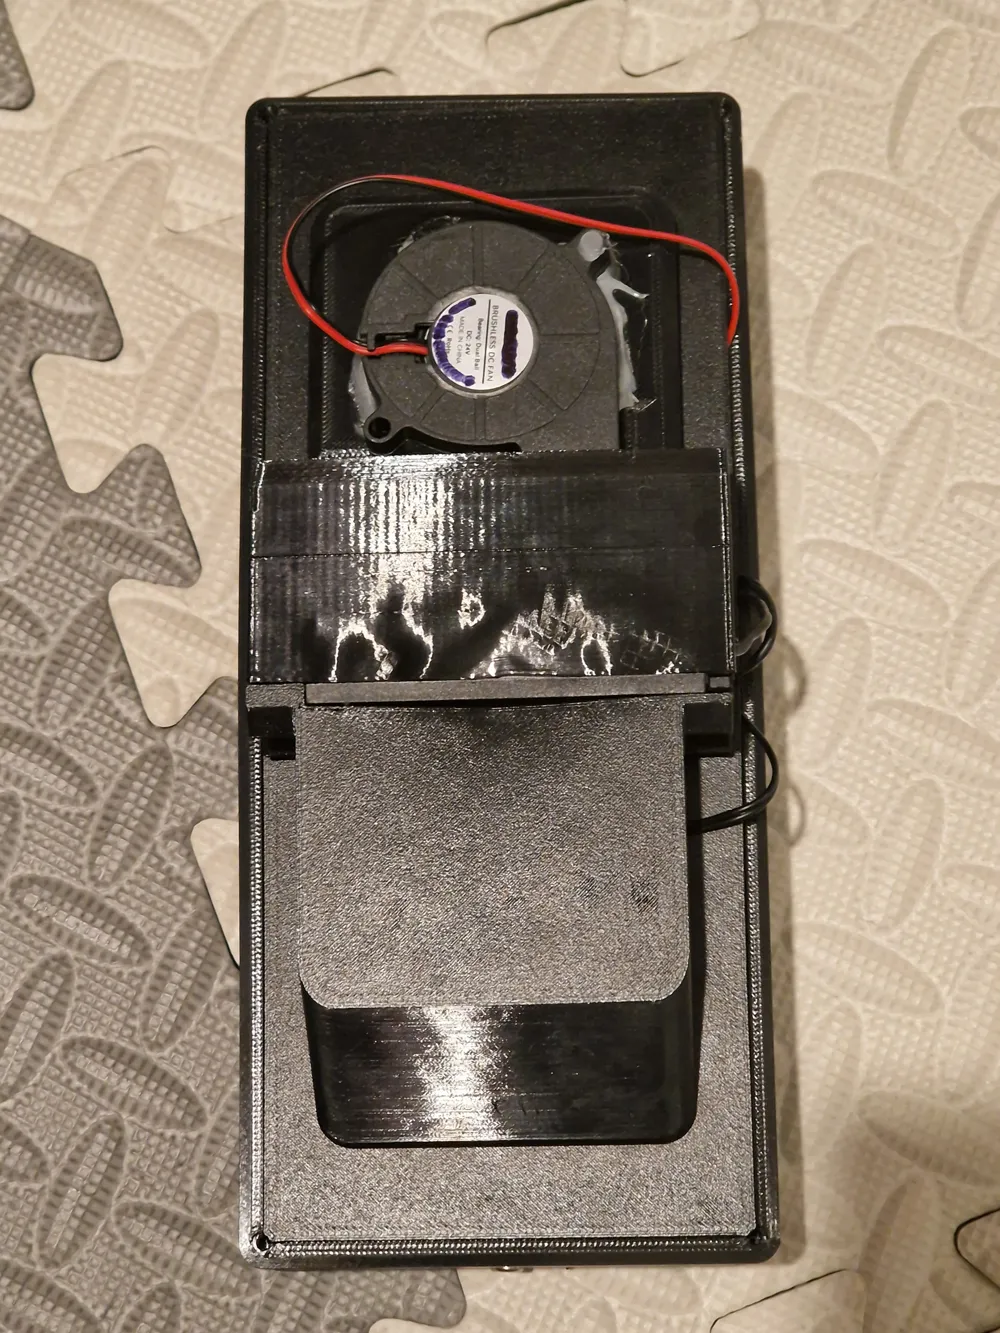
- screw together:
- Heater Base → PTC Heater → Heater Duct → W1209 temperature sensor → TOP
- Air Splitter → Heater Base → TOP
- 5015 Blower Fan → Fan Duct → TOP
- W1209 → Base
- Female Power Plug → Base → Power Plug LOCK
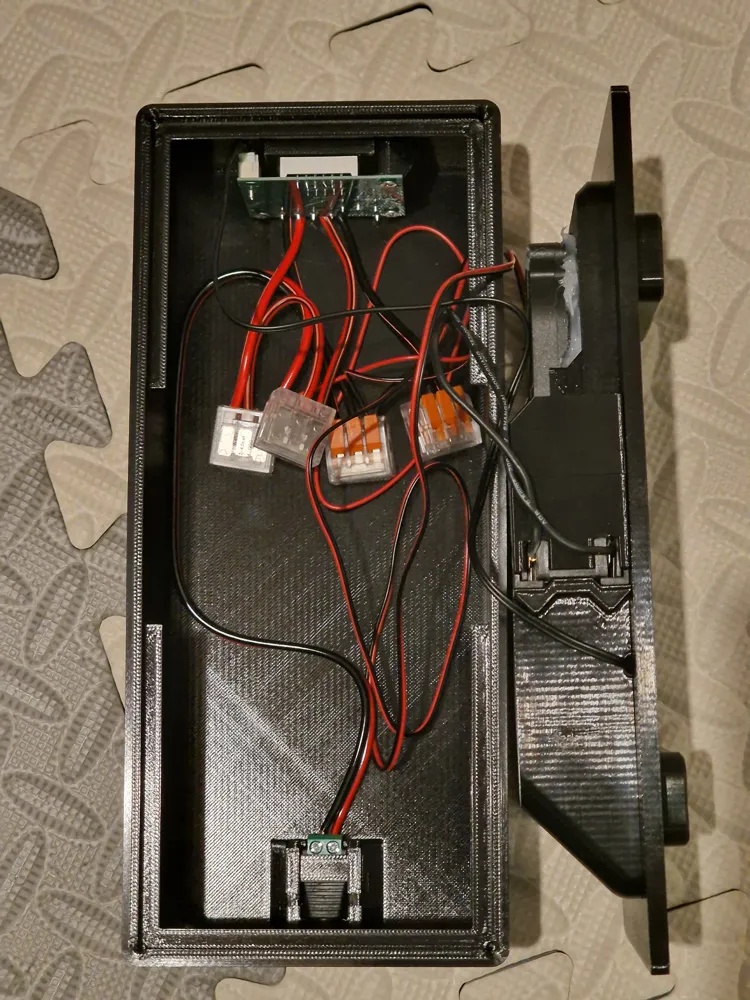
Cabling: (For better cable management, I would use 4x Wago terminals or something similar. Otherwise, it'll get pretty tight.)
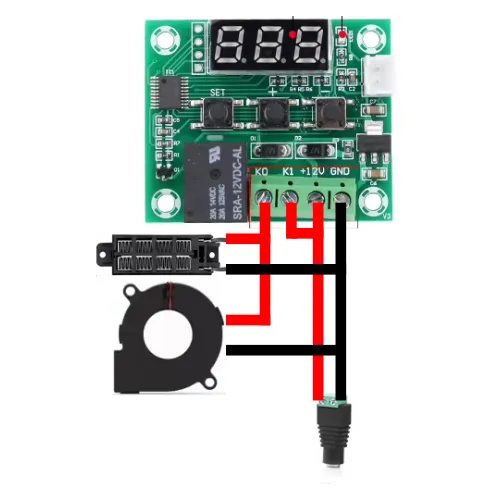
Temperature Controller Settings:
Buttons: [SET][+][-]. When you press [SET], you can use [+] and [-] to adjust the temperature.
Press and hold [SET] to open the program menu.
P0: [H] Heat or [C] cool mode → H
P1: Temperature-to-heating distance → 0.1
P2: Maximum temperature → Printed with PETG 70 / ASA,ABS 90
P3: Minimum temperature (not relevant—we need heat) → -55
P4: Calibration Mode → 0.0
P5: Delay in minutes. We don't need that either. → 0
P6: Abnormal Temperature Warning. → ON → Your maximum temperature, as with P2
Boost Me (for free)
License



Comment & Rating (0)