Search models, users, collections, and posts

This model is created by Lightbox Maker
Make Your Model
Print Profile(1)
0.2mm layer, 2 walls, 20% infill
Designer
2.8 h
2 plates
Open in Bambu Studio
Boost
1
0
0
0
0
0
Released




Description
Content has been automatically translated.
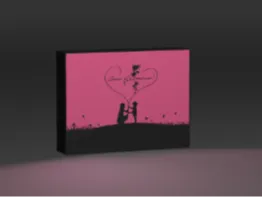
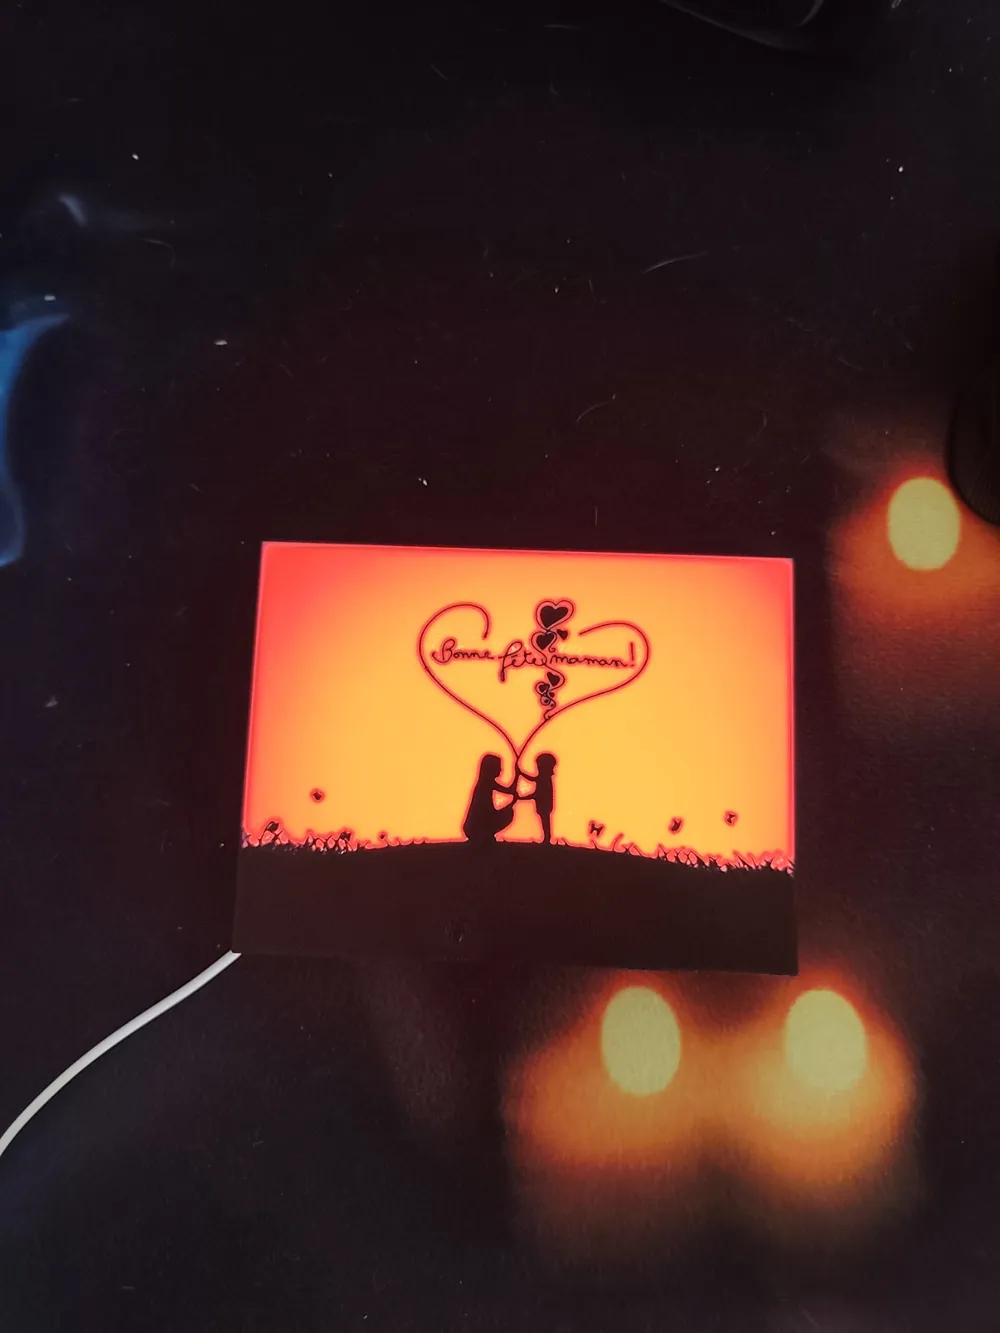
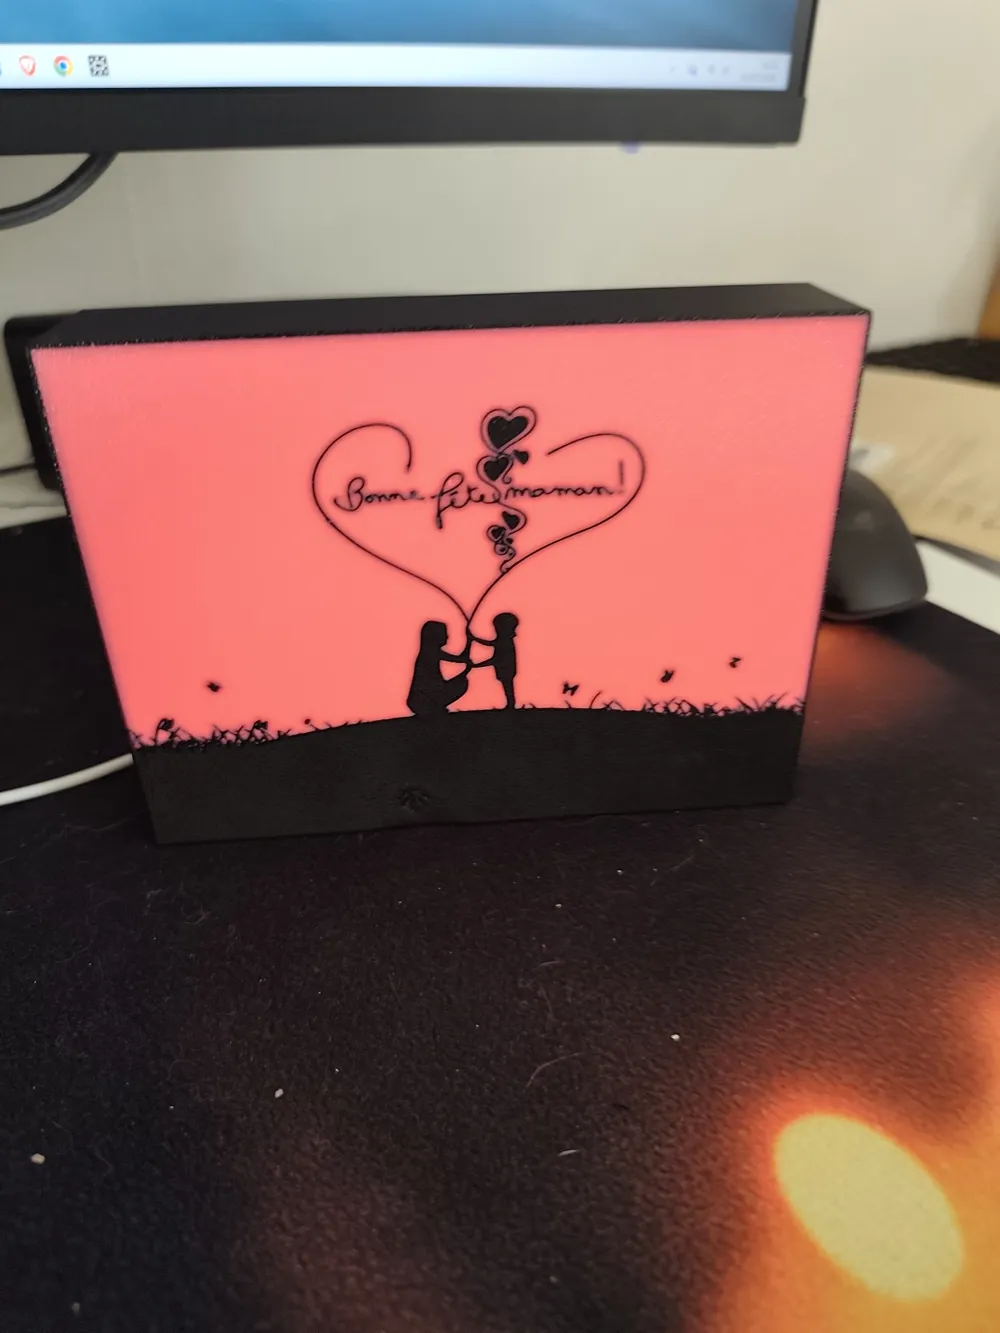
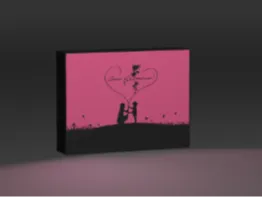
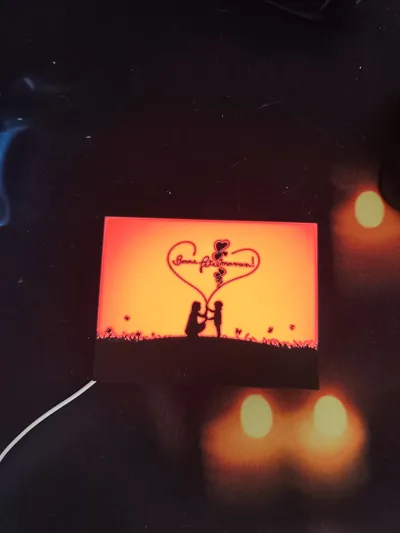
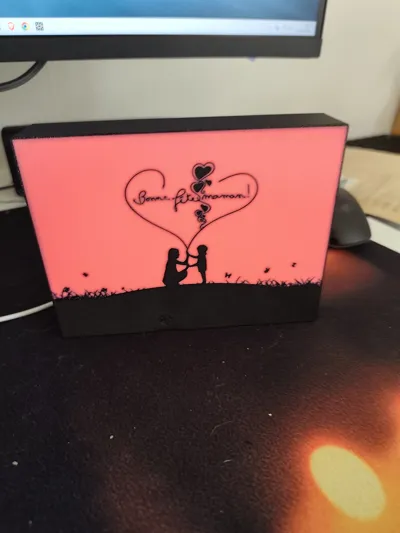
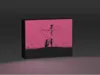
Celebrate Mother's Day with this beautiful lightbox. The design features a touching silhouette of a mother and child surrounded by a rose stem forming a heart, with the inscription "Happy Mother's Day!".
This model has been carefully designed and tested to provide a flawless rendering, without light leakage, thanks to a solid casing and optimized printing parameters.
I configured this profile for a Bambu Lab P2S with a 0.4mm nozzle.
- Quality:
- Layer height: 0.20mm (Standard).
- Extrusion width: 0.42mm for optimal precision of the silhouette details.
- Seam position: Aligned (to hide seams on the frame edges).
- Strength & Shell:
- Walls: 2 walls.
- Top layers: 5 layers (100% density) to avoid unwanted transparency on the top.
- Infill pattern: Rectilinear at 20%.
- Speed: * Profile optimized for the P2S (up to 200mm/s on outer walls and 300mm/s on inner walls) for a good balance between speed and surface quality.
- Adhesion & Supports:
- No supports required: The design is self-supporting.
- Brim type: No brim (if your build plate is well cleaned, the surface is sufficient for good adhesion).
Required materials:
- Filaments: * Black PLA (for the frame and silhouette details).
- White or translucent PLA for the base of the plate.
- Possibility of using Red/Pink PLA or using the layer color change technique for the gradient.
- Electronics:
- LED strip (5V or 12V depending on your preferences).
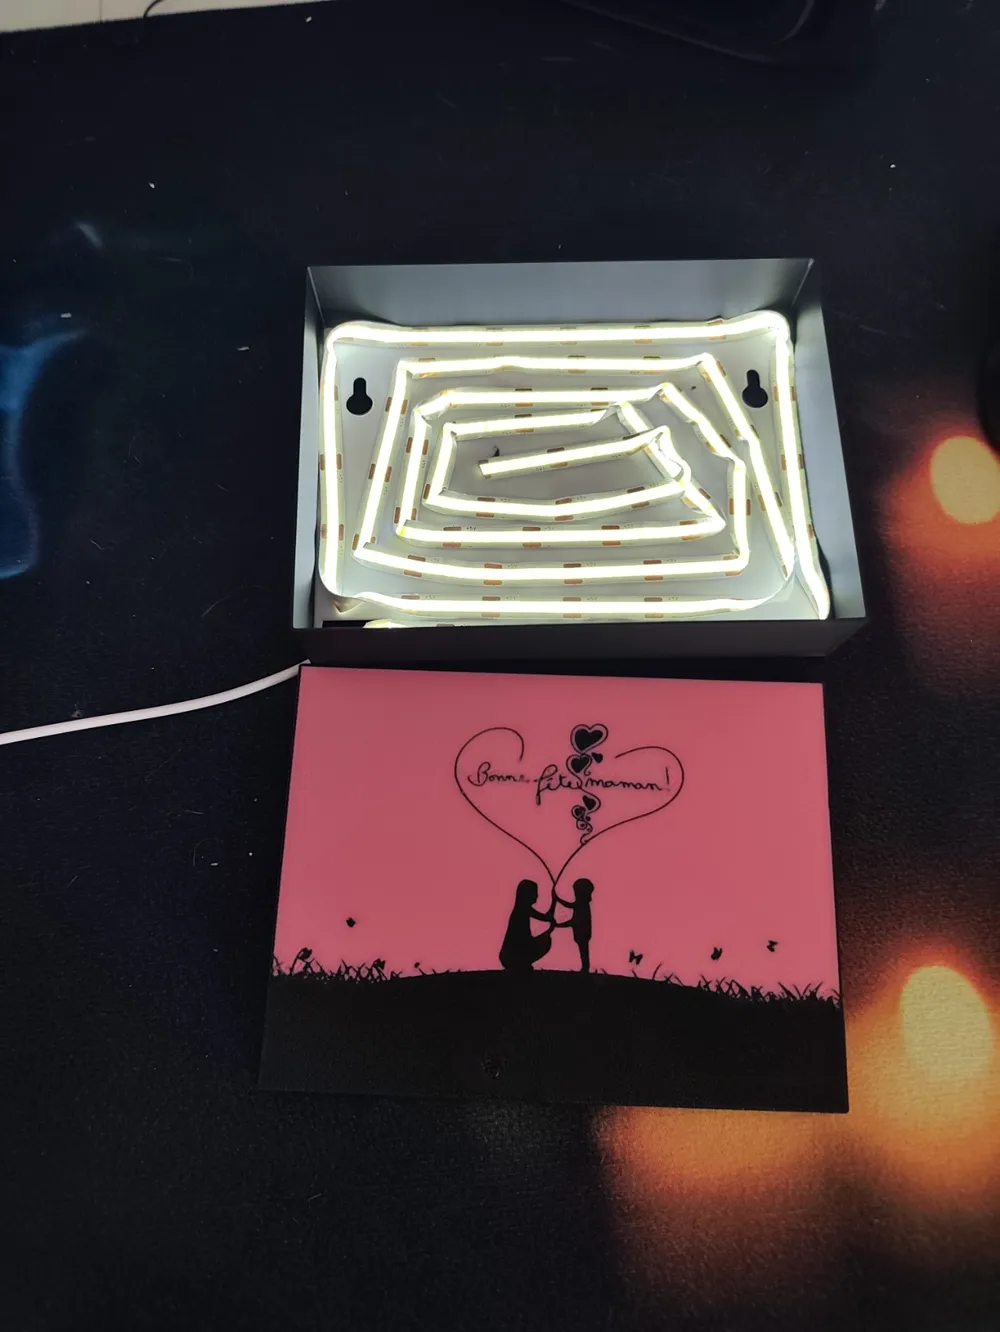
- A cable routing is provided at the back of the casing.
Assembly instructions:
- Print the frame and the front plate.
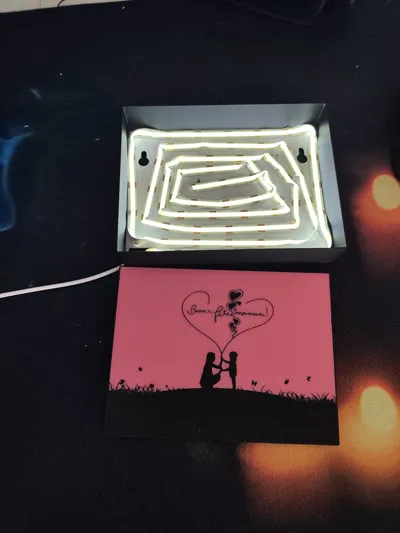
- Install your cob LED strip in a spiral inside the casing (see photos).
- Pass the cable through the designated opening.
- Clip or slide the front plate into the frame.
Feel free to share your photos once printed!
License

This user content is licensed under a
Creative Commons Attribution-Noncommercial


Comment & Rating (0)