
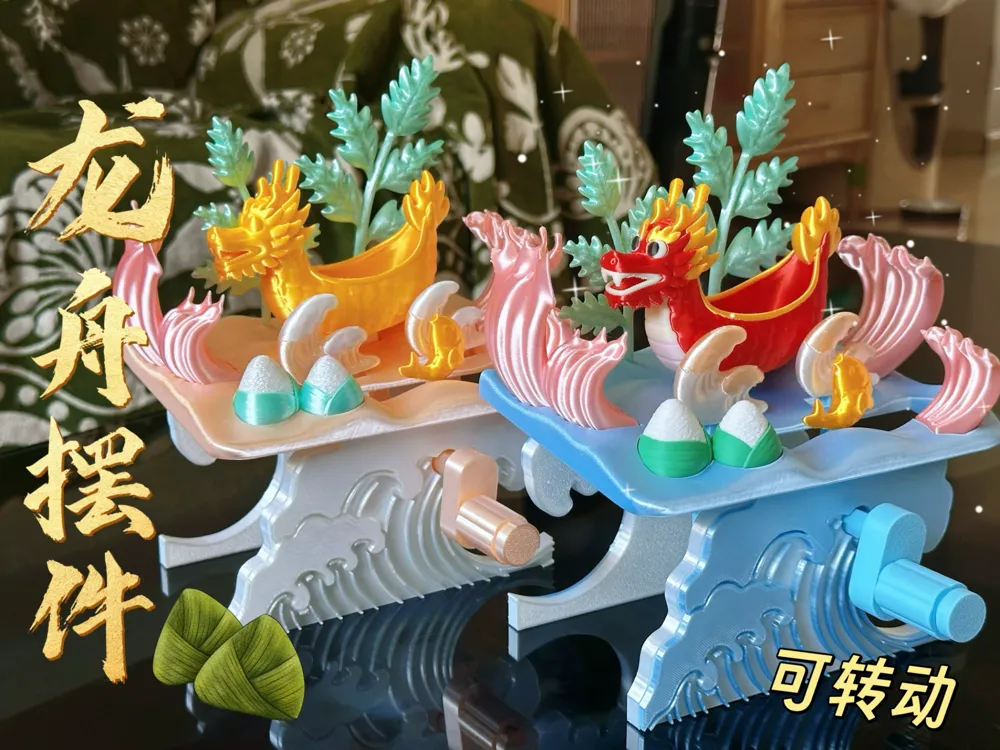
Boat Model Ornament (rotatable, single-color/multi-color optional)
Print Profile(2)
Description
Boost Me (for free)
Happy printing and have a great day~
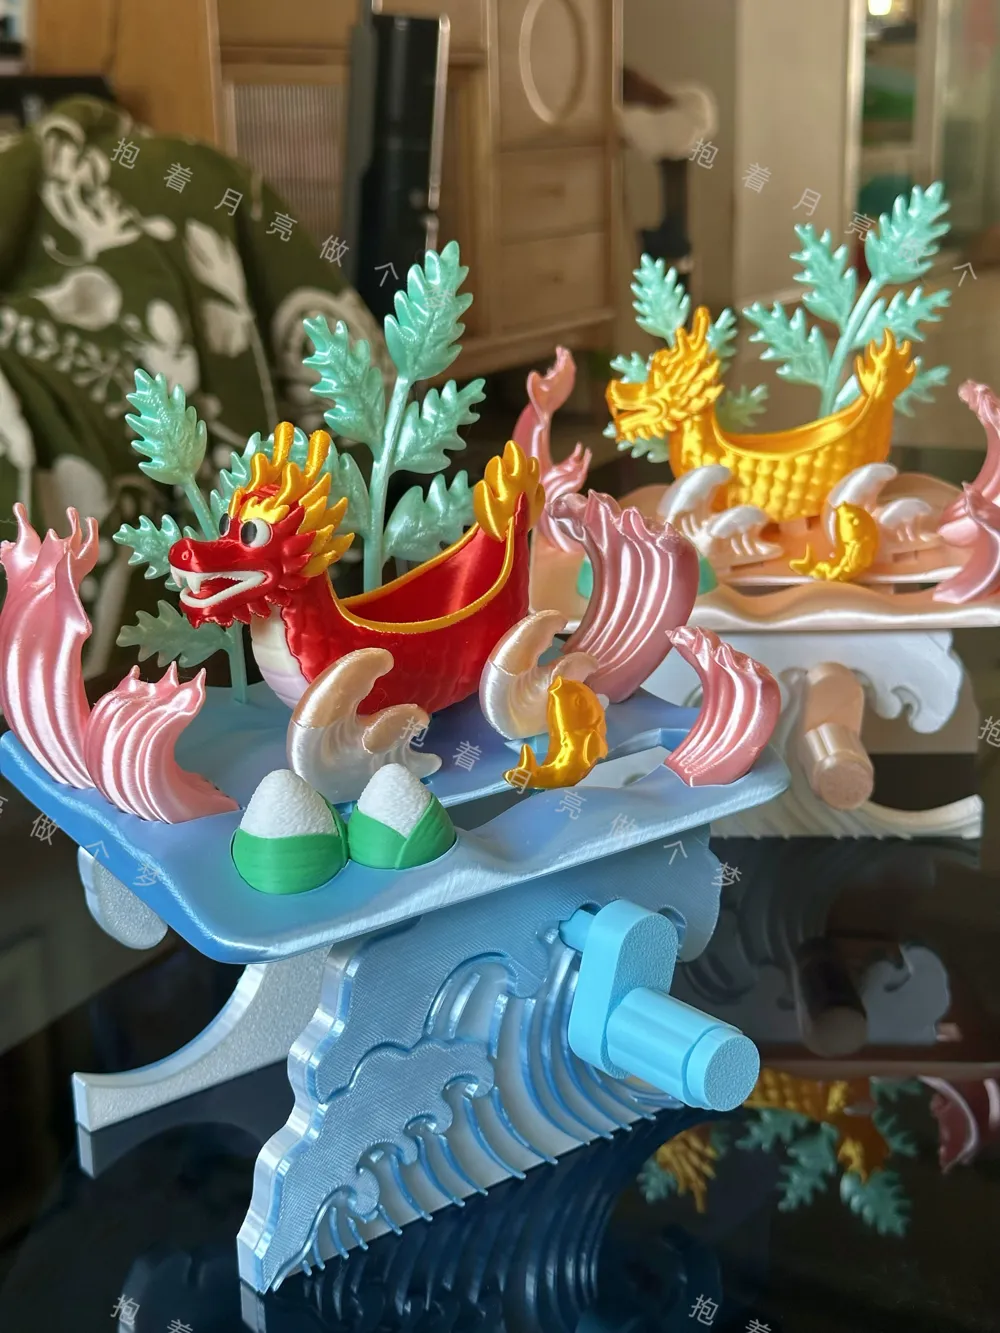
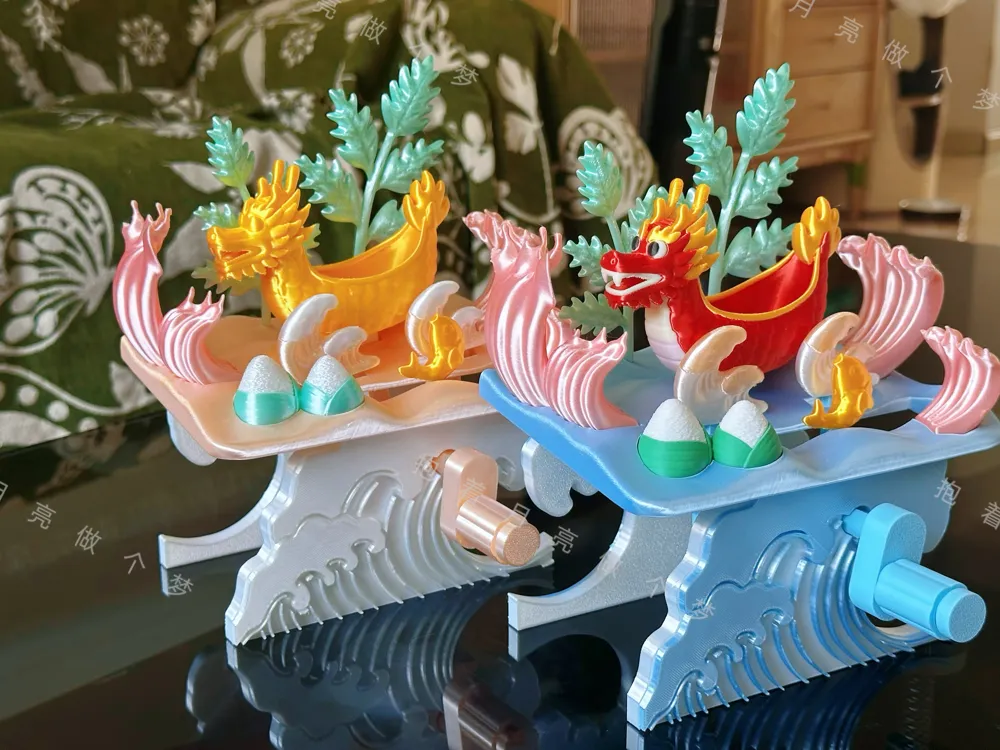
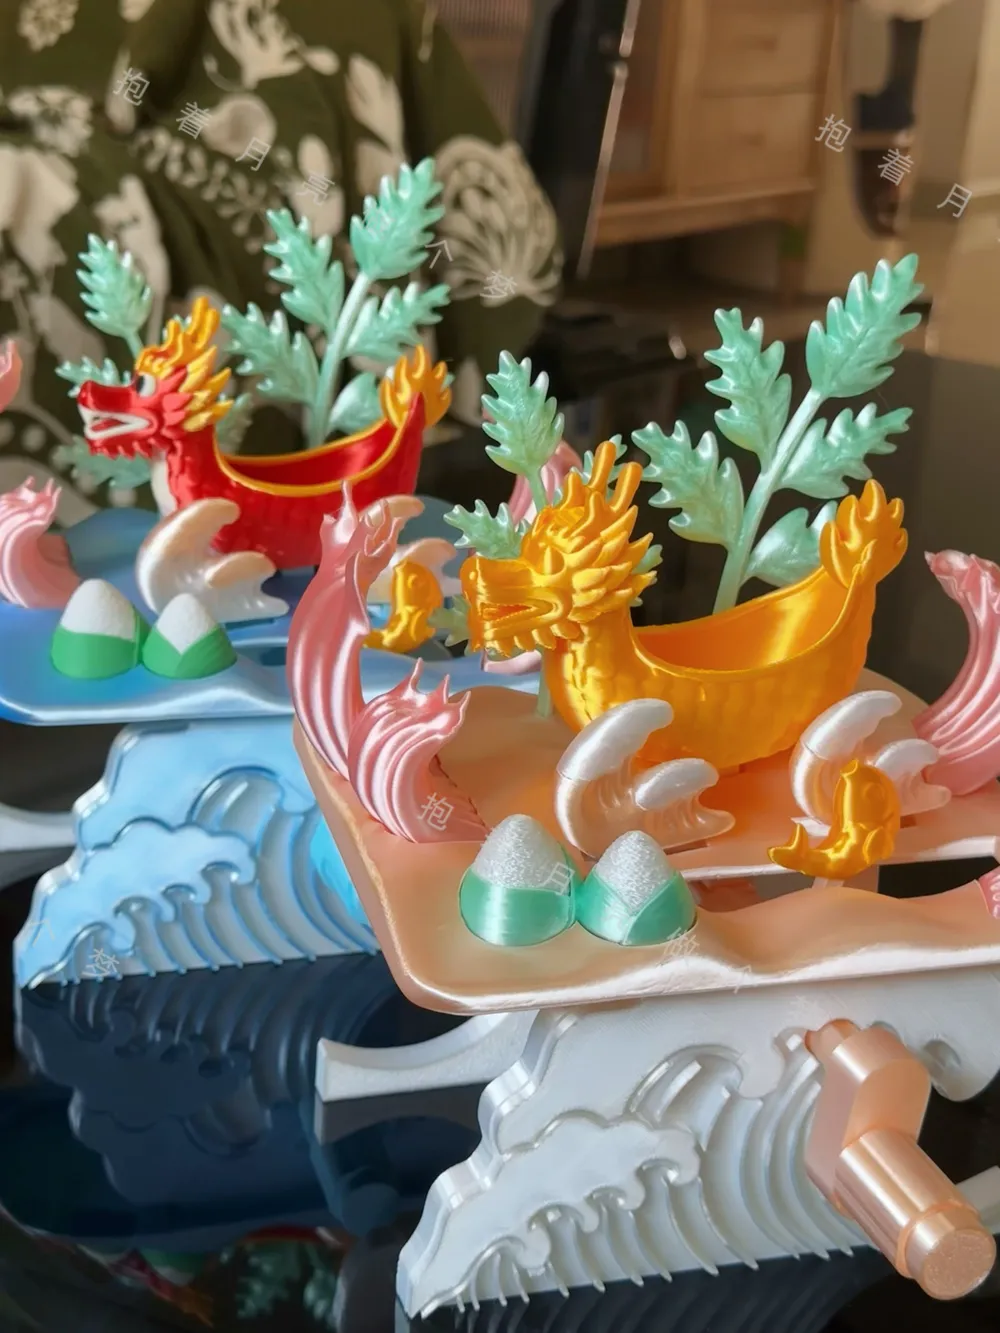
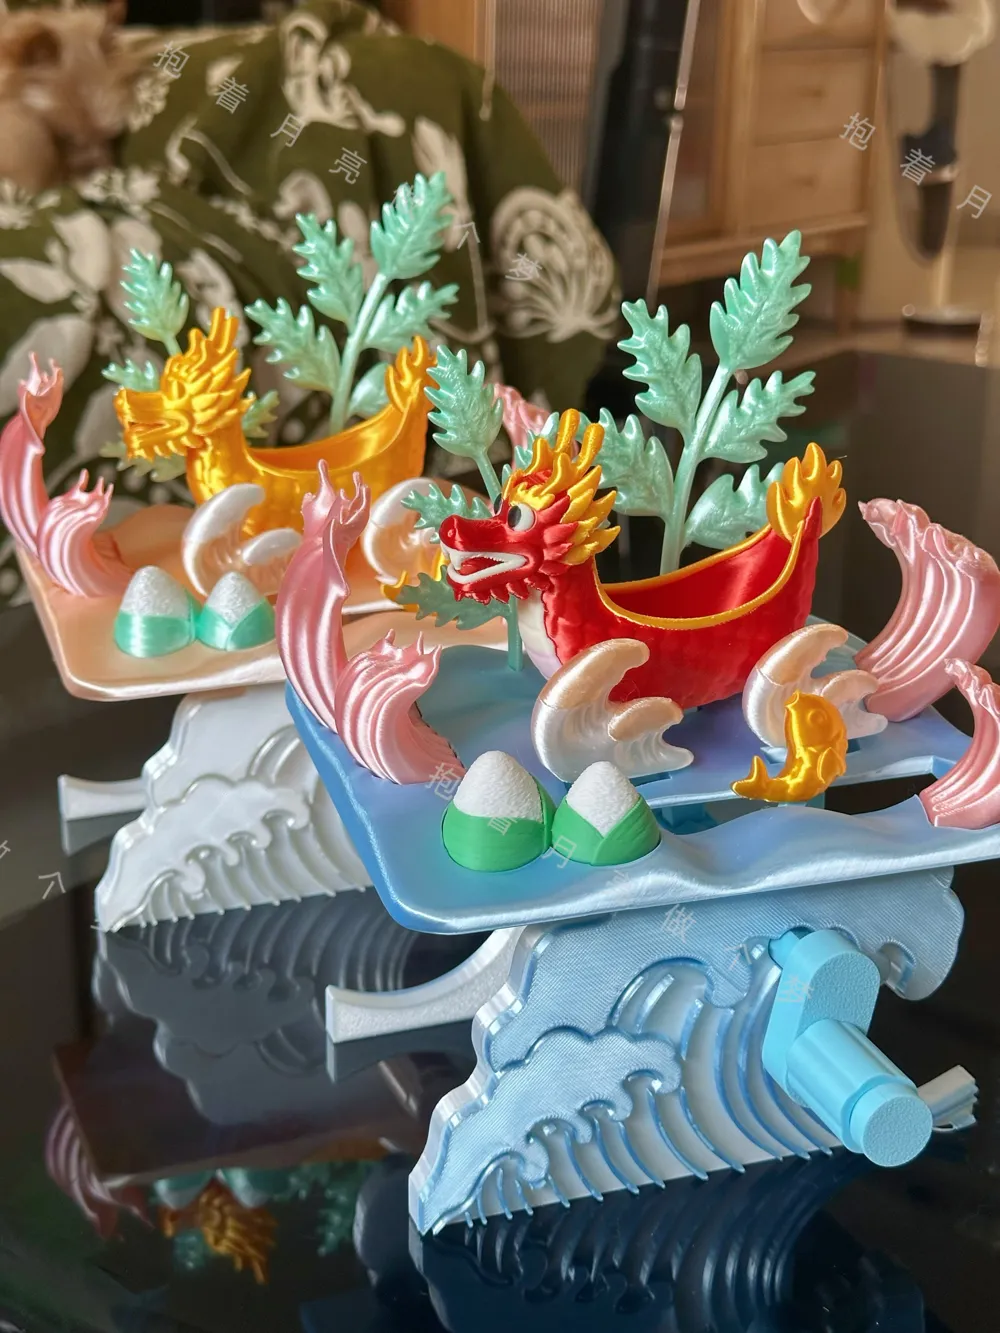
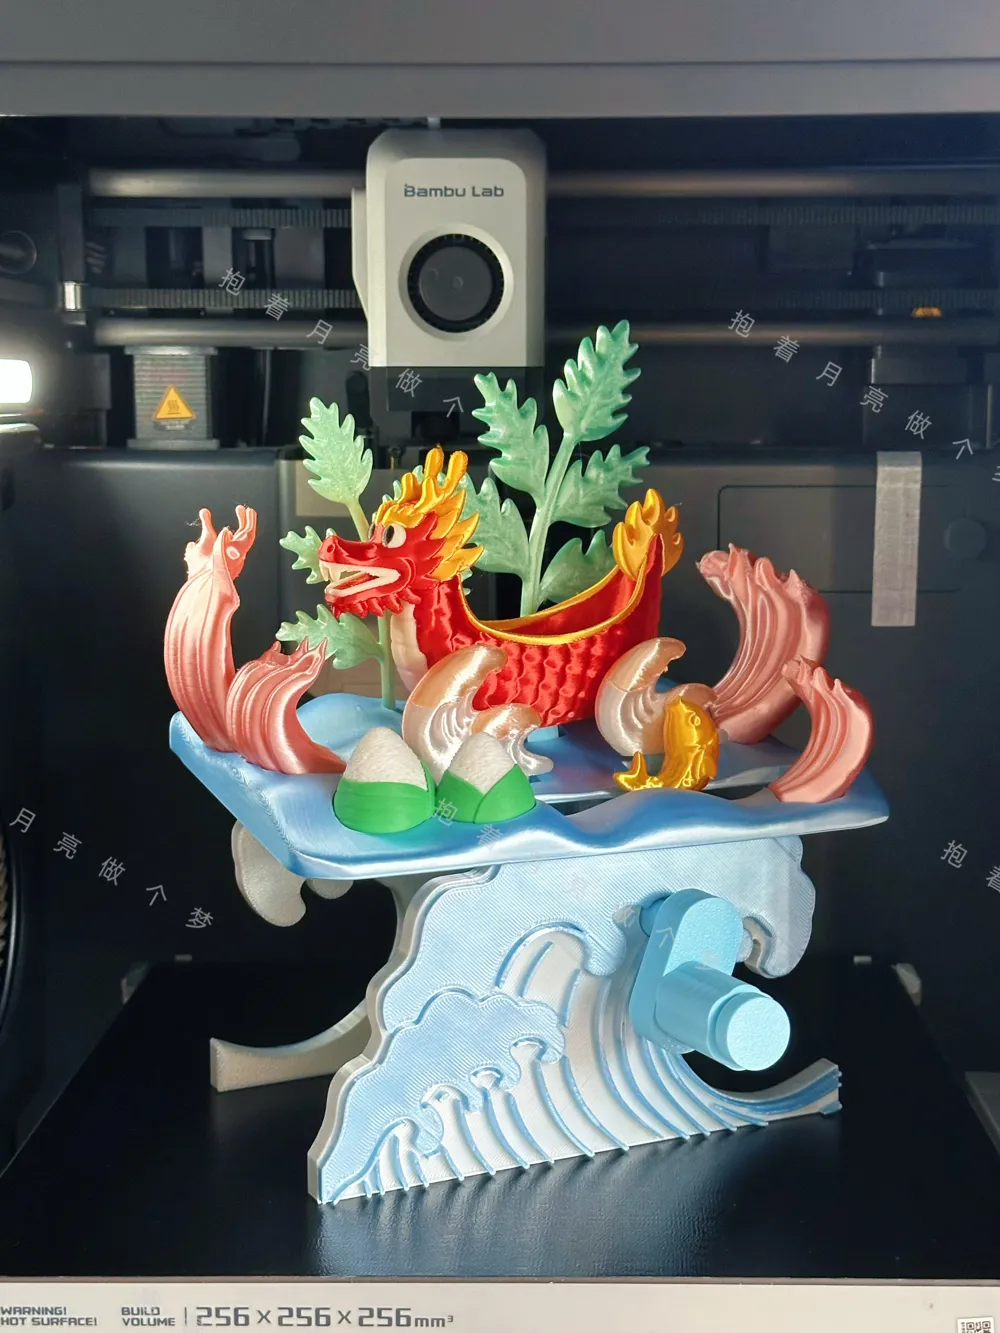
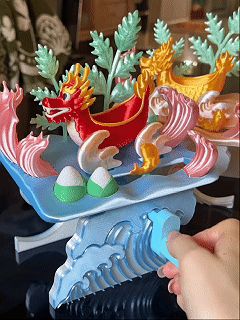
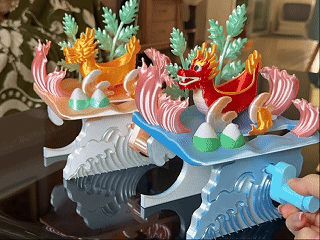
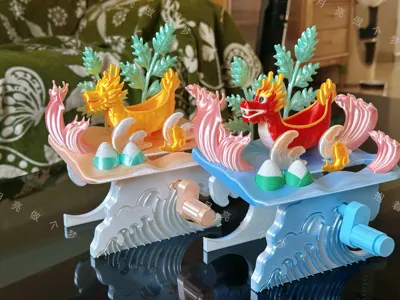
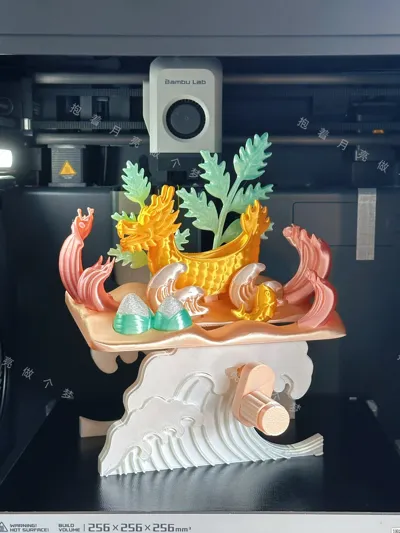
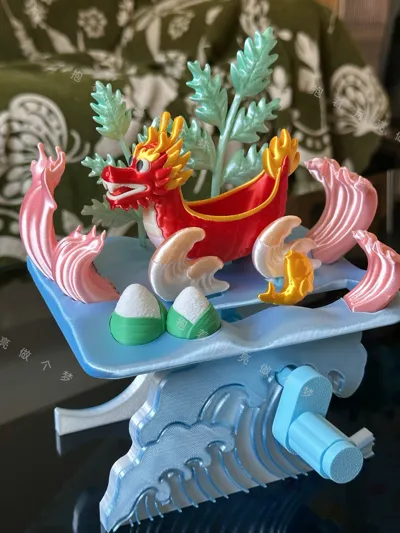
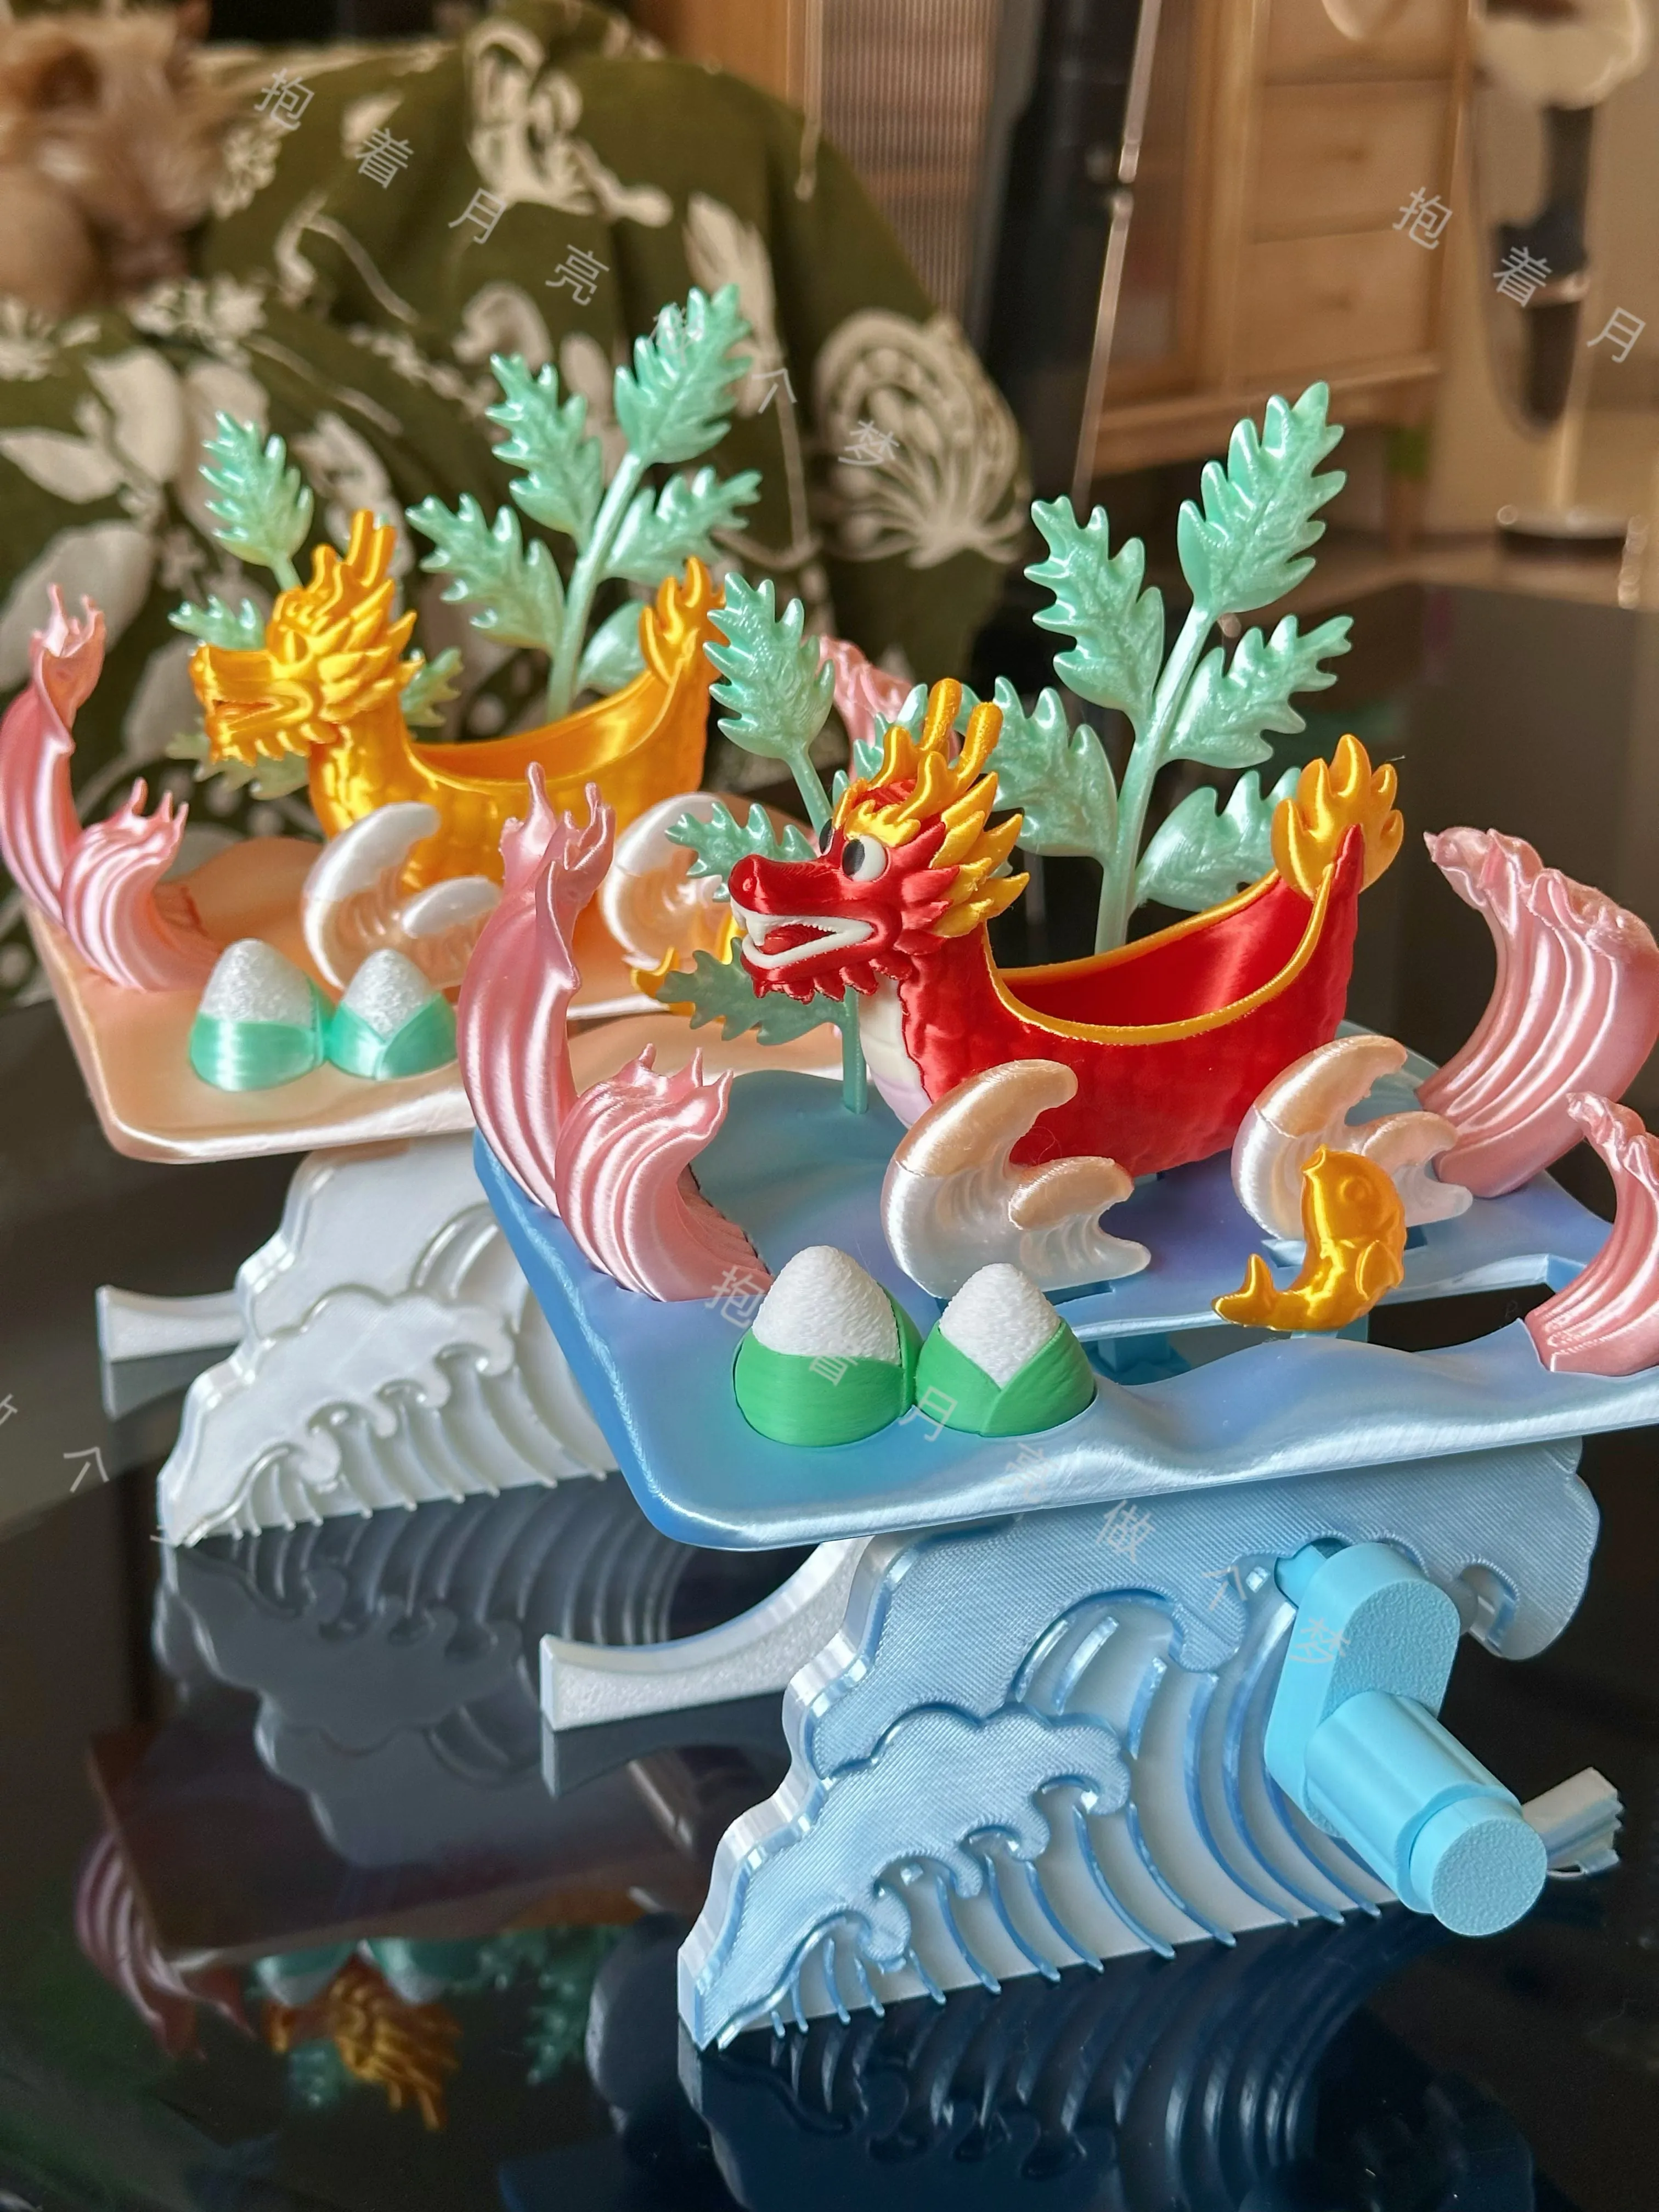
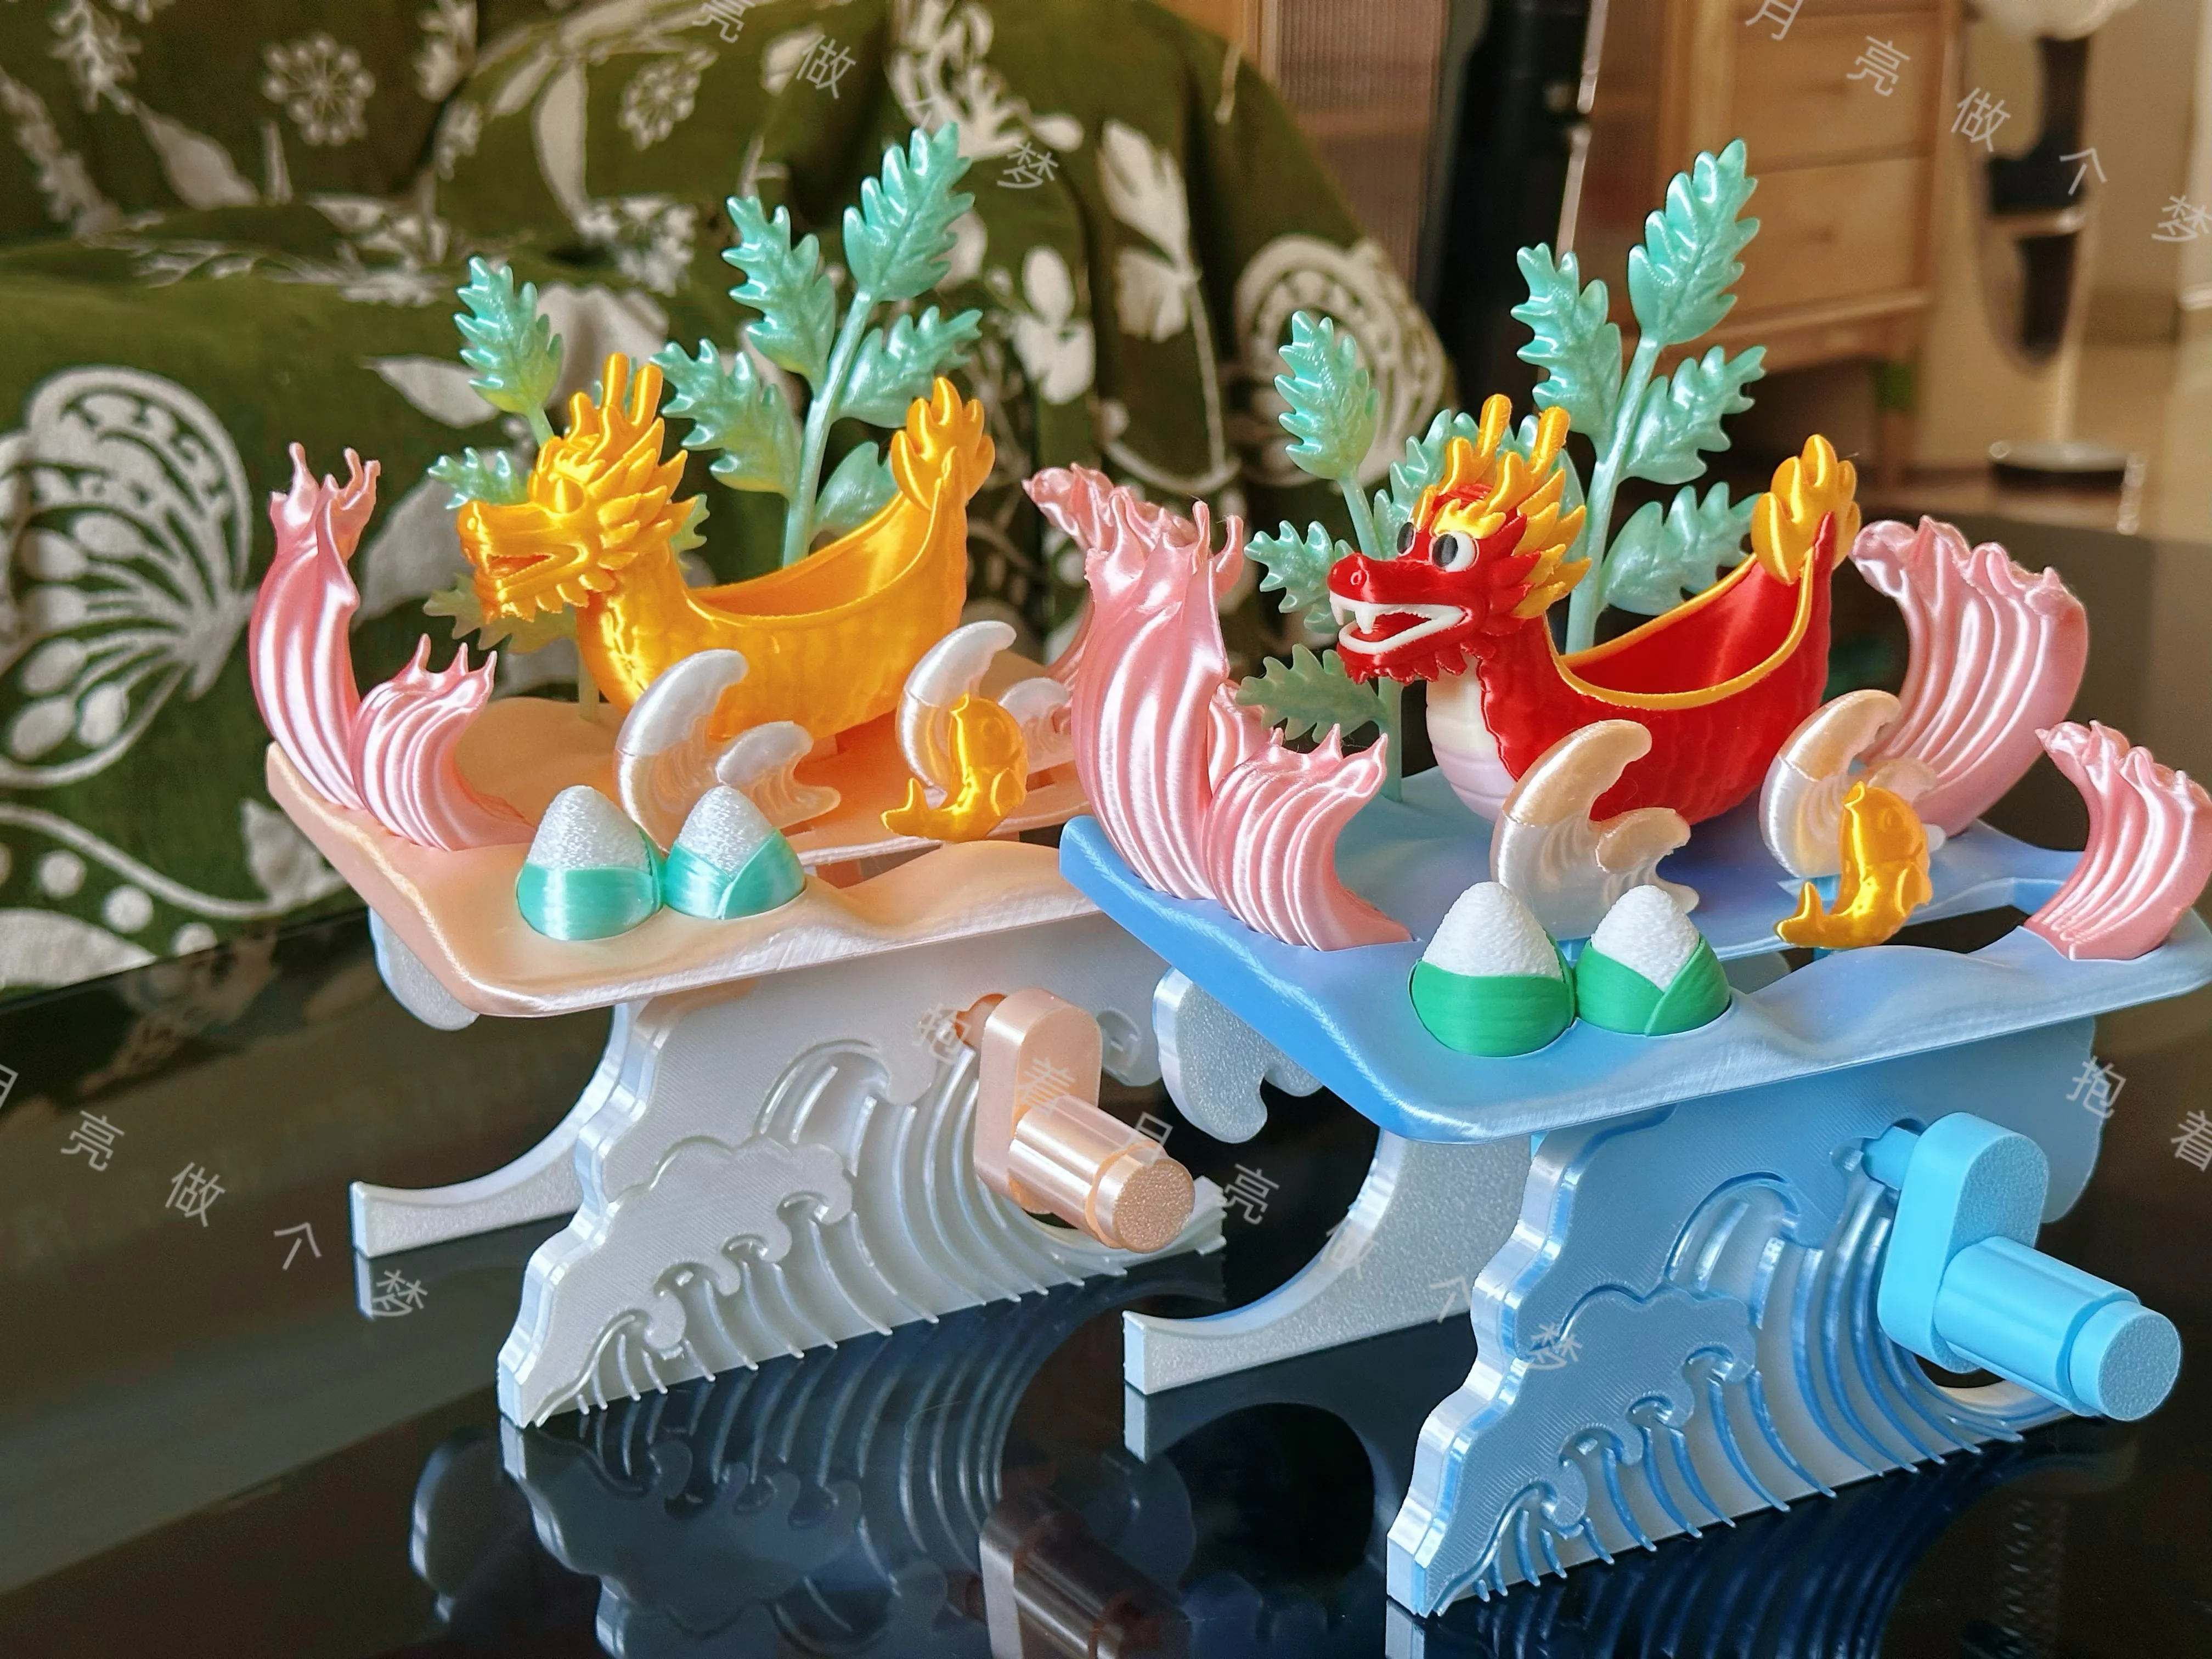
Boat Model Ornament
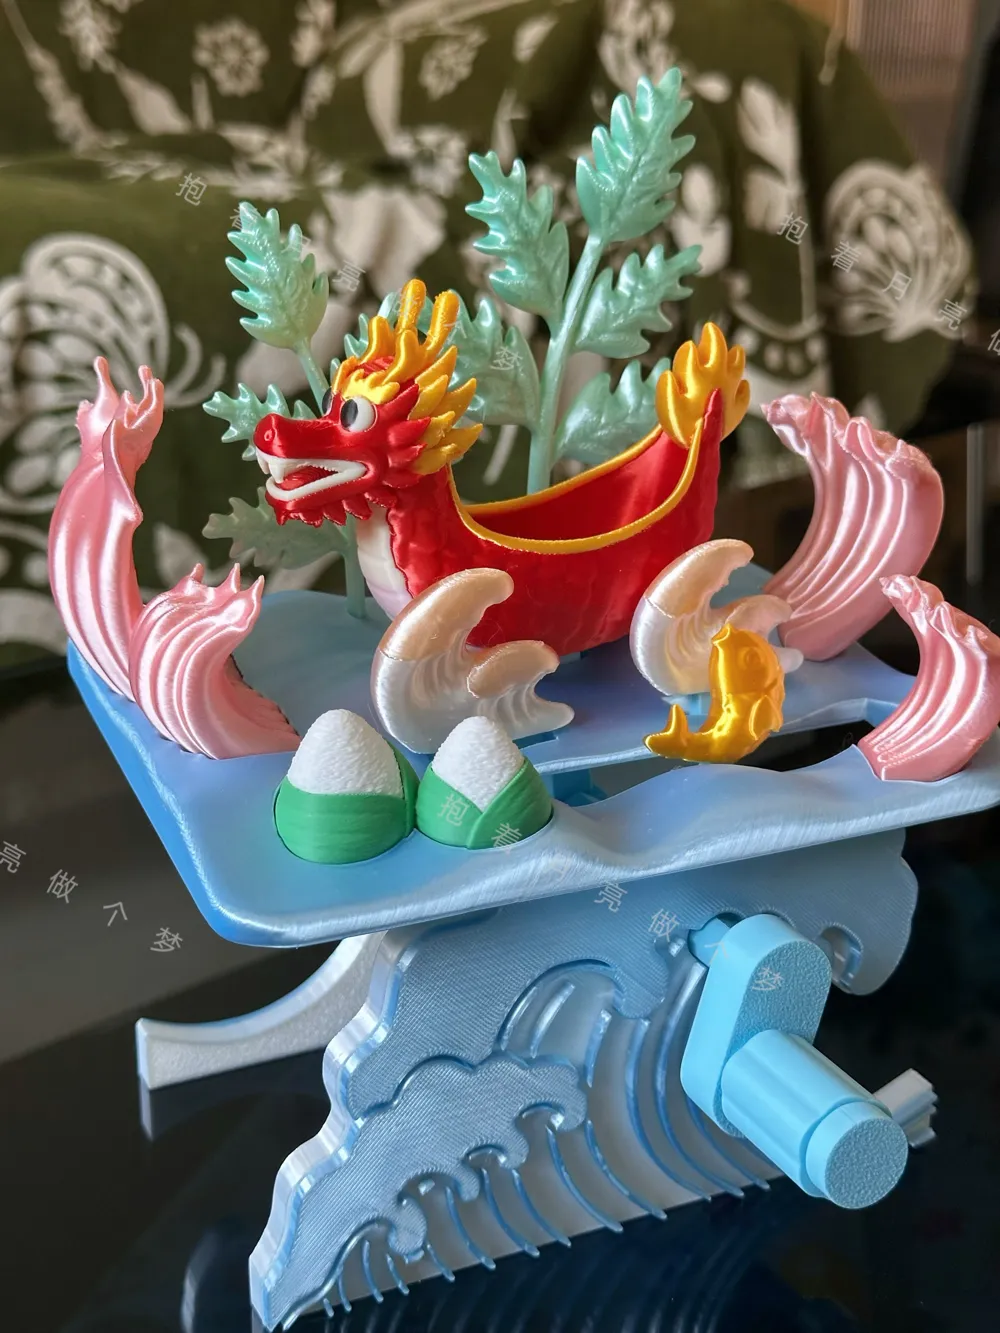
The Dragon Boat Festival is approaching, and traditions like dragon boat racing, eating zongzi, and hanging mugwort leaves have been observed for centuries.
This time, these elements are integrated into an ornament.


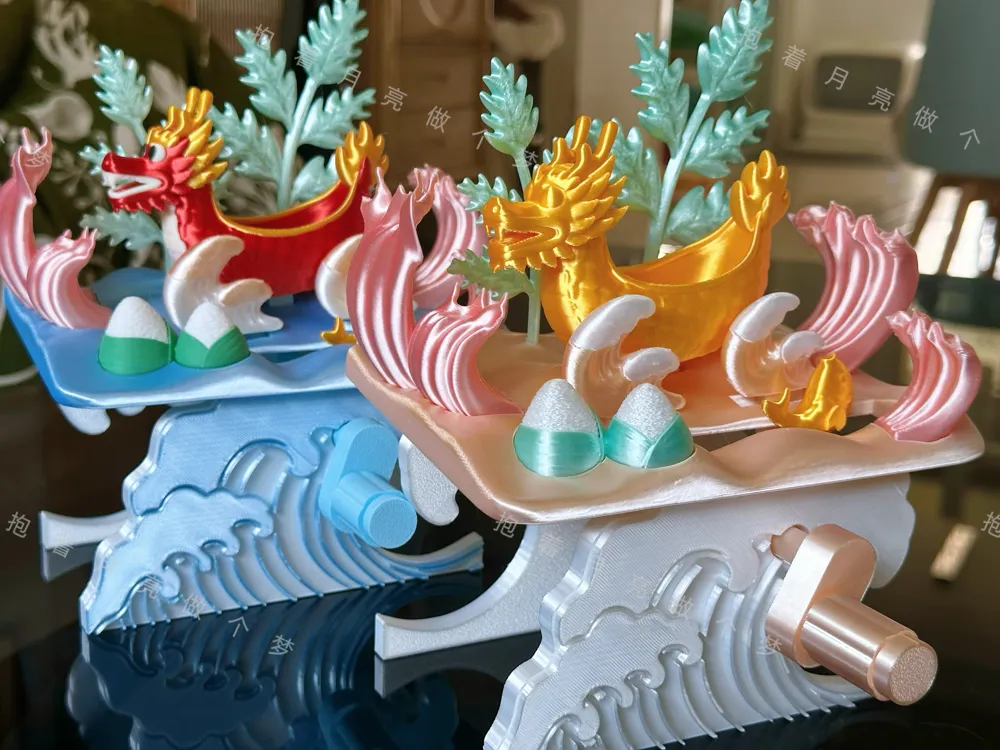
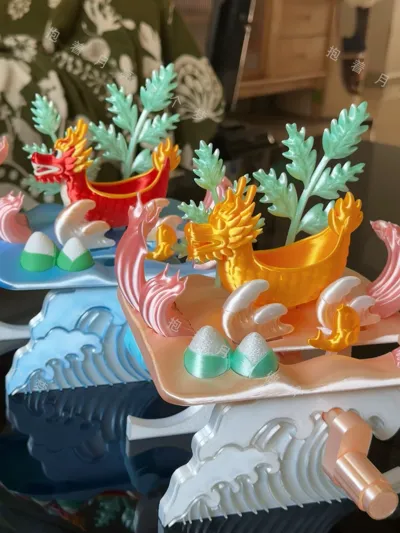
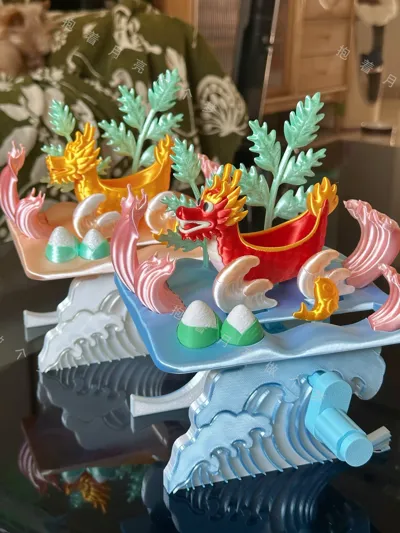
It also features a rotatable mechanism, allowing the boat model to sway, creating waves, and a koi fish to leap.
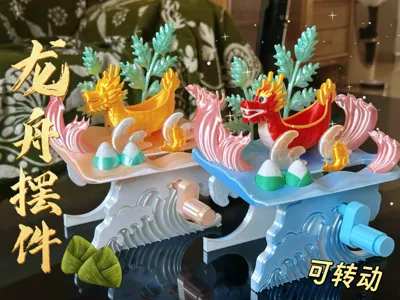
Versions:
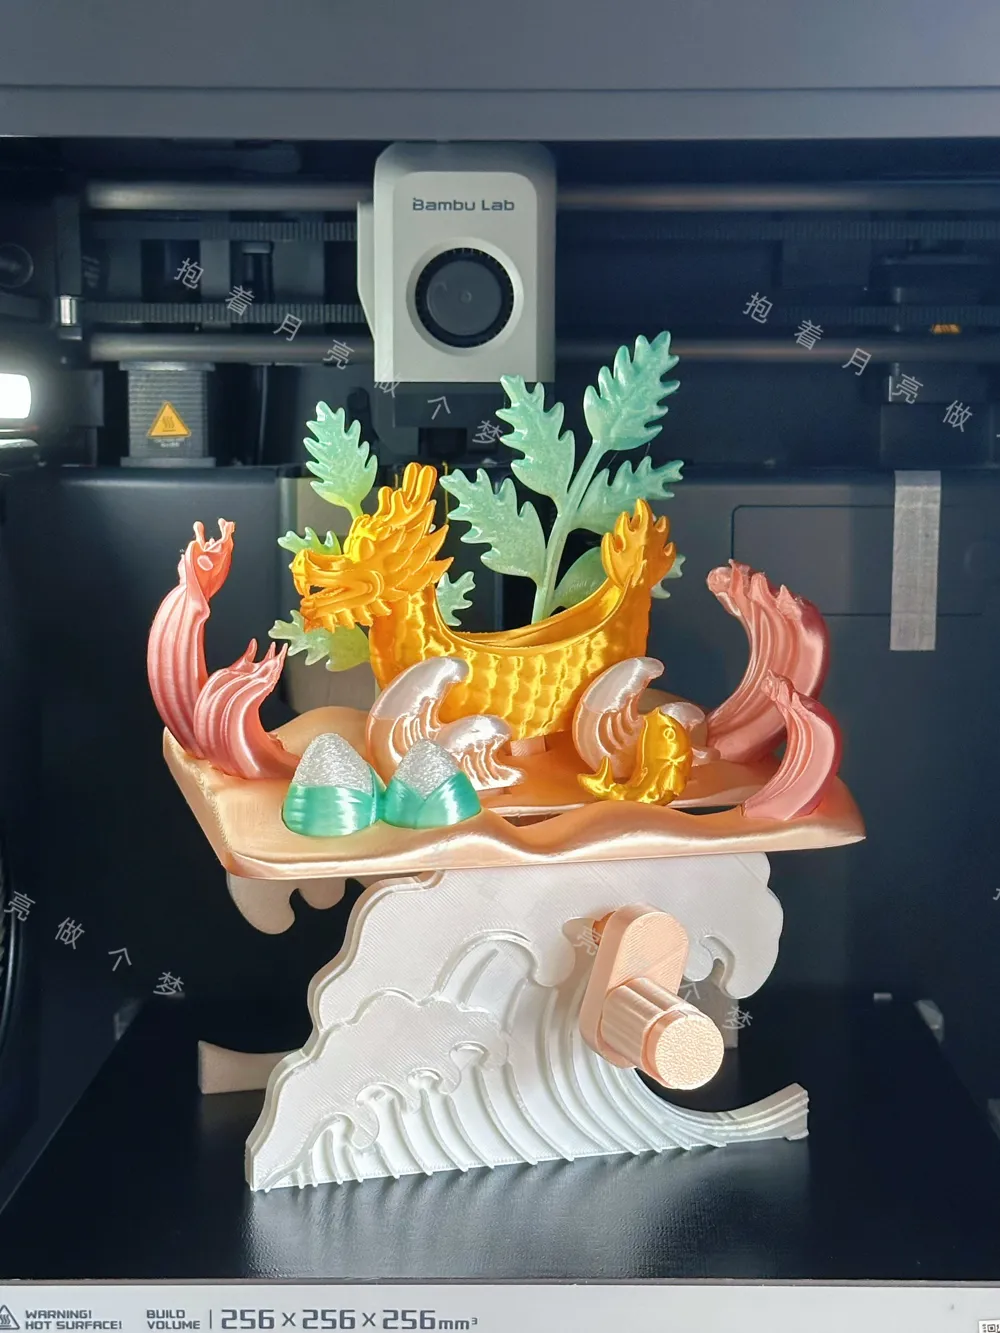
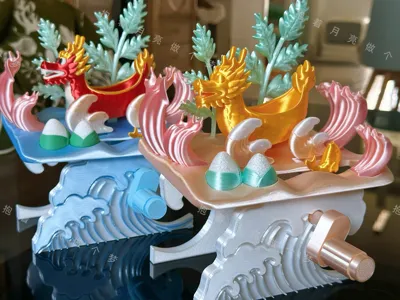
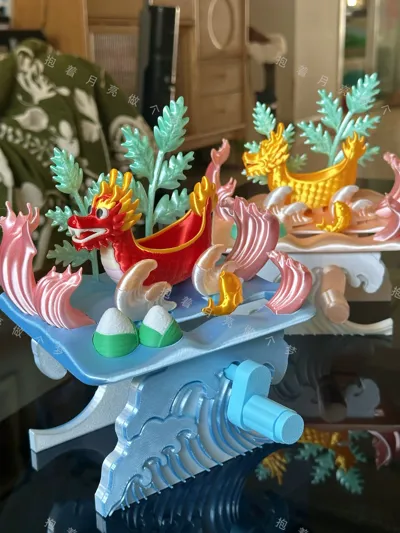
Single color and multi-color.
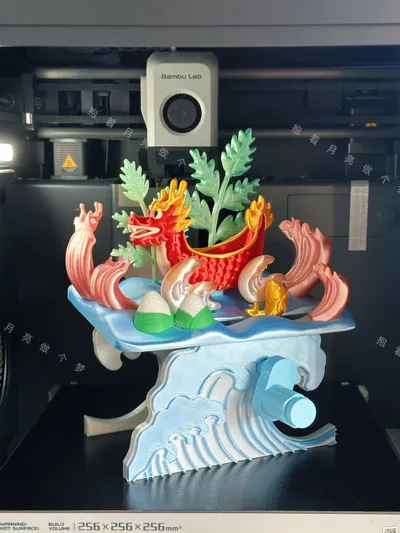
The boat model, waves, and wave stand have multi-color versions, which you canchoose to print yourself.
Color Schemes:
I tried 3 types (for your reference)
The print profile roughly provides the color scheme of the first image.
The multi-color part of the third image is added to the second print profile.
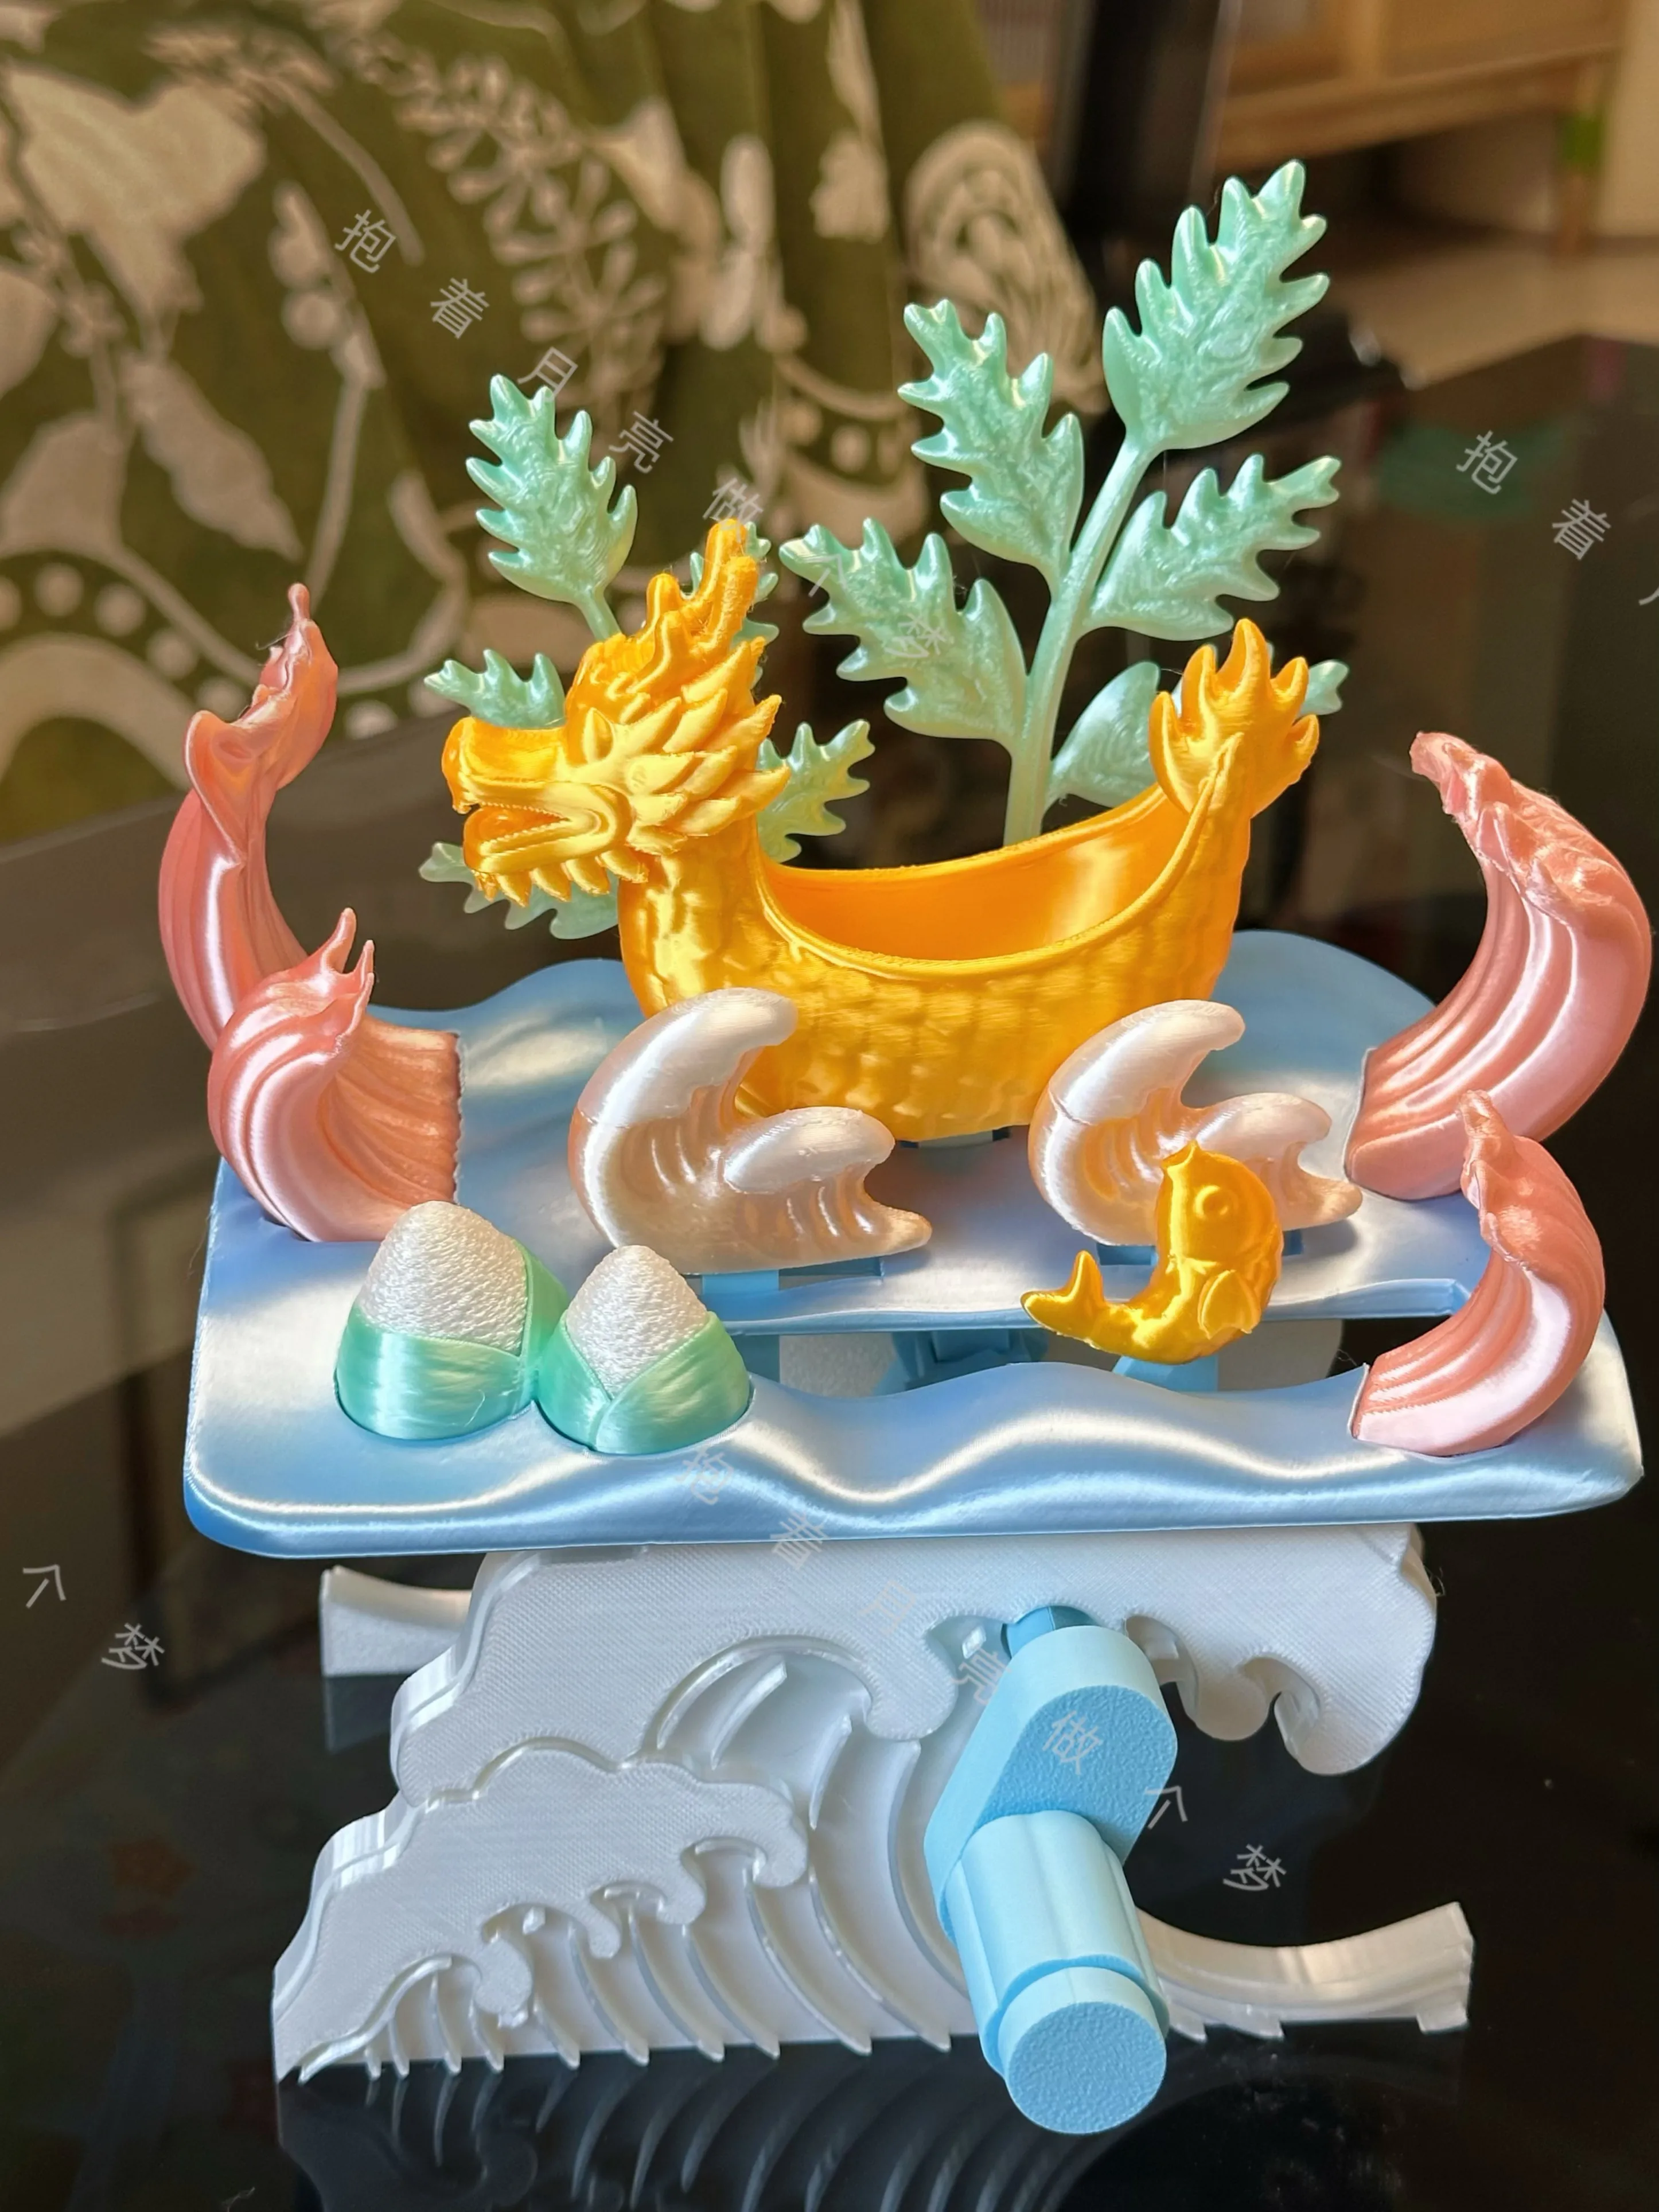
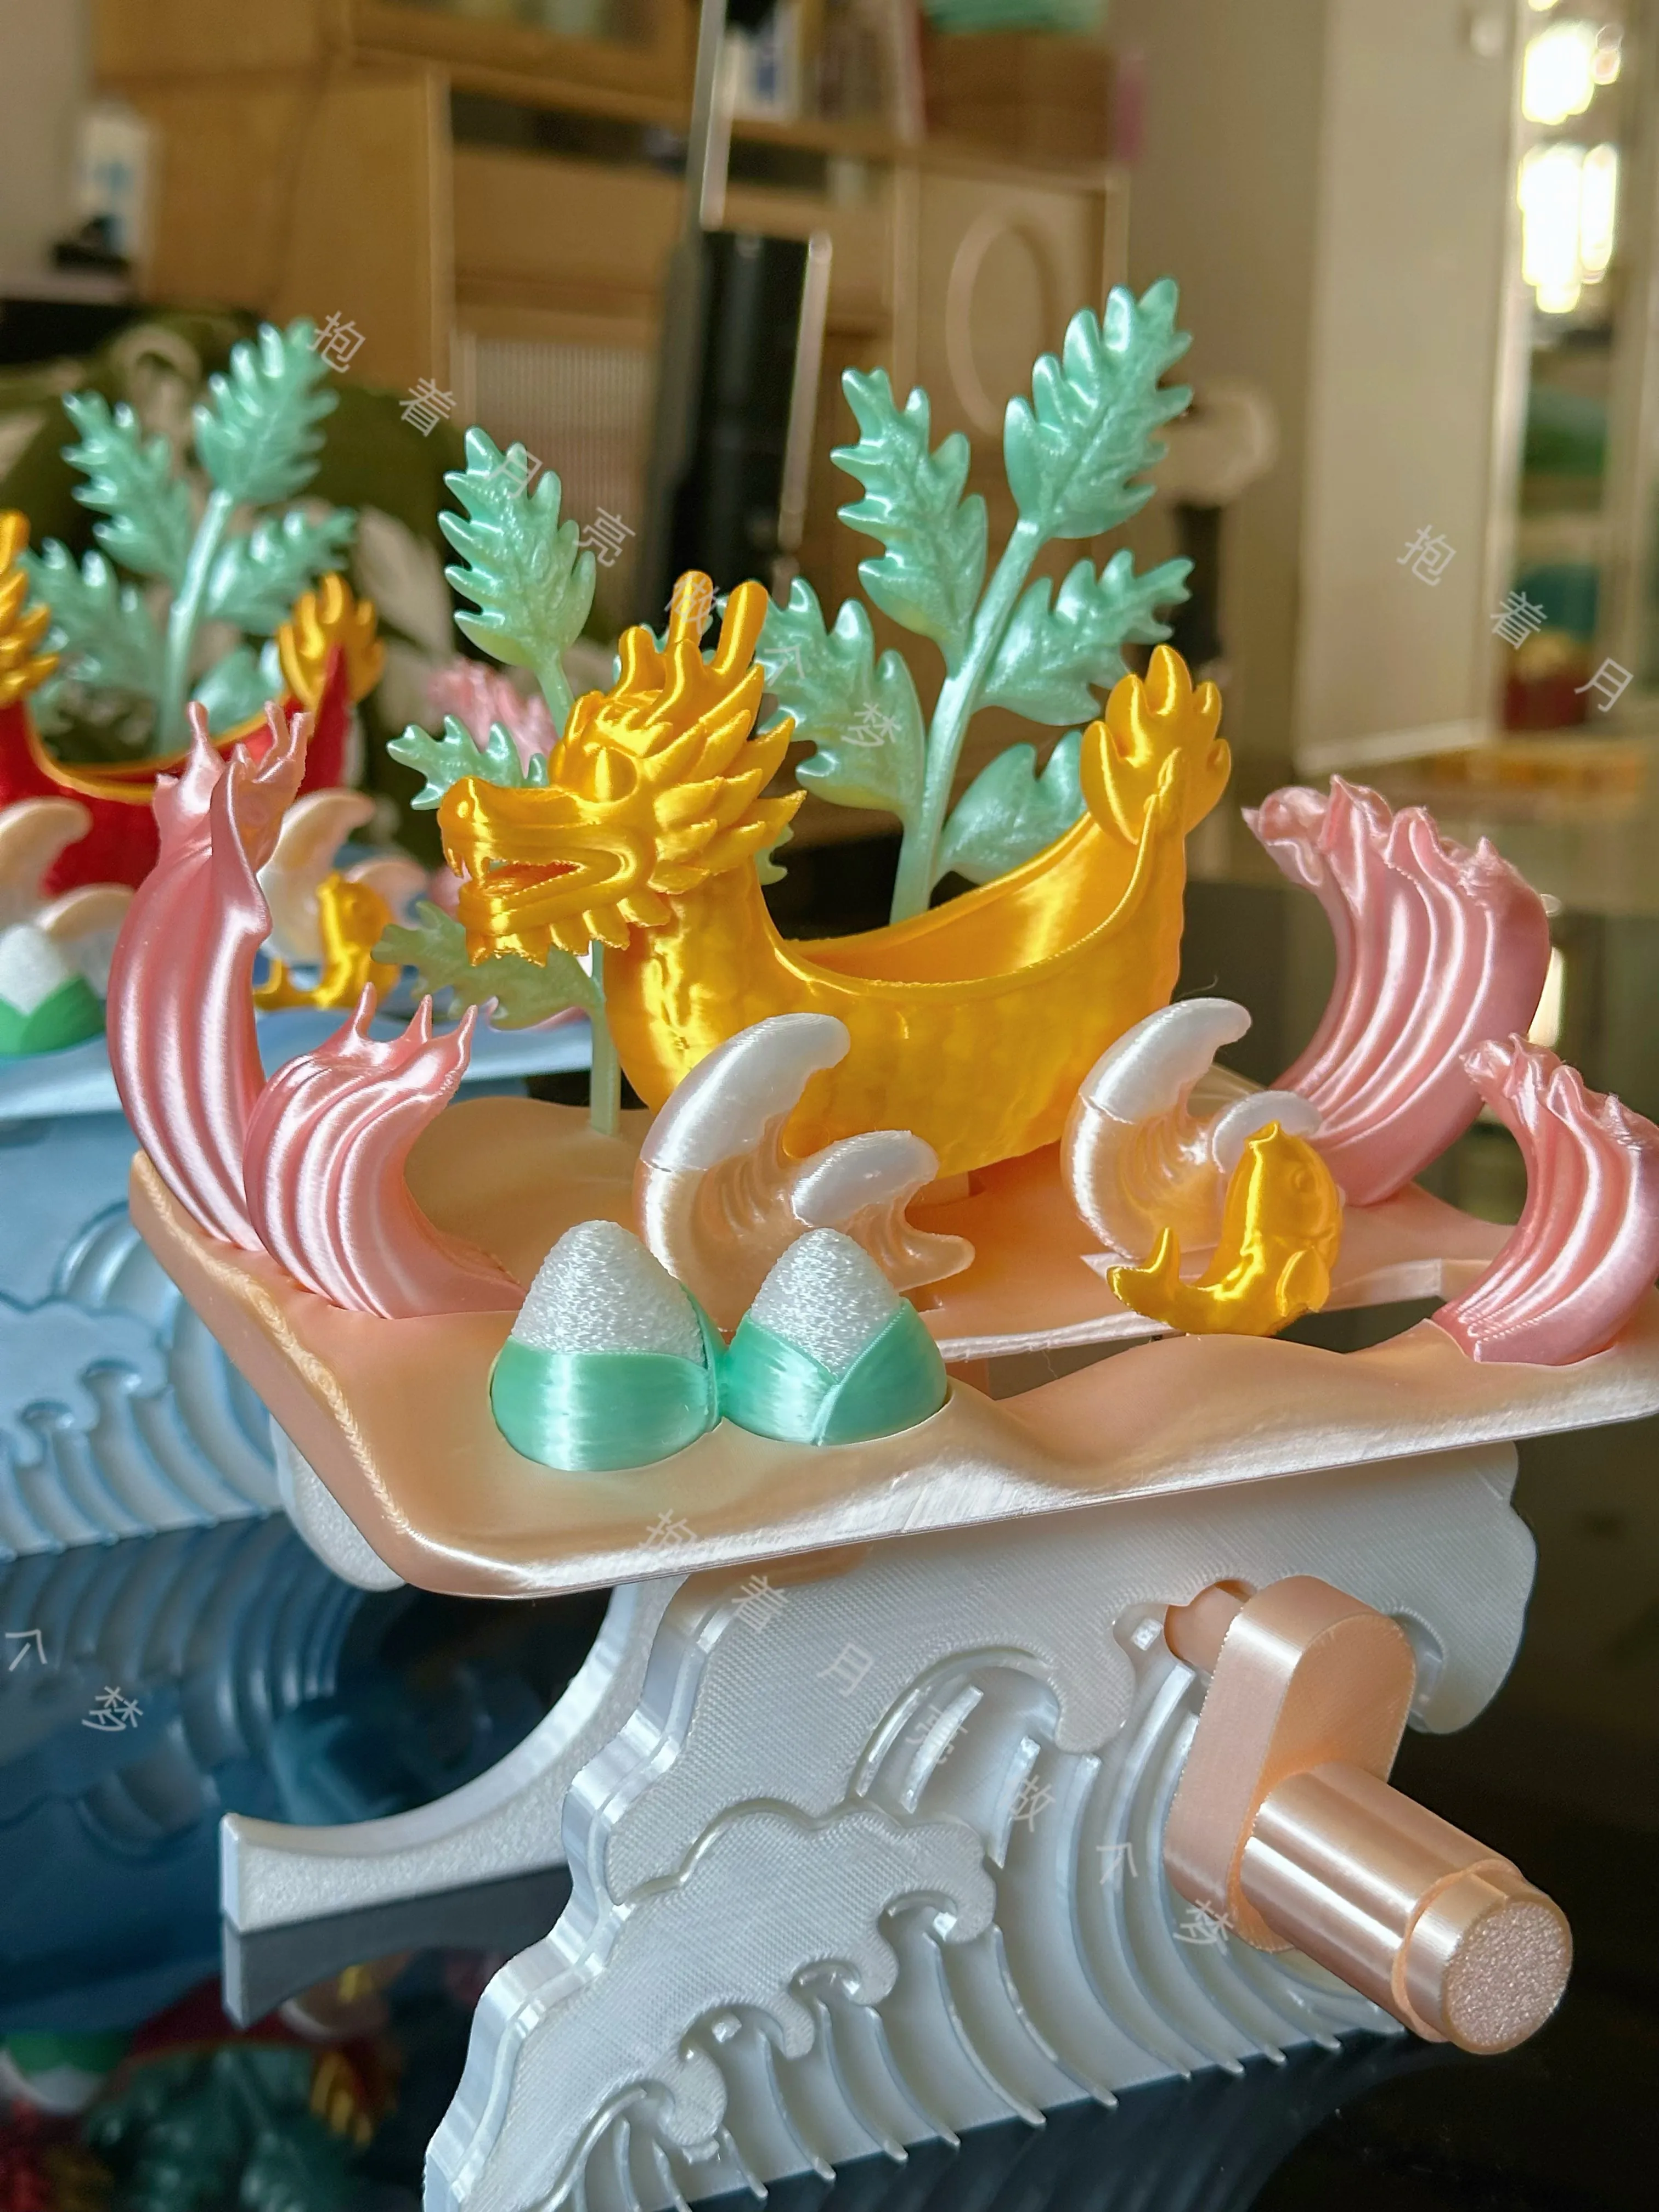
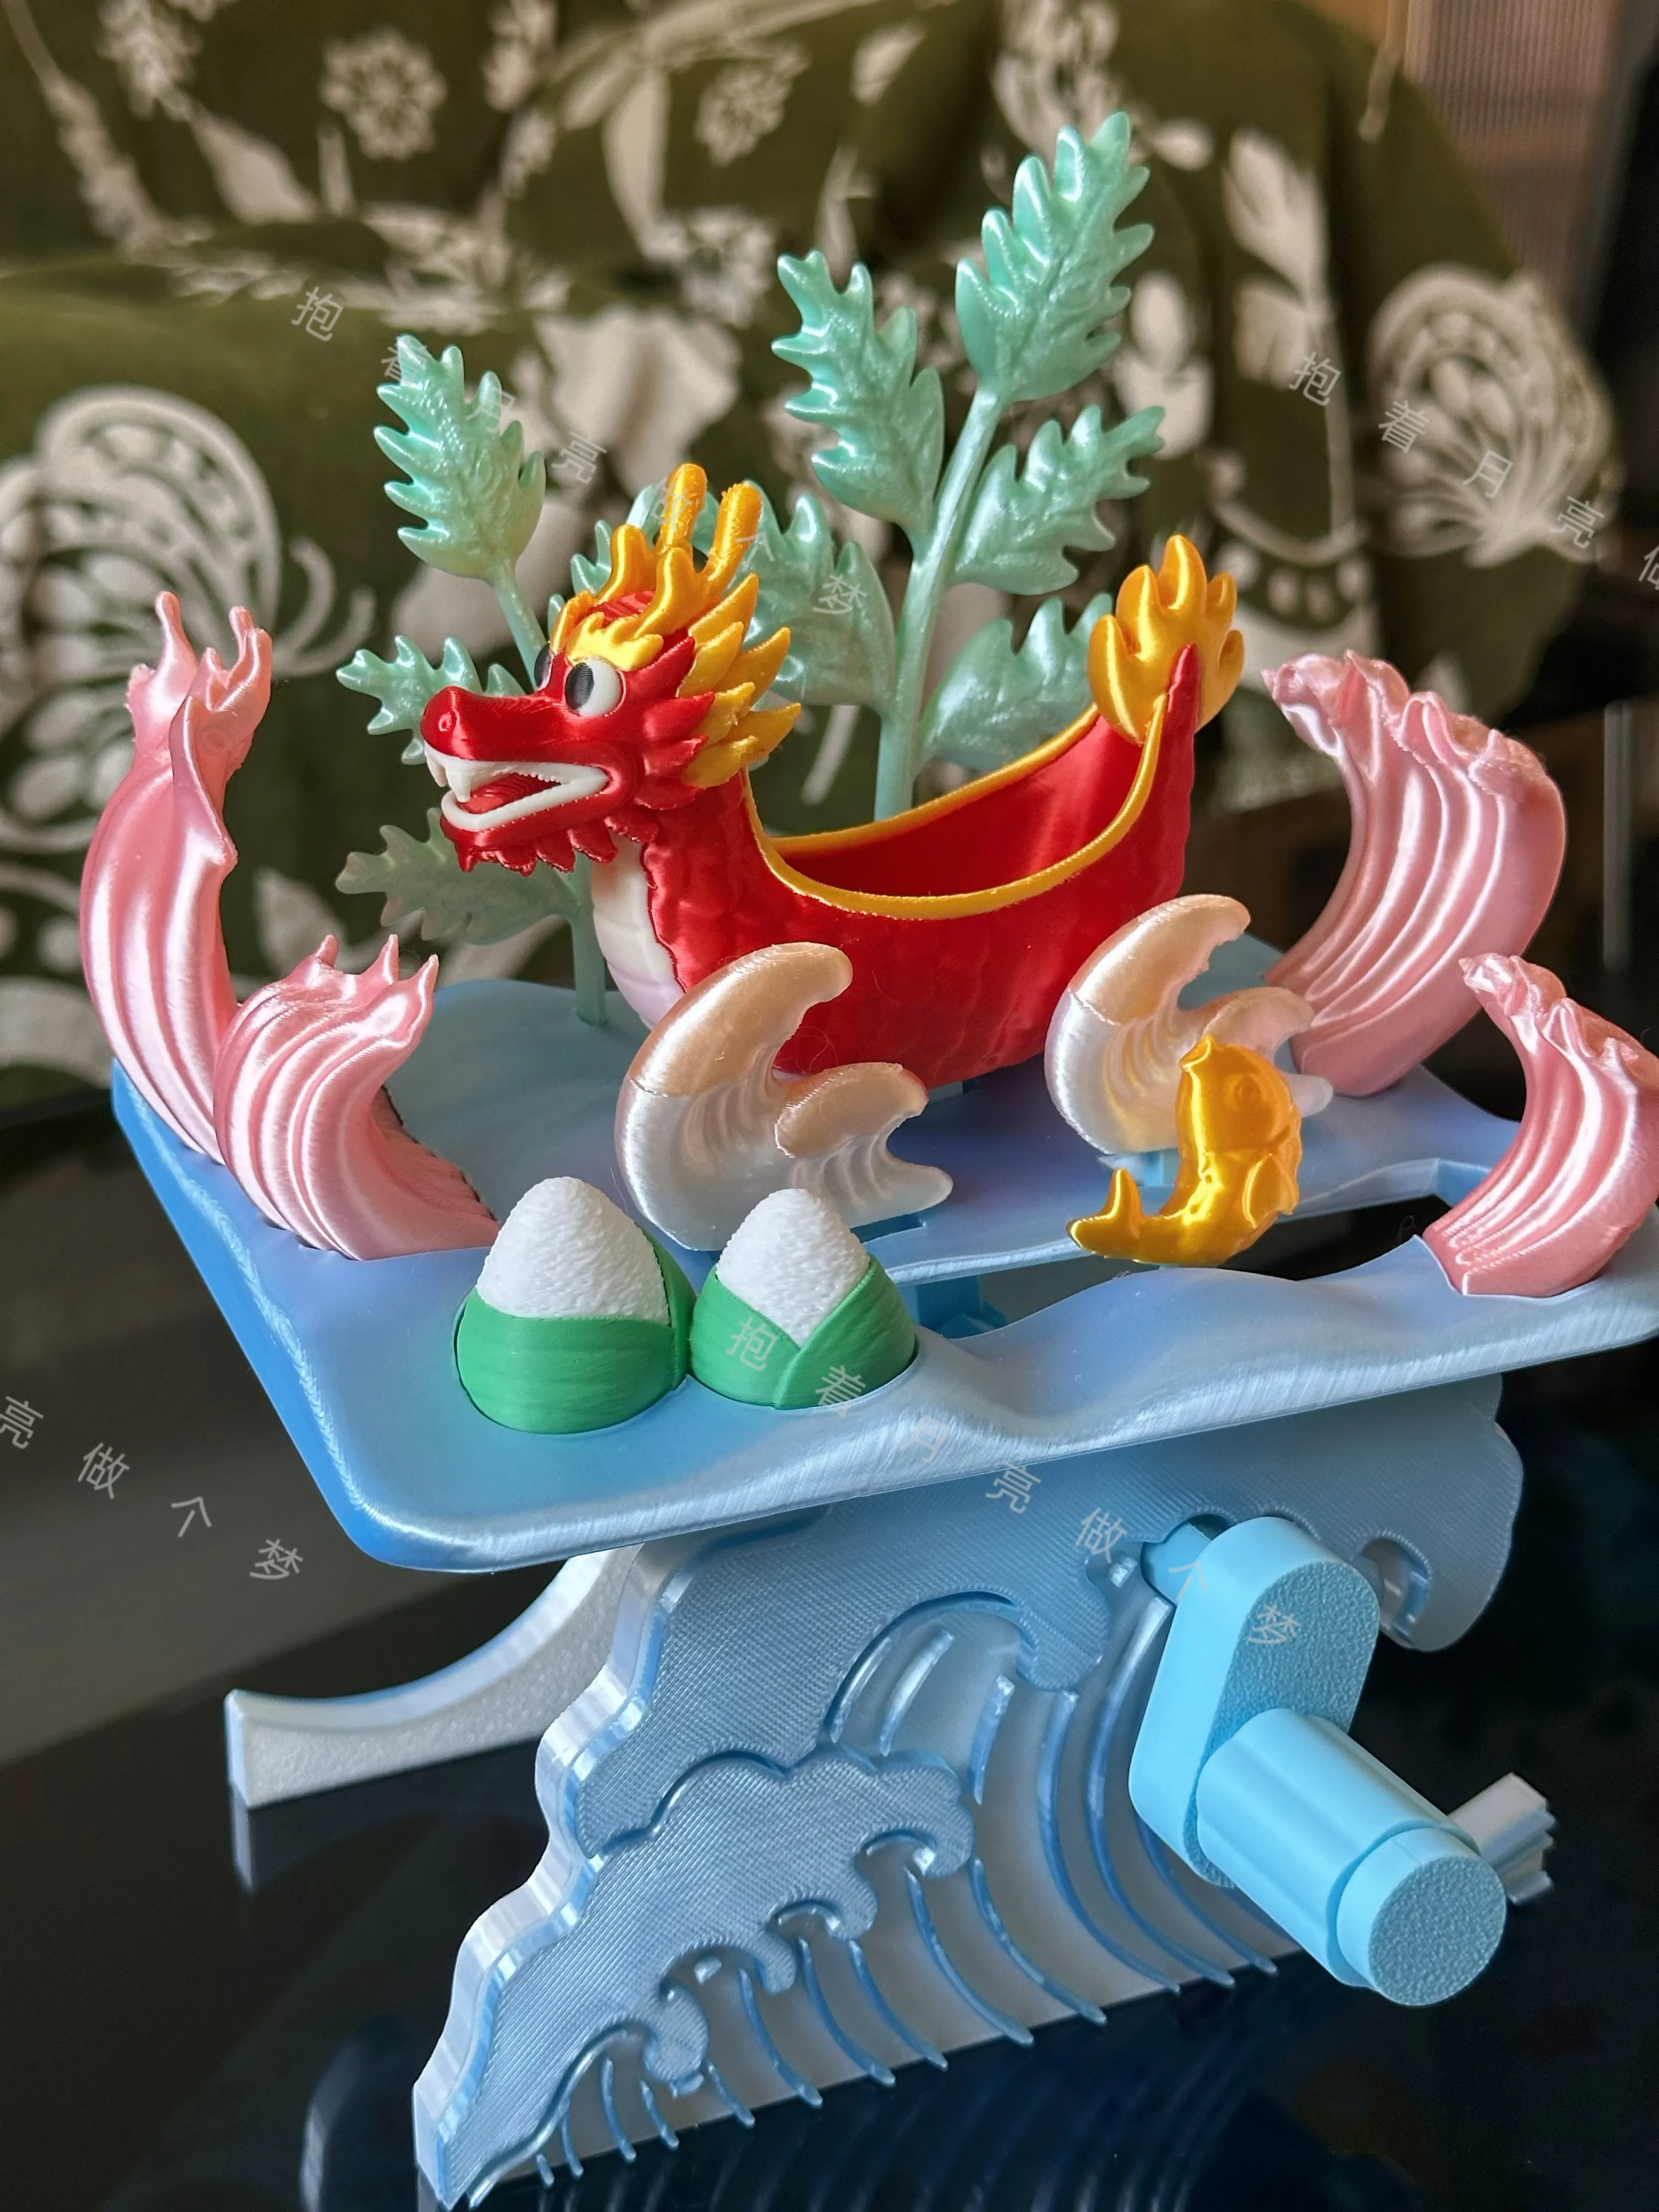
Assembly Notes:
First, assemble the mechanism part, reinforce the connections with super glue, and be careful not to glue the movable components!
Install the internal components of the stand directly in left-to-right order as on the build plate (the grooves are one-to-one, so no worries about installing them incorrectly).
The only thing to note: the two grooves on the long stand are one large and one small; arrange them as shown in the diagram.
Assemble the handle part and set it aside for now.
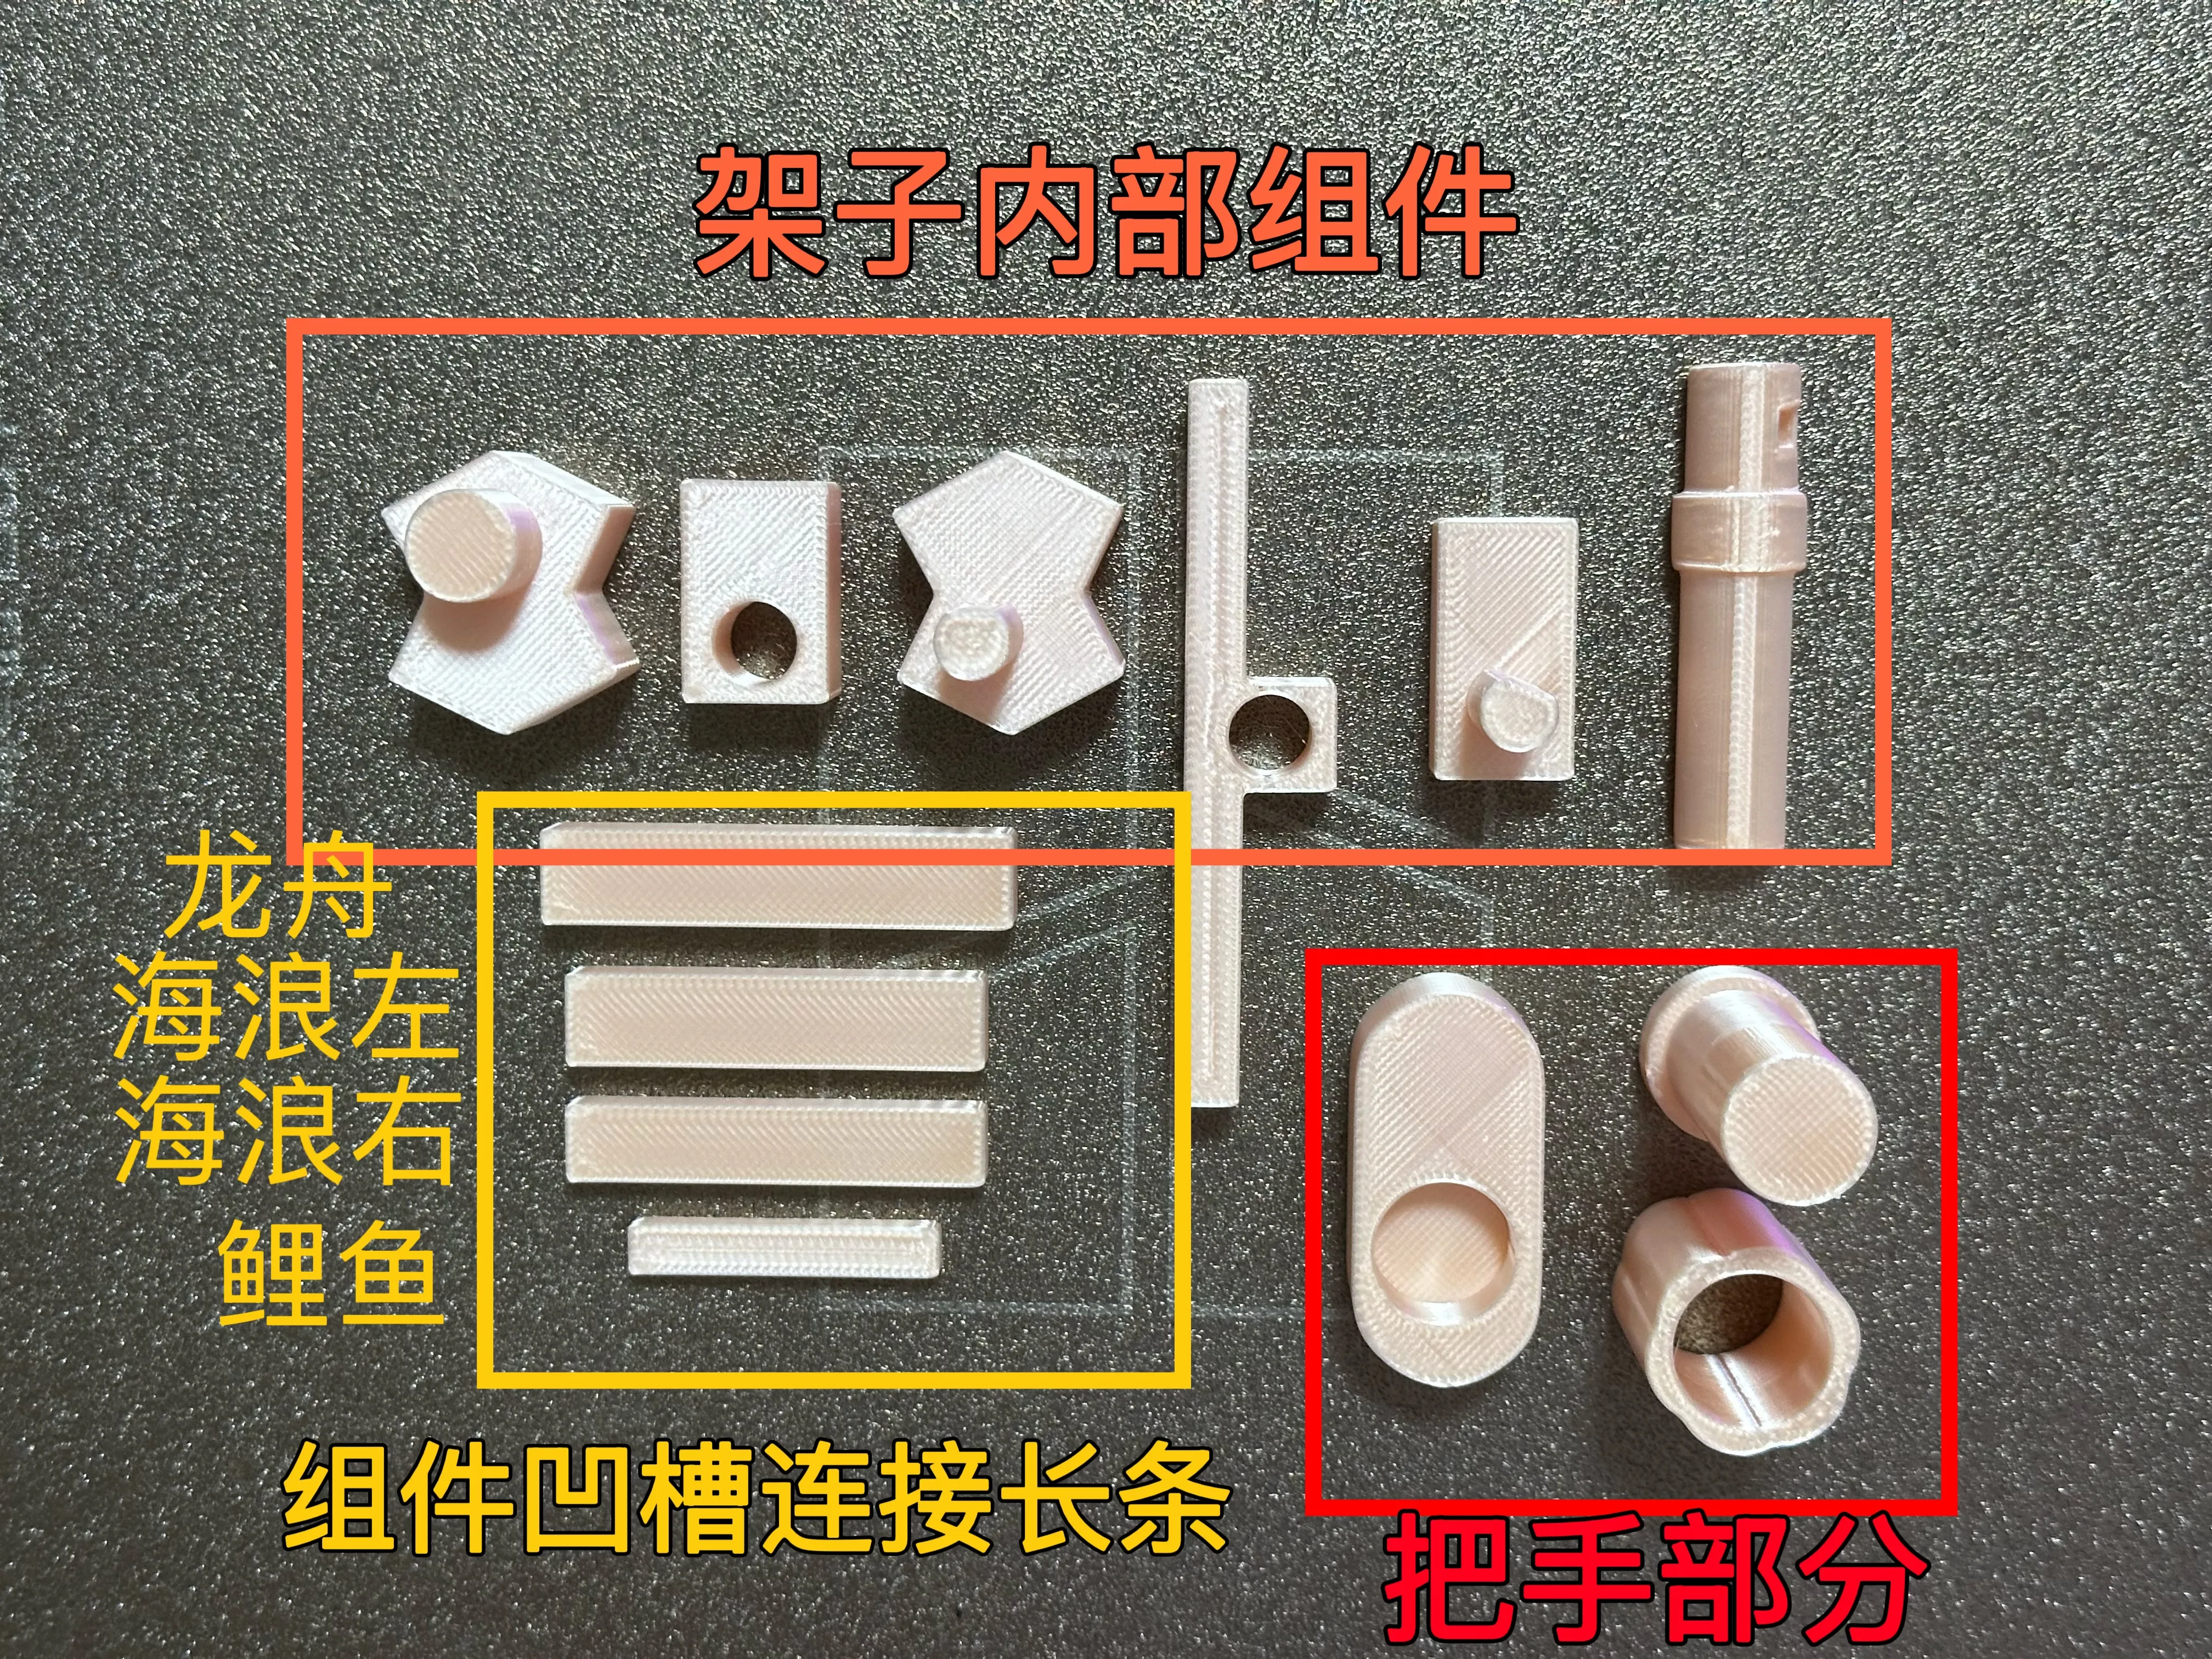
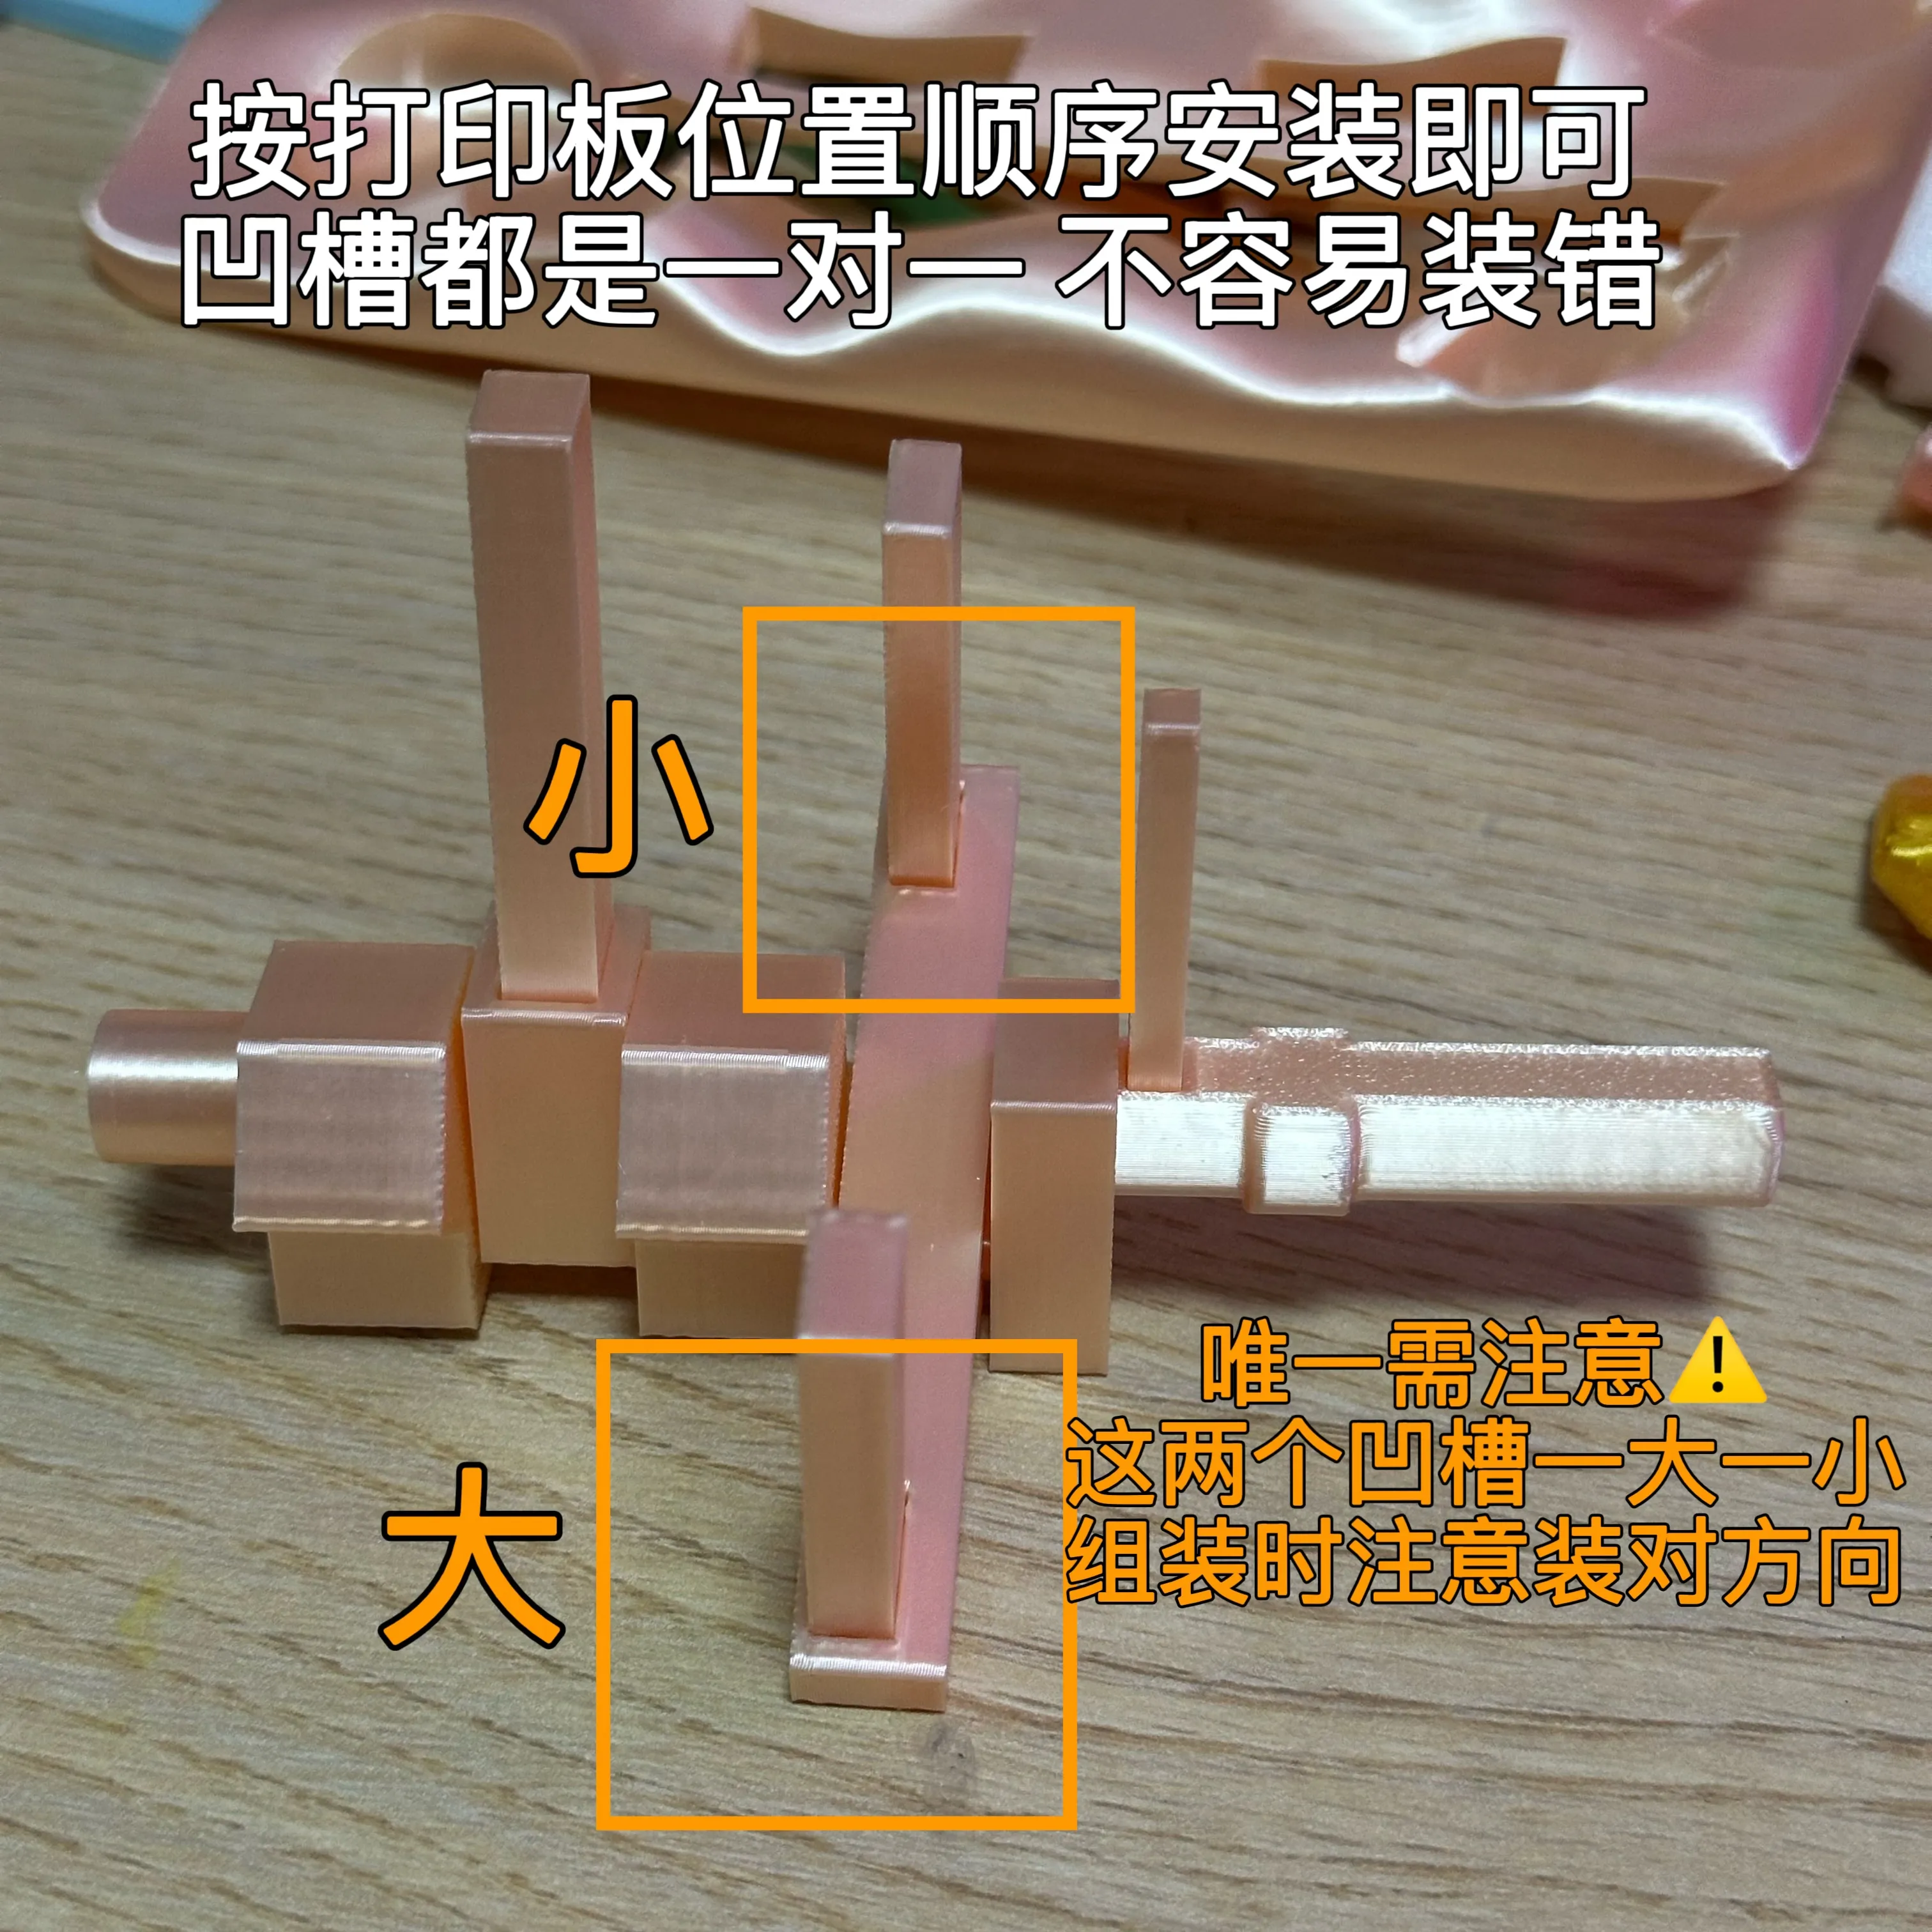
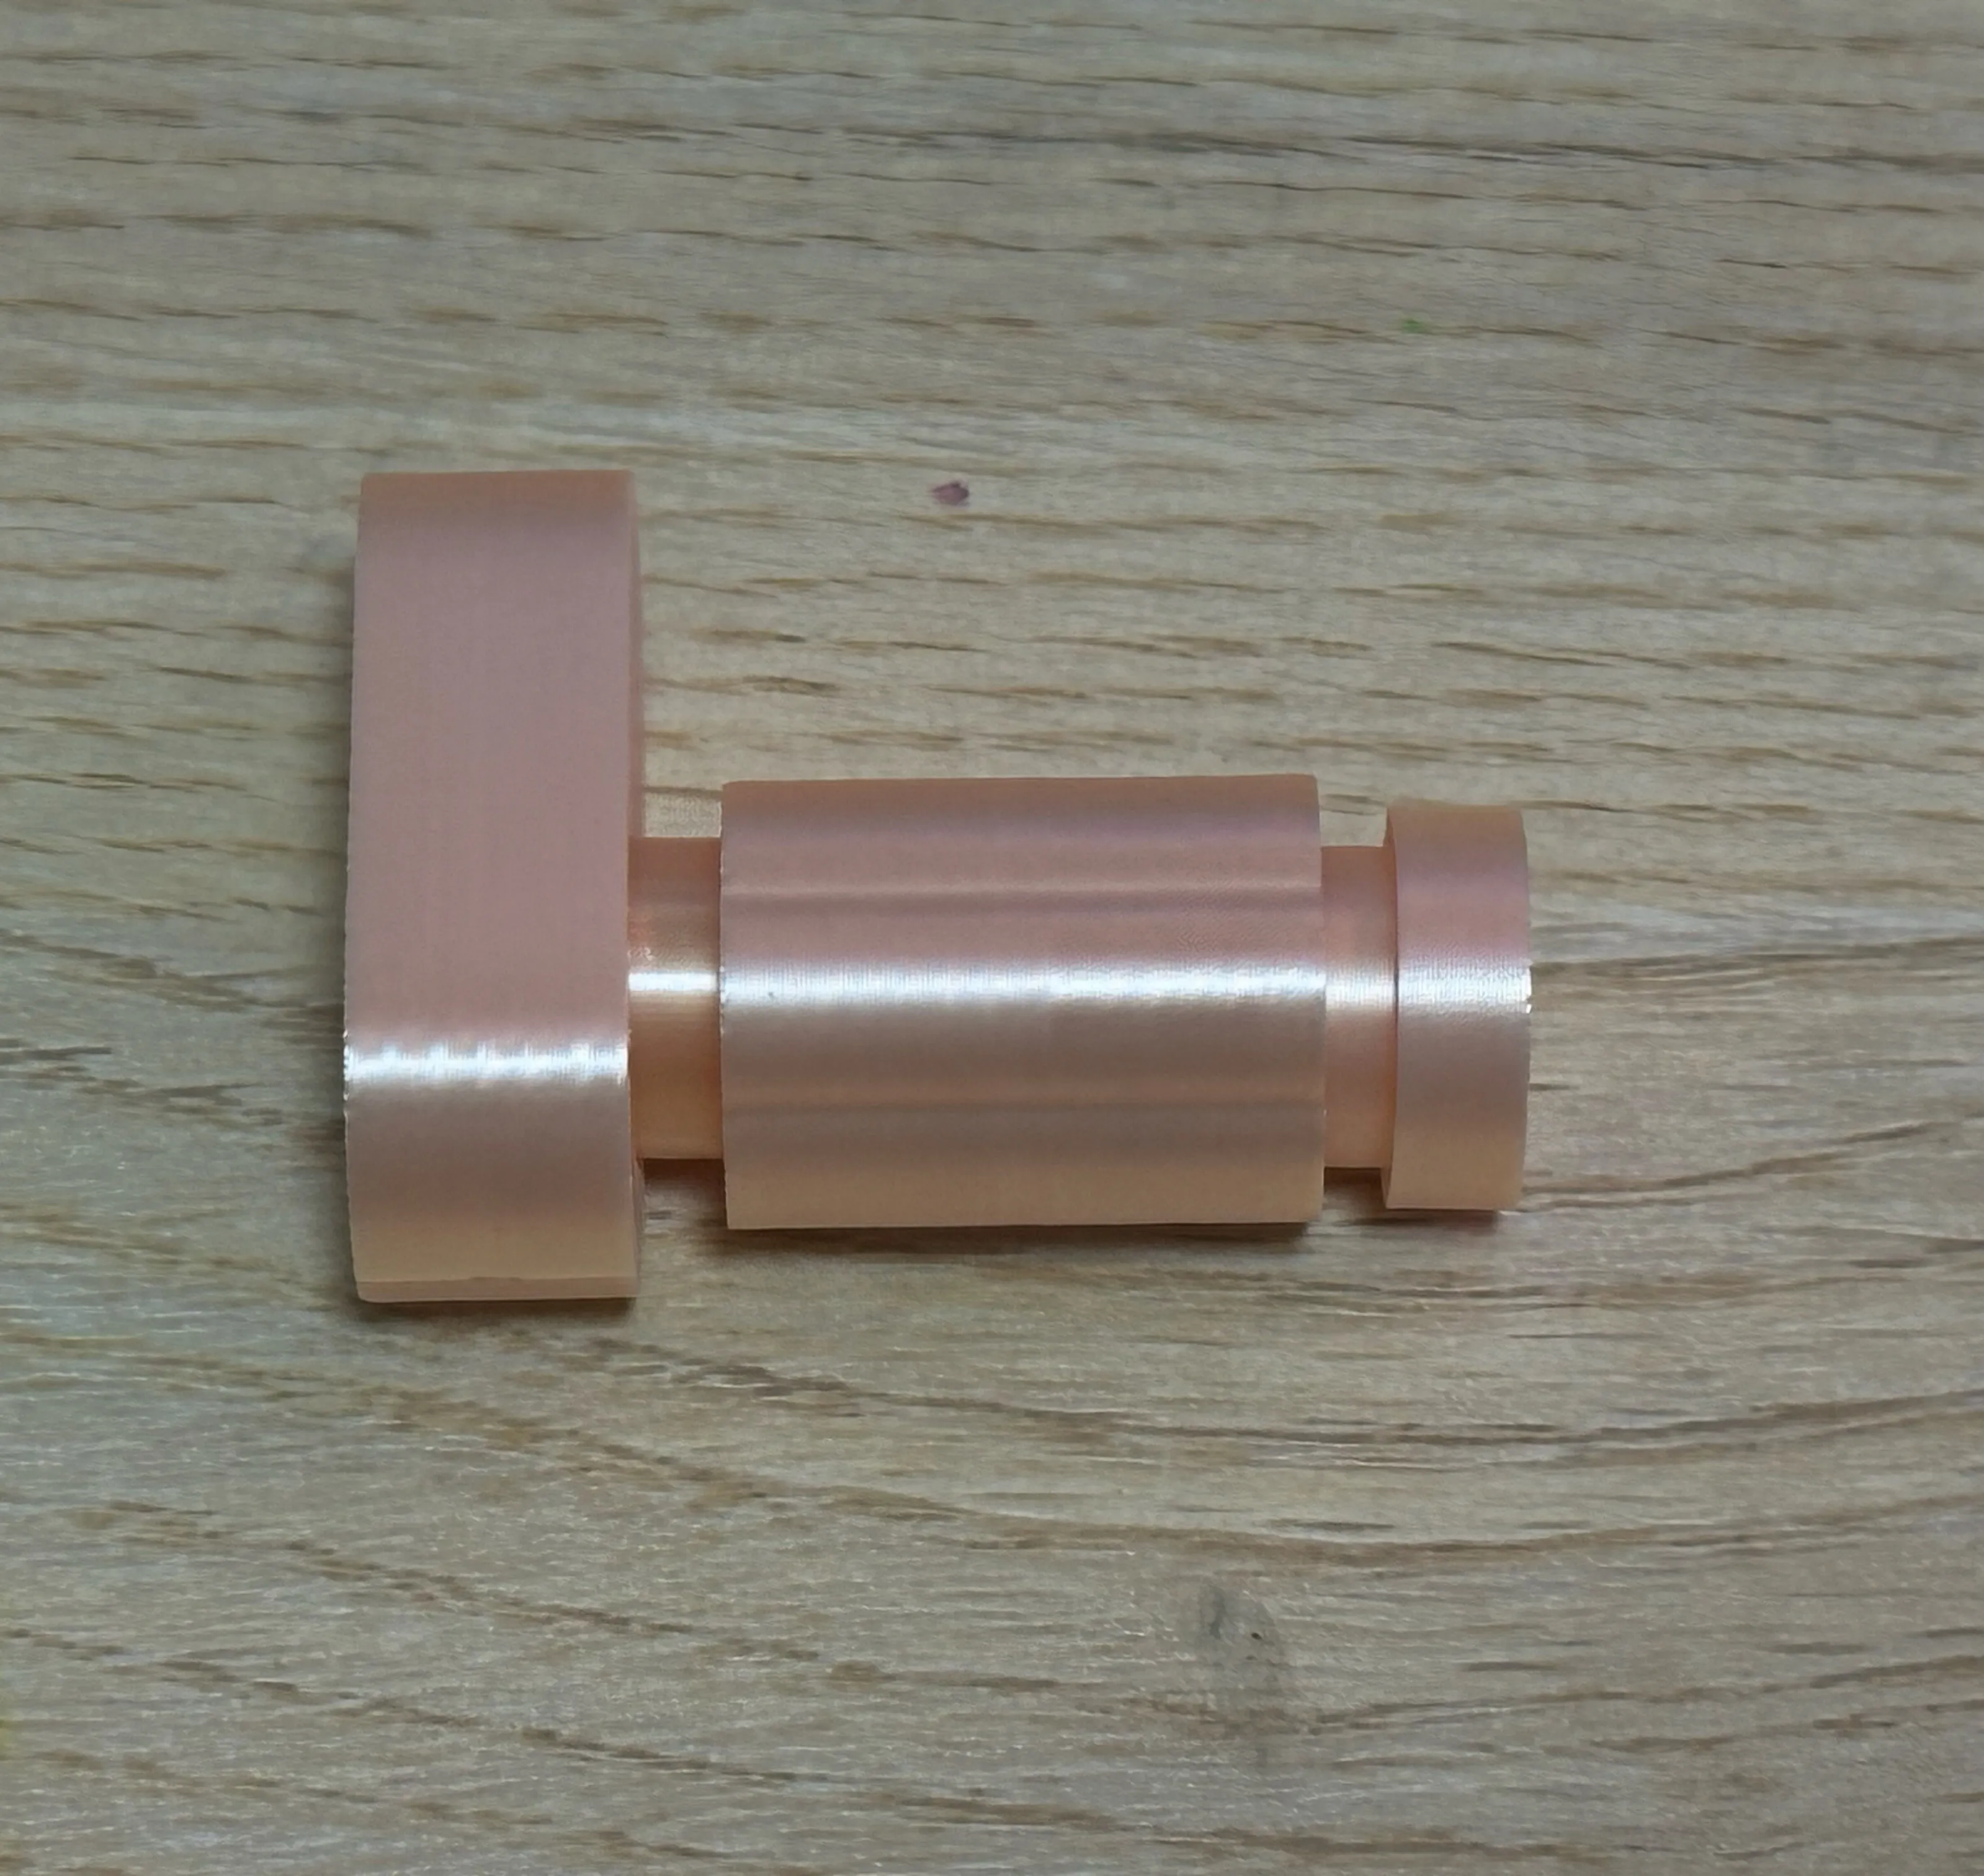
You can first insert the koi fish into the groove, then align the mechanism assembly with the top panel groove.
First install the left side panel, then install the right side panel. Glue them in place with super glue.
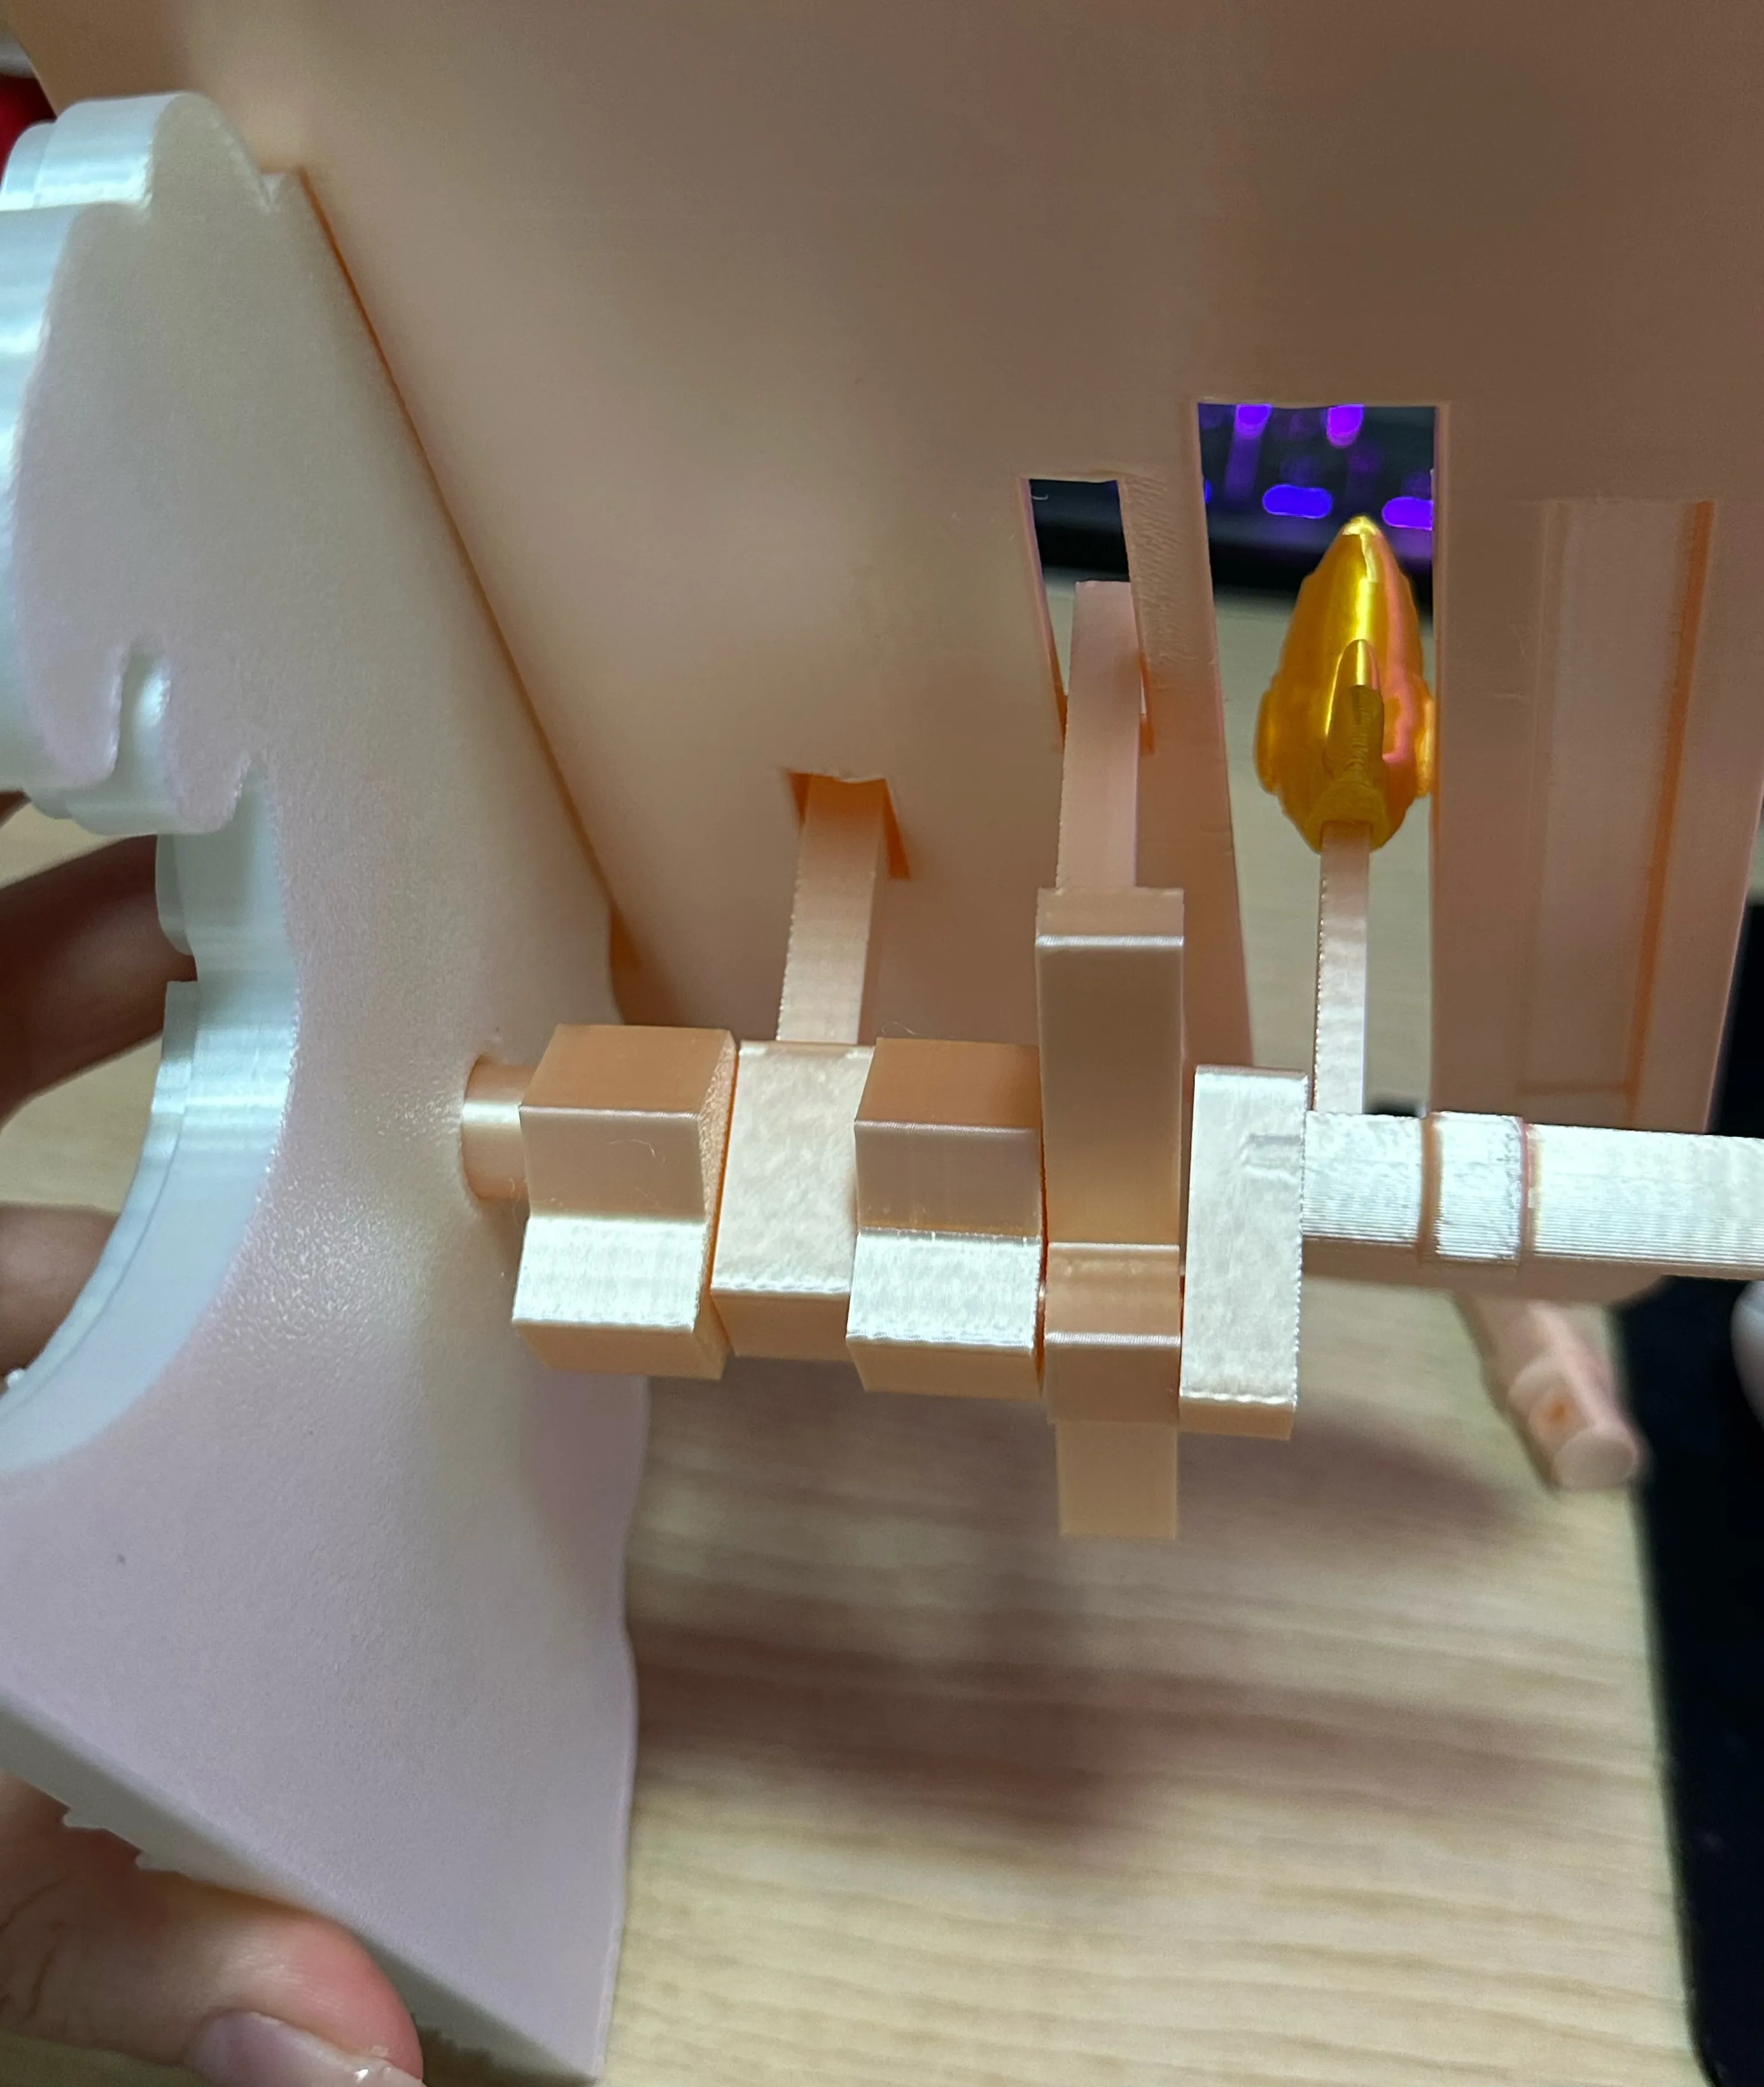
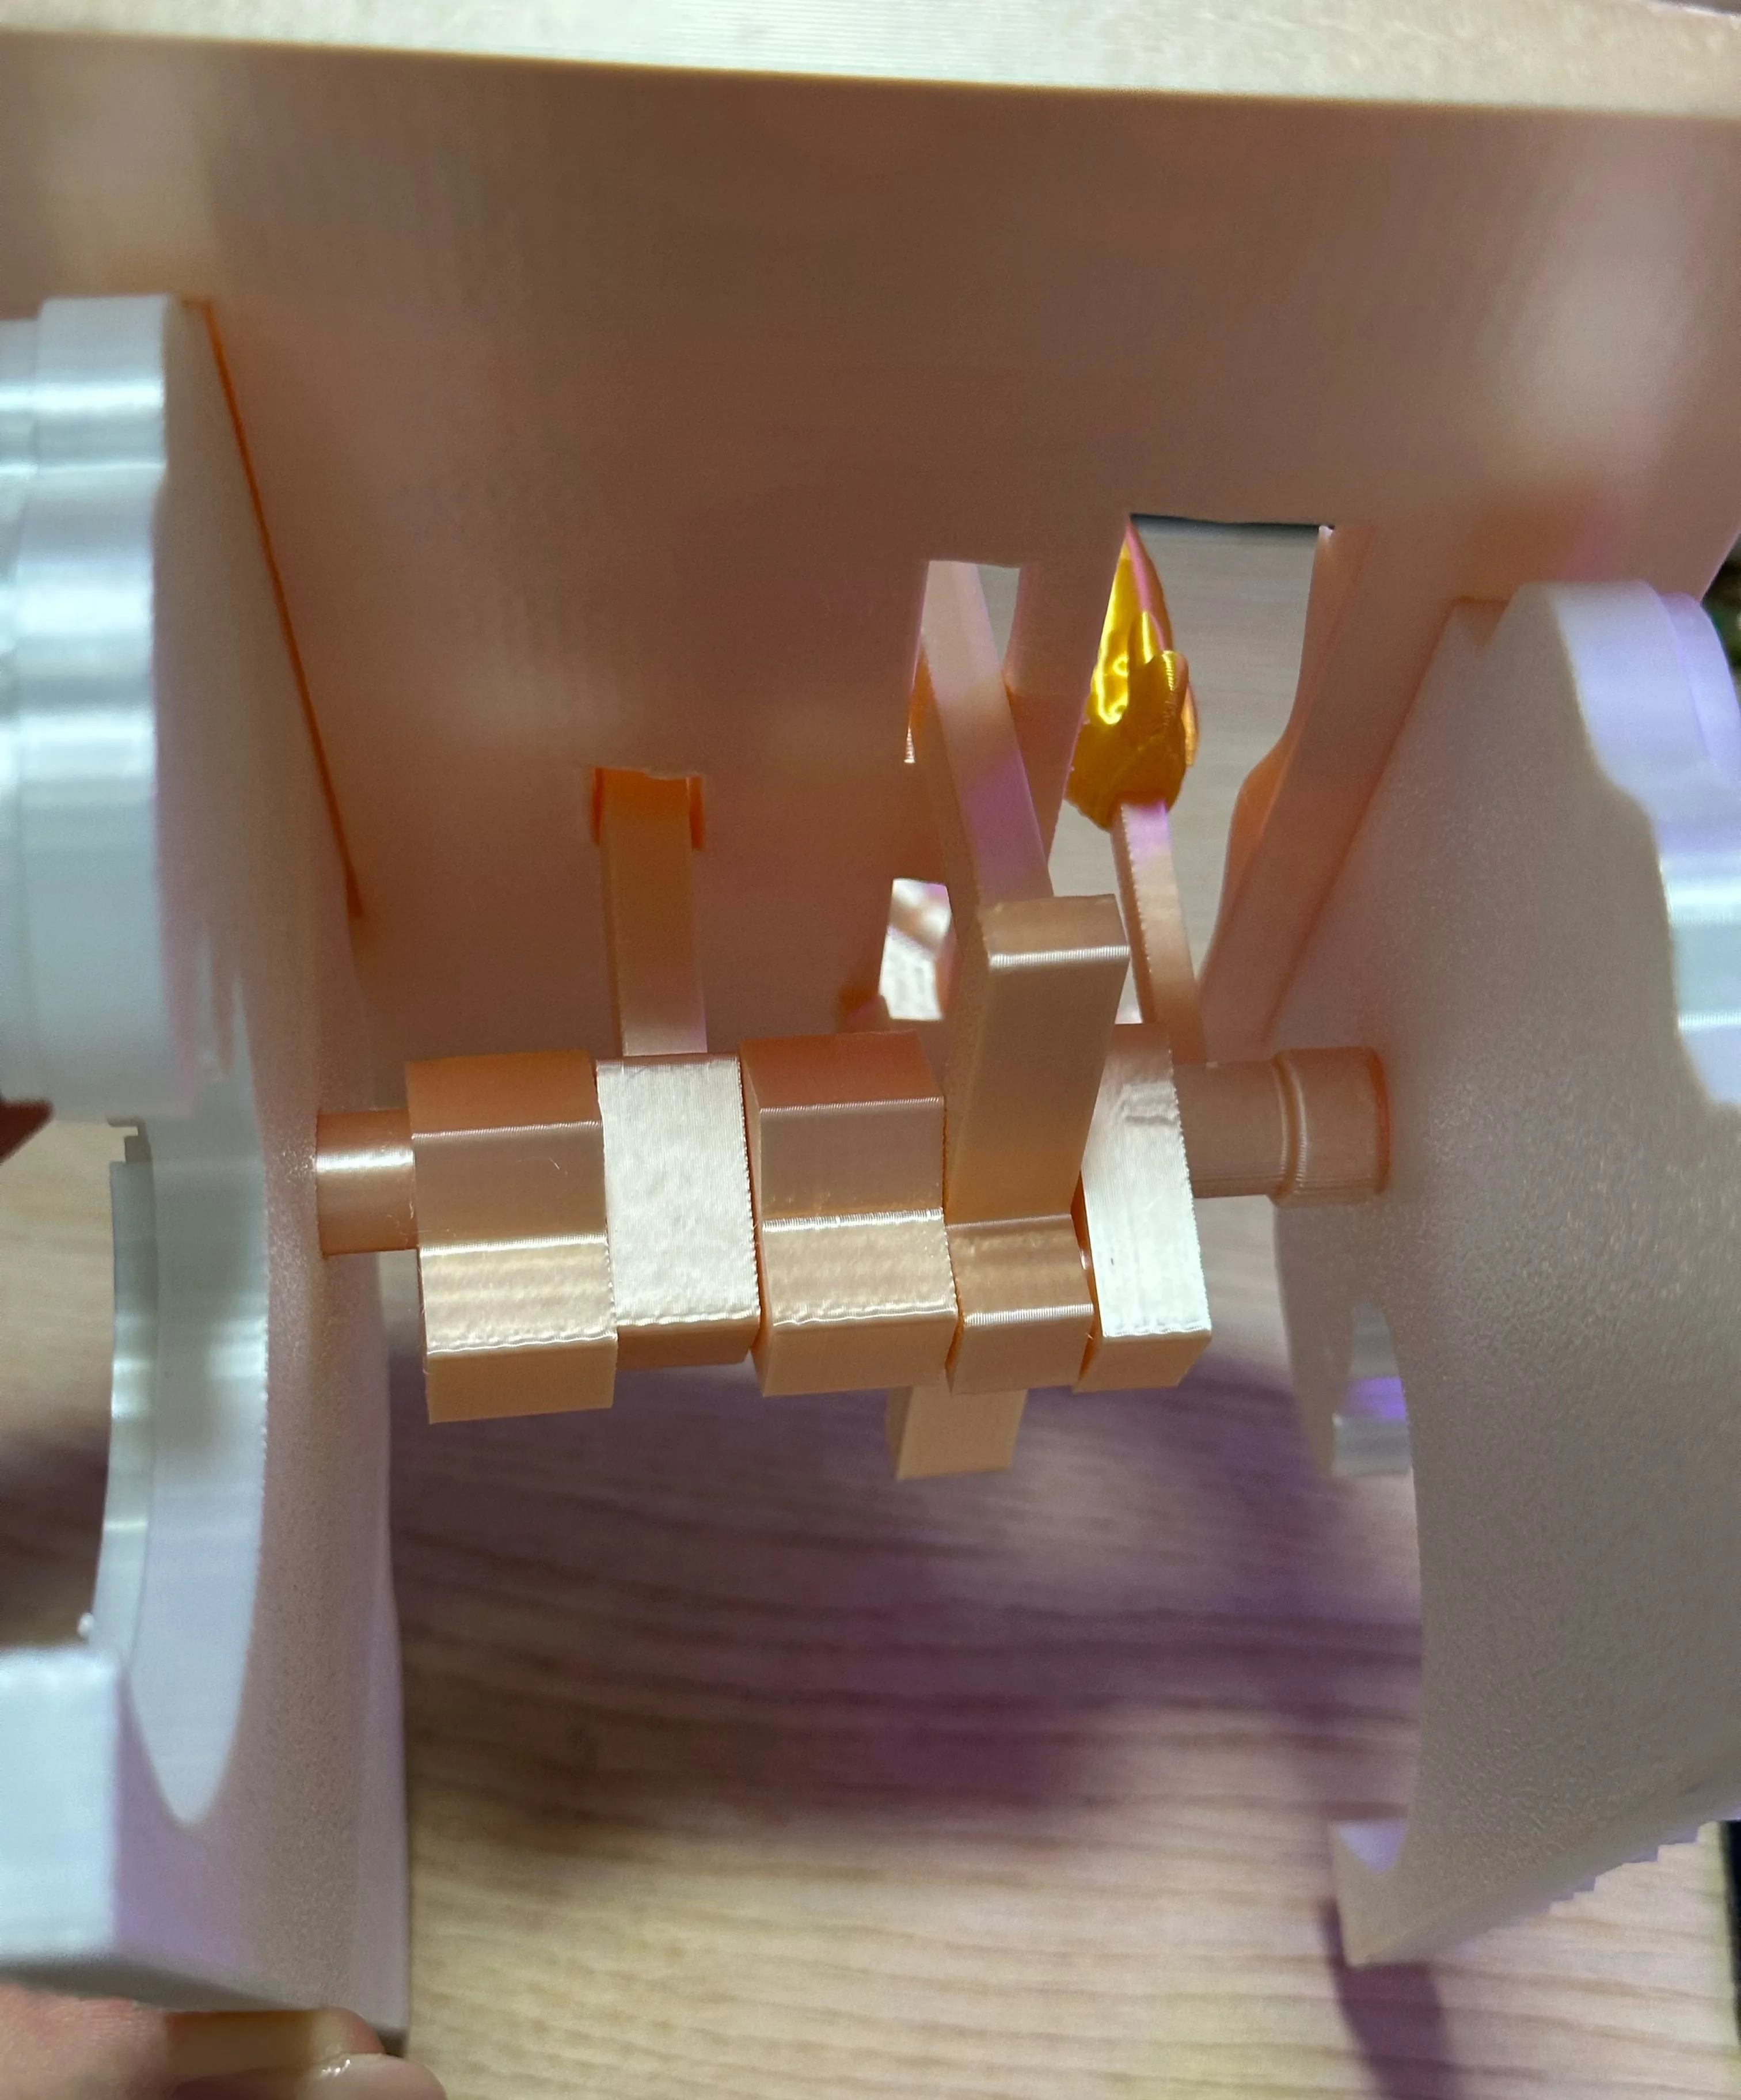
Then insert the handle, and finally, glue the remaining parts into their corresponding grooves.
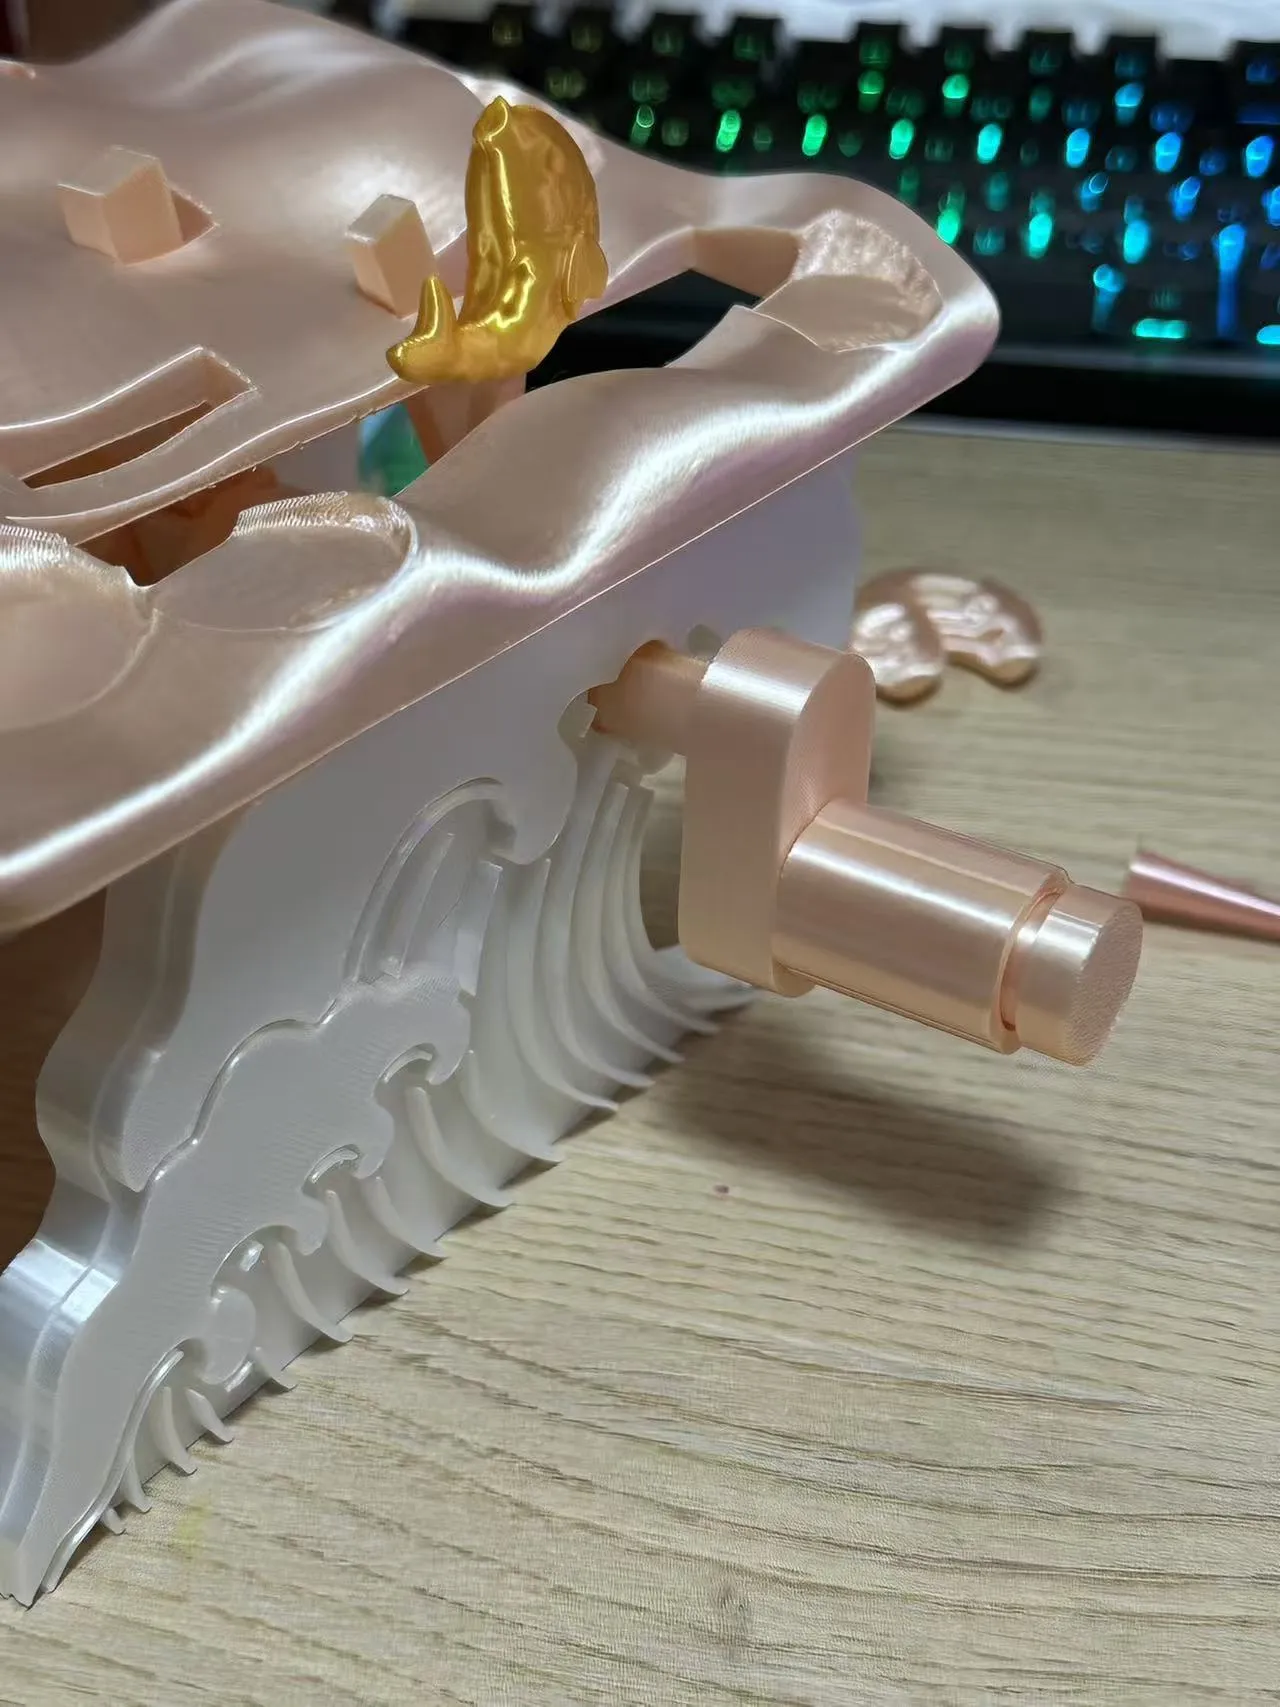
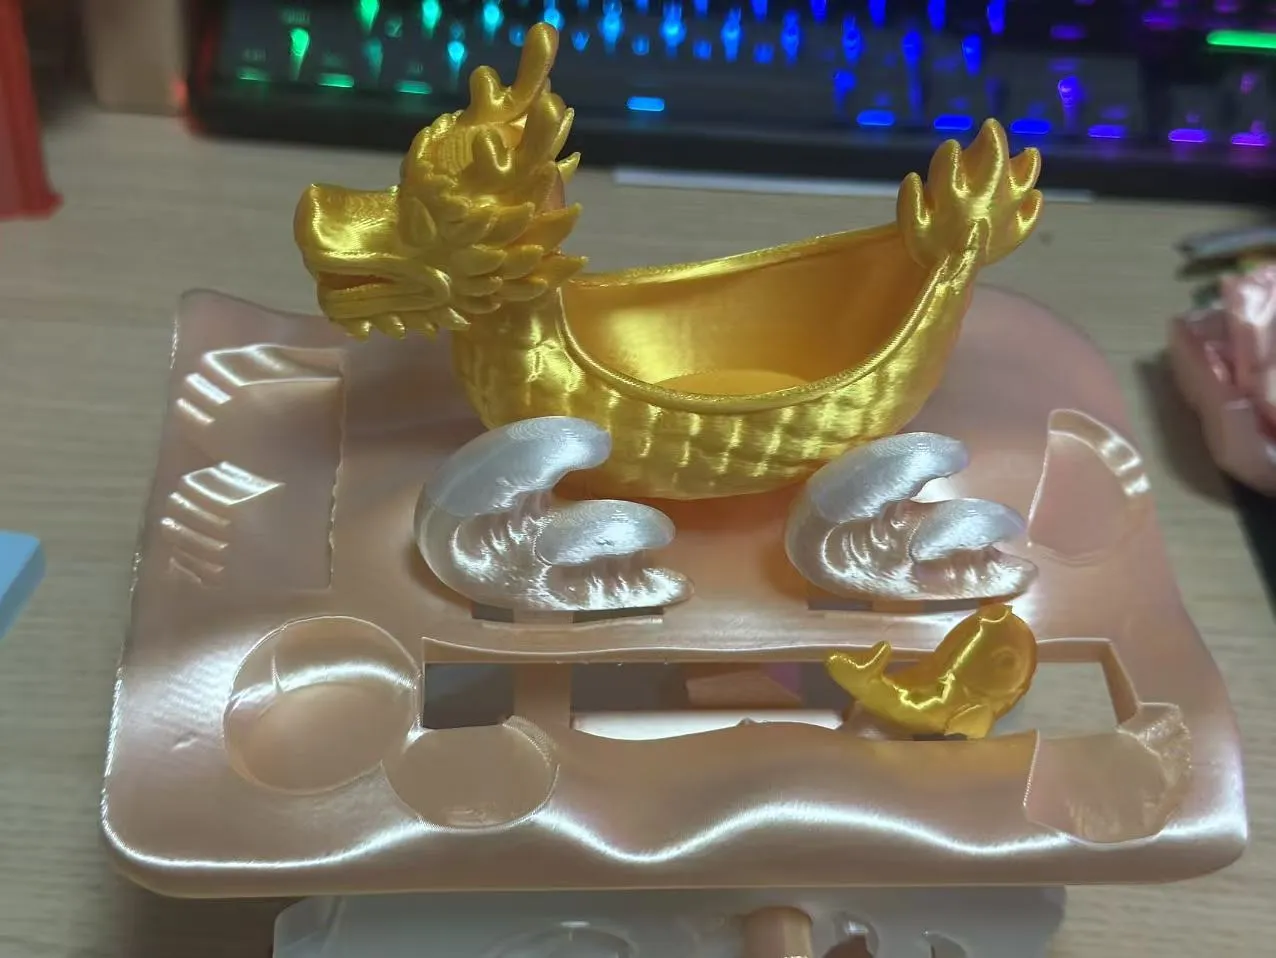
Display:

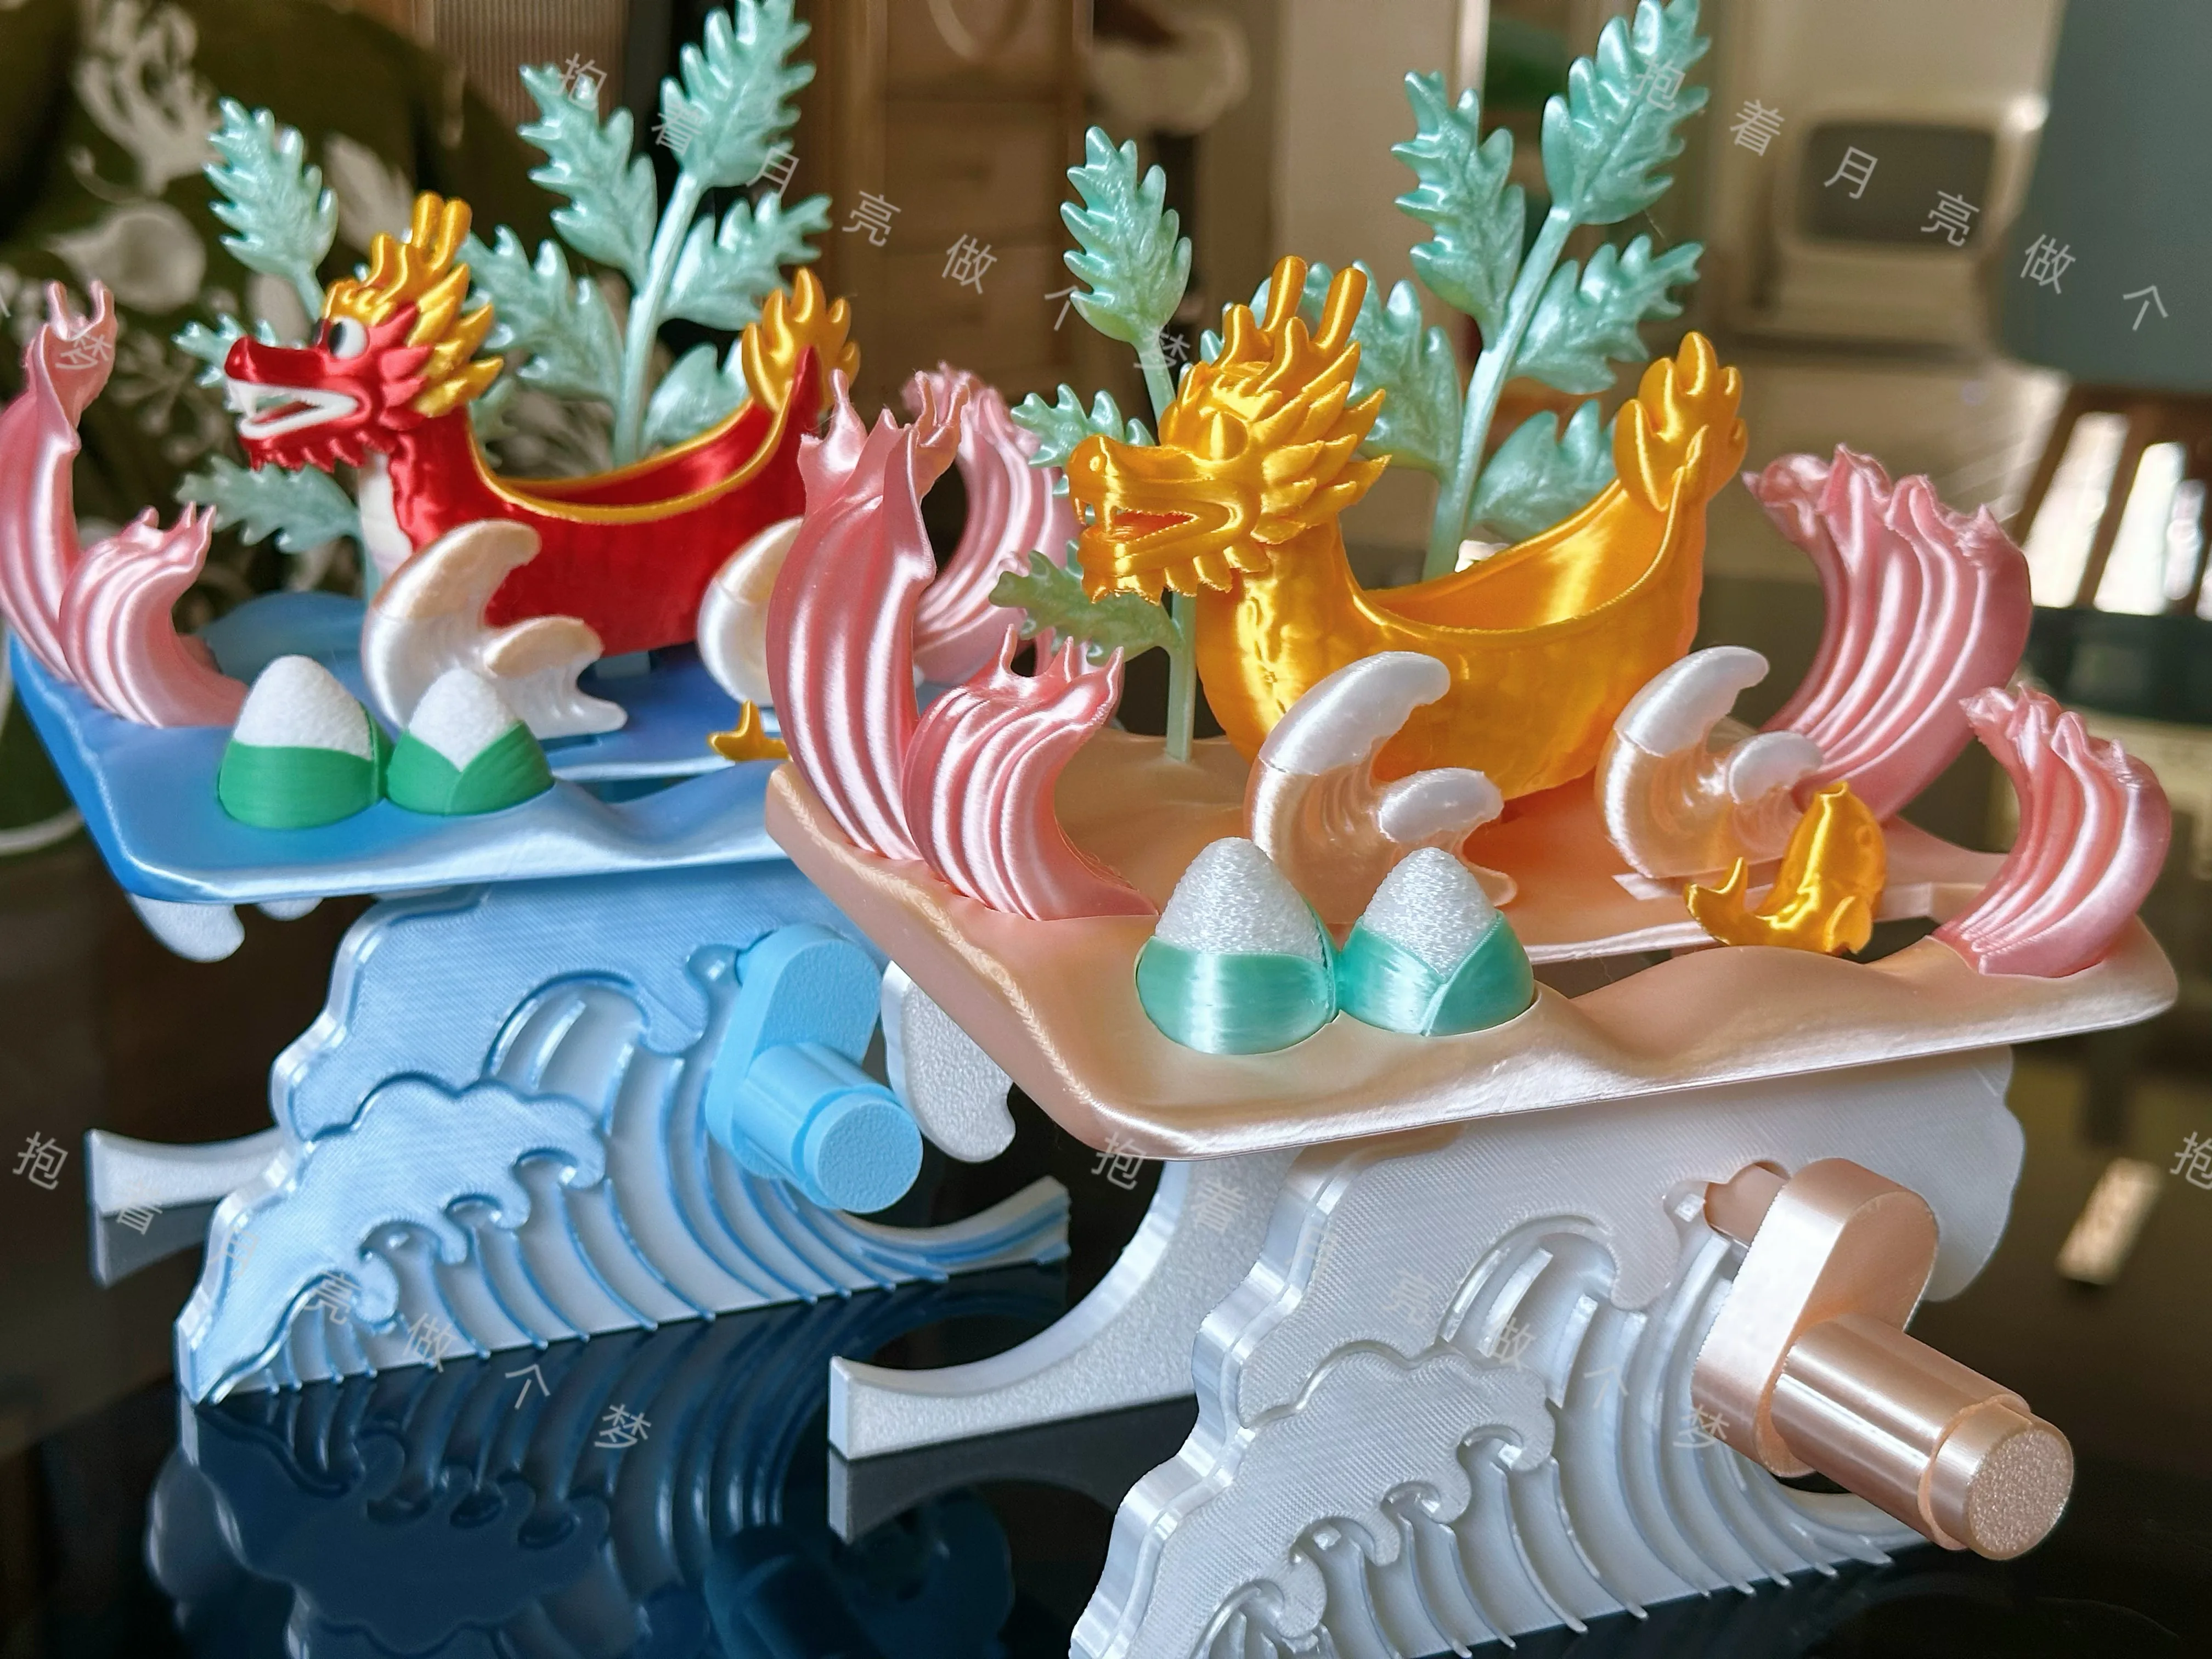
License

You shall not share, sub-license, sell, rent, host, transfer, or distribute in any way the digital or 3D printed versions of this object, nor any other derivative work of this object in its digital or physical format (including - but not limited to - remixes of this object, and hosting on other digital platforms). The objects may not be used without permission in any way whatsoever in which you charge money, or collect fees.


Comment & Rating (0)