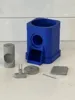
Mason Jar Candy Dispenser (threaded jar)


Print Profile(5)

Description
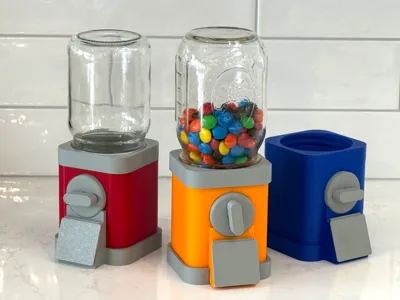
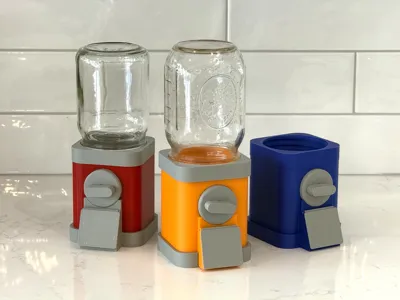
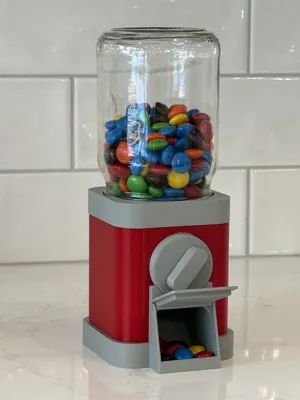
Candy Dispenser that uses a threaded Mason Jar. Assembles easily, no glue. All pieces snap together. A 40mm piece of 3D printer filament used for the candy door hinge.
Uses regular mouth 70mm (70-450) mason jar threading.
Assembly instructions are included below.
Works great with M&Ms and Skittles. Should work with other similar sized candy. Dispenses about 7 pieces of Candy with each turn. For users that want to use larger candy, a larger capacity candy drum can be swap in. Separate print profile has been uploaded for the larger candy drum.
Updates:
- Optional Stand for V2 Candy Dispenser. Raises the Candy dispenser by 55mm. ONLY WORKS with V2 version of the Candy Dispenser. This replaces the bottom decorative cap on the V2 Candy Dispenser. This will NOT work with the V1 Version of the Candy Dispenser.
- Larger Capacity Candy Drum: New separate print profile uploaded for large capacity drum. Dispenses more candy or larger candy pieces.
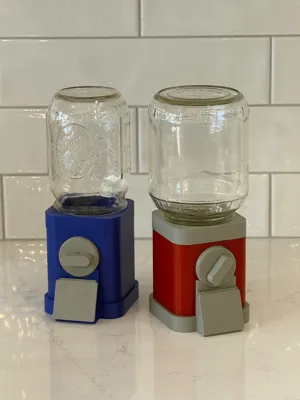
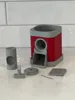
- Version 2 : Created new version with separate top and bottom caps. Allows you to have the 2 tone look without needing an AMS or Dual Extruder 3D Printer. Print times are significantly faster for this version versus the original 2 color model.
- Version 1.1 : Minor visual fix
- Version 1 : Initial release of 2 color and 1 color Candy Dispenser.
Print Instructions:
3 Different Models.
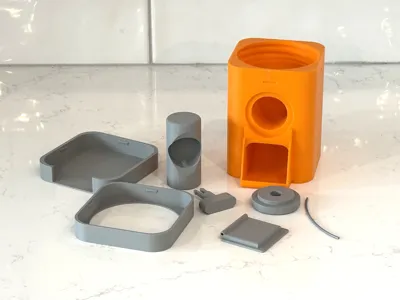
- V2 : Separate Caps for 2 Color Model (No AMS)
- 3 Plates
- Body
- Moving Parts
- Top / Bottom Caps that came be printed in different colors.
Fastest Print time for multicolor looking Model
- 3 Plates
- V1.1 - Single Color Model
2 Plates
- Single Color Body
- Moving Parts
V1.1 - Two color Model (requires an AMS or dual extruder 3D printer)
- 2 Plates
- 2 Color Body
- Moving Parts
- Print Times may be longer then listed.
- 8.7 Hour print time is based on Bambu Labs X2D (Dual Nozzle 3D printer)
- Using a Single Nozzle 3D printer with AMS will take significantly longer
- 2 Plates
Assembly Instructions:
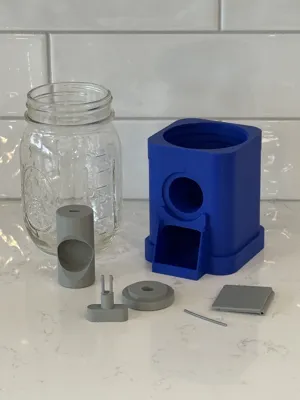
1. Print out all pieces and cut a piece of 3D Printer Filament for the door hinge.

A piece of of 3D printer Filament is needed for the candy door hinge.
Cut a 40mm piece from your roll of filament

2. For V2 version with Top & Bottom caps. Firmly push caps onto top and bottom until firmly seated.
Skip this step for older V1 version.

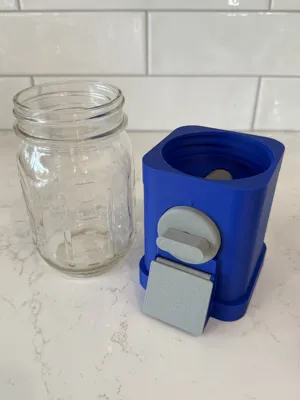
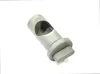
3. Insert candy drum into body of the dispenser. Make sure the slot for the knob faces out.

4. Snap in circle face cover

5. Line up knob with candy drum slot. Insert knob and press firmly until it is fully seated. You may need to squeeze candy drum into the knob to get it to fully seat.

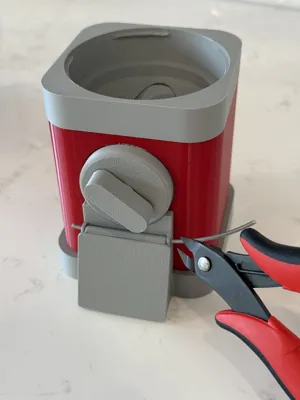
6. Line up door with opening. Candy Door hinge uses a piece 3D printer filament. Insert 40mm length of 3D printer filament into holes. Trim excess filament with wire cutters. About 40mm of filament is needed.

7. Attach jar. Pictured jar is a threaded 12 oz Mason Jar. Uses regular mouth 70mm (70-450) mason jar threading.

Notes:
If the filament hinge feels like it'll slide out of the door, you can put a few kinks in the filament before sliding it in. This will tighten up the fit. Some users have melted the ends of the filament to prevent the hinge from sliding out.

Filament Hinge

If you have a Jam Jar (4 Lug / Twist off), check out my other version
License
You shall not share, sub-license, sell, rent, host, transfer, or distribute in any way the digital or 3D printed versions of this object, nor any other derivative work of this object in its digital or physical format (including - but not limited to - remixes of this object, and hosting on other digital platforms). The objects may not be used without permission in any way whatsoever in which you charge money, or collect fees.
Comment & Rating (224)