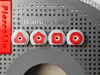
AMS2PRO Feeder Port Saver V1 Anti-chafing Ceramic Ball Version Brand New Original Design


Print Profile(1)
Description
Boost Me (for free)
Keep it up! Keep it up! Keep it up!
Original model! No kitbashing! No derivative works! No plagiarism!
X2D users must currently print through the app to avoid the shrinkage bug in local slicing software, as this bug makes model assembly extremely difficult. App printing currently does not support printing one by one for any series except the A series; this is another MakerWorld bug.


AMS2PRO already has a ceramic feeder, so why design this?
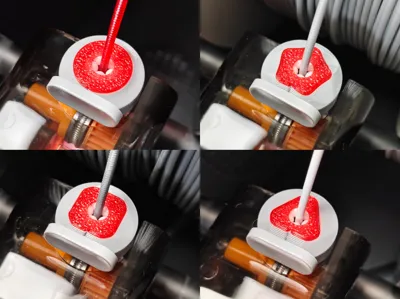
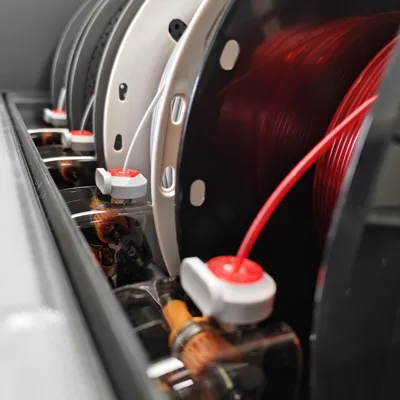
- The AMS2PRO feeder port is very thin with a single-sided arc.
- Filament leaves clear indentations when passing through the extruder; frequent color changes repeatedly deepen these indentations, causing the filament surface to shed flakes.
- The less filament on the spool, the greater the angle with the feeder port, leading to filament chafing as it passes through the port.
- Different manufacturers' filament formulas may also have a certain probability of filament chafing.
Therefore, I need the filament to enter the feeder port vertically, avoiding large-angle scraping of the filament by the original ceramic port.

Required accessories:
Ceramic balls 2.778mm (20 pcs)

The cost is less than the shipping for the ceramic balls alone! So, the application of ceramic ball inserts was abandoned.
Important Printing Notes
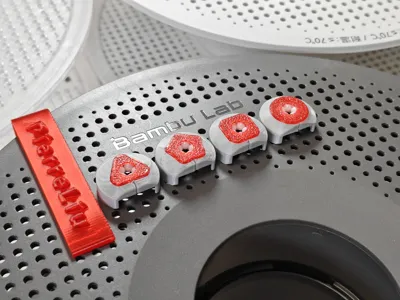
Choose either plate 1 or plate 3 to print
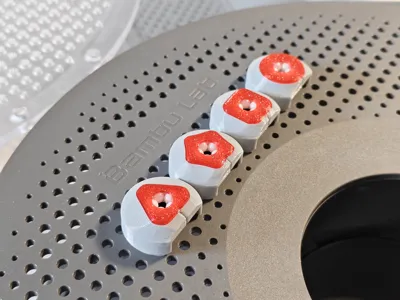
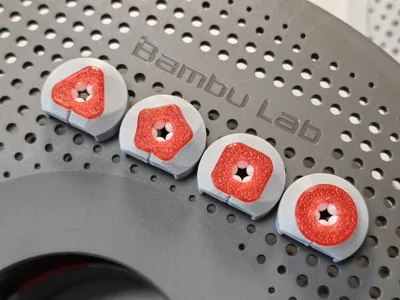
plate 1 has one of each of the four dual-color styles; modifiers can be deleted for single-color printing.
plate 3 has four of each of the four dual-color styles; skip unnecessary styles and print the desired ones.
Choose either plate 2 or plate 4 to print
plate 2 is characterized by easy installation.
plate 4 is more robust but more challenging to install.
build plate:
Be sure to carefully clean grease from the build plate with dish soap; this is crucial!
If an older build plate is not sticky, applying glue is recommended to increase model adhesion.
If the build plate is too sticky, try lowering the bed temperature.
Calibration:
Before printing, please complete official hardware and software calibration (dynamic flow calibration, flow rate calibration).
To ensure easy model removal, it is strongly recommended to perform filament shrinkage calibration before printing
Model removal:
After printing, be sure to wait for natural cooling before removing the model (removing it prematurely can lead to model deformation).
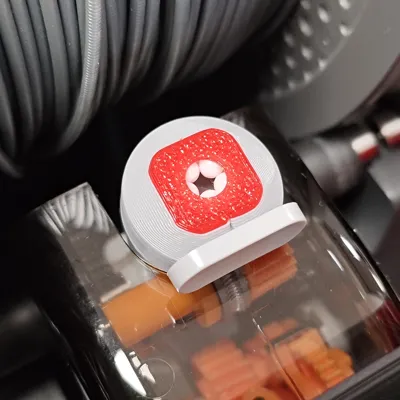
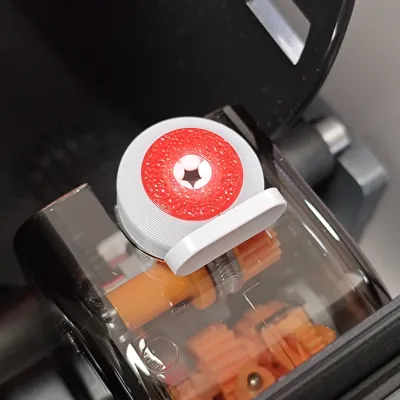
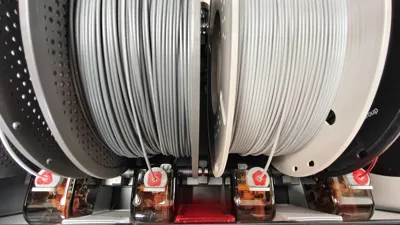
Installation:
Installation method is the same as for AMS Gen 1 feeder port
Installation method is the same as for the external spool feeder port
Boost Me (for free)
Request more updates! Request more updates! Request more updates!
License
You shall not share, sub-license, sell, rent, host, transfer, or distribute in any way the digital or 3D printed versions of this object, nor any other derivative work of this object in its digital or physical format (including - but not limited to - remixes of this object, and hosting on other digital platforms). The objects may not be used without permission in any way whatsoever in which you charge money, or collect fees.
Comment & Rating (0)