
RC BOAT, with cyberbrick modules






Print Profile(1)

Bill of Materials




Description
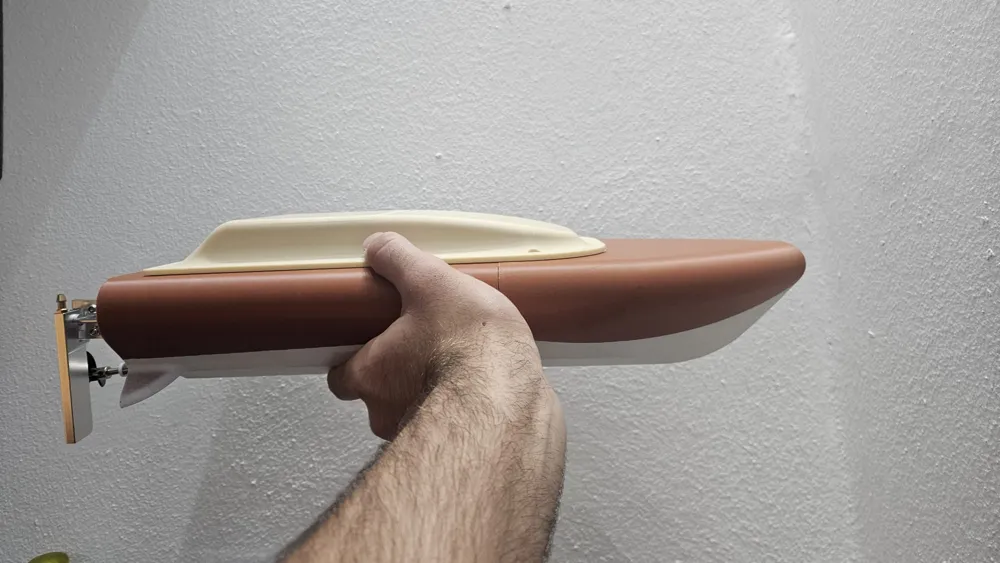
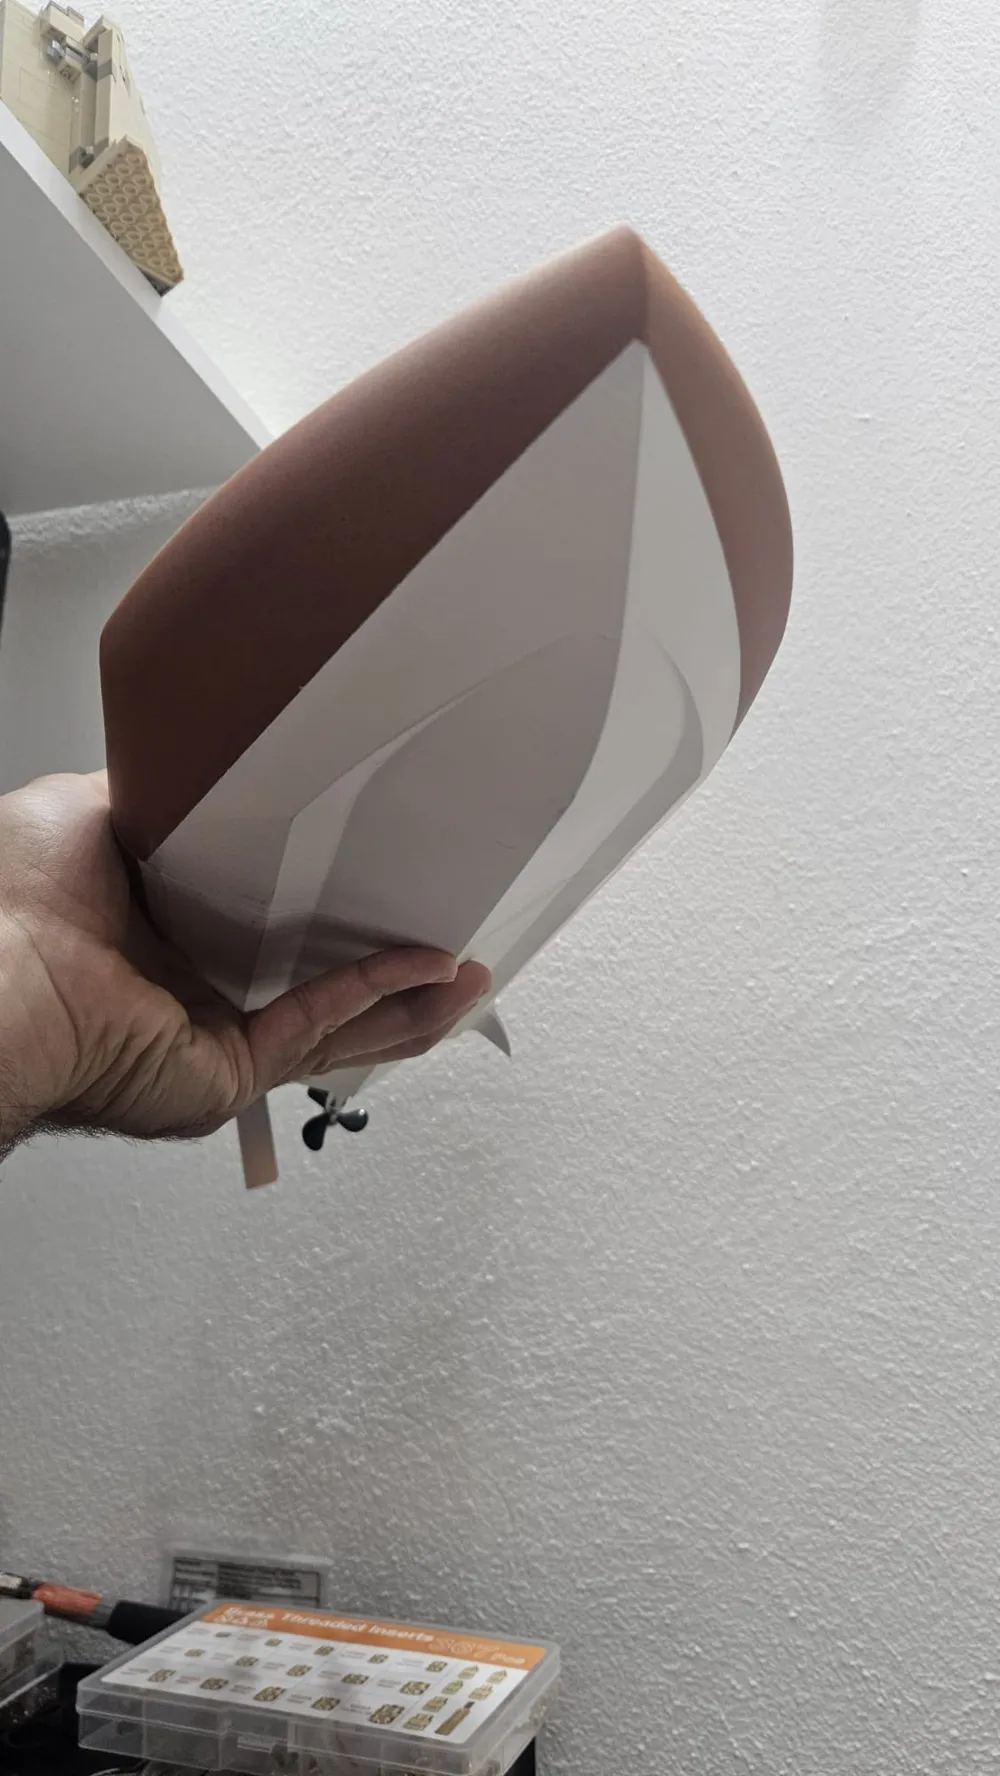
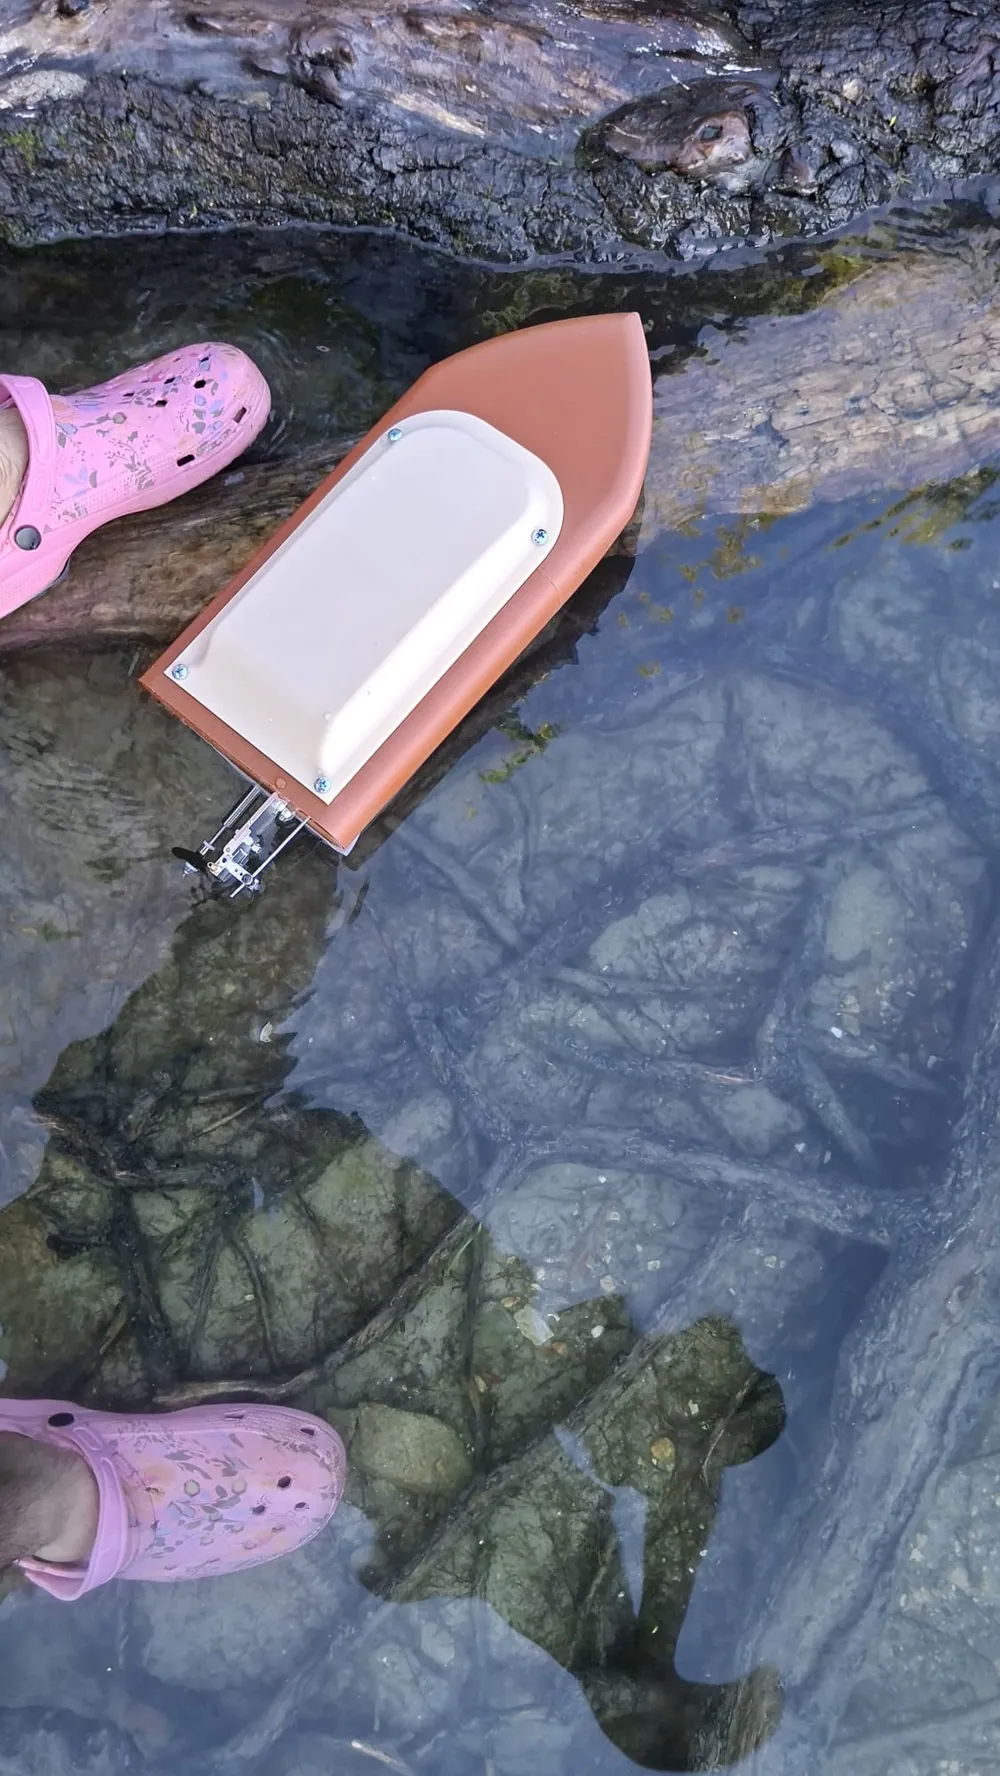
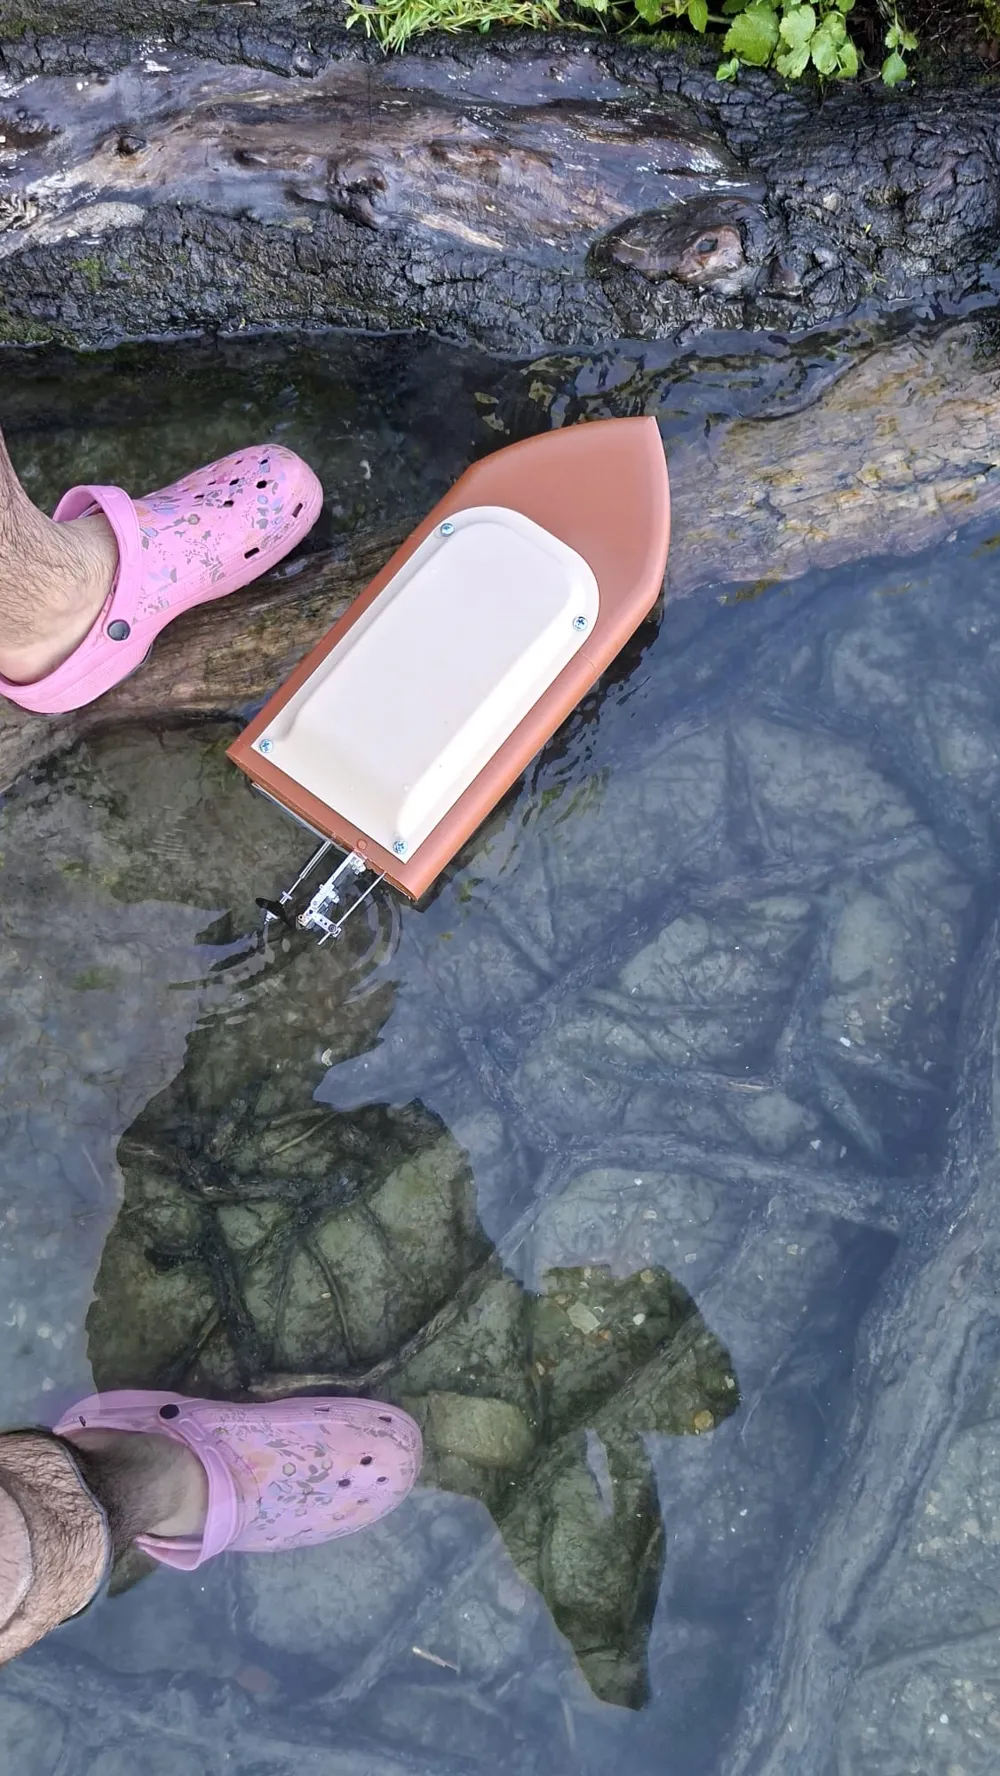
CyberBrick RC Boat - 3D Printed Remote-Controlled Vessel



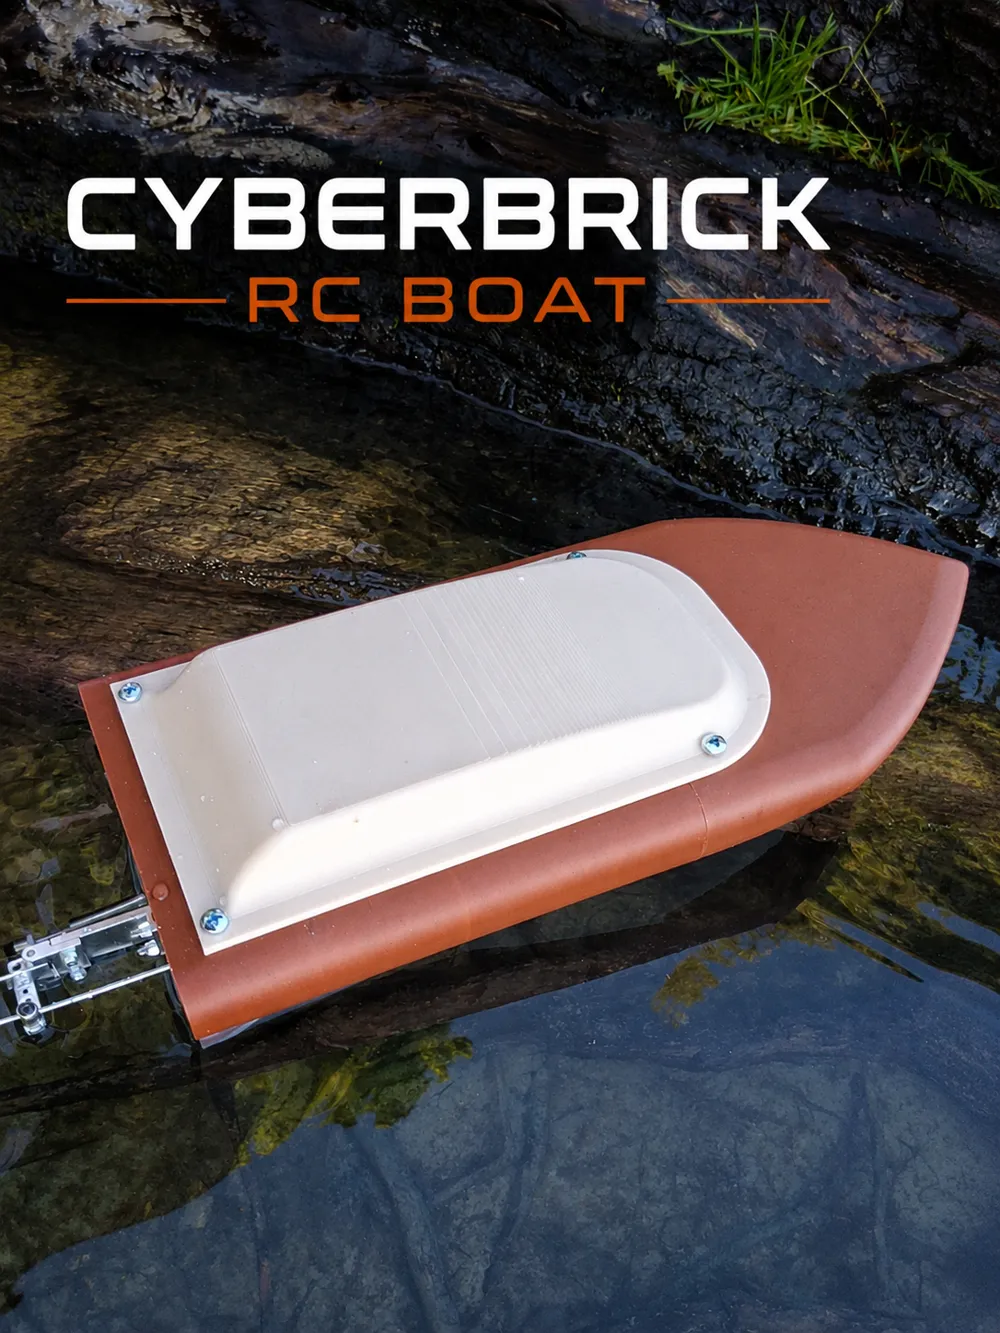
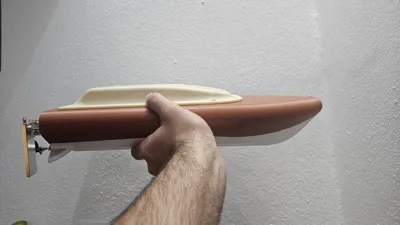
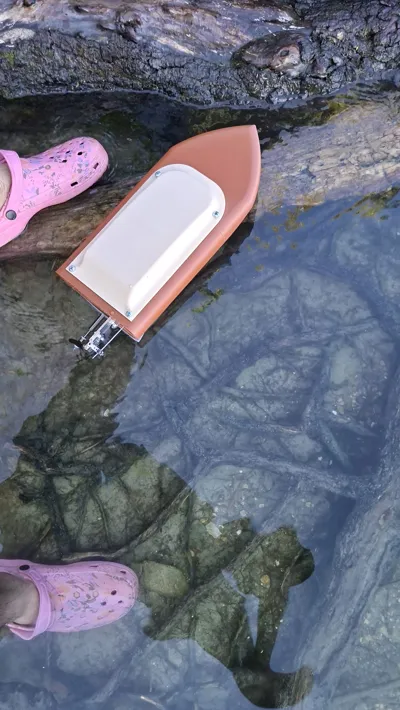
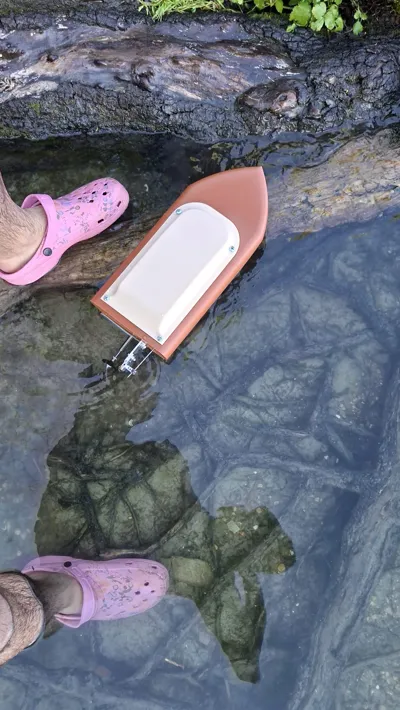
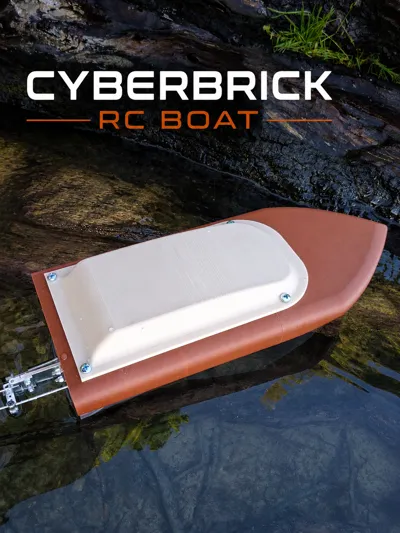
Welcome to the CyberBrick RC Boat project! This project merges the modularity and flexibility of the CyberBrick ecosystem with the high performance of a dynamic brushless RC motor. The result is a robust, fast, and agile remote-controlled boat that is fully 3D printable and highly customizable.
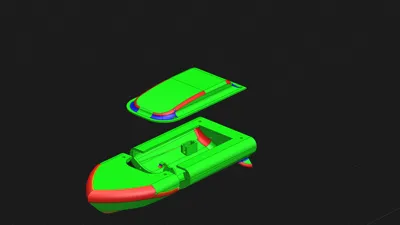
The design is split into modular components, making it straightforward to print, assemble, and configure. It is an ideal weekend project for maker and robotics enthusiasts.
CHECK THE DOCUMENT FILE FOR INSTRUCTIONS!
Bill of Materials (BOM)
To complete this build, you will need the following hardware and electronic components:
Boat Electronics & Mechanical Components:
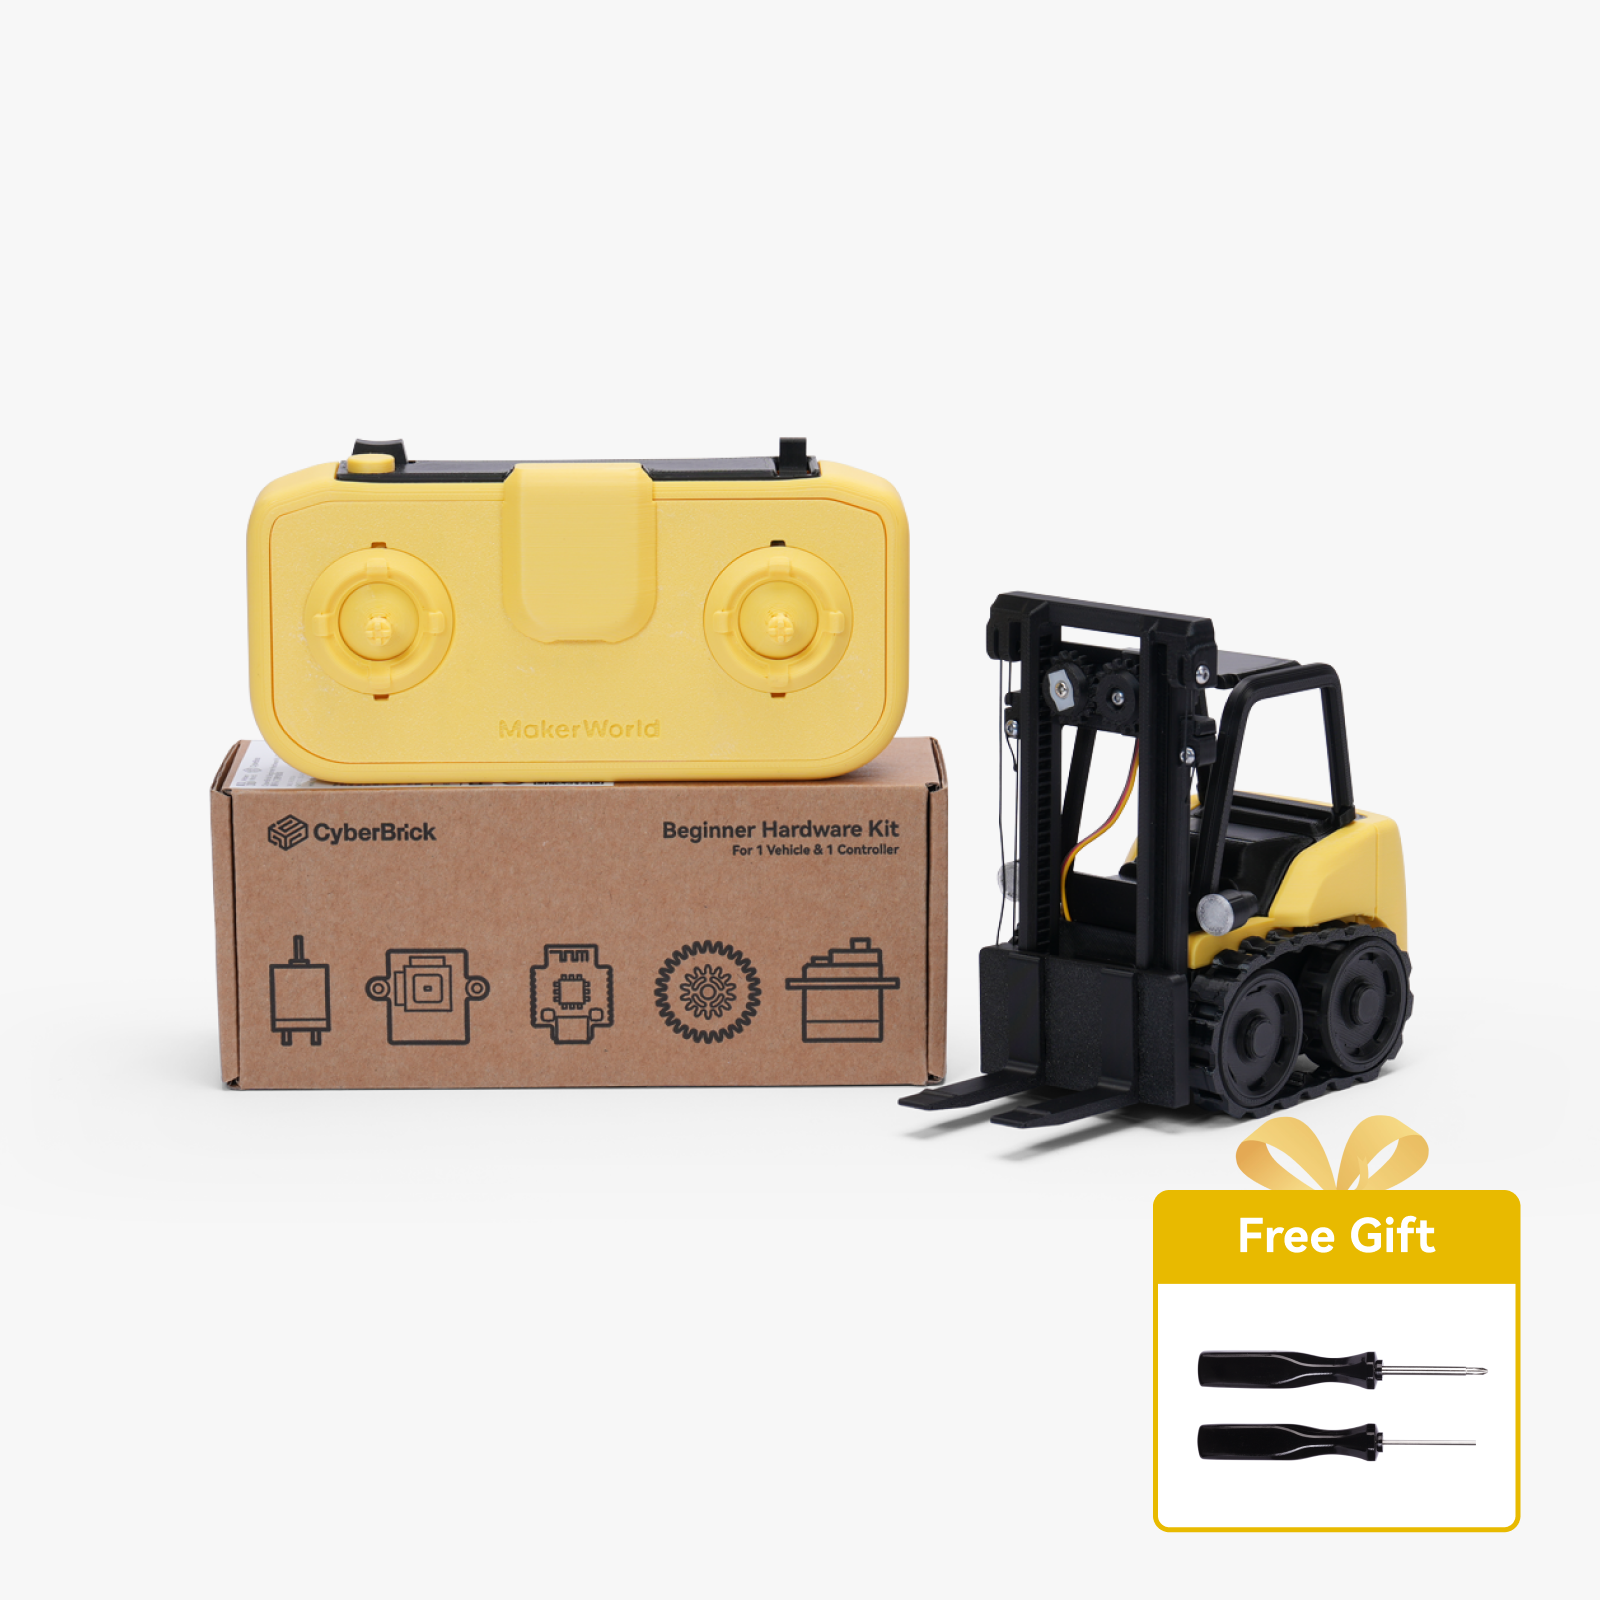
- 1x CyberBrick Receiver Module
- 1x CyberBrick Battery
- 1x CyberBrick Power Switch
- 1x CyberBrick 180-Degree Servo (for steering)
- 1x 1000KV Brushless Motor (Model A2212/13T)
- 1x 30A ESC (compatible with the brushless motor)
- 1x 7.4V LiPo Battery (dedicated to powering the brushless motor)
- 1x 20cm RC Boat Shaft Drive
- 1x Steering Rudder for RC Boats
- 1x Shaft Coupler (typically included with the propeller package)
Controller Components:
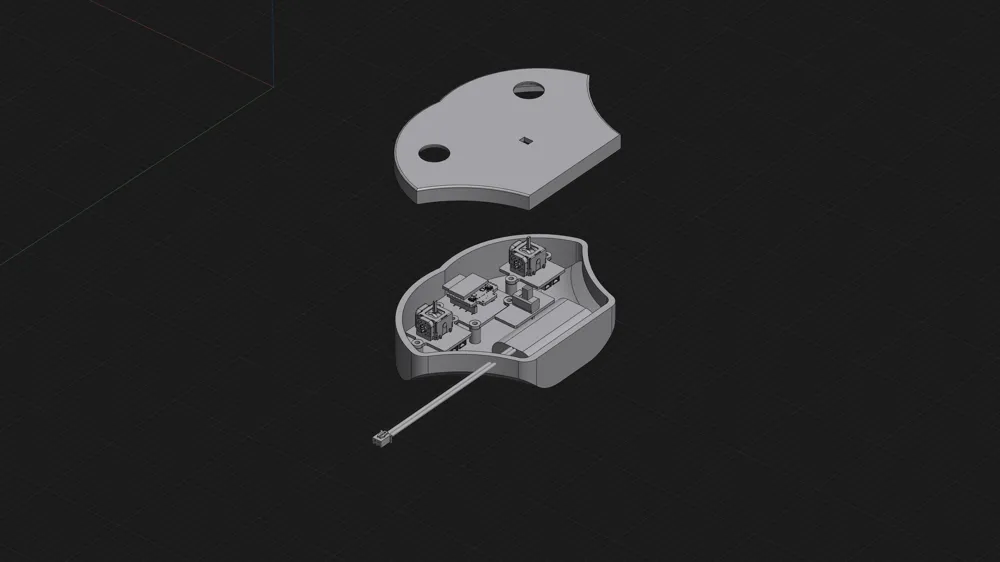
- 2x CyberBrick Joysticks (supports both single and double axis)
- 1x CyberBrick Transceiver
- 1x CyberBrick Battery
- 1x CyberBrick Power Switch
Hardware & Fasteners:
- 3x M4 x 25mm Bolts & Nuts (to securely connect the two main hull sections)
- 6x M5 x 16mm Bolts (for the drive shaft support and the upper lid)
- 6x M5 Heated Threaded Inserts
- 2x M3 x 20mm Bolts & Nuts (for installing the rudder assembly)
- 1x Servo Motor Screw
- 4x Brushless Motor Screws (typically included with the purchase of the motor)
- Cable Ties (zip ties to secure the 7.4V battery)
3D Printing Recommendations
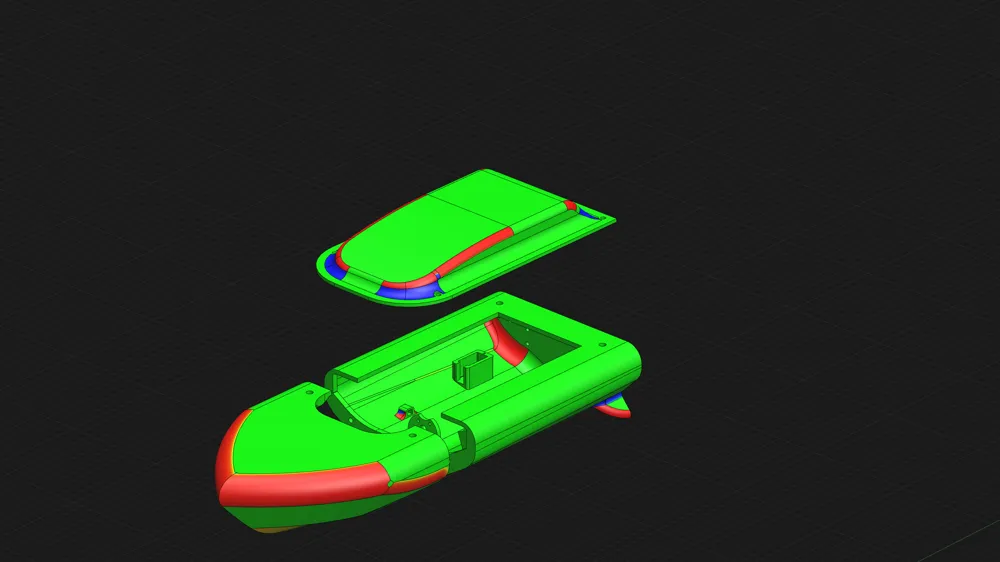
- Material: PETG, ABS, or ASA are highly recommended due to their superior water resistance, UV durability, and mechanical strength compared to standard PLA.
- Wall Loops / Perimeters: Set to at least 3-4 perimeters to guarantee the water-tight integrity of the hull structure.
- Infill: 15% - 20% (Gyroid infill pattern is recommended for uniform structural rigidity).
- Supports: Needed only for the inner cavities and the overhanging lips of the lid. Tree supports are recommended for a cleaner surface finish and easier removal.
Step-by-Step Assembly Guide
1. Hull Preparation & Motor Installation
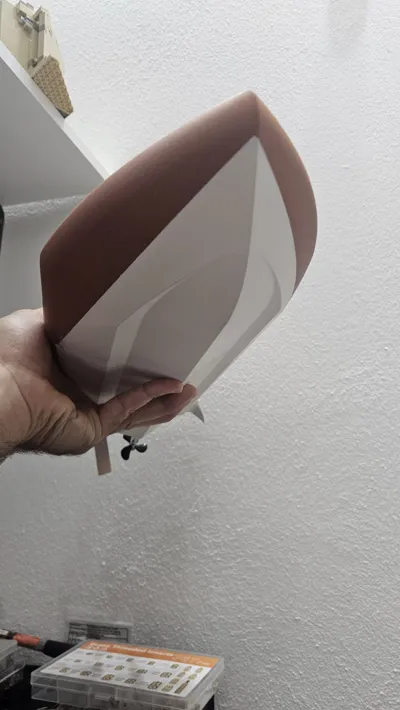
- Waterproof Treatment: Before commencing assembly, it is highly recommended to coat the bottom part of the RC boat hull with a waterproof coating or marine-grade paint. This seals the layer lines, maximizes water resistance, and protects the hull during long-term use.
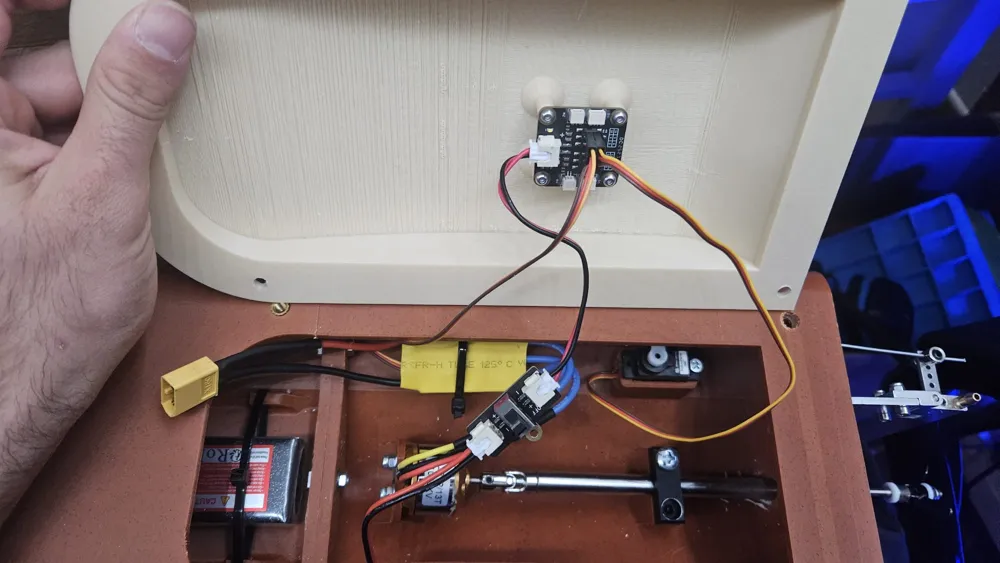
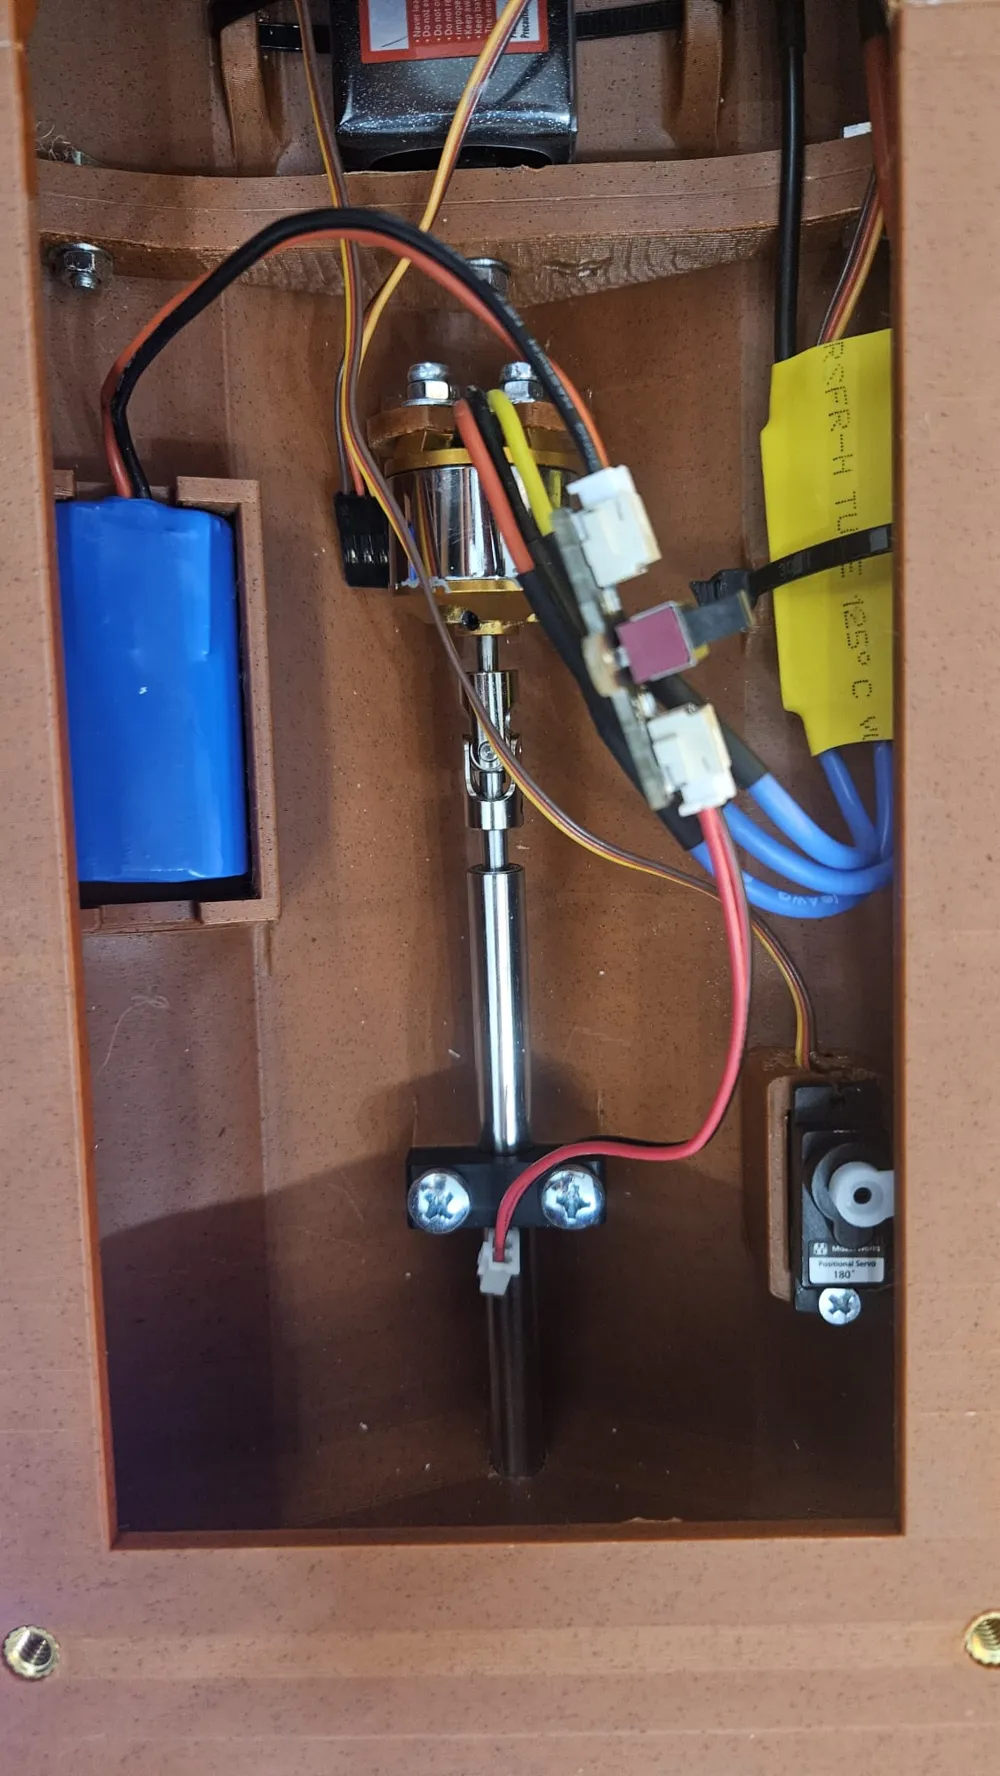
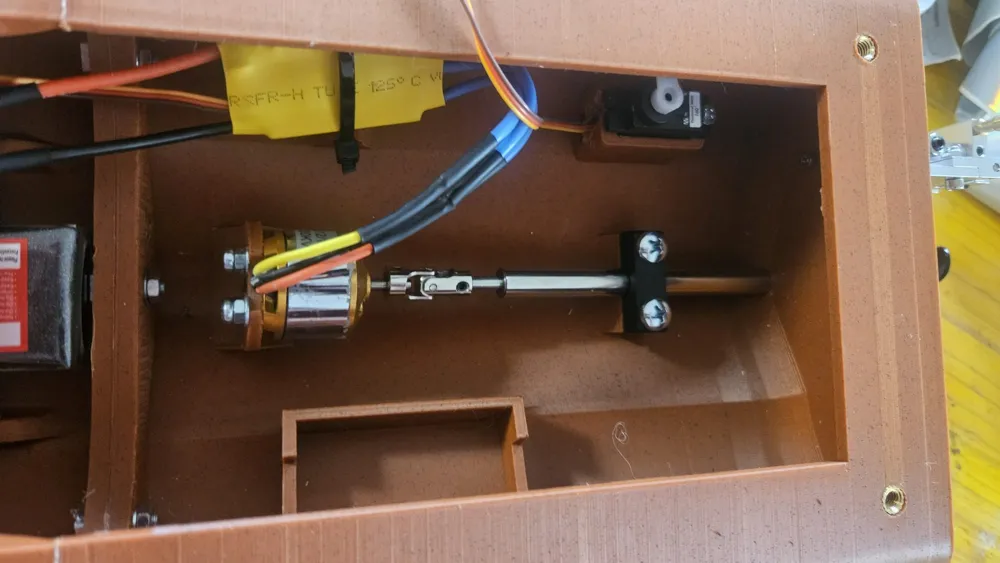

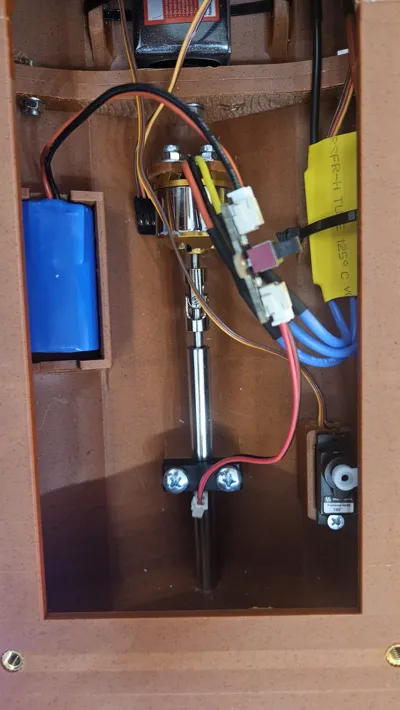
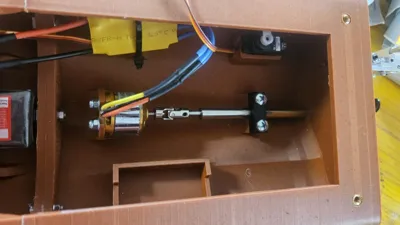
- Motor Mounting: Mount the 1000KV brushless motor inside the dedicated section of the hull using the four mounting screws.
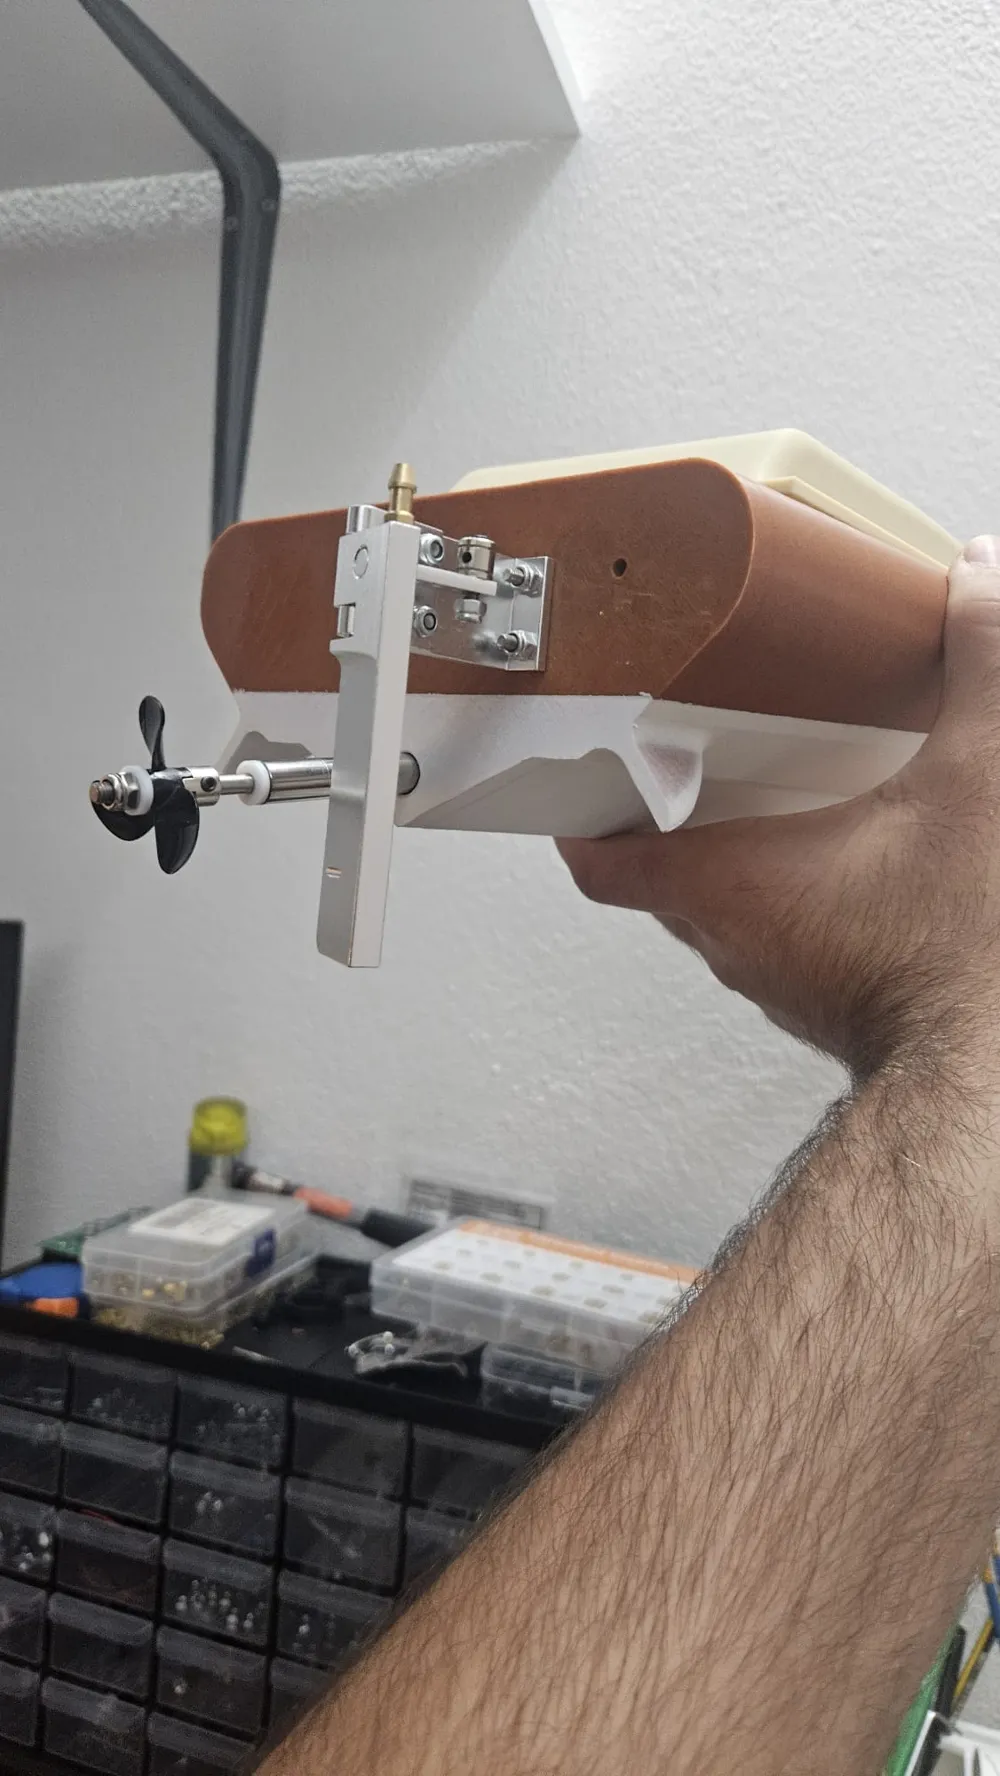
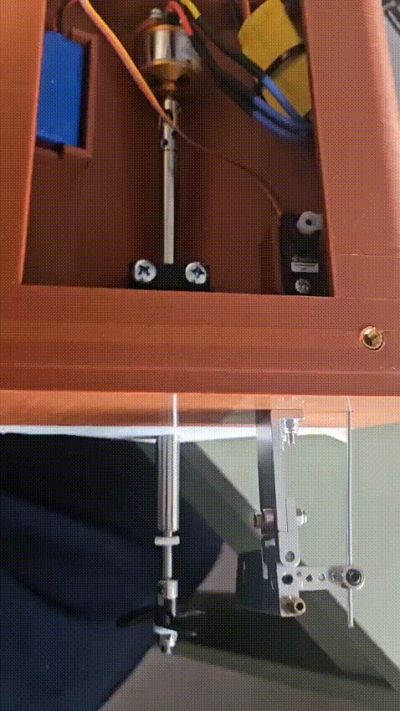
- Driveshaft Alignment: Insert the 20cm propeller shaft through the rear opening of the boat. Connect it directly to the brushless motor using the shaft coupler. Ensure perfect alignment before tightening securely.
- Note: The shaft requires a firm push to fit through the rear opening. This tight structural tolerance is deliberate to limit water ingress and improve overall waterproofing.
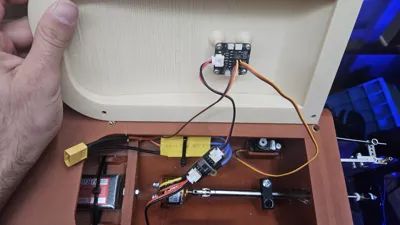
- Servo Installation: Install the CyberBrick servo motor into its designated bracket as shown in the reference diagrams.
2. Internal Layout & Hull Joining
- Threaded Inserts: Install the 6 M5 heated inserts into their respective slots using a soldering iron.
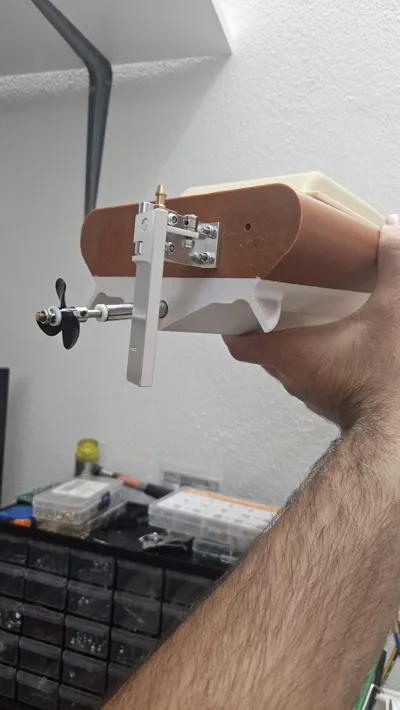
- Shaft Securing: Secure the external section of the propeller shaft using the 3D-printed brace and M5 bolts.
- Battery Placement: Place the heavy 7.4V motor battery at the front section of the boat to achieve optimal weight distribution and center of gravity. Secure it tightly using a cable tie. Place the CyberBrick battery in the rear compartment.
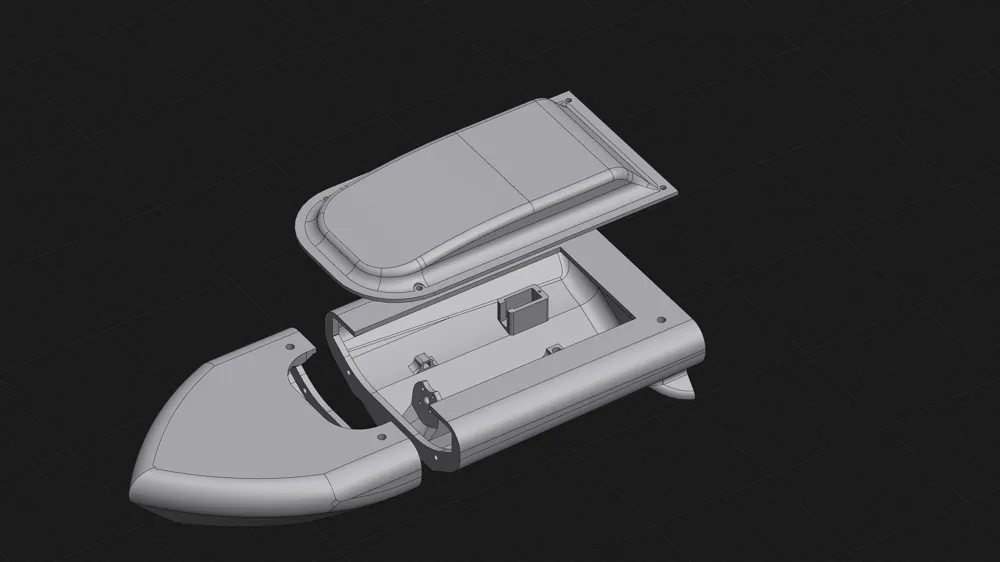
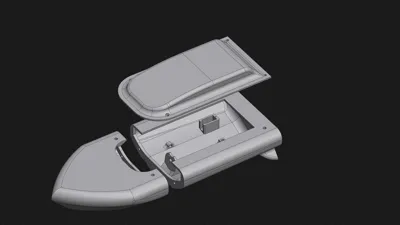
- Connecting the Hull Sections: Join the front and back pieces of the boat. Use the M4 bolts and nuts to clamp them tightly together. While glue can be applied to the seam for extra safety, mechanical fastening with proper tightening is sufficient to prevent leaks.
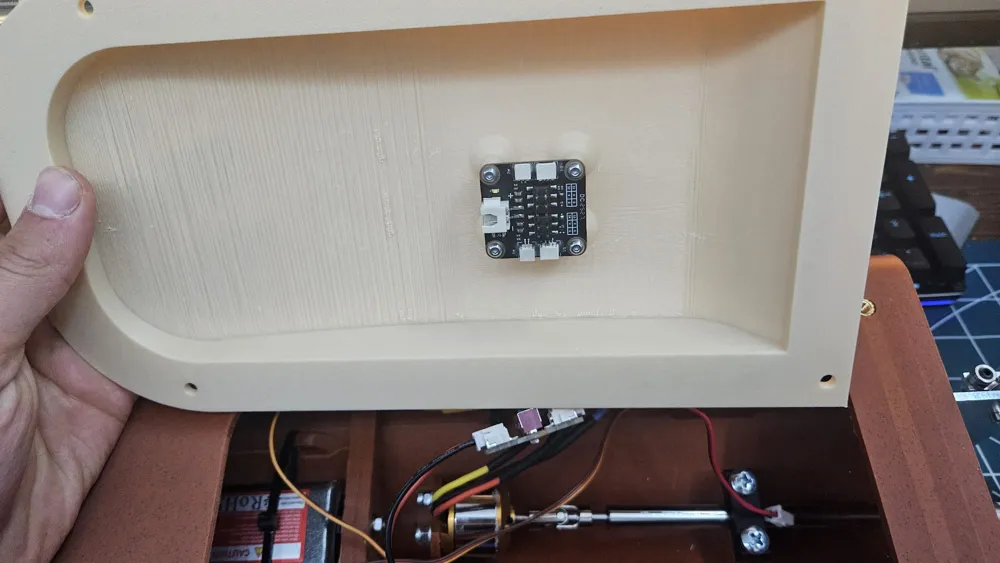
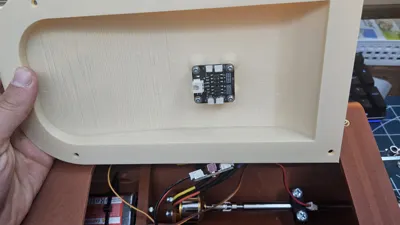
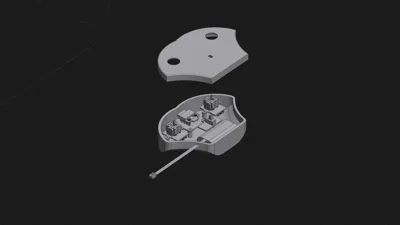
- Lid Integration: Mount the CyberBrick receiver module directly onto the lid. Connect the internal electronics. Treat the brushless motor's ESC as a continuous rotation servo during physical connection; it will be fully calibrated via software.
3. Rudder Assembly & Final Closure
- Rudder Mount: Install the external Steering Rudder assembly on the stern using the M3 bolts and hardware. Create a short steel linkage wire to link the CyberBrick servo arm to the rudder horn.
- Sealing the Lid: Place the lid over the hull and lock it down using the remaining M5 bolts.
- Pro Tip: To achieve an entry protection standard close to IP65, you can apply a thin rubber gasket or silicone seal around the perimeter of the lid, though the default stable architecture offers excellent water shedding on its own.
CyberBrick Software Configuration
The remote control is assembled modularly by snapping the joysticks and transceiver blocks together. To ensure immediate functionality, import the provided JSON configuration file into your CyberBrick application.
YOU CAN USE ANY CONTROLLER YOU WANT
Logic Bindings:
- PWM1 (Angular Servo): Controls the rudder steering. It translates the Joystick Y-axis movements into distinct steering steps (Below Midpoint = 30°, Equal Midpoint/Neutral = 90°, Above Midpoint = 150°).
- PWM2 (Continuous Servo/ESC): Controls the brushless motor throttle. It interprets Joystick X-axis input into variable continuous speed percentages (e.g., Neutral = -20% hold, Upward acceleration = 40% forward output) to provide clean speed modulation.
Future Development Roadmap
This project is open-source and modular. Future scheduled revisions and upgrades will include:
- Dedicated mounting slots for custom navigational LED arrays.
- Alternative high-speed hull variations and aesthetic cosmetic add-ons.
Please upload your makes, post pictures of your boat in action, and share your feedback or design improvement ideas in the comments section below!
Boost Me (for free)
thank you so much, I would really appreciate the help!
Commercial License Available
Thank you for checking out my model!
This model is for personal use only unless a commercial license is purchased directly from me.
If you would like to sell physical prints of this design, use it for your business, or include it in your shop, please contact me to get a commercial license.
The commercial license allows you to sell finished 3D printed products made from this model, but it does not allow you to resell, share, remix, redistribute, or upload the digital files anywhere.
For commercial license requests, custom versions, or business use, please contact me here on MakerWorld.
Thank you for supporting independent 3D creators!
Documentation (1)

License

You shall not share, sub-license, sell, rent, host, transfer, or distribute in any way the digital or 3D printed versions of this object, nor any other derivative work of this object in its digital or physical format (including - but not limited to - remixes of this object, and hosting on other digital platforms). The objects may not be used without permission in any way whatsoever in which you charge money, or collect fees.


Comment & Rating (2)