
Monitor Riser for IKEA Elloven (+2.5cm)
Print Profile(1)
Description
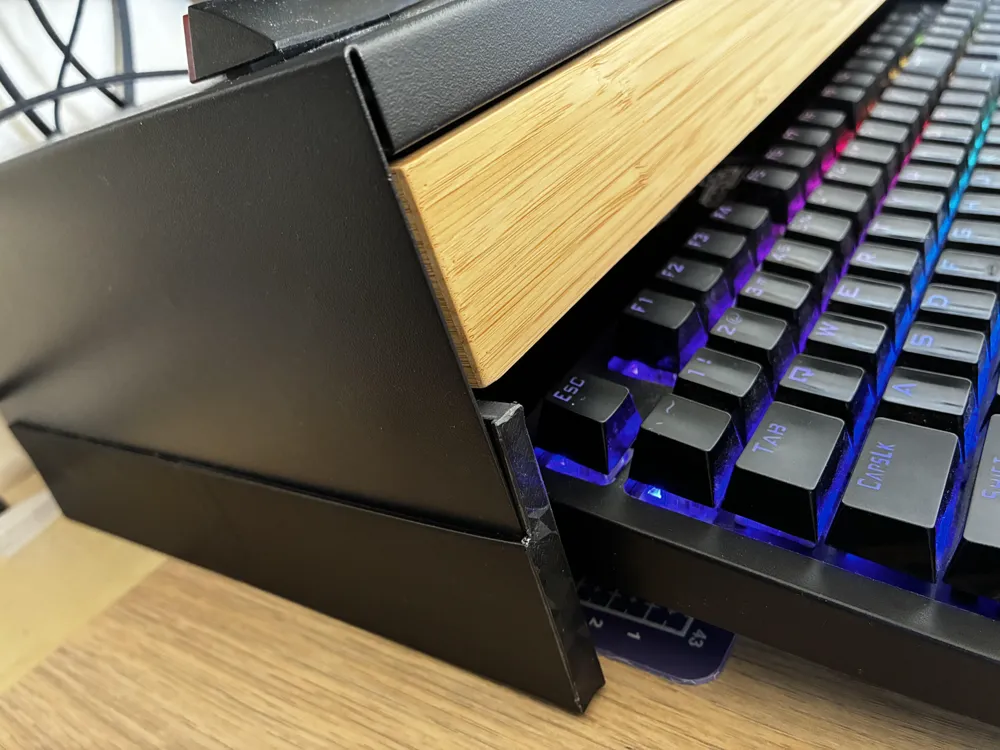
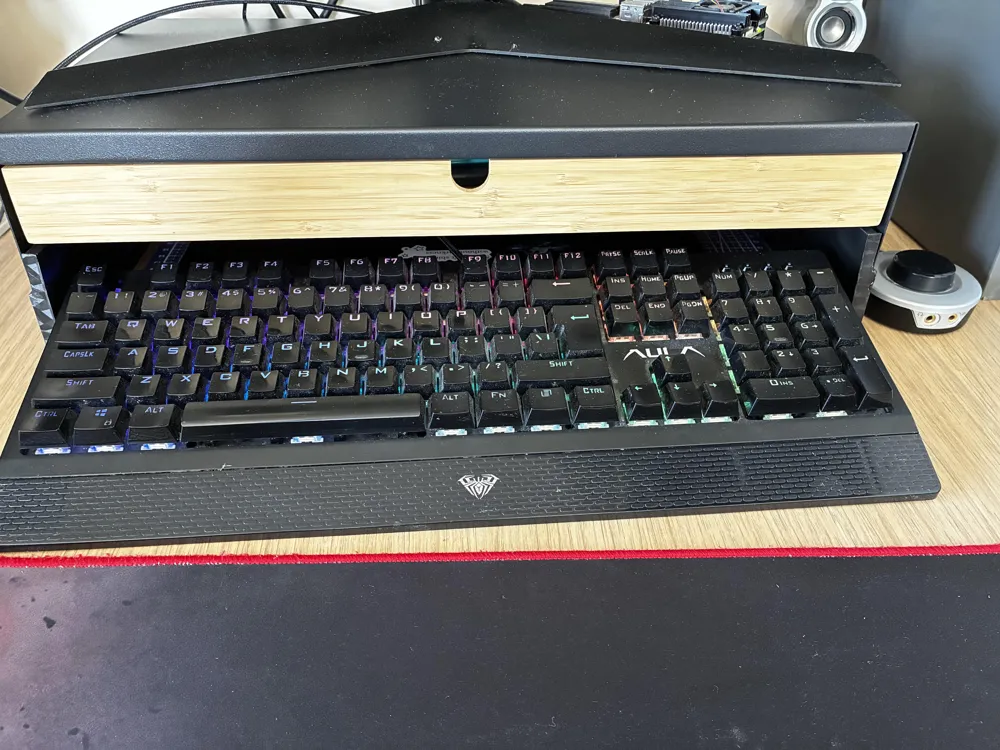
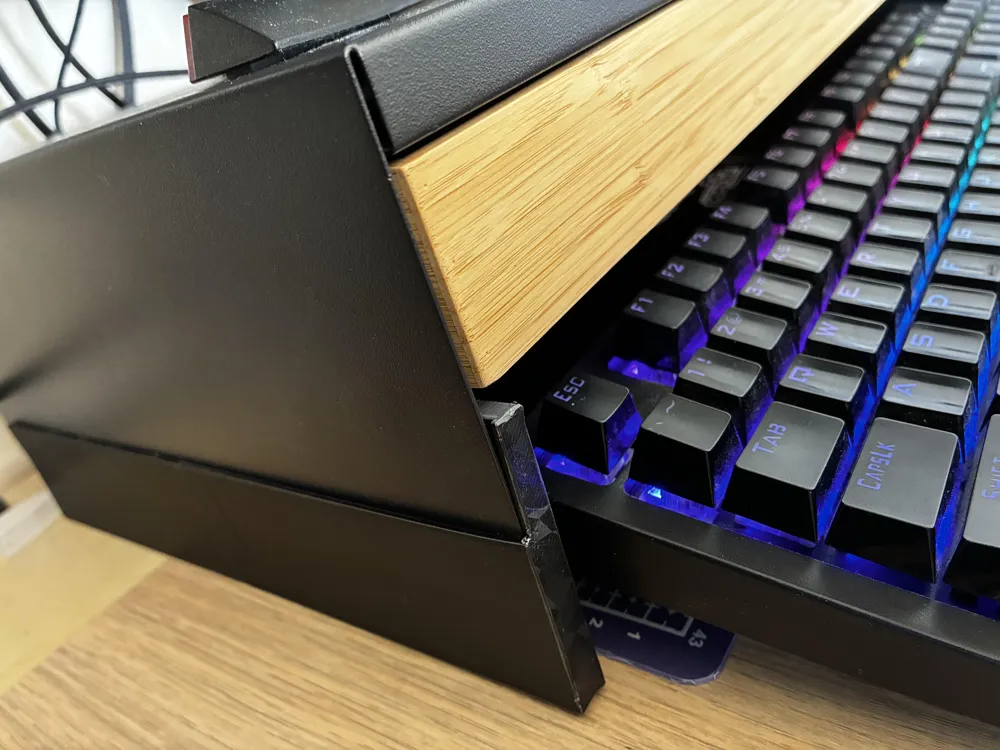
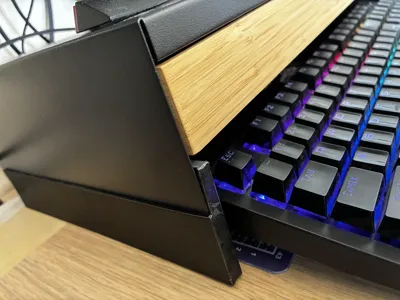
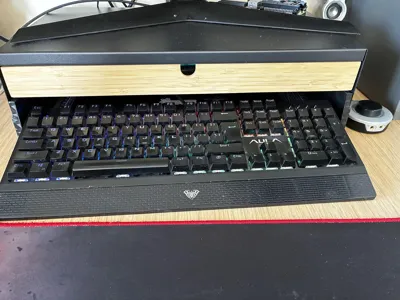
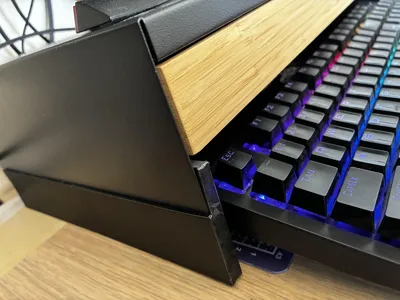
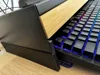
This is a functional, modular riser designed specifically for the IKEA Elloven monitor stand. By elevating the stand by 2.5 cm, it clears just enough extra vertical space underneath to comfortably slide a MacBook Pro and a keyboard underneath.
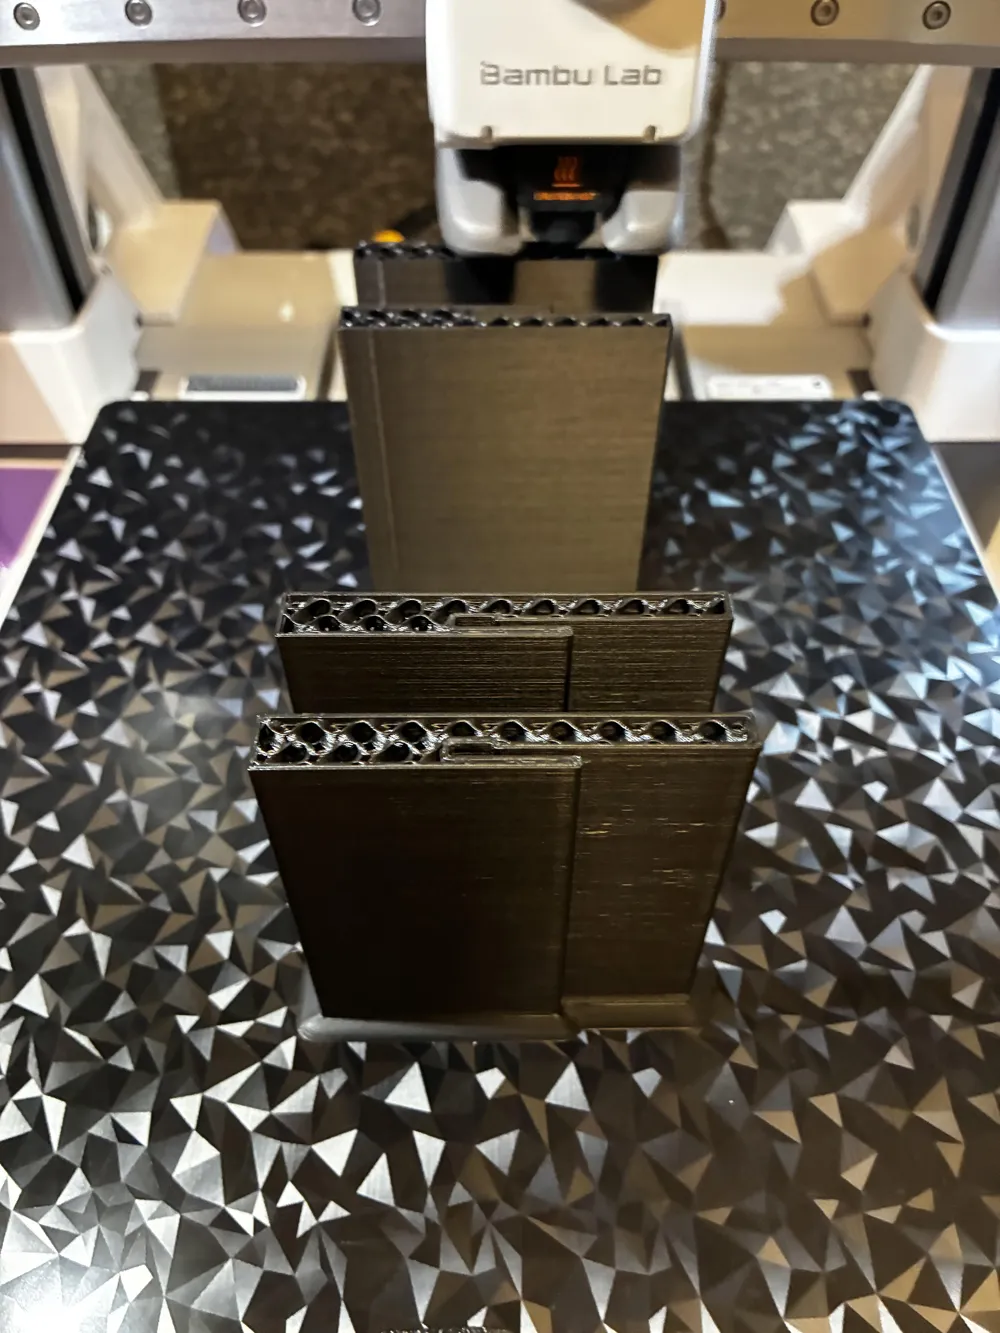
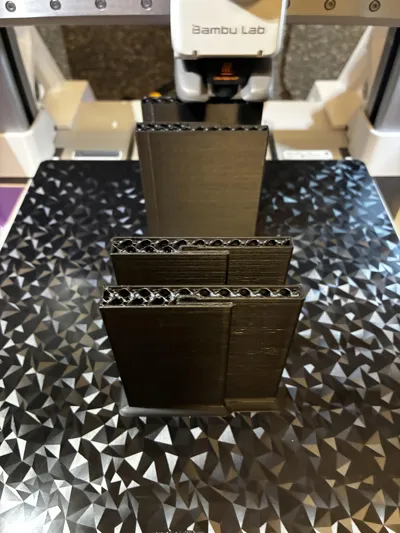
To ensure it fits easily on standard 3D printer beds and maintains maximum strength, each side is split into two halves and locked together securely using a joint alignment piece.
🛠️ Design Features
- Perfect Fit: Tailored to match the original contours and feet of the IKEA Elloven stand.
- Smart Modular Design: Each side is divided into two interlocking pieces, making it a breeze to print on standard-sized build plates.
- Reinforced Joints: Uses dedicated joint pieces (alignment pins/slots) to lock the halves together, preventing twisting or splitting under the weight of your monitor.
- MacBook Friendly: Adds exactly 25mm of clearance, turning the under-bench slot into the perfect laptop garage.
🖨️ Recommended Print Settings
- Material: PETG or PLA (PETG offers excellent layer adhesion and structural strength for load-bearing parts).
- Infill: 15% to 25% (Gyroid or Grid) for reliable internal support.
- Wall Loops: 3–4 walls (crucial for the strength of the joint areas and load-bearing edges).
- Supports: Use Brims. Print as is.
📦 Assembly Instructions
1.Print all components:5 pieces total.
Print 2 front halves, 2 rear halves, and 2 joint/alignment pieces (it's always smart to print a spare joint piece just in case).
2.Test-fit the joints:Dry run.
Insert the joint piece into the slot of one half, then slide the second half on. Ensure the seam is flush and tight. If it's too snug, a quick pass with a file or sandpaper will smooth it out.
3.Secure the halves:Optional glue.
For a permanent, rock-solid bond, apply a few drops of superglue (CA glue) or plastic cement to the joint piece and the mating faces before pressing them together. Clamp or hold firmly for 60 seconds.
4.Mount to the Elloven:Final placement.
Place the assembled left and right risers on your desk, slide the IKEA Elloven legs securely into the top recesses, and enjoy your newly reclaimed desk space!
Pro-Tip: Stick small rubber or silicone grip pads to the bottom of the printed risers. This stops the stand from sliding around when you are pulling your MacBook or keyboard out from underneath.
License



Comment & Rating (0)