Window Exhaust Venting Component


Print Profile(1)
Description
I just got the new X2D 3D Printer, and although the printer comes with a filtering module, considering the long-term filter failure and the health effects from microplastic particles including odors, I decided to vent the printer outside
First, I printed this model shared by community user 03D: X2D External Exhaust Poop Chute Two-in-One (Ultra-Thin) - Free 3D Printed Model - MakerWorld Because I bought a 3-inch adjustable speed inline duct fan, I first designed this elbow: 50 to 70 Inner Diameter Reducing Right-Angle Elbow - Free 3D Printed Model - MakerWorld Since my apartment is on a higher floor and I have inward-opening windows, the existing community solutions did not quite match my ideal situation. So I designed this window exhaust assembly:
Required materials: 8-16 pcs 10*2mm N52 strong magnets, glue, rope (self-prepared)
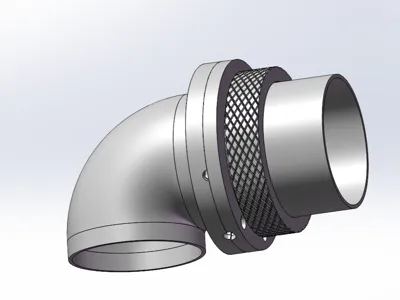
Recommended filament is PETG, the design mainly consists of four parts


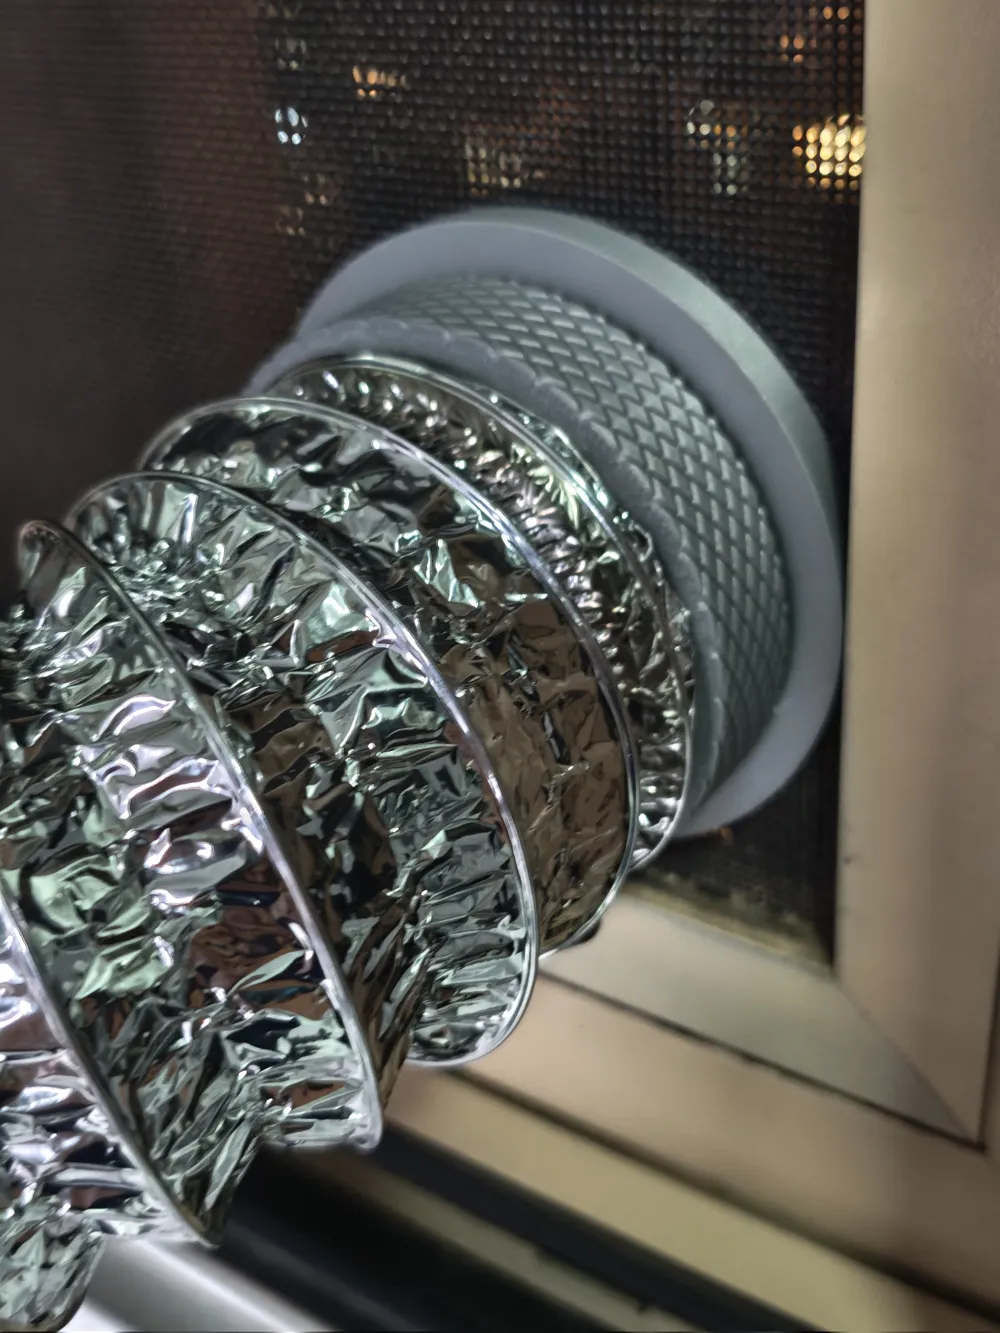
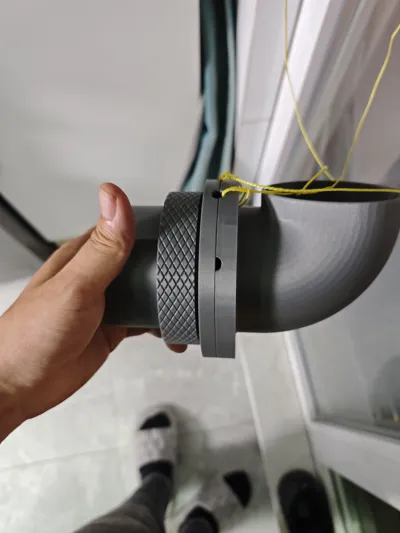
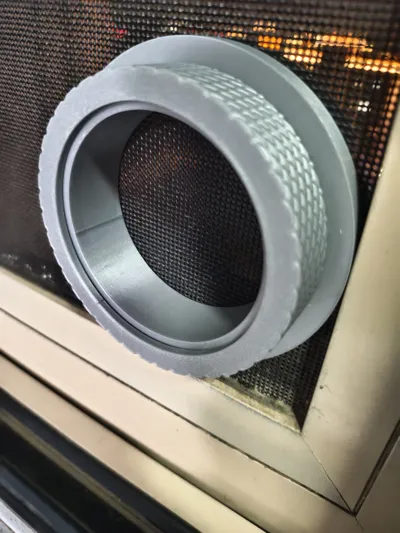
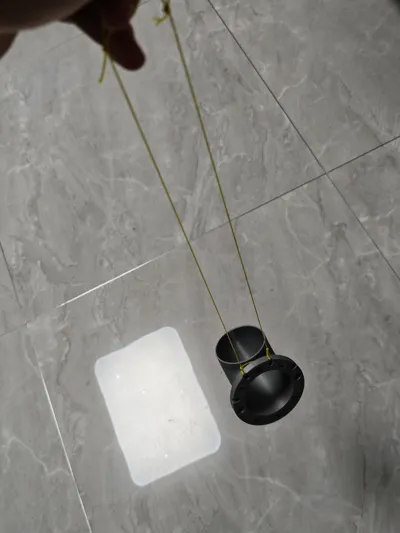
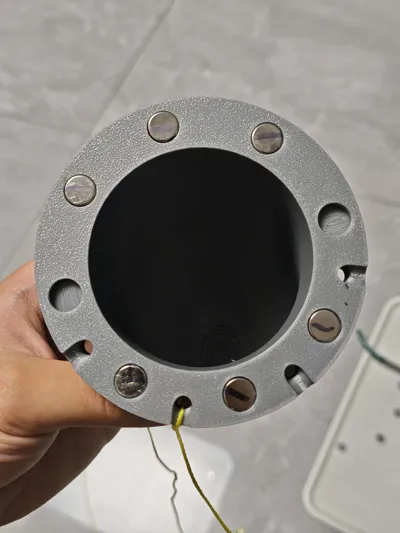
The outdoor exhaust port has an elbow to prevent rainwater from entering, and a small hole is left below for easy installation of a safety rope. I use kite string as a safety rope here. 10*3mm N52 strong magnets are used between the outdoor exhaust port and the internal fixing ring. I left 8 positions, and it was quite tight with 4 magnets on each side in actual testing. However, my apartment is on a high floor and it's windy here, so I used 6 magnets on both the inside and outside to ensure safety. You can adjust it yourself based on the thickness of your window screen. The duct connector is fixed to the internal fixing ring via a connecting nut. This way, when you want to close the window, you only need to gently unscrew the duct connector. My duct has an inner diameter of 70mm. For other sizes, you can scale it yourself, or leave a comment and I will add more sizes if I have time
Installation notes: Magnet polarity!!! If installing 4 magnets, install them with one space in between each. If you need to install more than 4, it is recommended to install 4 first and then continue installing other magnets after the glue has cured, otherwise, the strong magnetic force of N52 will attract the adjacent ones!
License
You shall not share, sub-license, sell, rent, host, transfer, or distribute in any way the digital or 3D printed versions of this object, nor any other derivative work of this object in its digital or physical format (including, but not limited to, publishing derivative works outside the Makerworld platform or hosting on other digital platforms). The objects may not be used without permission in any way whatsoever in which you charge money or collect fees. Subject to the above restrictions, derivative works may be published only within the Makerworld platform, and all such derivative works must be licensed under the same SDFL‑C license, without modification or additional terms. You may download the digital versions of this object, 3D print it, and display images, videos, or usage demonstrations of 3D printed versions of the object on personal social media platforms or Makerworld official channels, provided that no digital versions of the object are shared or distributed.
Comment & Rating (0)