
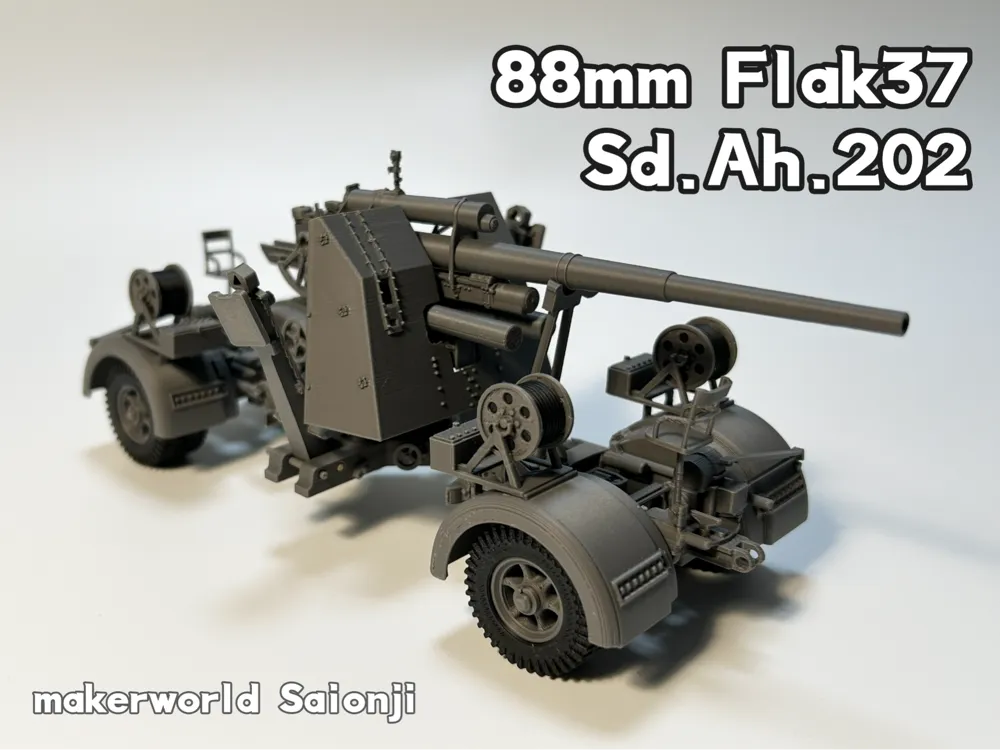
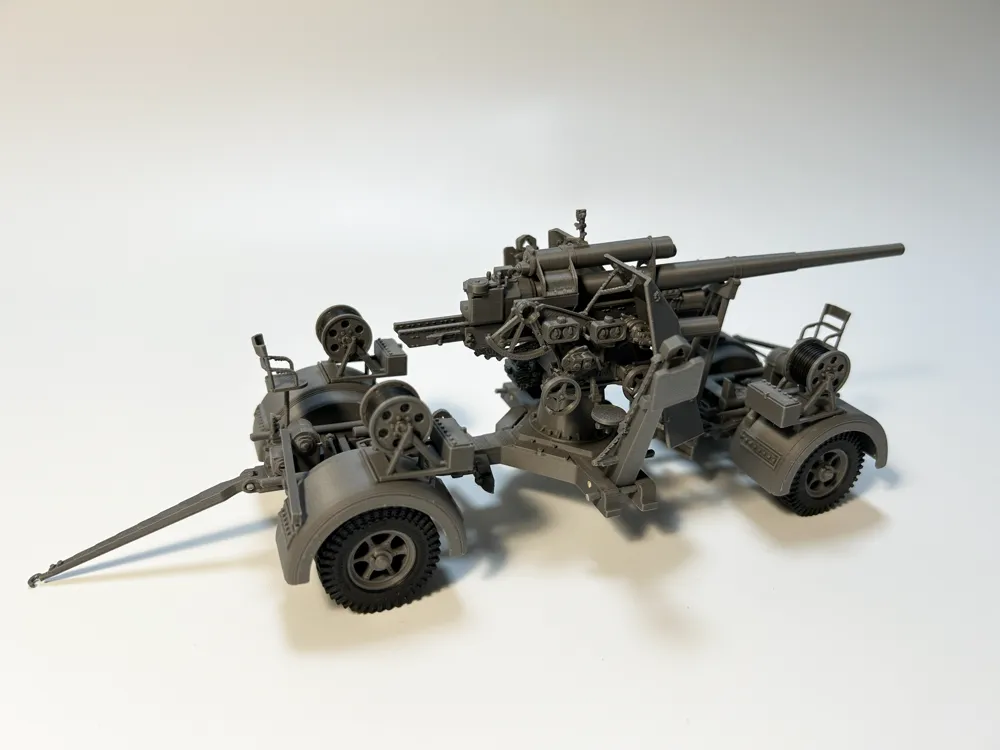
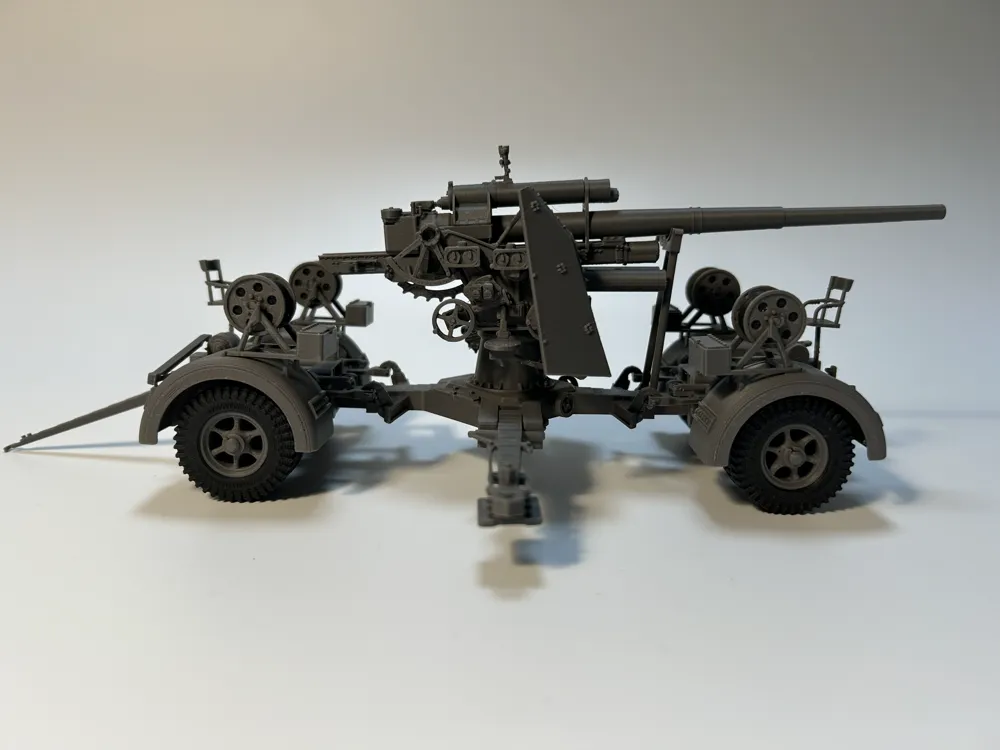
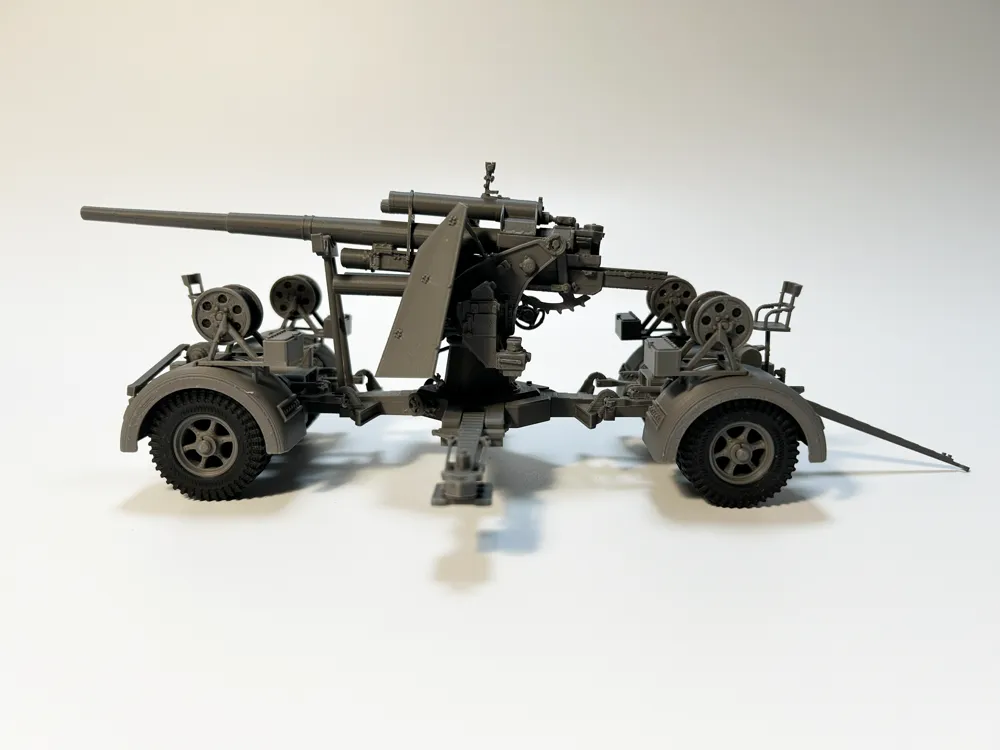
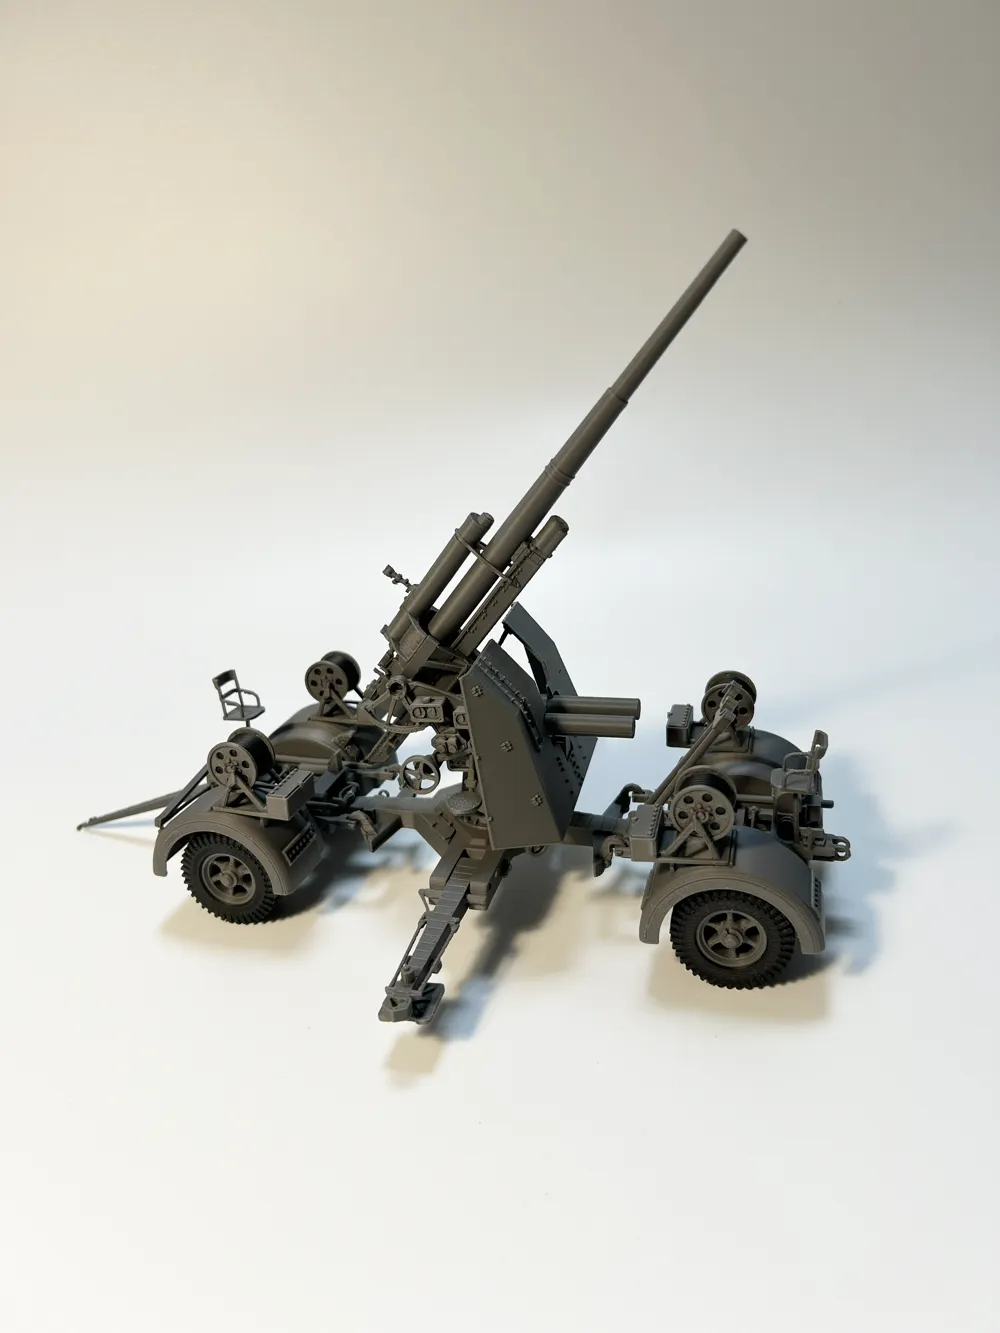
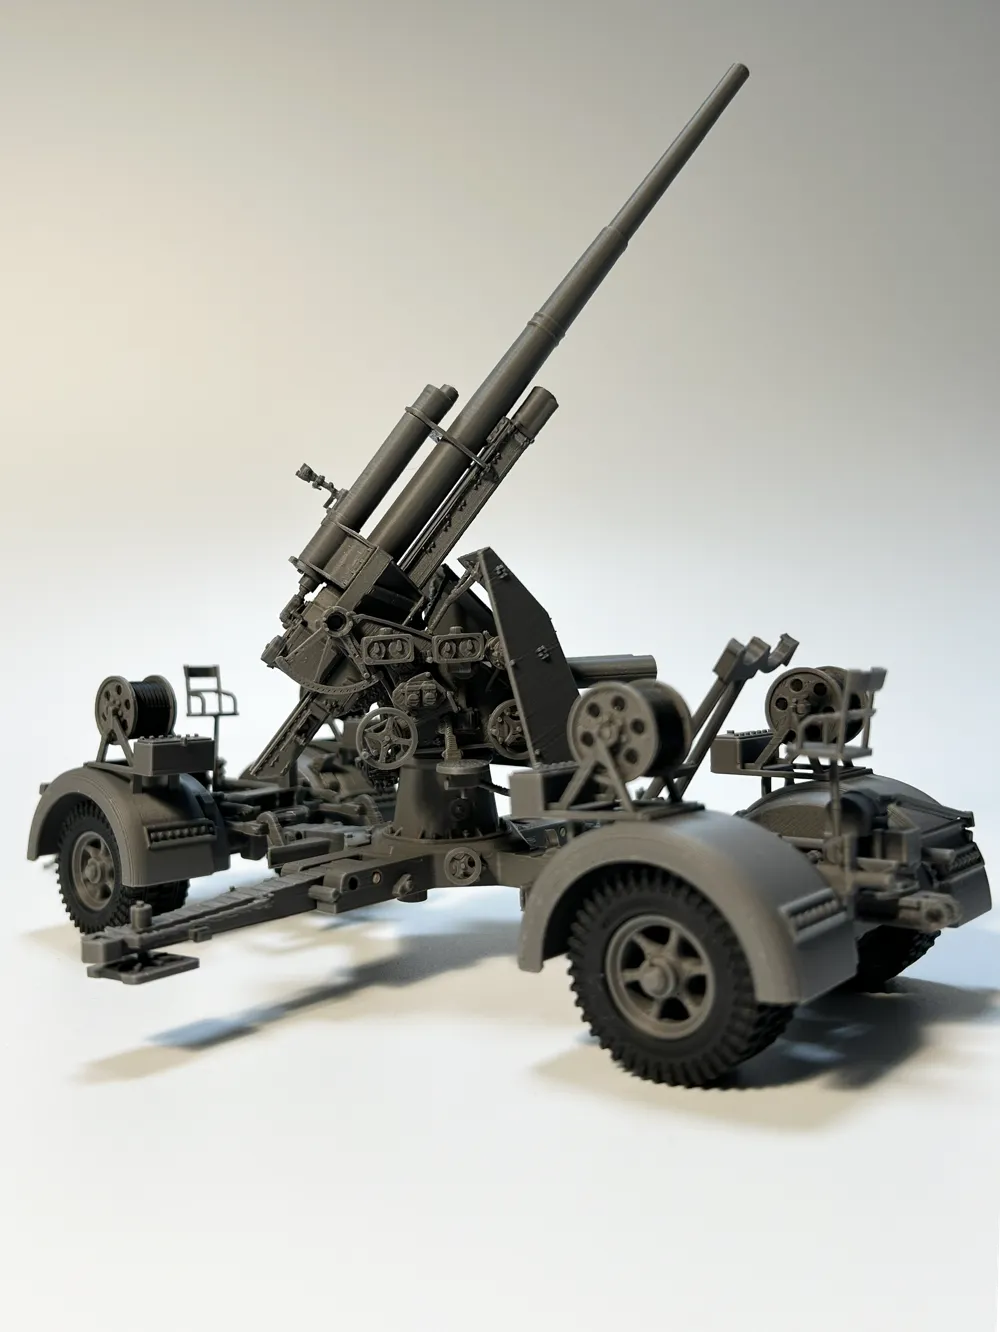
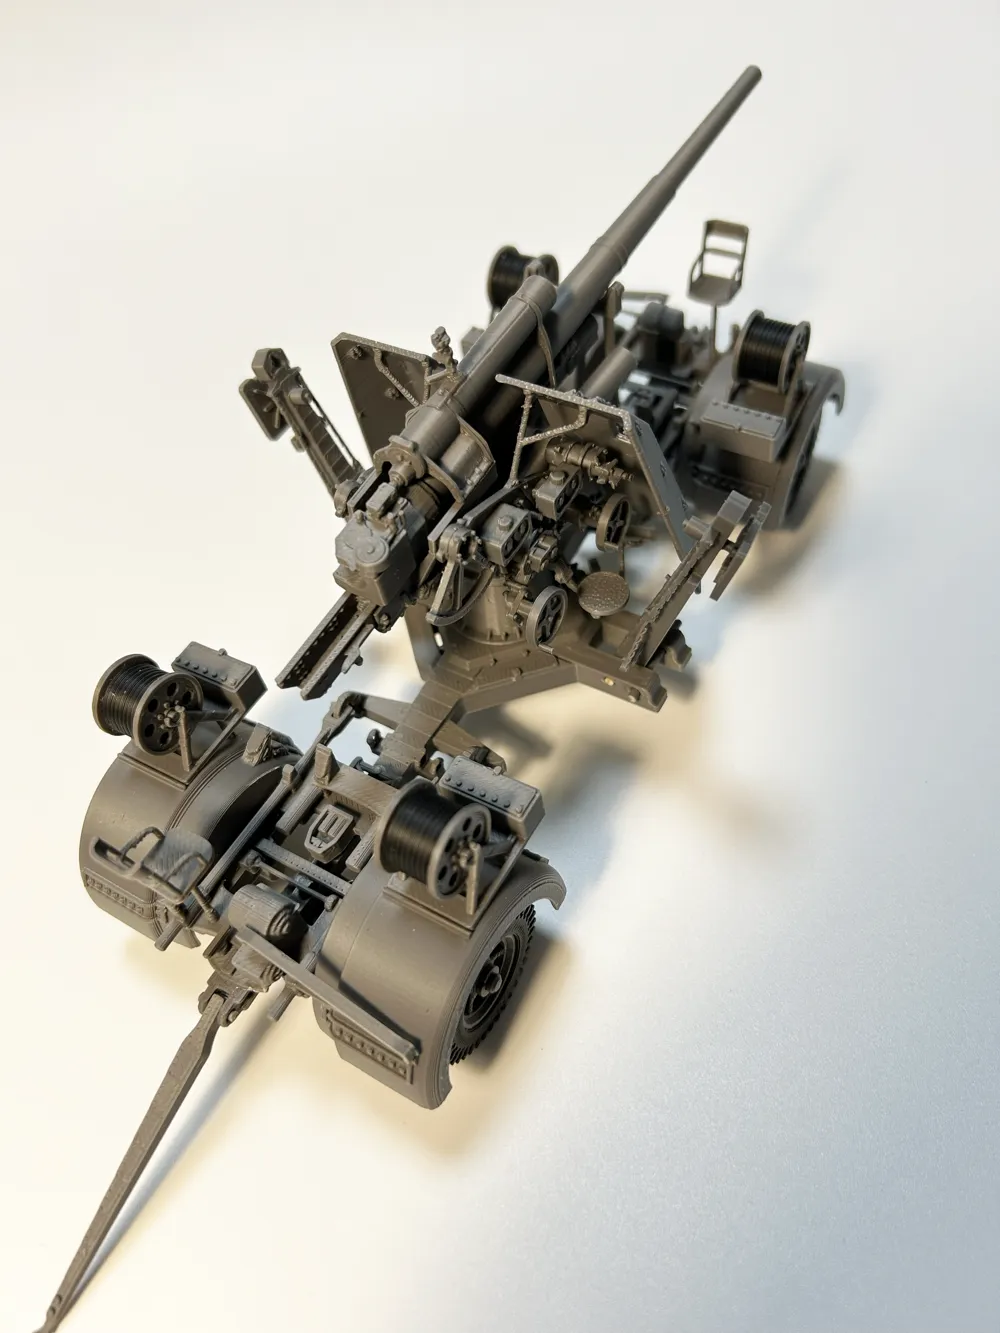
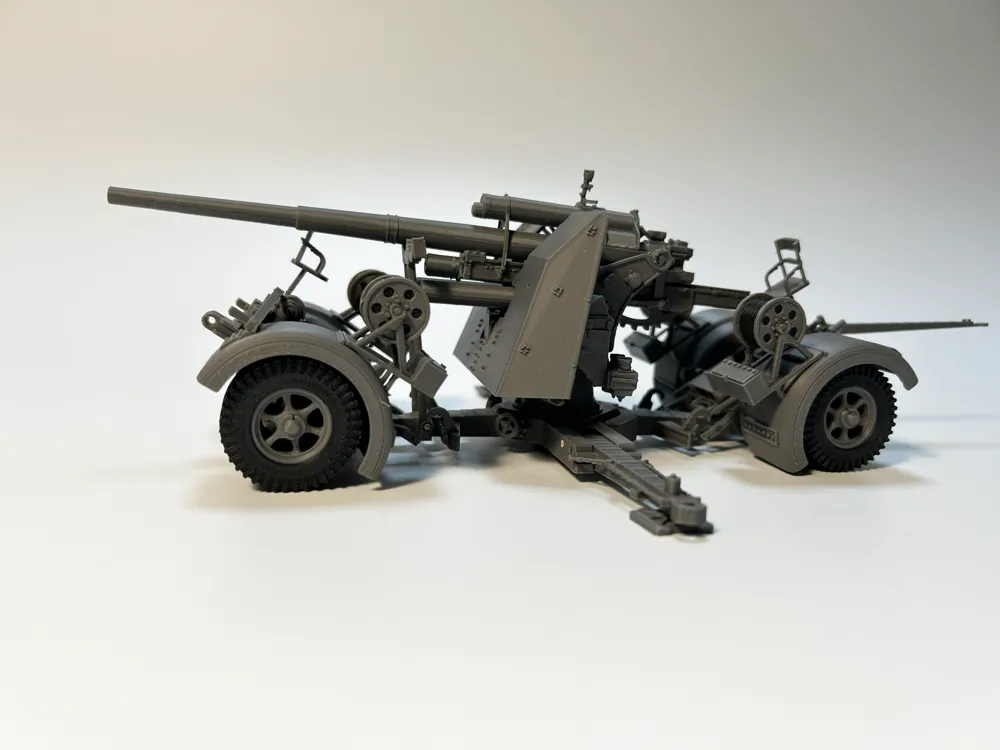
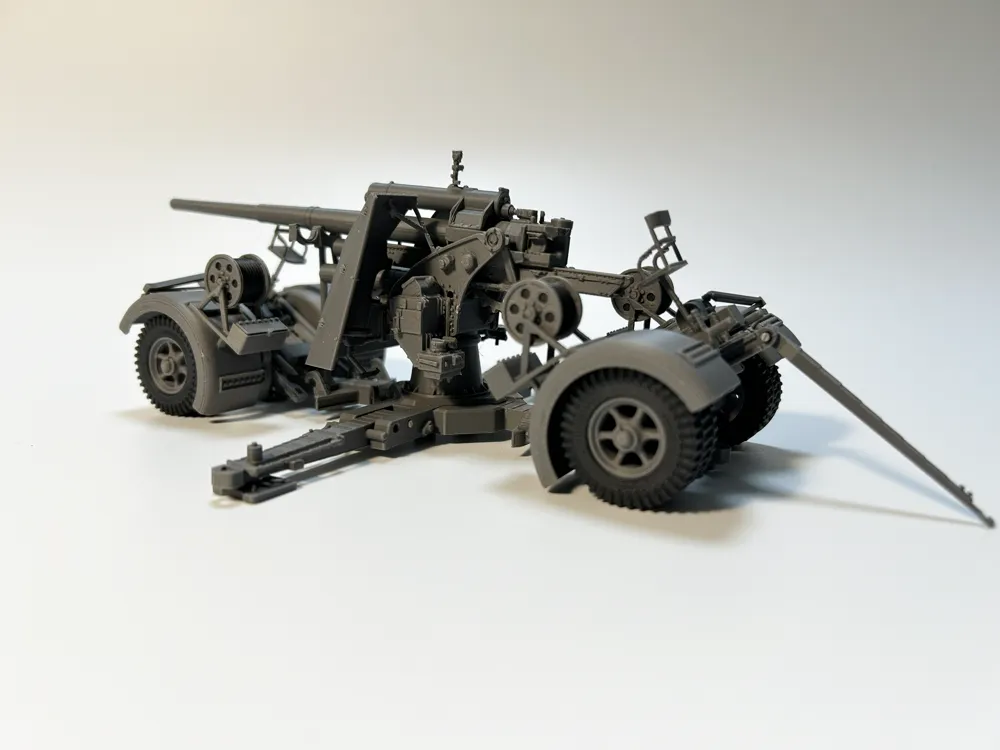
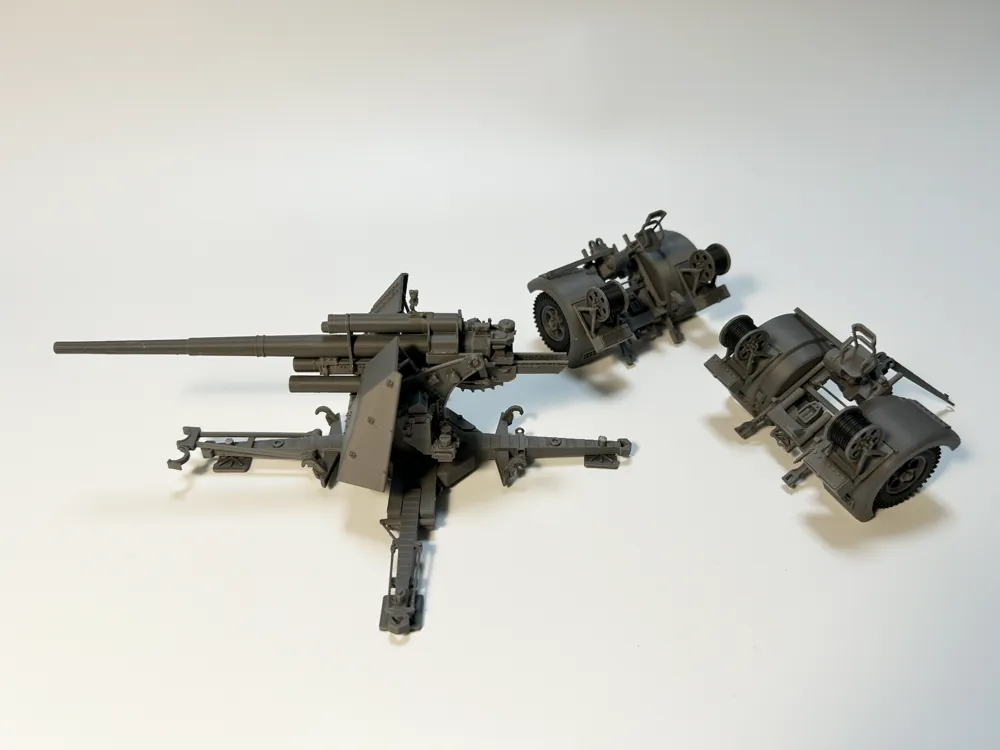
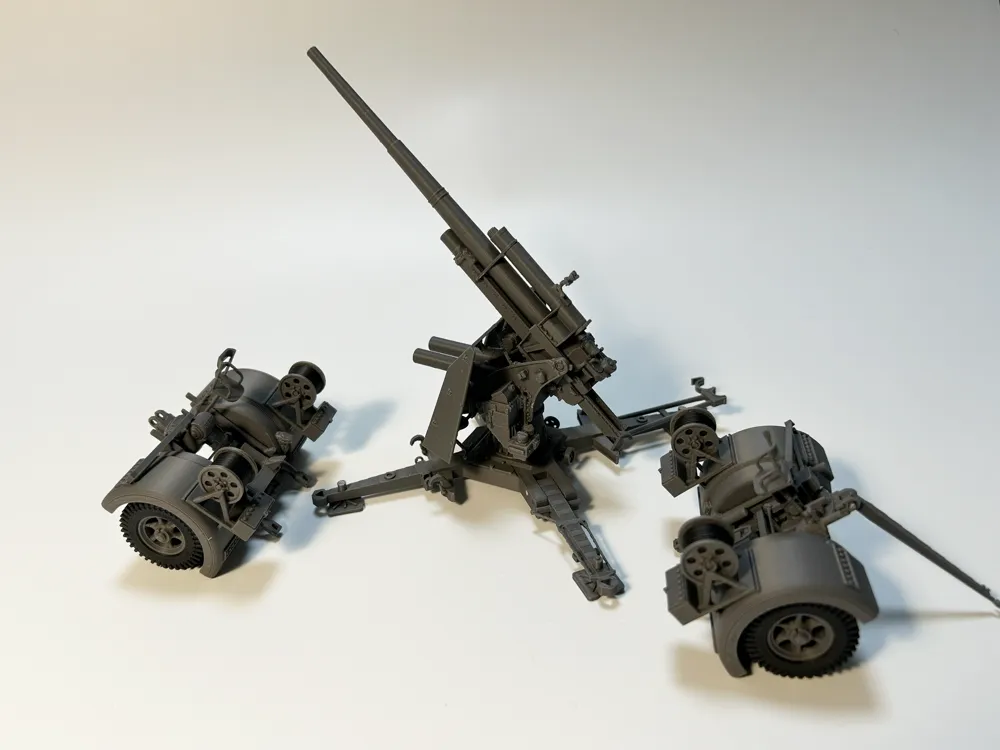
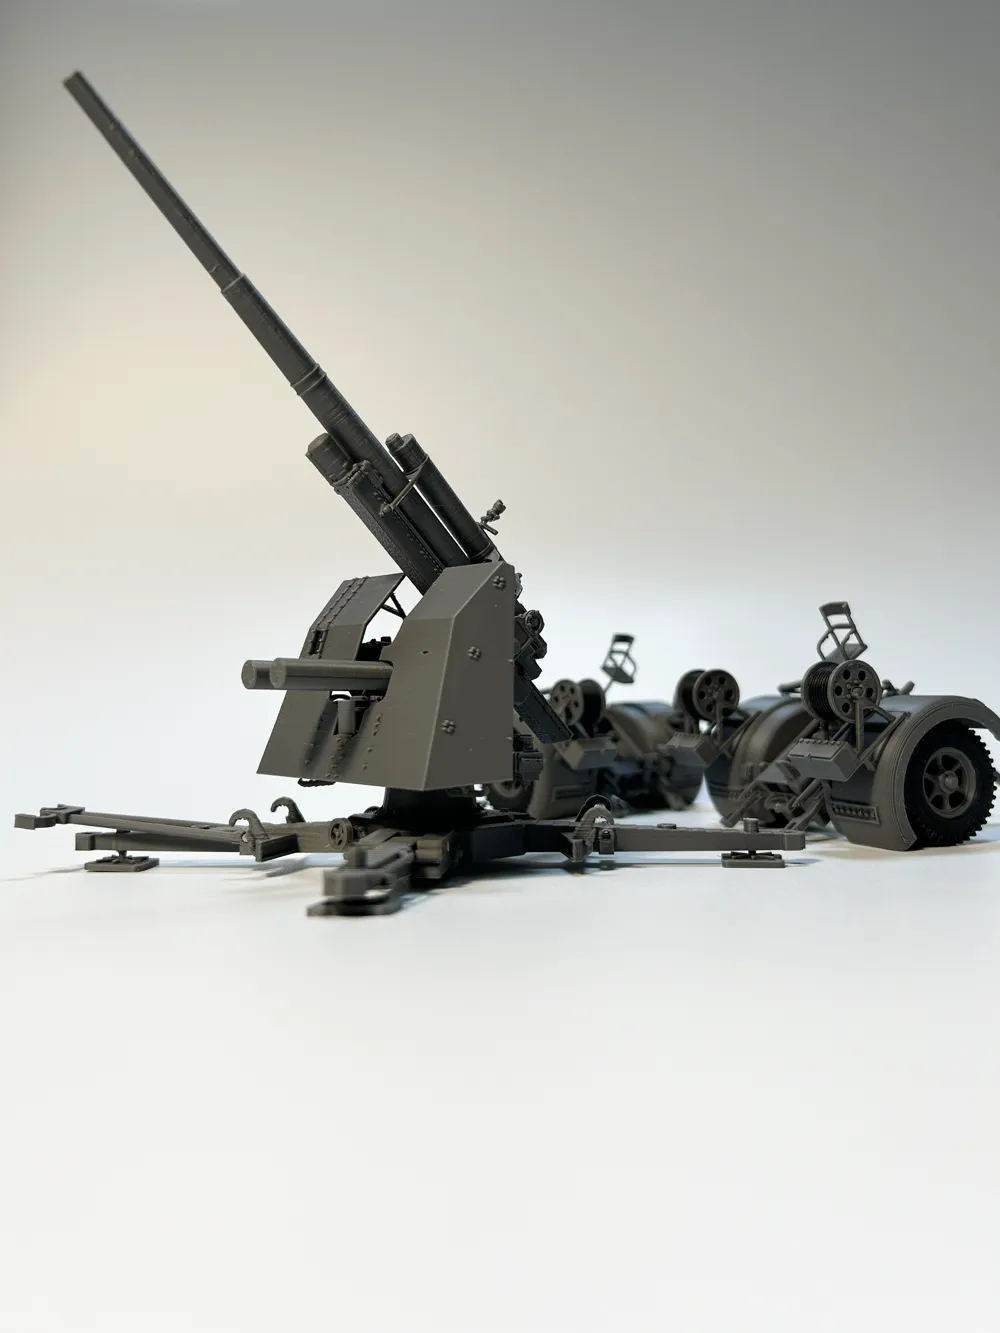
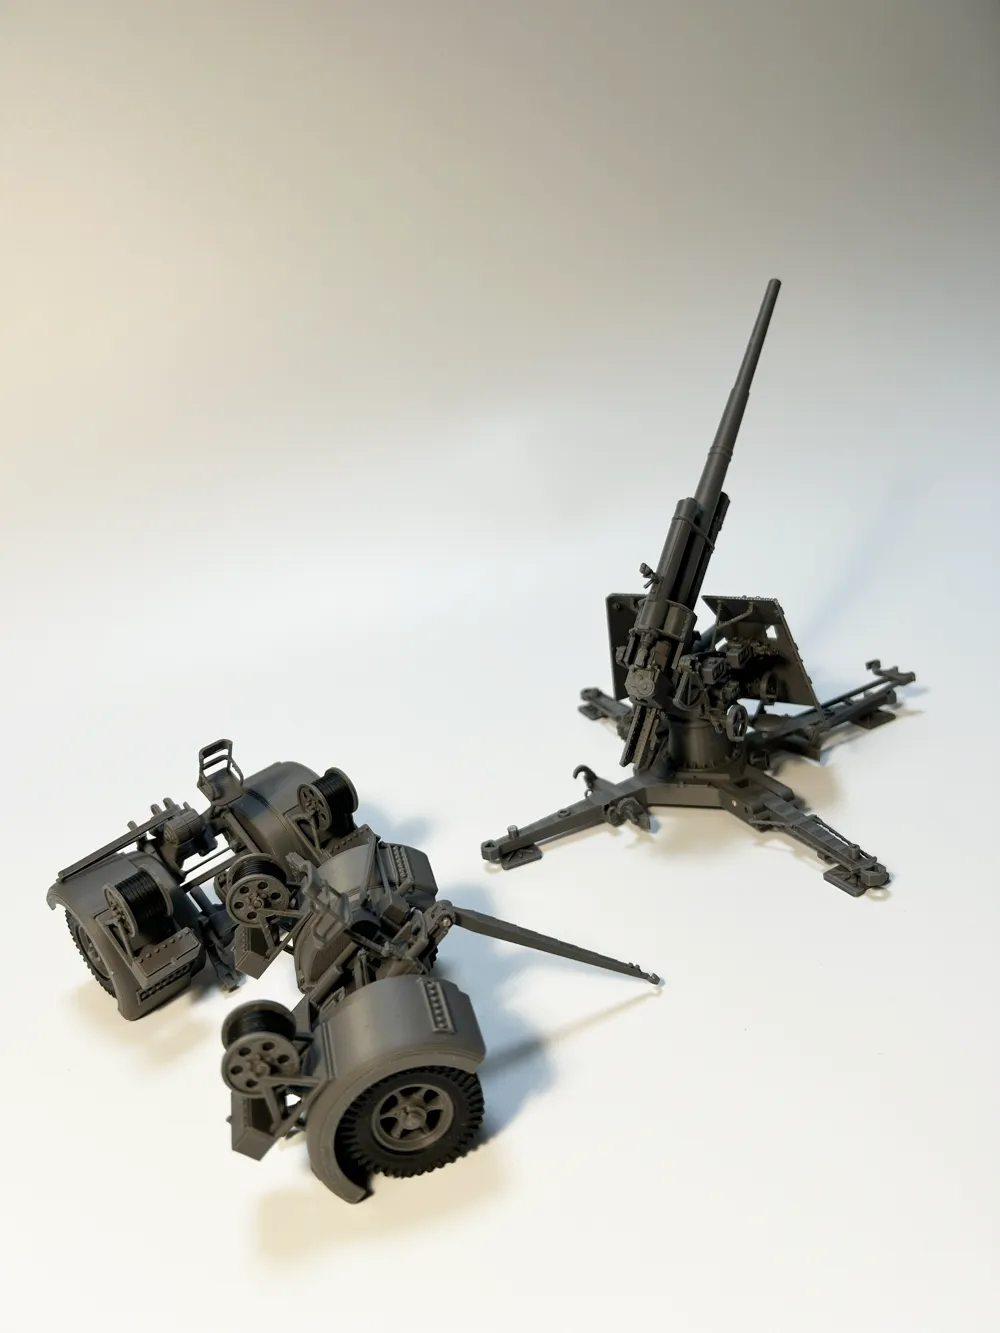
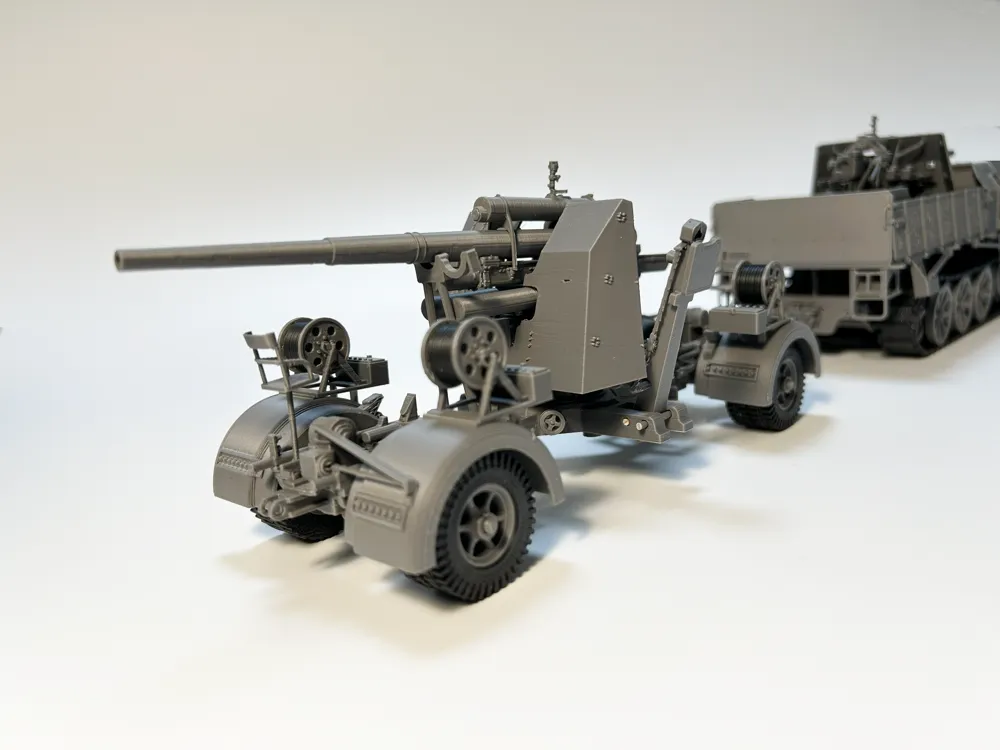
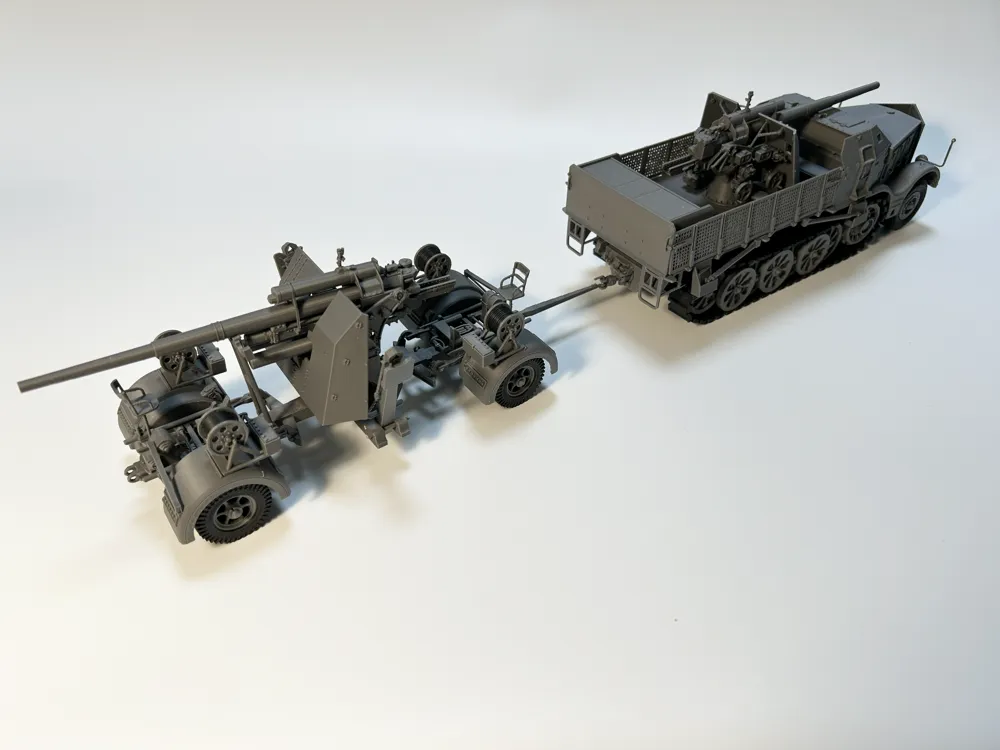
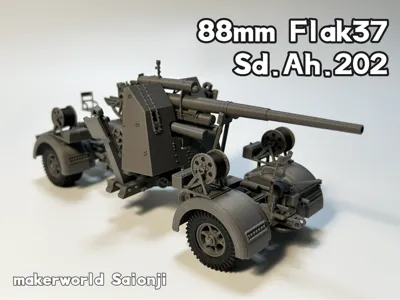
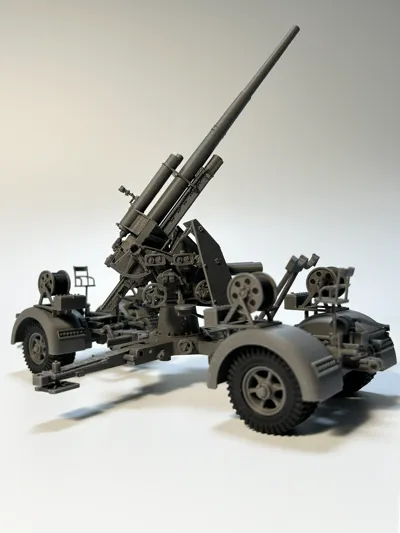
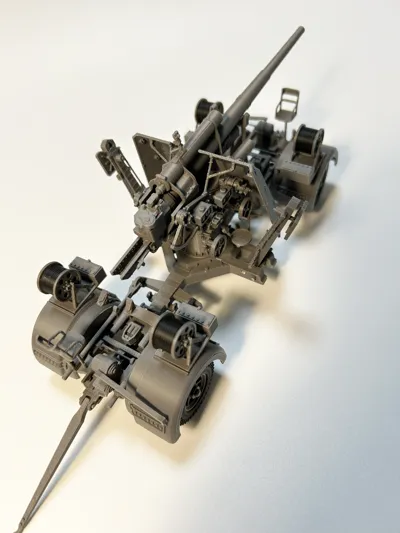
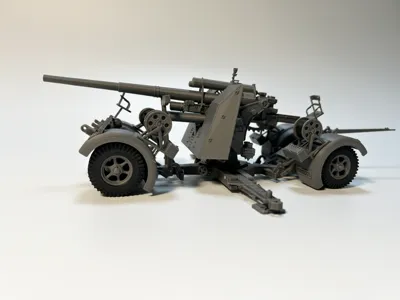
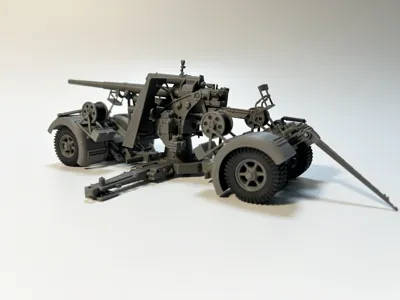
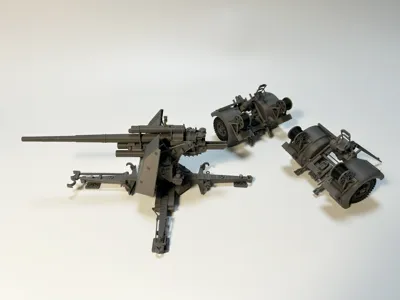
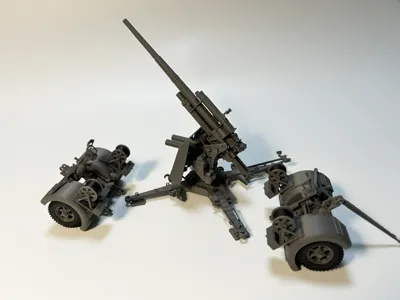
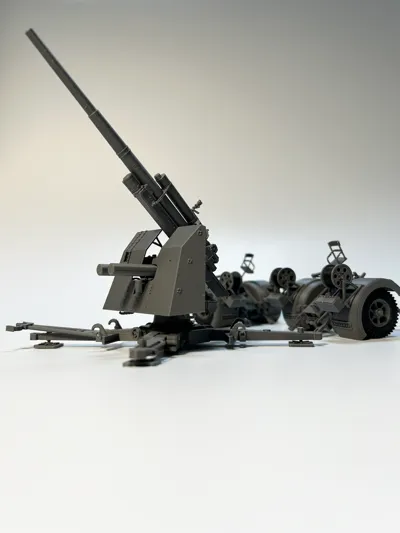
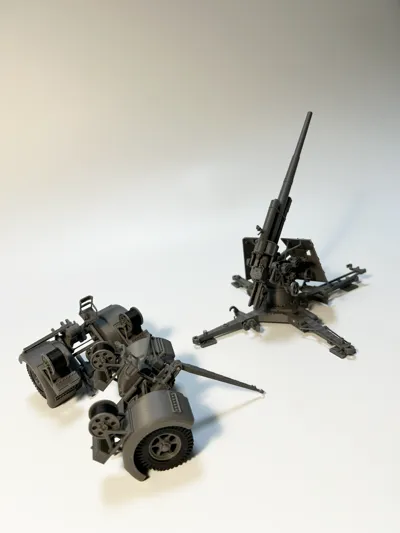
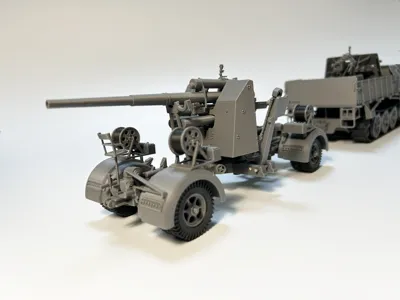
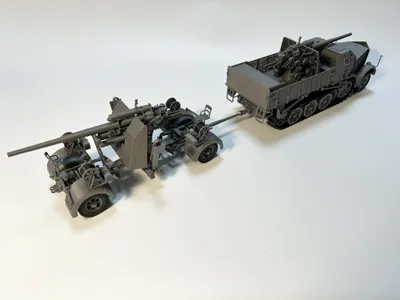
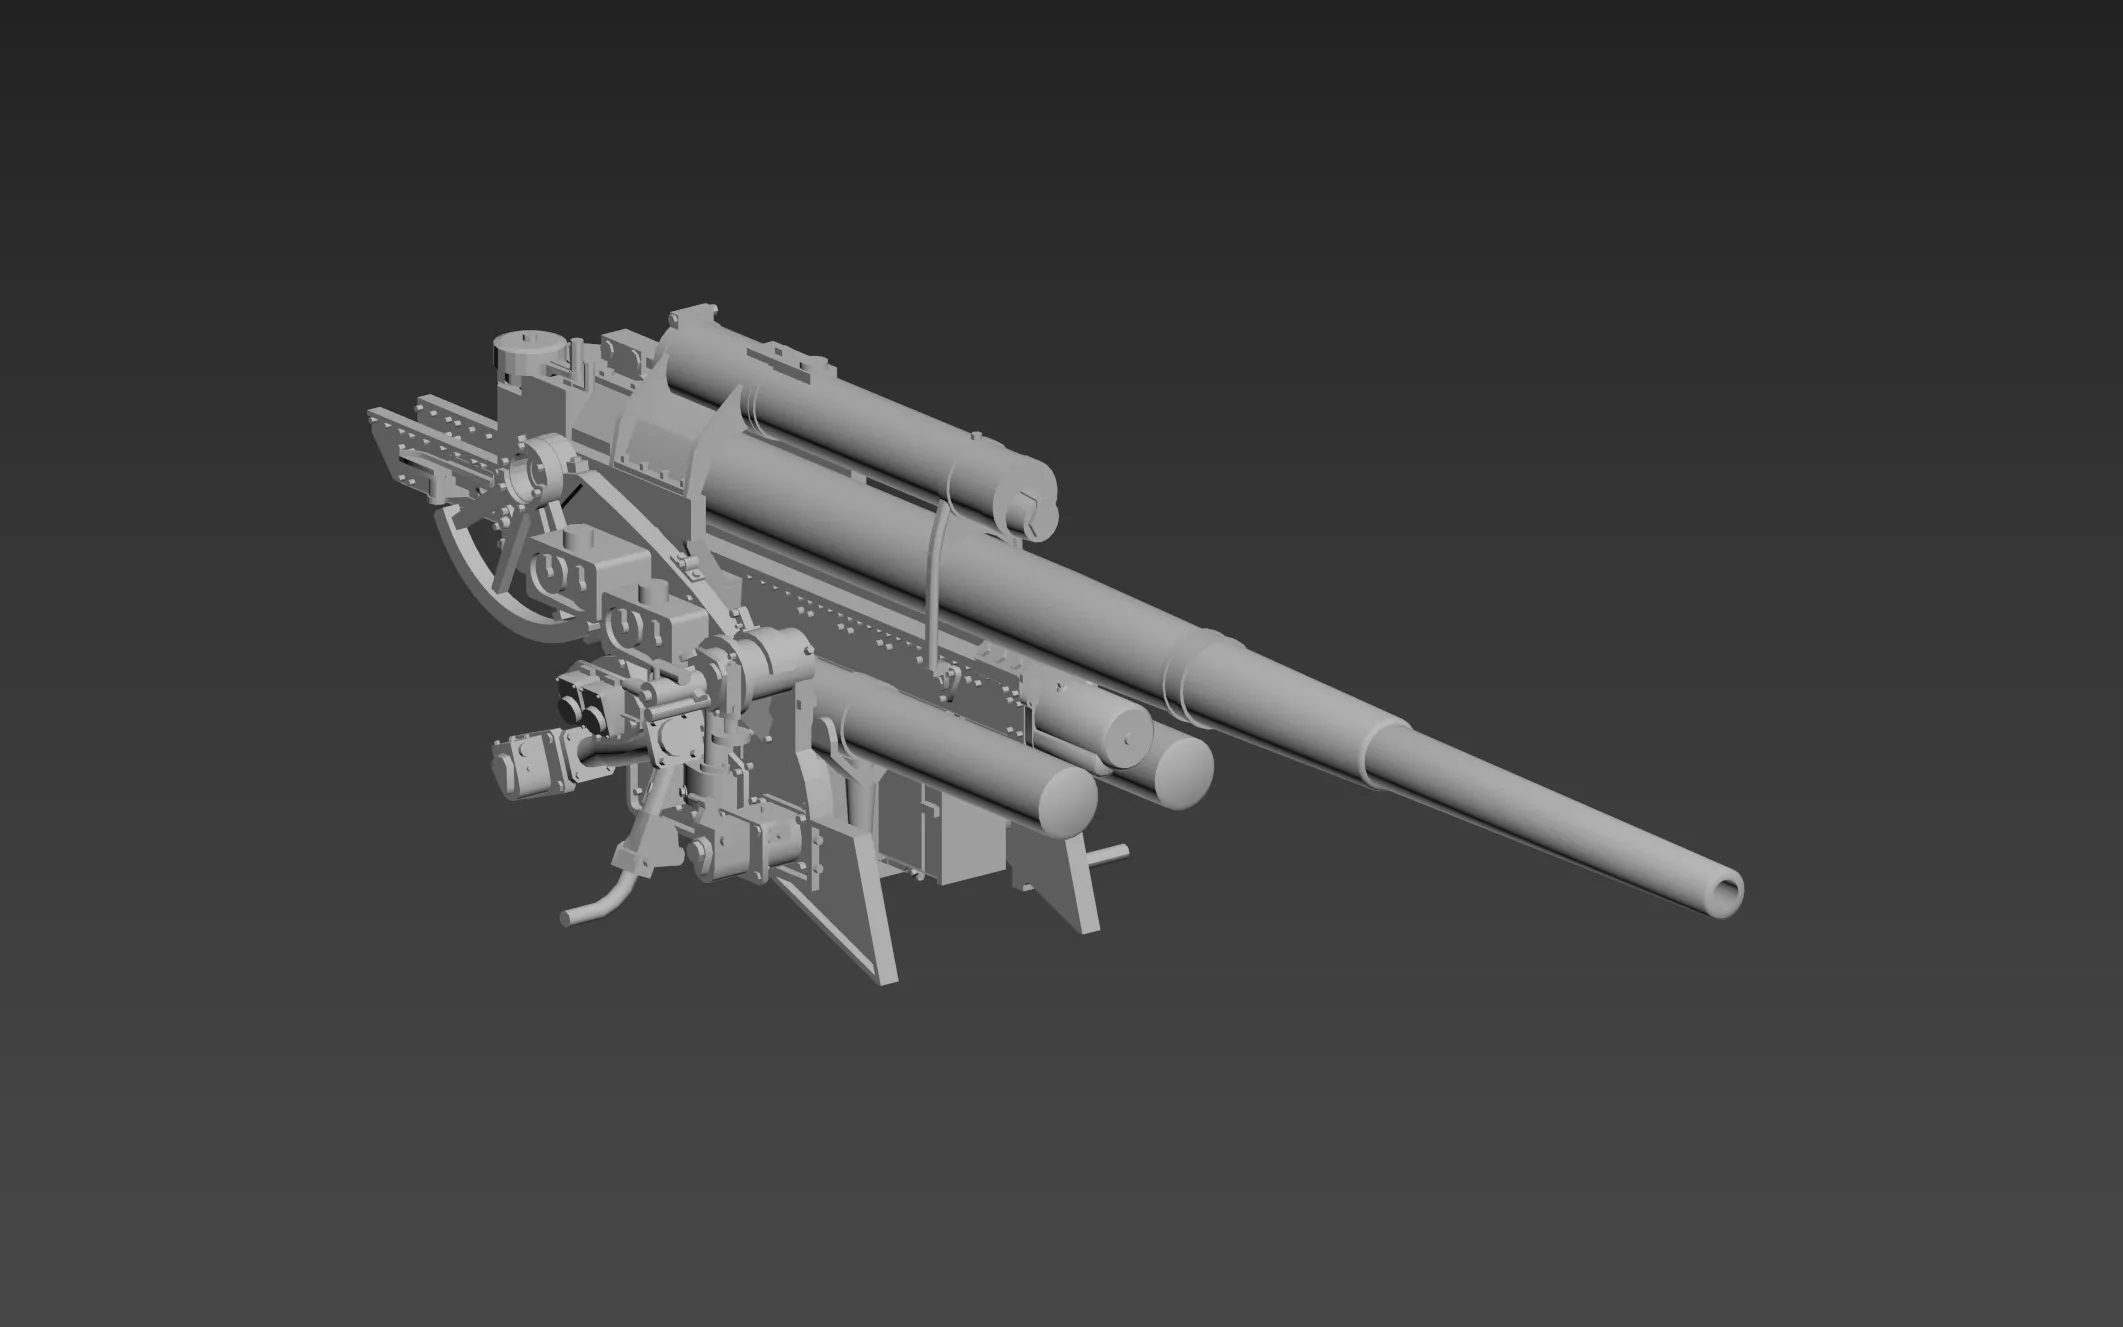
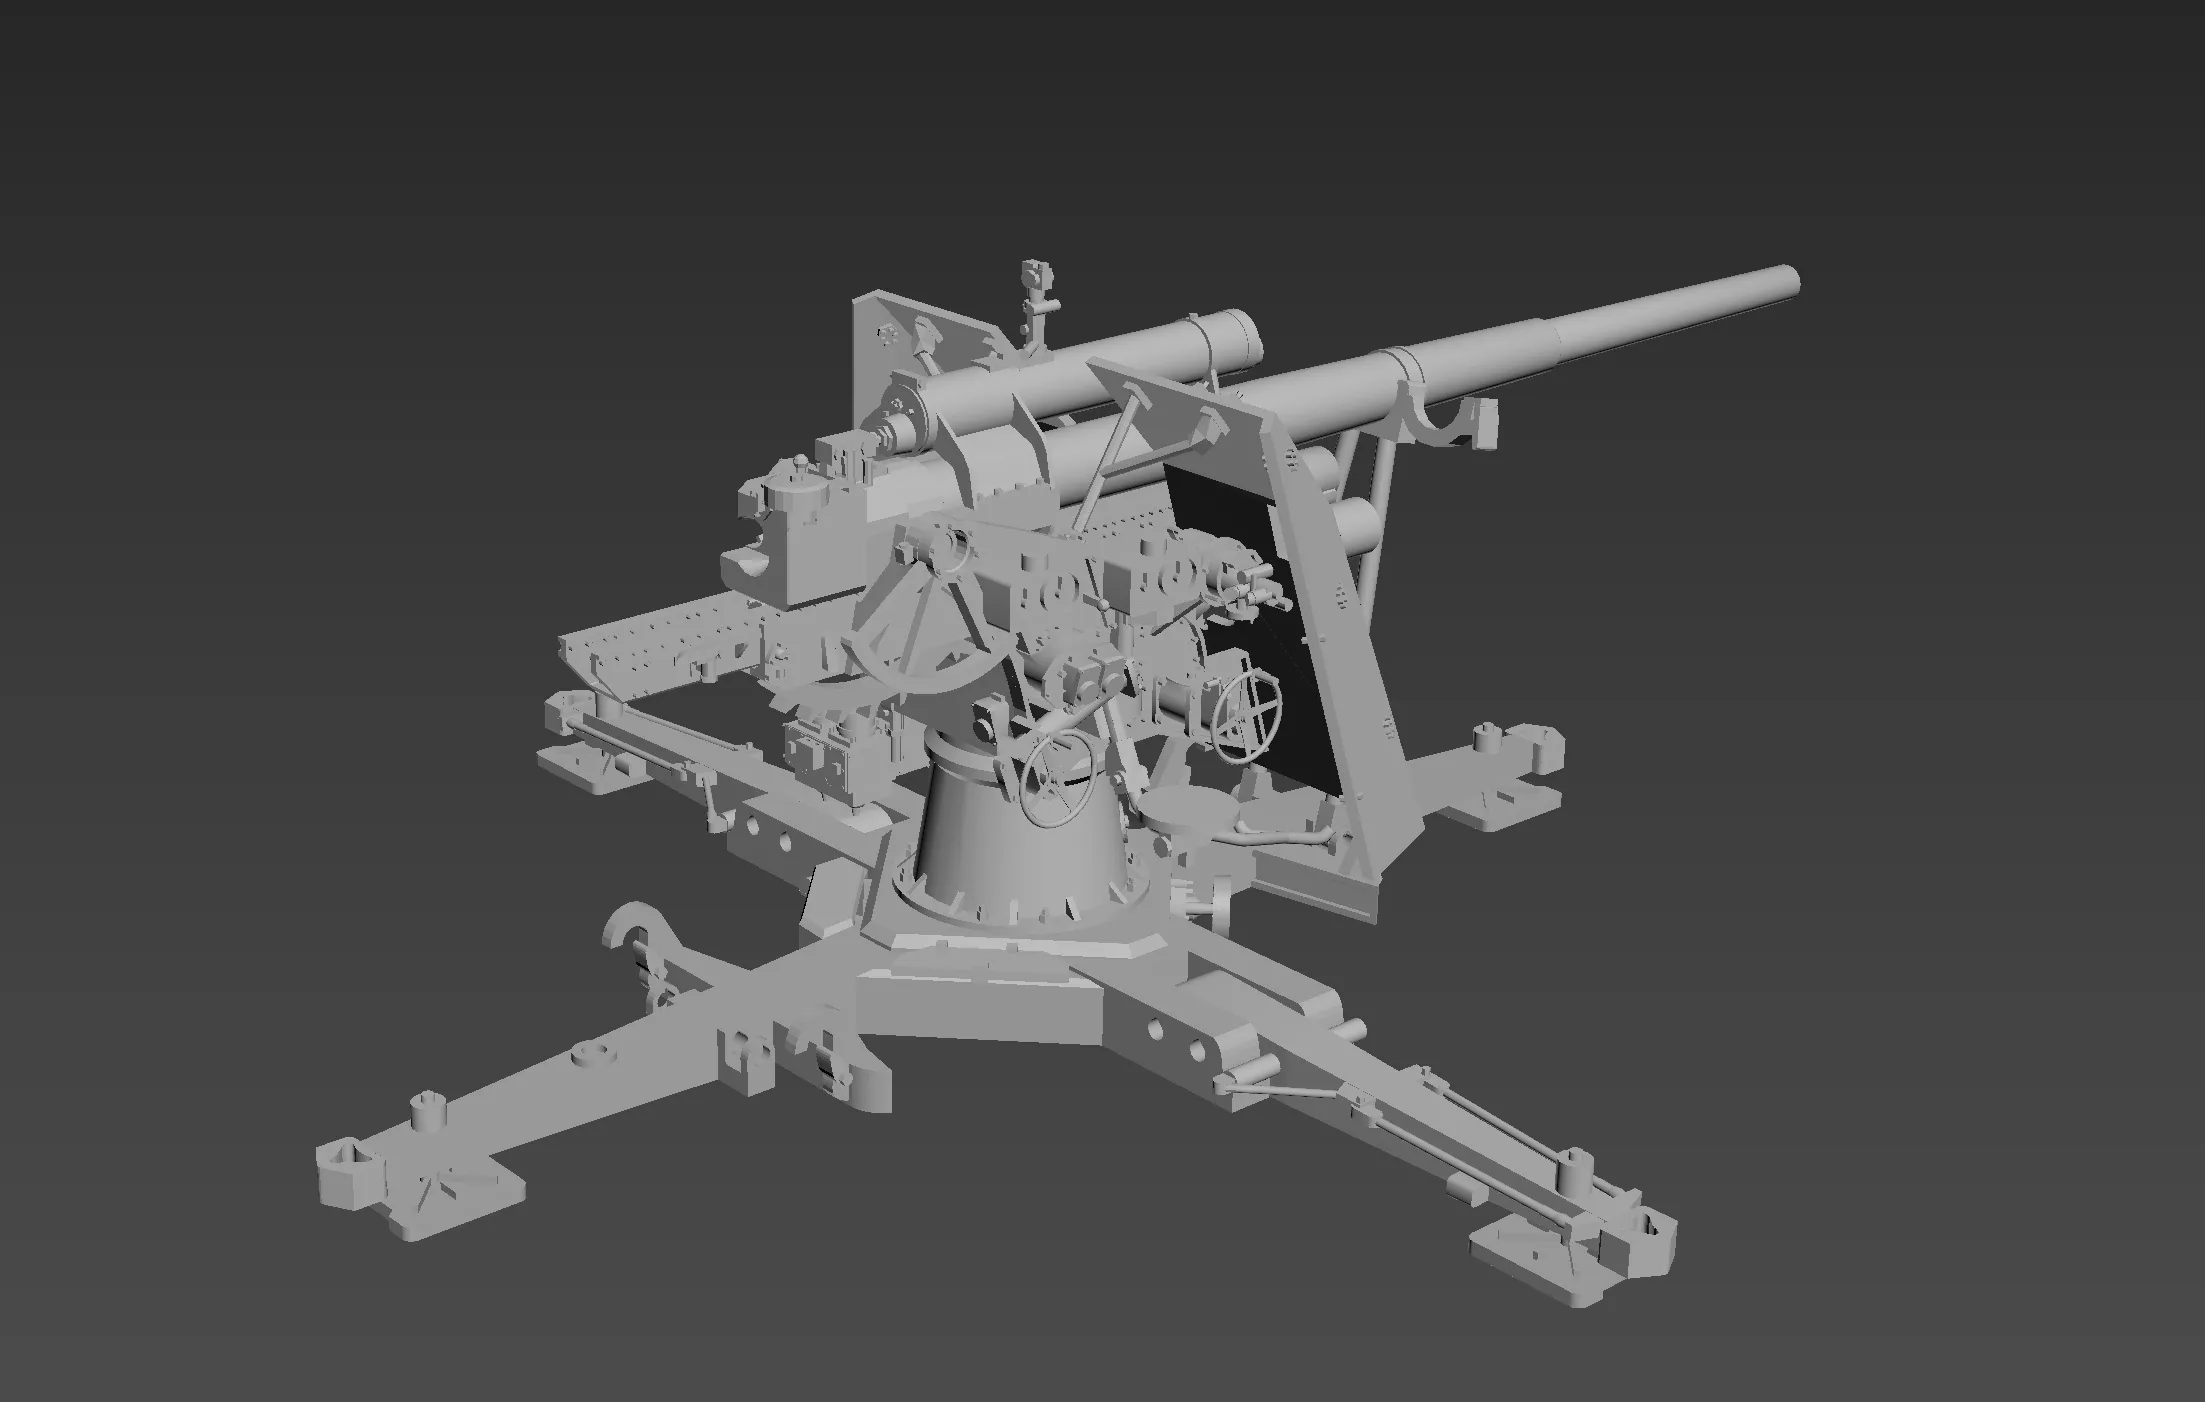
1:35 Towed 88mm Anti-Aircraft Gun, trailer with detachable wheel sets and movable wheels, 88mm Flak37/Sd.Ah.202 trailer
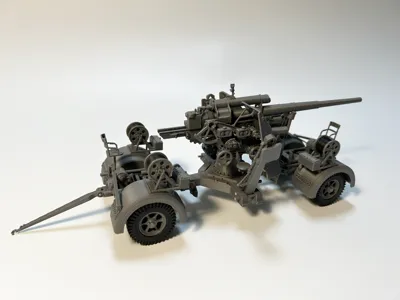
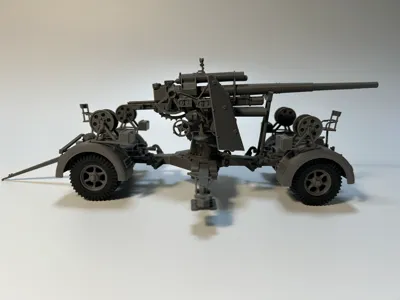
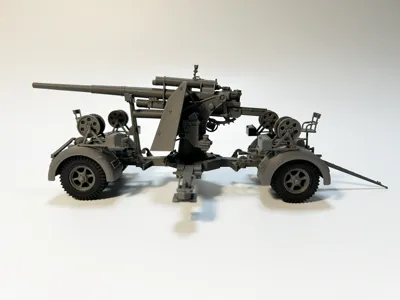
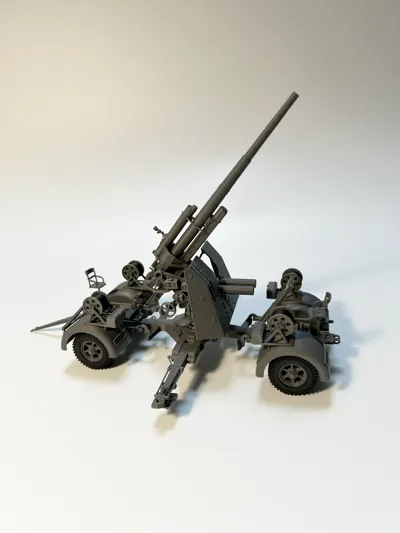
Print Profile(1)
Description
I used a 0.4 nozzle, and at this scale, I tried to preserve the original details. Some parts are very small, please be careful when removing supports
The filament used is PLA. I printed the tires and cable parts using black PLA
The main gun section is consistent with the previous 88mm gun carriage. The difference is the fixed gun mount and its matching Sd.Ah.202 trailer. The main gun section can be separated from the trailer, and the wheels are movable
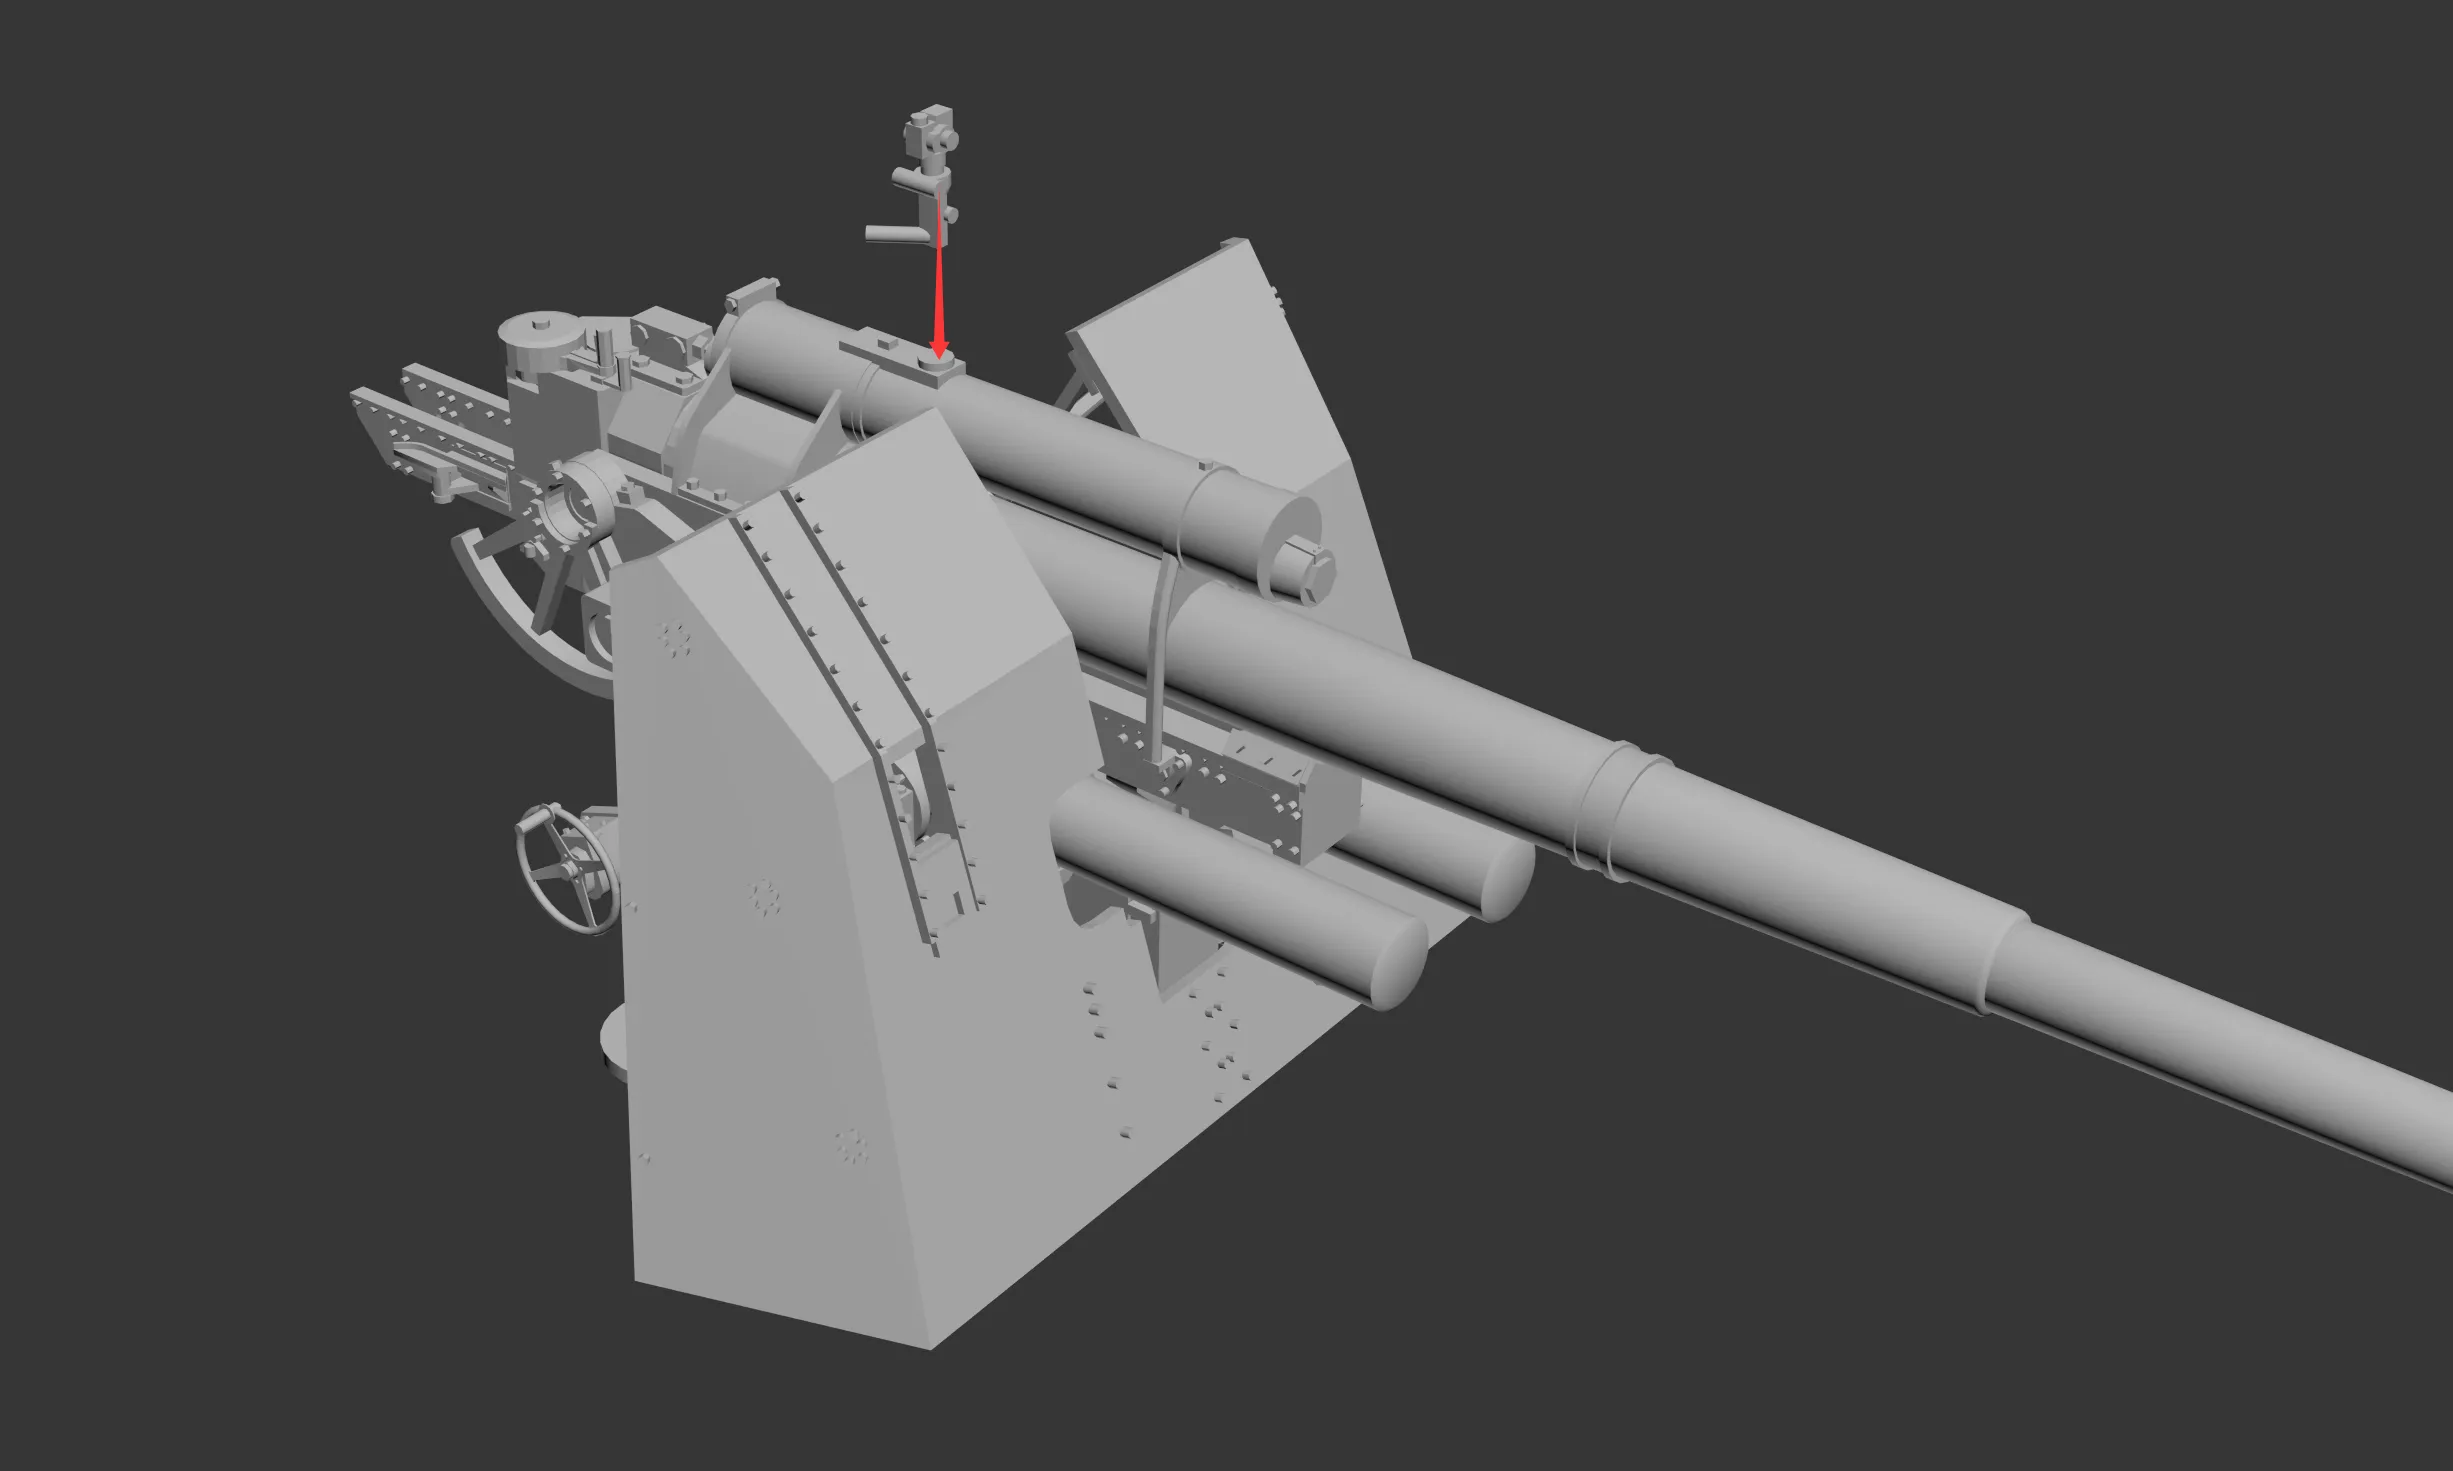
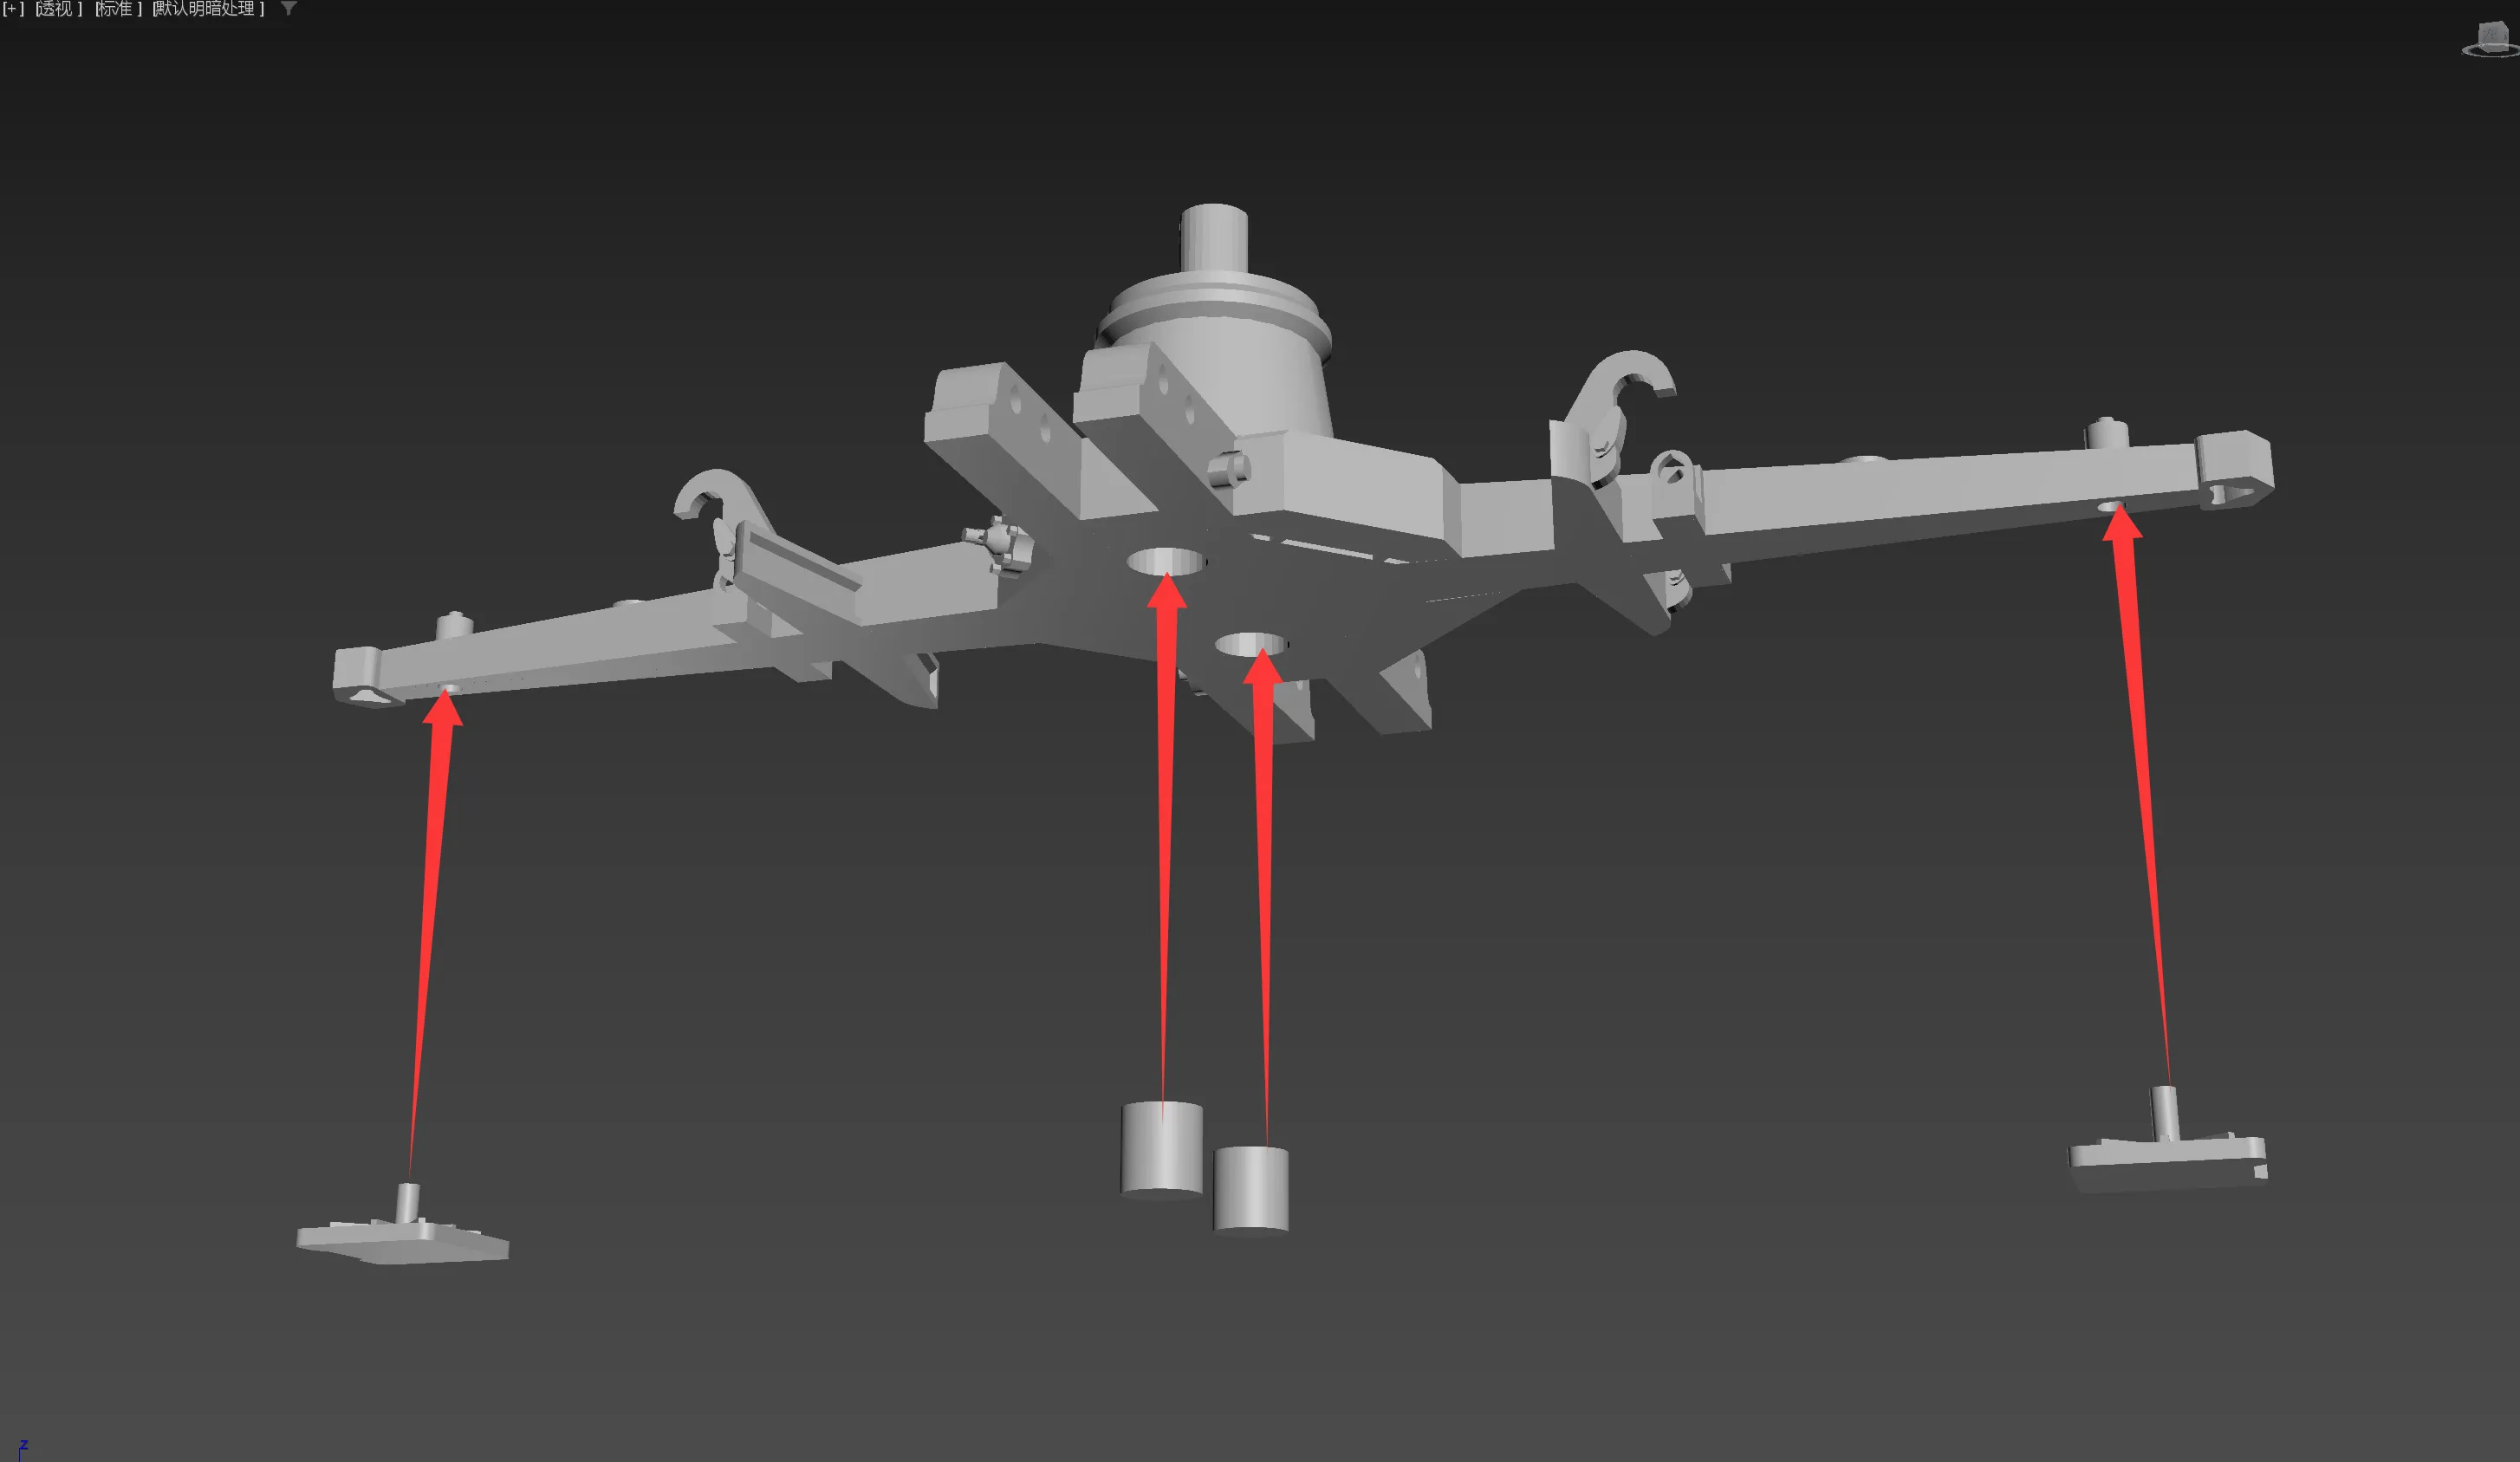
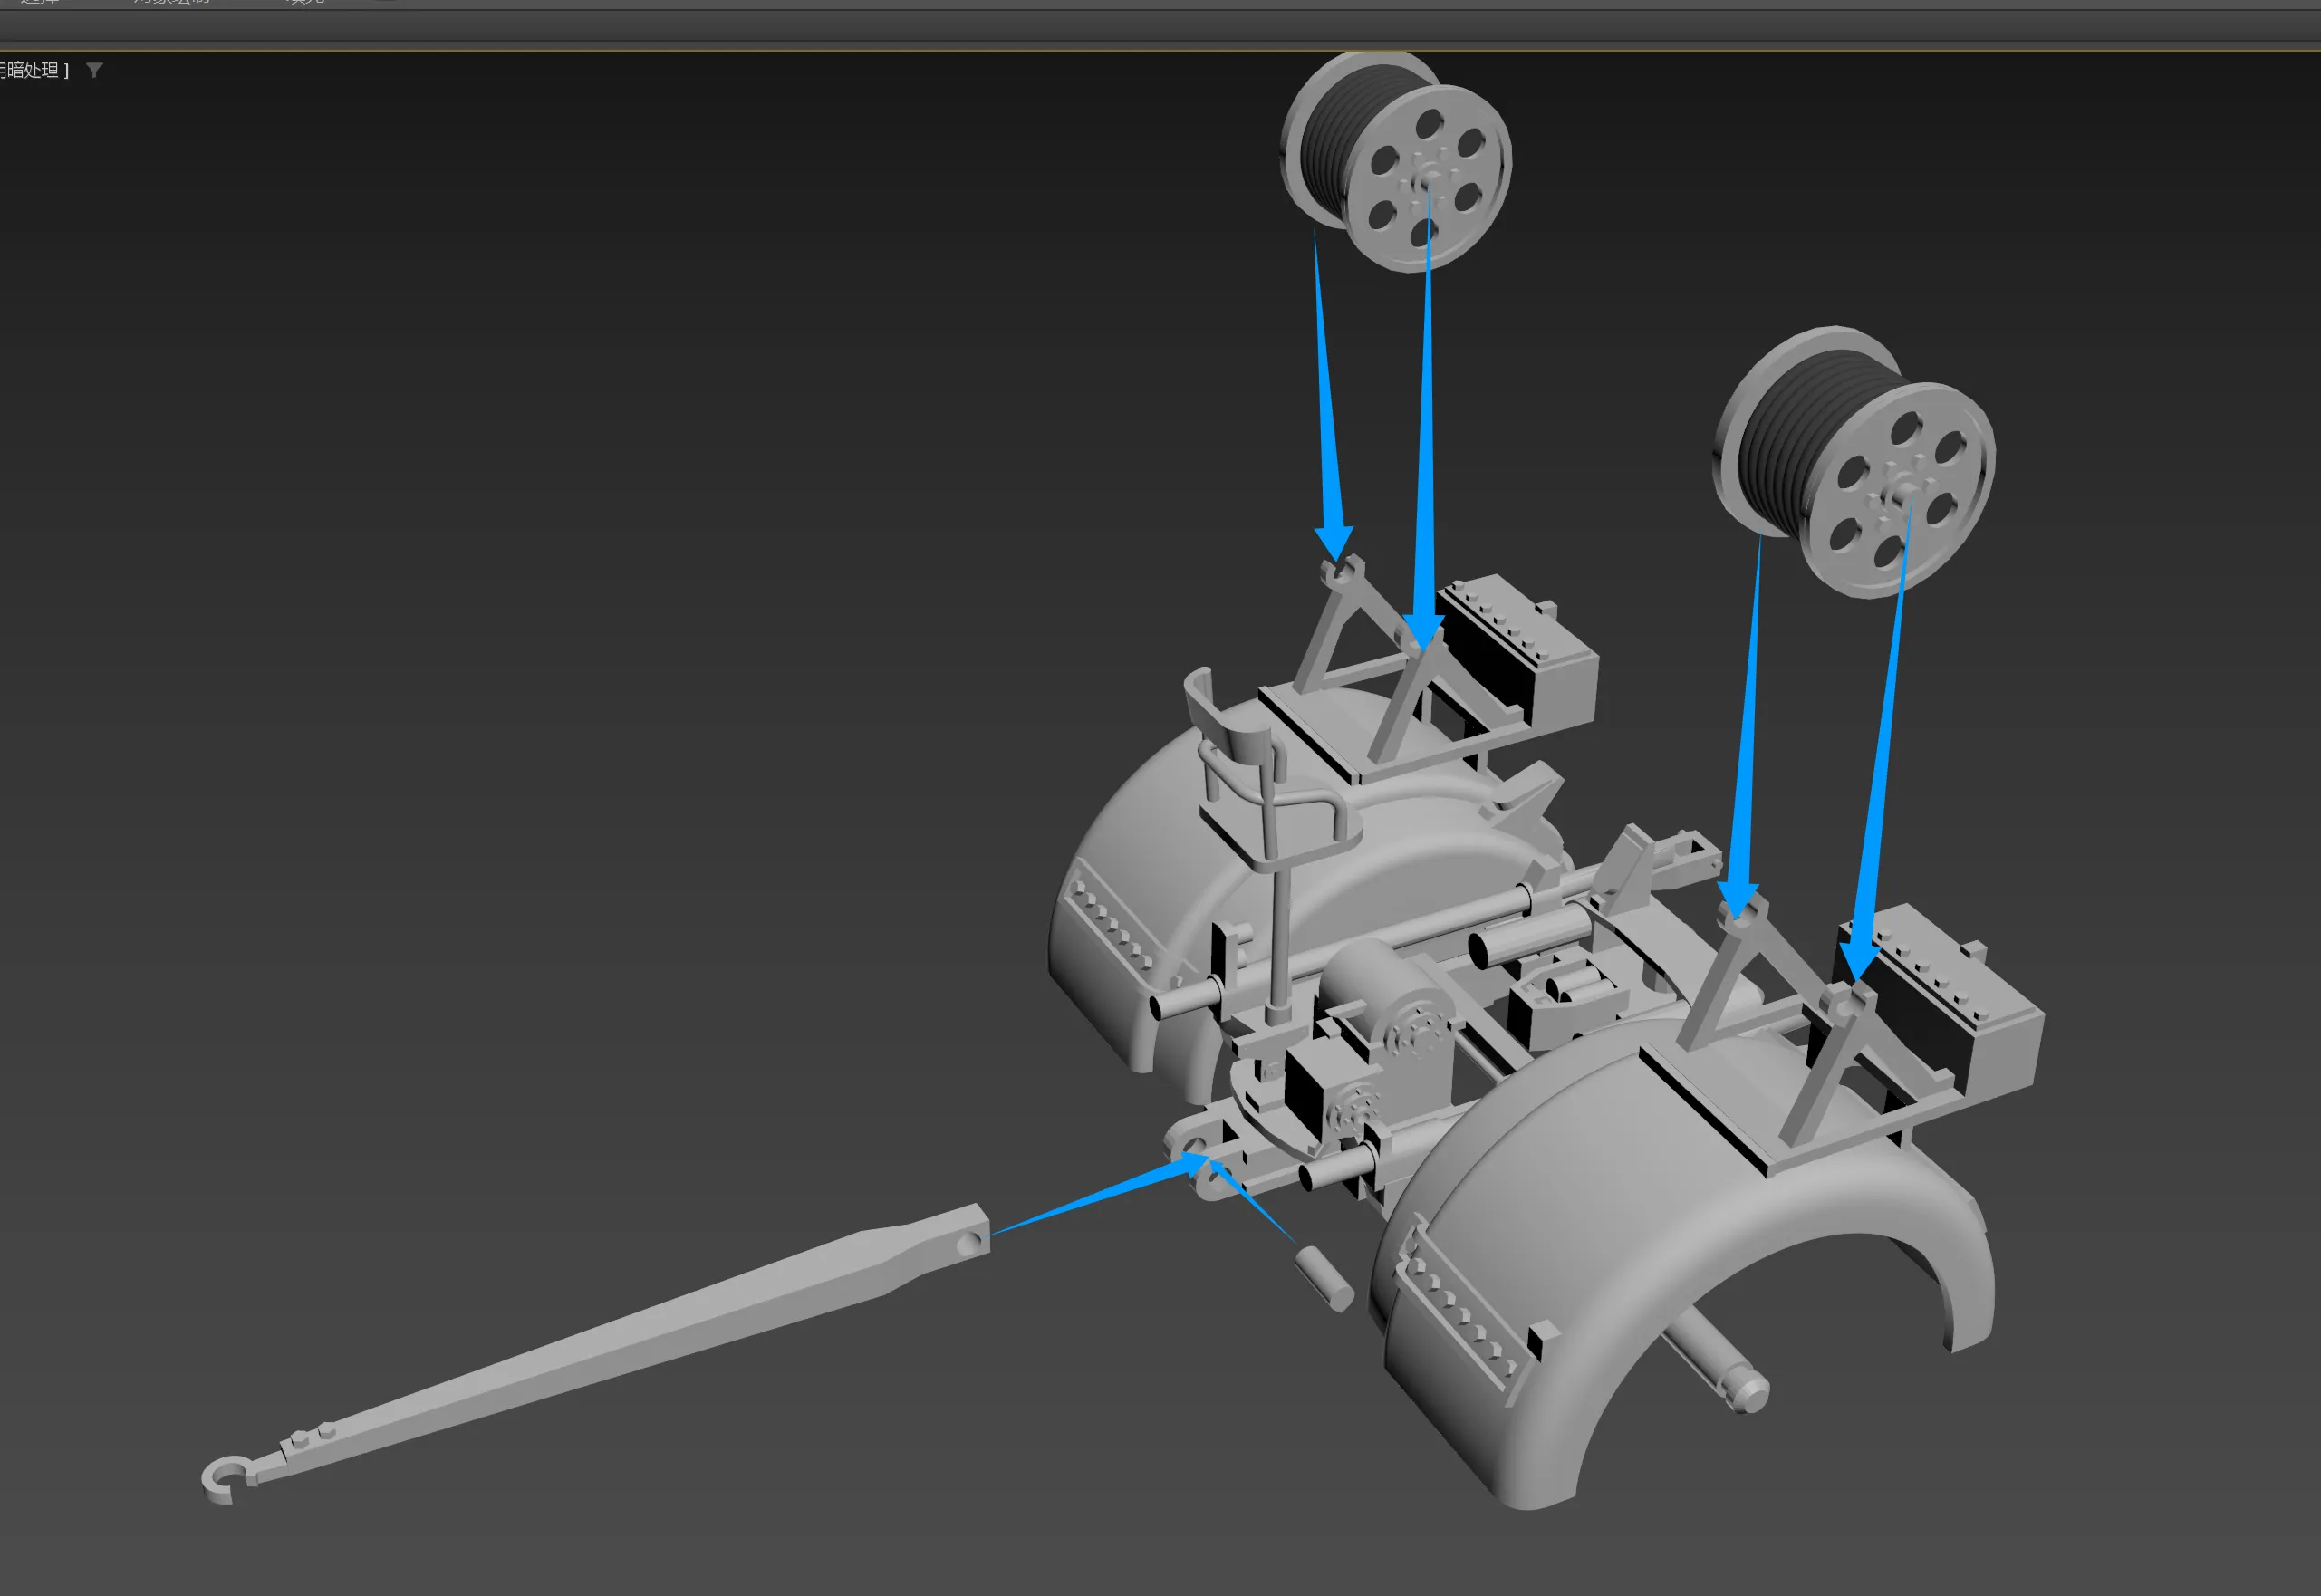
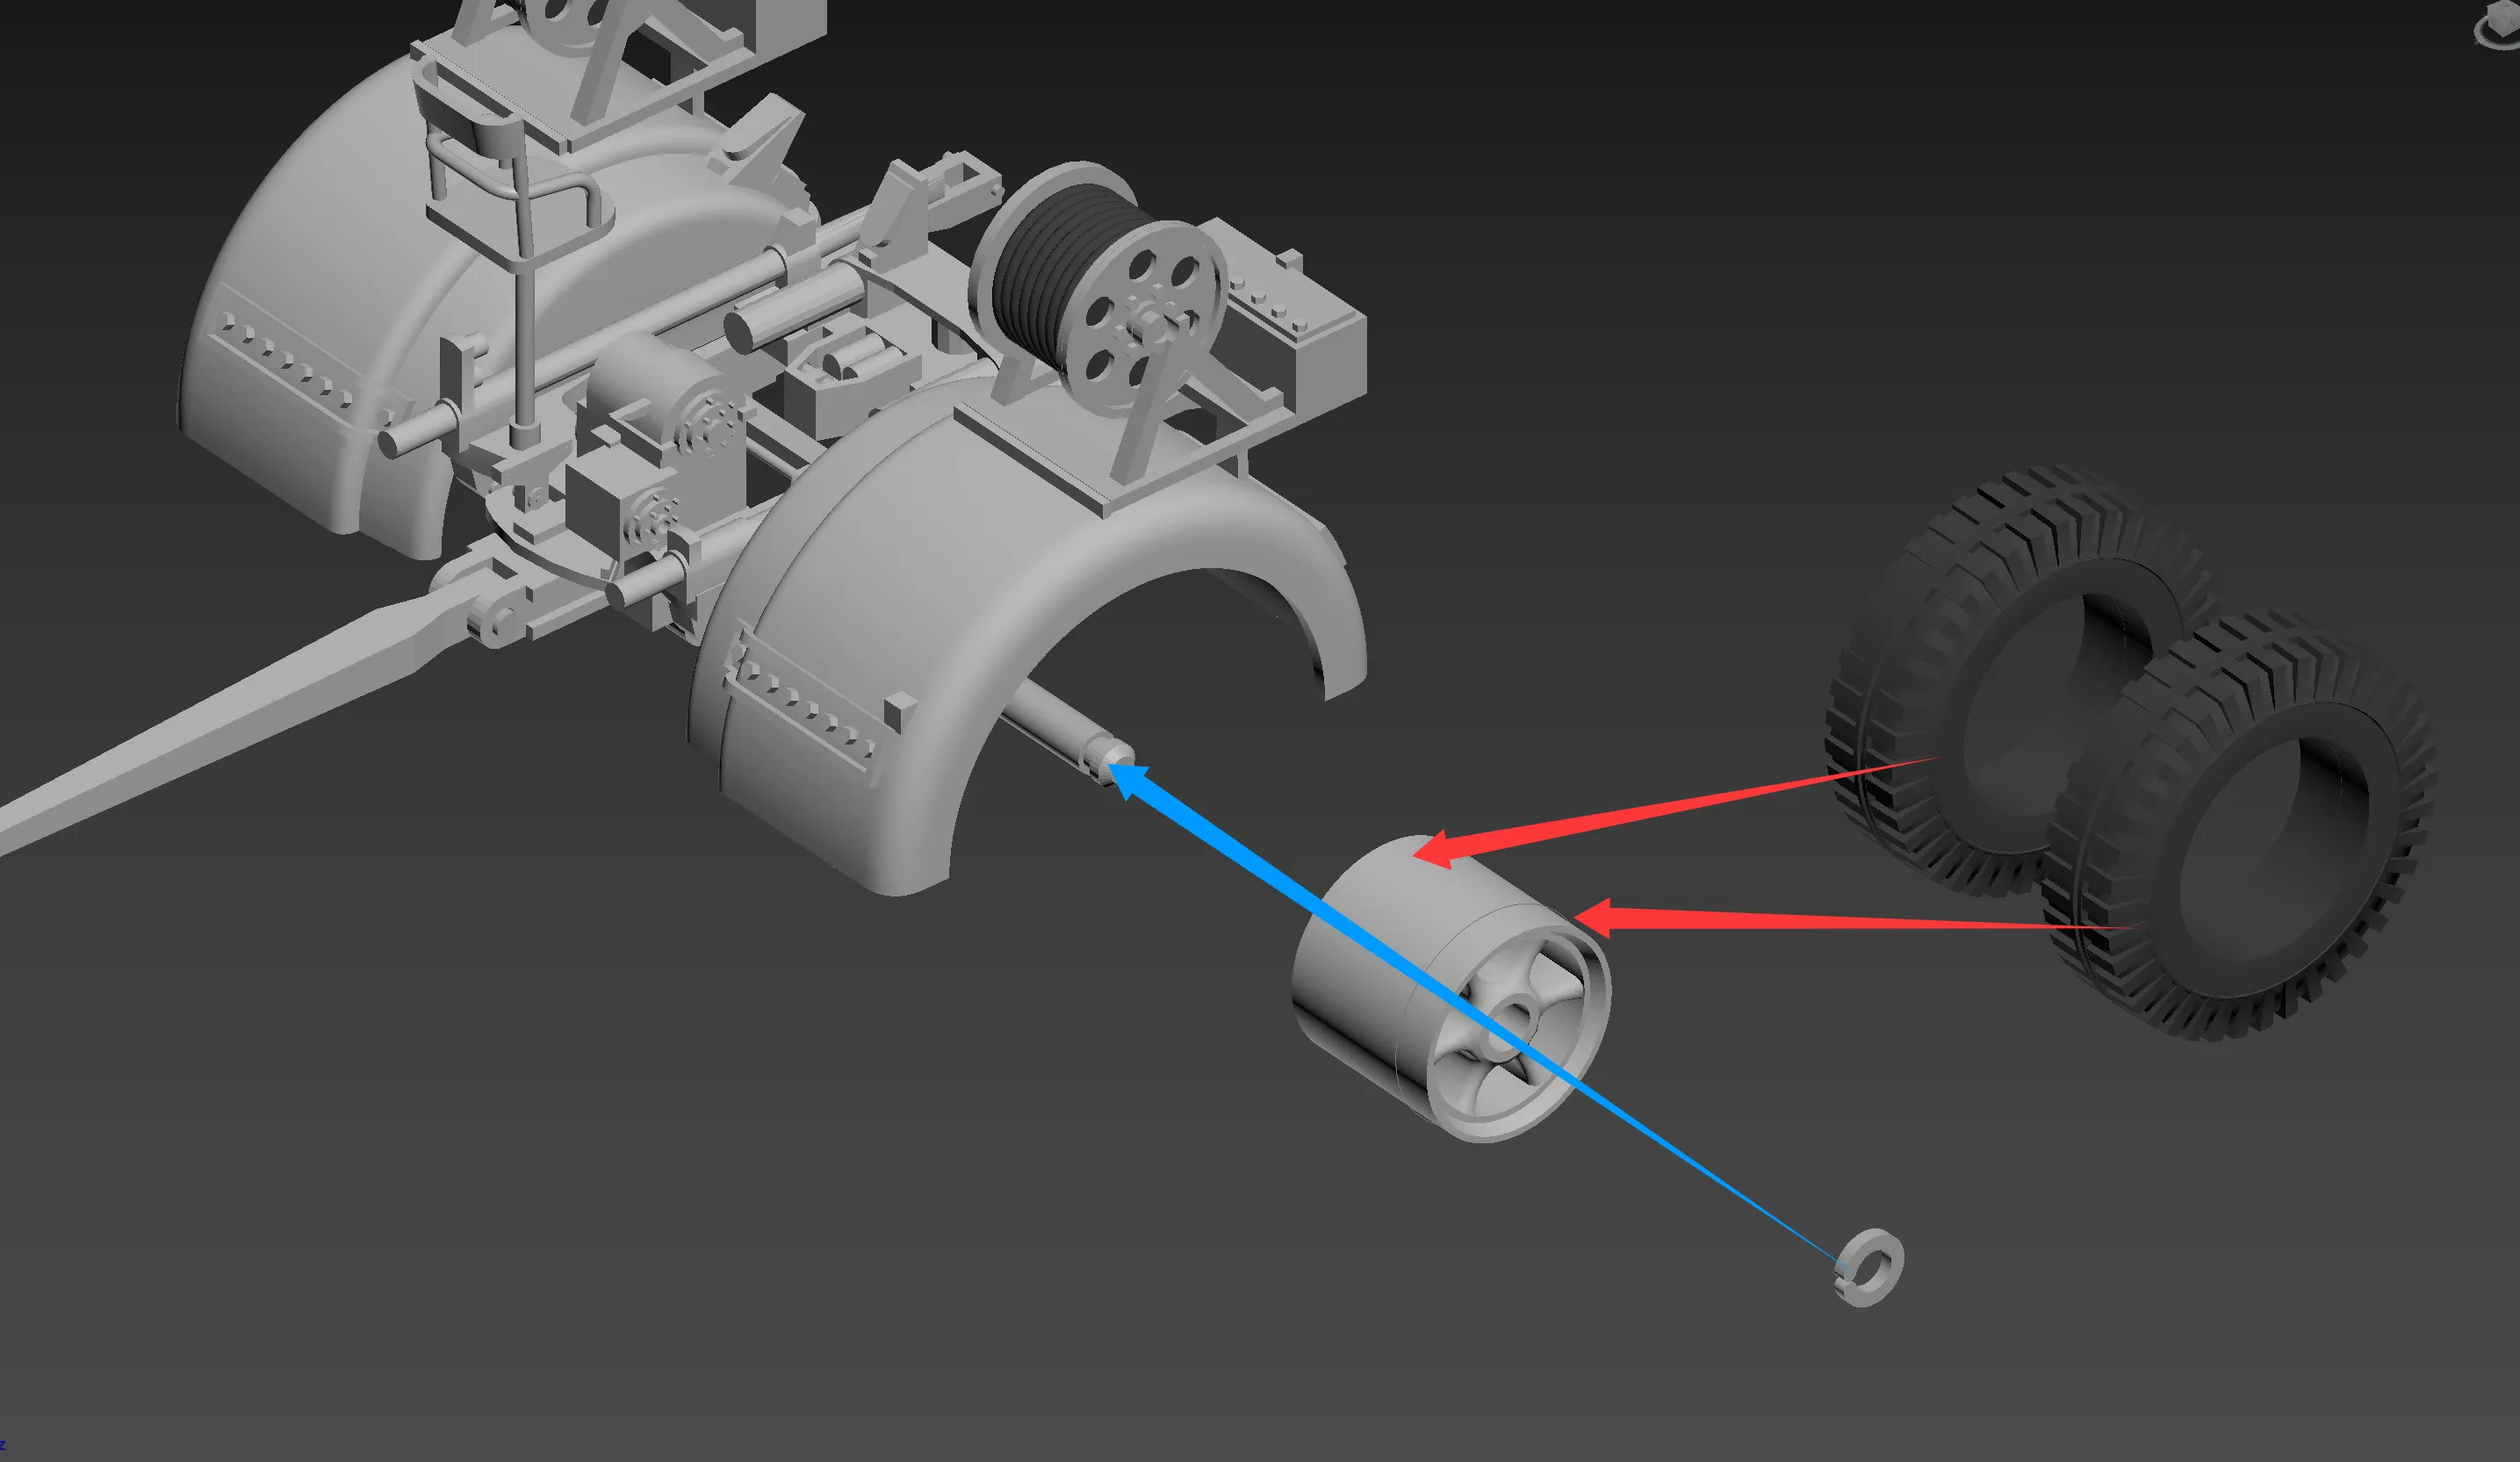
The parts indicated by red arrows require glue for assembly, while the blue parts do not require glue
Below are the assembly instructions
Main gun section (consistent with the previous 88mm gun carriage)
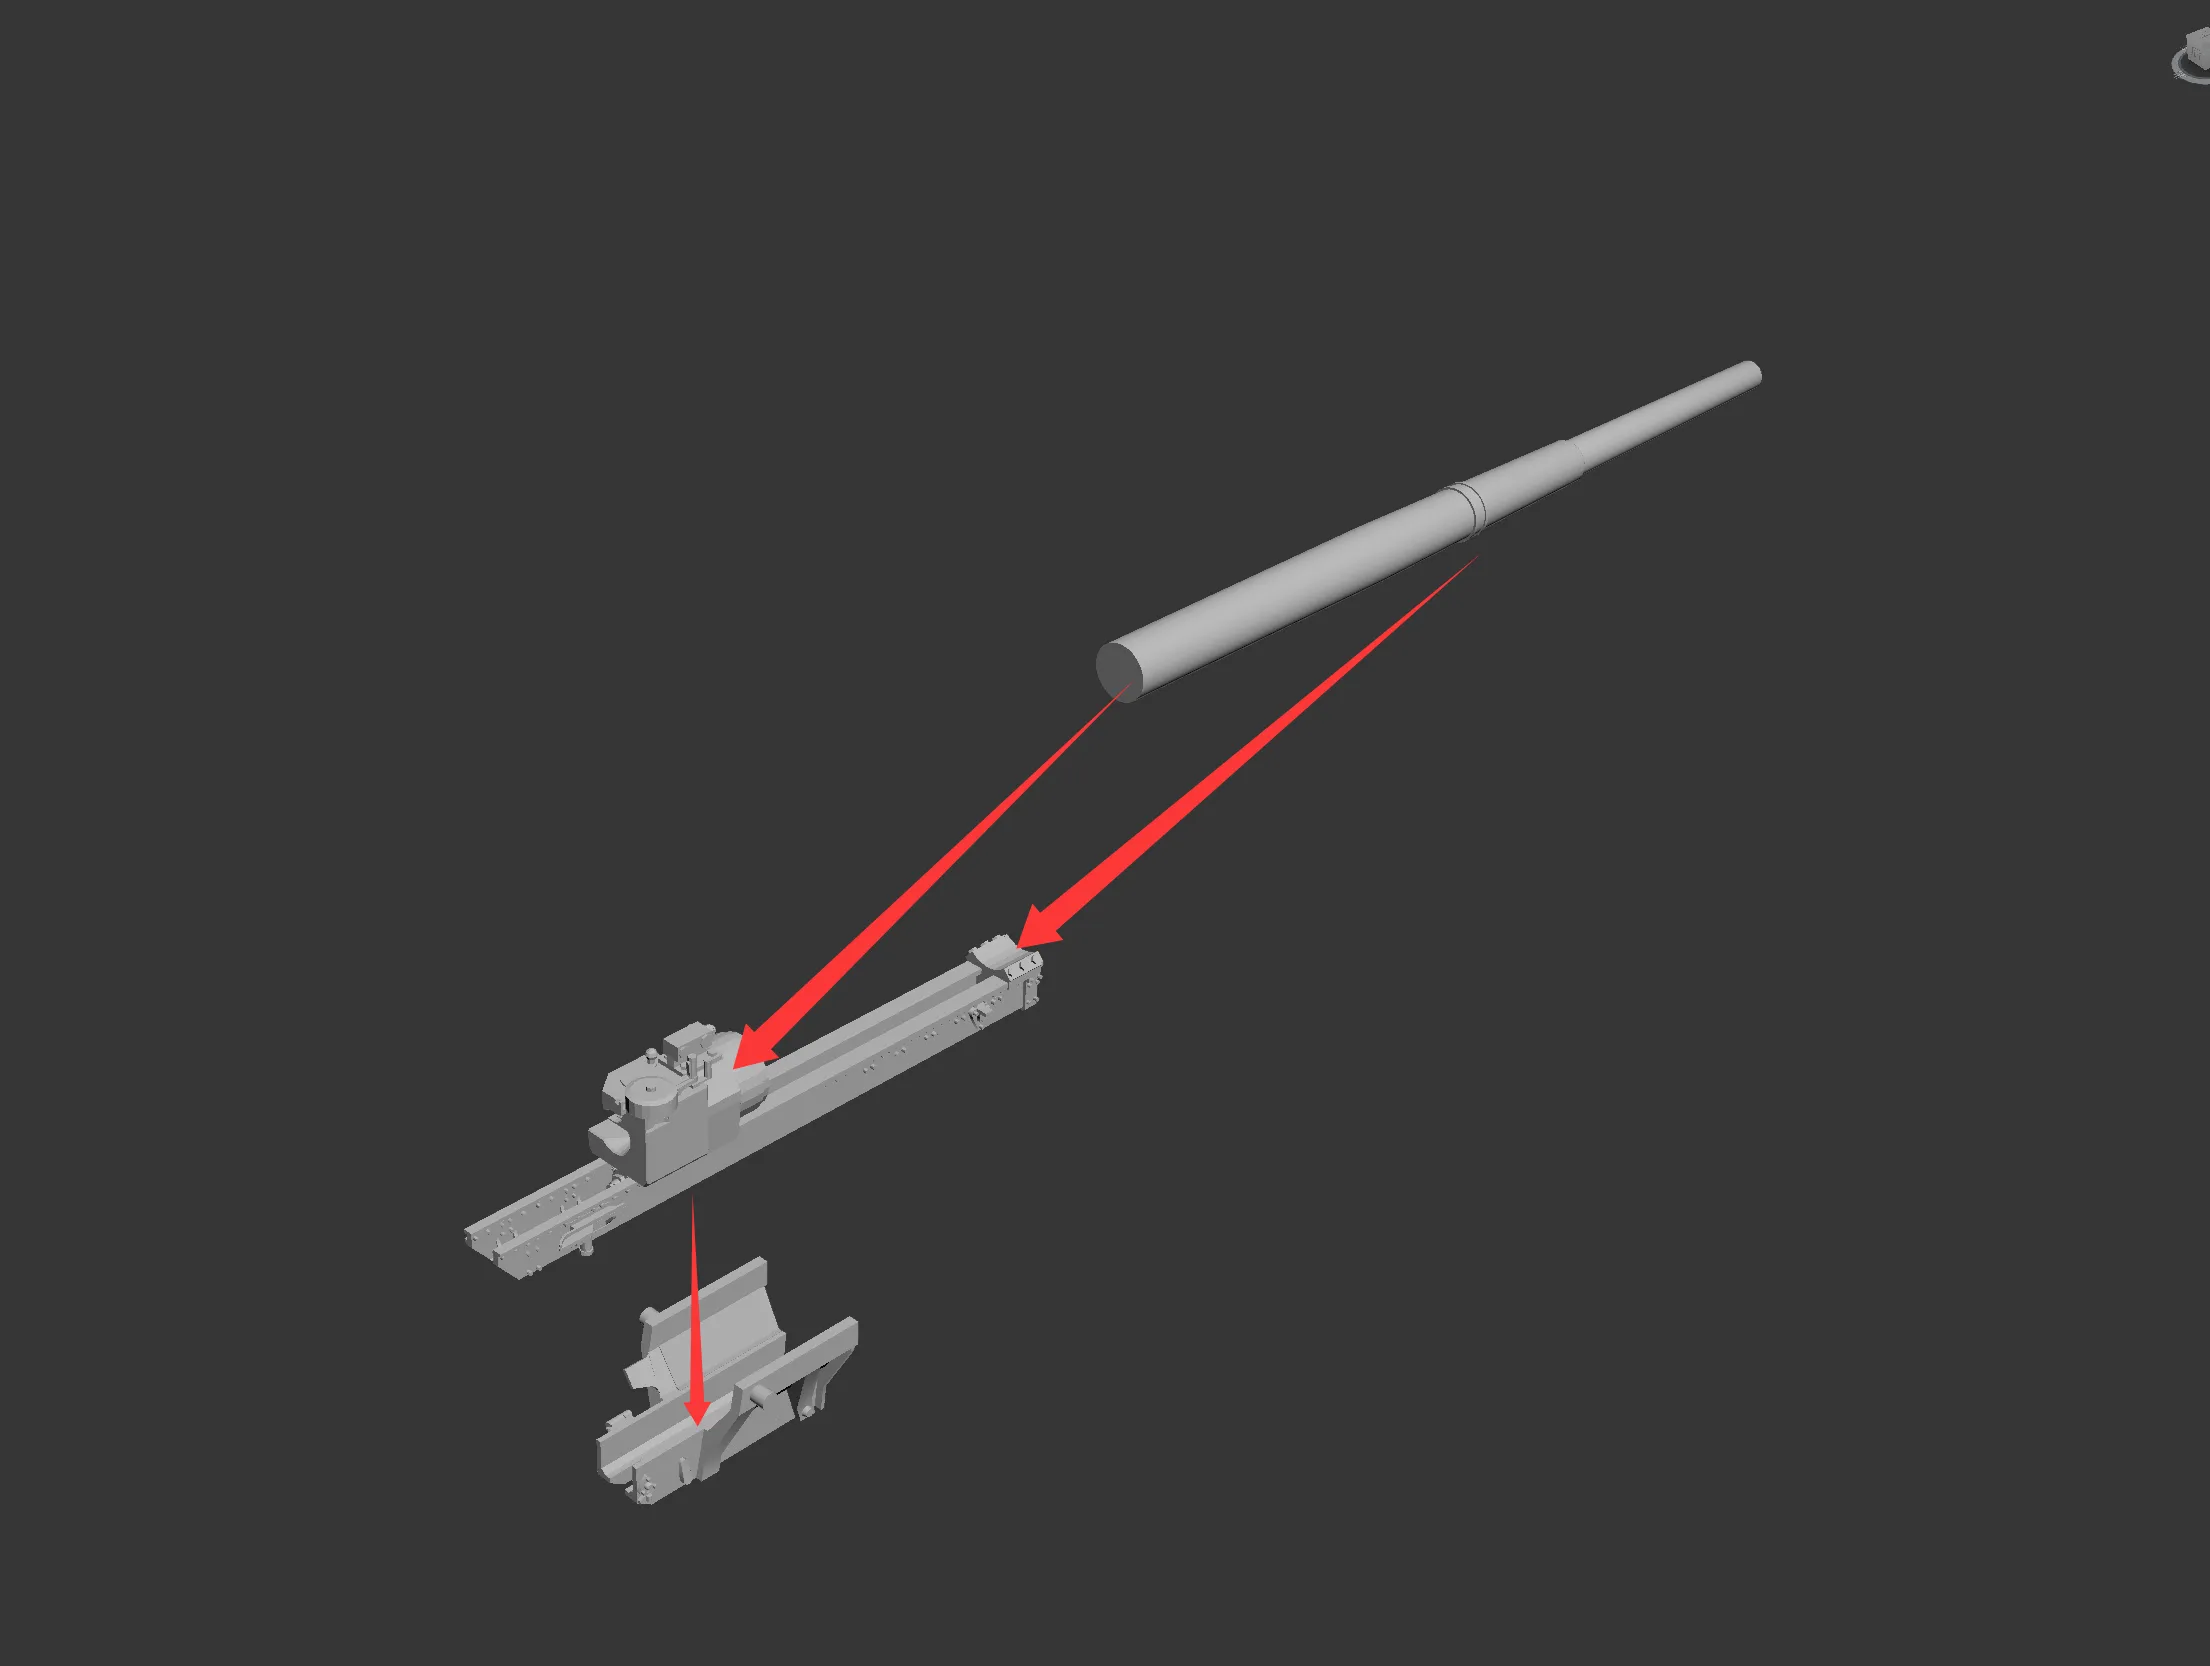
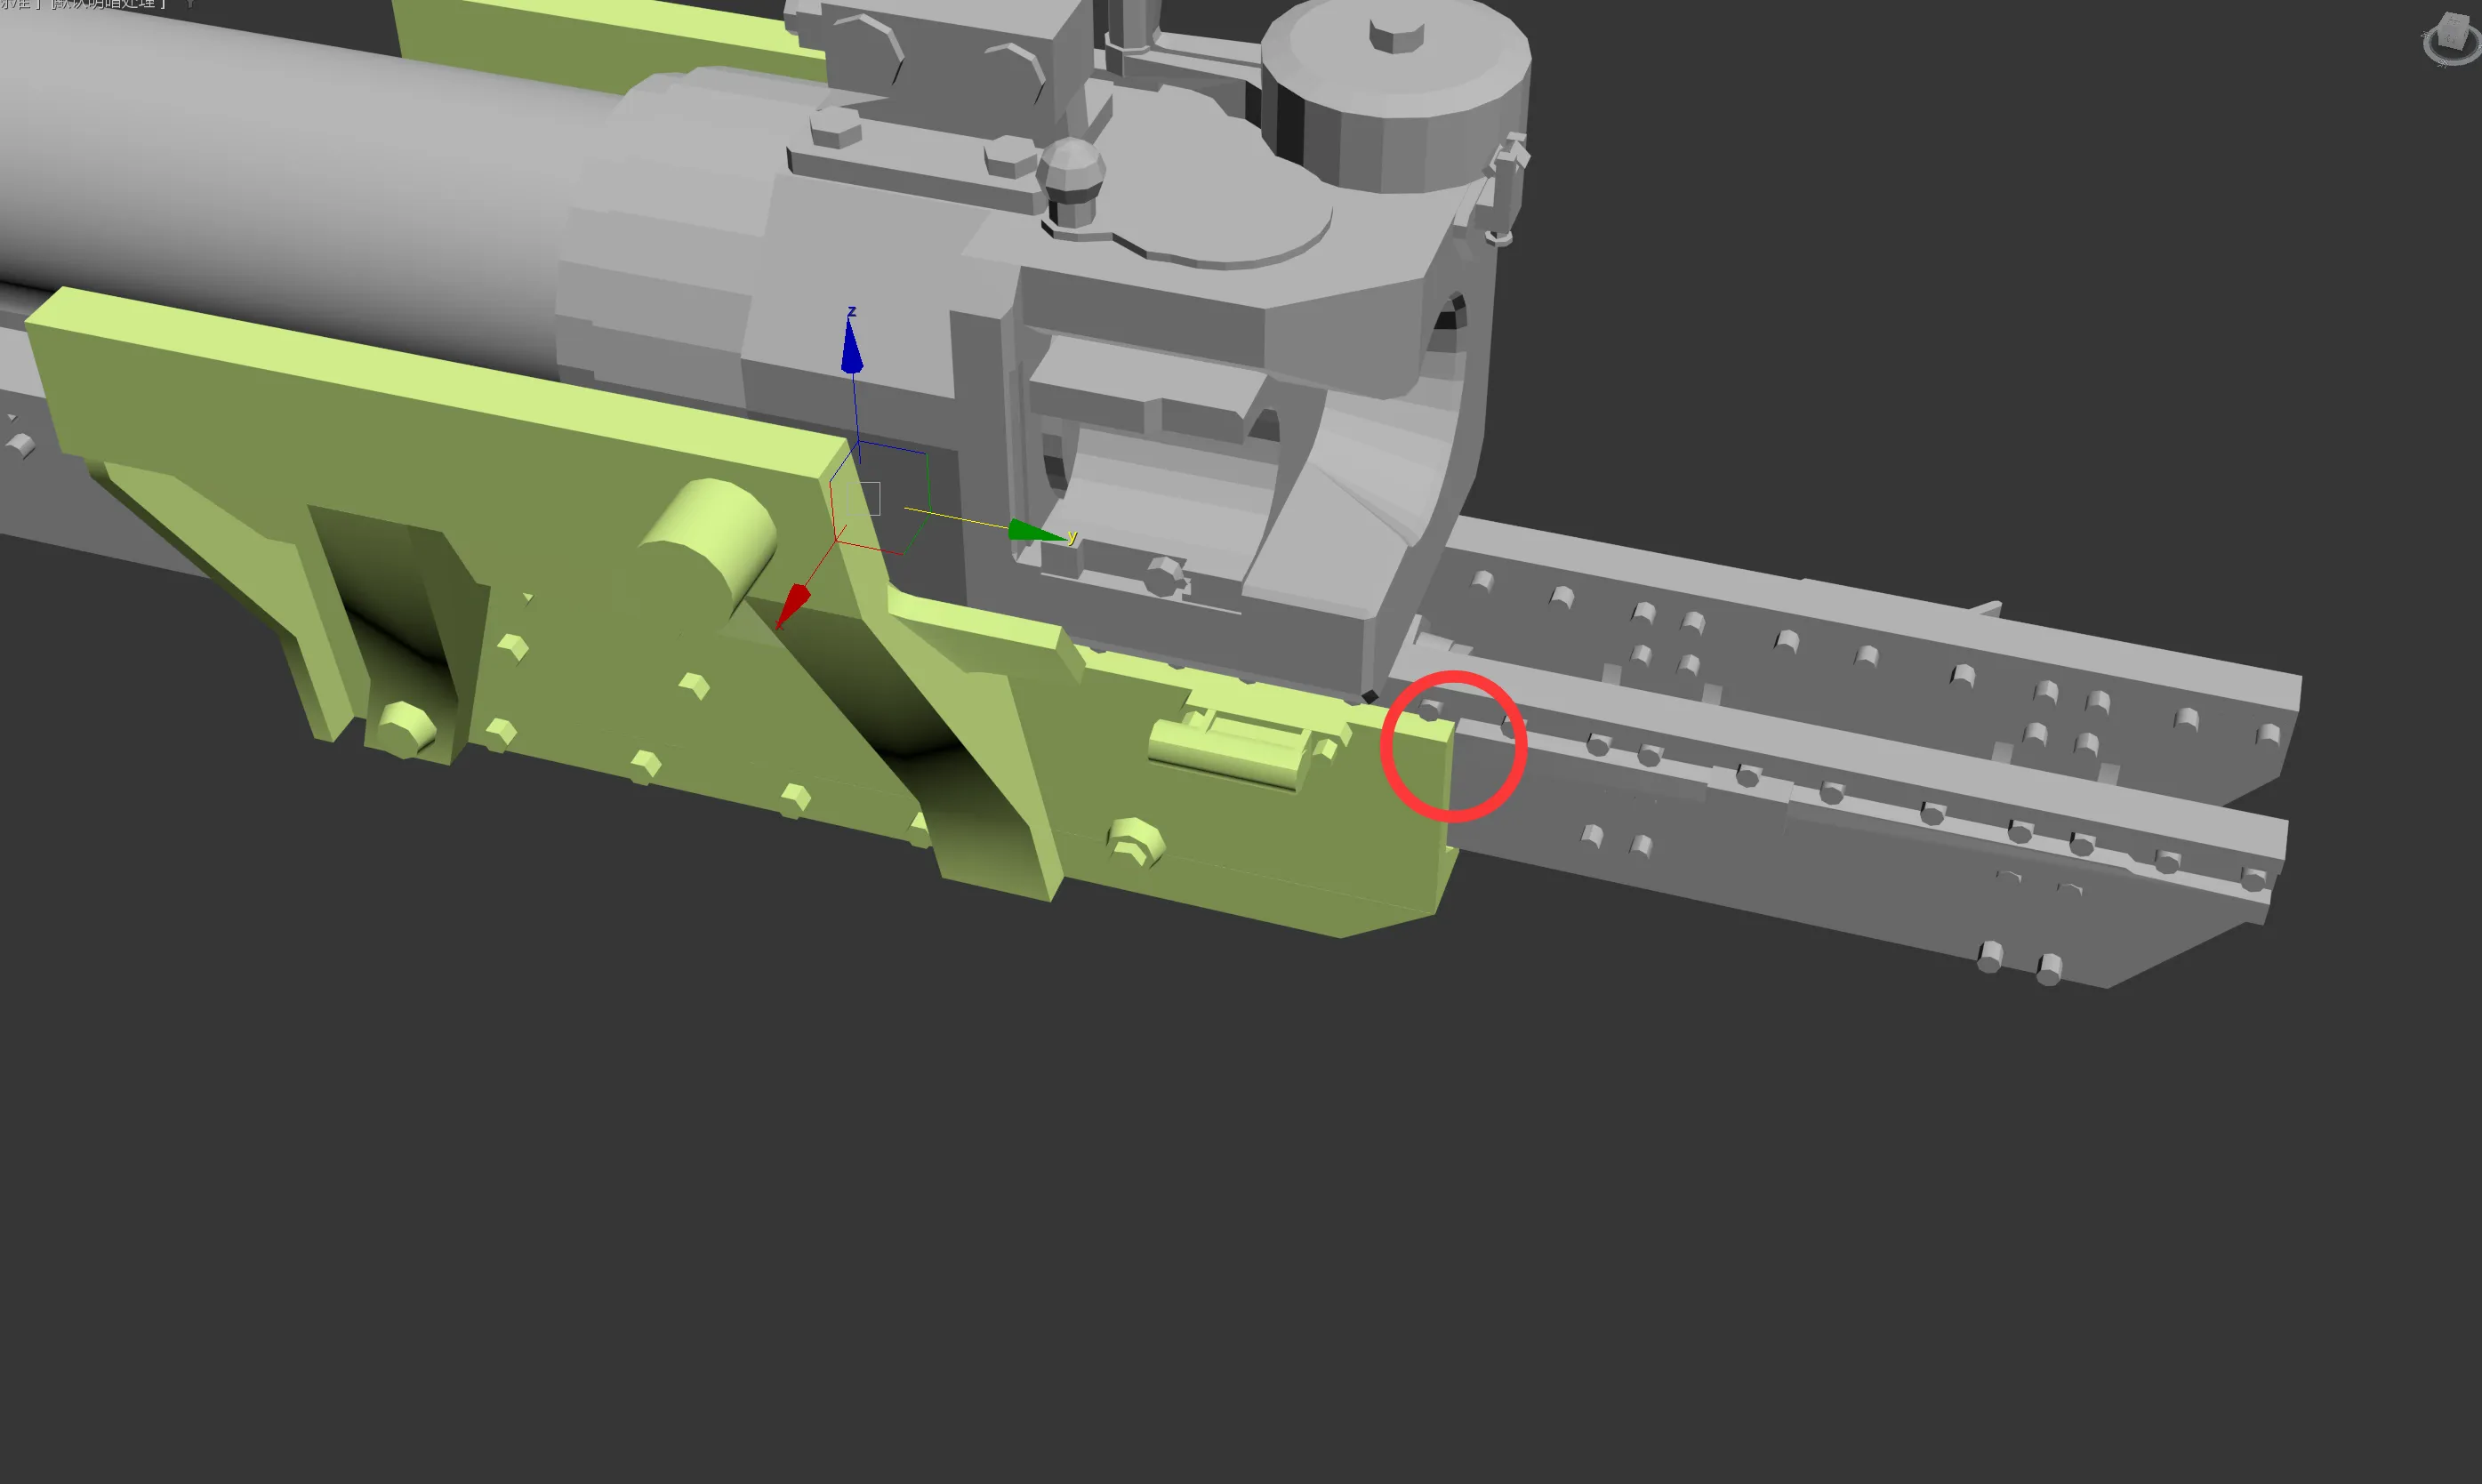
The two parts of the rail section should be installed in place as shown in the figure
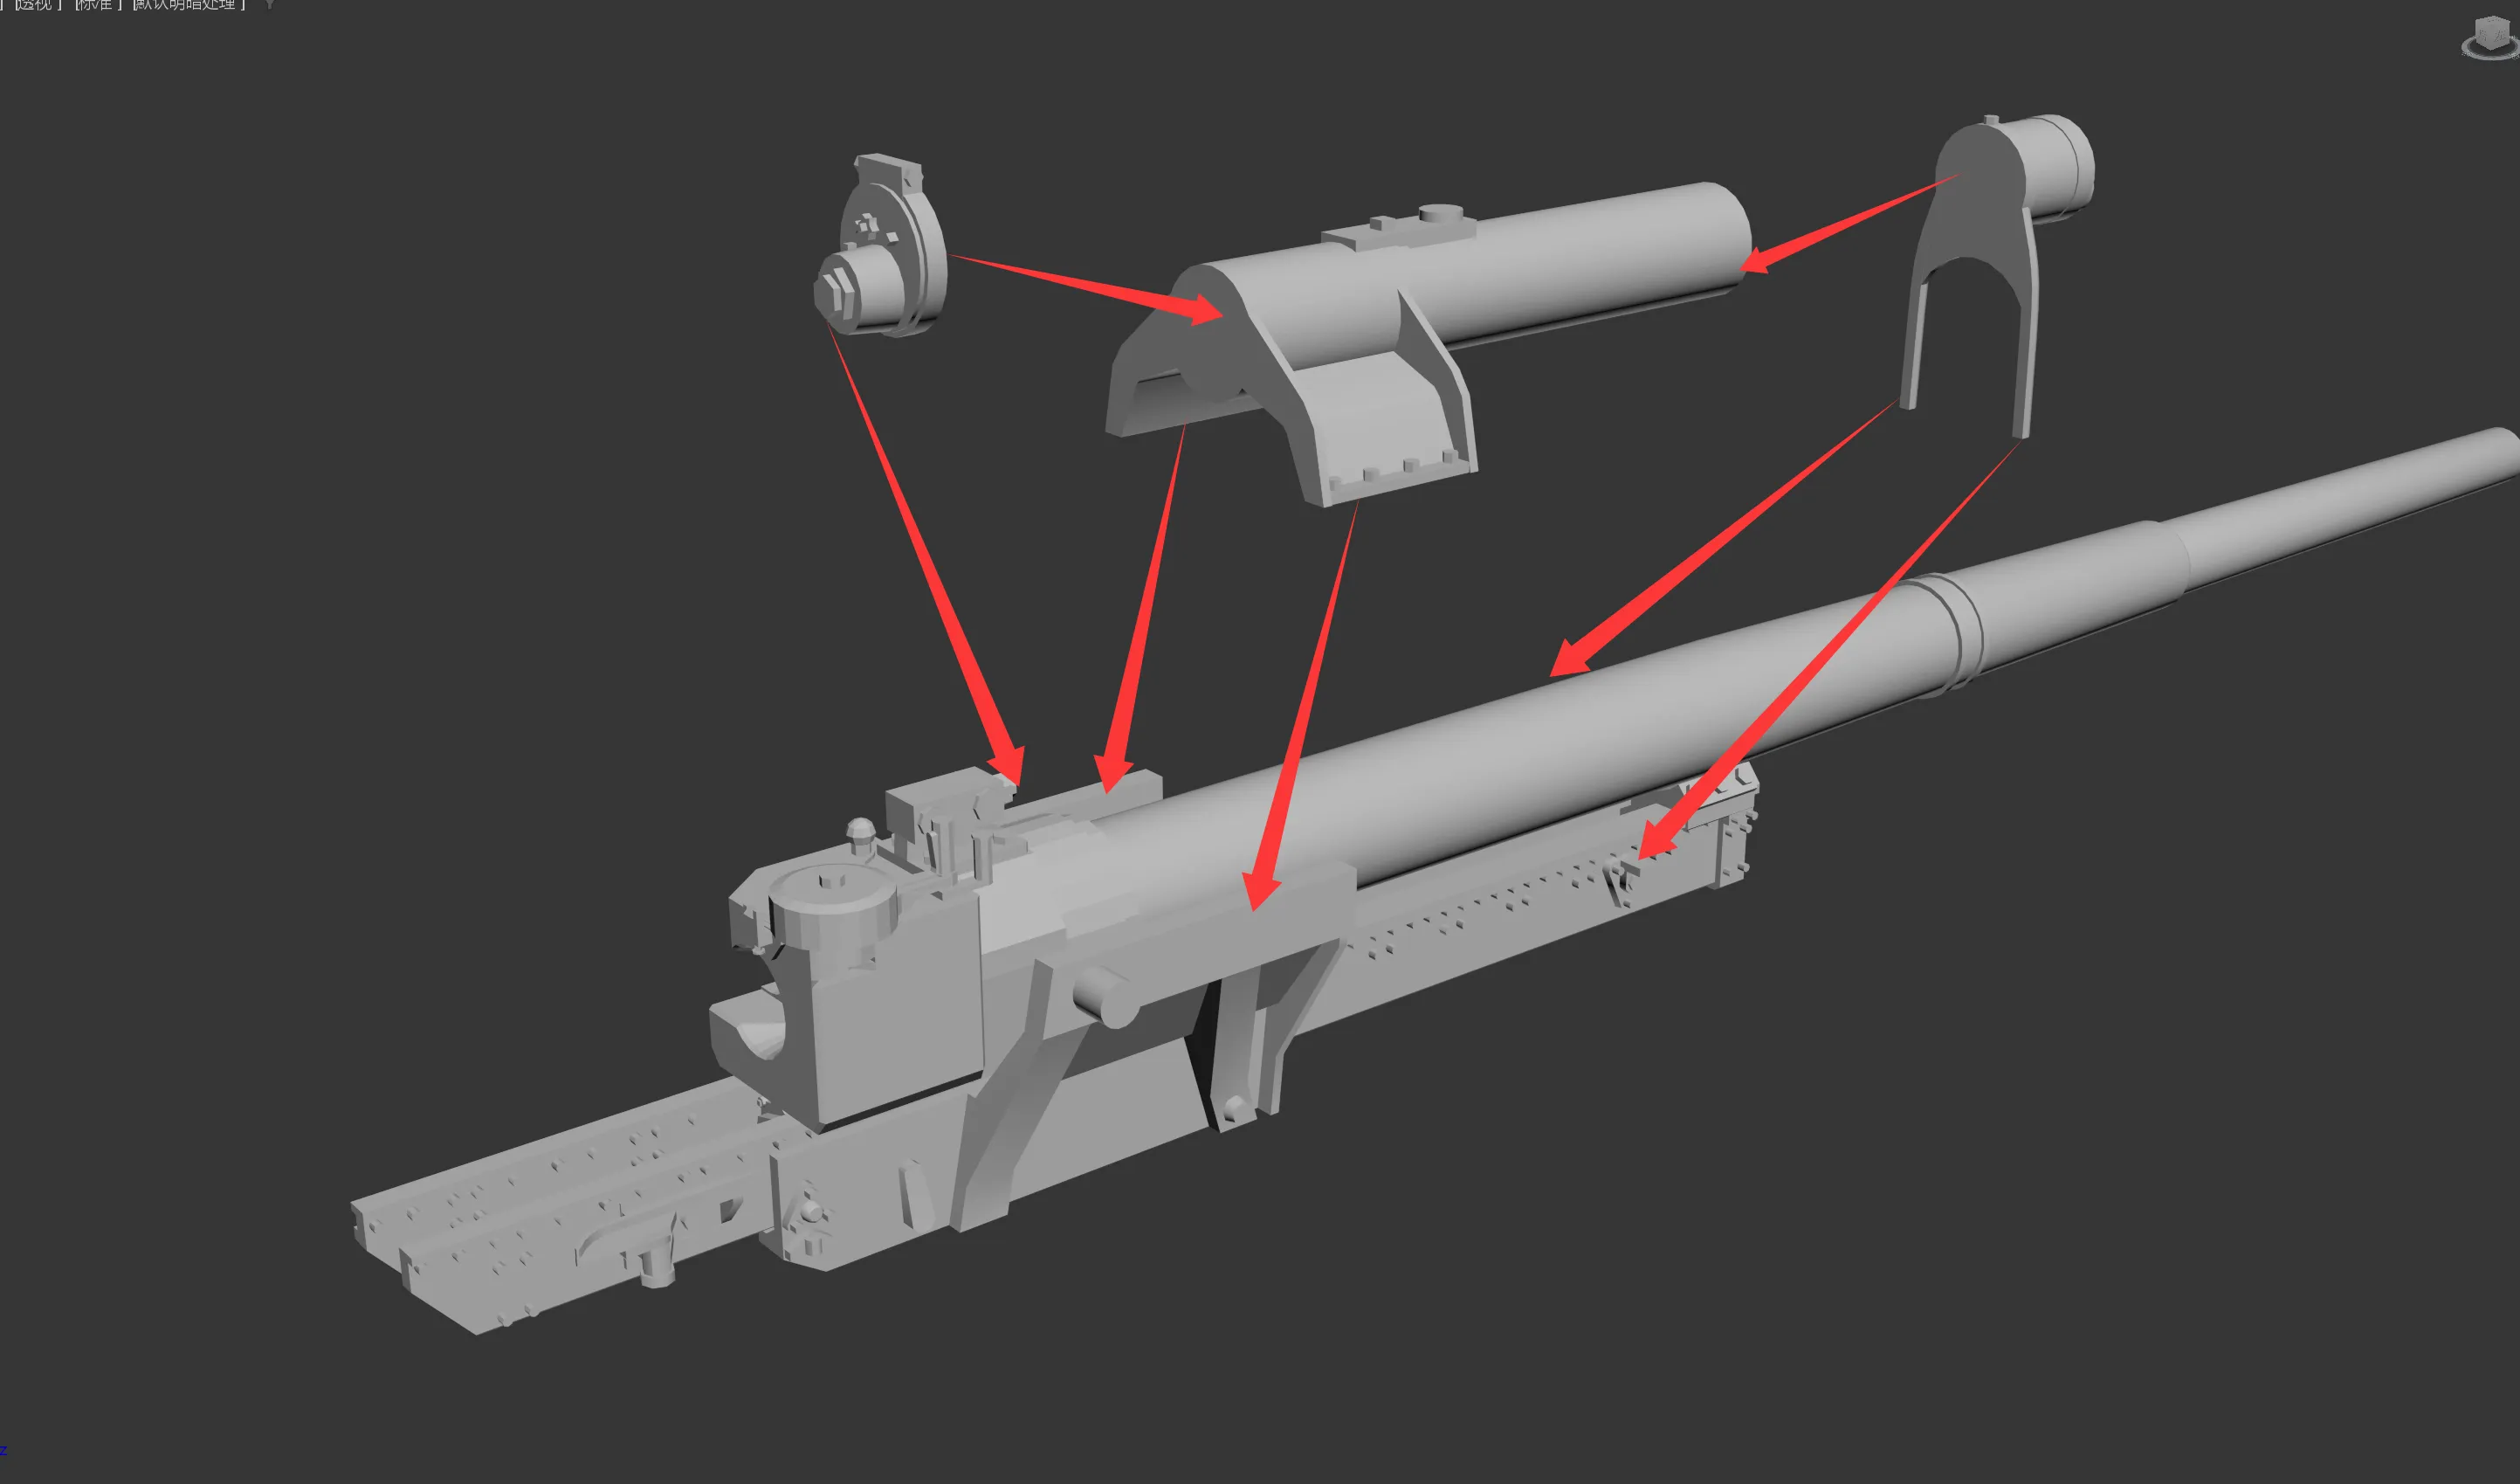
Should be installed in place as shown in the figure
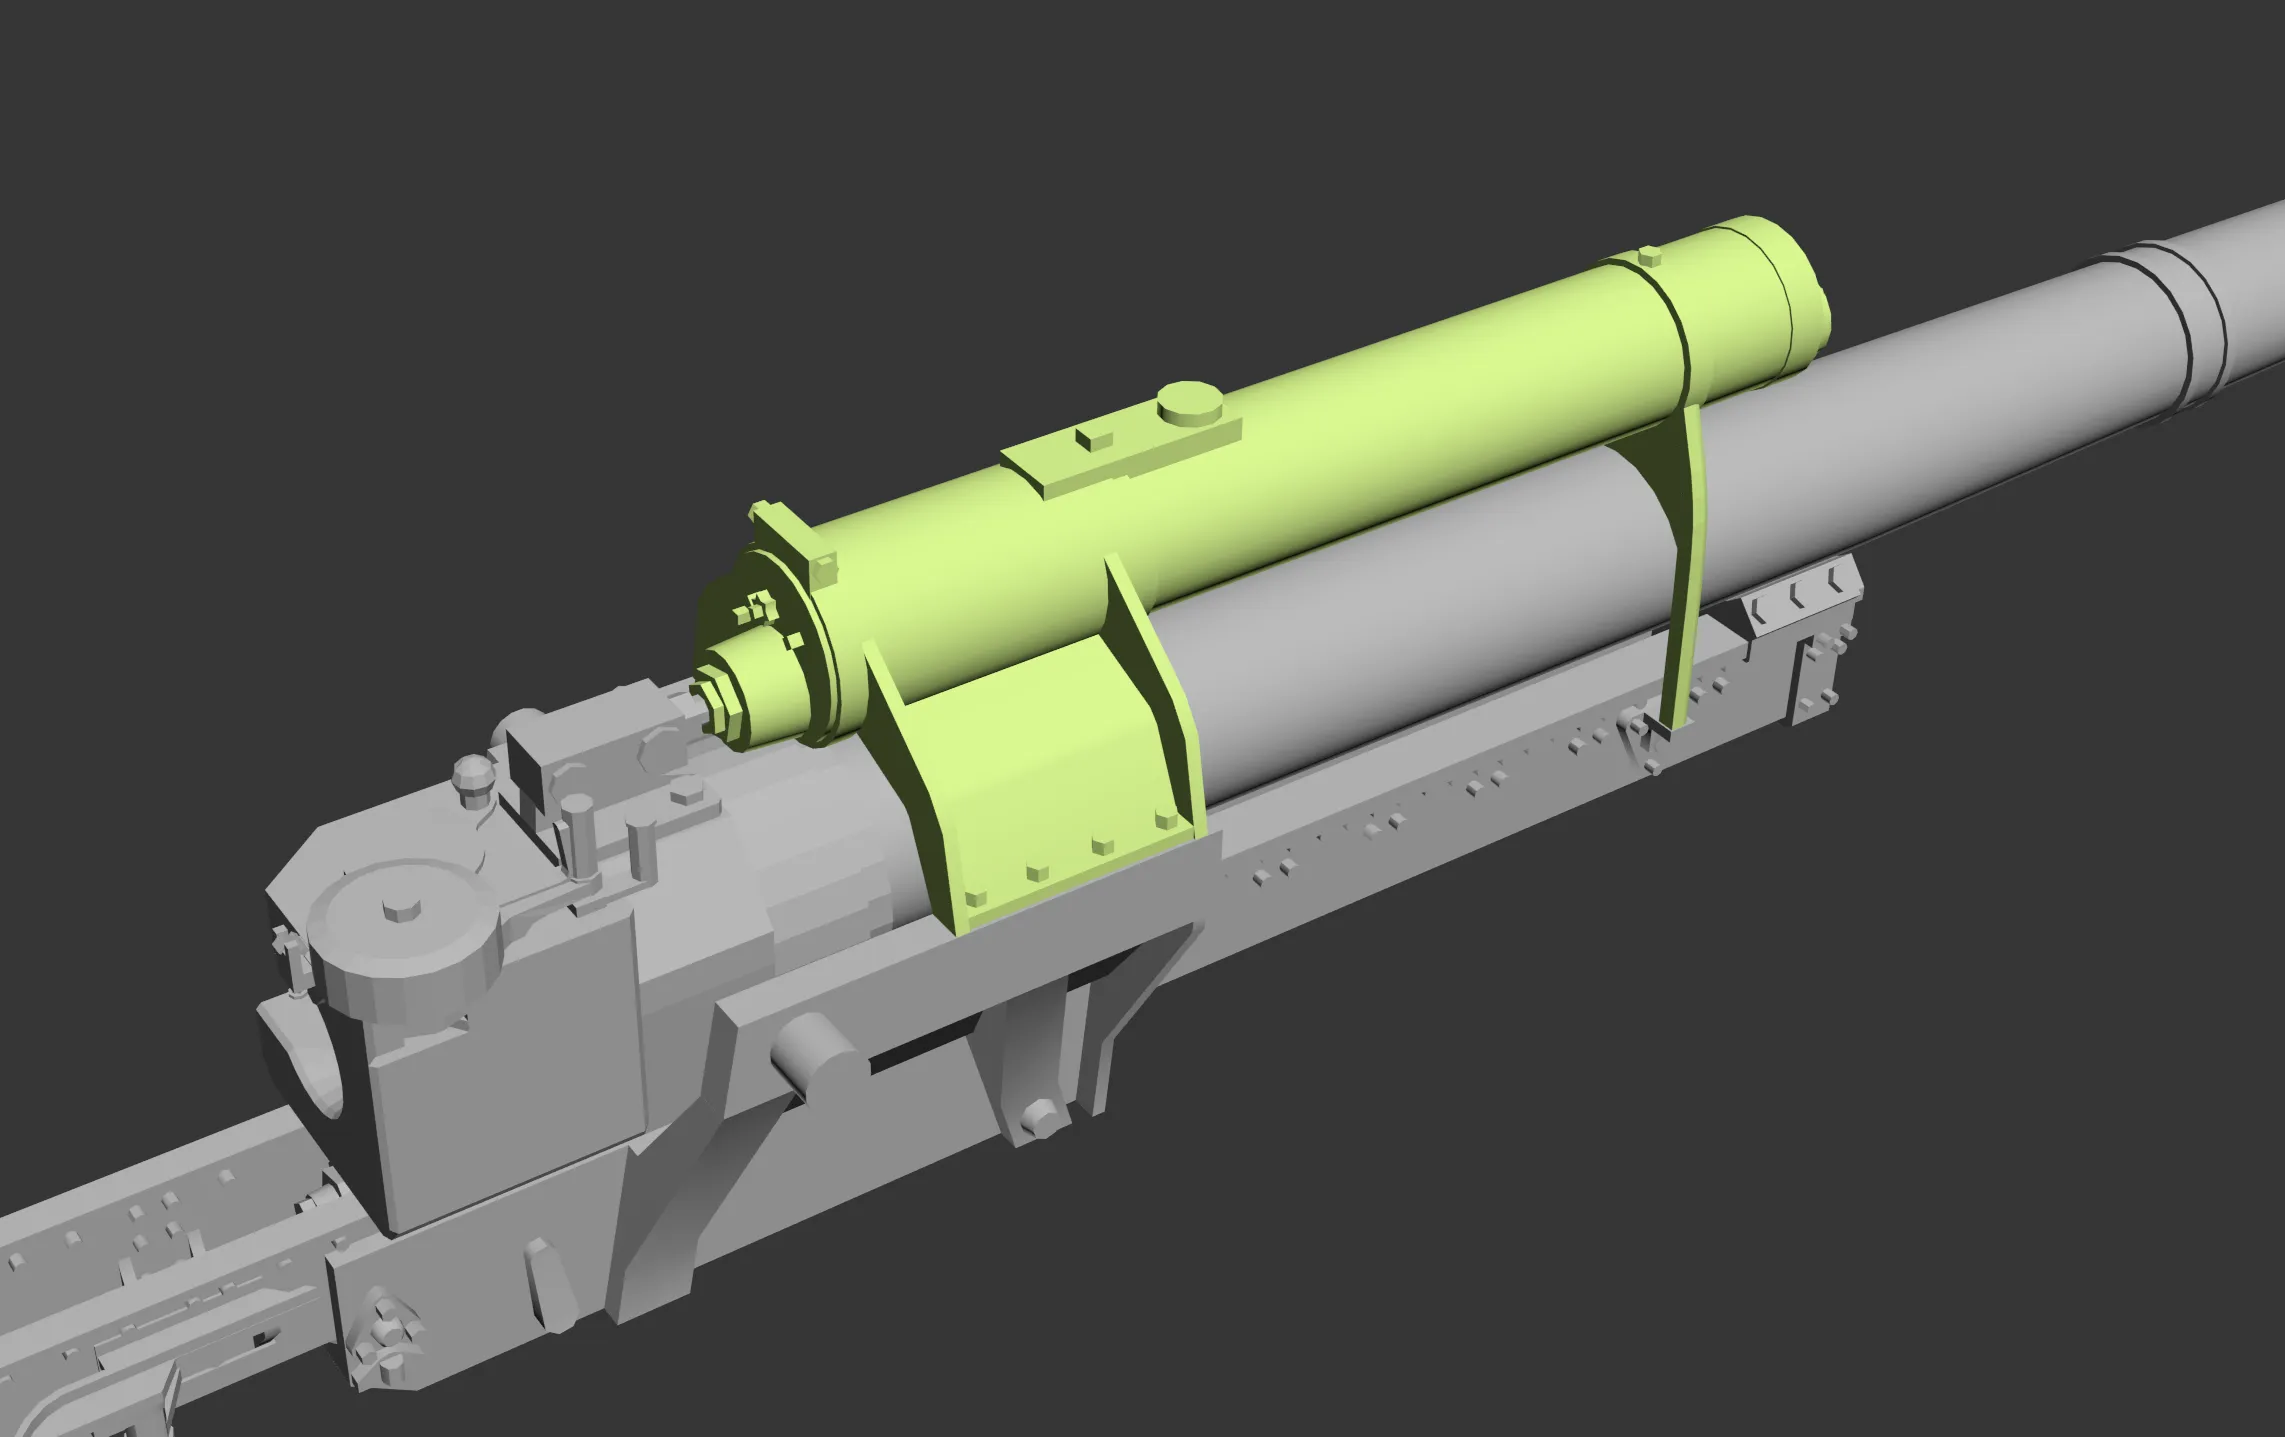
This part is used to limit the elevation and depression of the main gun. No glue is needed. If the friction in the trunnion part is insufficient to keep the main gun at a specific angle, this part can be used to maintain the angle
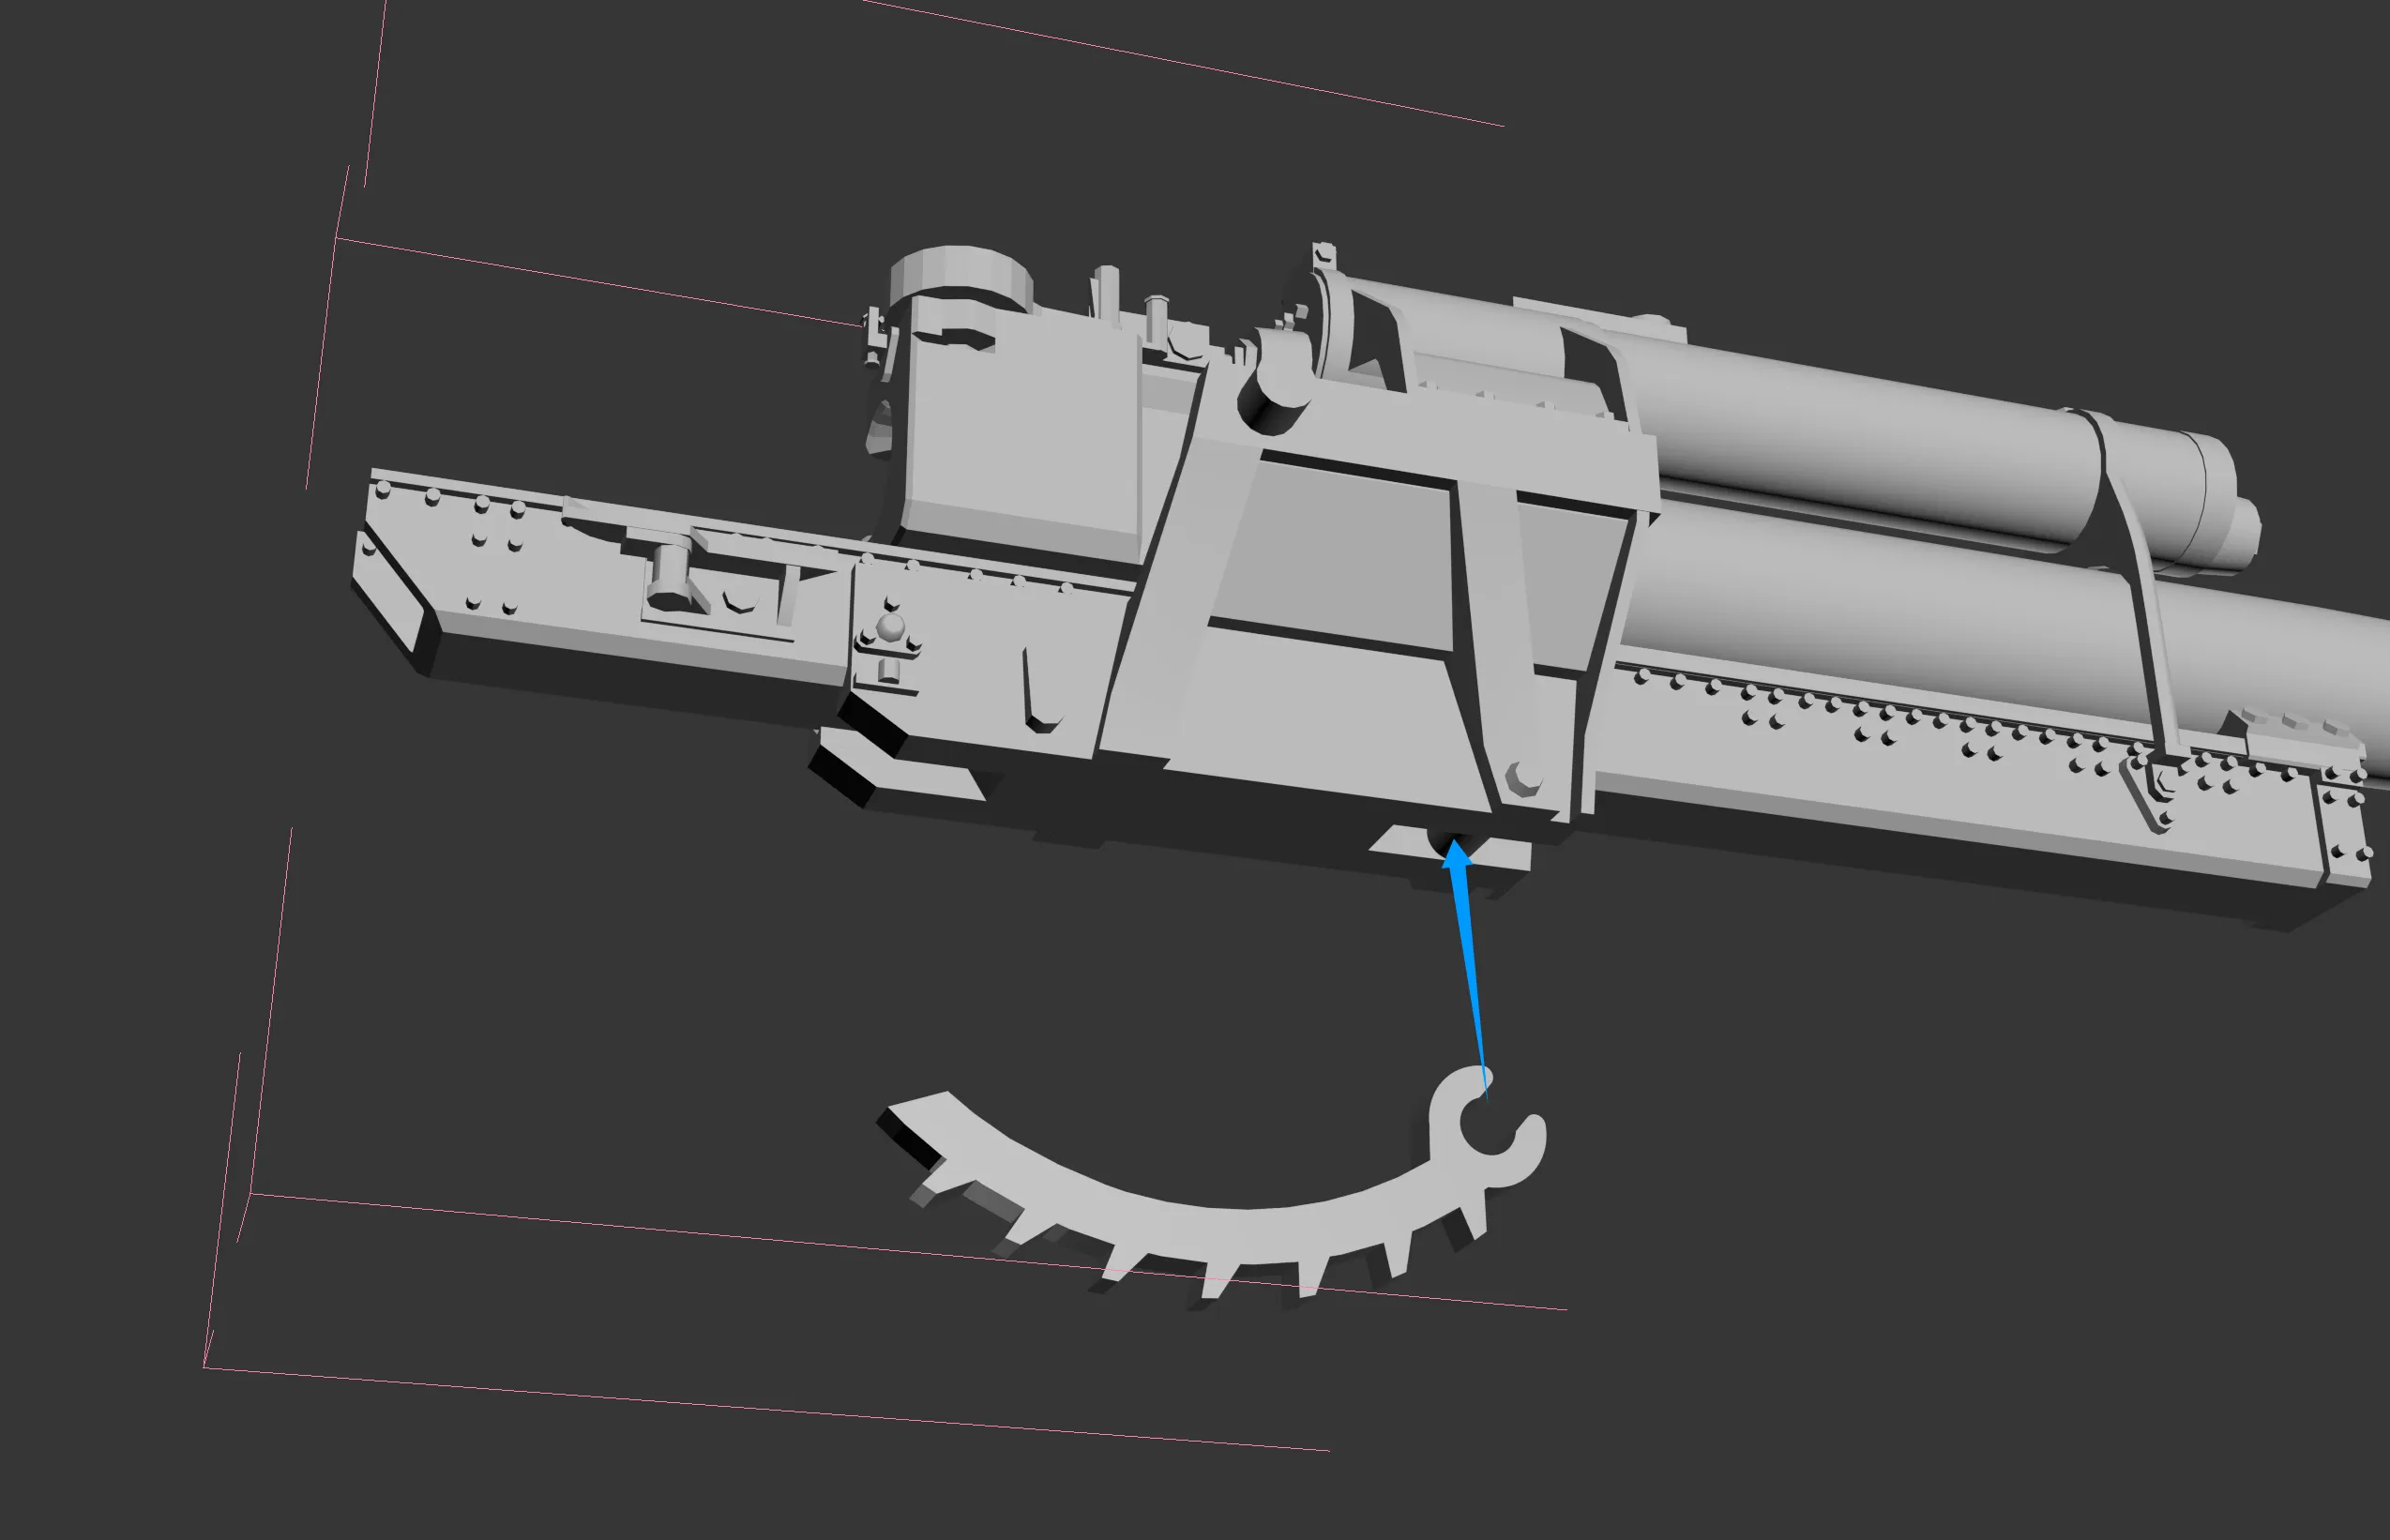
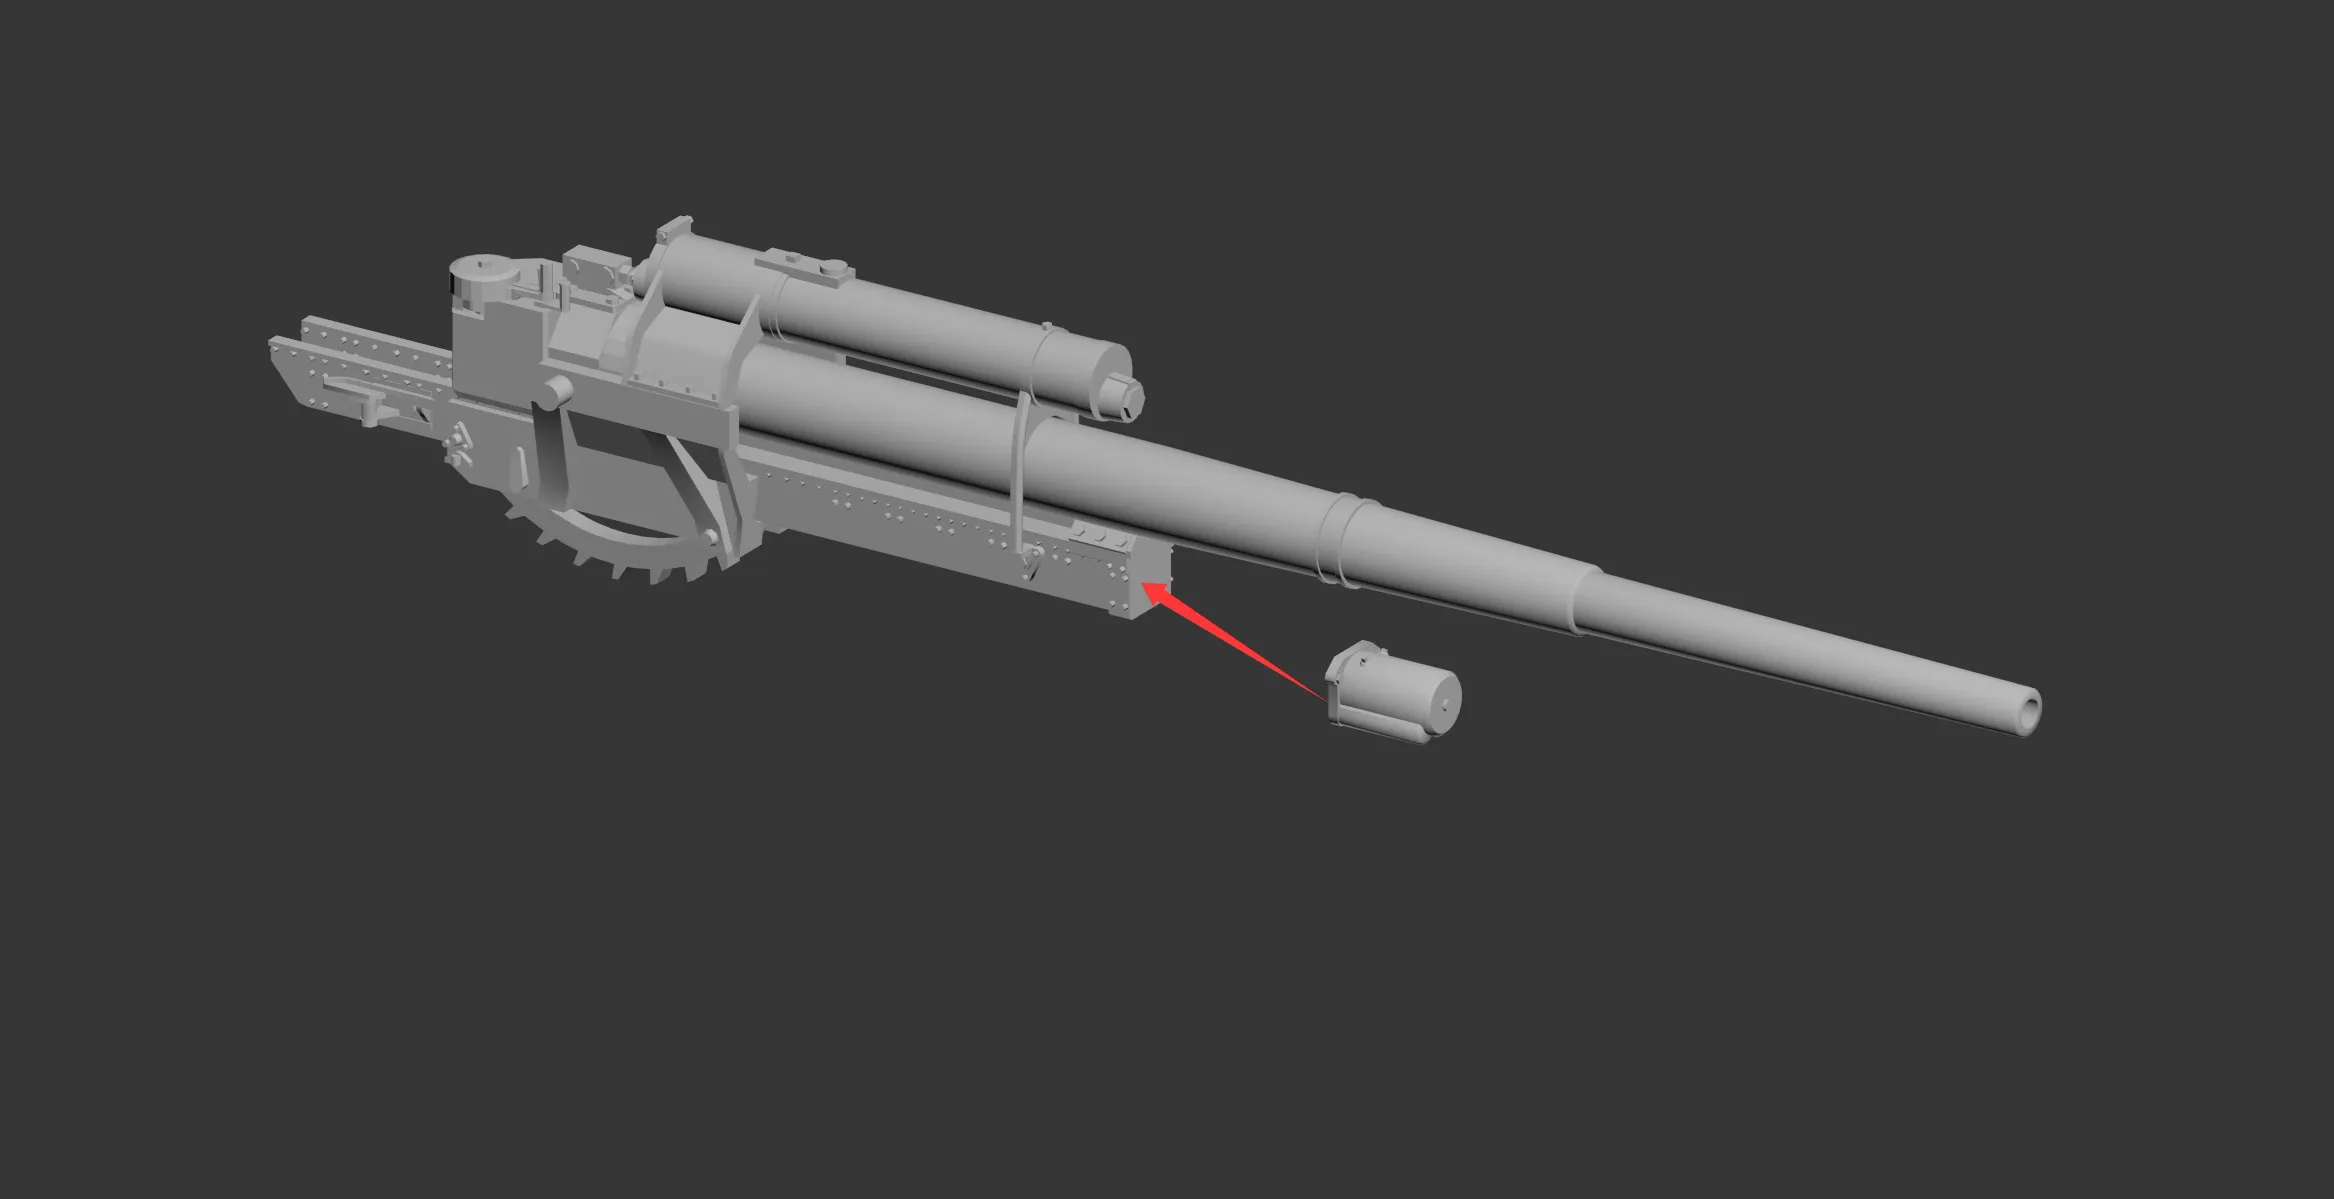
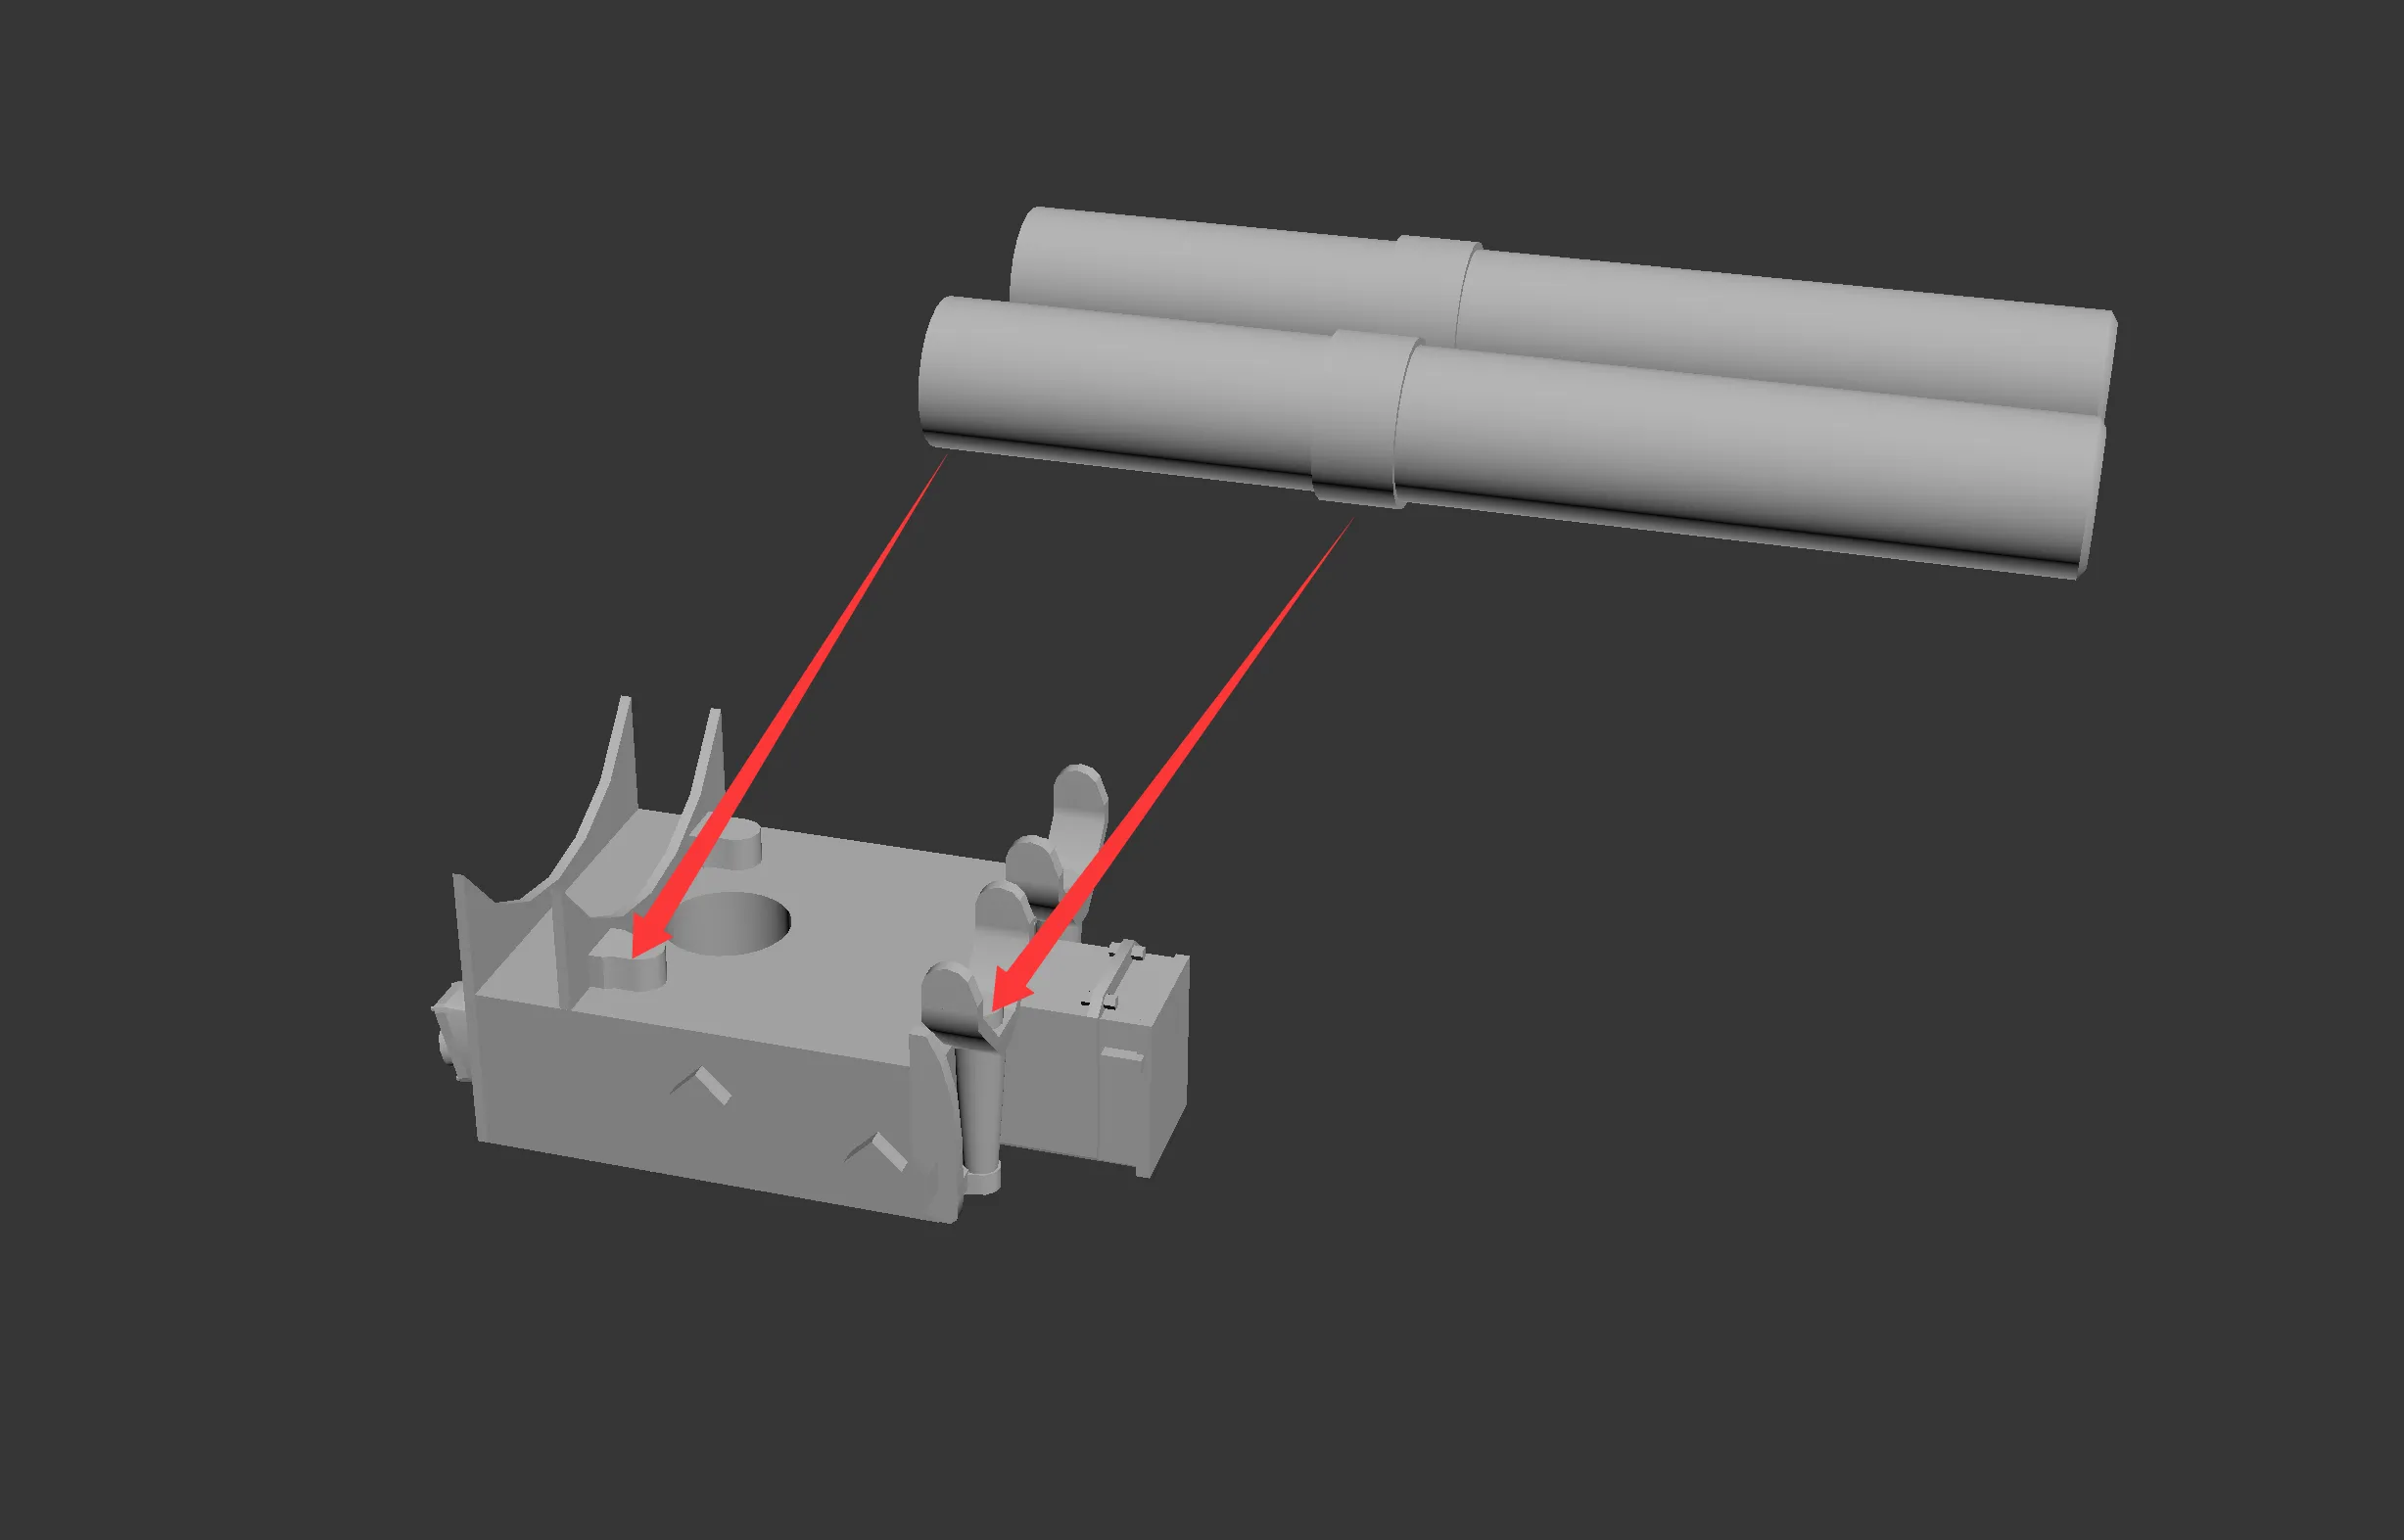
Should be installed in place as shown in the figure
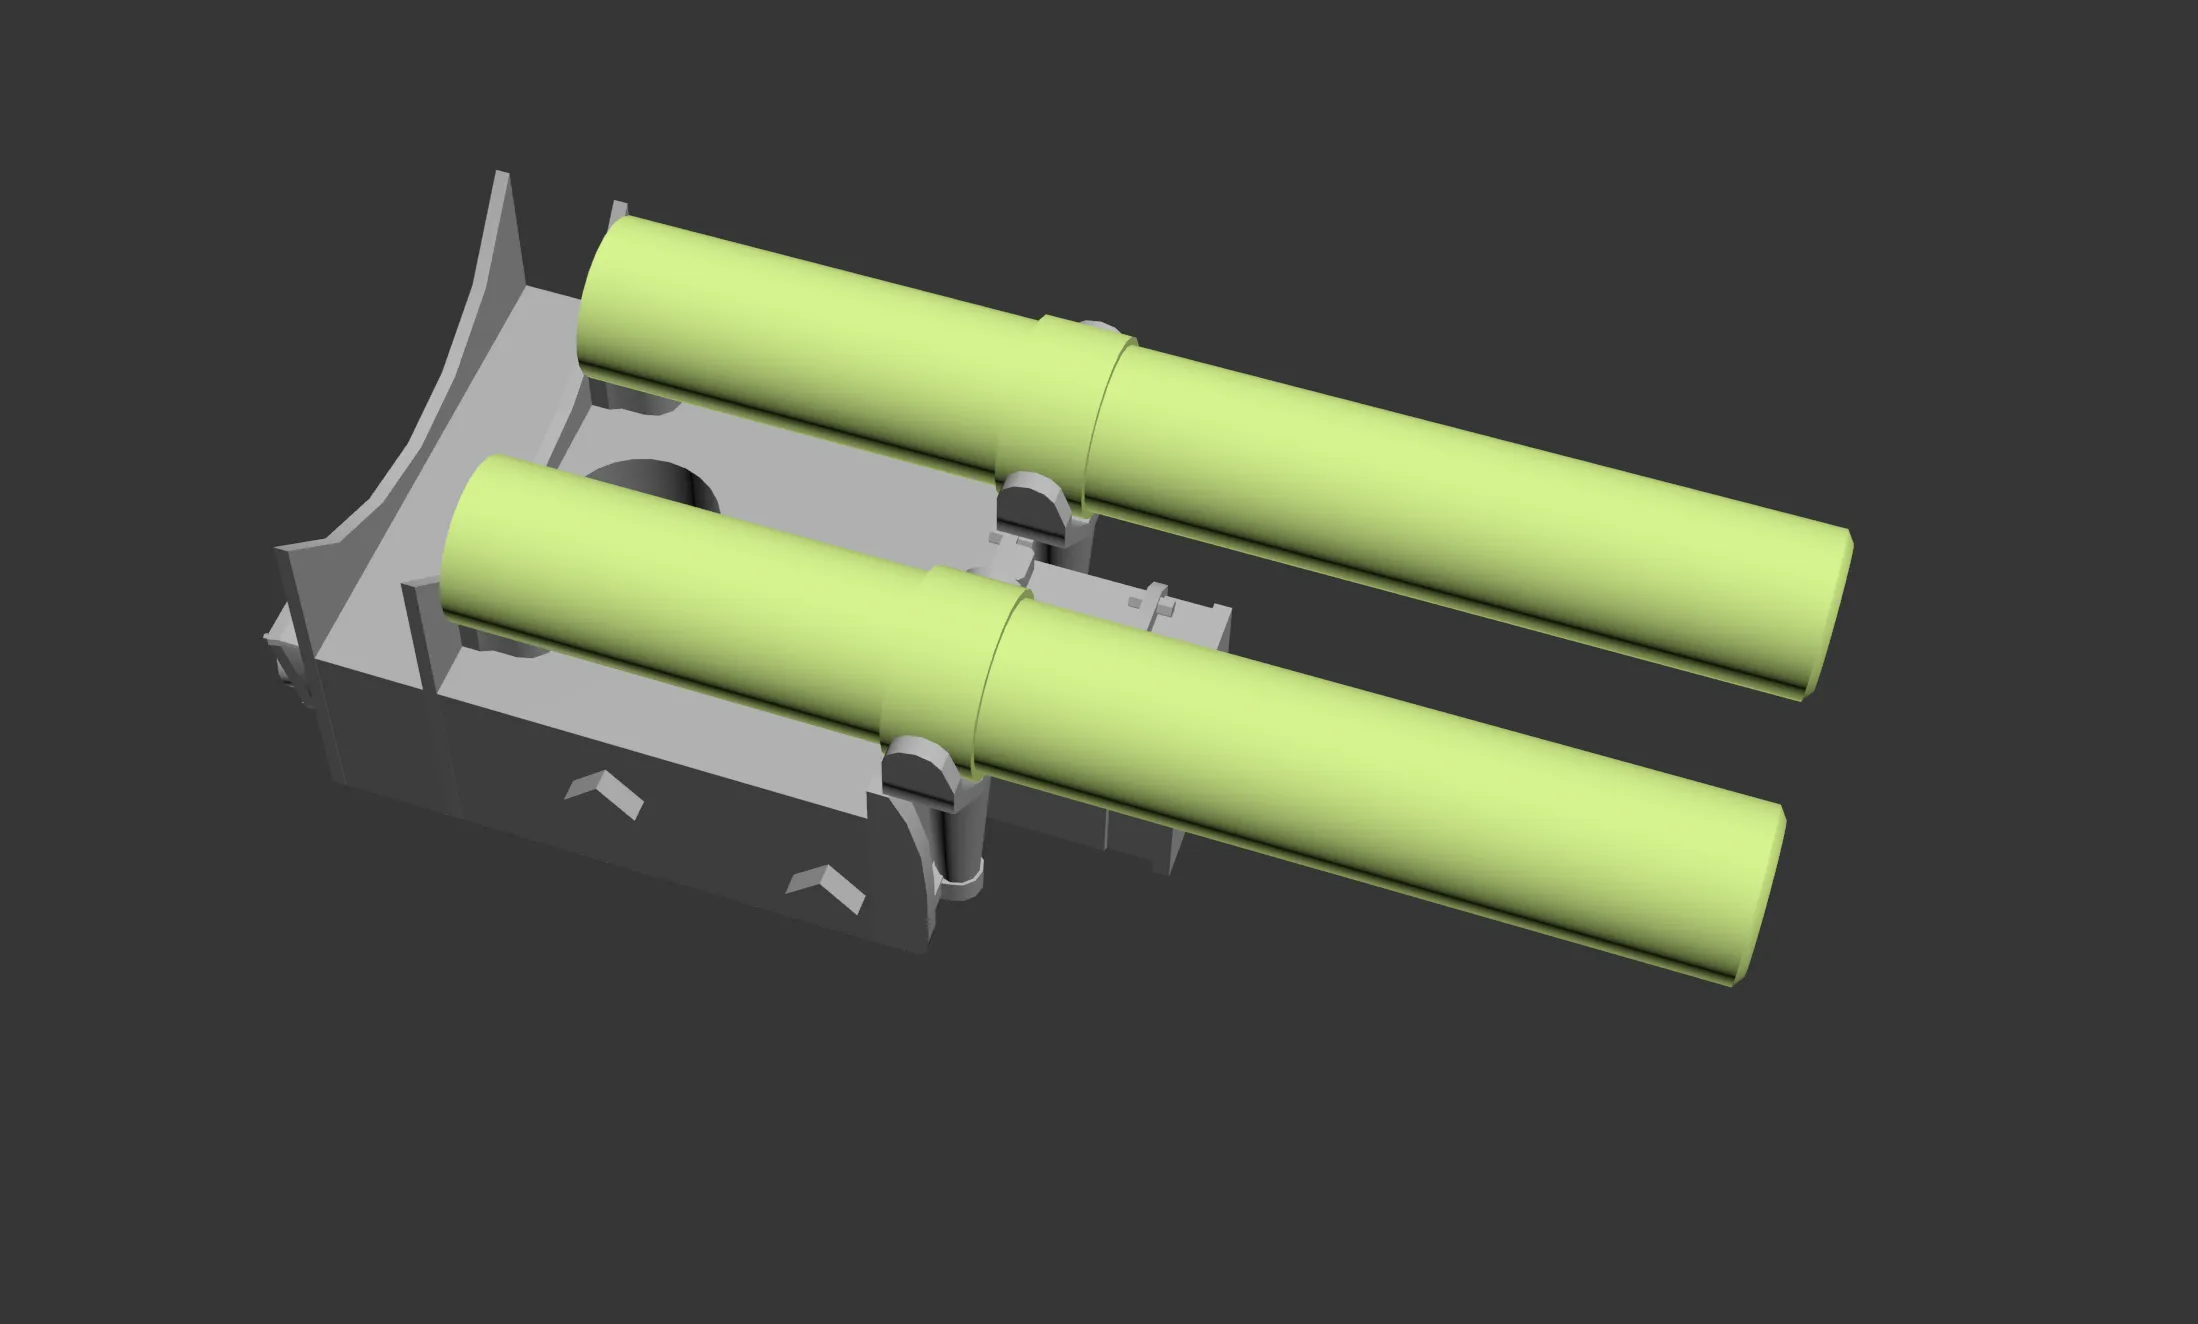
The trunnion part does not require glue
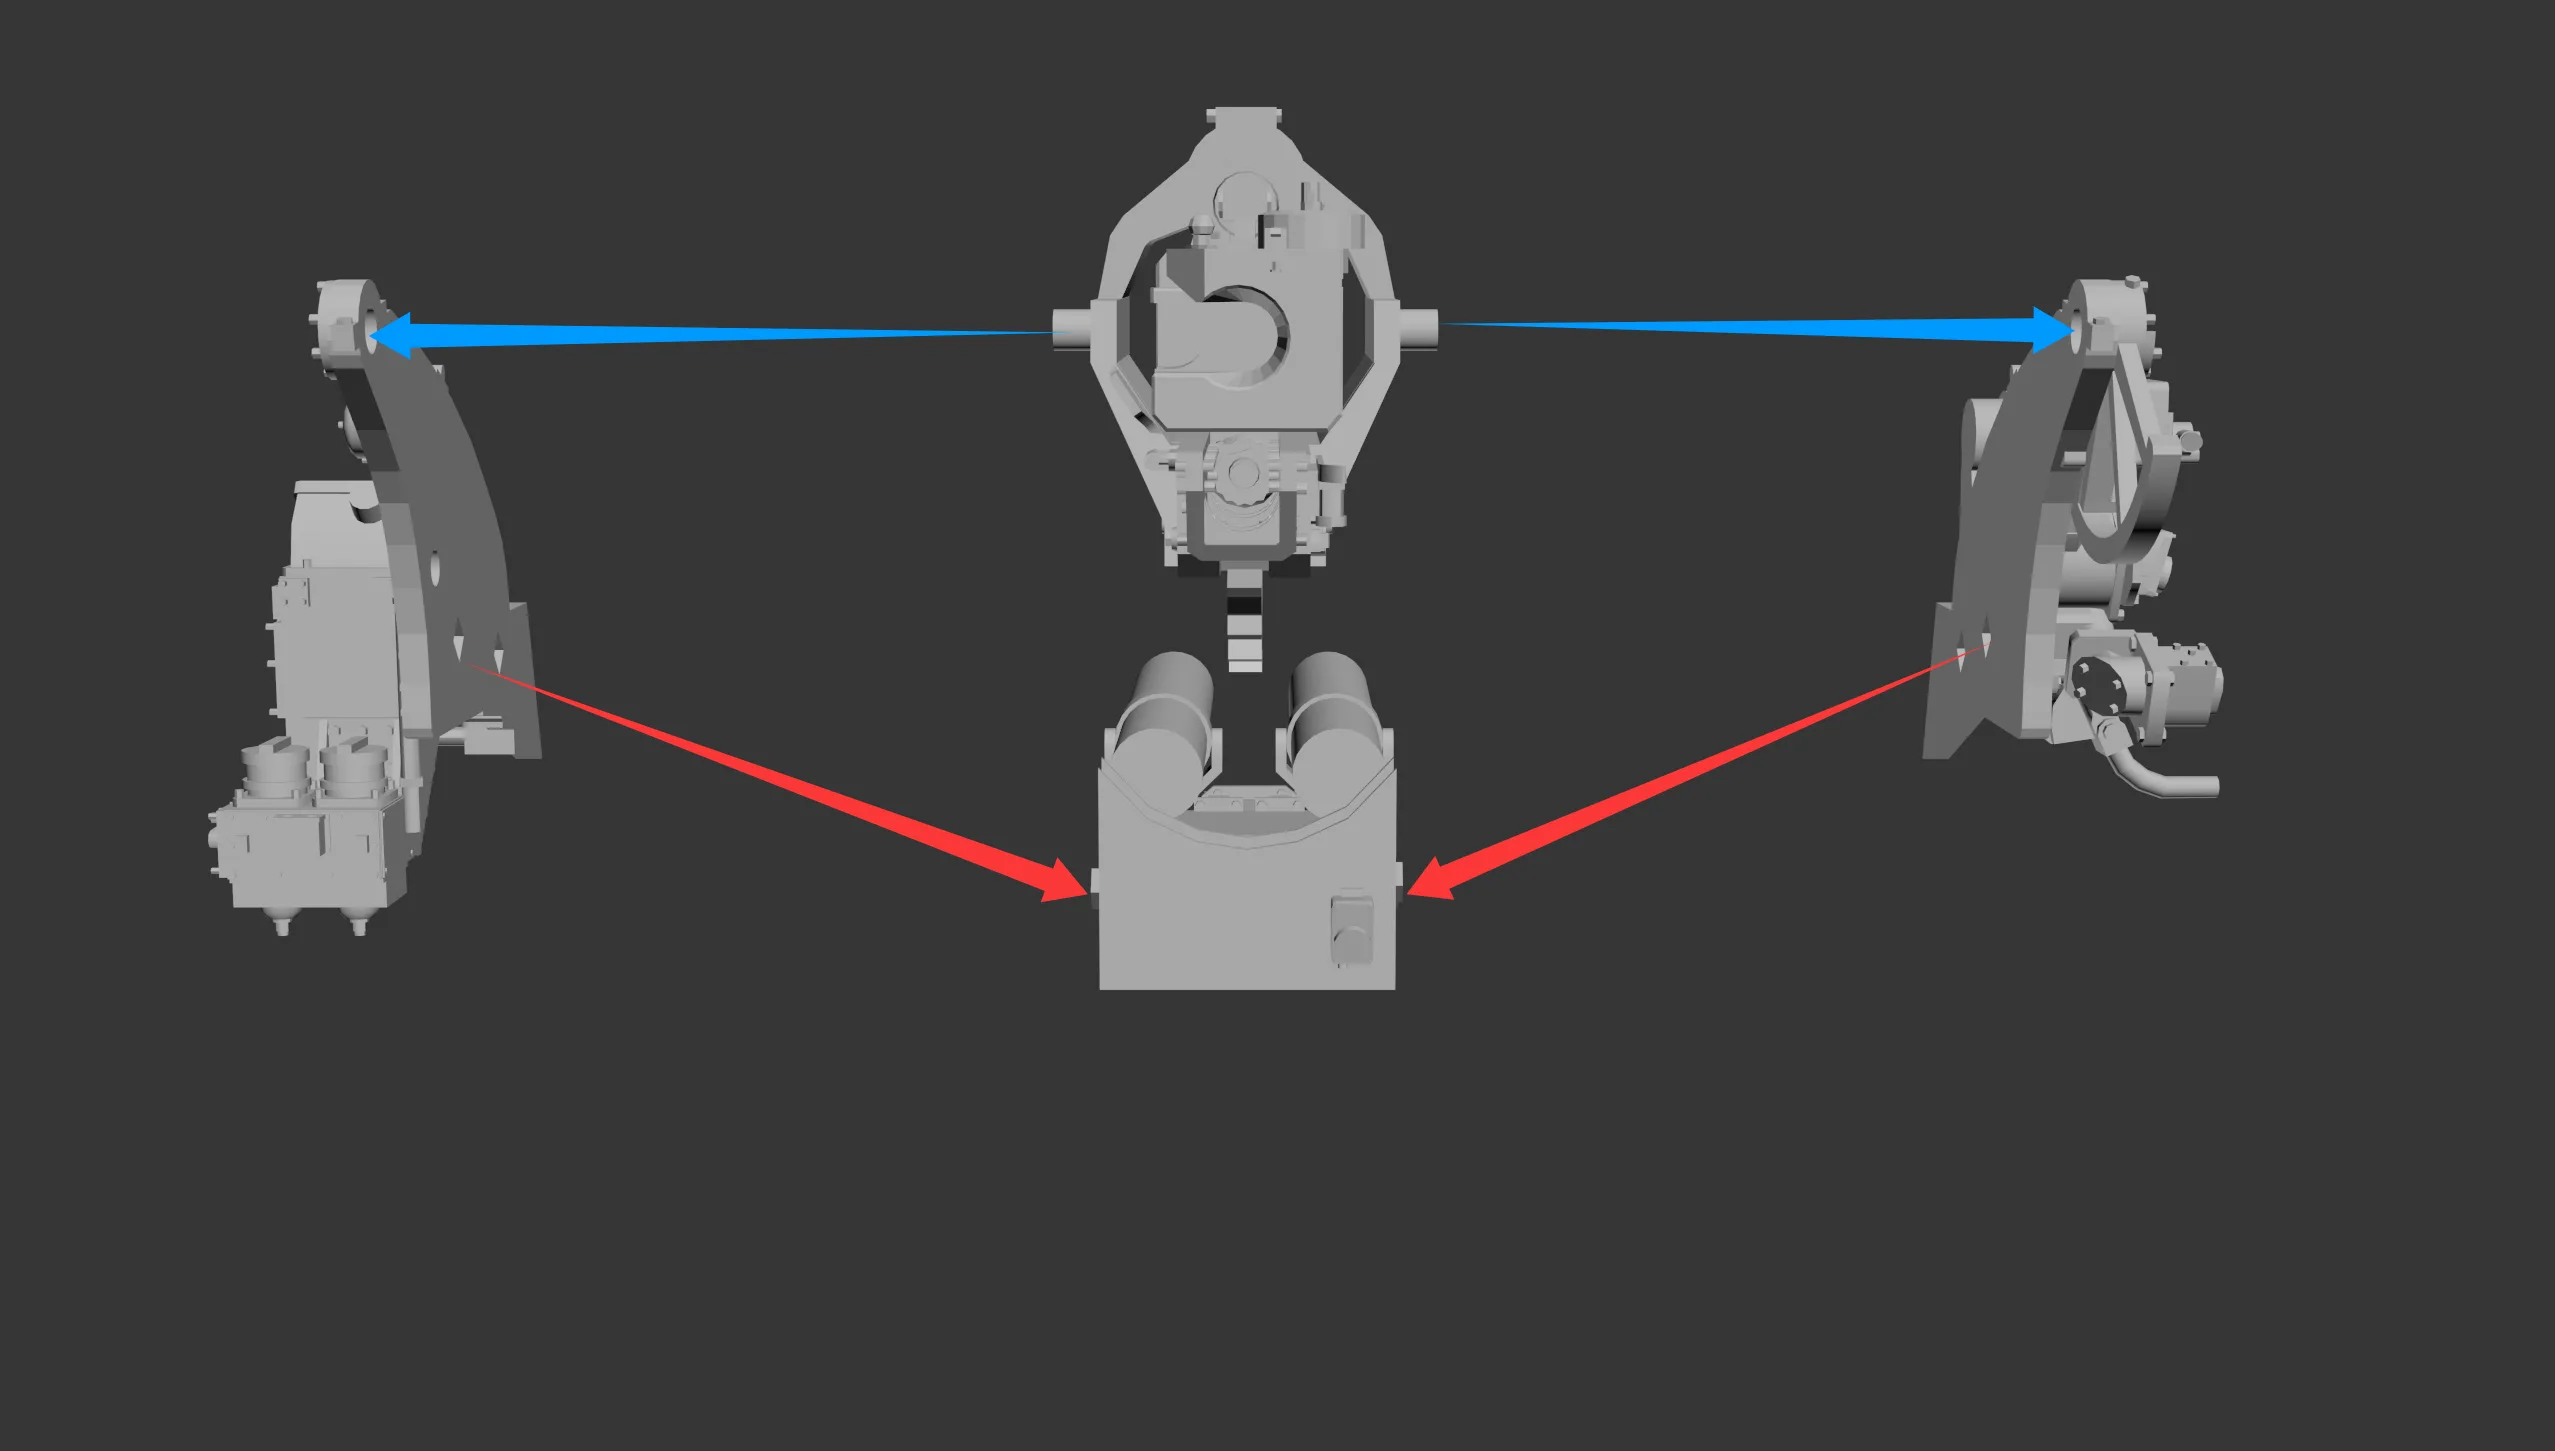
Should be installed in place as shown in the figure
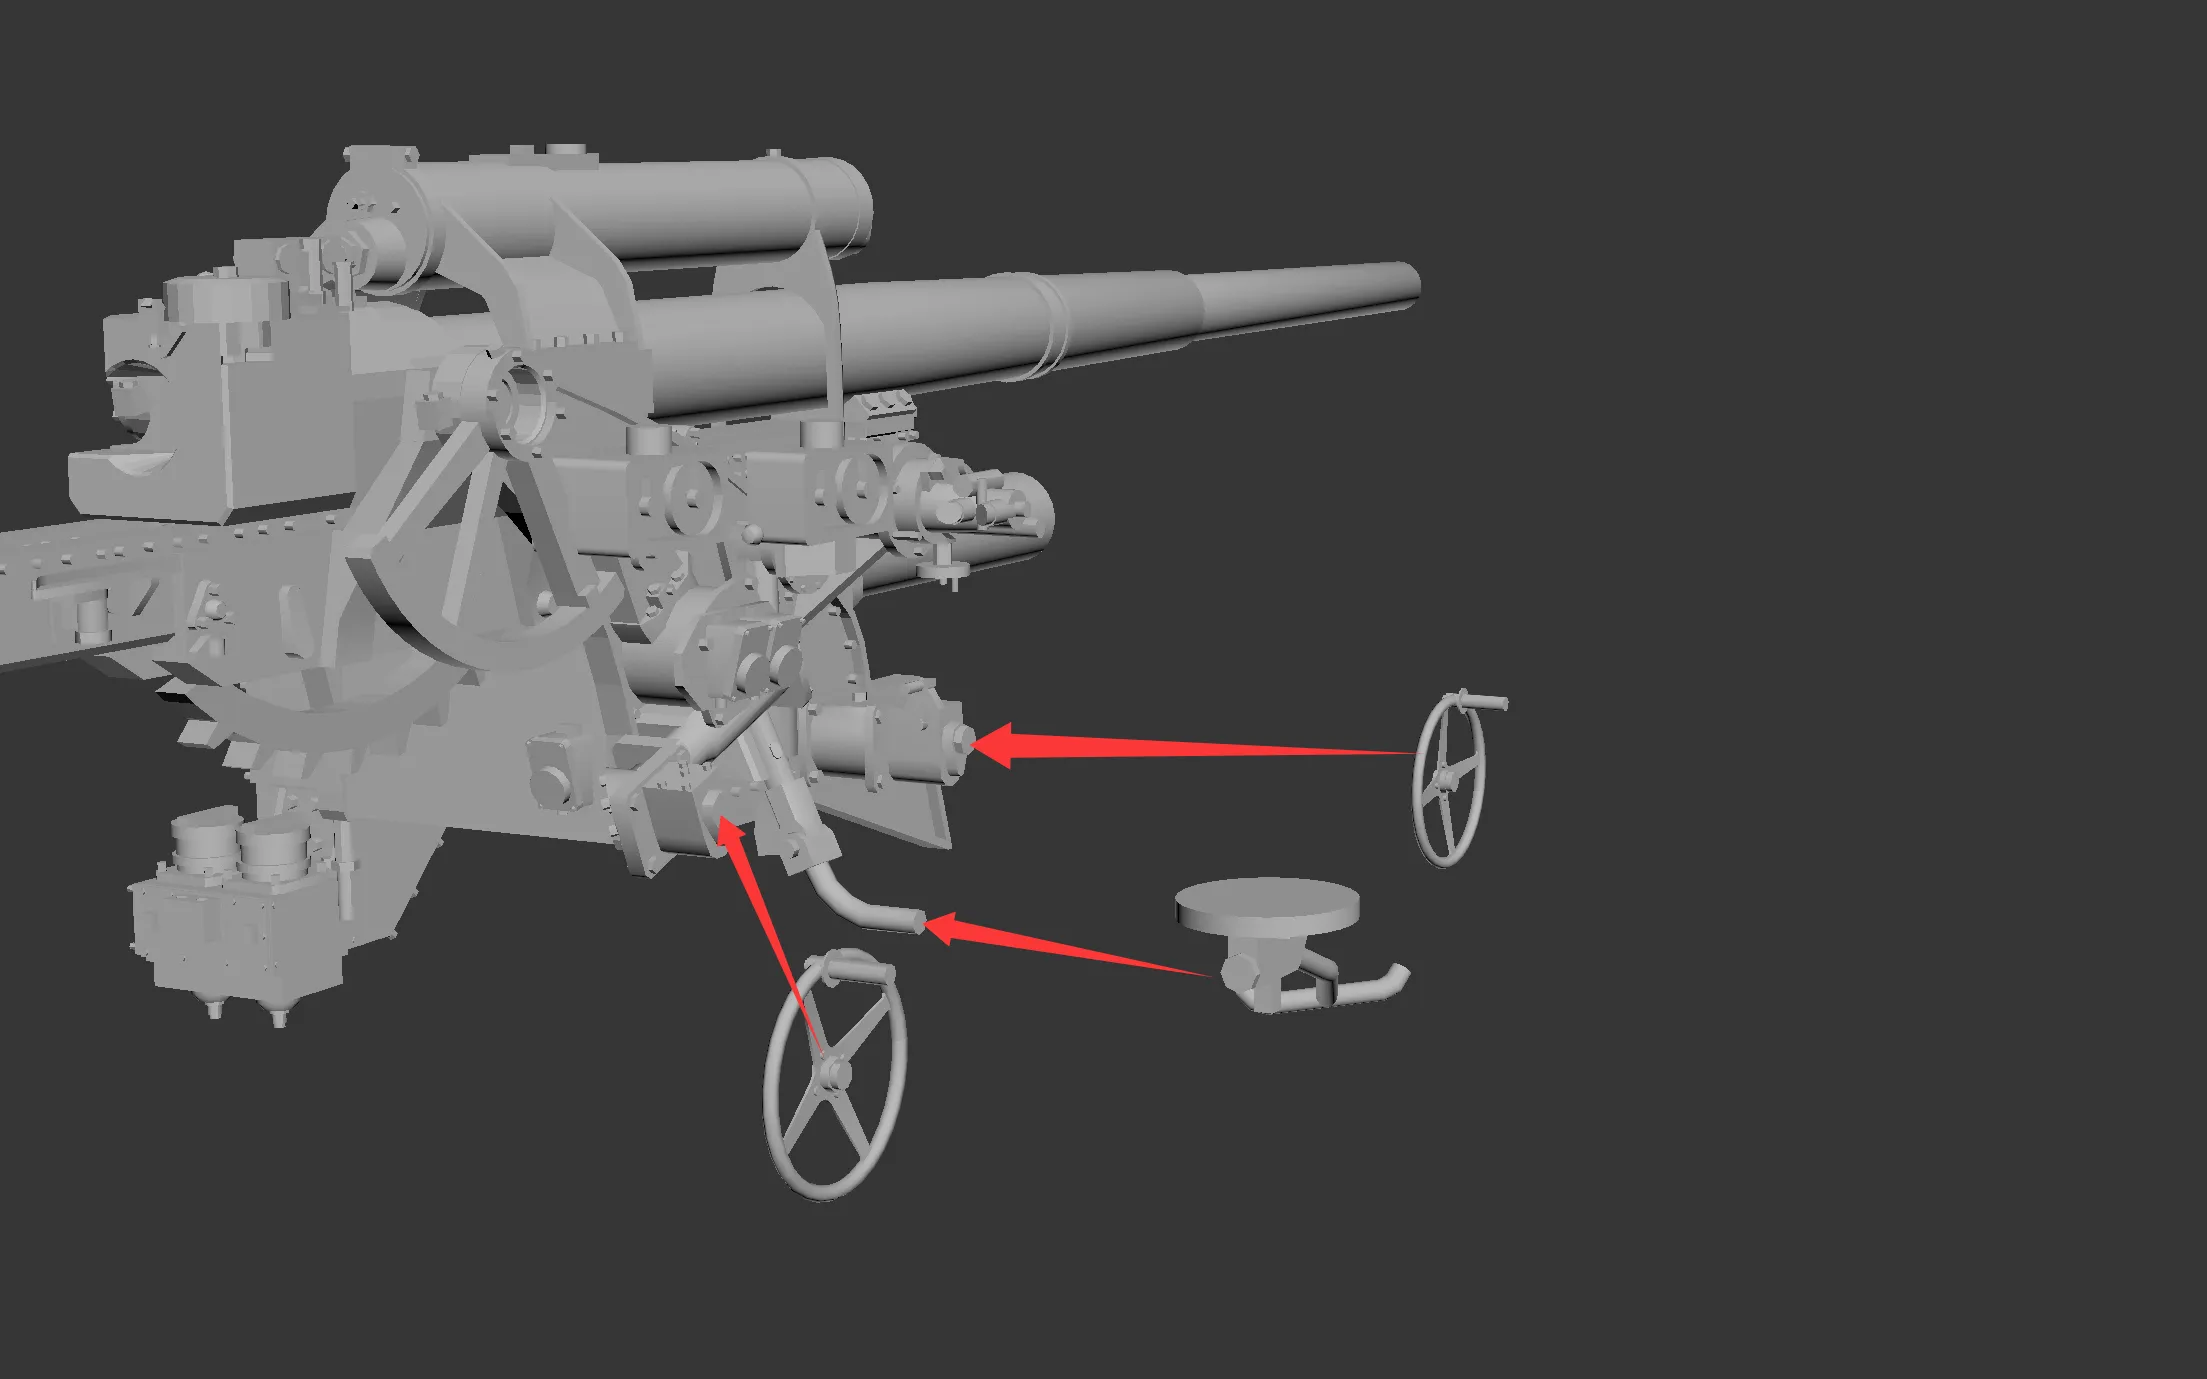
Should be installed in place as shown in the figure
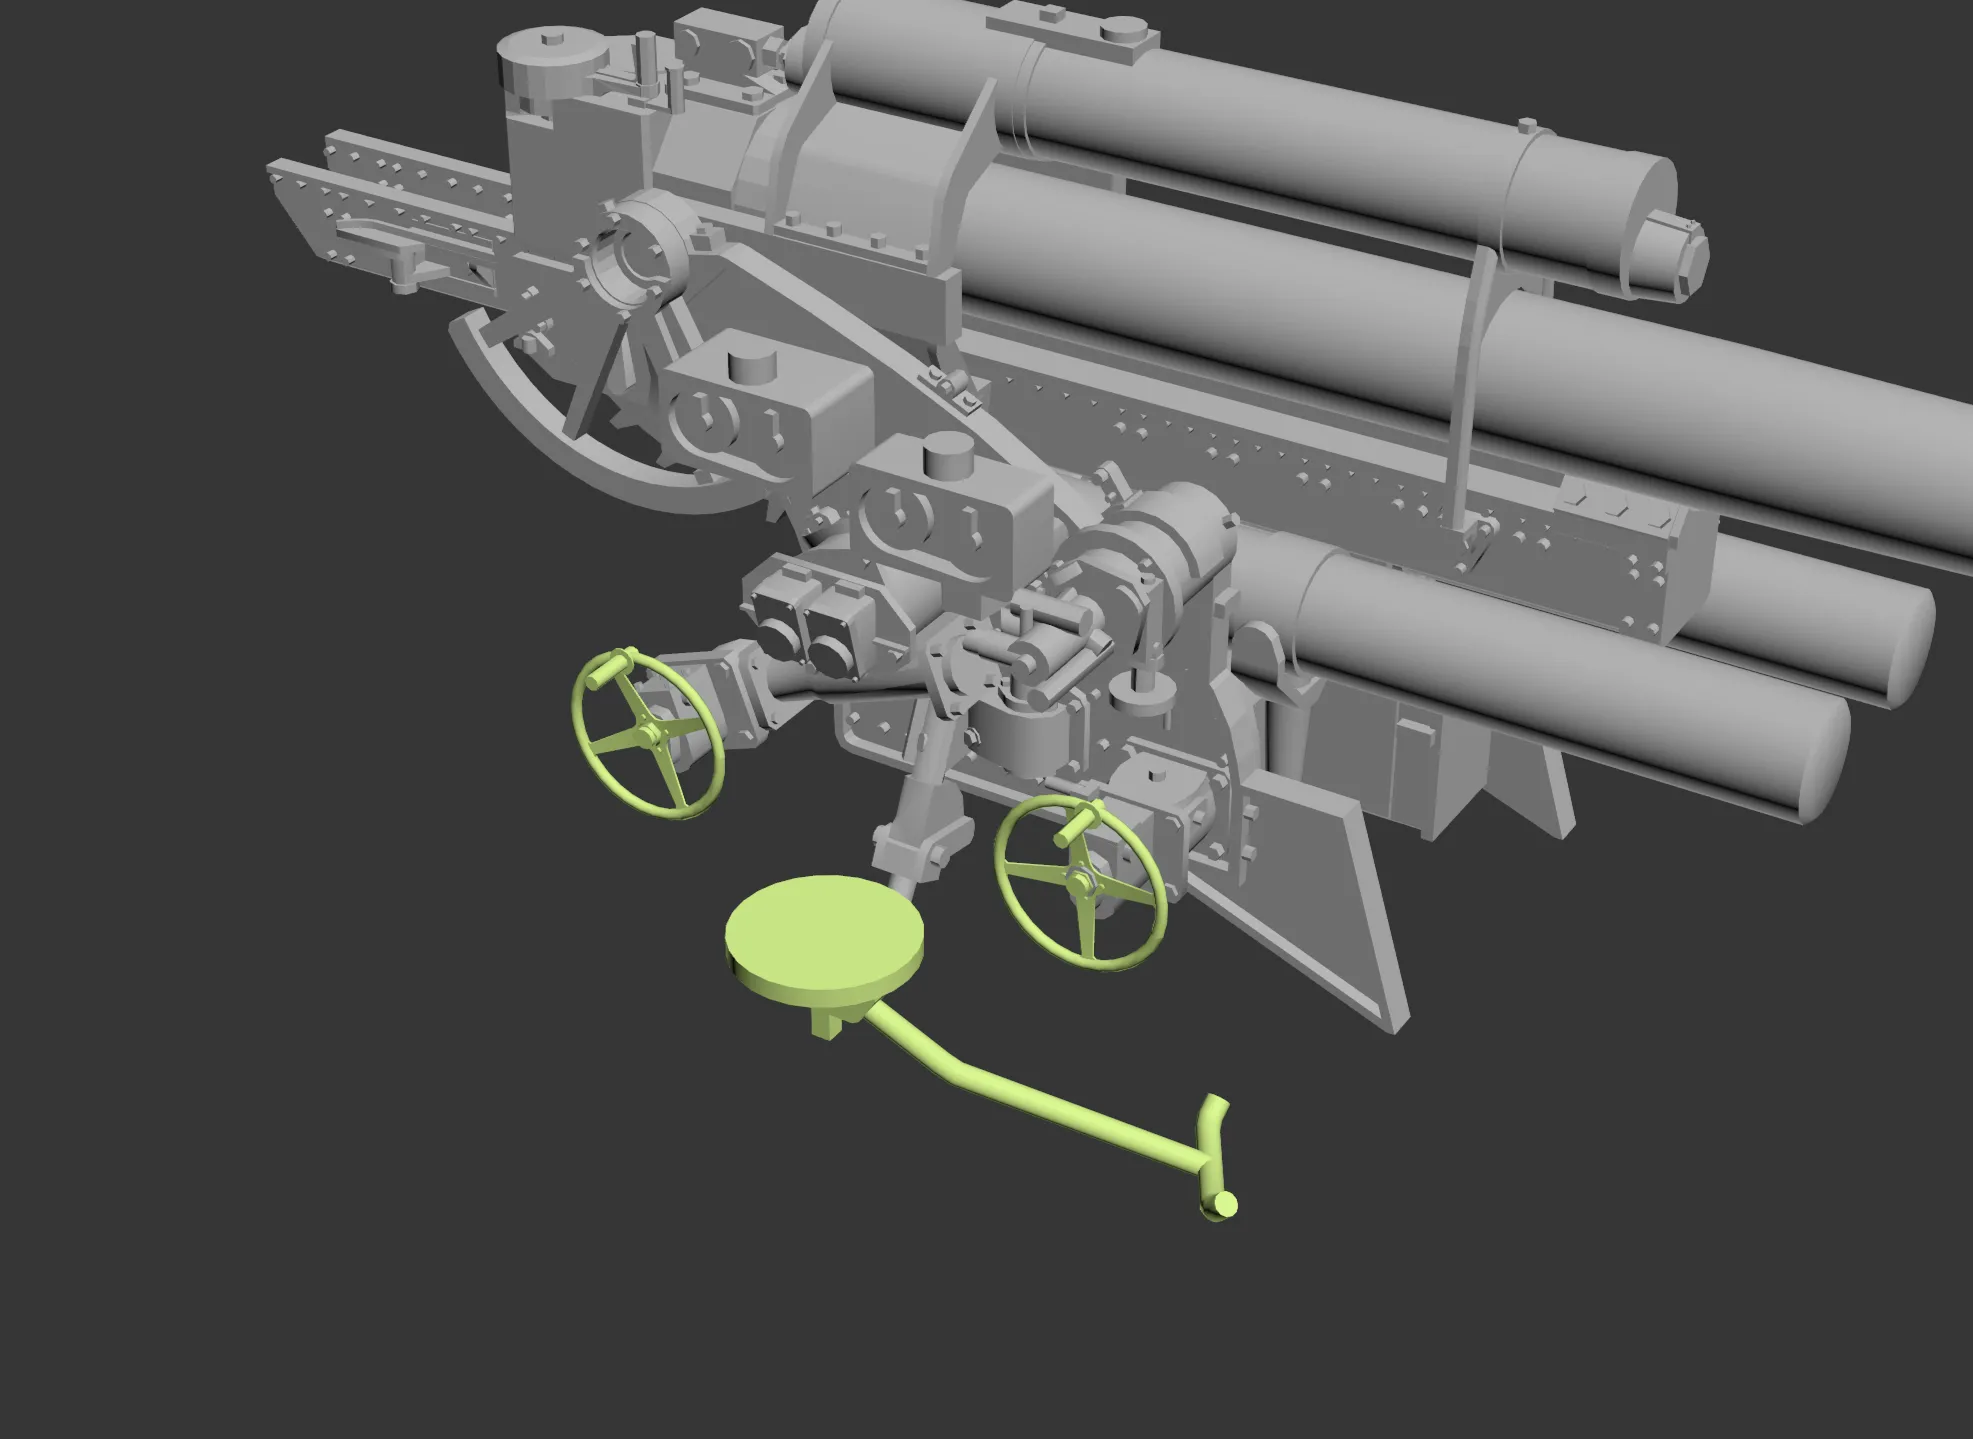
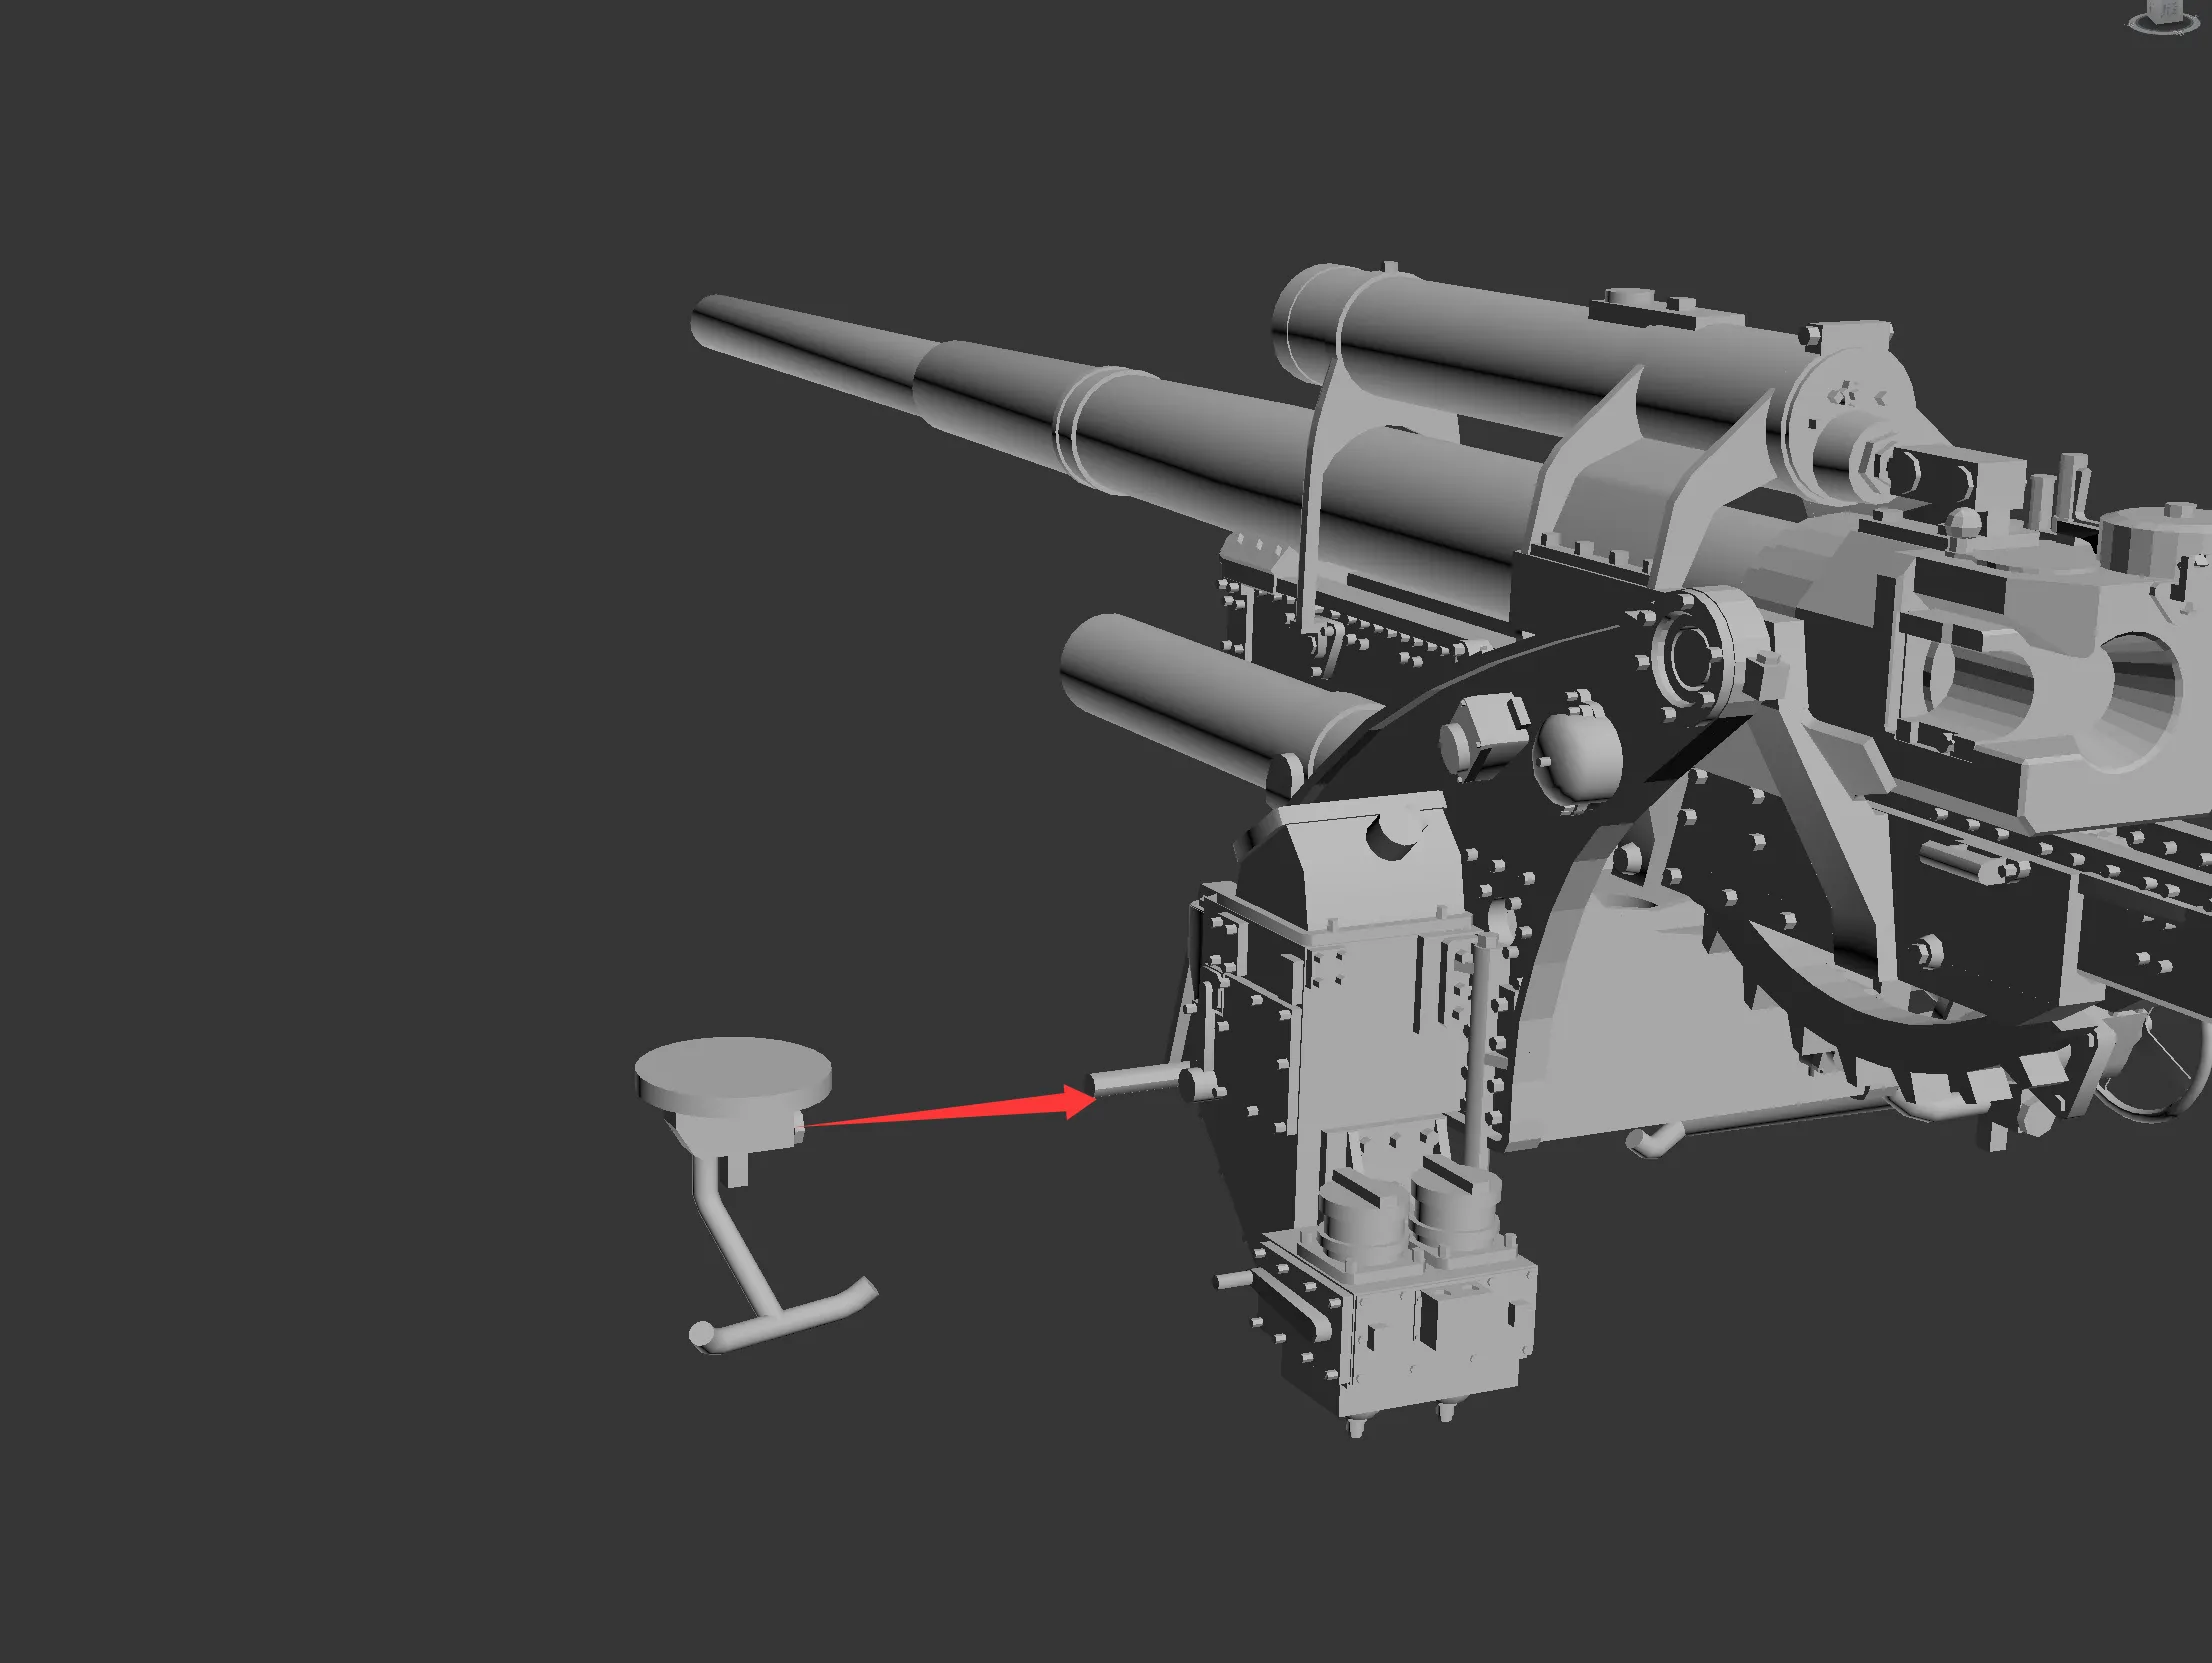
Should be installed in place as shown in the figure
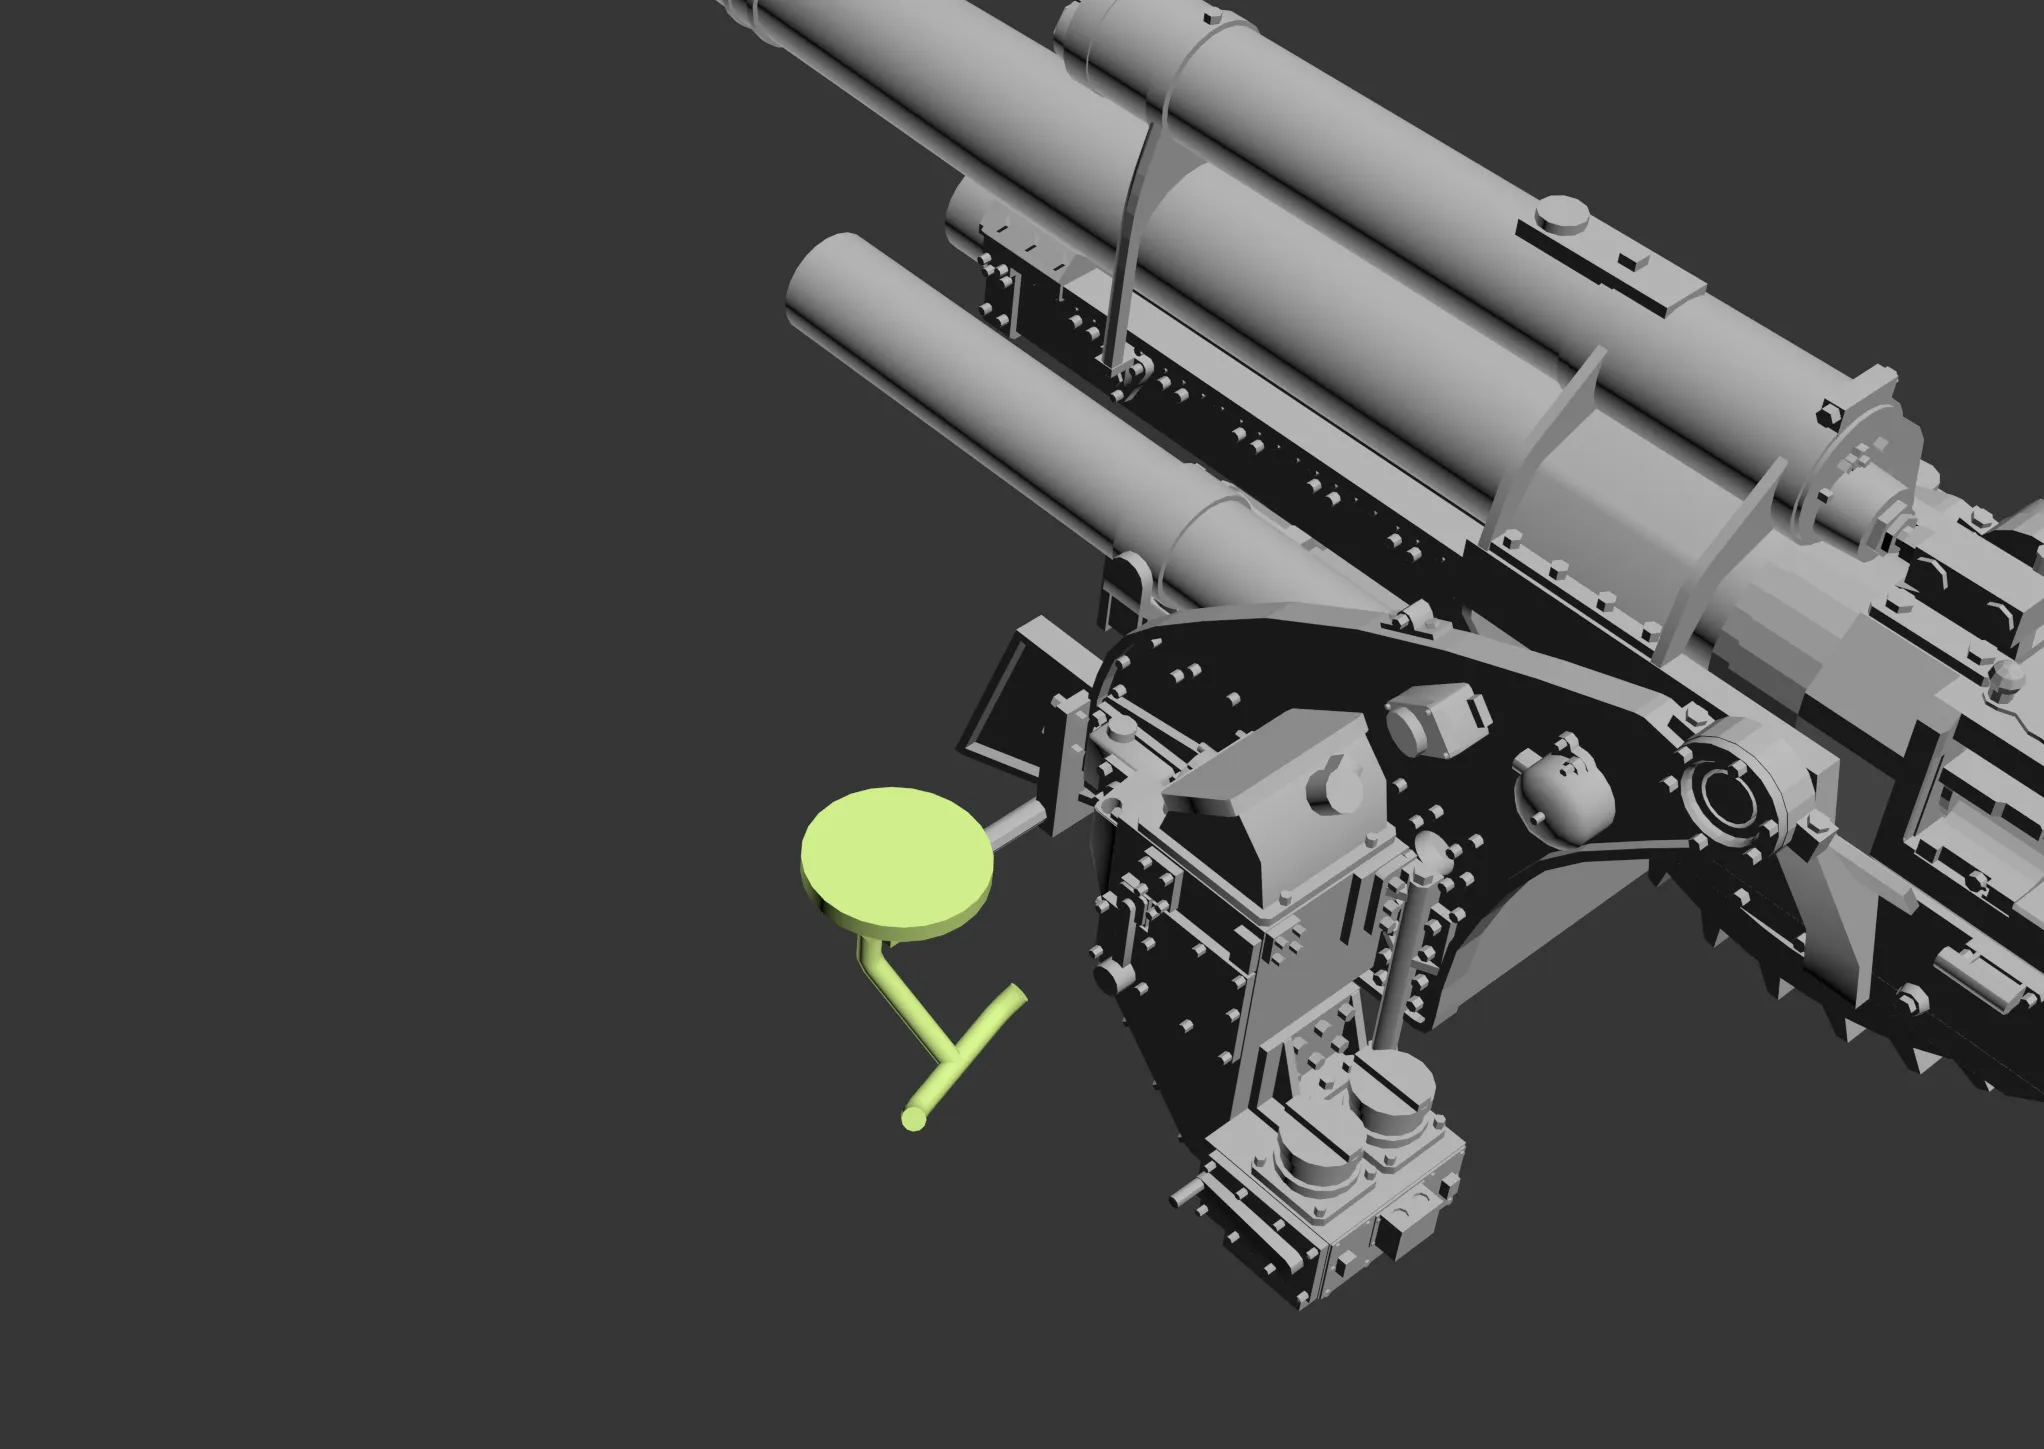
The gun shield is optional, you can decide whether to install it
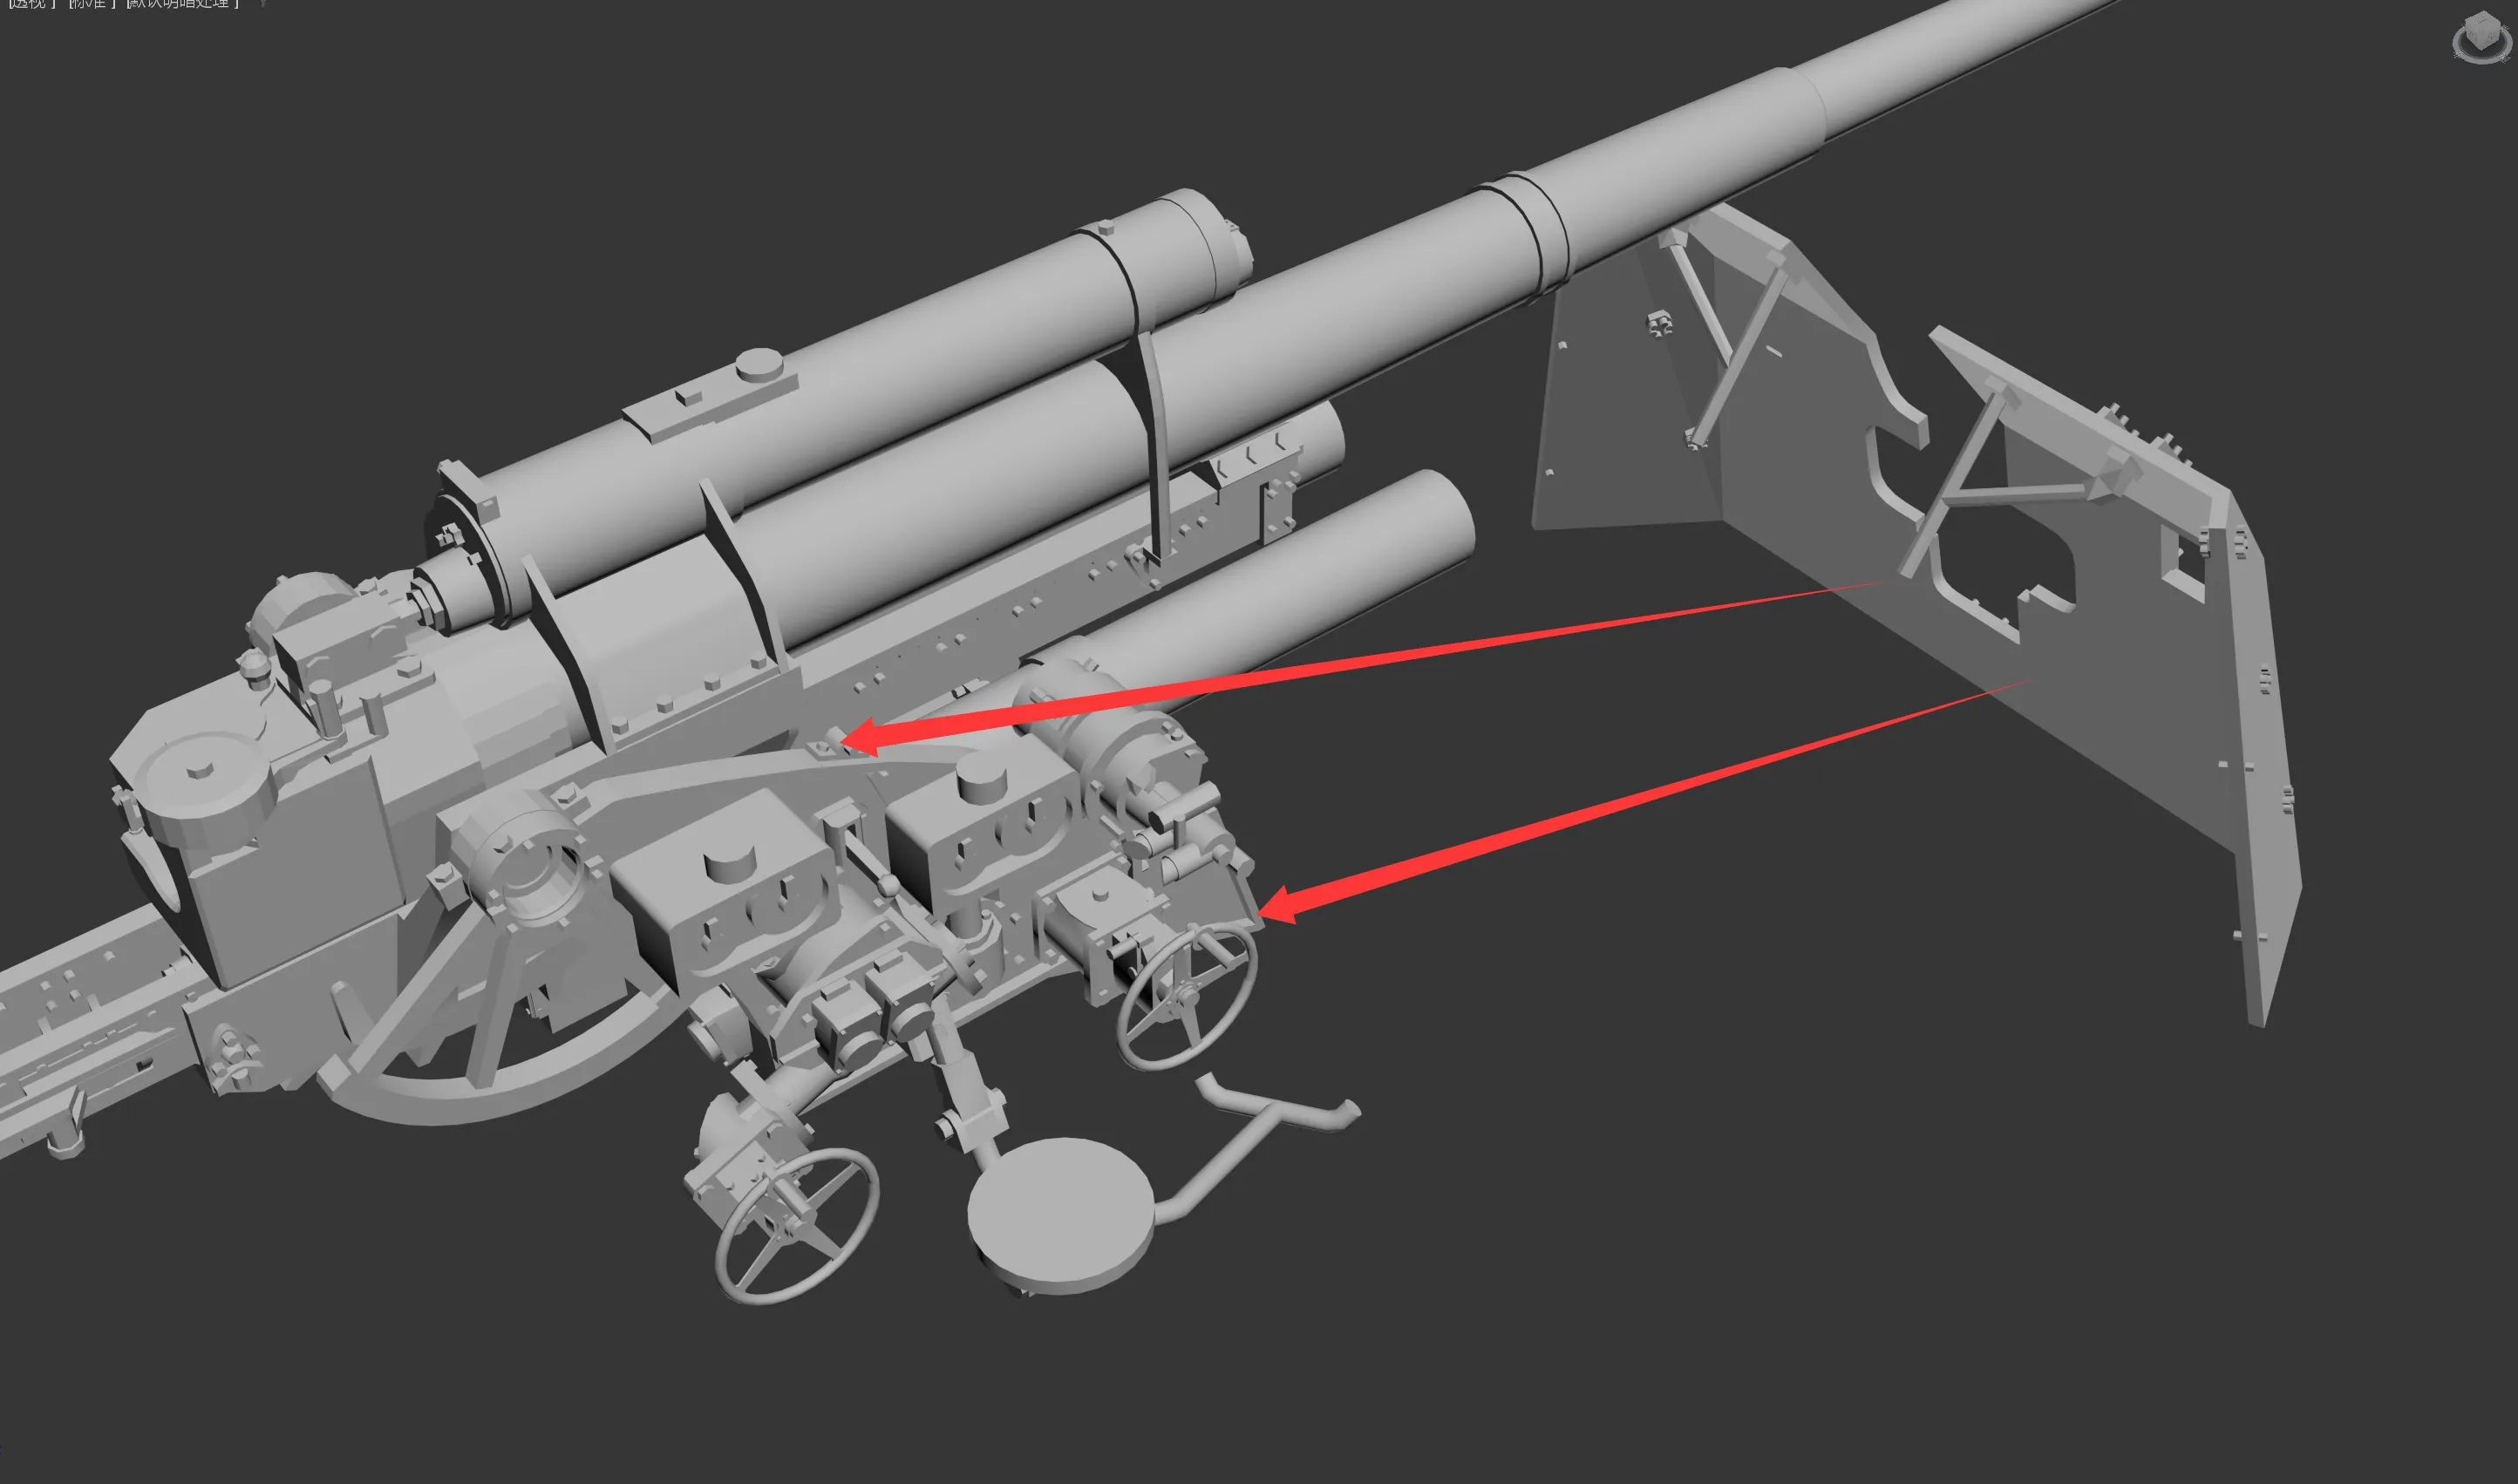
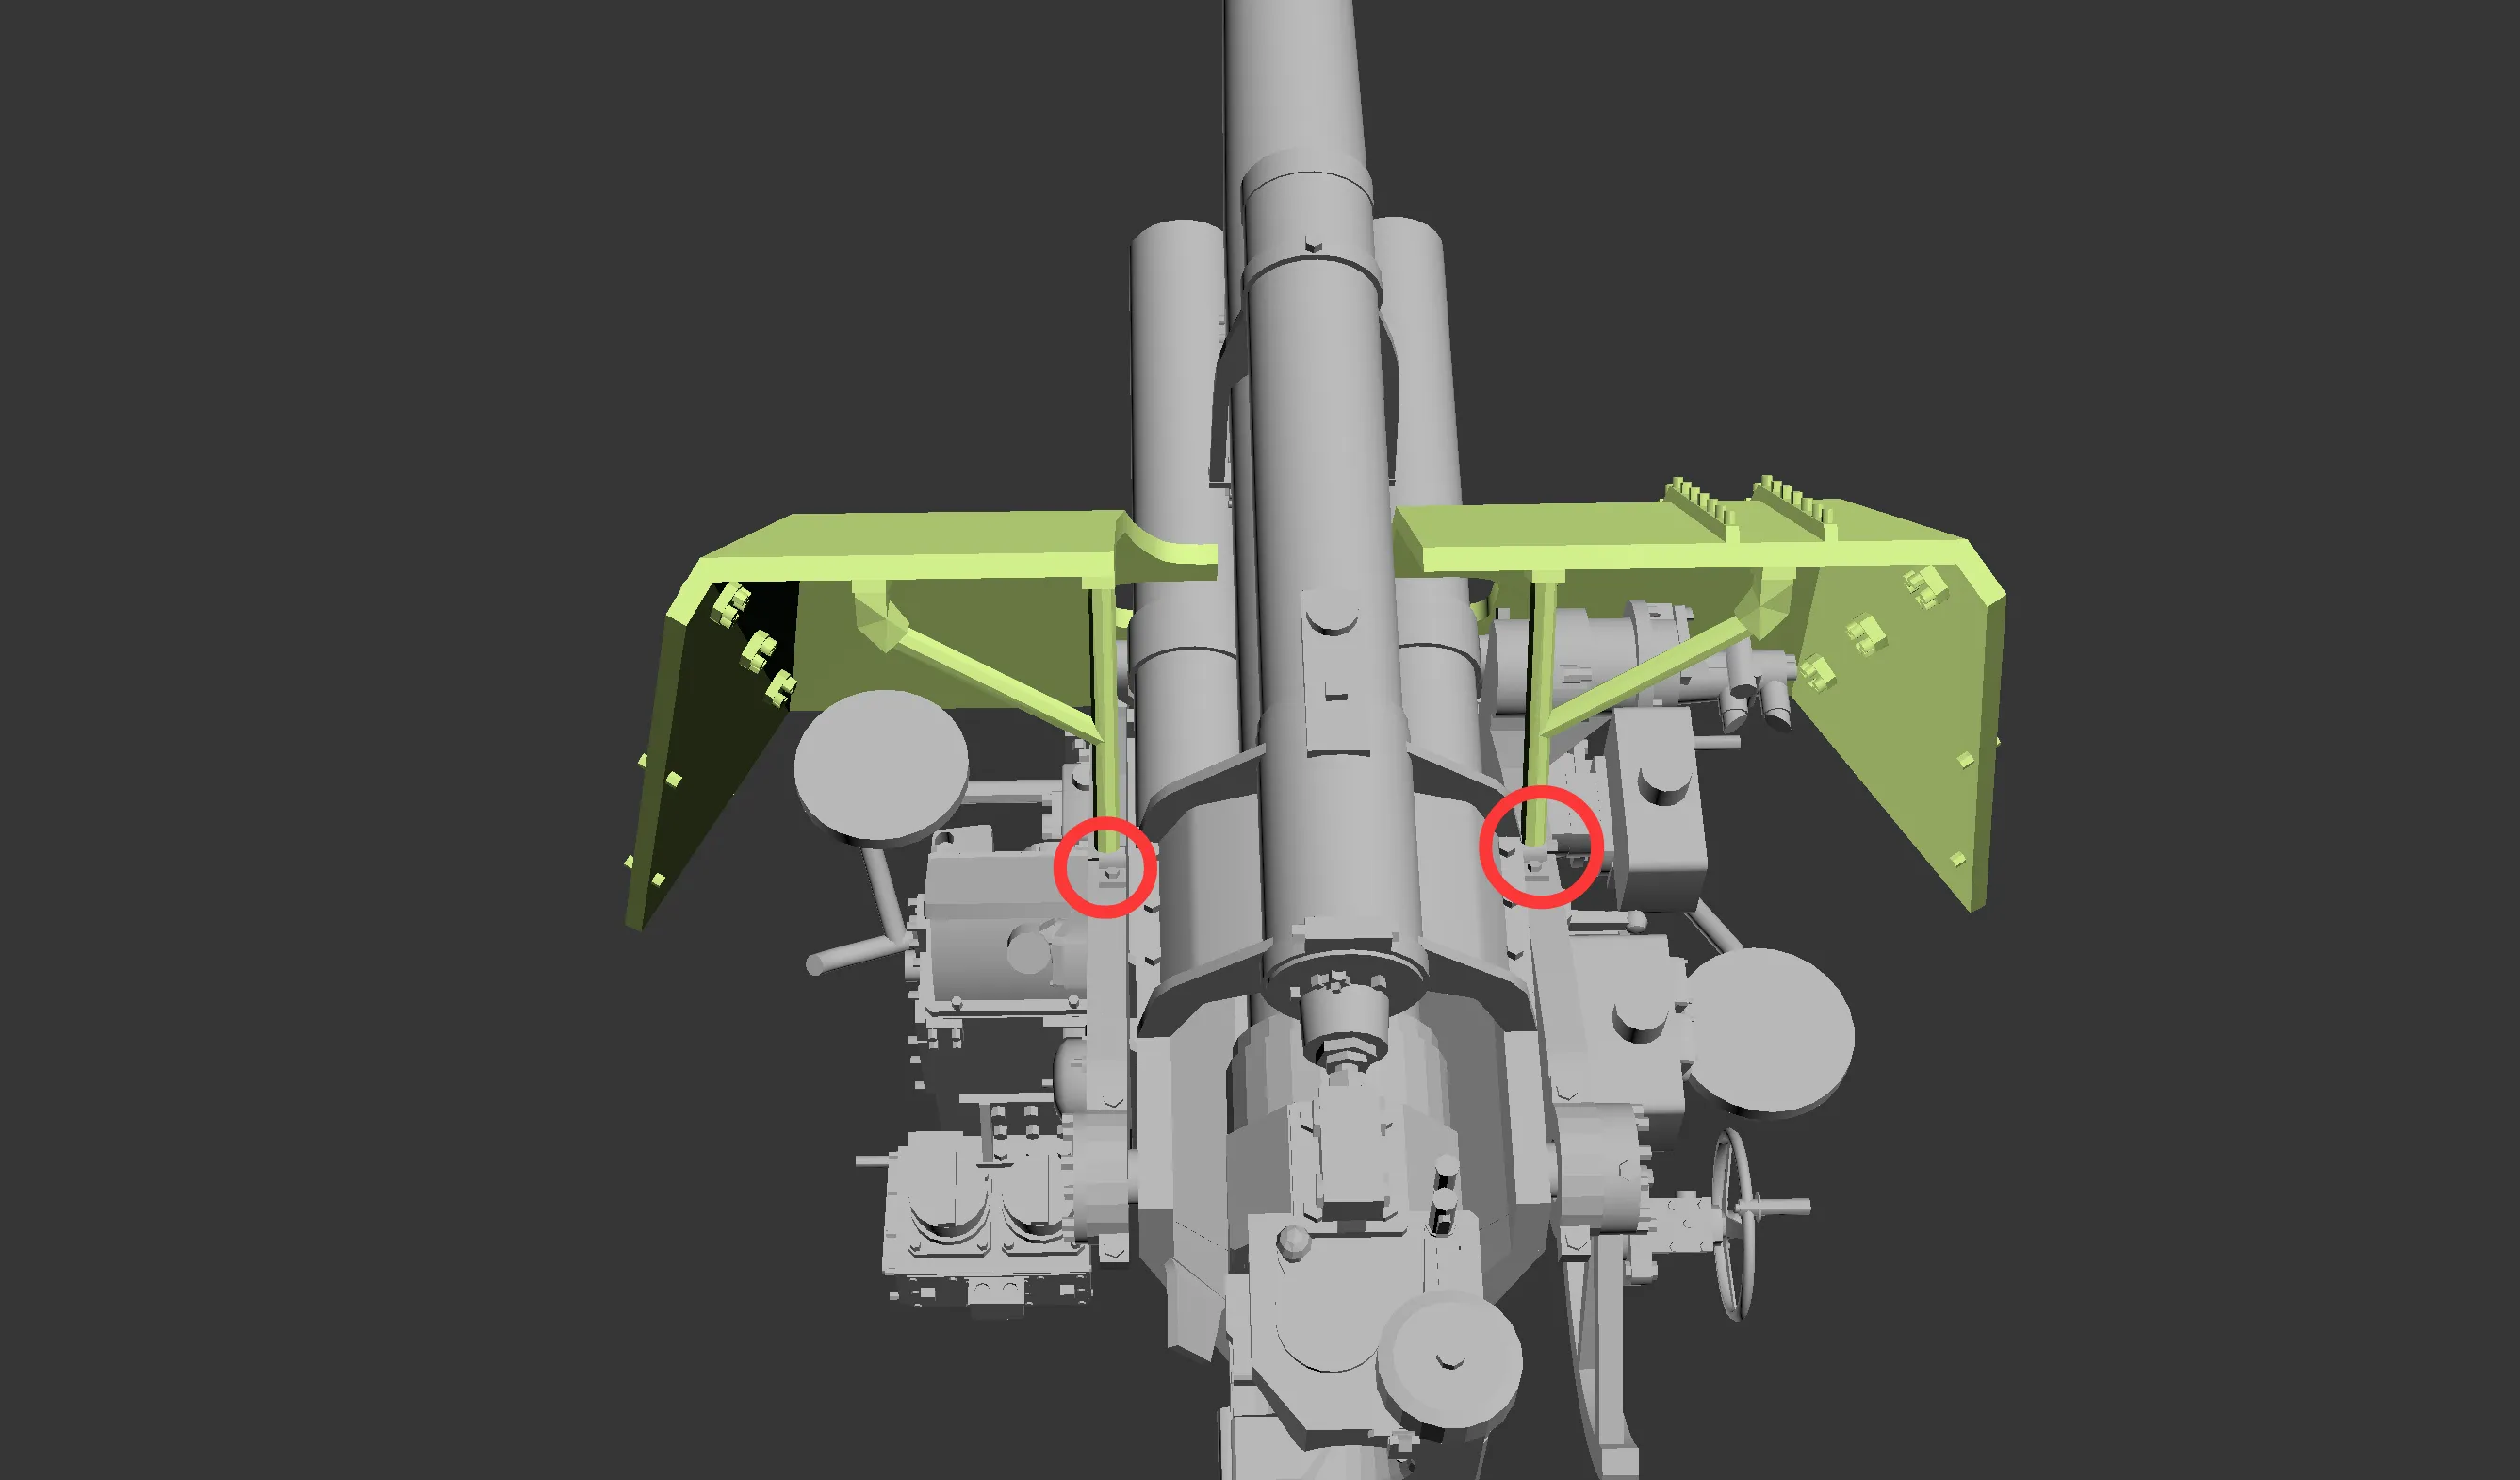
The corresponding adhesive position for the upper support of the gun shield is shown in the figure
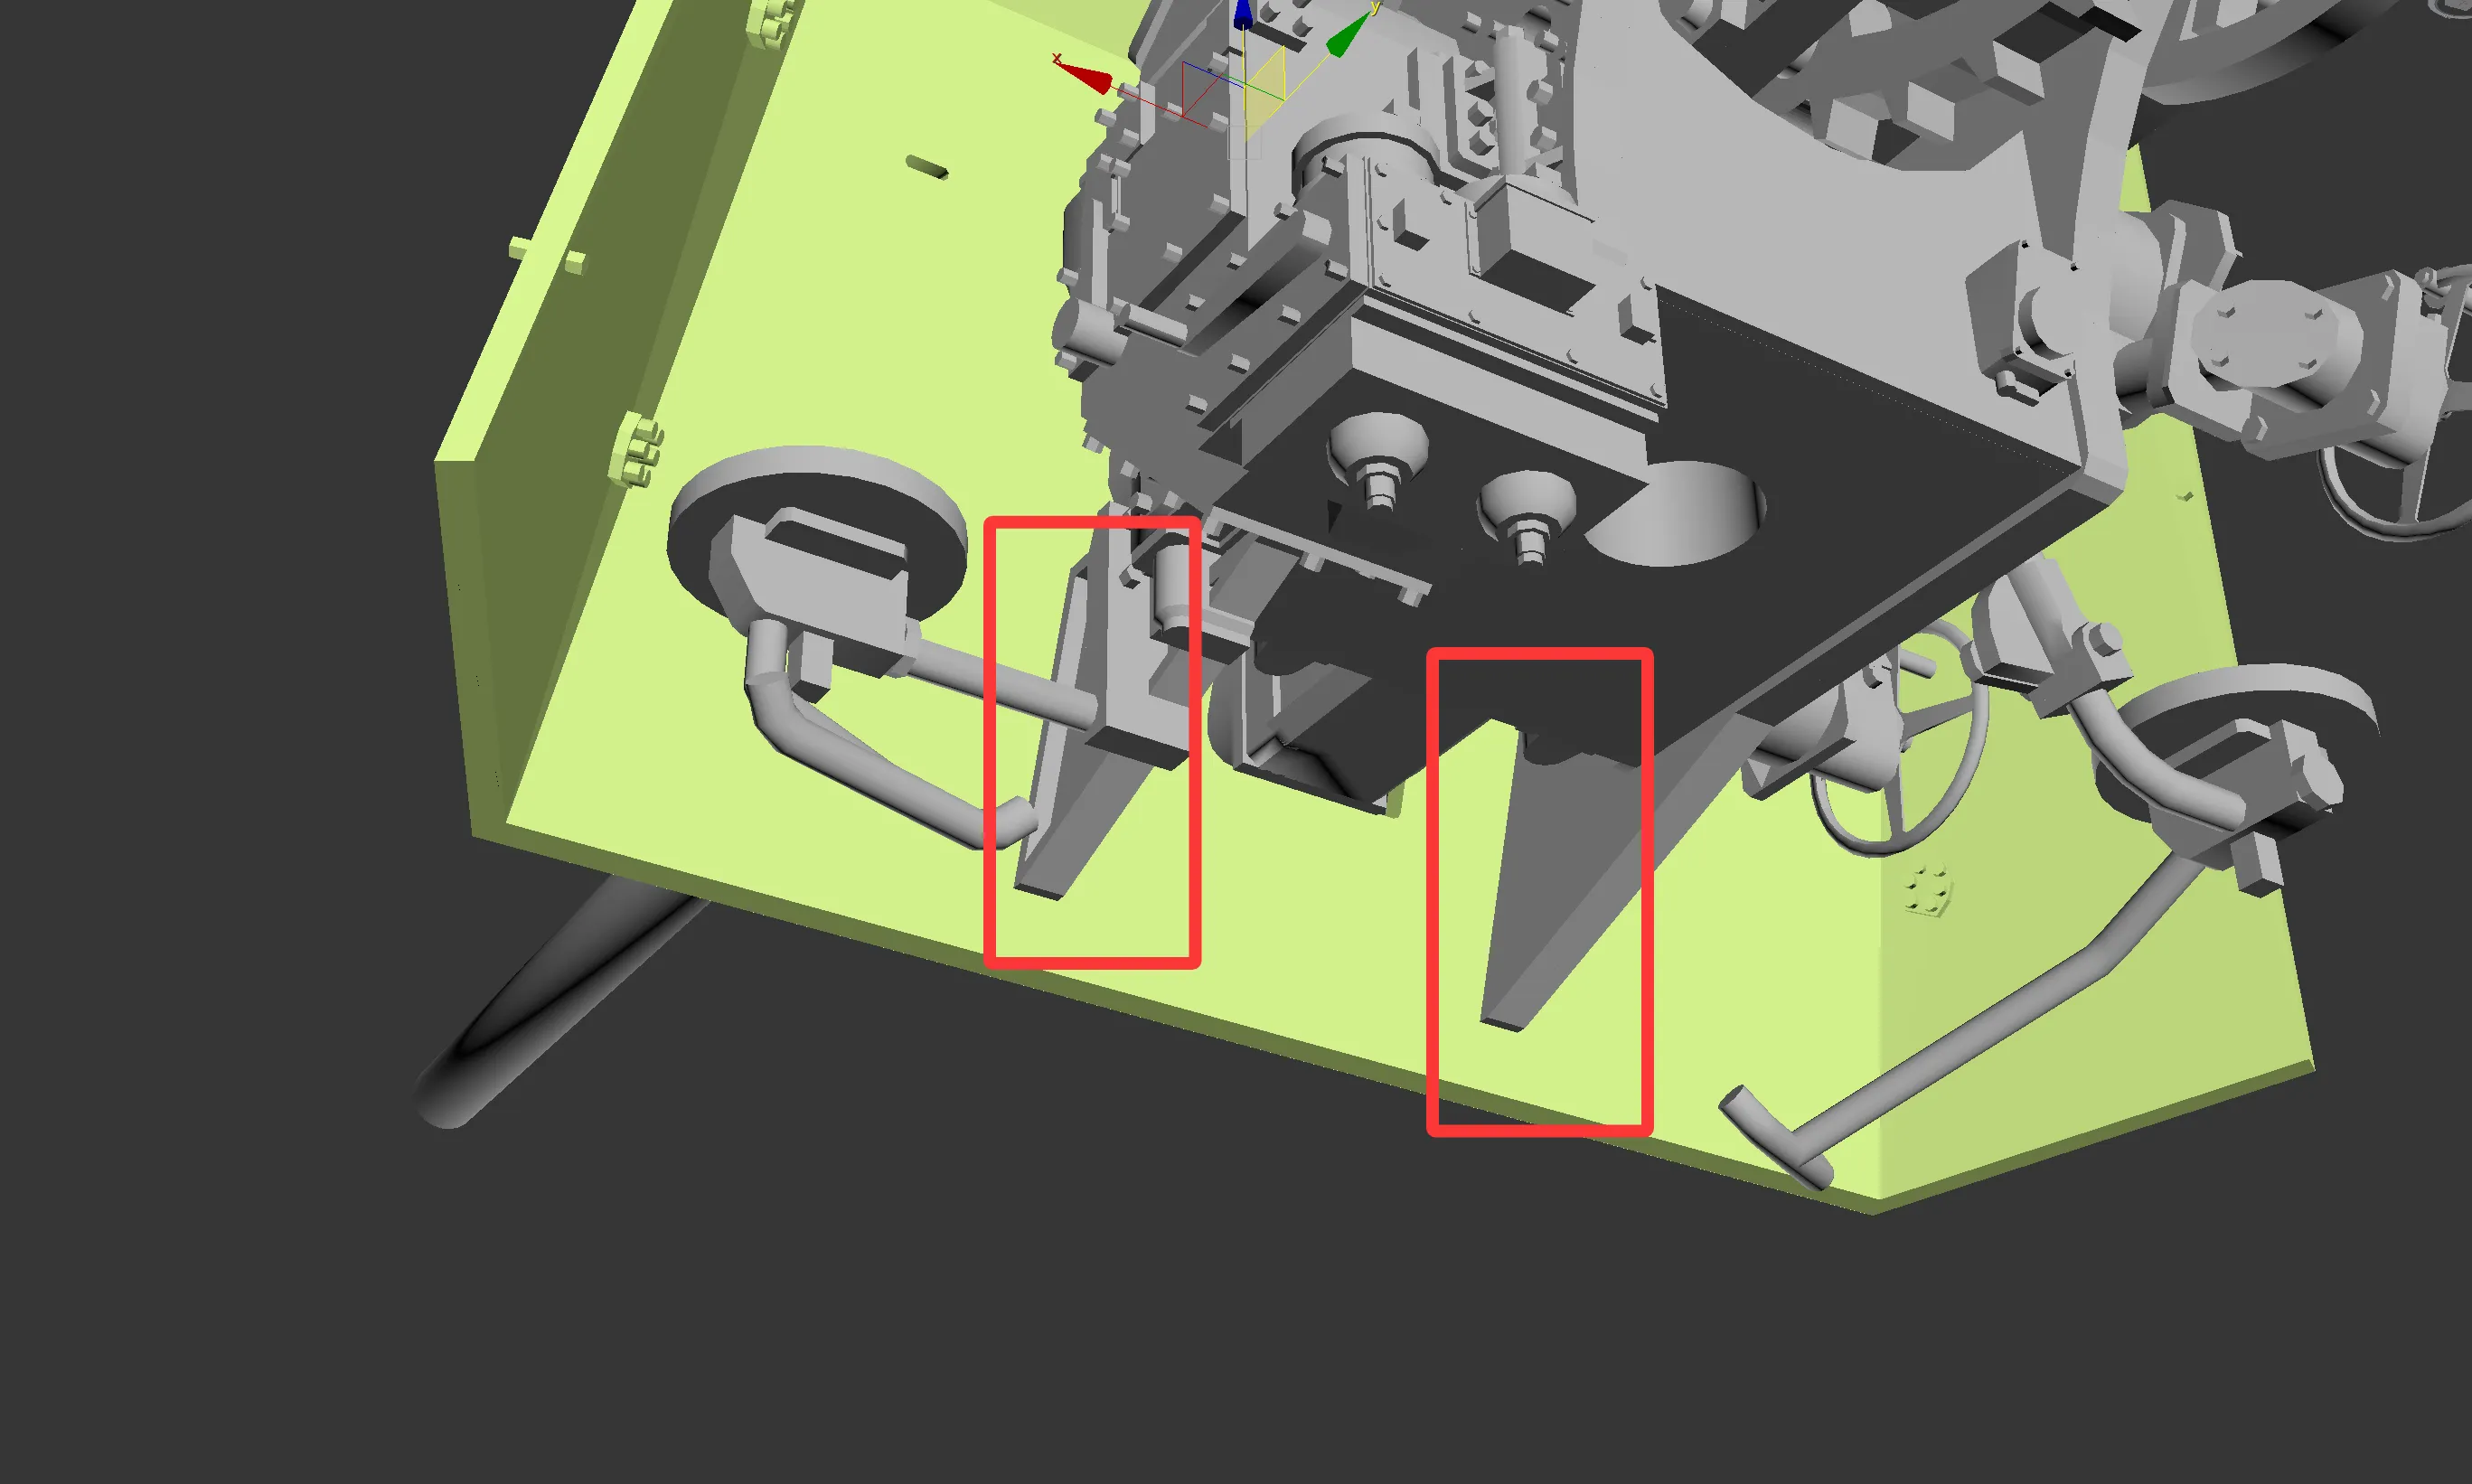
The adhesive position for the lower part of the gun shield is shown in the figure
Below are the assembly instructions for the base section
These parts can be secured by friction alone; if they are loose, you can add a drop of glue
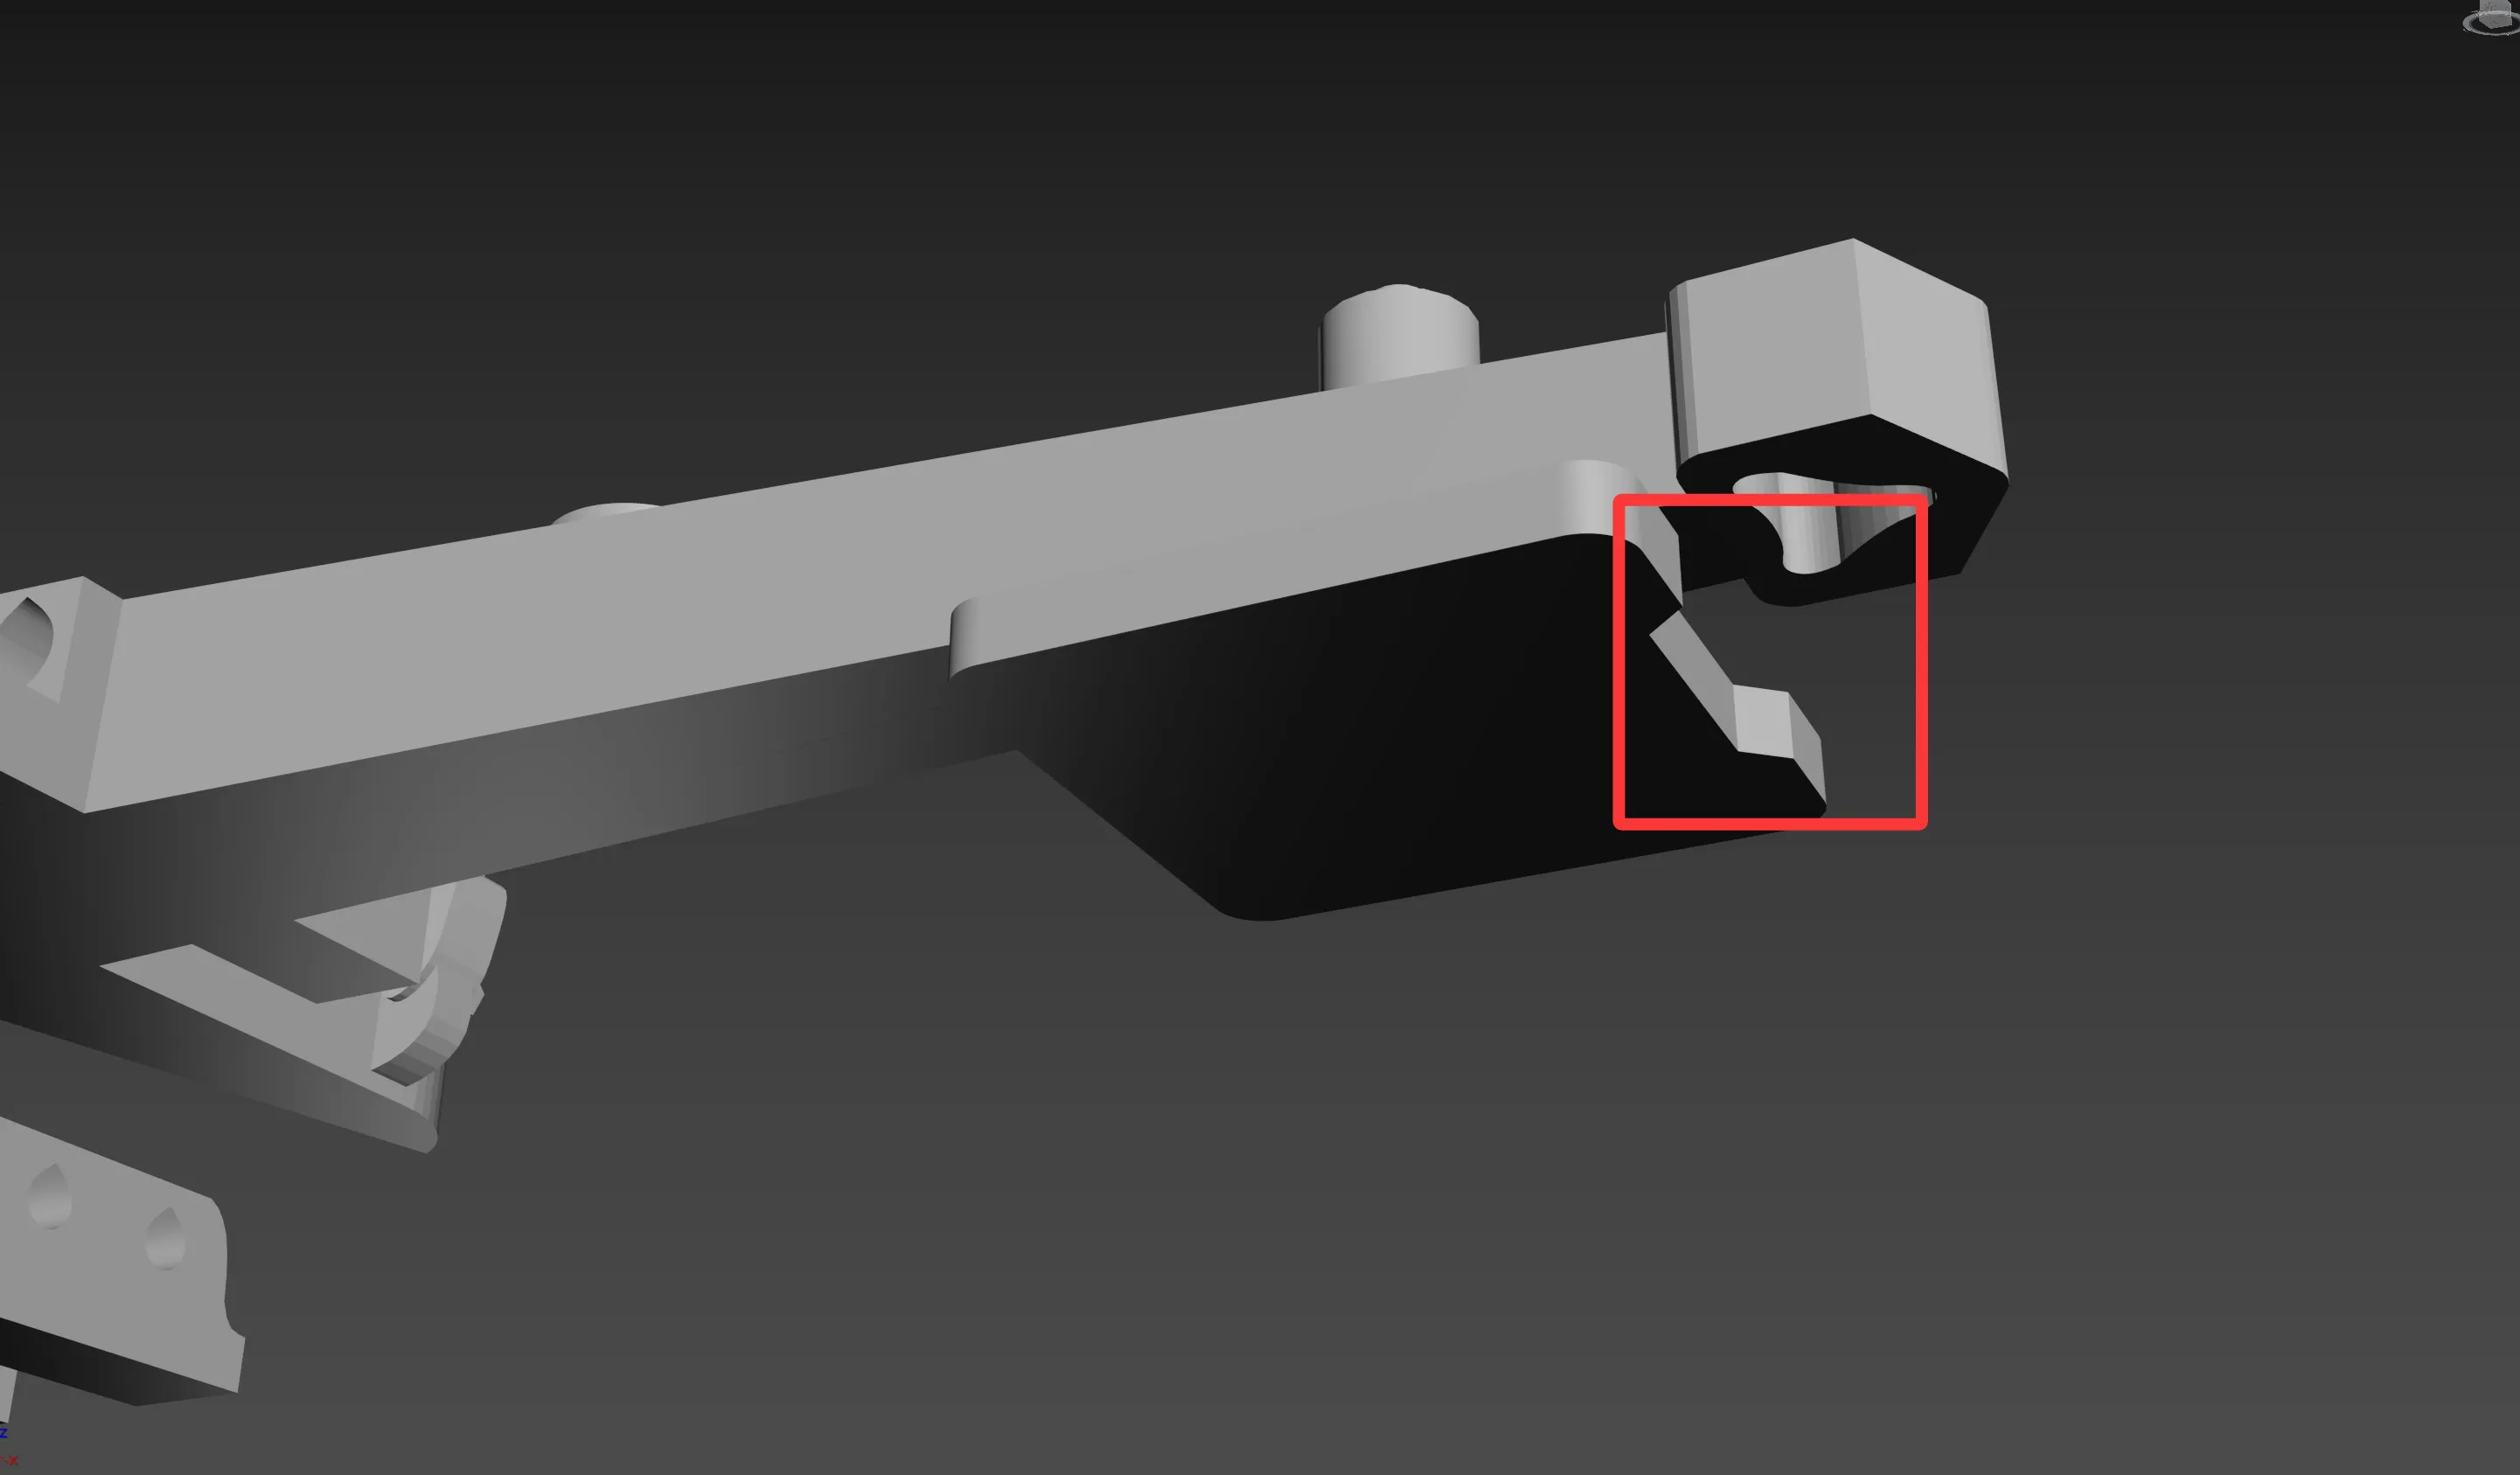
The notches on the outriggers should face outwards, and the same applies to the other four, which will not be repeated later
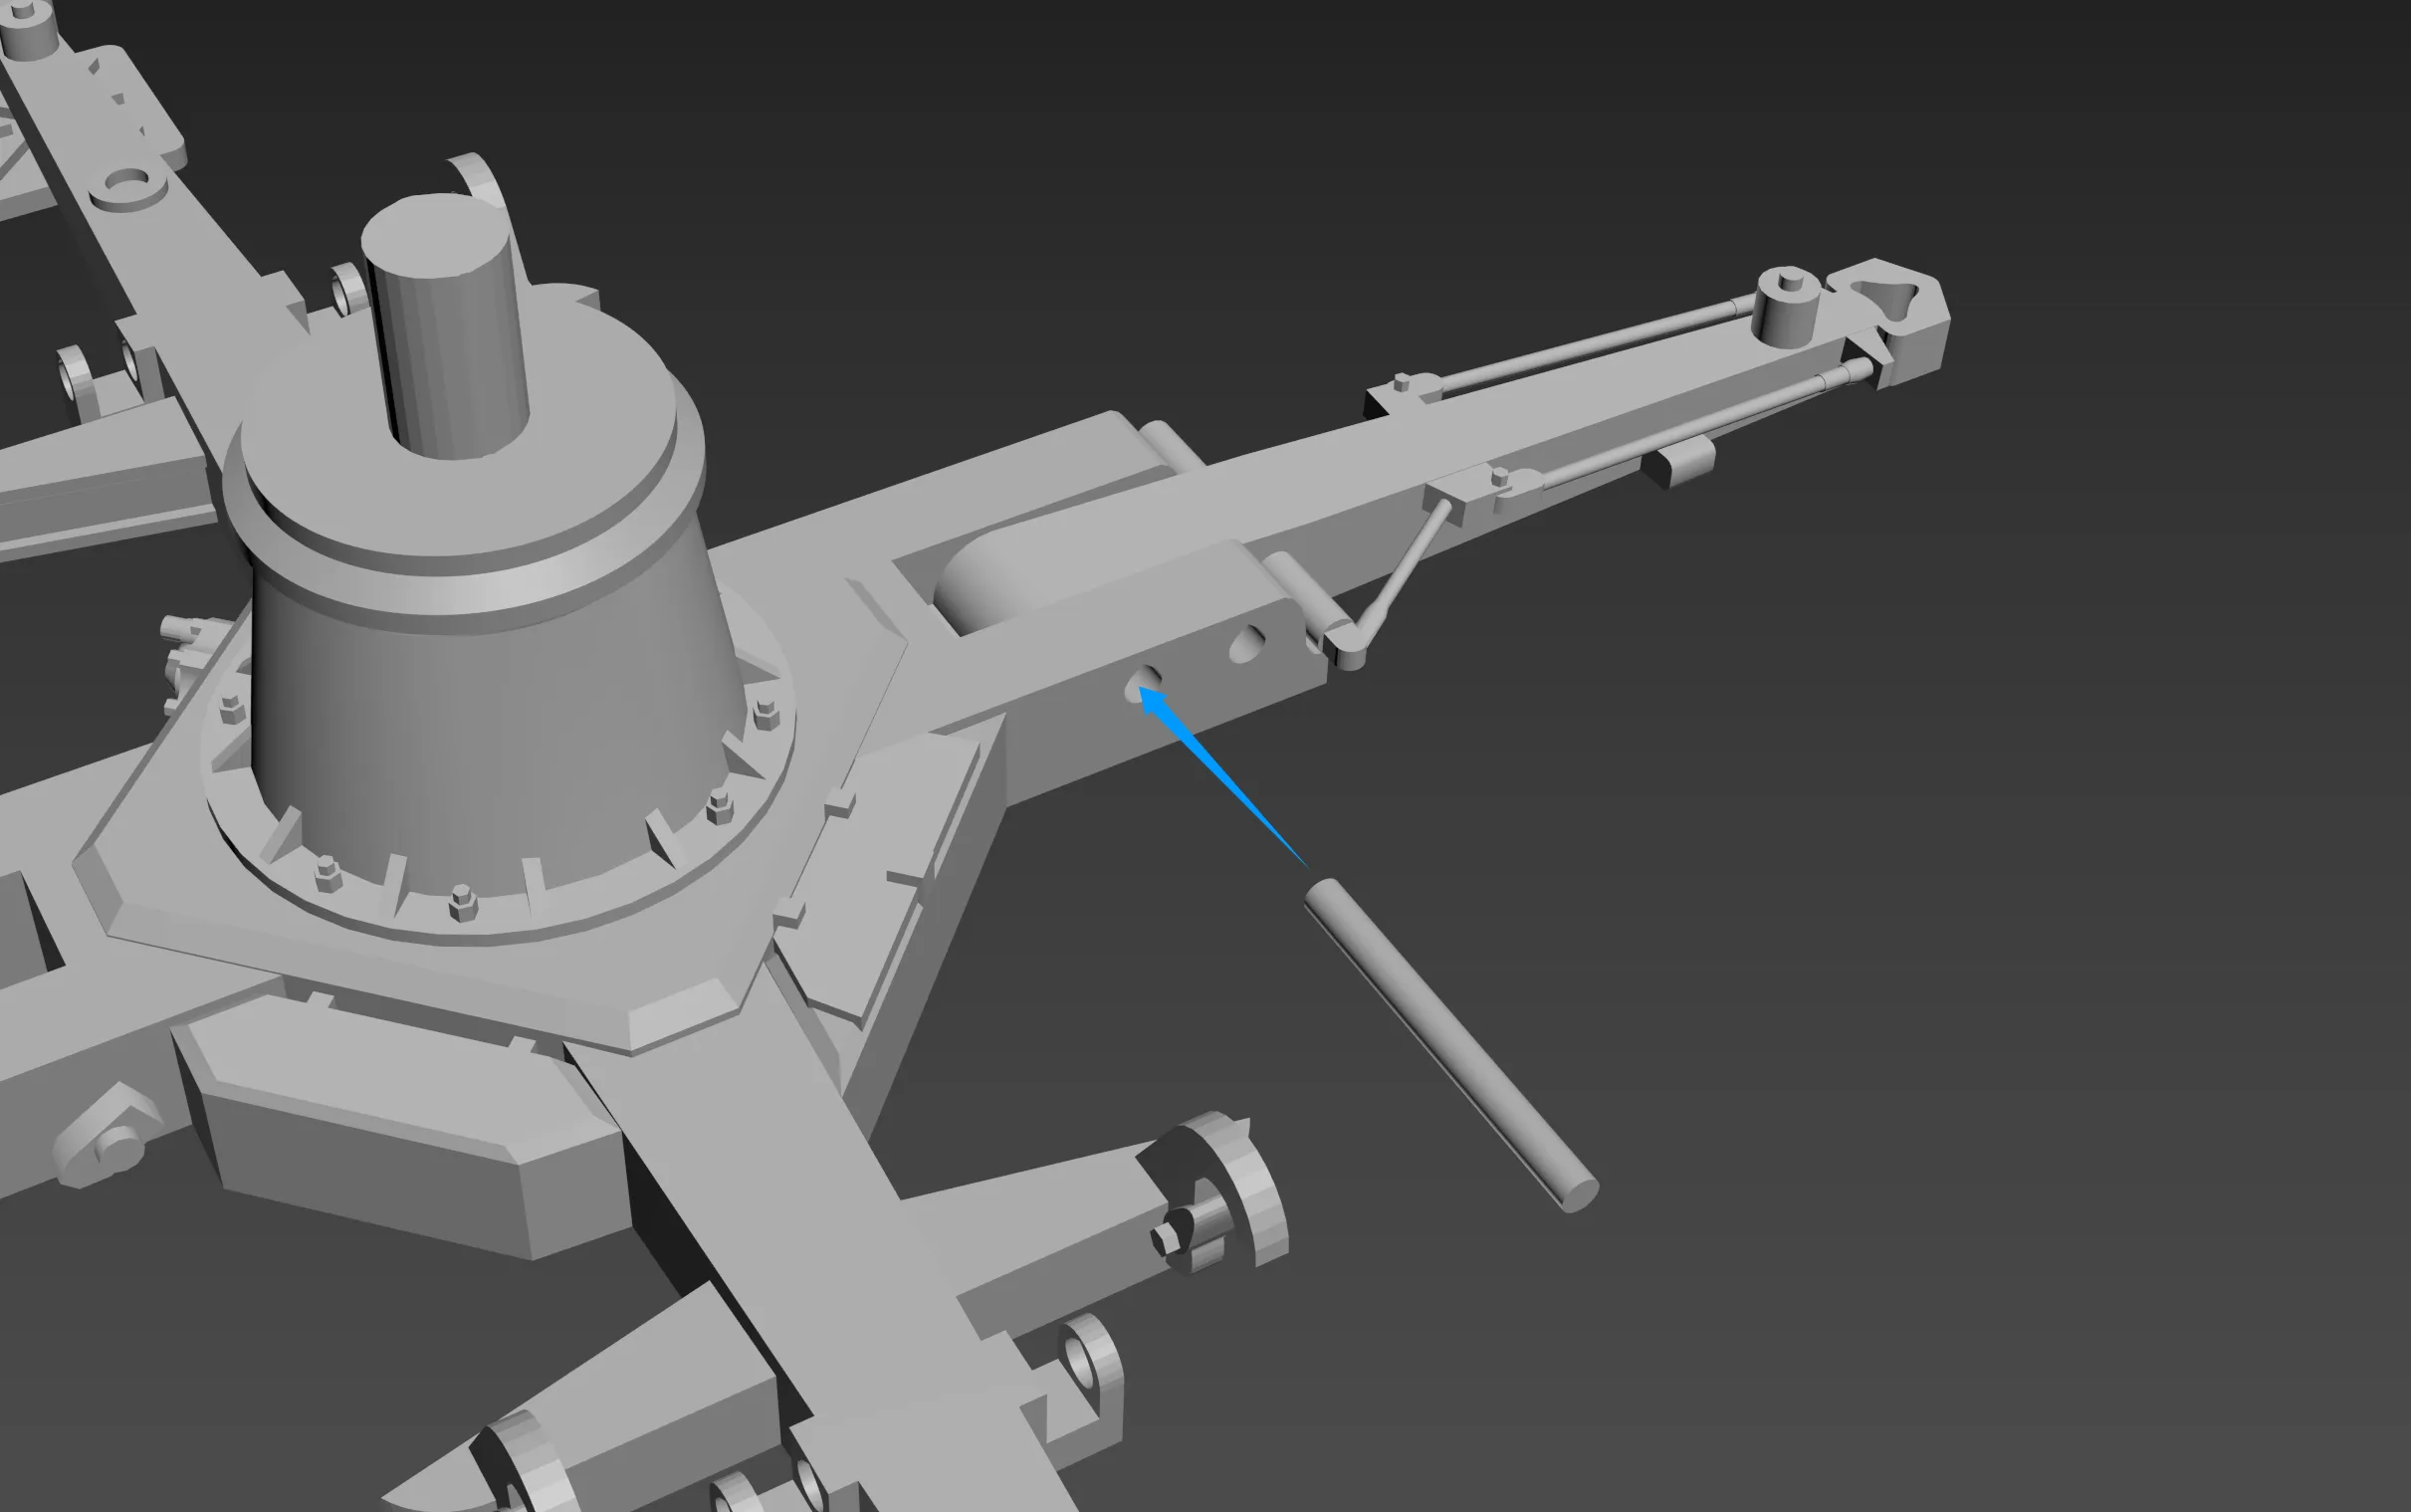
The side base supports are fixed with a section of 1.75mm filament; both sides are the same. Install them in the inner mounting holes, no glue needed
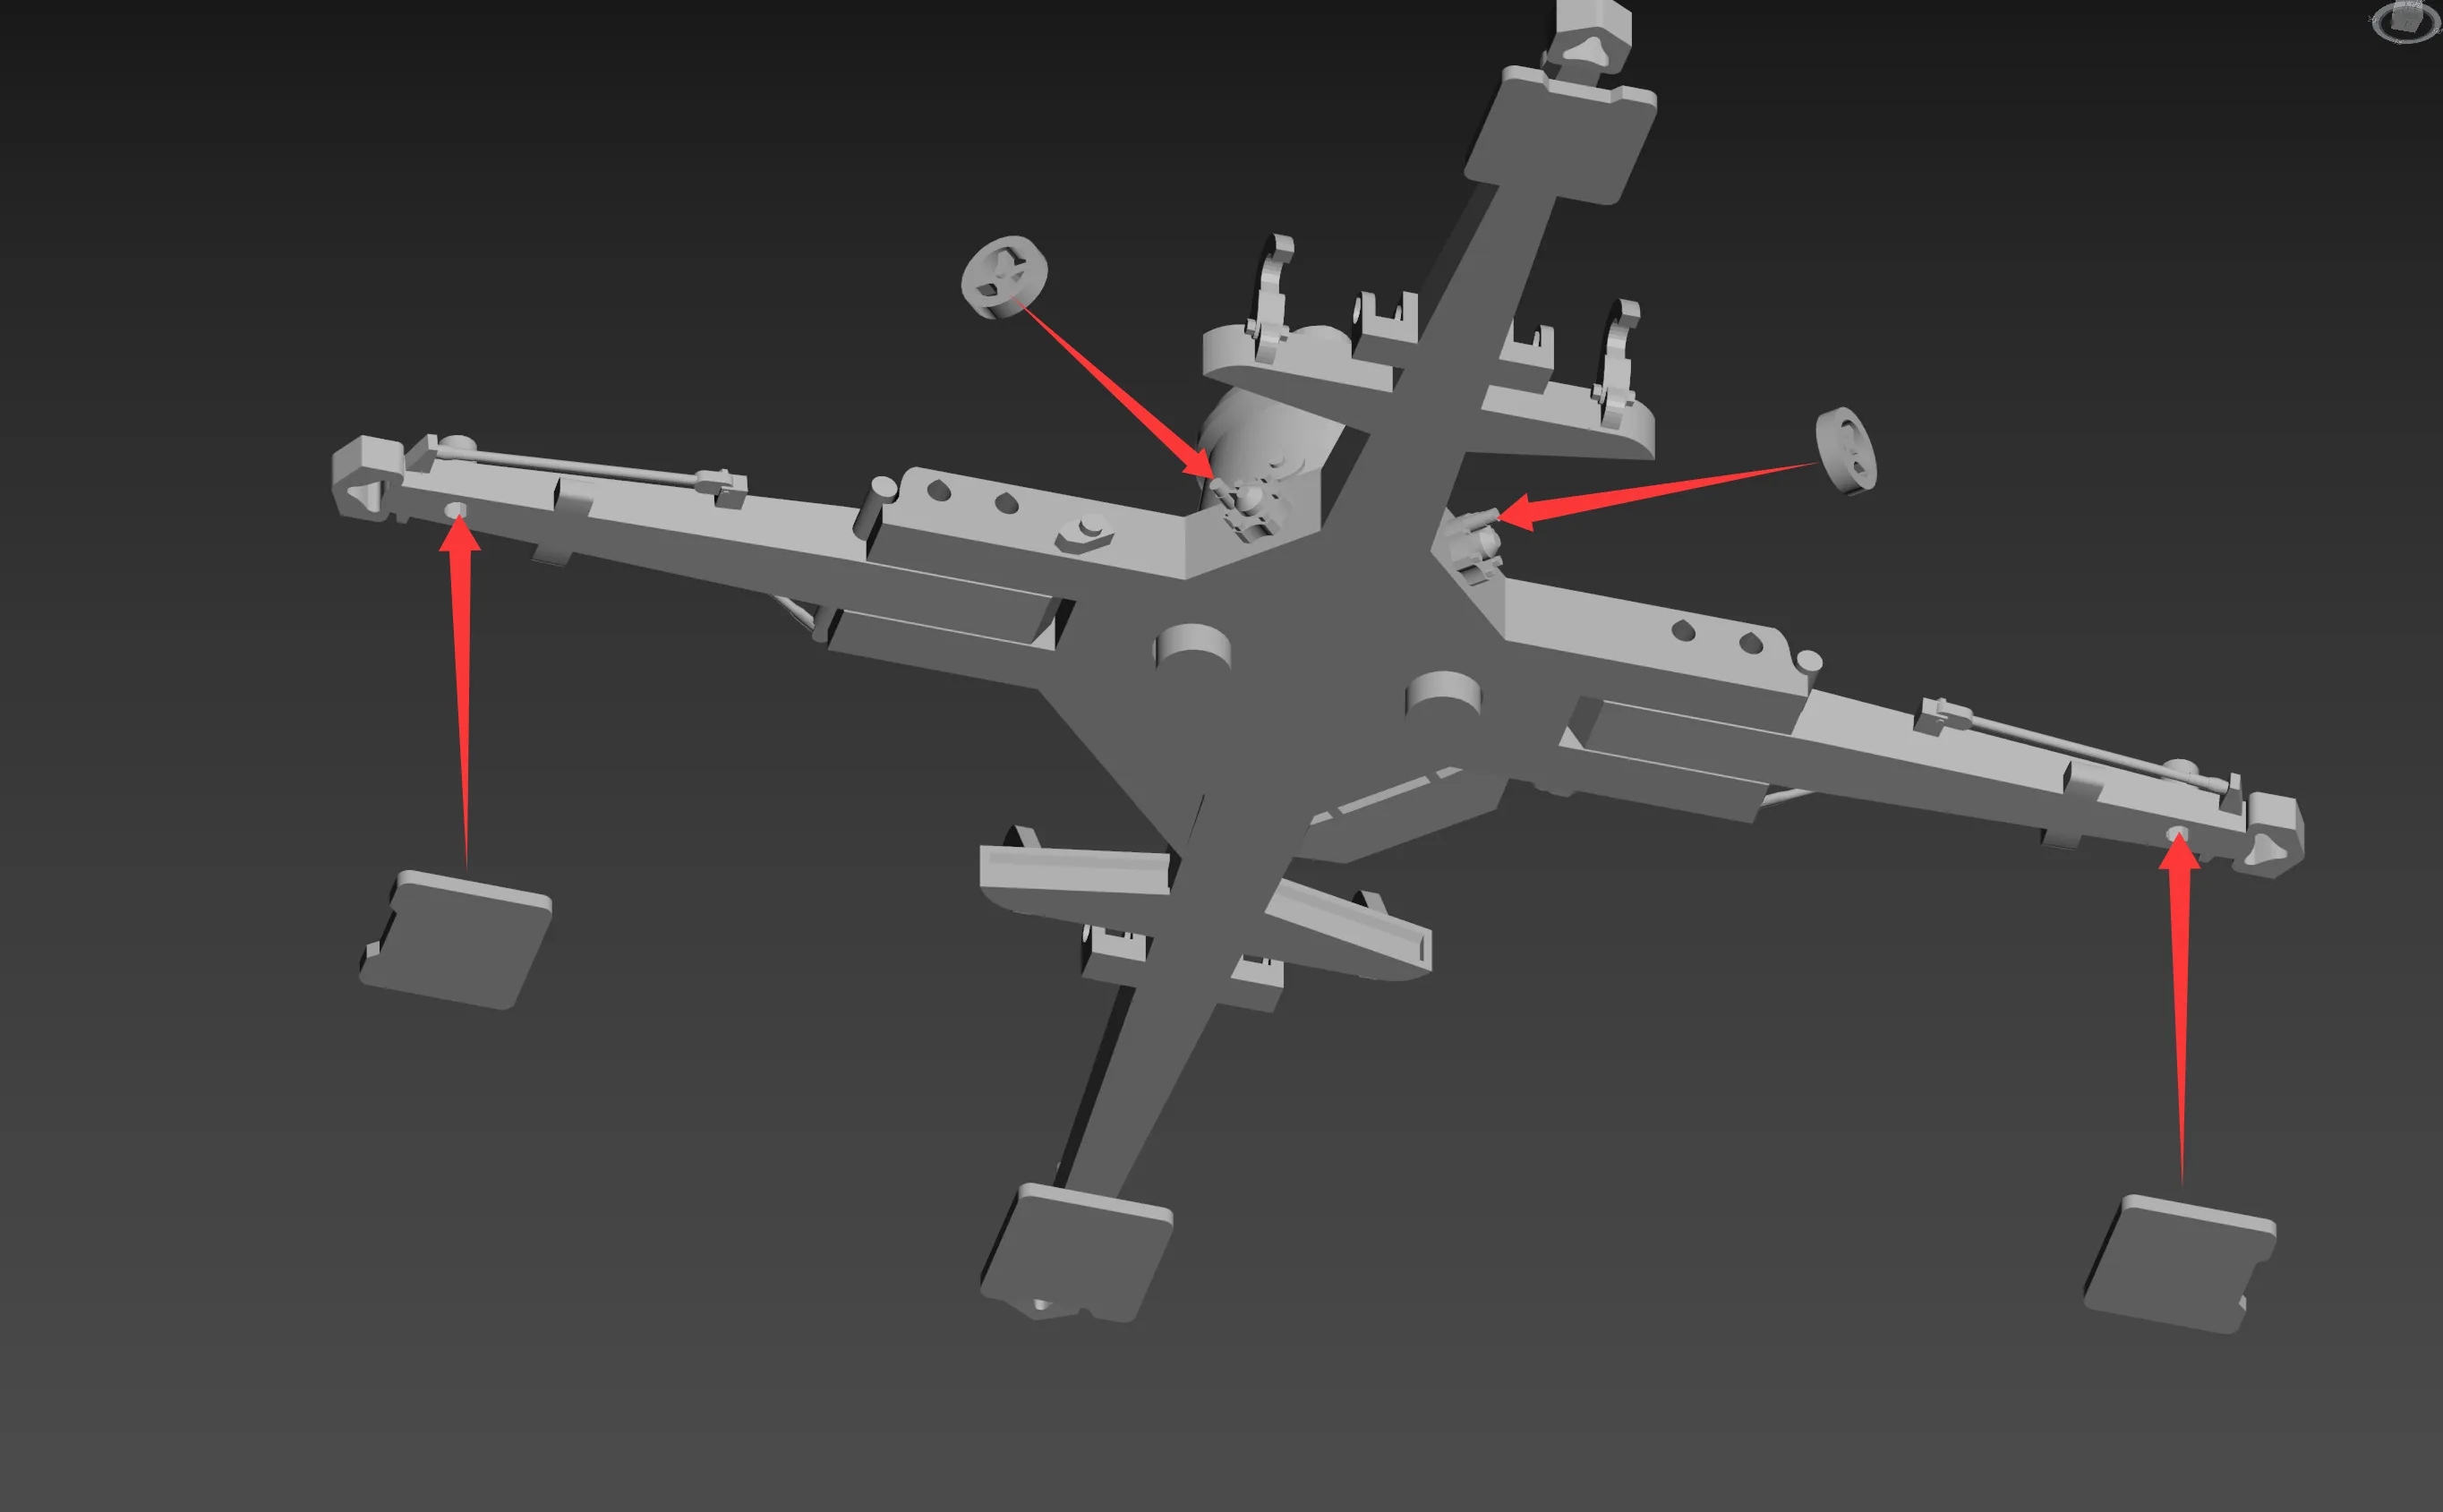
The travel lock is fixed with a section of 1.75mm filament, no glue needed. There are mounting holes on both sides, so it can be installed on either side
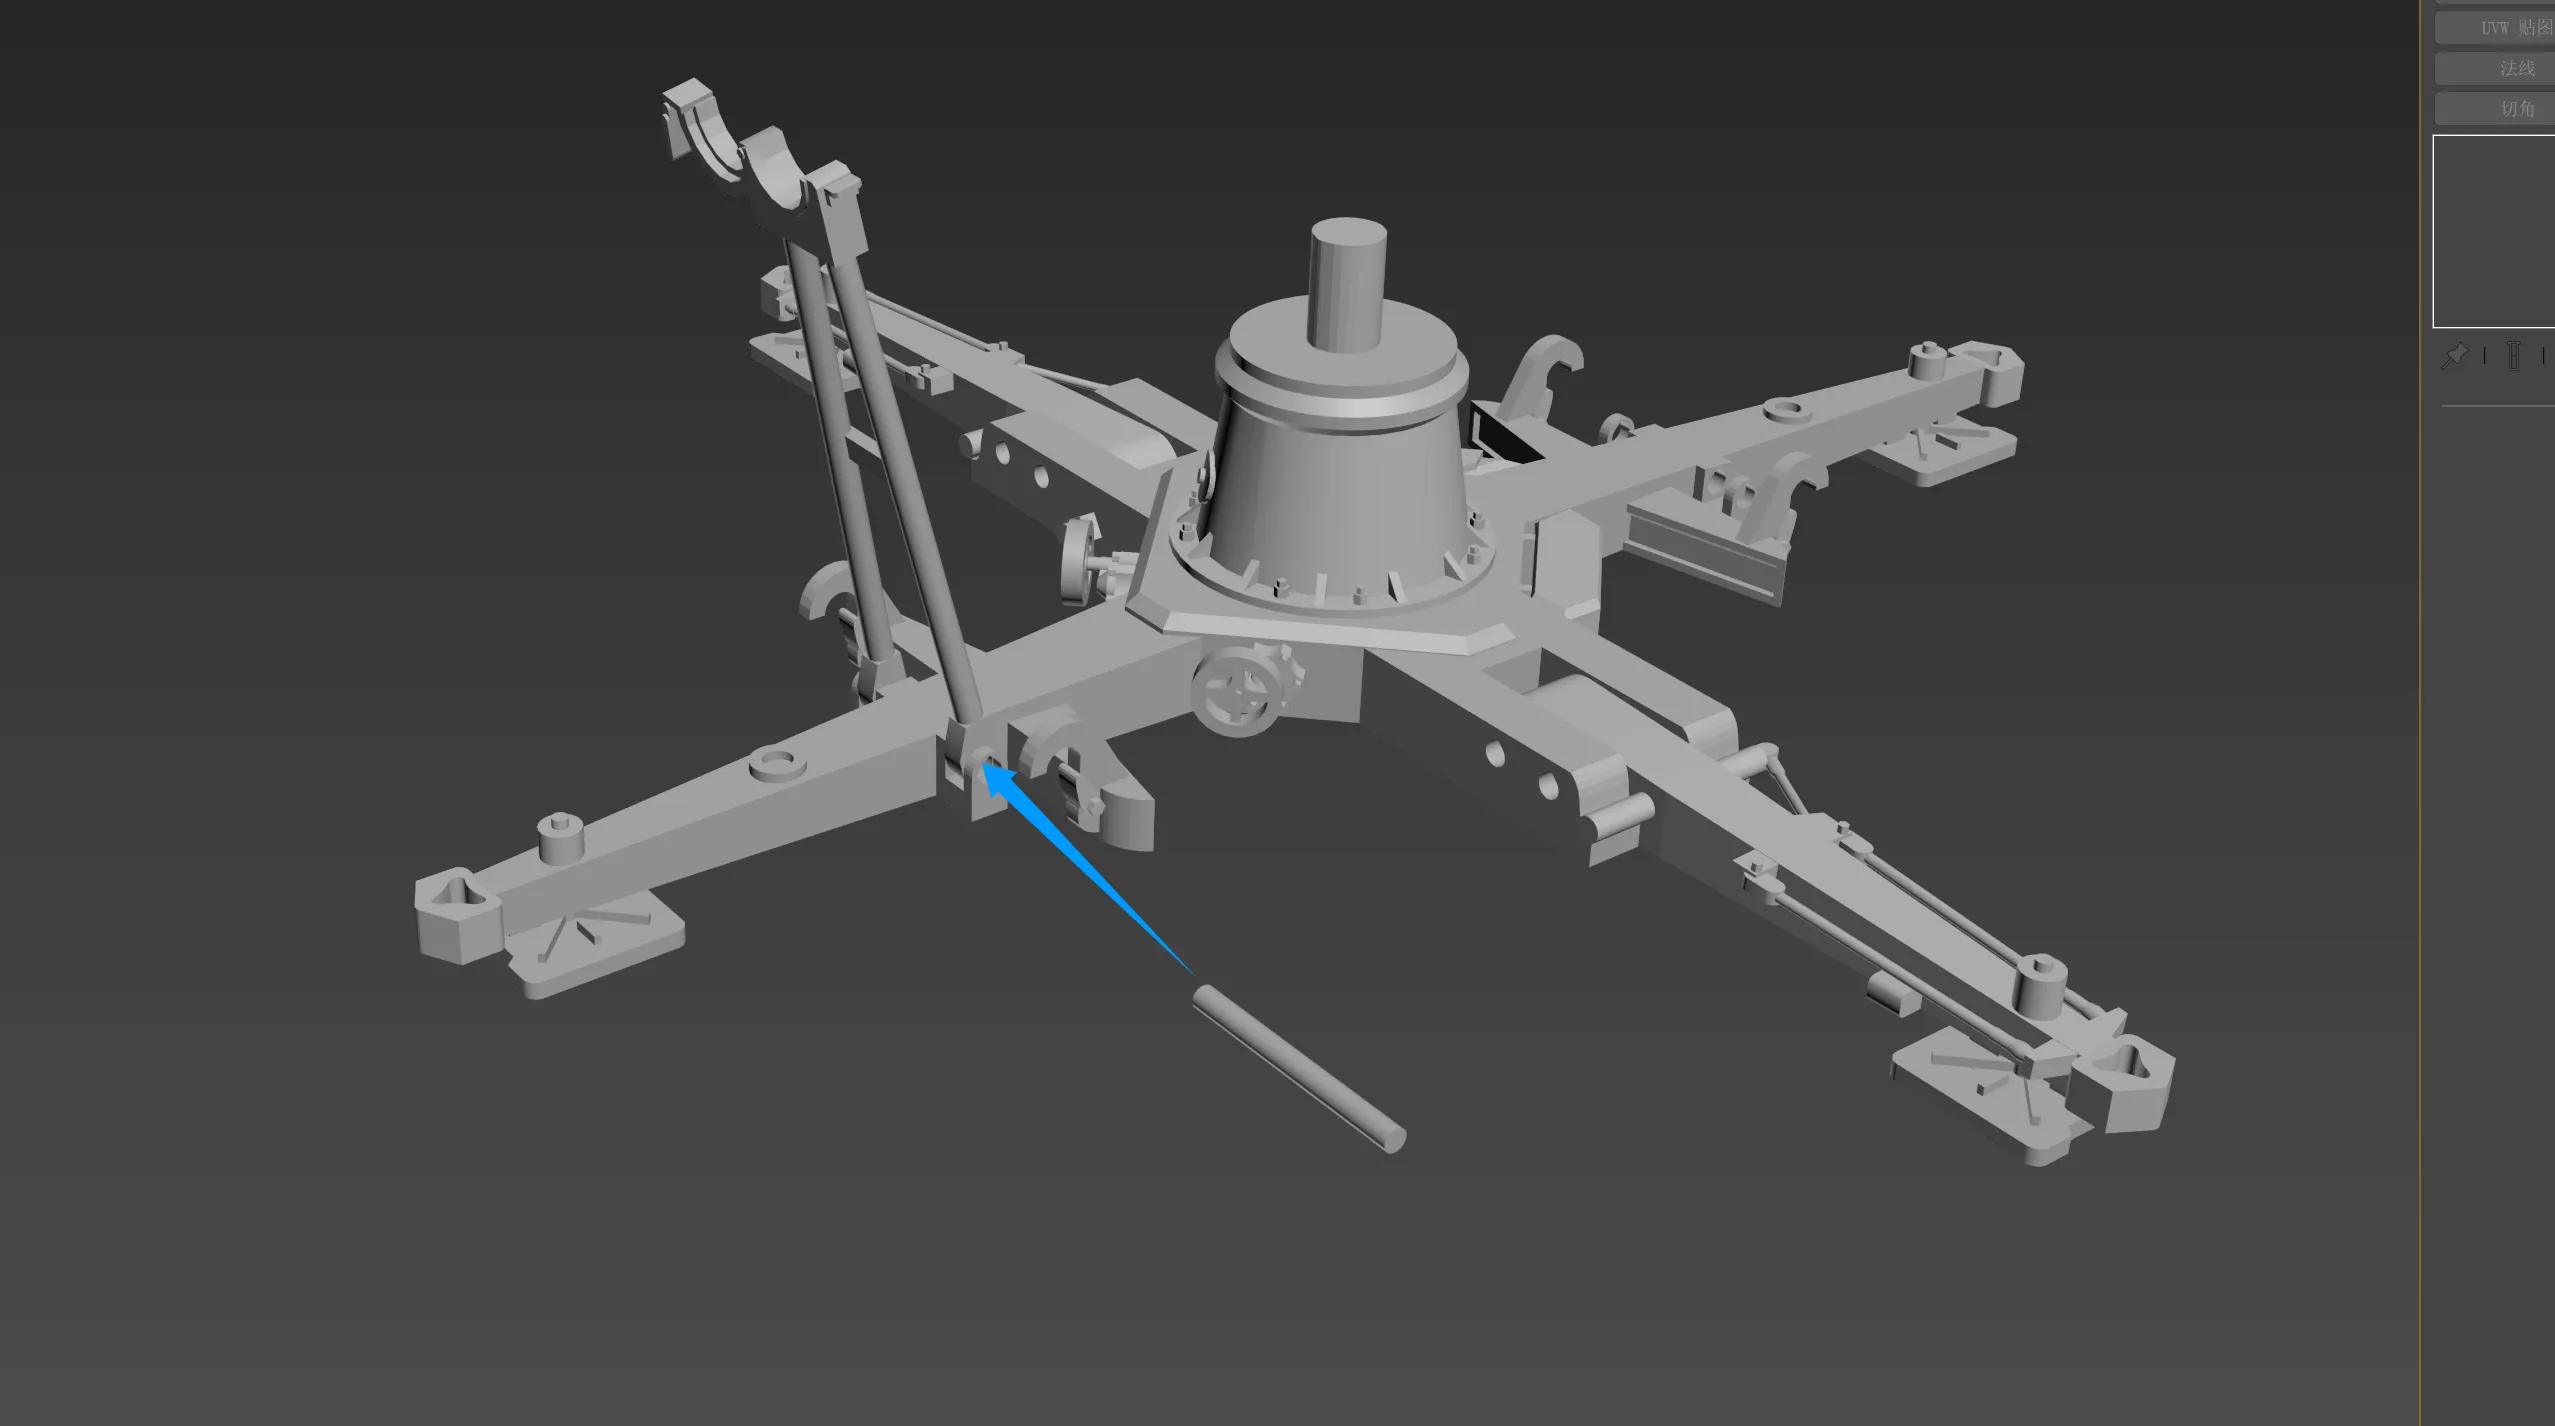
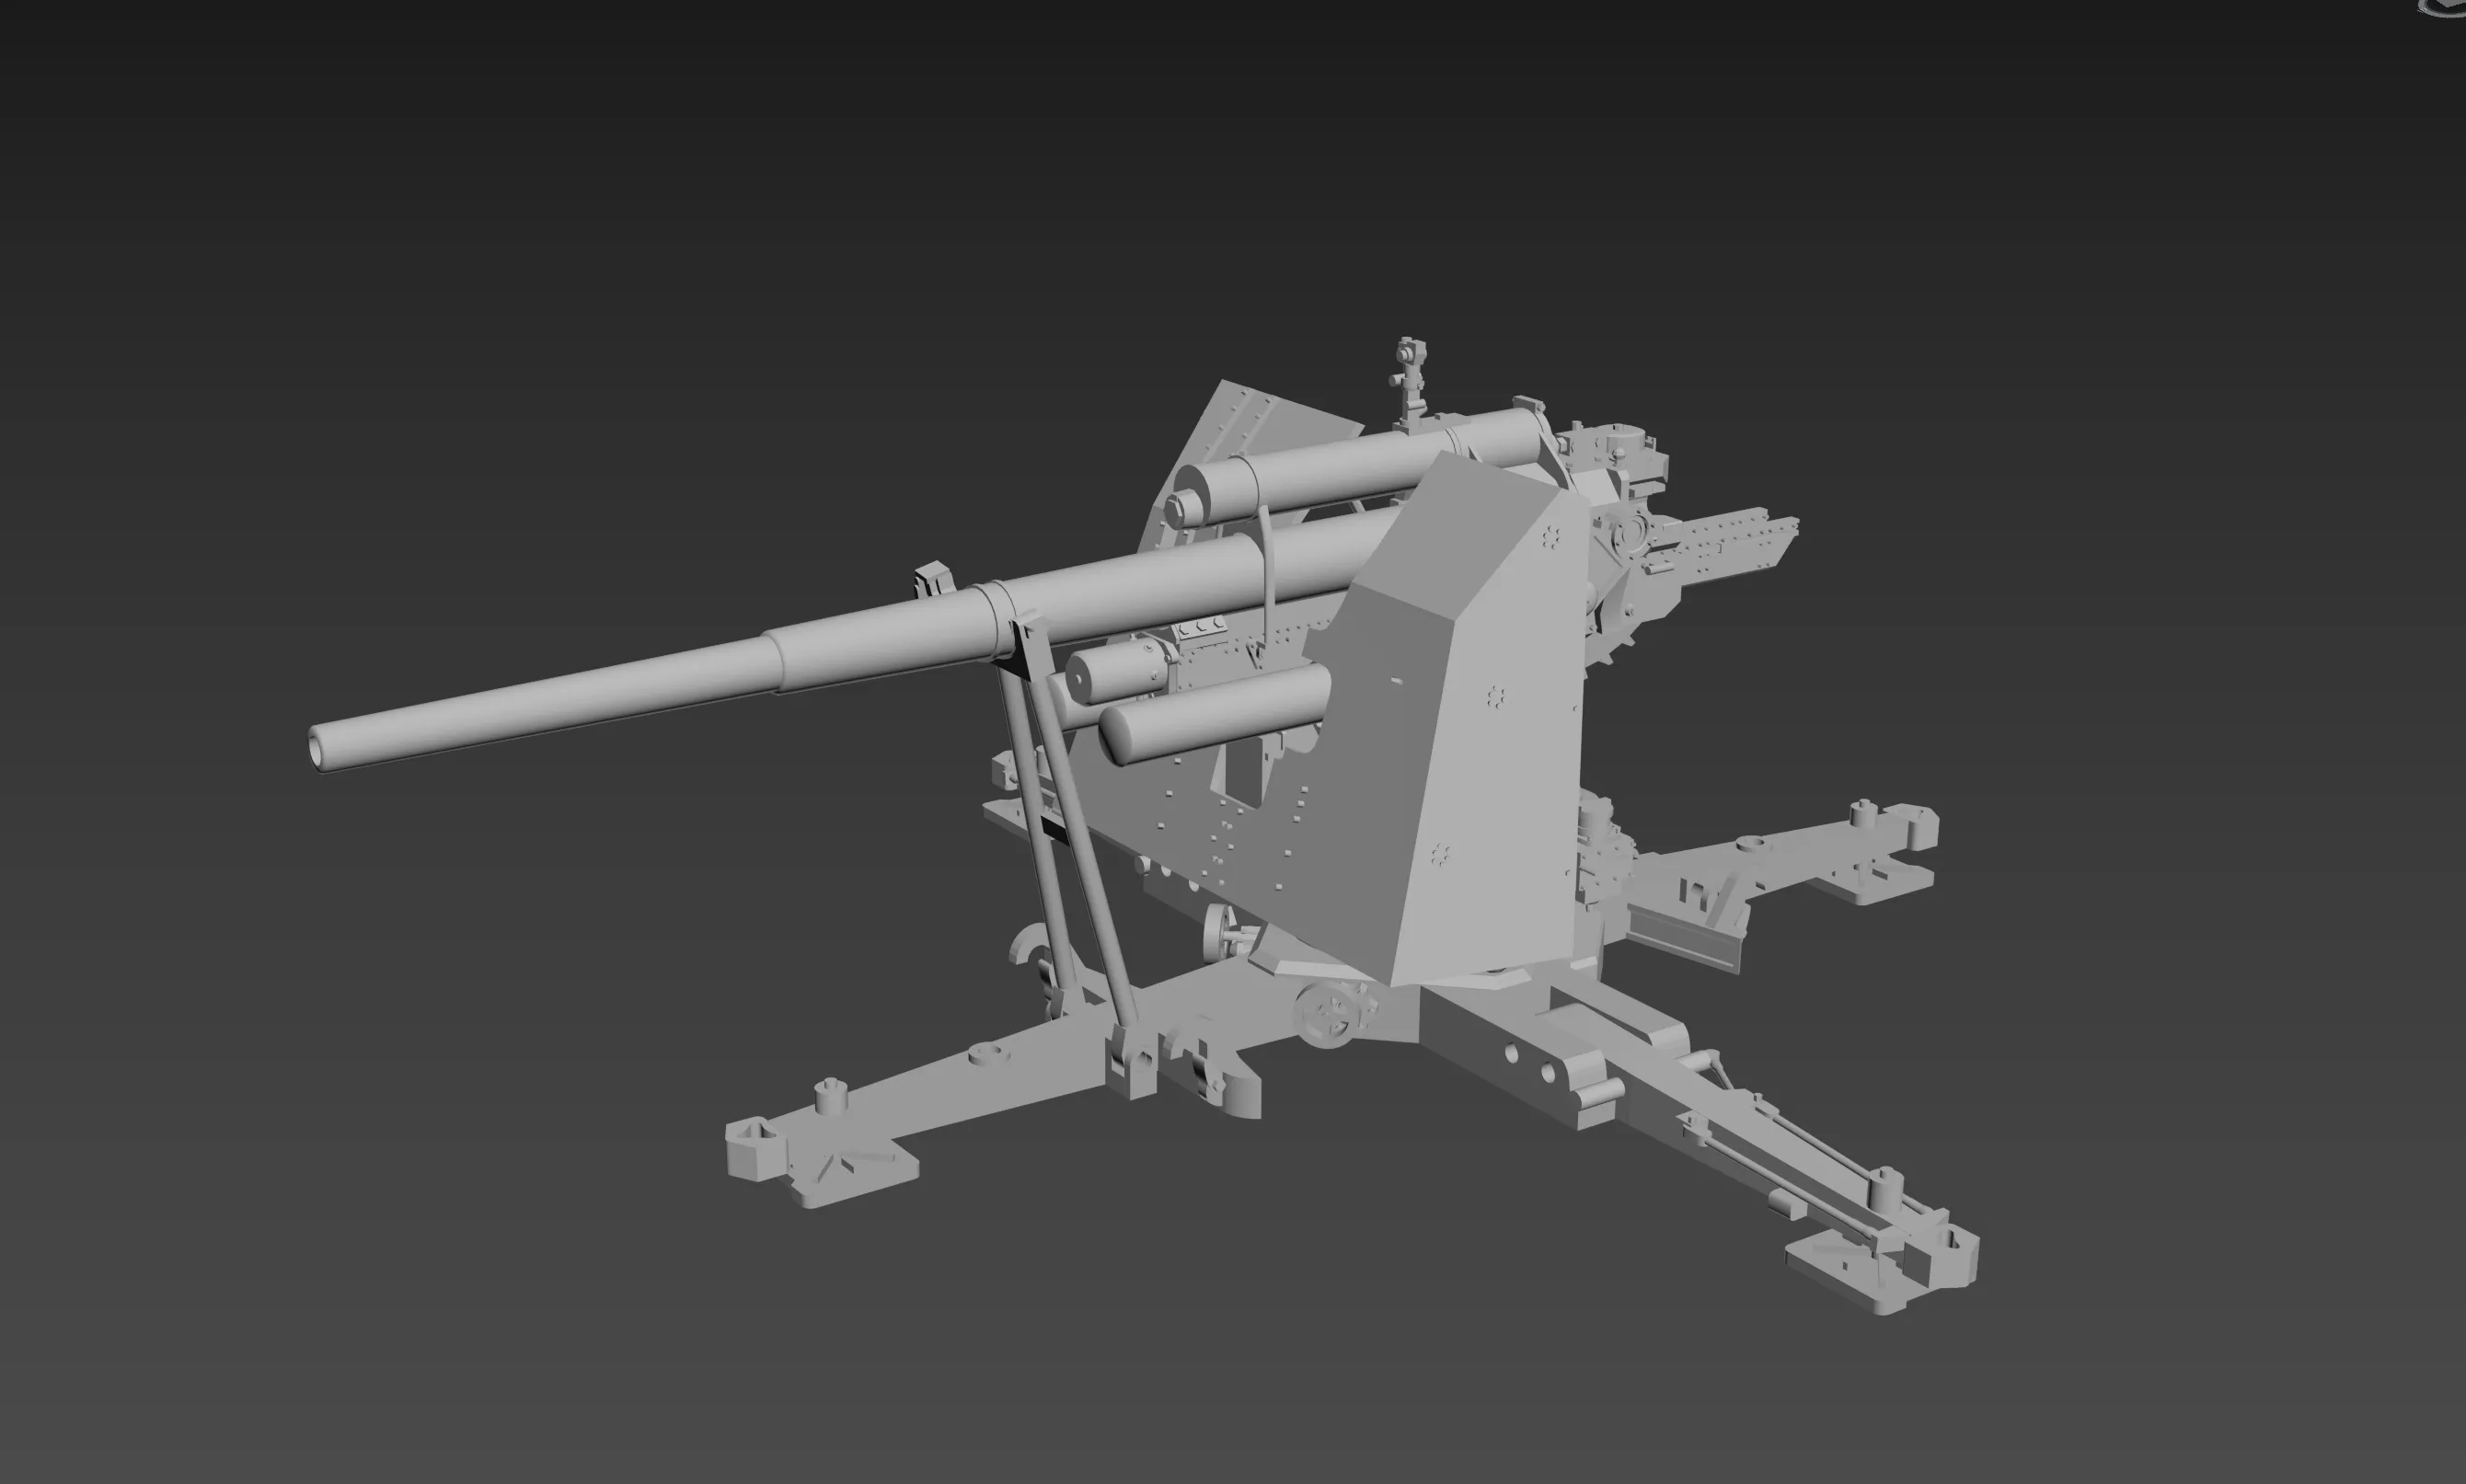
Main gun section completed
Boost Me (for free)
Below are the Sd.Ah.202 trailer section assembly instructions
There is one trailer at the front and back of the base; except for the front one having an additional tow bar, the rest is completely identical (whichever one has the tow bar is the front)
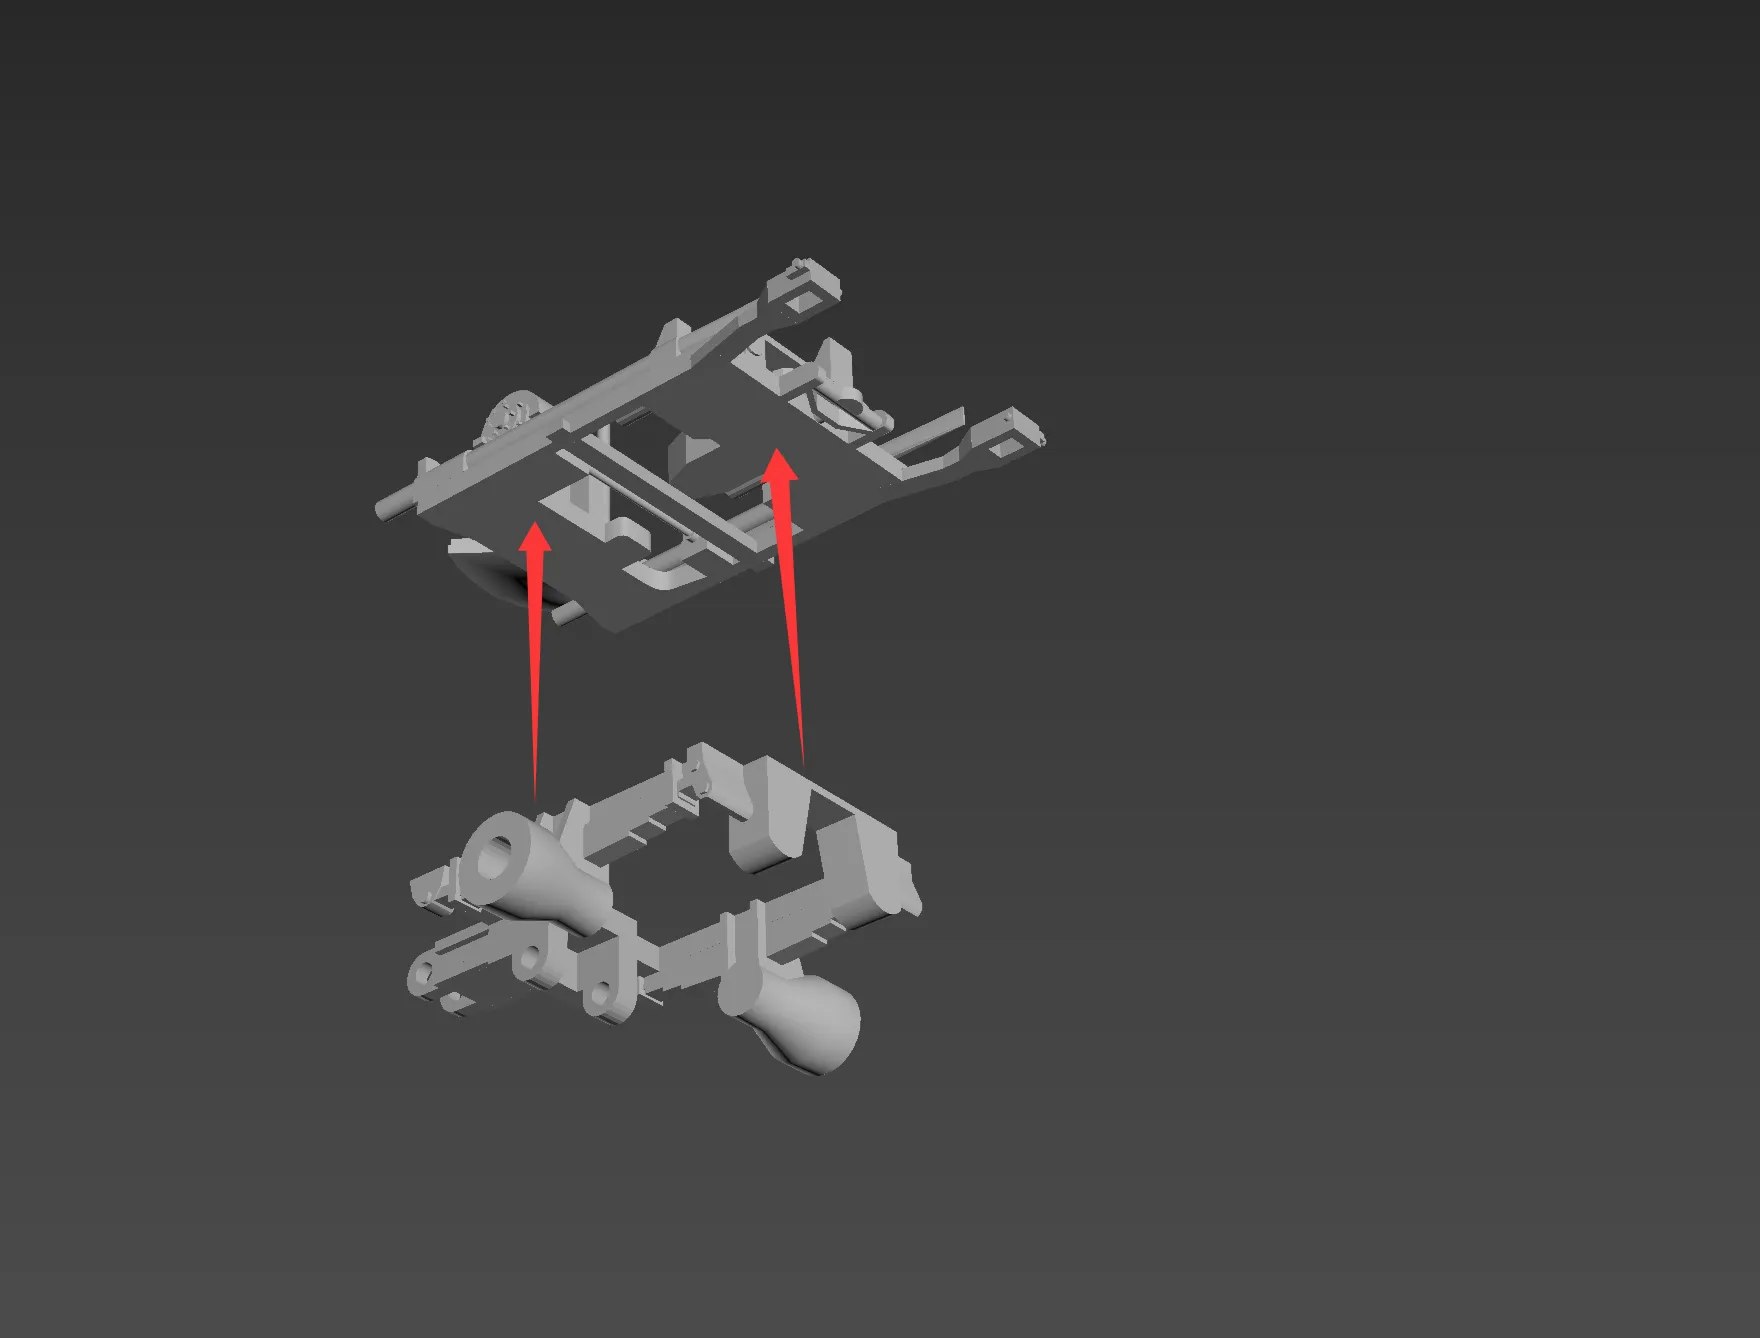
Should be installed in place as shown in the figure
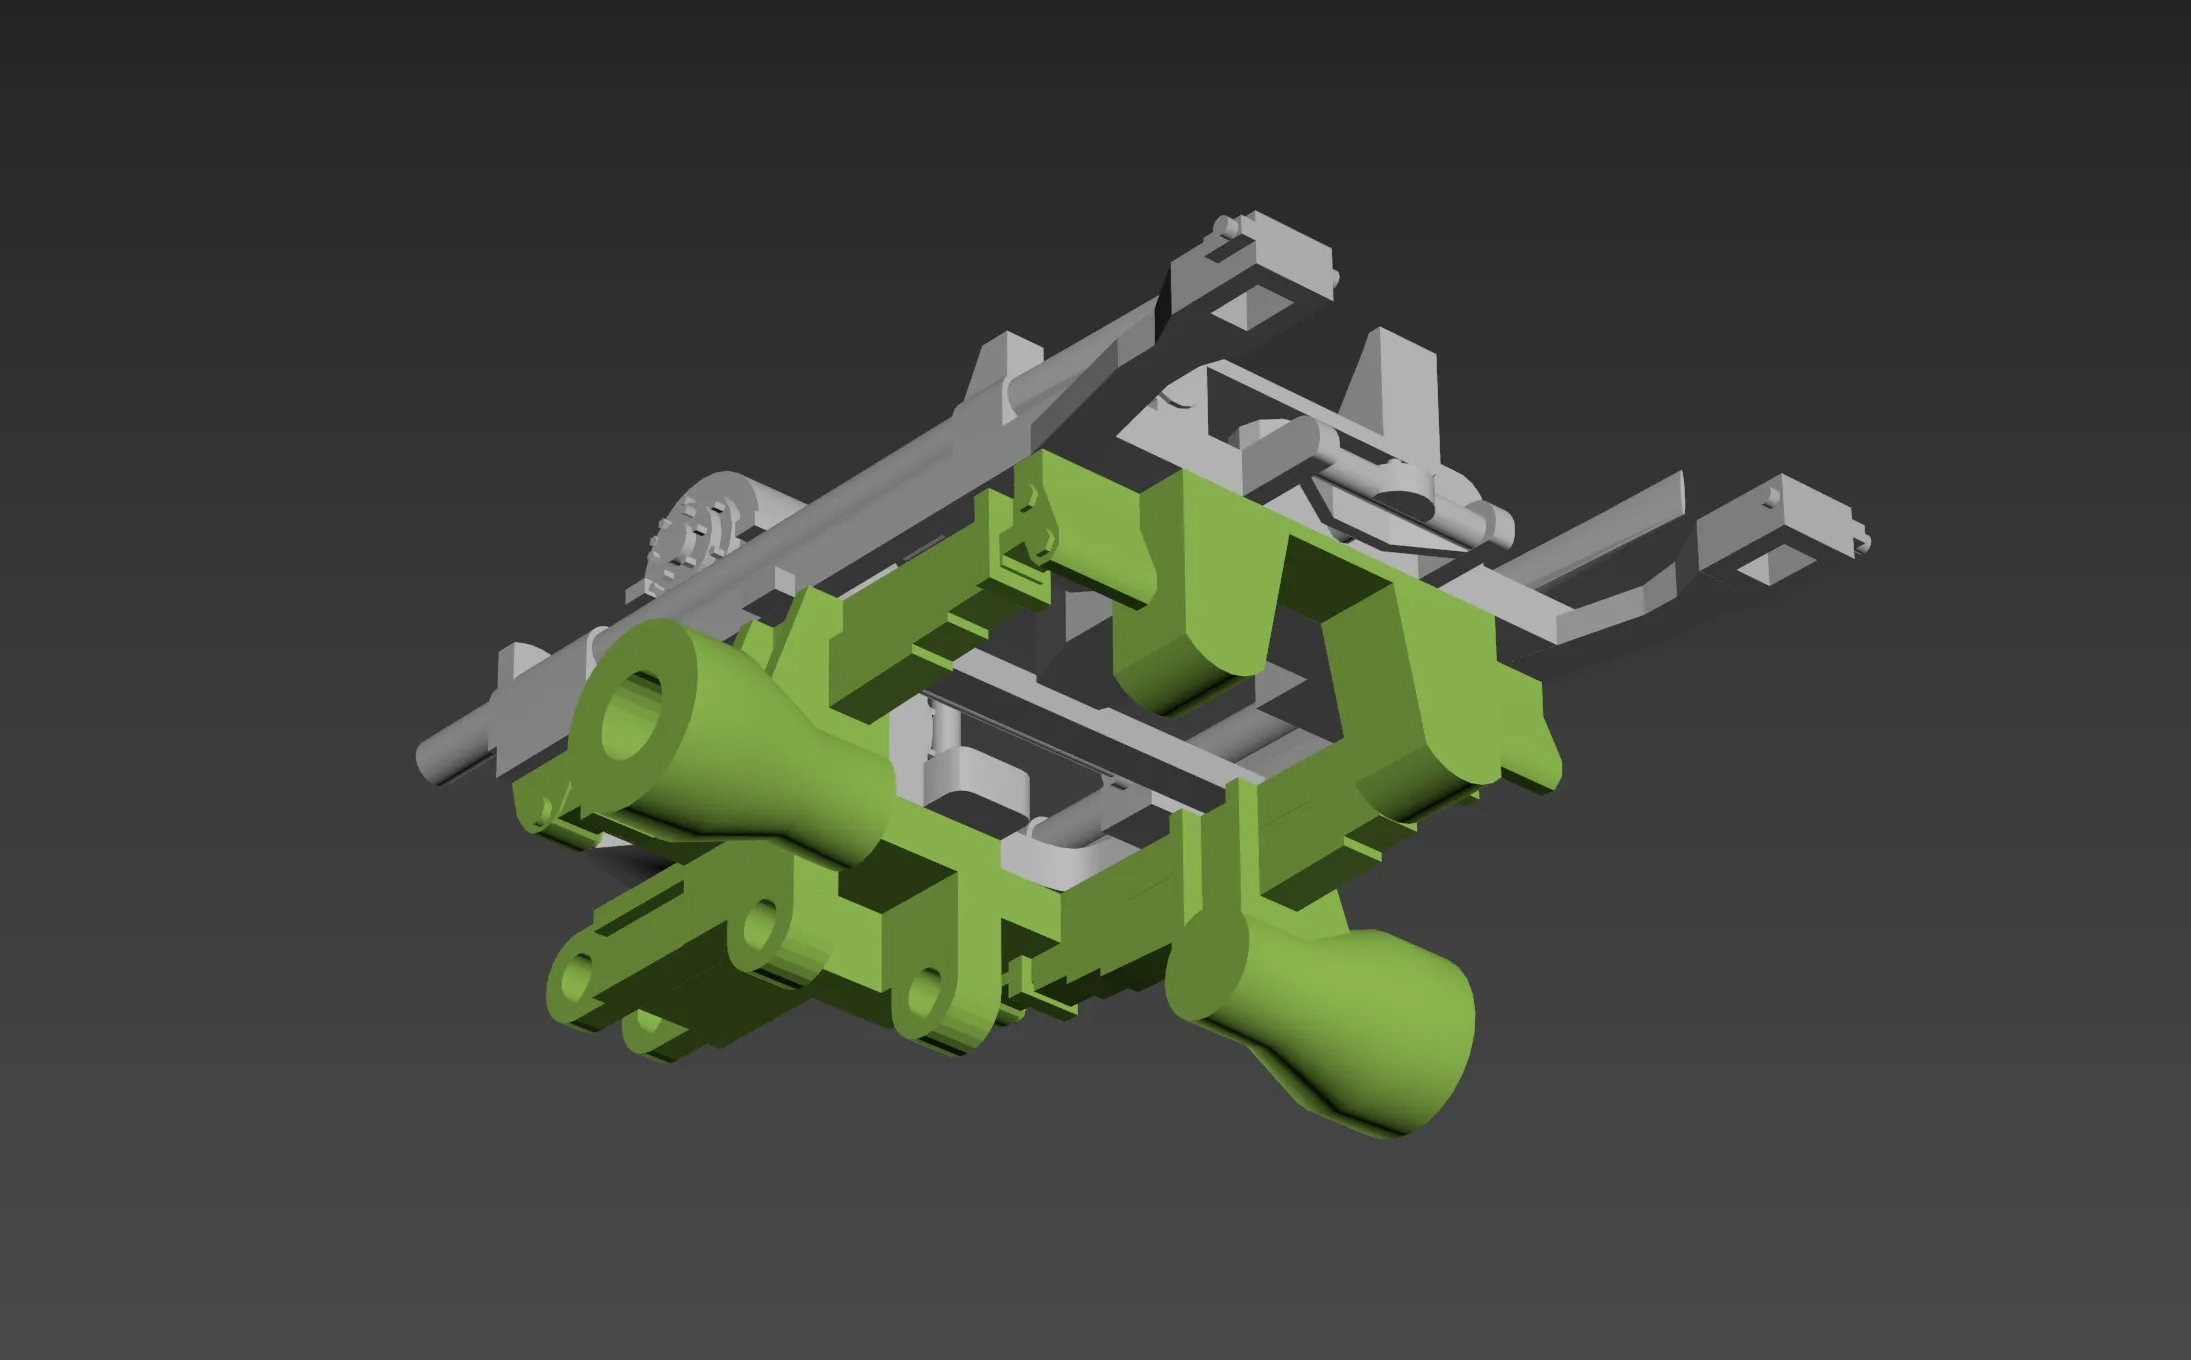
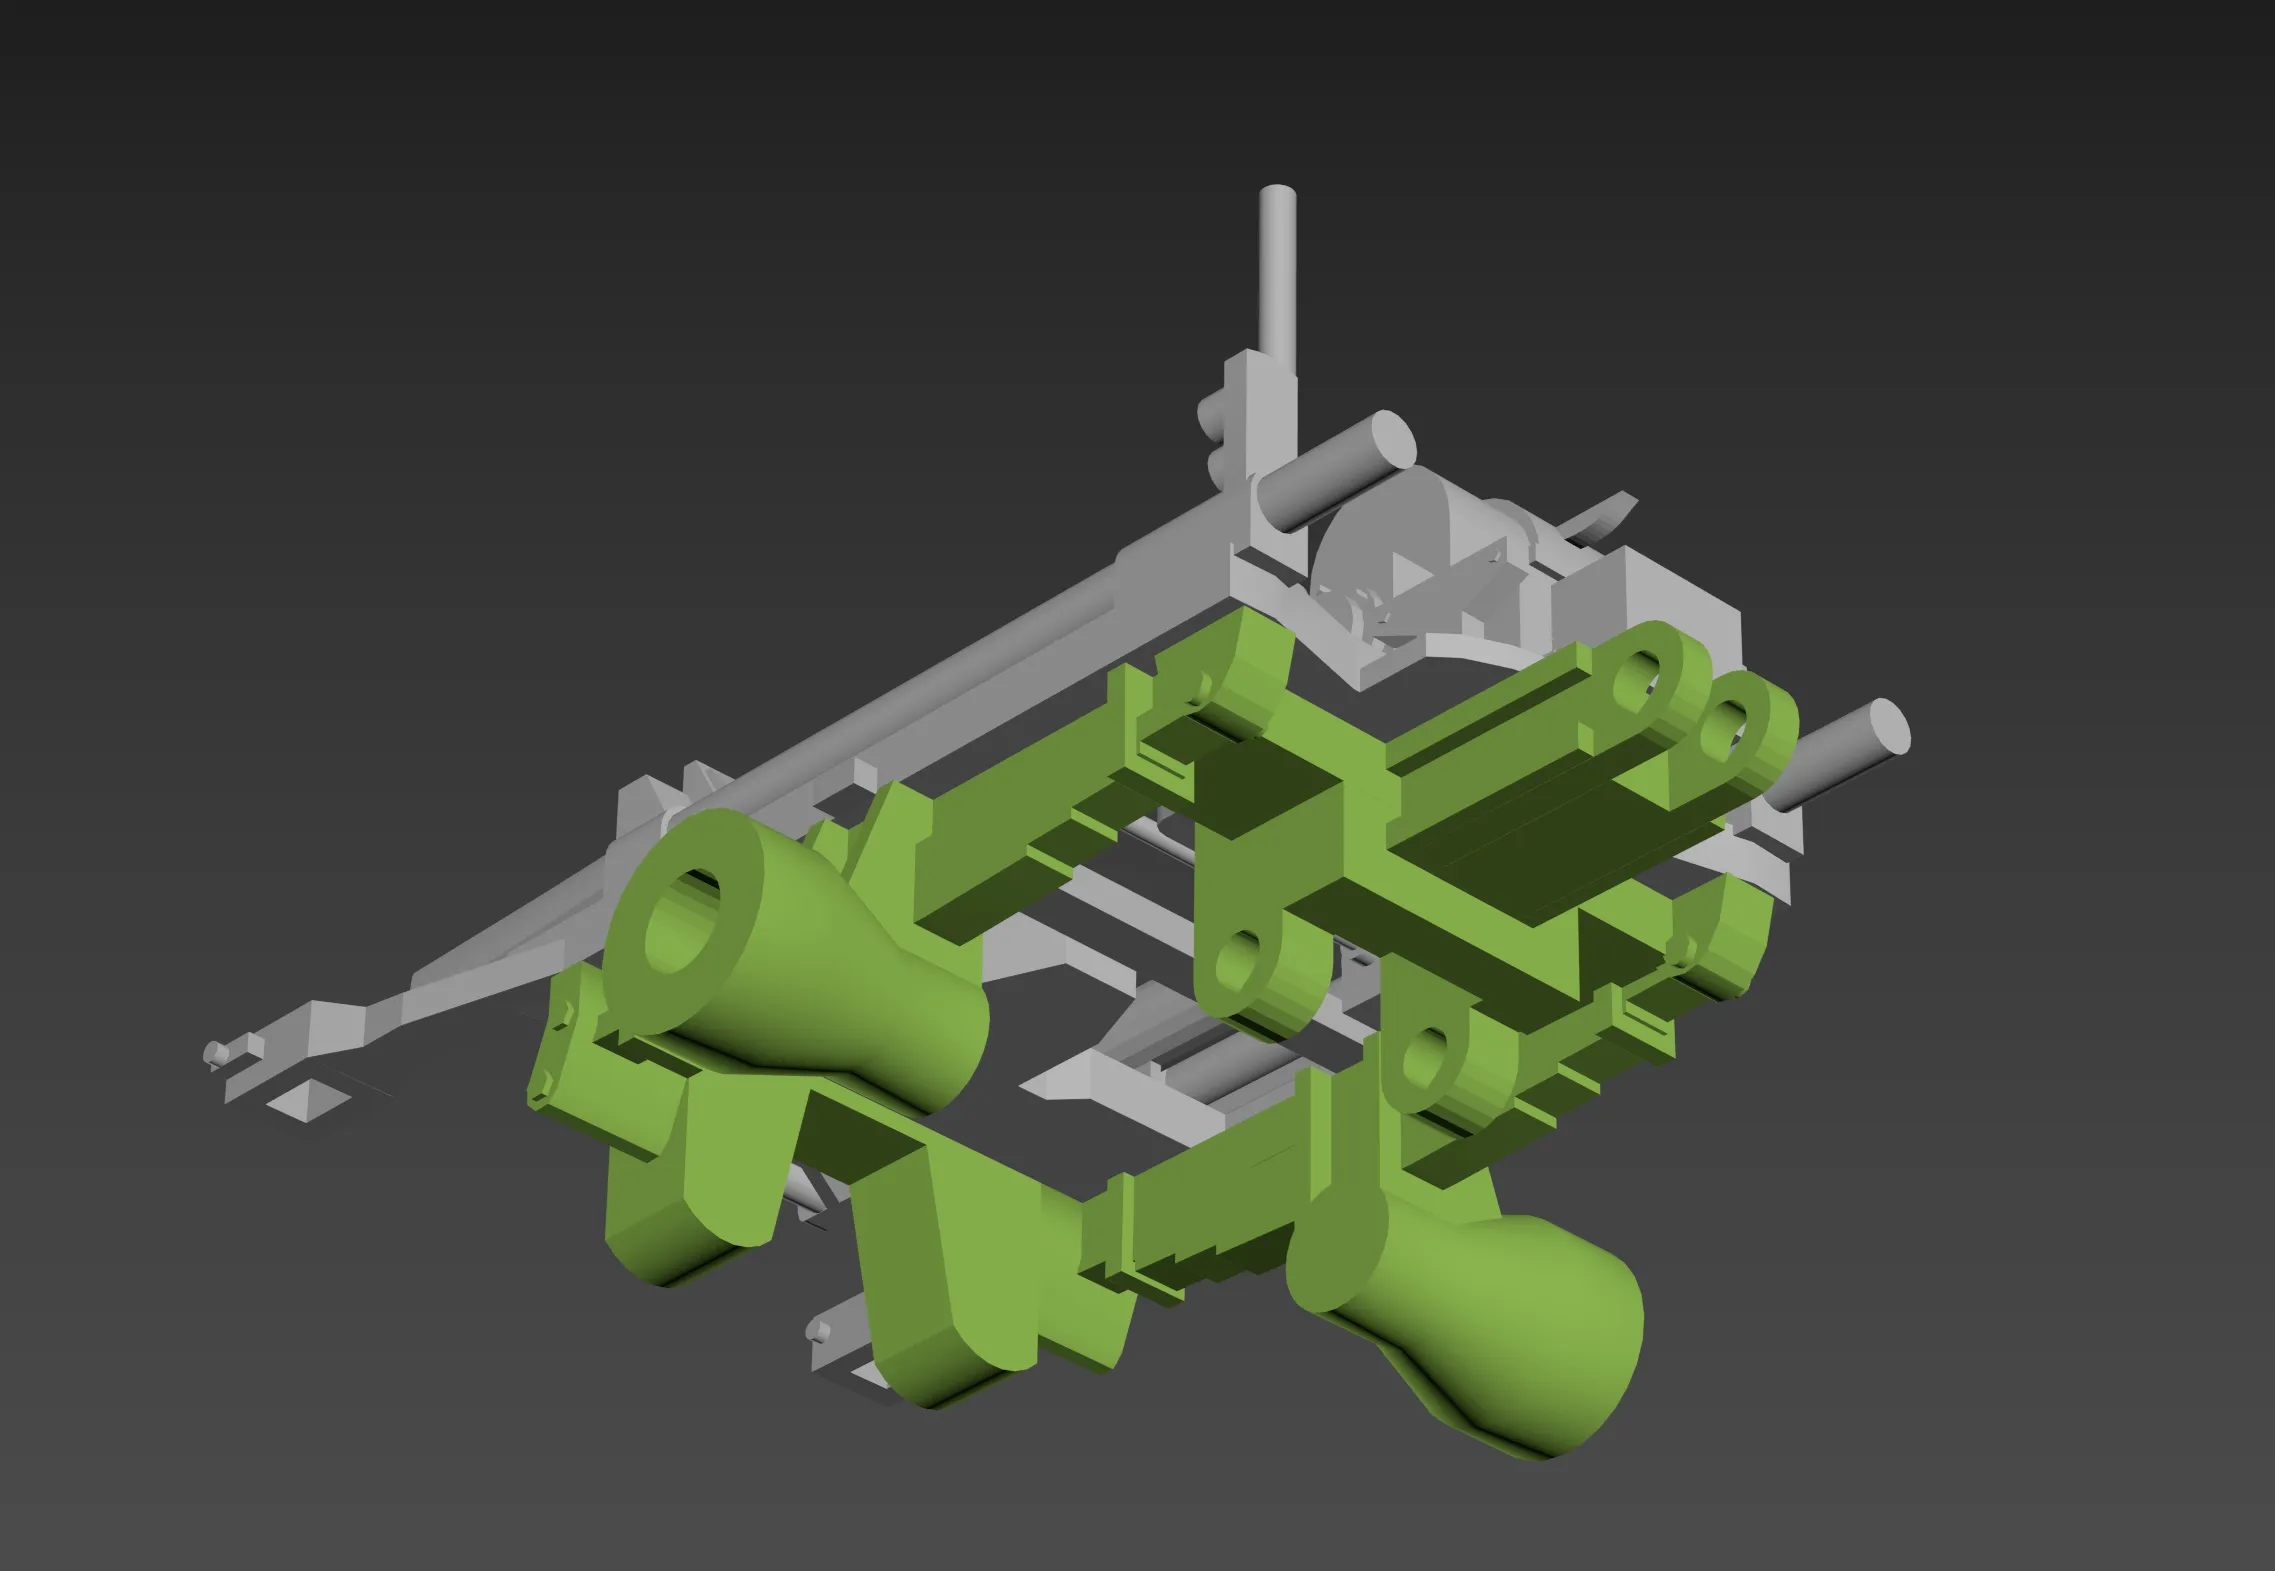
Both sides are the same
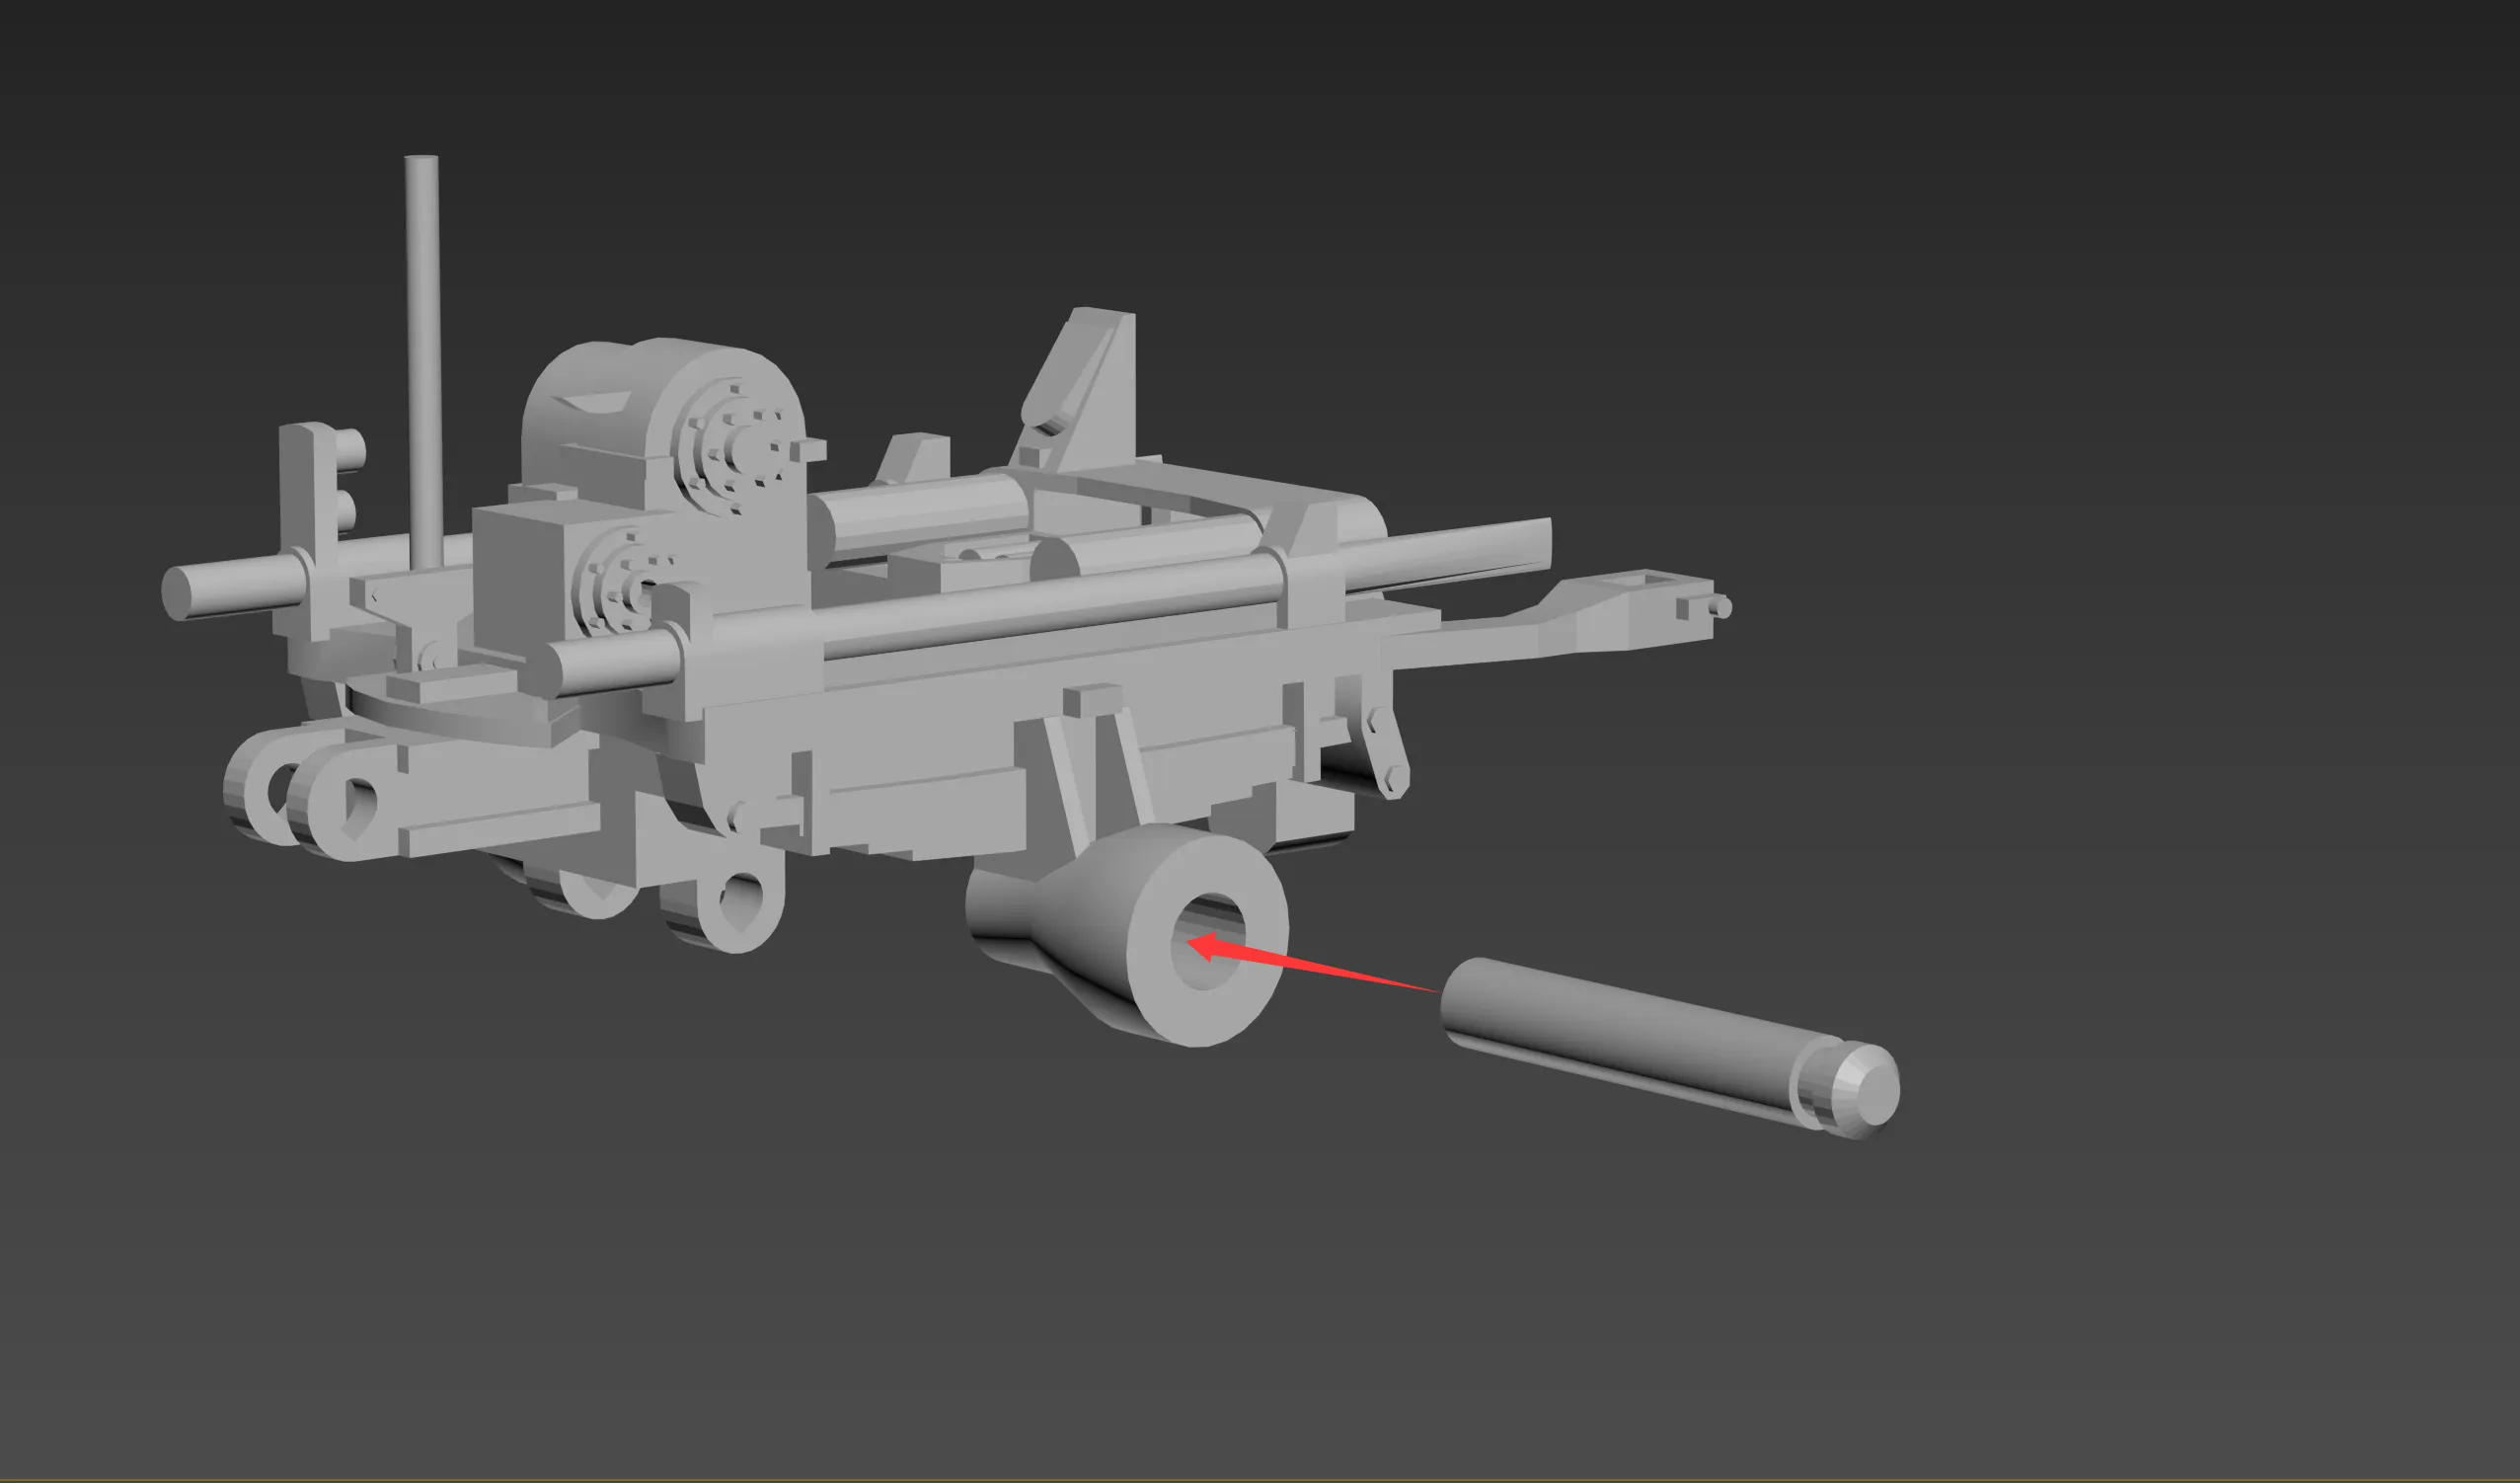
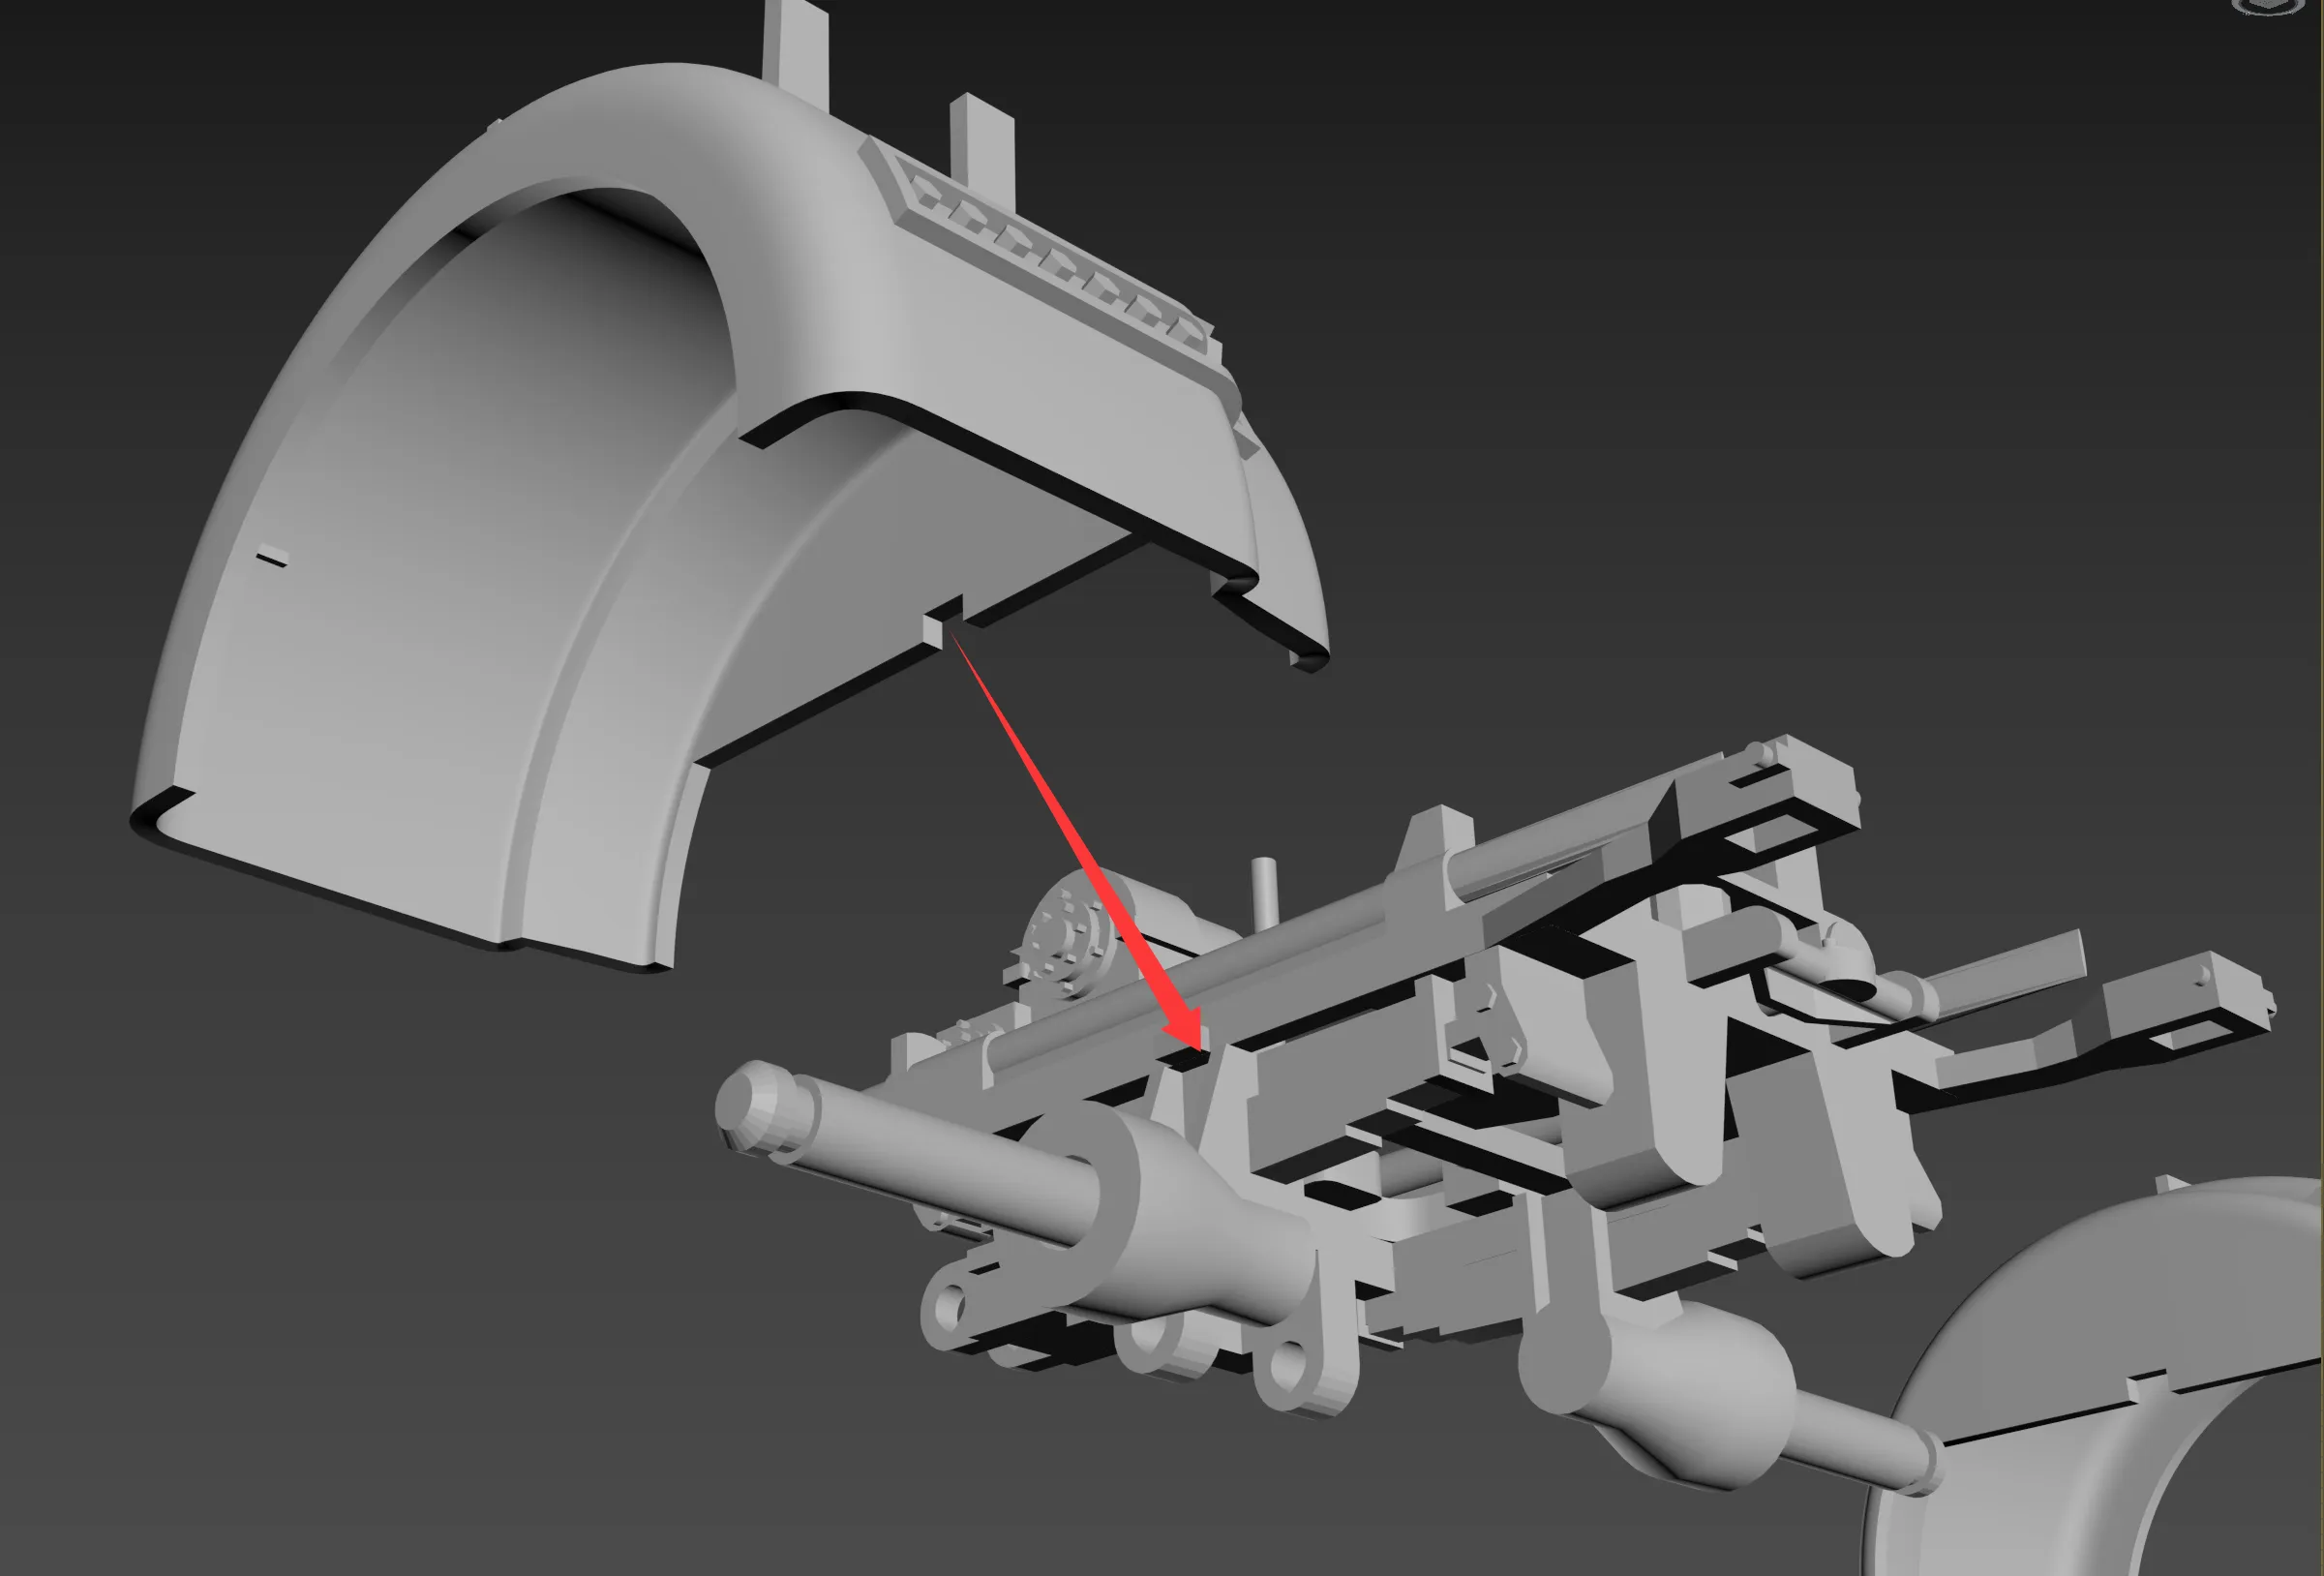
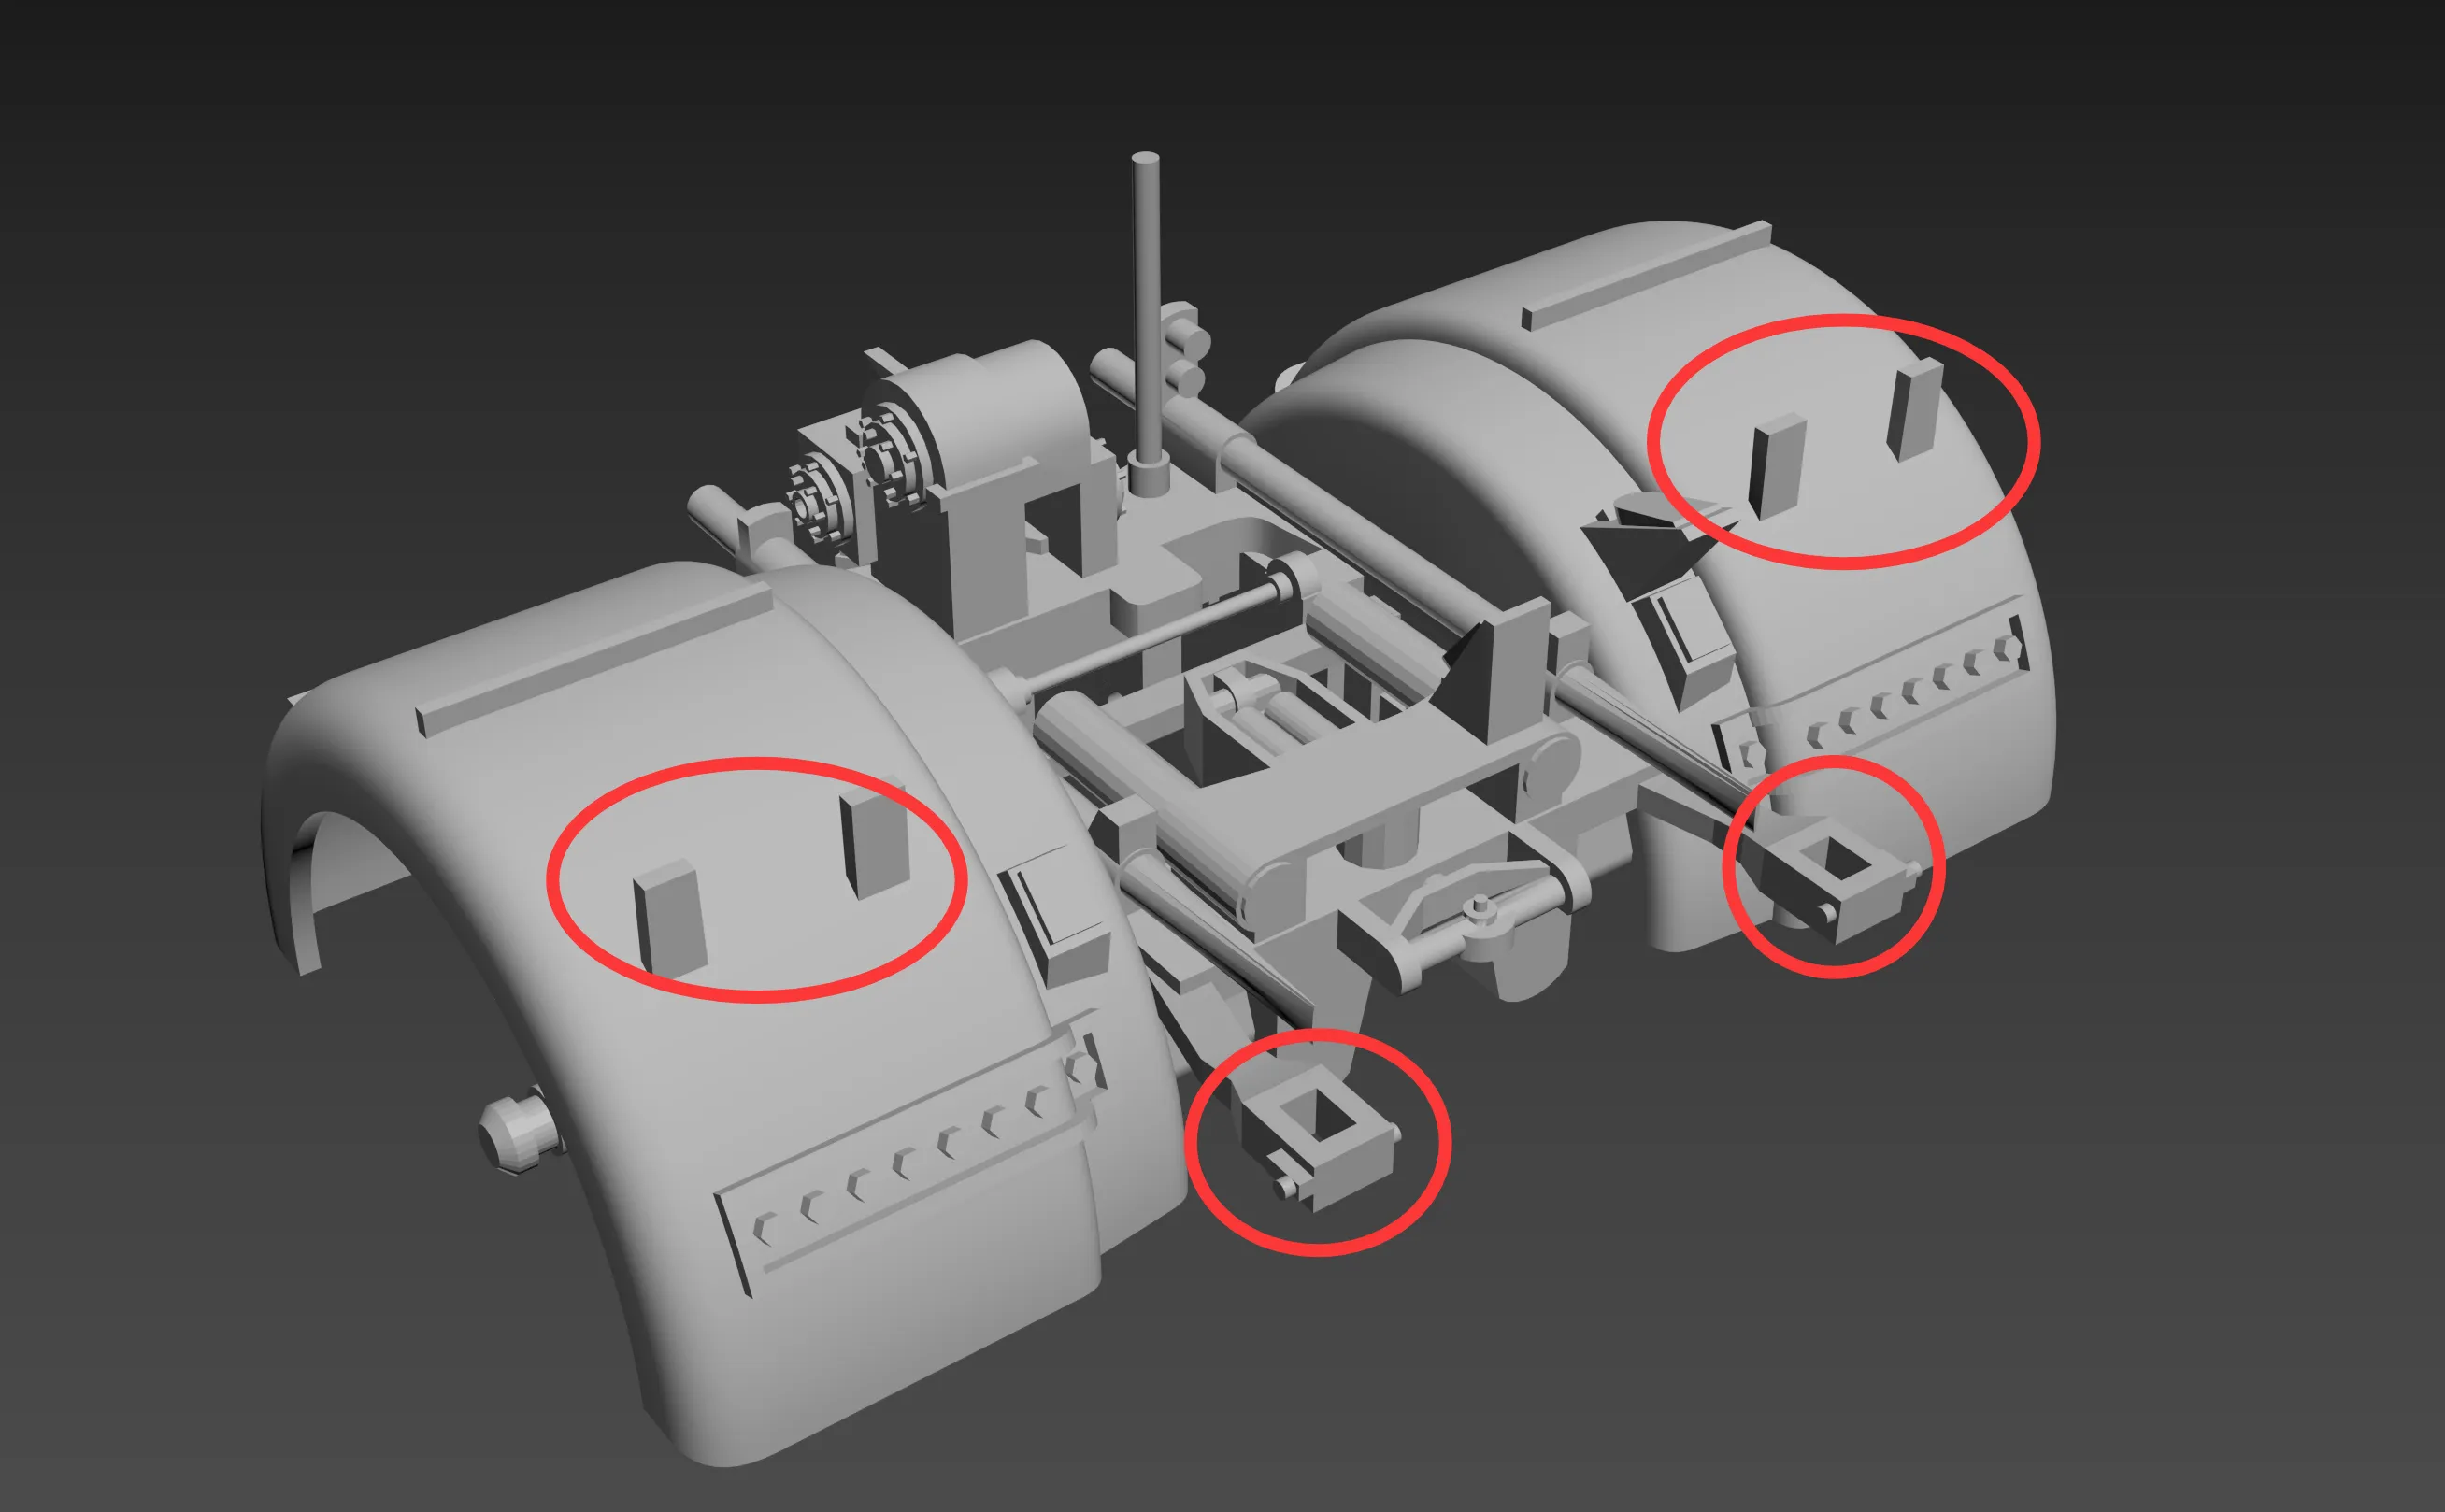
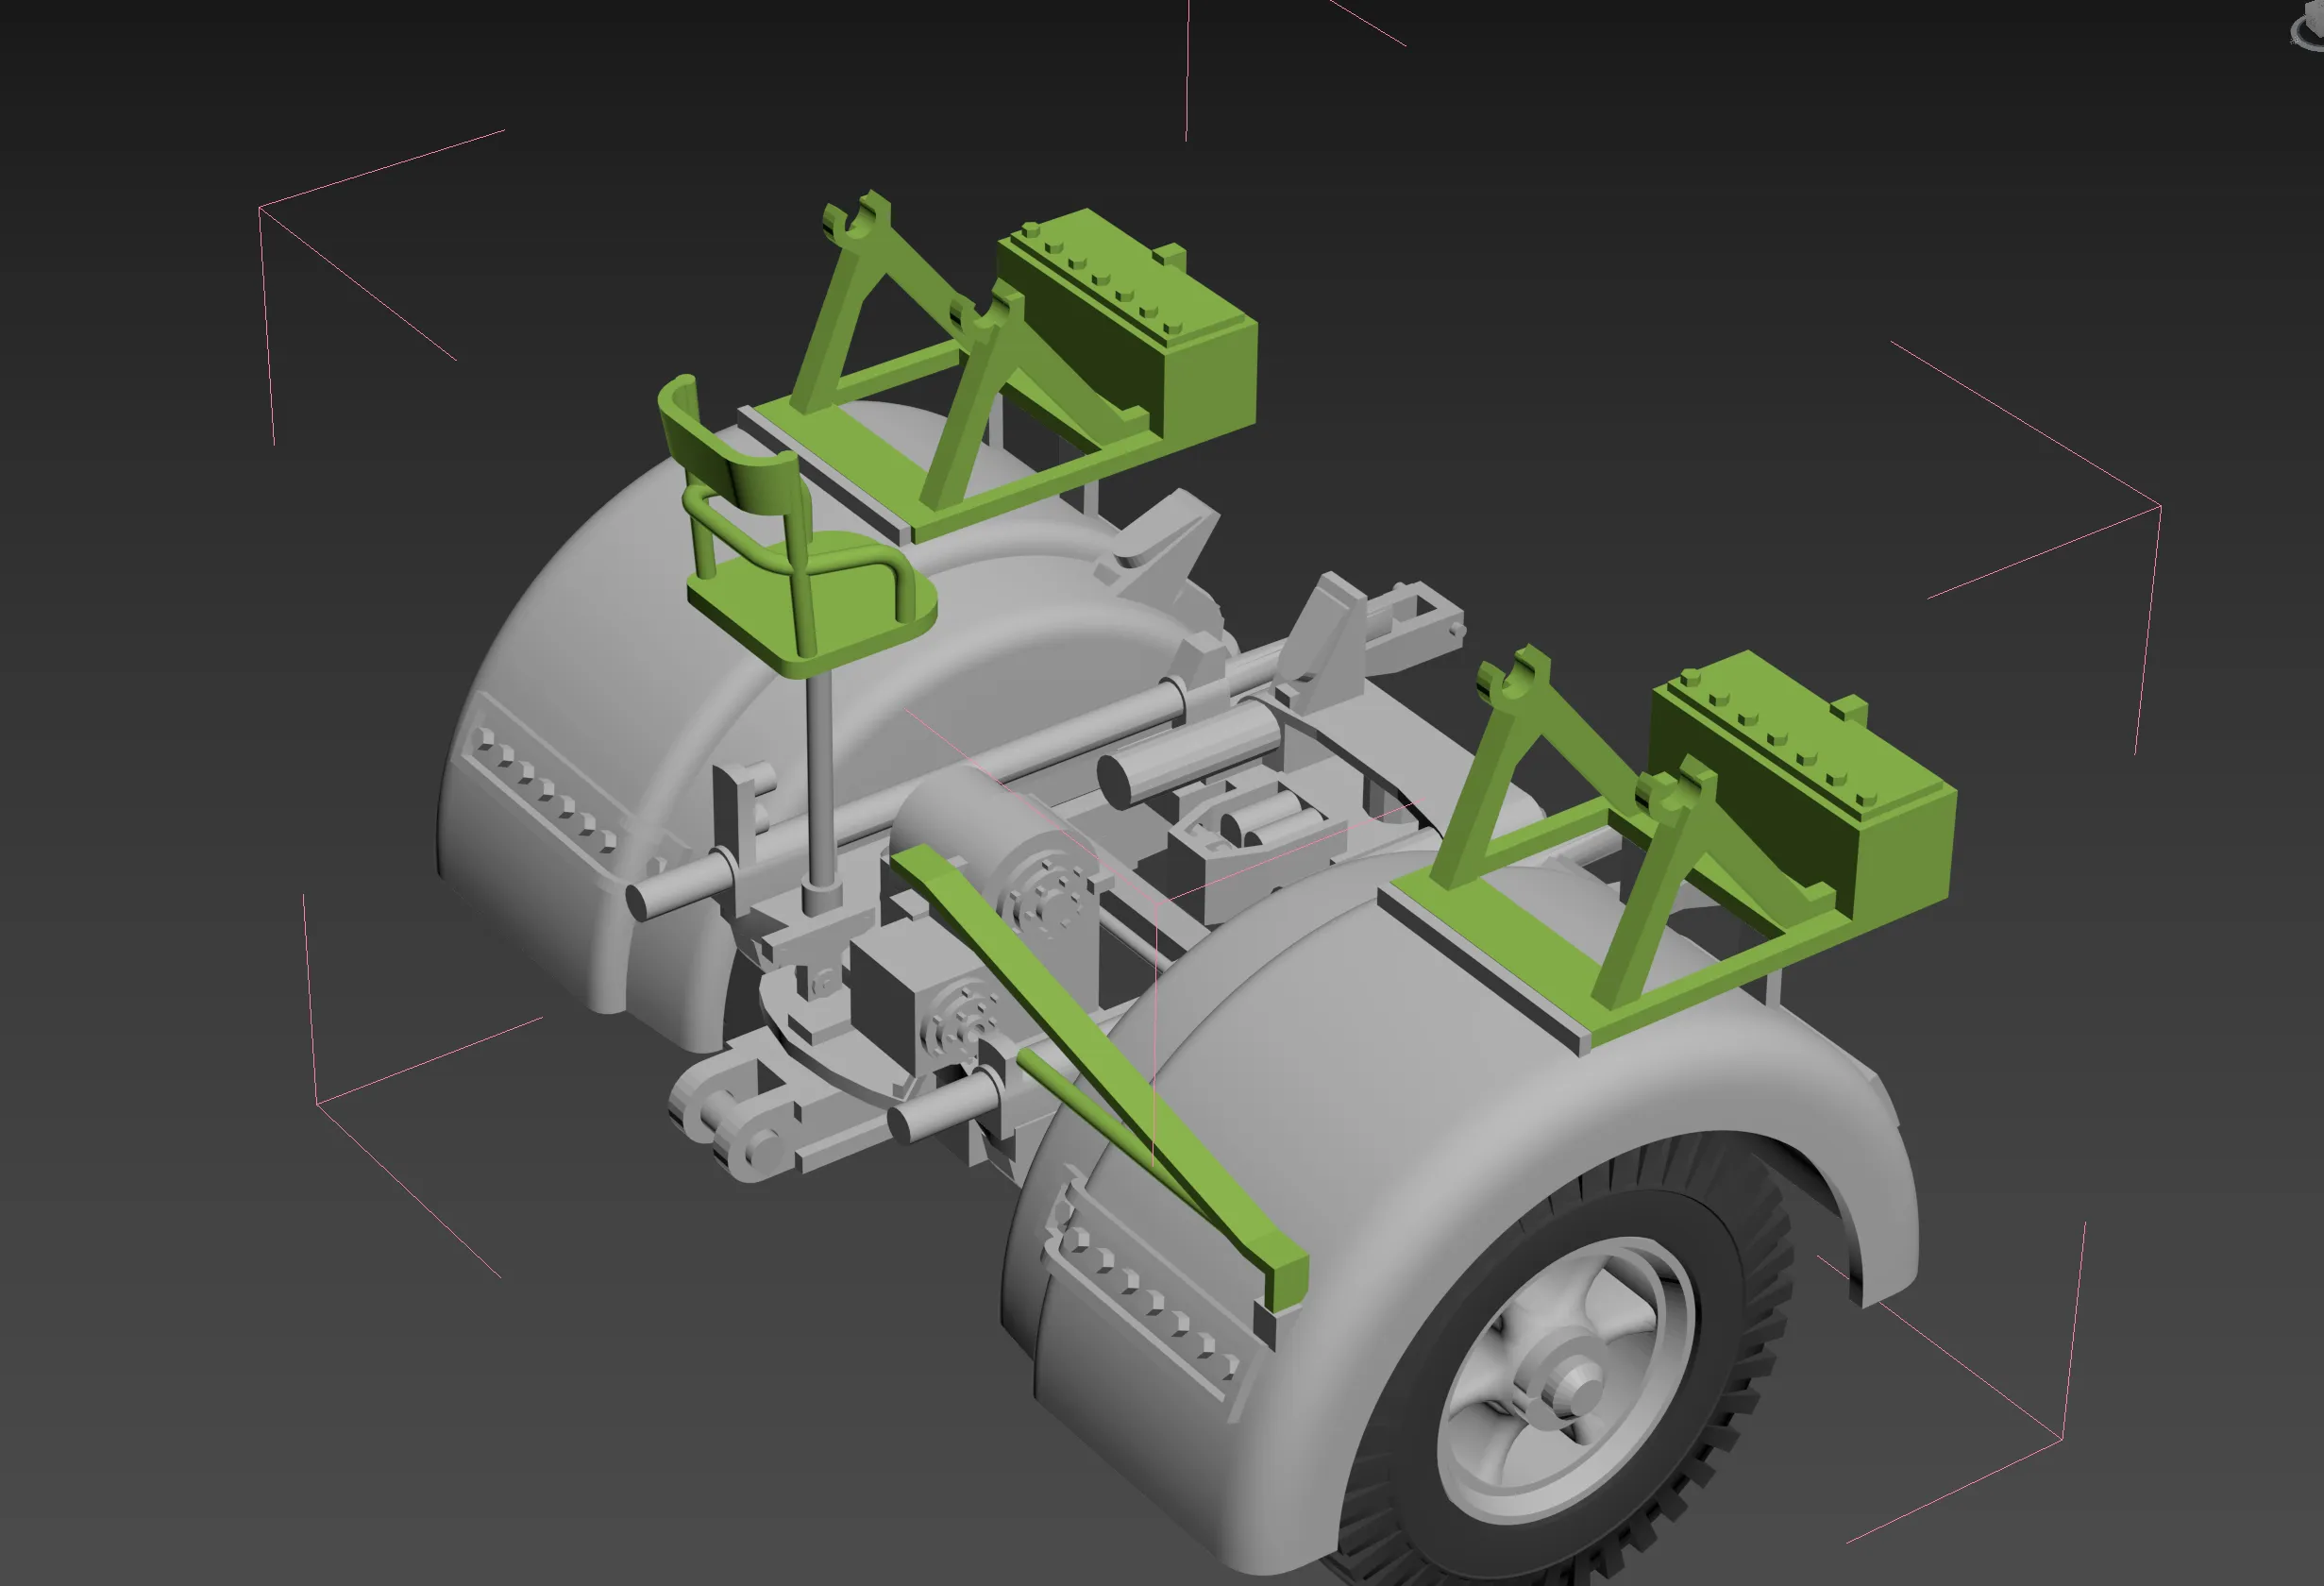
Note that the left and right mudguards are different, and these two protrusions should be oriented in the same direction as the main gun base mounting holes. Be careful not to install them incorrectly
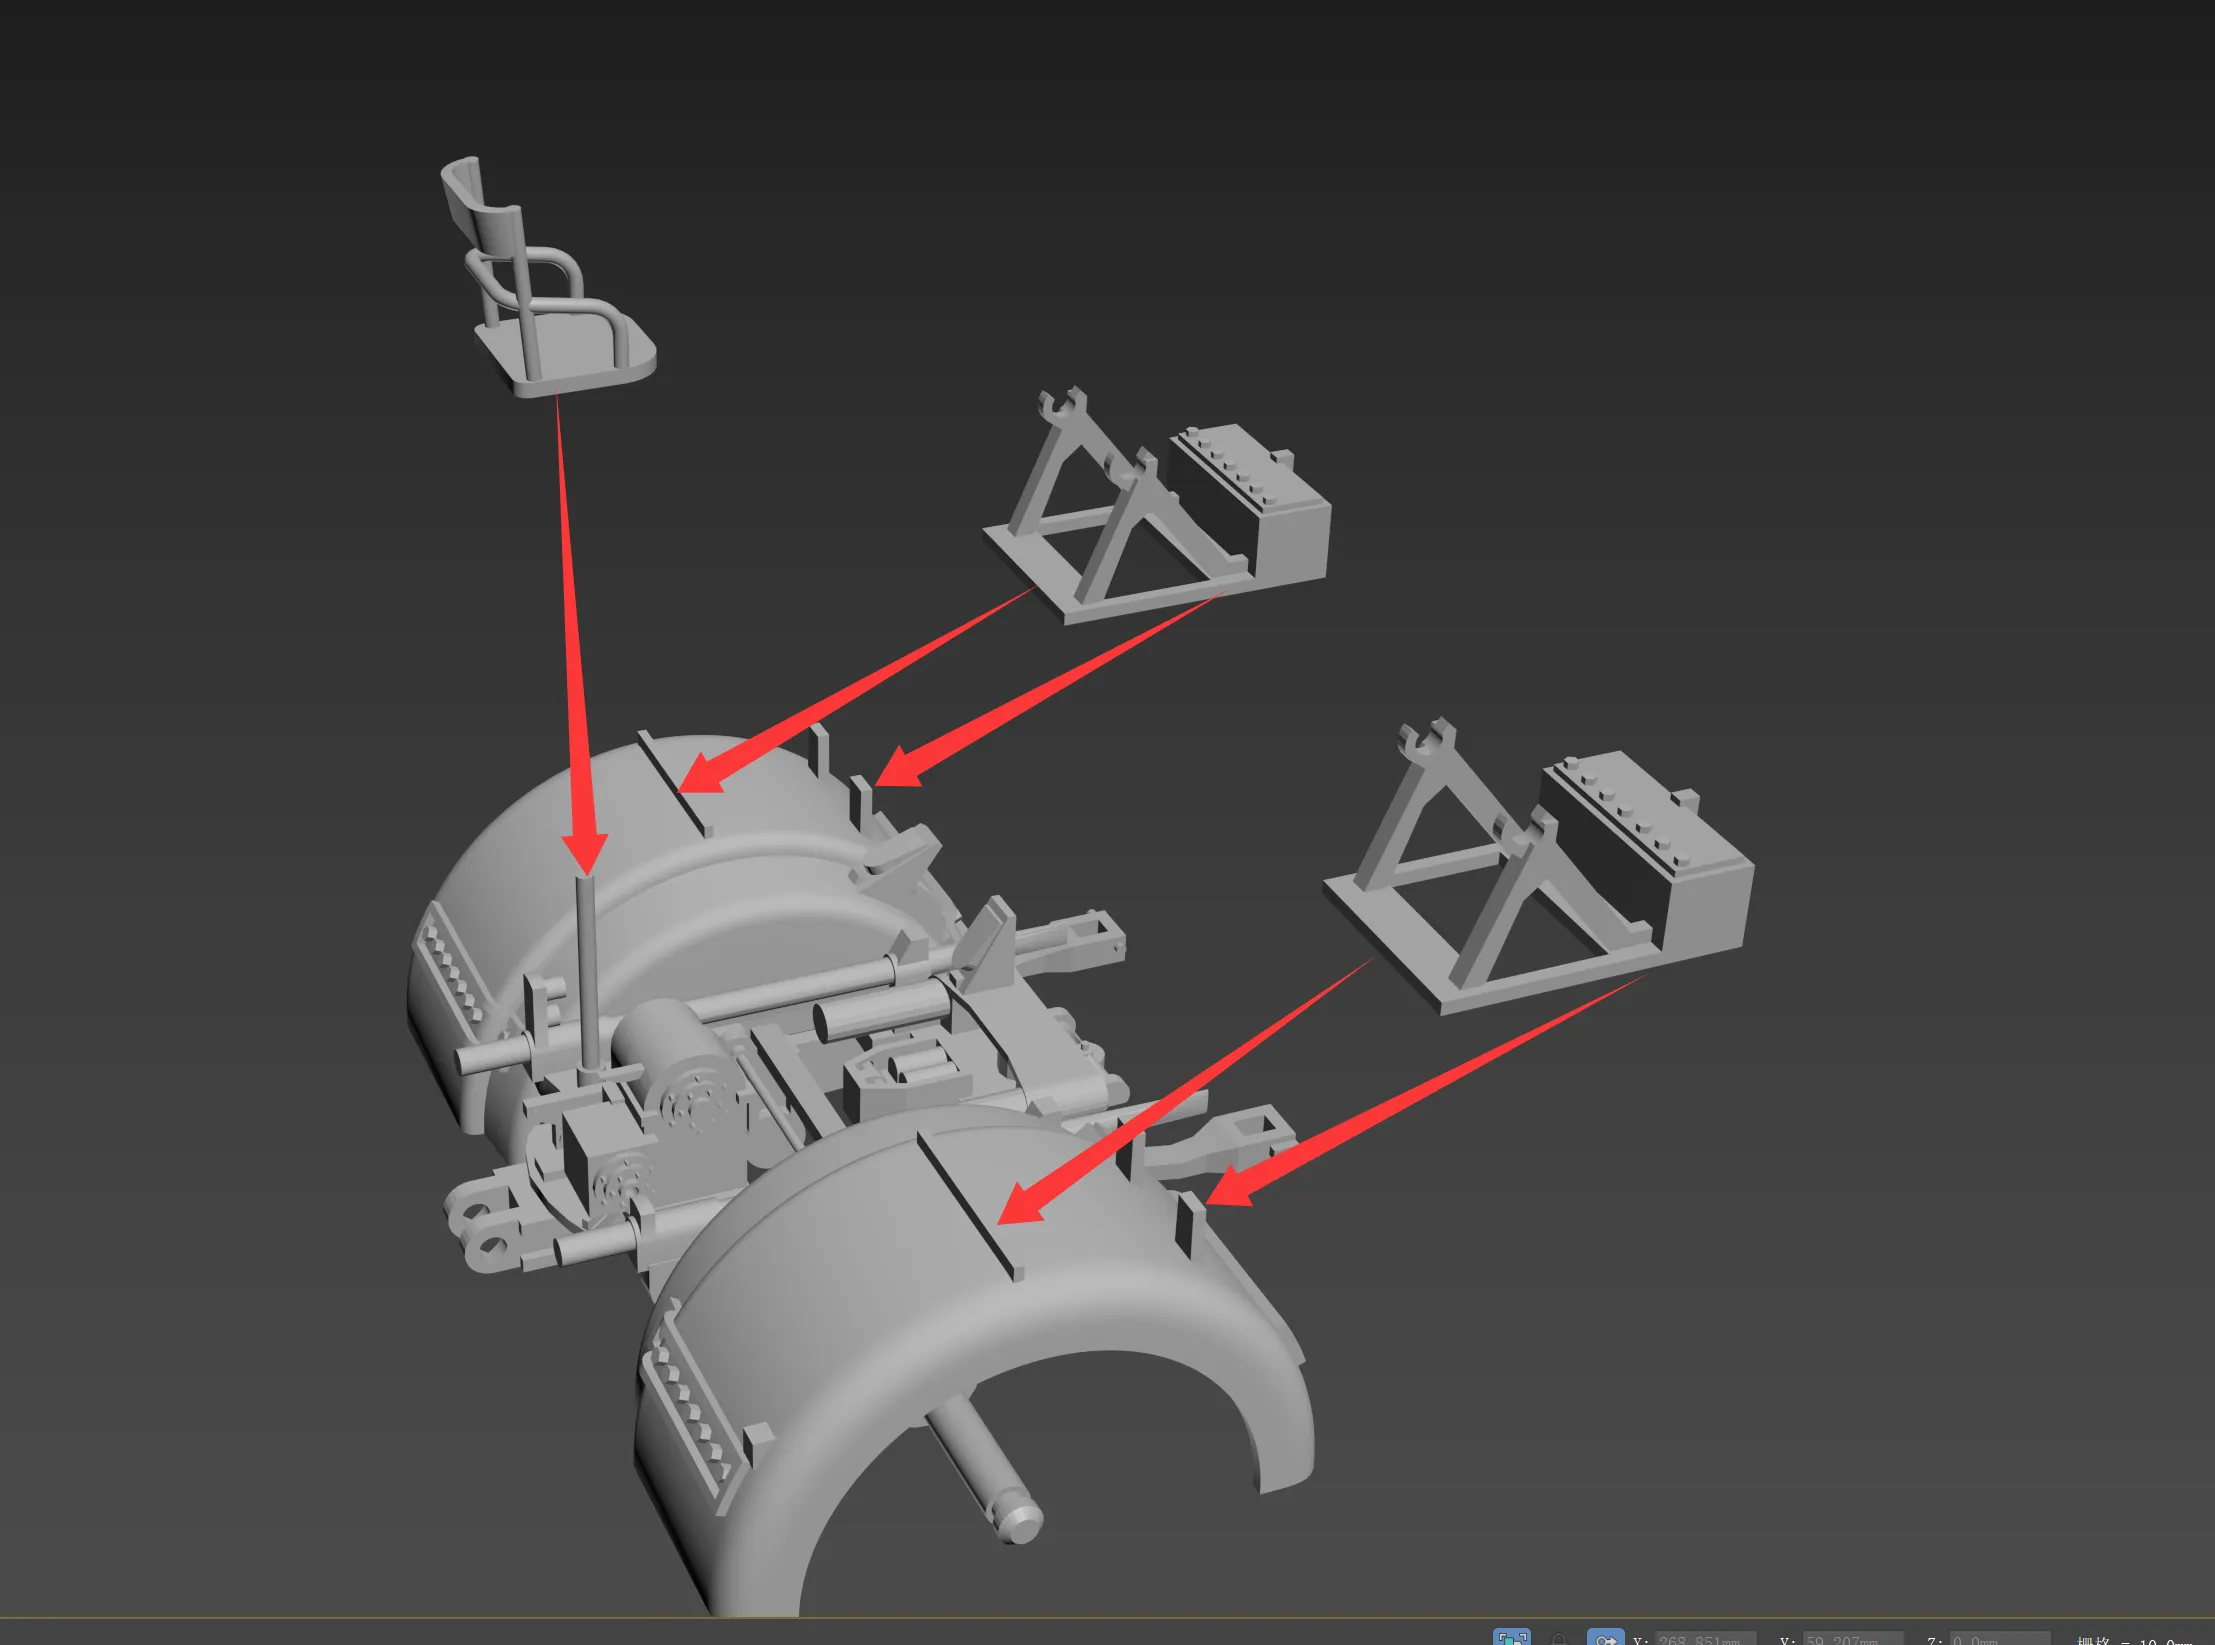
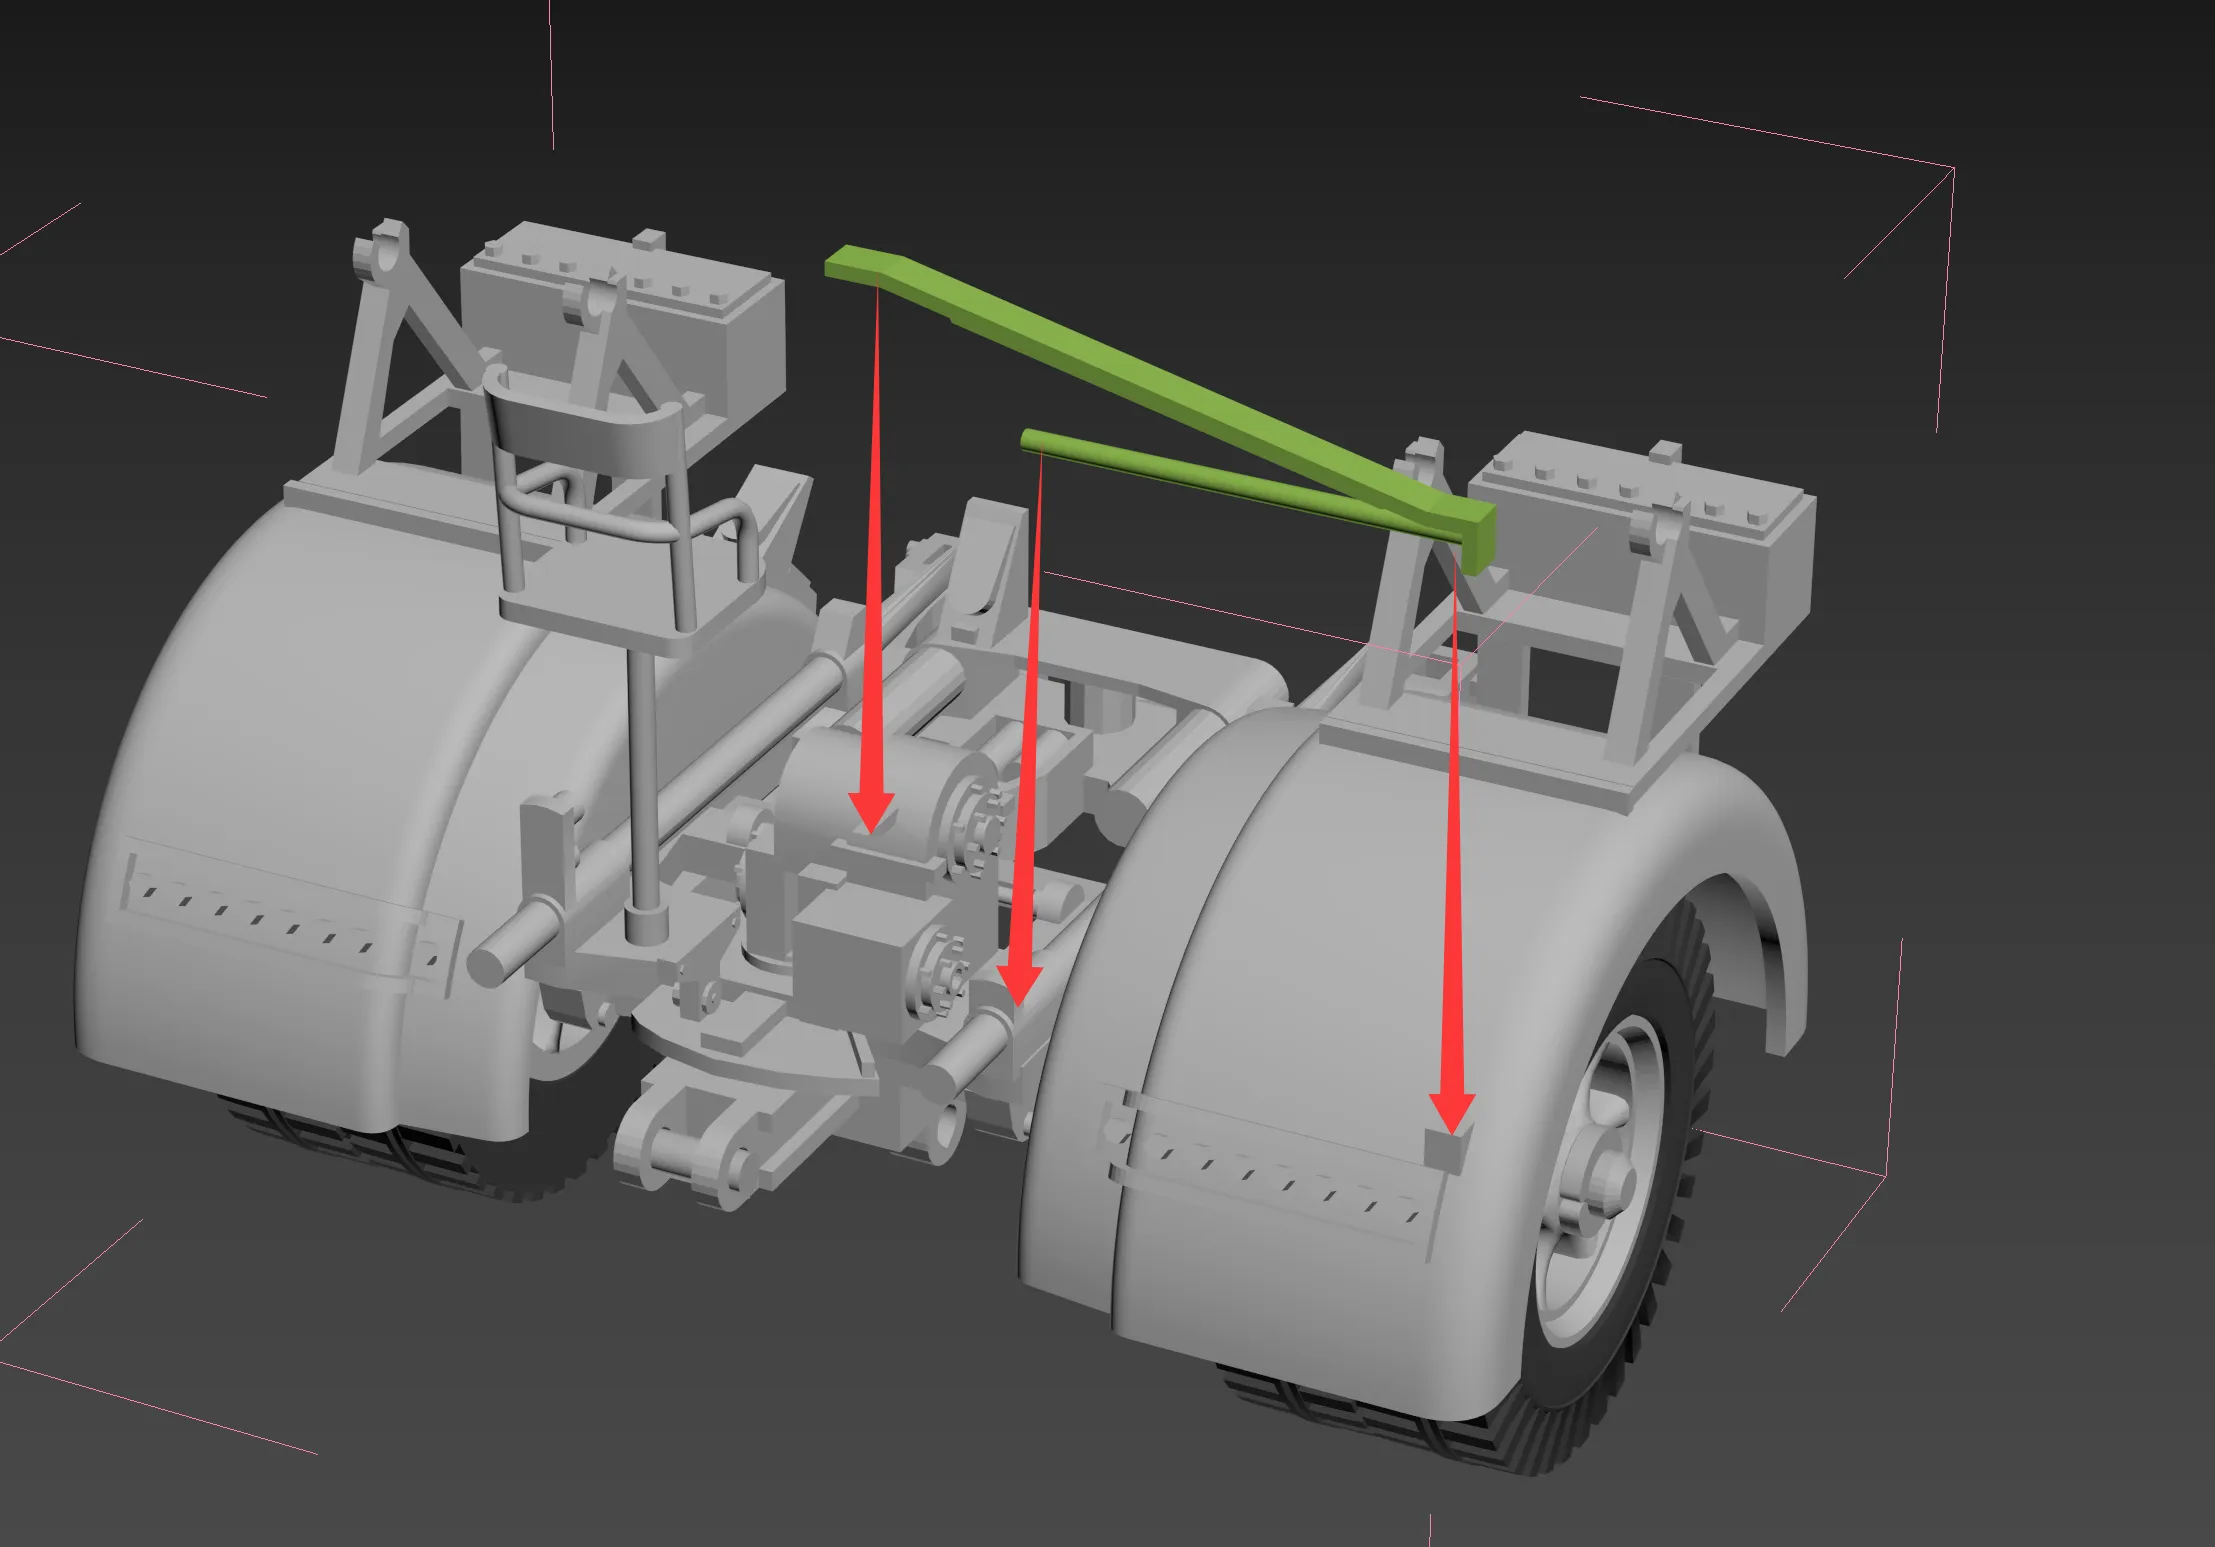
Should be installed in place as shown in the figure
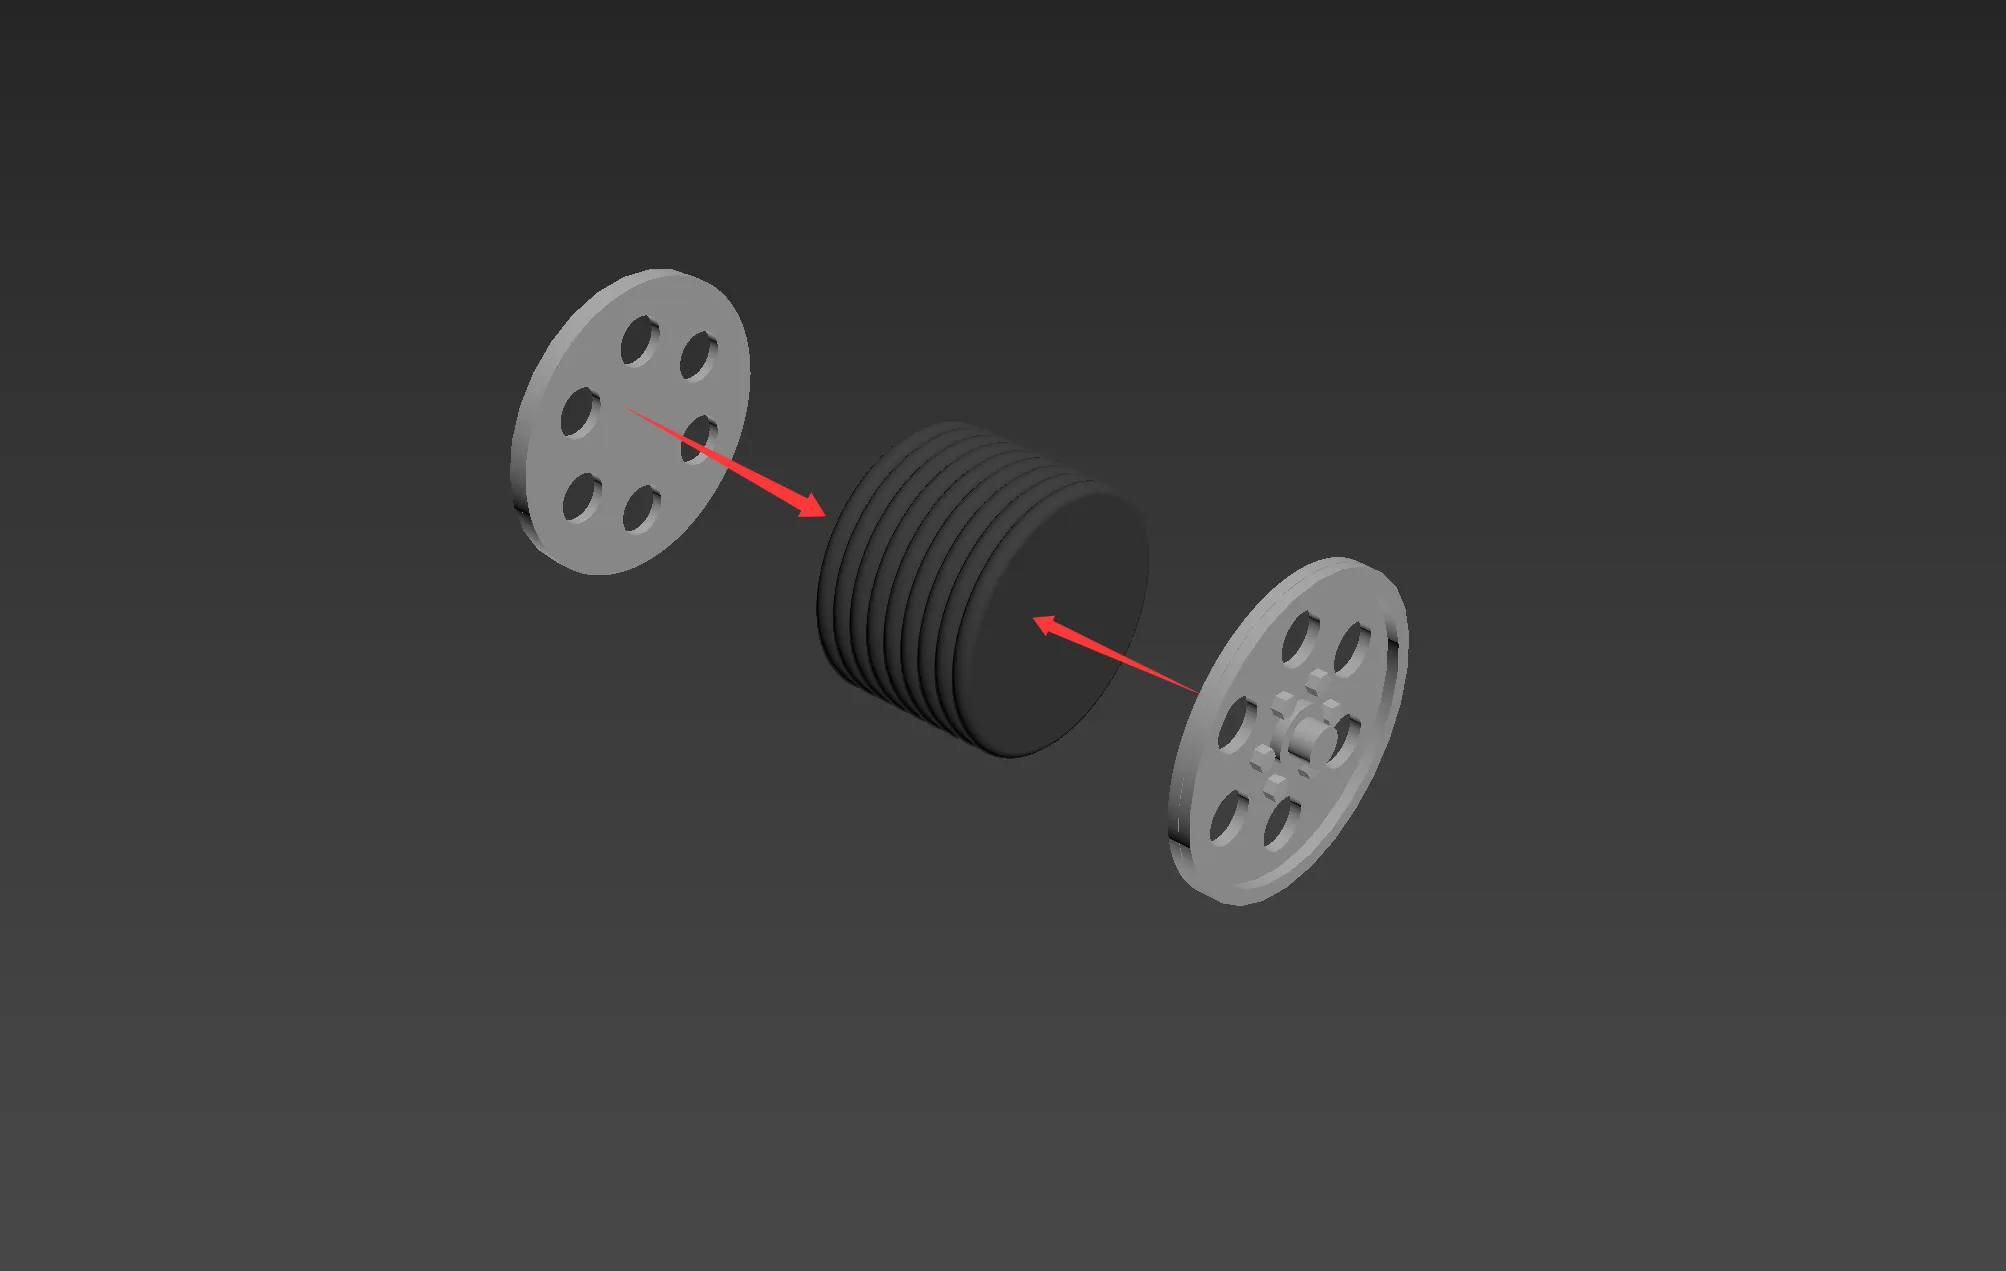
Neither the spool nor the tow bar requires glue, the tow bar is fixed with a section of 1.75mm filament
The wheels do not require glue for fixing, but glue is needed between the tires and hubs
Trailer section completed (the other trailer is identical except for not having a tow bar)
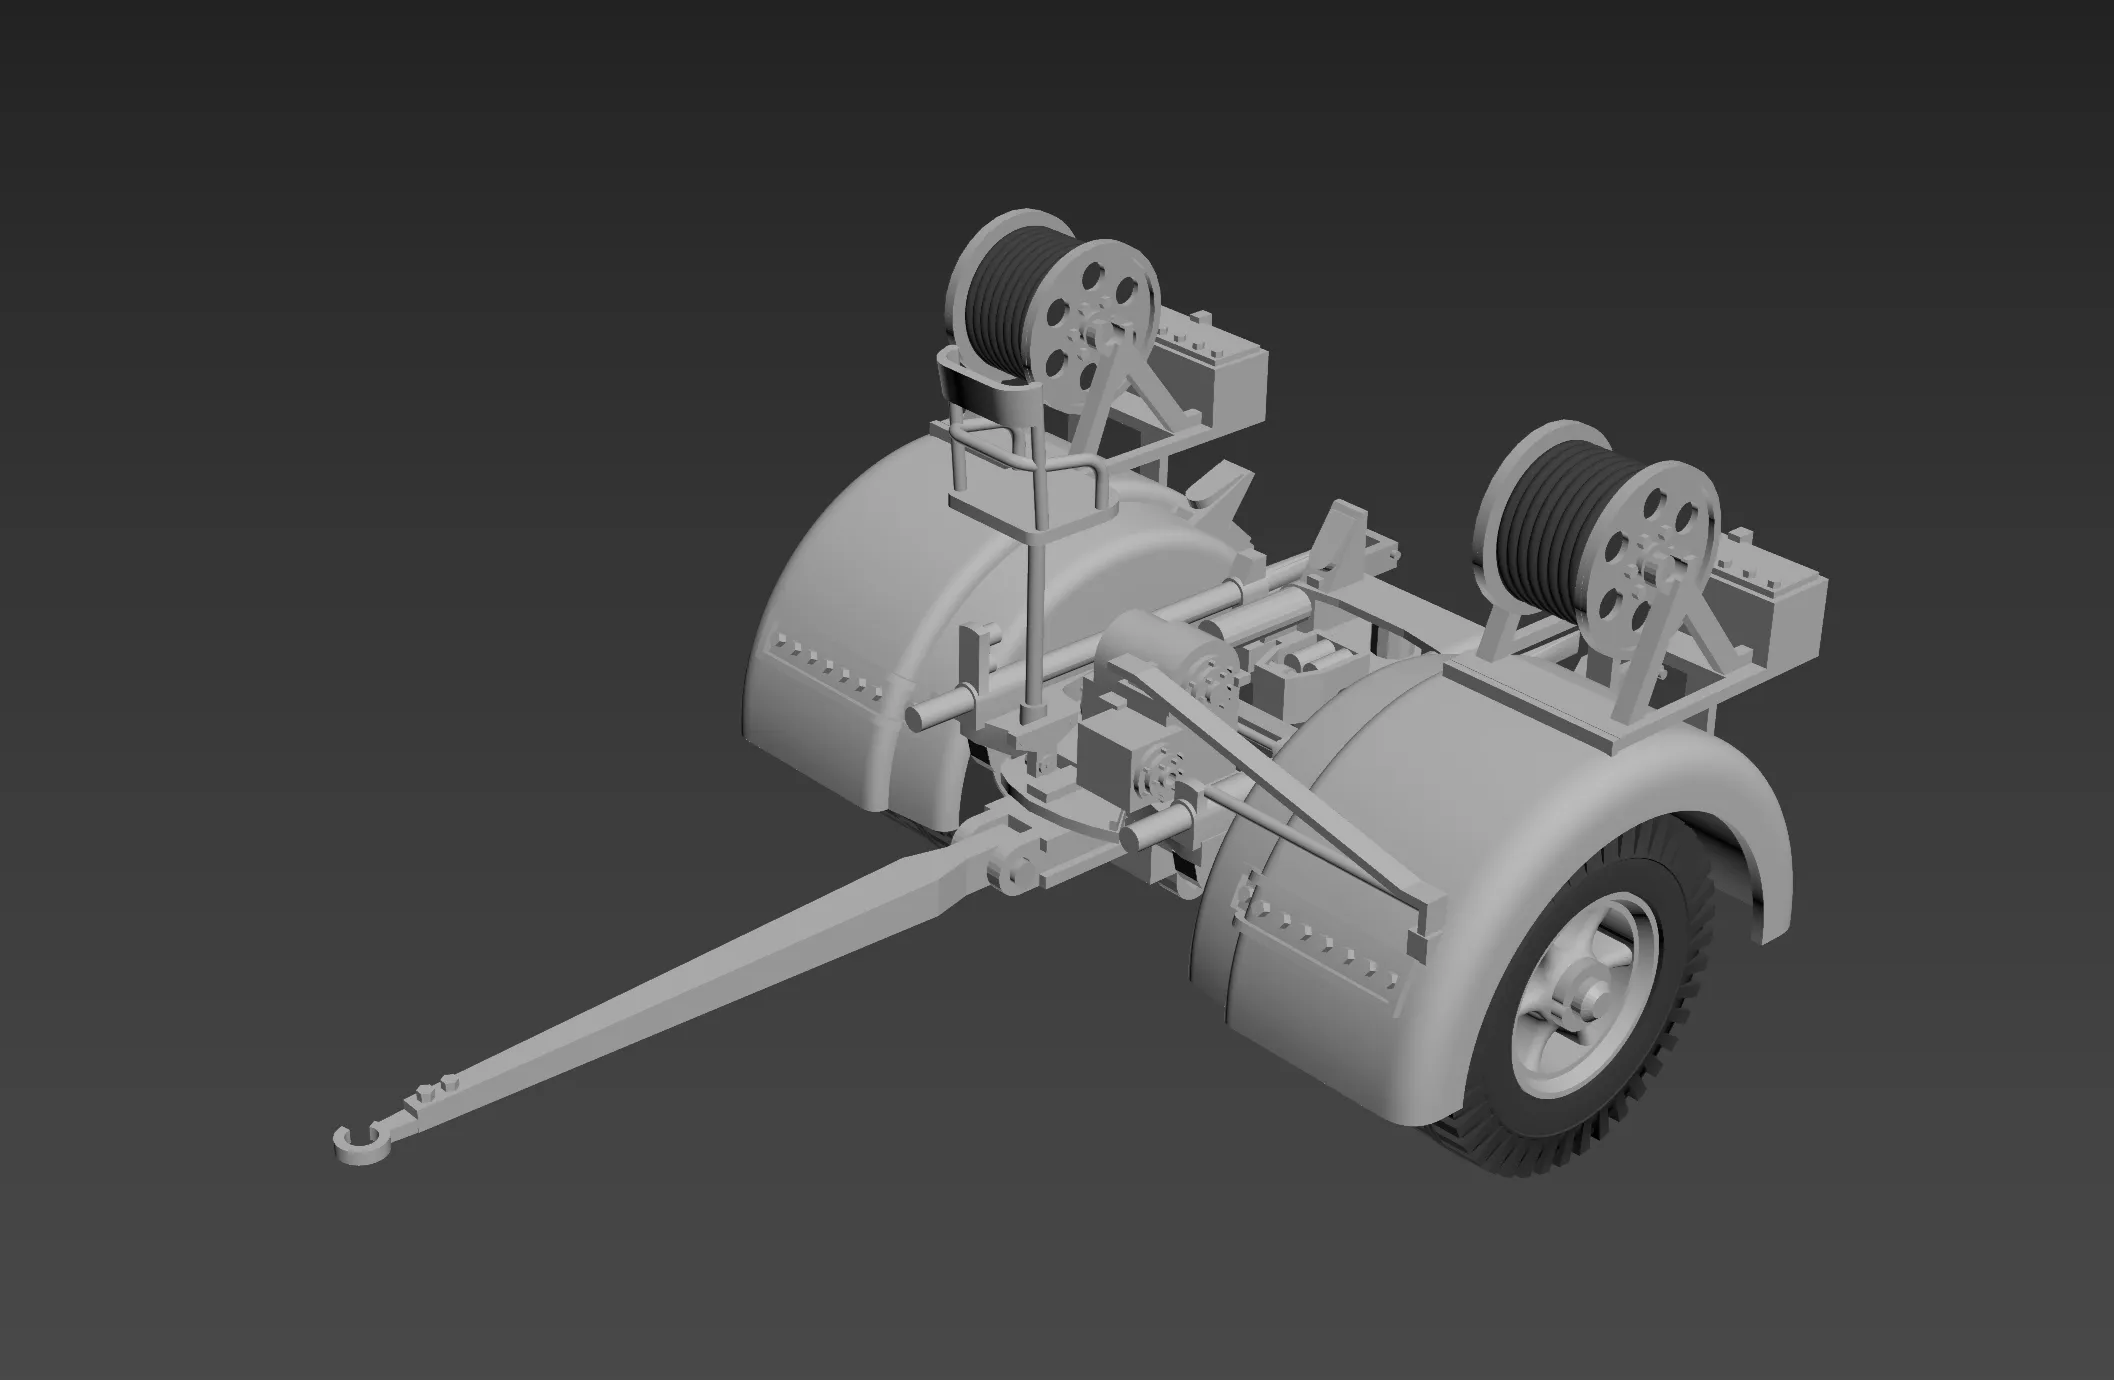
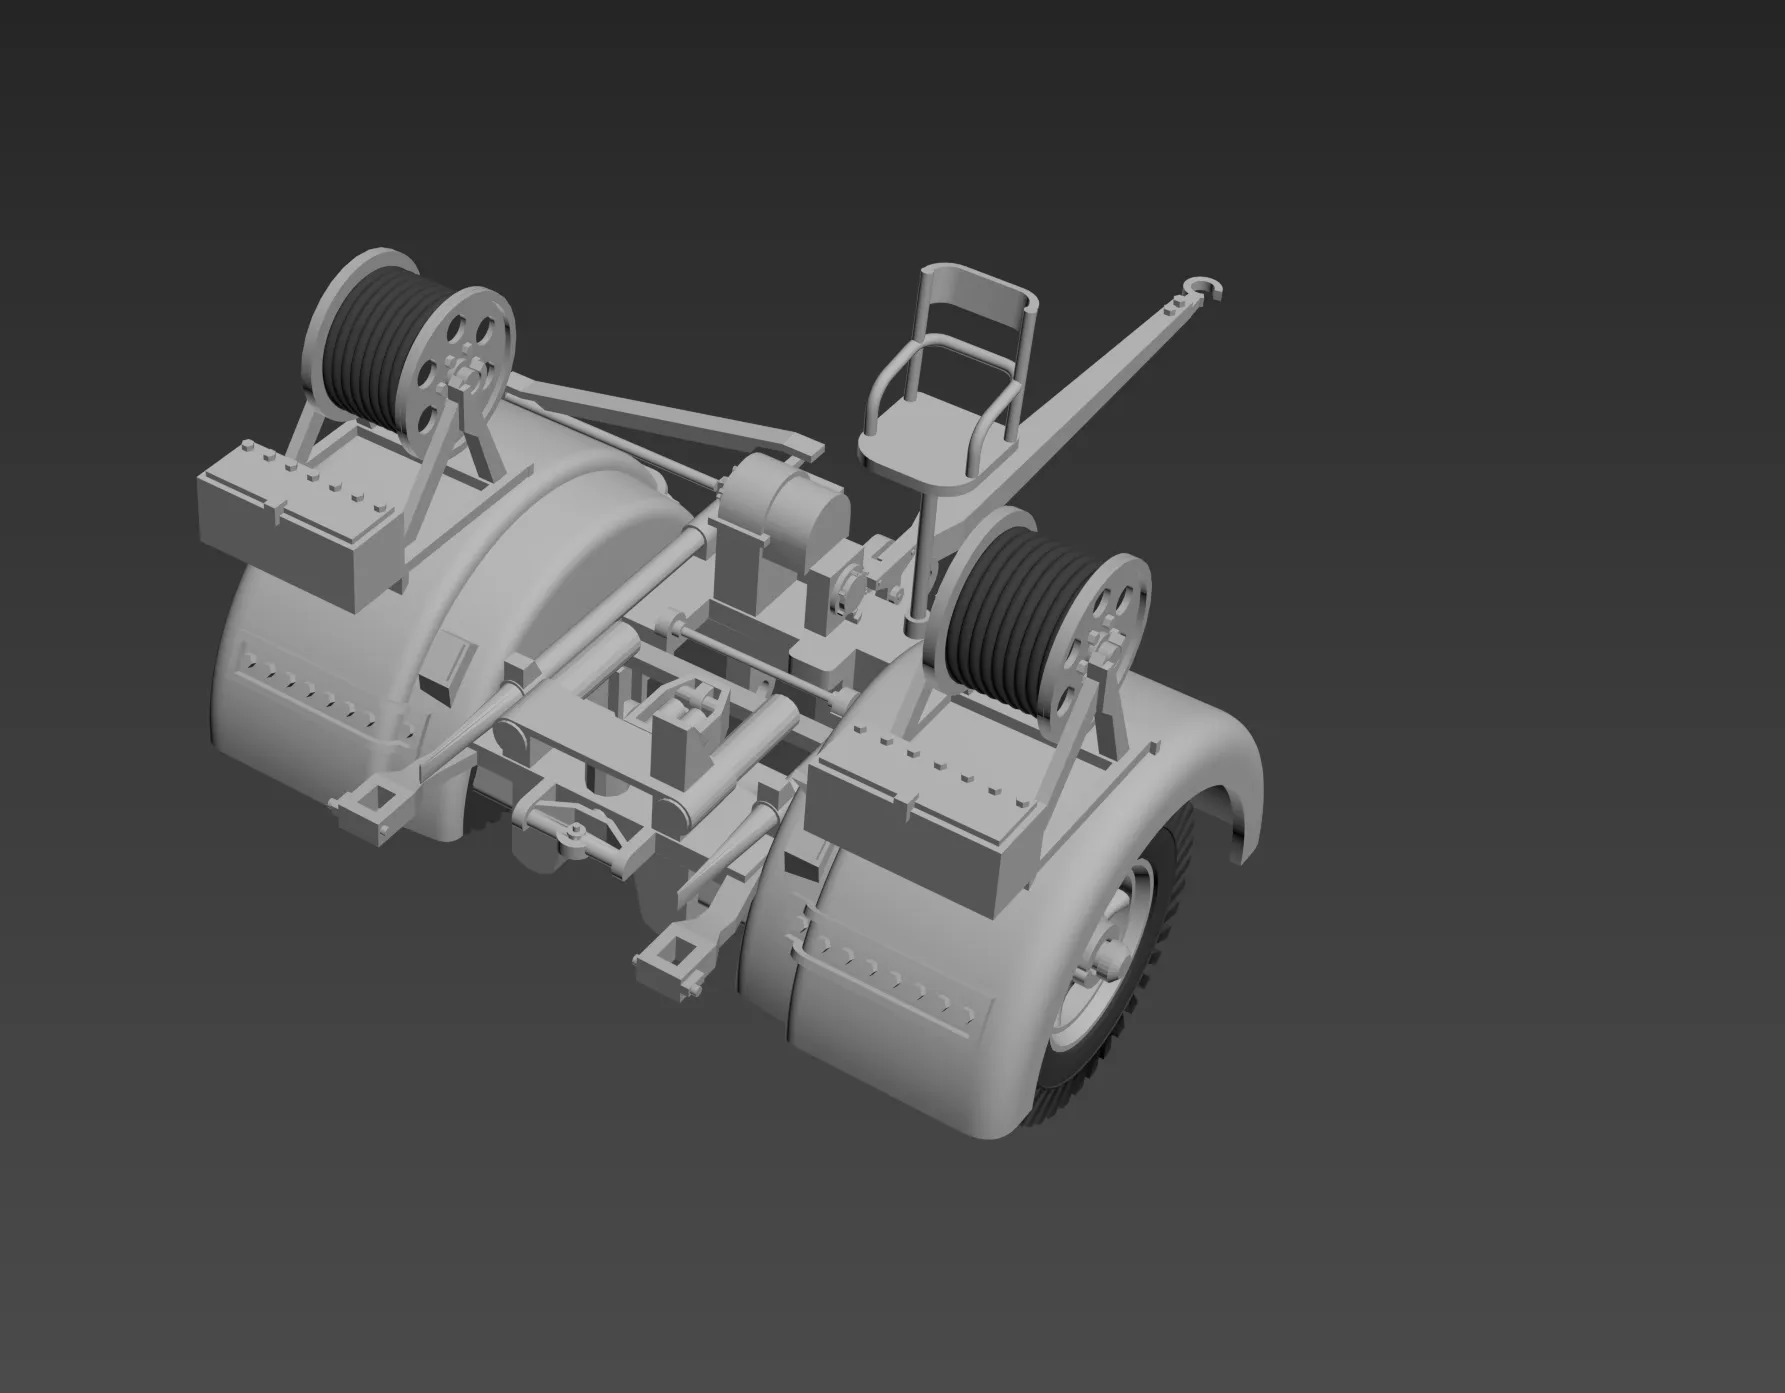
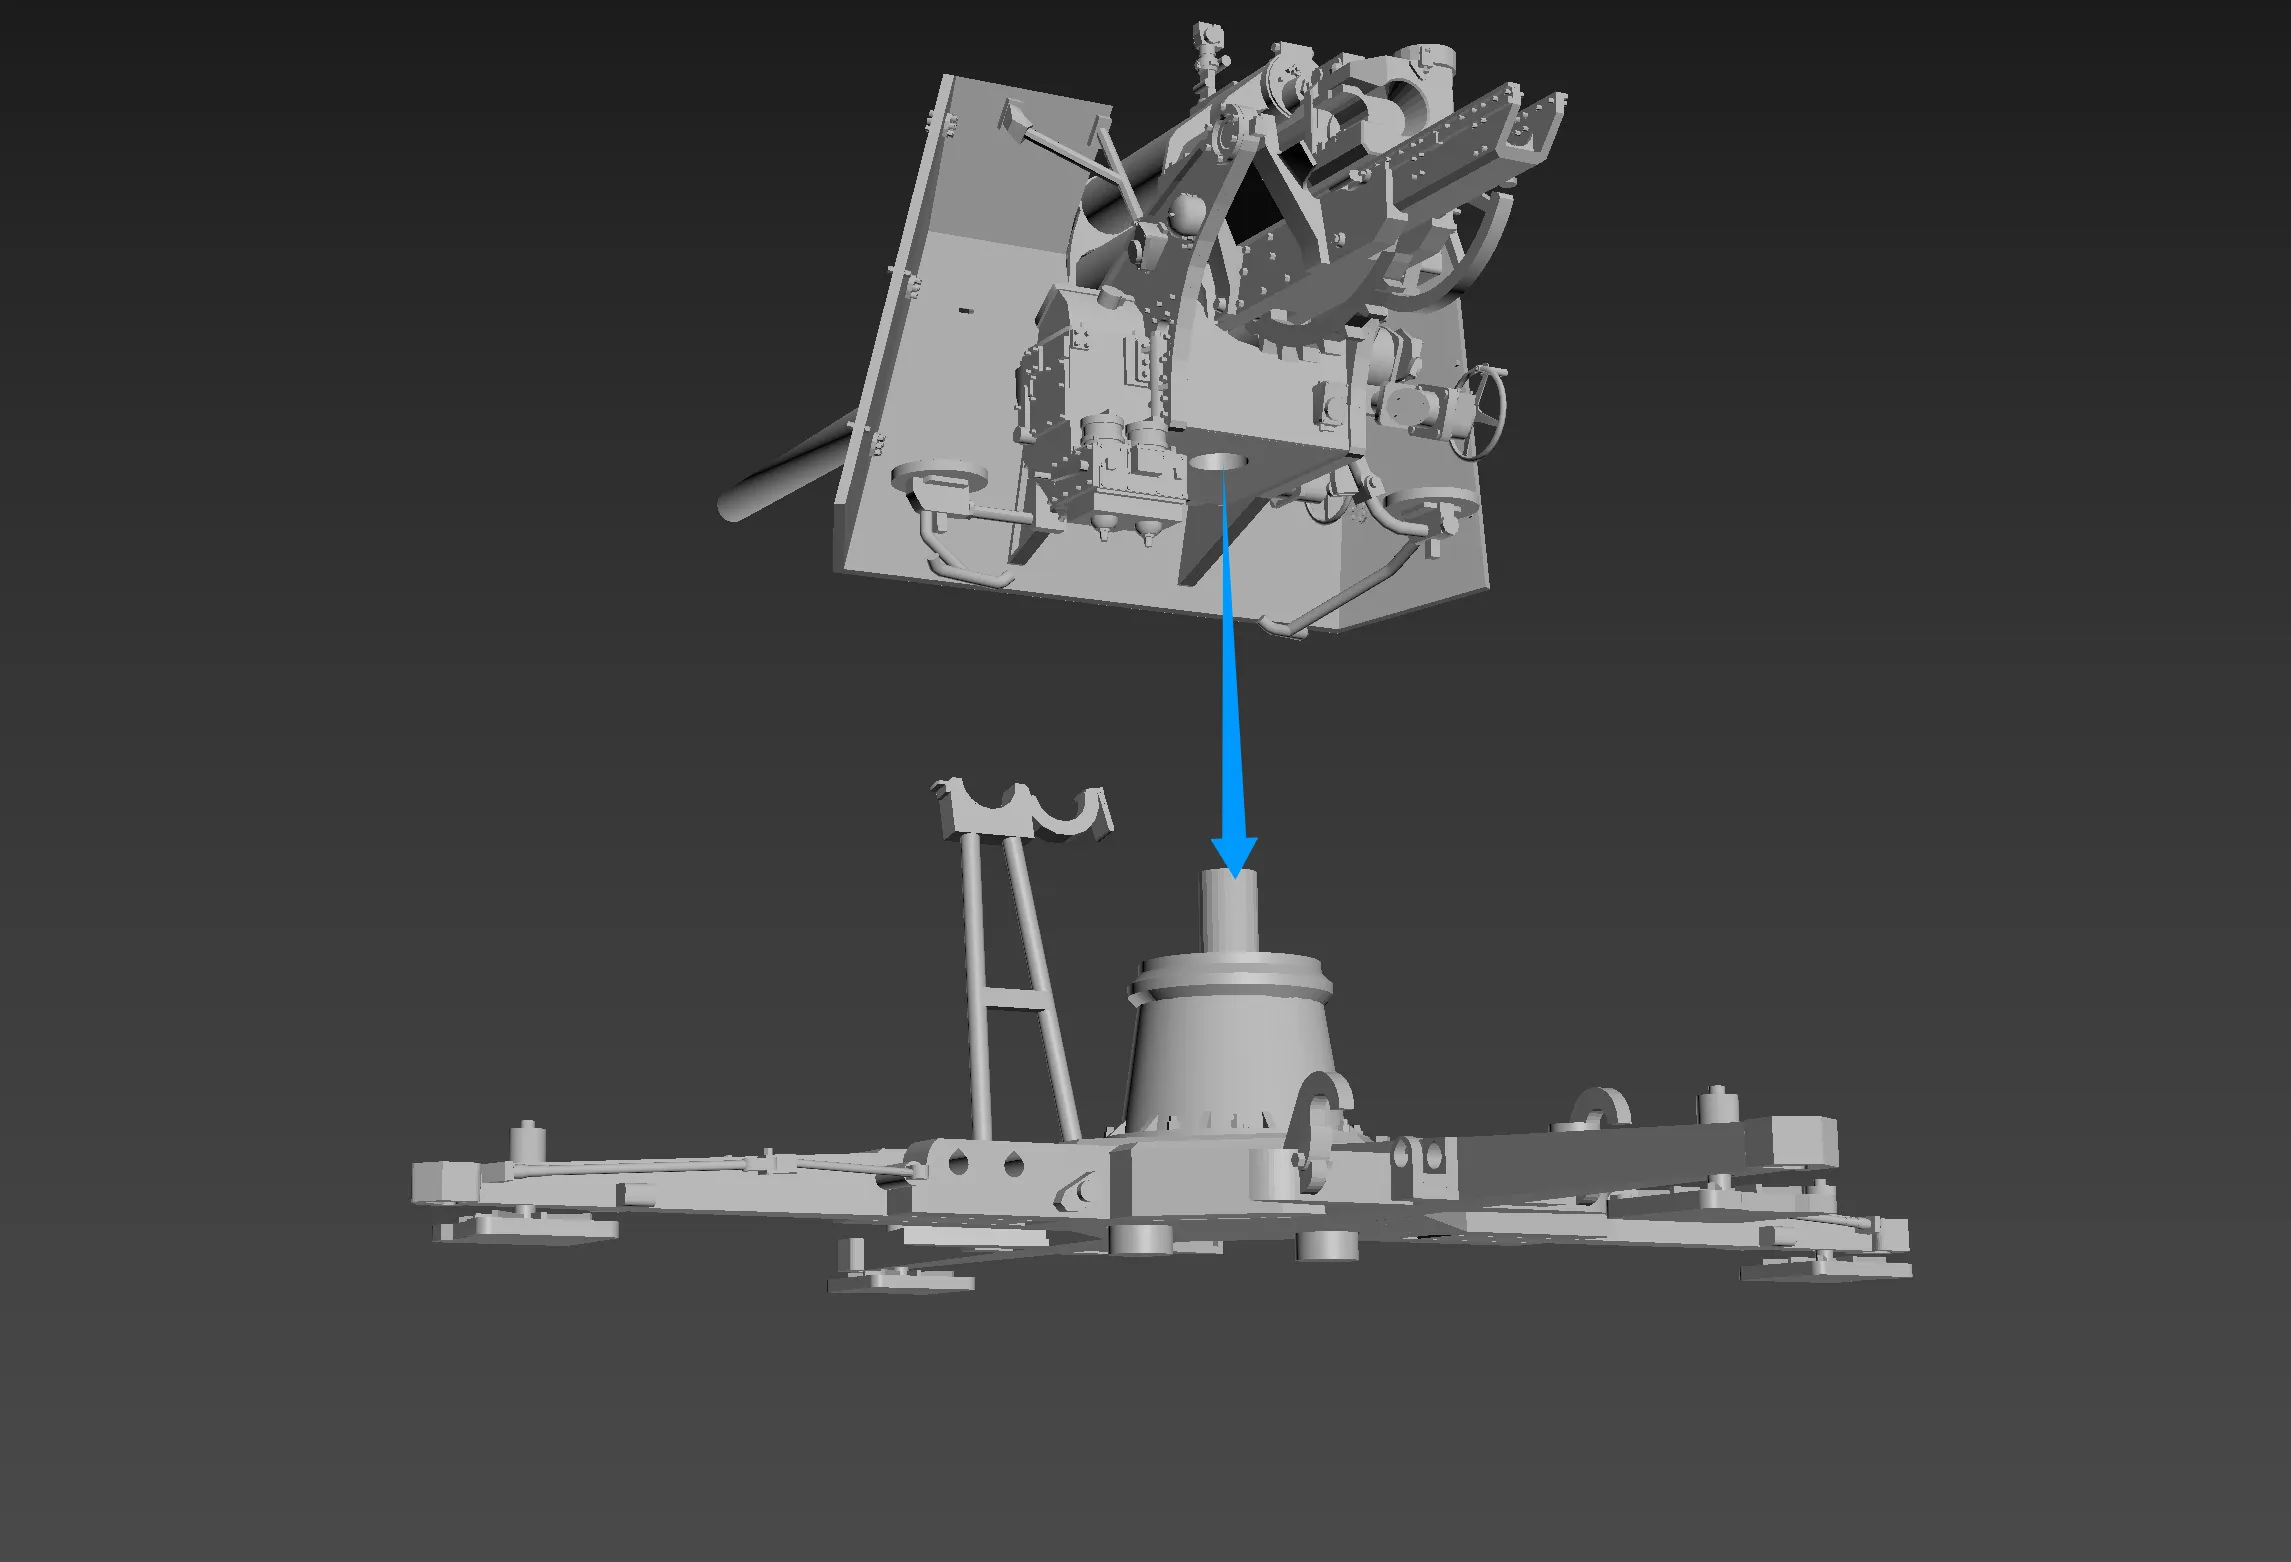
Below are the instructions for combining the trailer and main gun sections. This section does not require any glue
Hook the hook into the corresponding mounting hole on the trailer
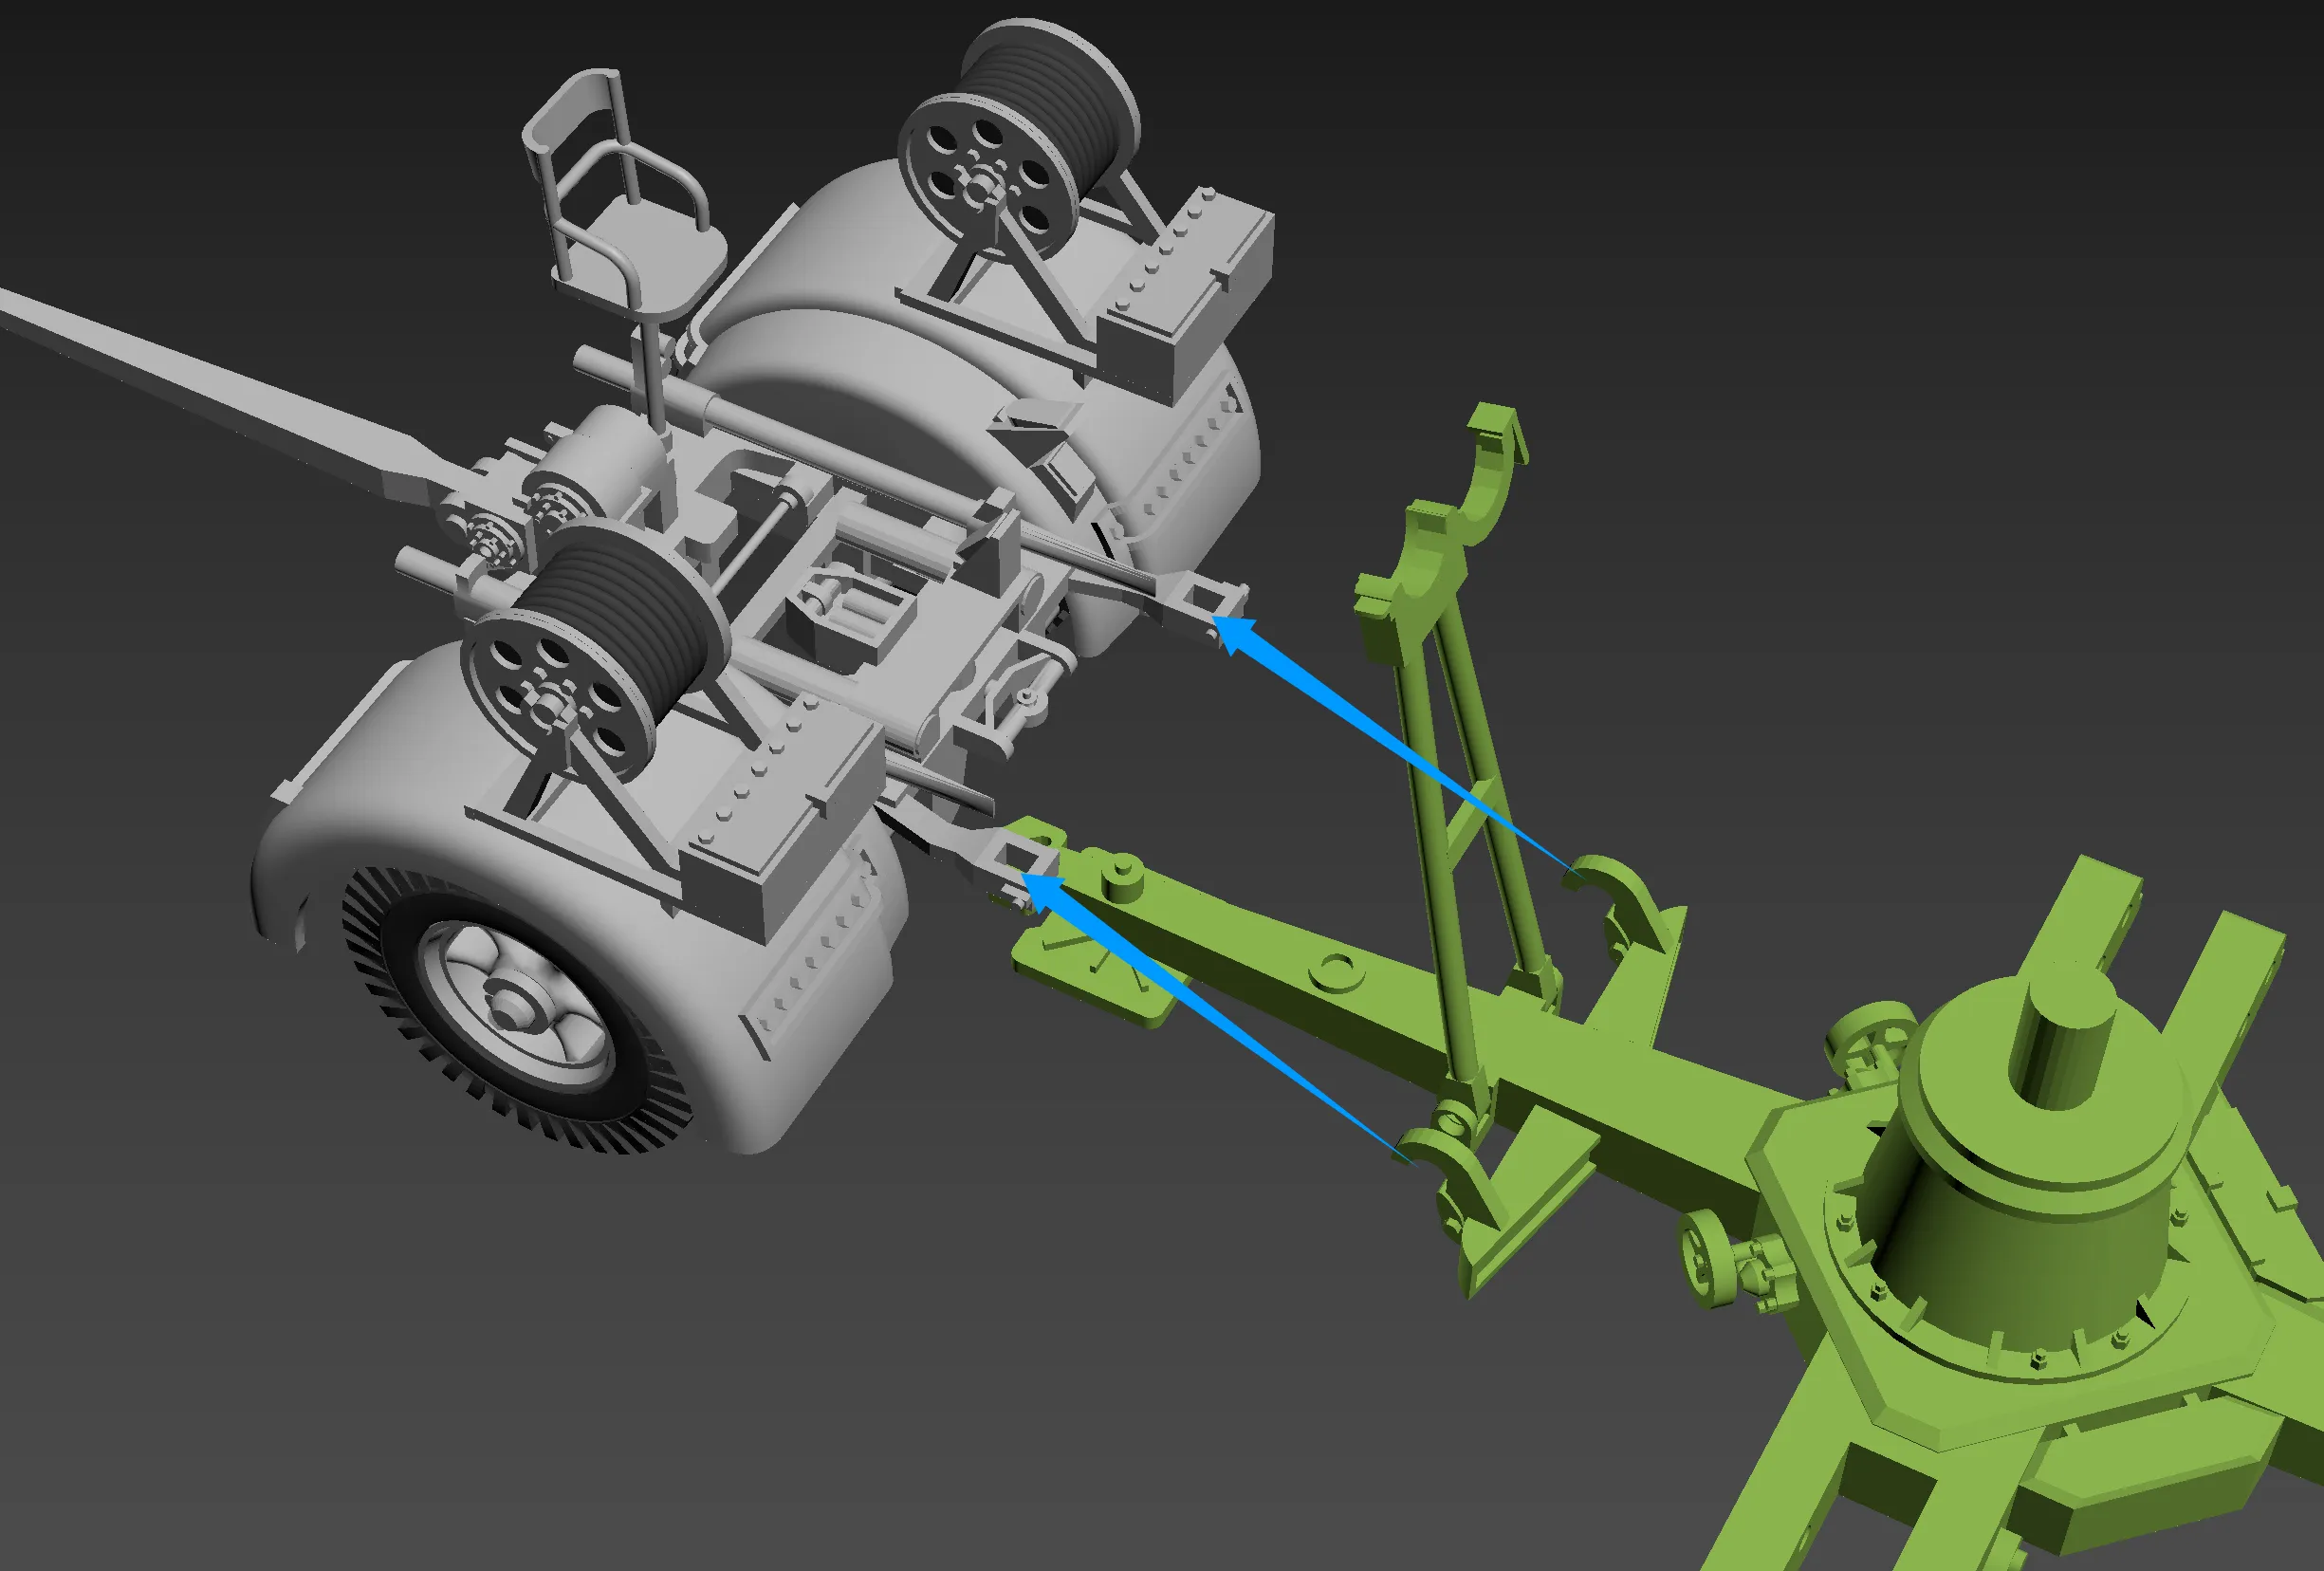
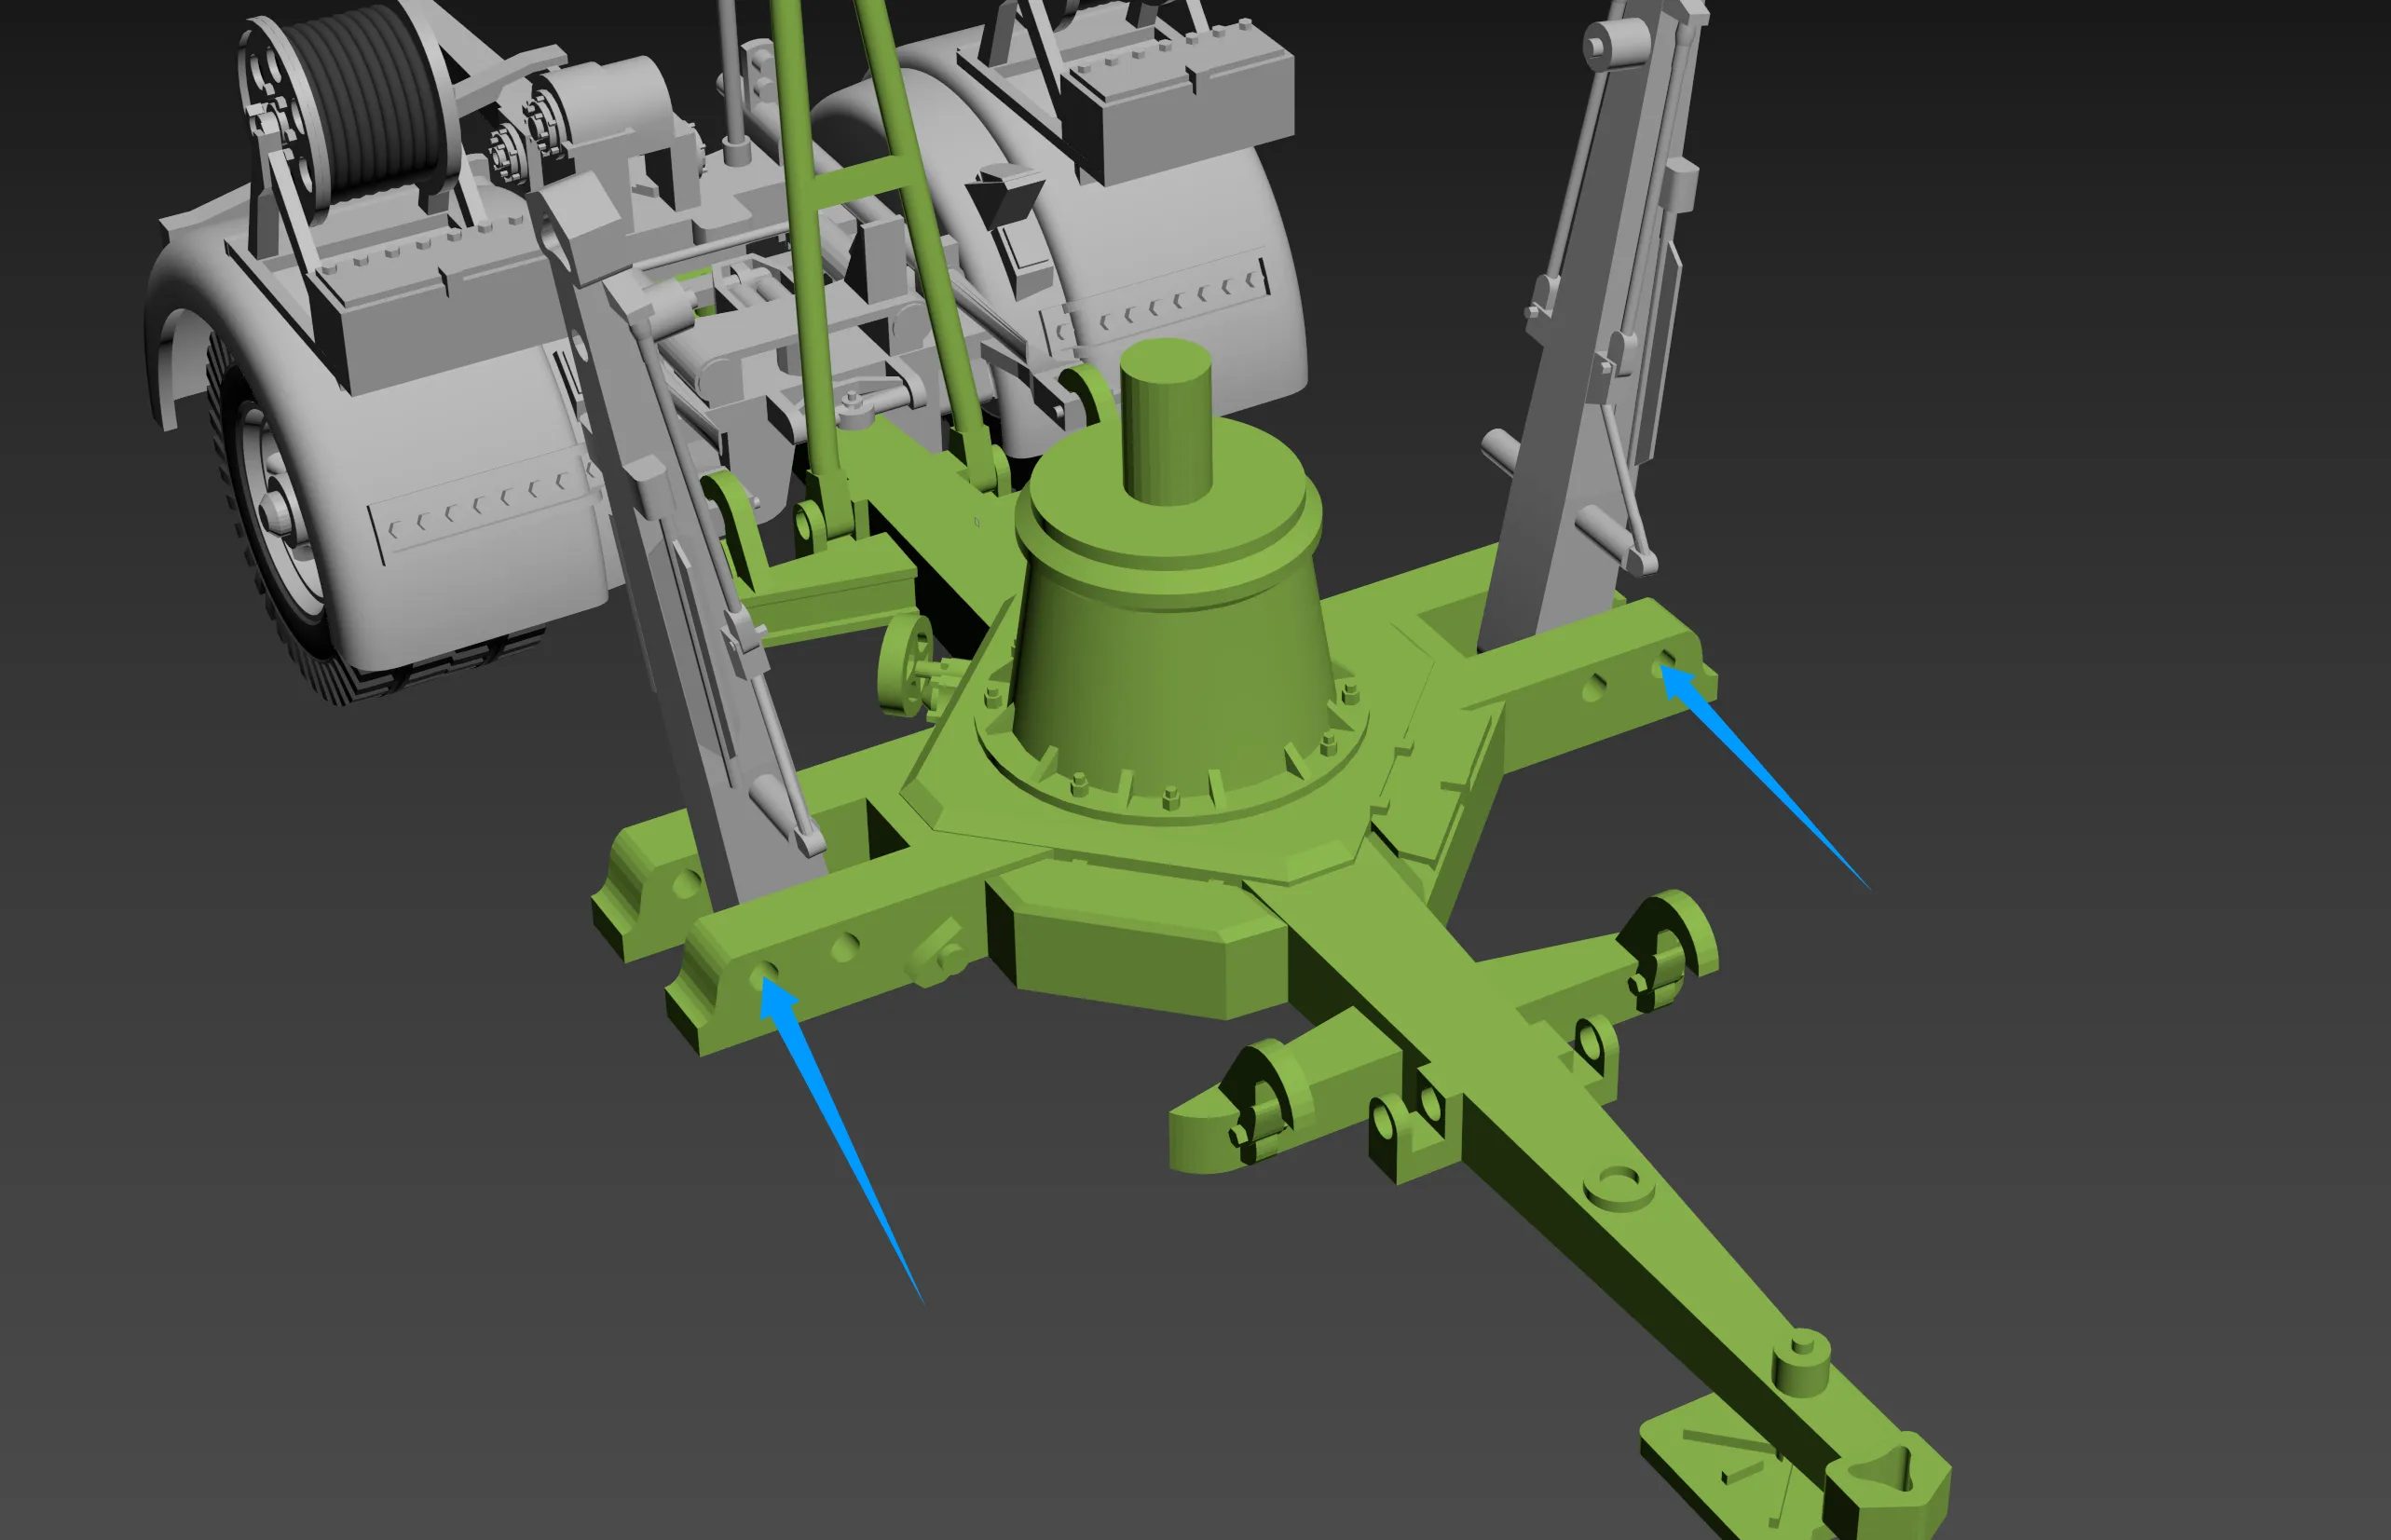
Once installed, use a section of 1.75mm filament to insert into the fixing hole to secure the base (the same applies to the other trailer) (The space here is relatively small, it is recommended to use tweezers or needle-nose pliers to assist in inserting the filament)
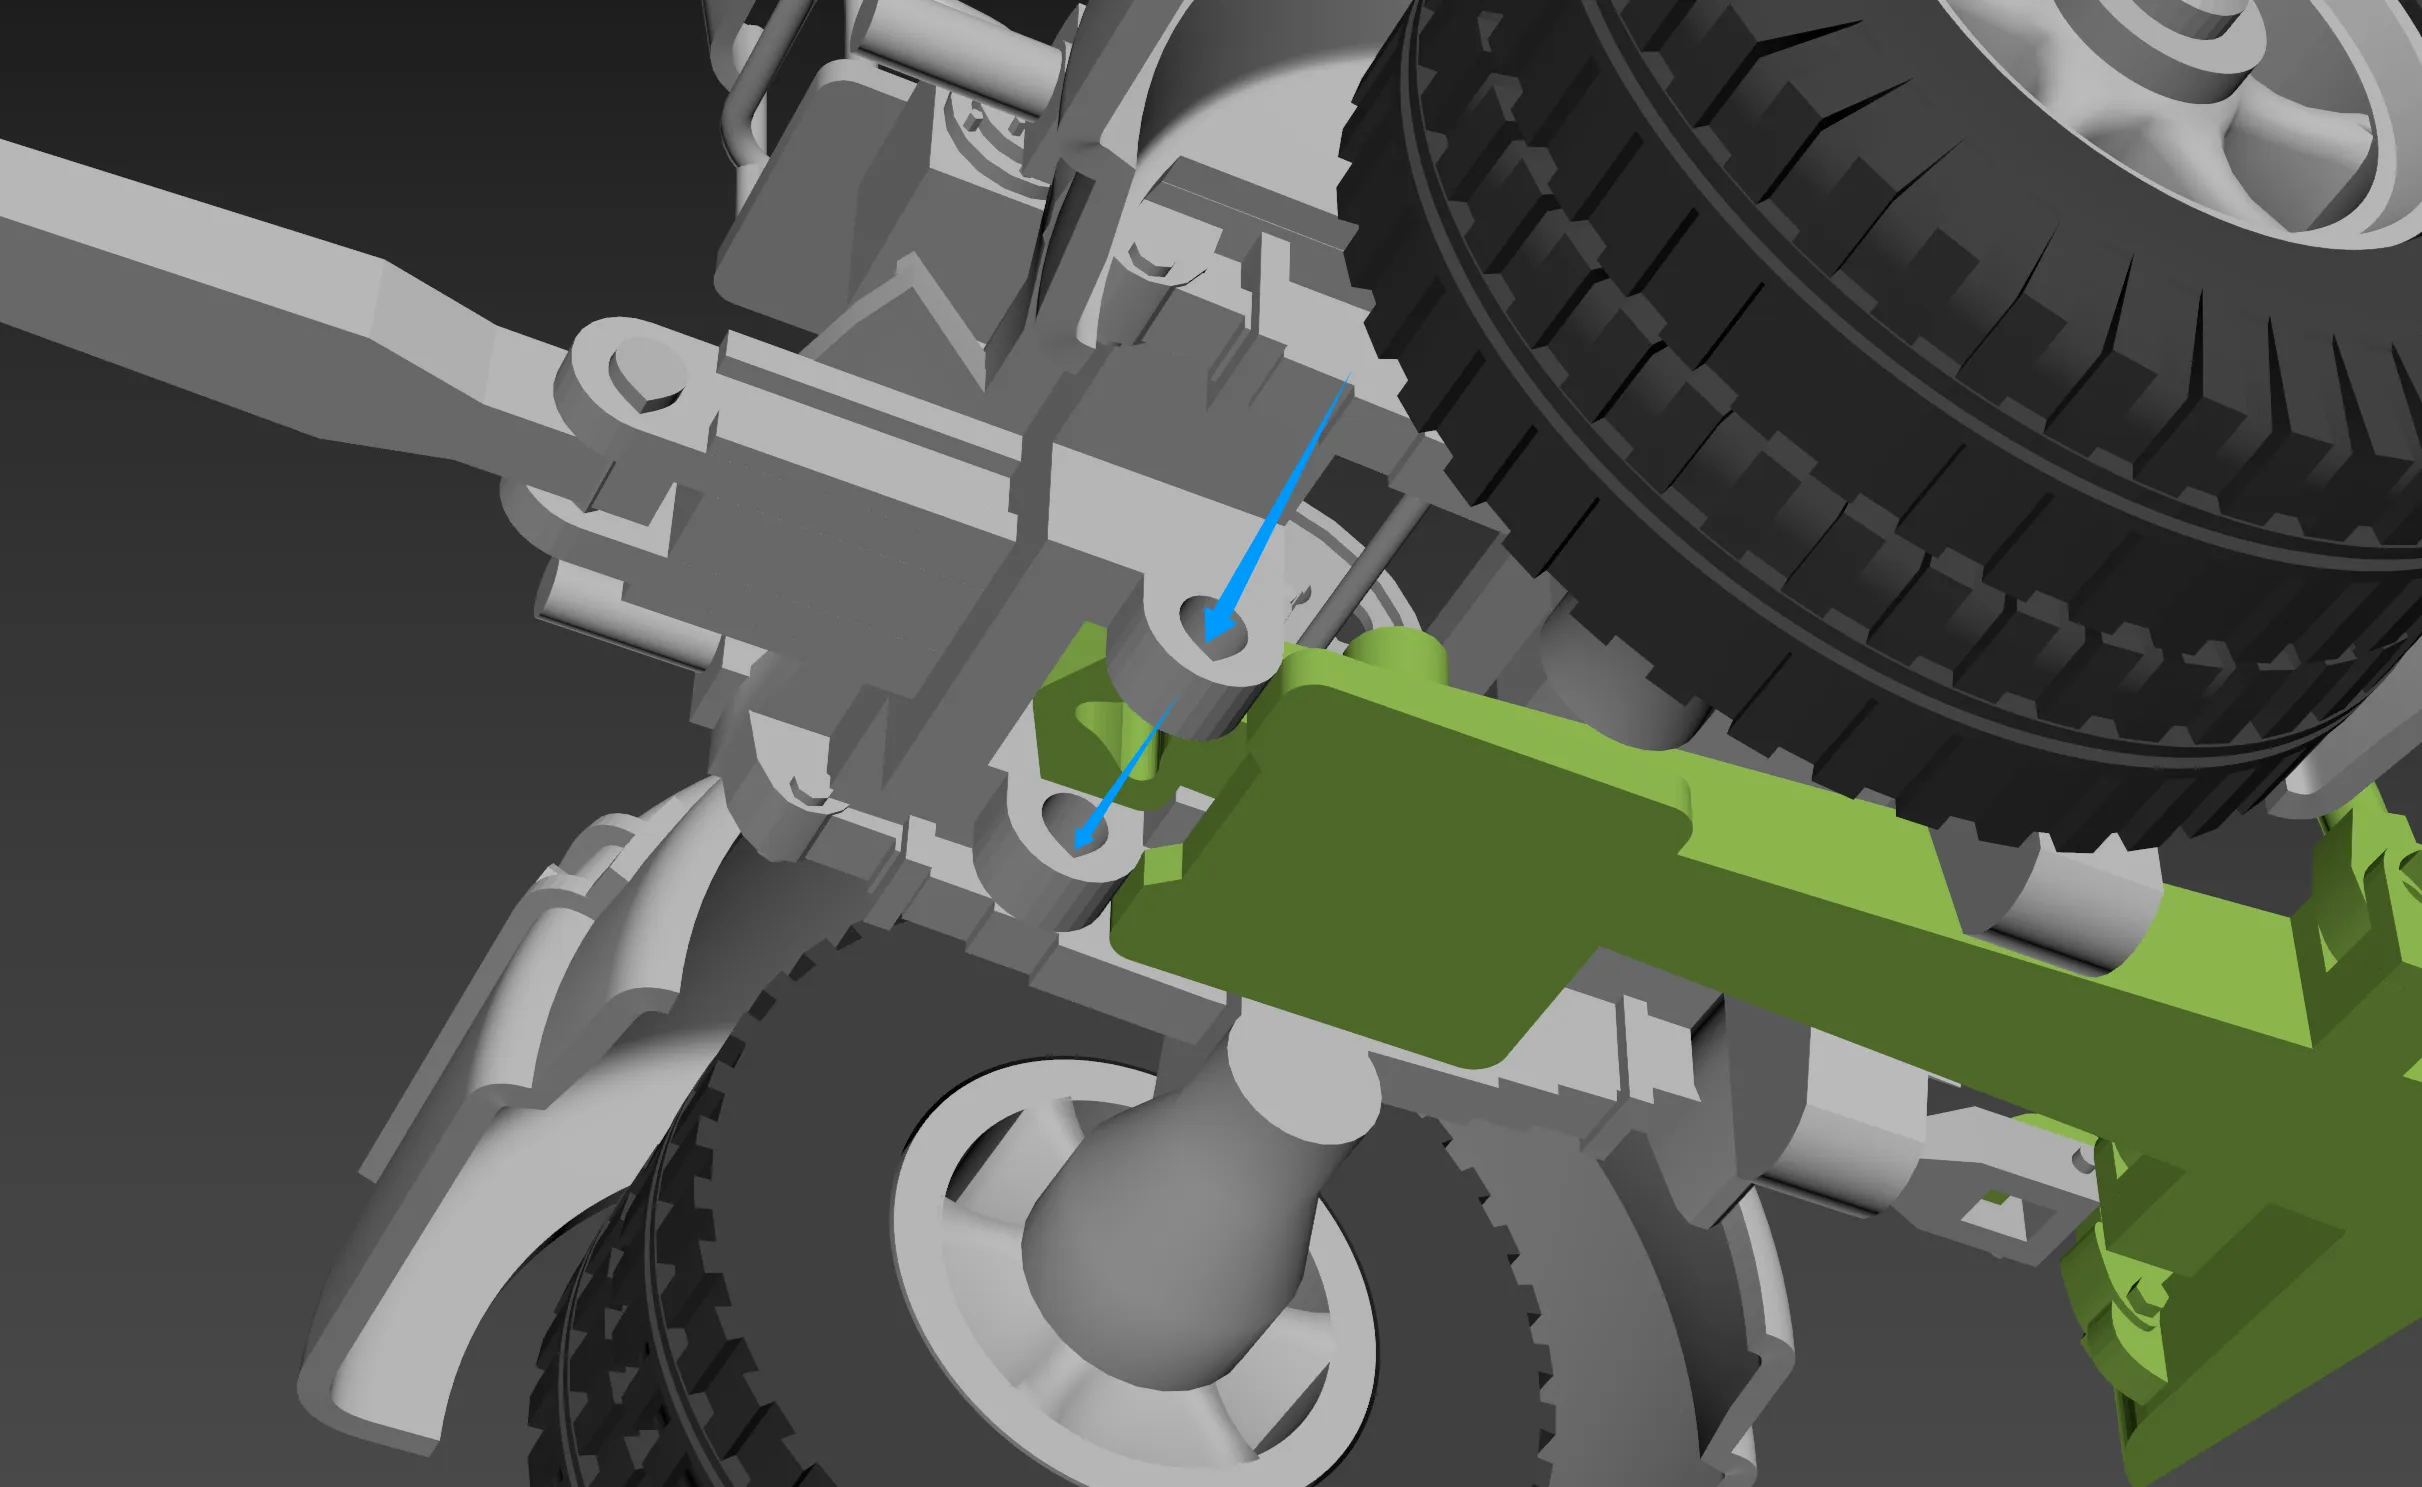
After raising both brackets, insert a section of filament at the arrow's indicated spot to lock the bracket
Boost Me (for free)
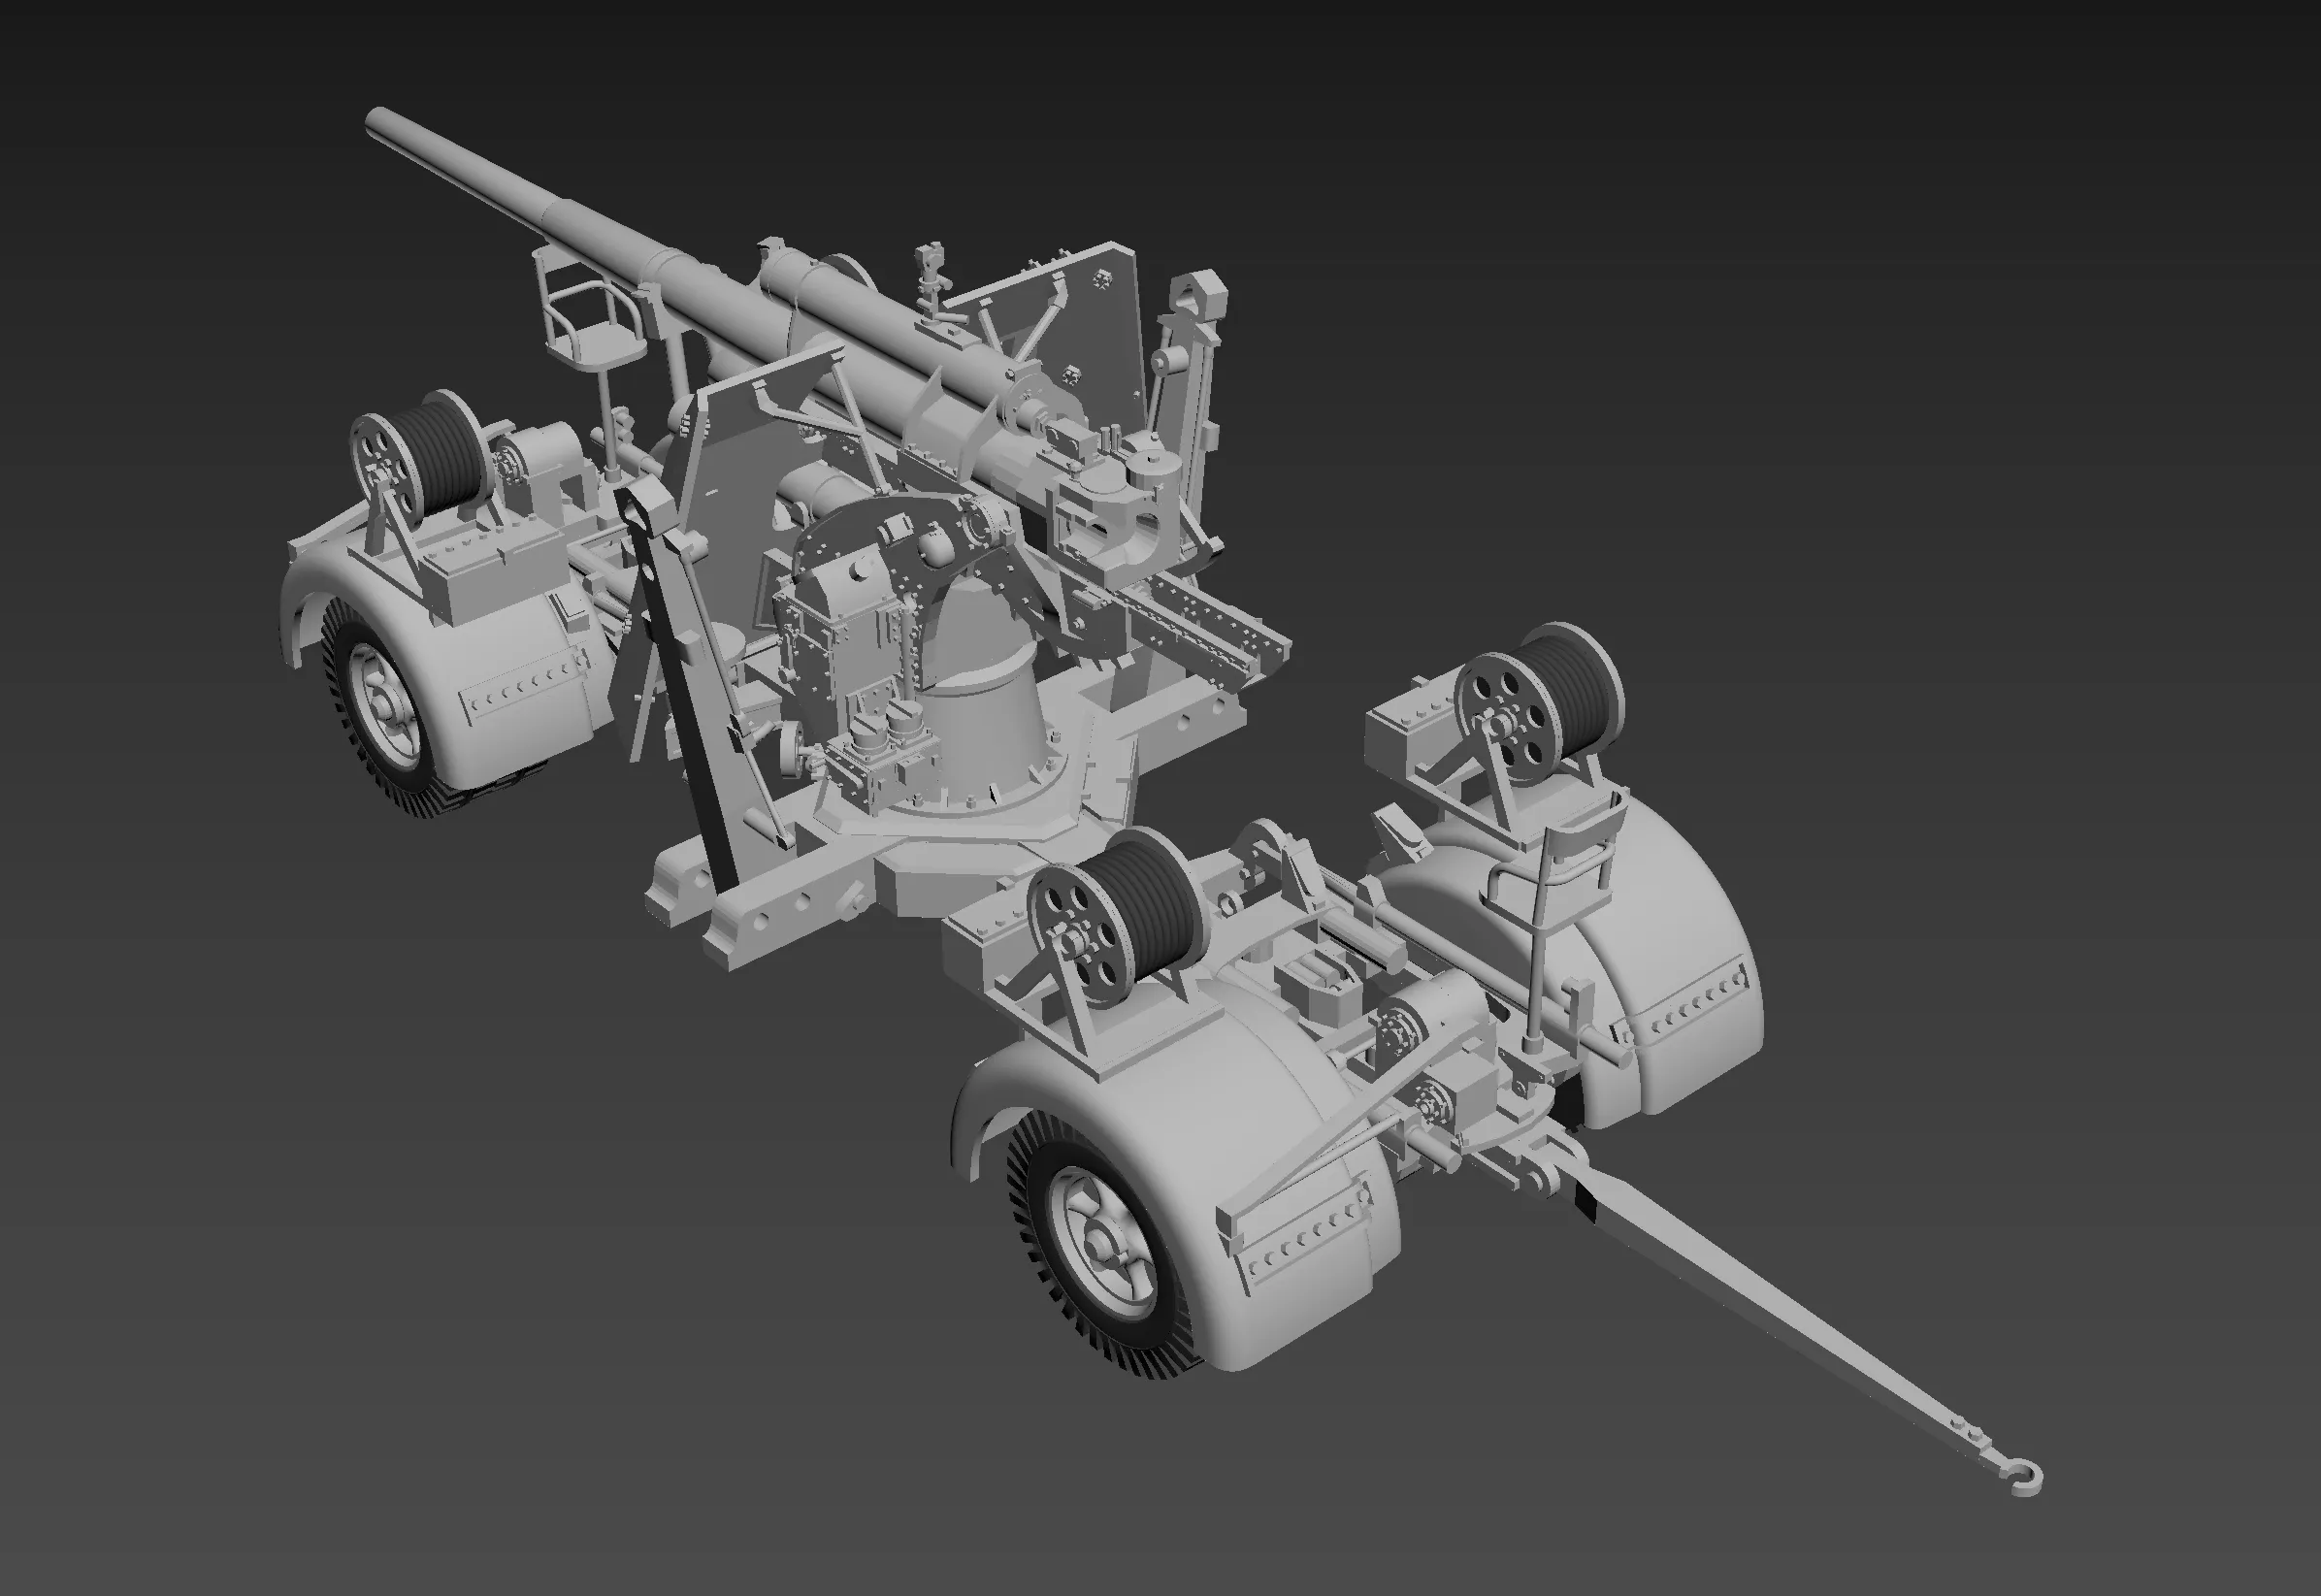
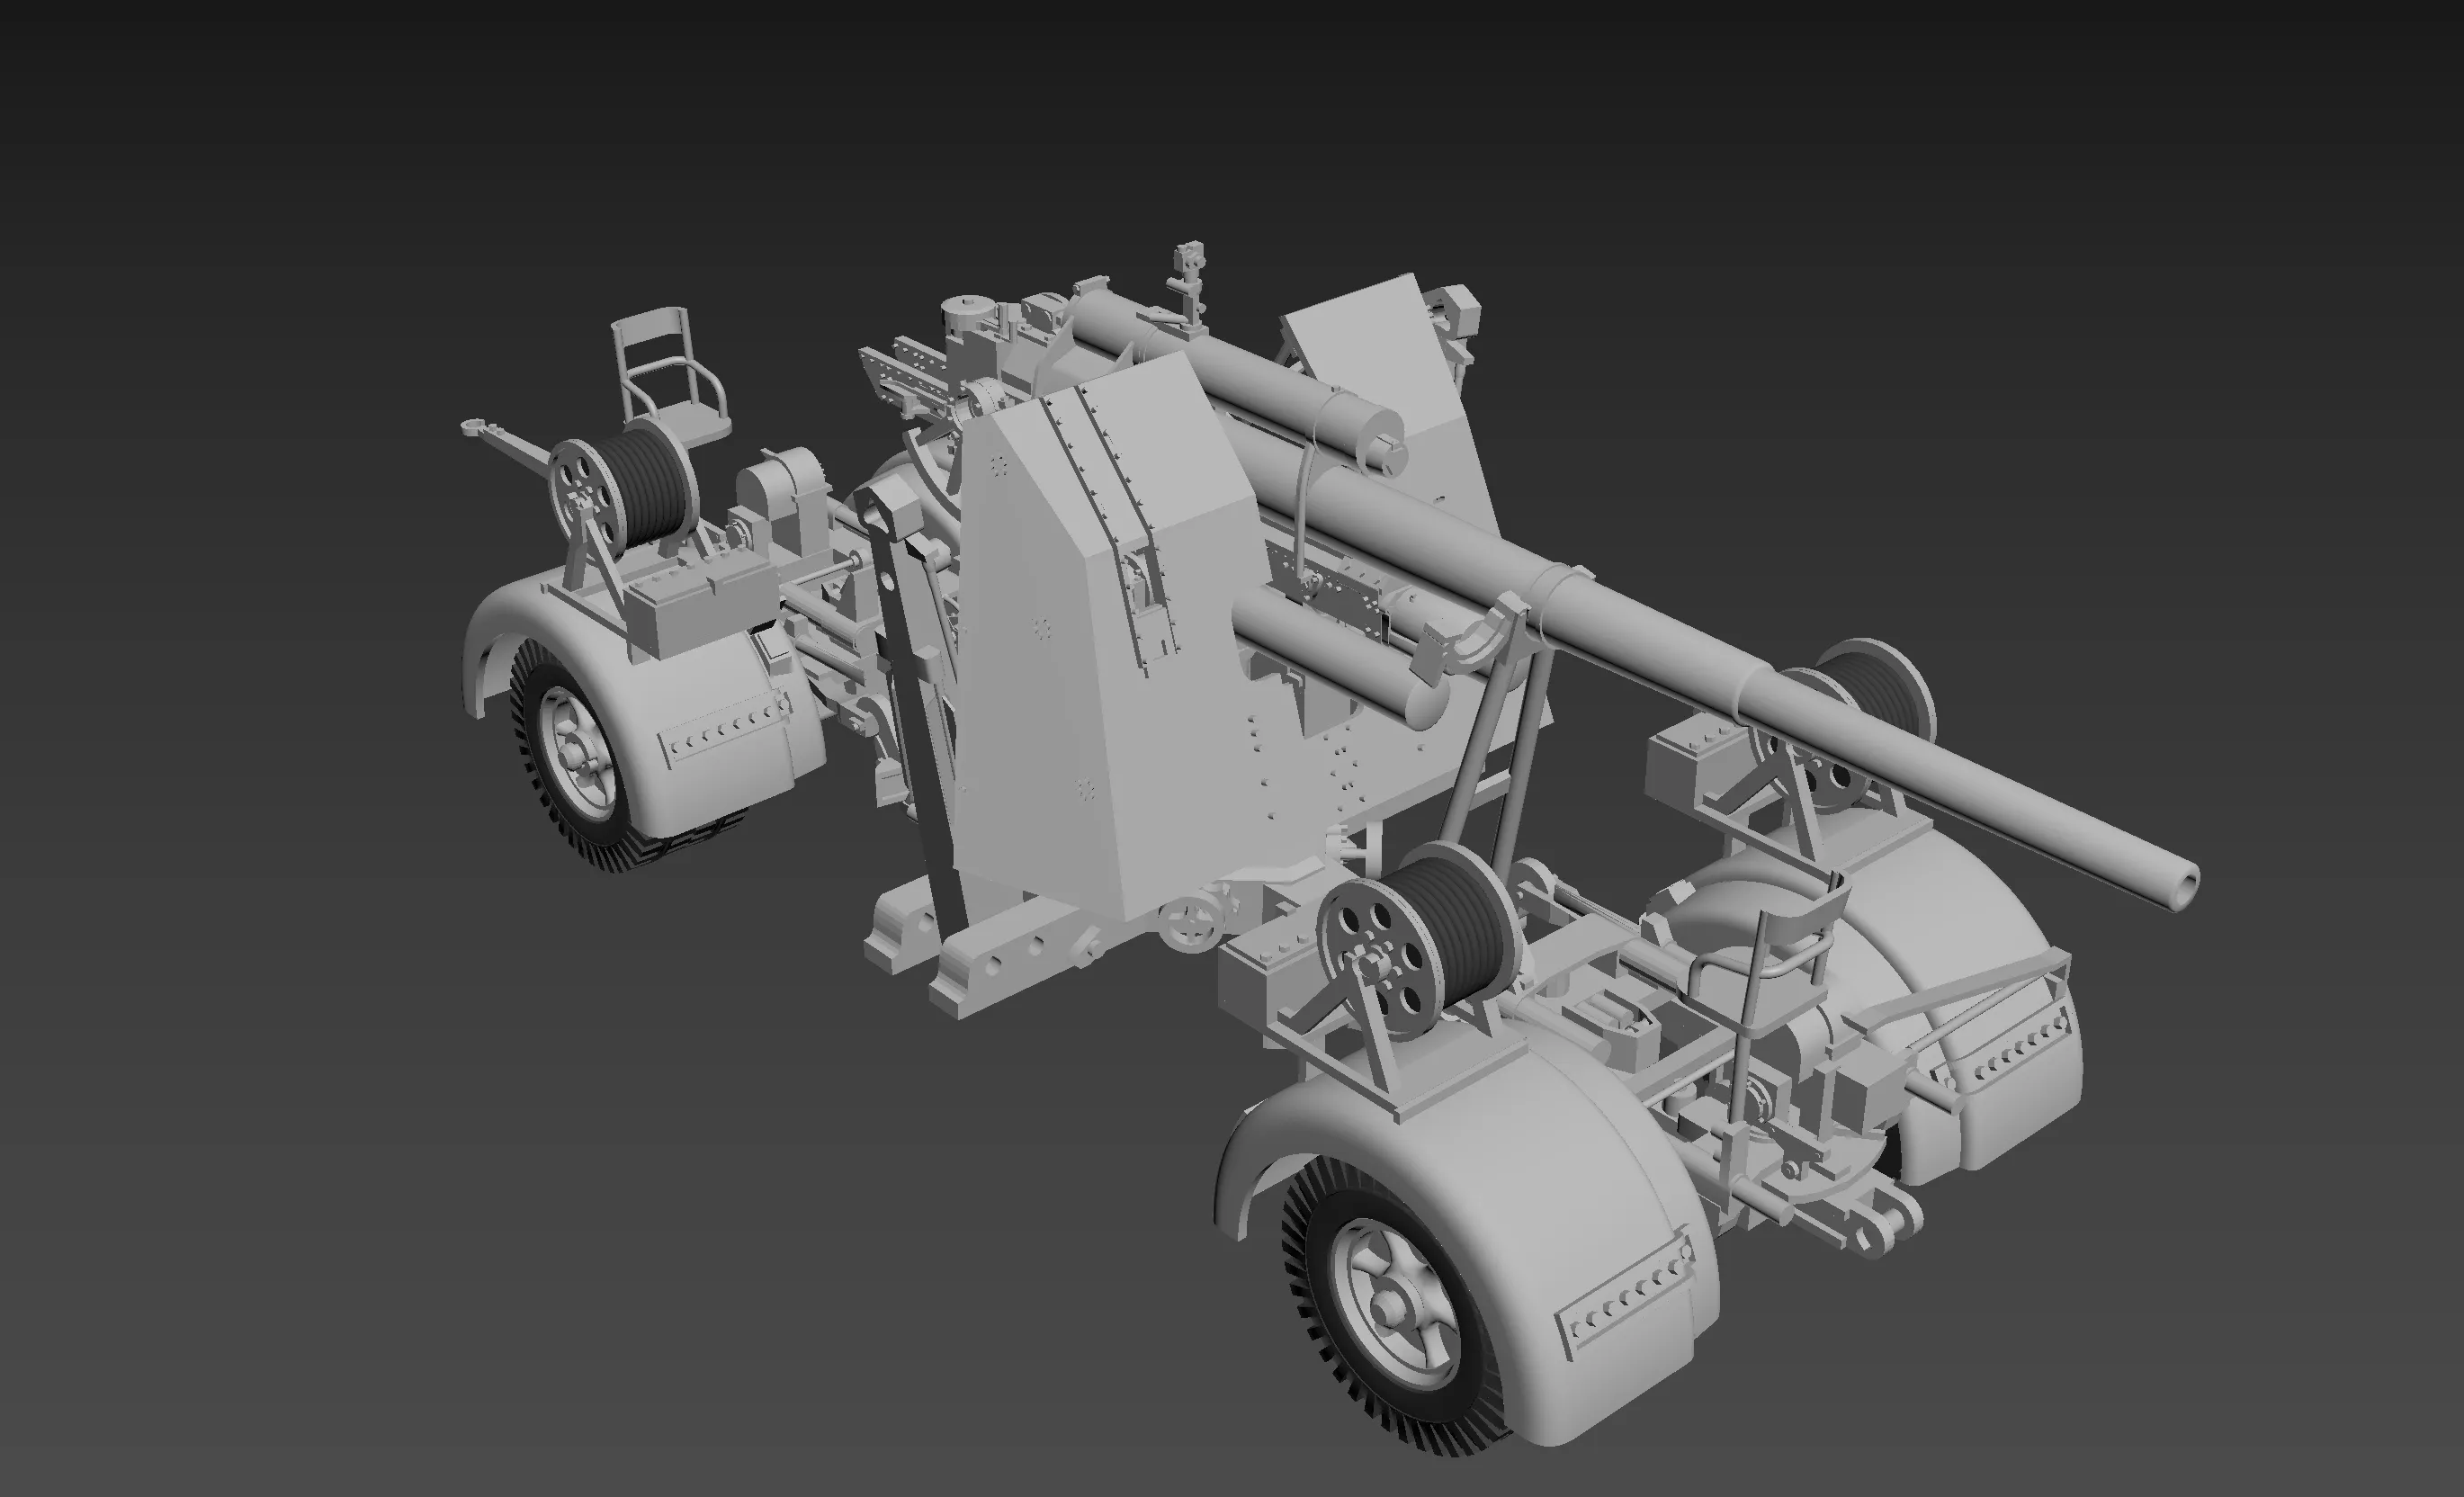
Completed
License

You shall not share, sub-license, sell, rent, host, transfer, or distribute in any way the digital or 3D printed versions of this object, nor any other derivative work of this object in its digital or physical format (including - but not limited to - remixes of this object, and hosting on other digital platforms). The objects may not be used without permission in any way whatsoever in which you charge money, or collect fees.


Comment & Rating (27)