Tri whoop


Print Profile(1)
Description
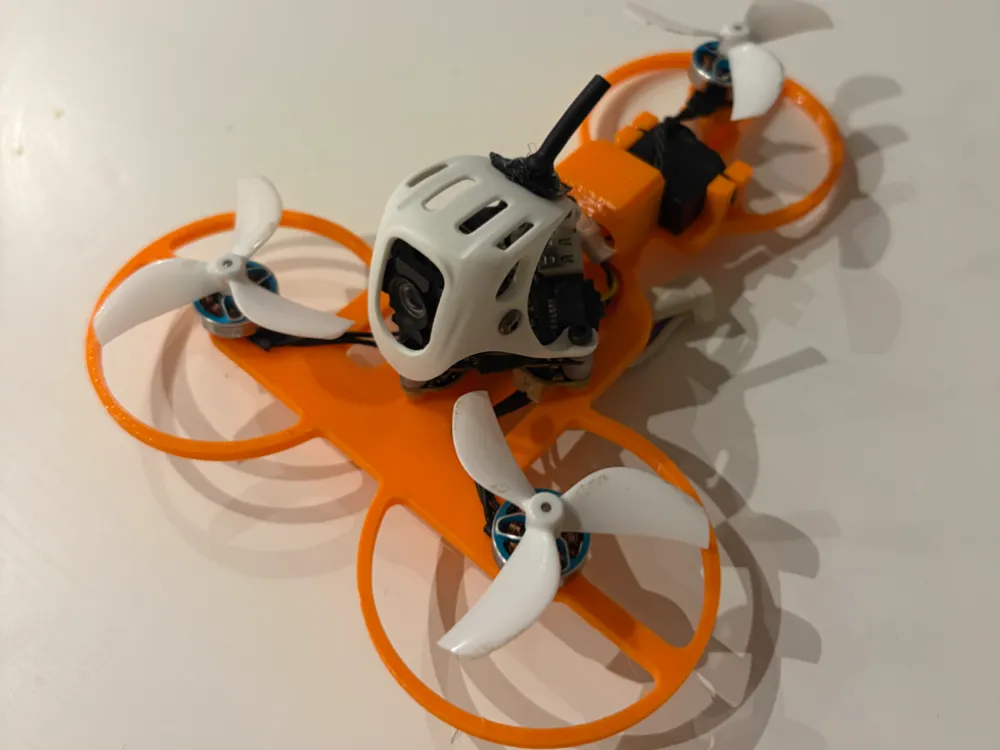
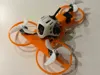
Tricopter Tinywhoop O4 FPV
To complete this build you will need
- 3x BetaFPV 11012 motors
- 3x 45mm props
- 1x sub micro servo digital
- BetaFPV Matrix 3in1 Flight Controller
- DJI O4 Air Unit Lite
- BetaFPV Meteor75 Pro Canopy
- 4x M2x12 bolts
- 1x M2x8 for the front of the FC/O4 stack
- JST-PH extension lead, male and female needed to extend the motor wires for the tail
- JST-PH cable for the servo.
- Super glue, gel type preferable
Prepare the Flight controller (continue at your own risk, if you're not comfortable with micro soldering, don't do it, or find a friend who is.)
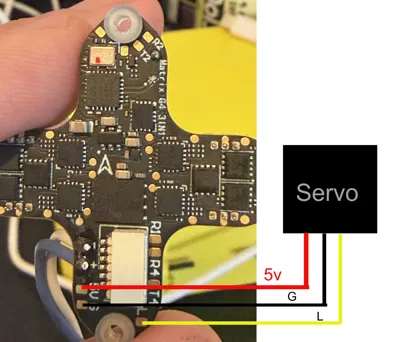
To make the servo operate, a connection to the flight controller must be made, see picture 2 to see which pads the servo leads need to be soldered to.
Use the female JST PH extension cable and solder it to the points shown in the picture.
Assembly
- Start by installing the battery stay, this part needs to be glued on, it fits into the cutouts on the top of the frame deck, If you don't do this first, you won't be able to install it after fitting the FC O4 stack.
Tip… Install a battery into the mount to hold it in place whilst the glue dries.
- Install the servo next, it needs to sit with the cables facing to the right, looking at it with the tail facing you, be sure to centre the servo with a servo tester, install the horn with the single arm, it should be pointing up, test fit the tilt, and cut the servo horn flush with the top of it, remove the tilt.
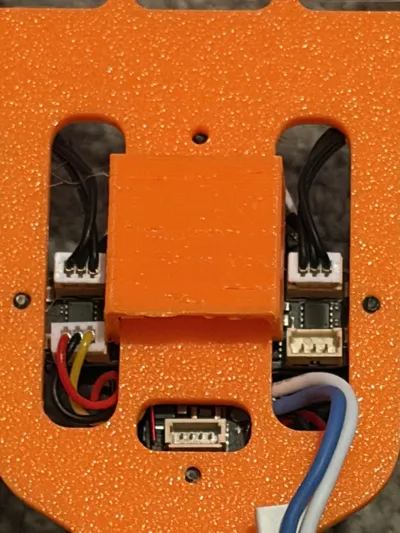
- Plug the front motors into the FC, see picture 3, the right motor plugs into ESC 2, the left motor plugs into ESC 4, orientation is tail facing you, plug the motor extension cable into ESC 1
- Plug the O4 air unit into the FC and mount the camera into the canopy, if you're transplanting the assembly from another drone, skip this step.
- Use the short M2x8 bolt on the front mounting hole, then use the other 3 M2X12 bolts on the remaining mounting holes, the bolts must not protrude below the frame, especially the front and rear mount holes, as the battery sits there and it will puncture it.
- Use the short screws that come with your motors, fix the motors to the frame, ensure the wires go inward toward the openings for the ESC JST connections.
- Fix the tail motor to the tilt, using the short screws, the wires must face the servo.
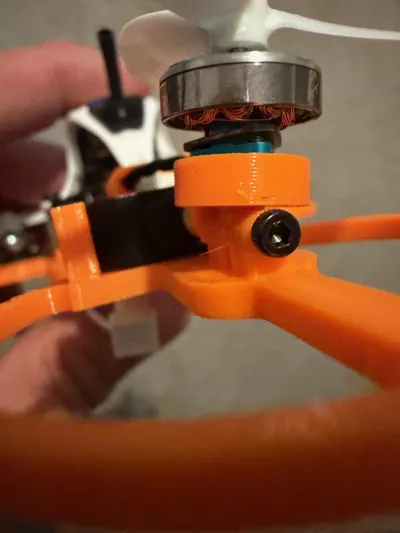
- Install the tilt using the remaining M2x12 bolt, see picture 4, align the front of the tilt with the servo horn, it should just slot in from above, it's fiddly.
- Plug the tail motor into the extension from the ESC, (do not plug the motor into the servo JST or you will get smoke from the motor)
Set up Betaflight
- First you need to set the Motor layout to tricopter.
Now the resources need to be remapped, MOTOR 4 needs to be MOTOR 3
Enter CLI in BF type
resource MOTOR 4 none
resource MOTOR 3 none
resource MOTOR 3 C13
resource SERVO 1 B02
save
Install the props
M2 CCW ---------------------- M3 CW
|
|
|
M1 CCW
License
You shall not share, sub-license, sell, rent, host, transfer, or distribute in any way the digital or 3D printed versions of this object, nor any other derivative work of this object in its digital or physical format (including - but not limited to - remixes of this object, and hosting on other digital platforms). The objects may not be used without permission in any way whatsoever in which you charge money, or collect fees.
Comment & Rating (1)