Search models, users, collections, and posts

reTerminal e1001 (SeeedStudio) Frame
IP Report
Print Profile(1)
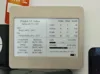
reTerminal frame
Designer
2.3 h
1 plate
Open in Bambu Studio
Boost
1
2
0
0
3
0
Released
Bill of Materials
Maker's Supply Kits and Parts
Select all

Description
reTerminal E1001 Frame
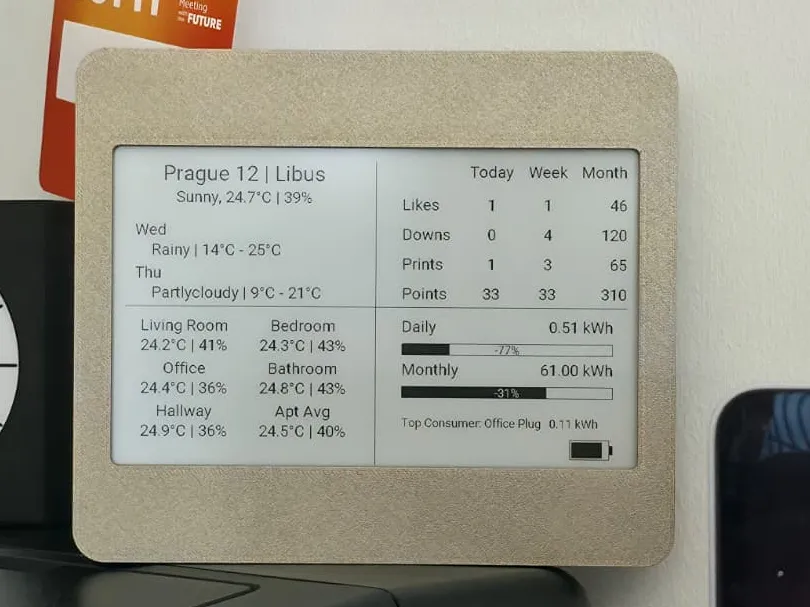
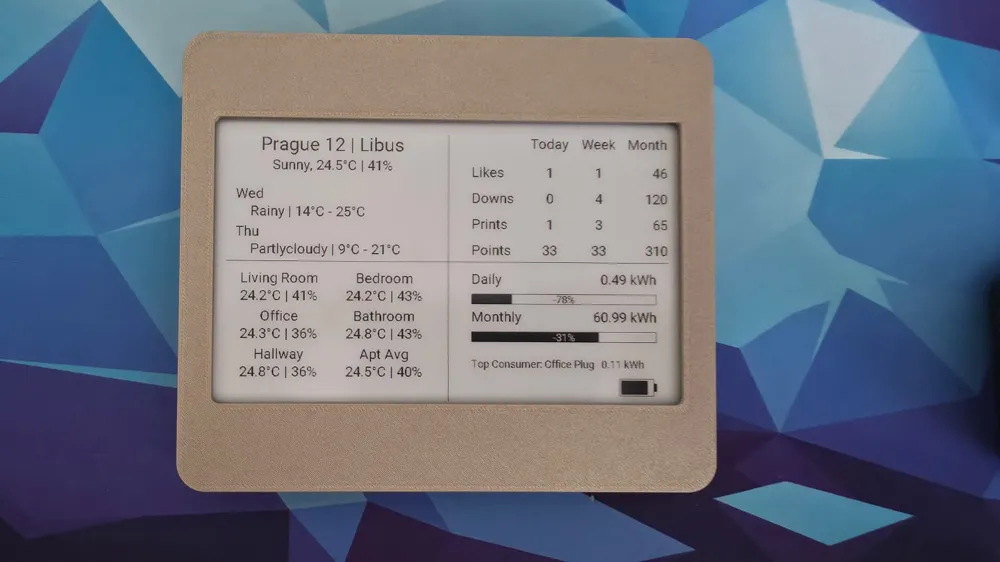
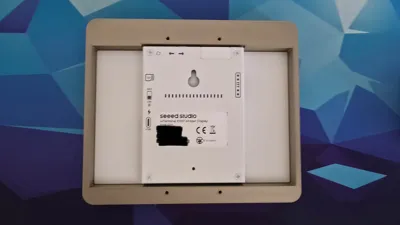
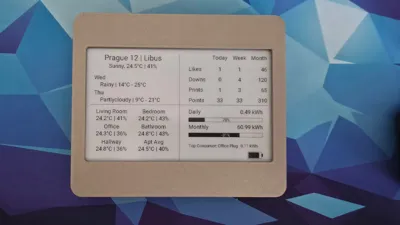
A sleek, minimalistic frame designed specifically for the Seeed Studio reTerminal E1001 ePaper Display. This frame provides a clean, professional look for your smart home dashboards, or whatever you choose to display. Allows access to wall-mounting hole.
Features
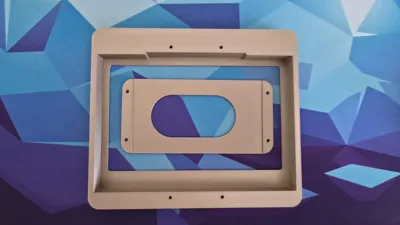
- Precision Fit: Designed specifically for the E1001 dimensions.
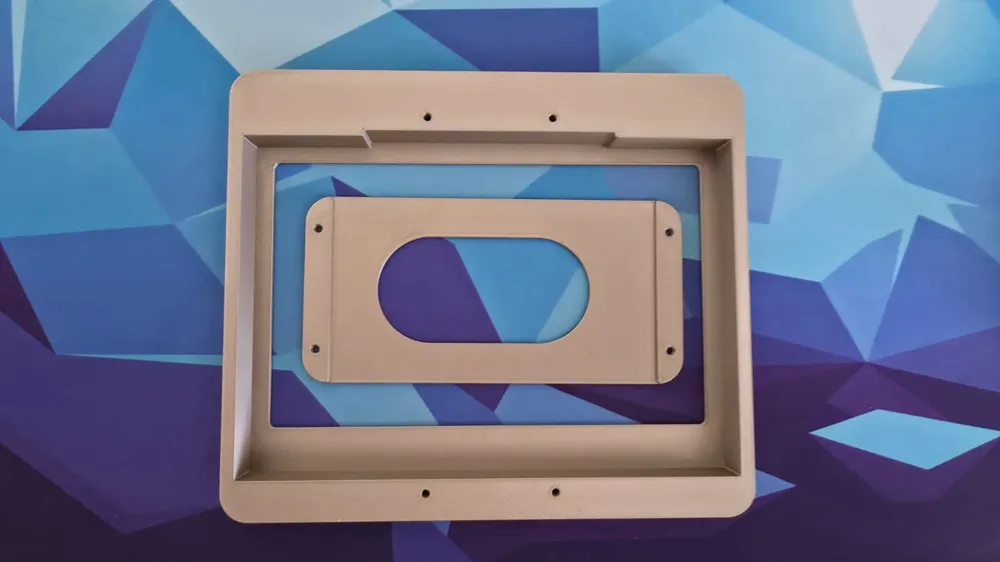
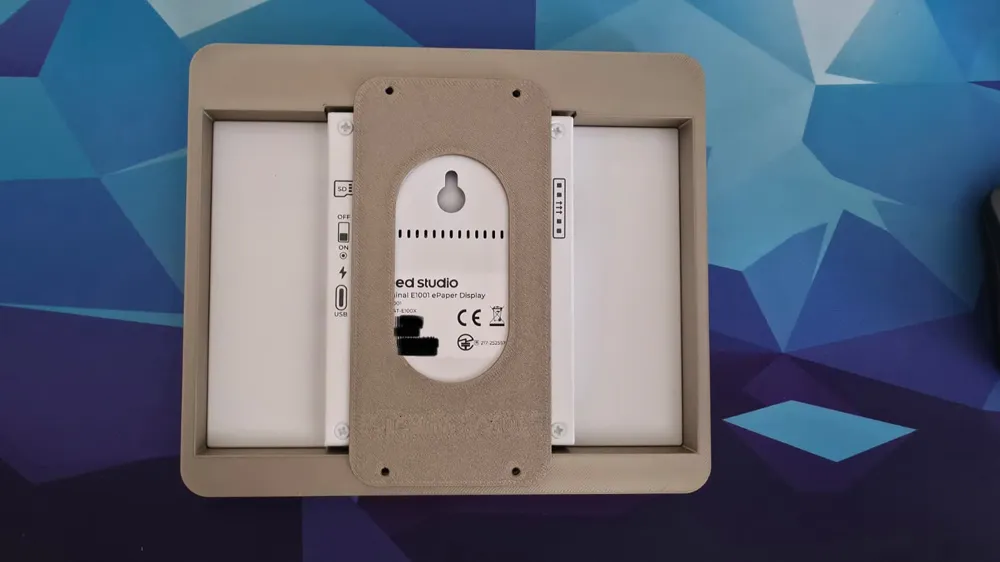
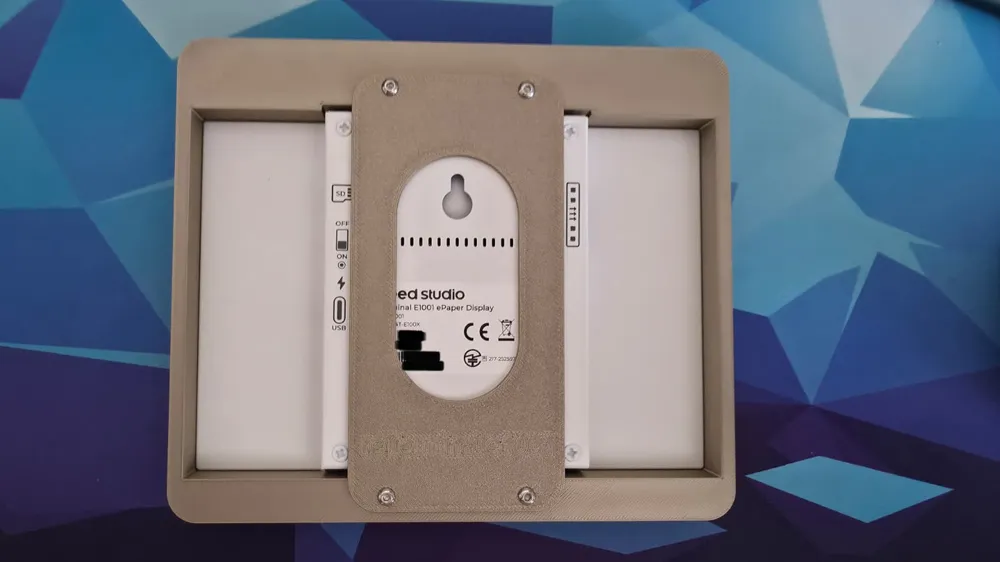
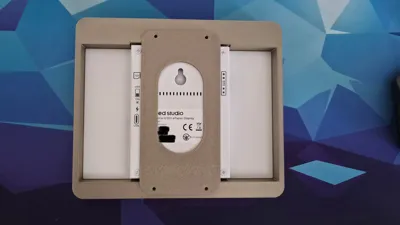
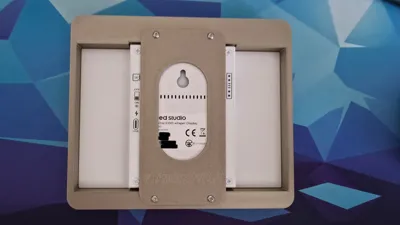
- Simple Assembly: Utilizes a secure back-plate design to keep the device in the frame.
- No Supports Needed: Optimized for easy, fast printing without the need for support.
- Text for back-plate: Fully adjustable/removable in the slicer.
Print Settings
- Filament: PLA Metal (used in photos) or any standard PLA or PETG, it is up to you.
- Layer Height: 0.24mm (Draft/Speed optimized).
- Nozzle: 0.4mm.
- Infill: 15% Gyroid.
- Supports: None.
Hardware Required
4x M3x10 BHCS Machine Screws (Standard M3x10 Button Head Cap Screws, e.g., AA172).
Assembly Instructions
- Print the main frame and the rear mounting plate.
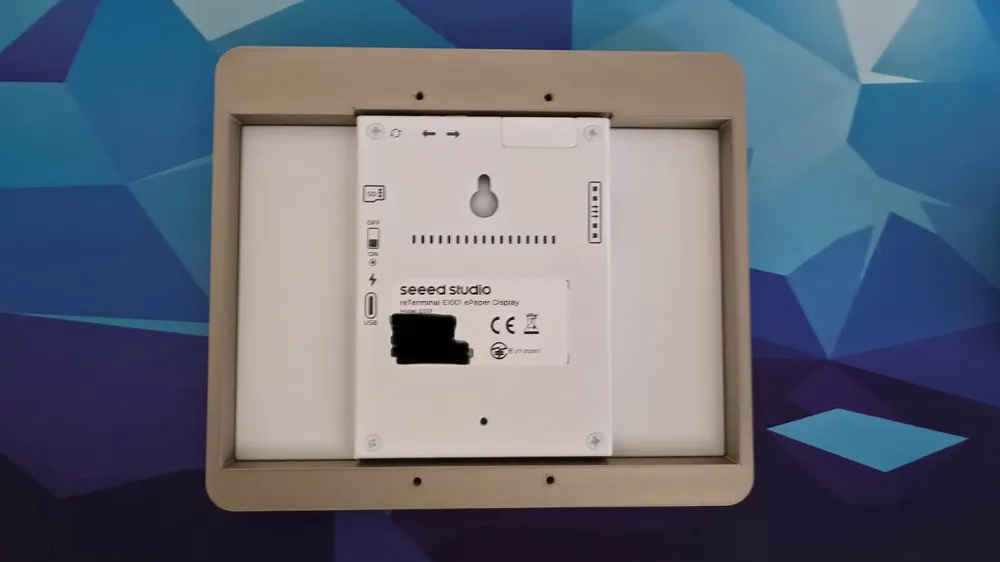
- Secure the reTerminal to the frame using the 4x M3x10 screws through the designated holes.
- Place the frame where you want it or mount the assembly to your wall using the integrated keyhole slot on the back.
Content
I am using ESPHome in my Home Assistant instance. There are almost no limits to what you can display on the reTerminal.
Boost Me (for free)
Like it? I would appreciate a boost :)
License

This user content is licensed under a
Creative Commons Attribution-Noncommercial-Share Alike


Comment & Rating (0)