Search models, users, collections, and posts

Modular STAX Electrostatic Headphone Wide Cable Spool
IP Report
GIF
Print Profile(2)
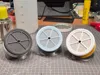
0.2mm layer, 4 walls, 15% infill
Designer
8.1 h
3 plates
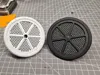
Print in Place spool profile 0.12mm layer height, 4 walls, 15% infill
Designer
12.2 h
1 plate
Open in Bambu Studio
Boost
3
4
0
0
2
0
Released
Description
Content has been automatically translated.
Design Introduction
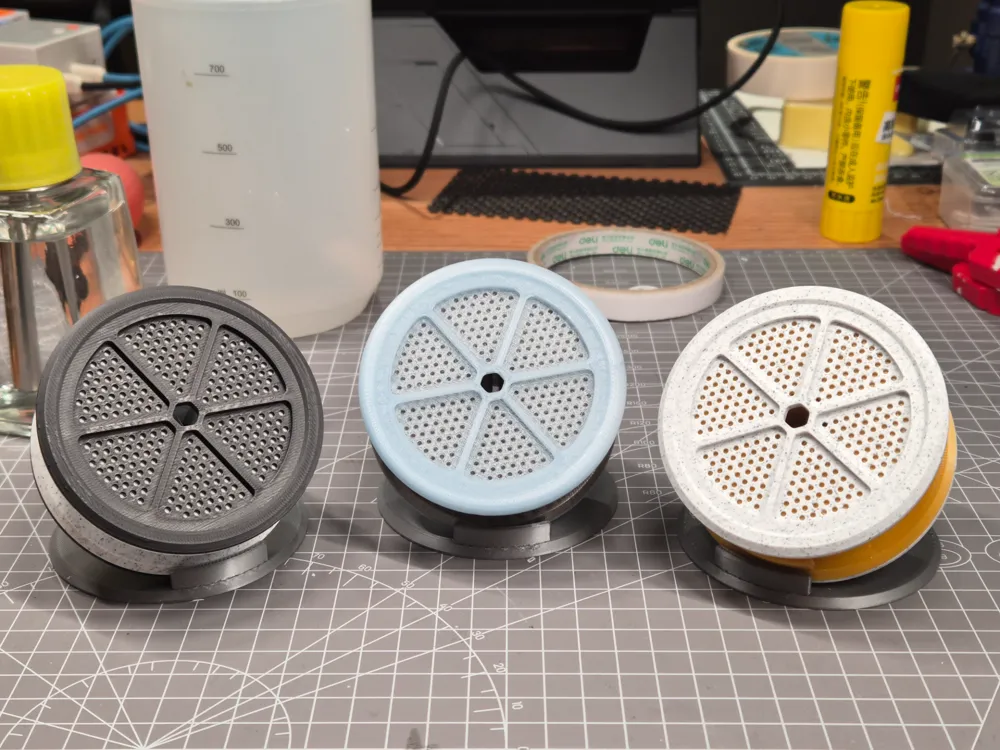

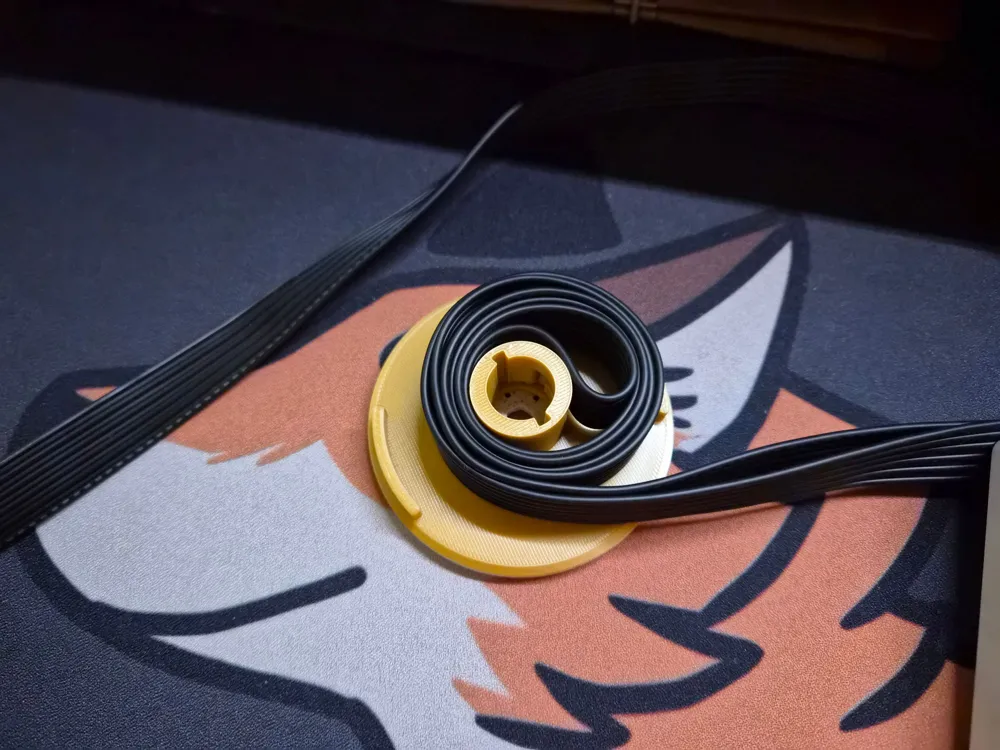
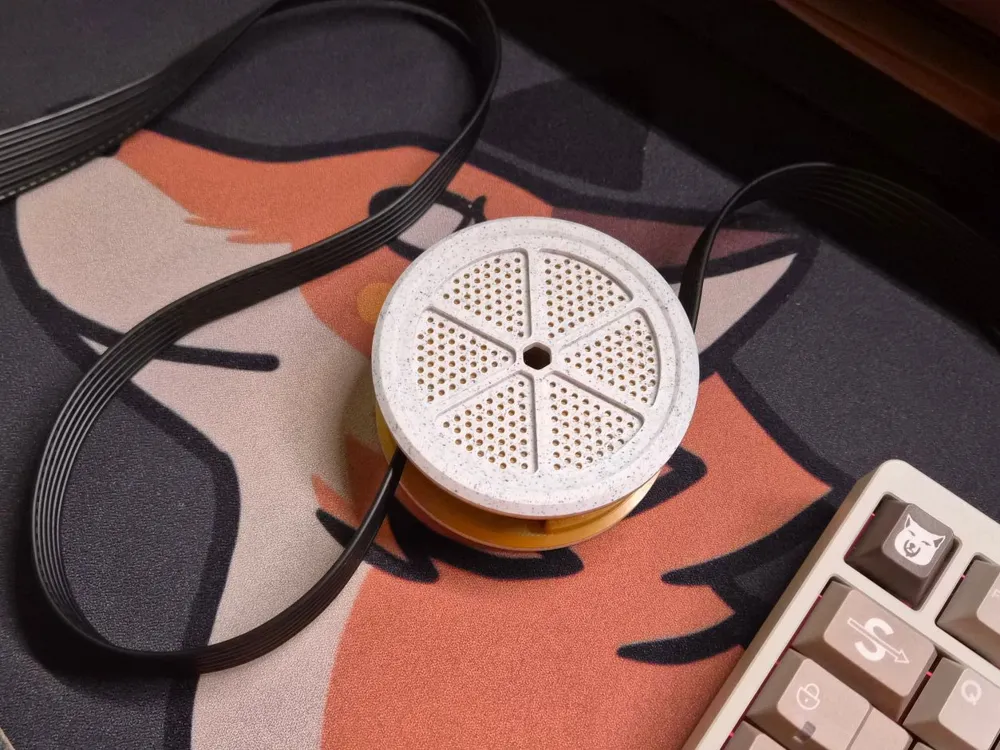
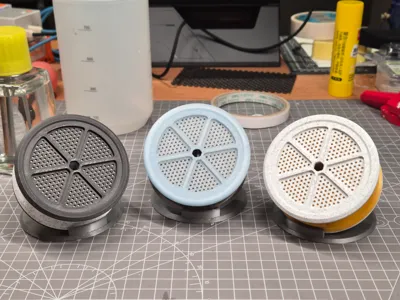
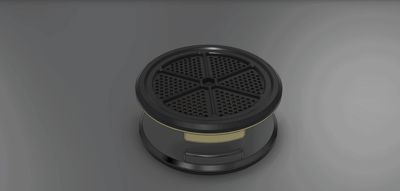
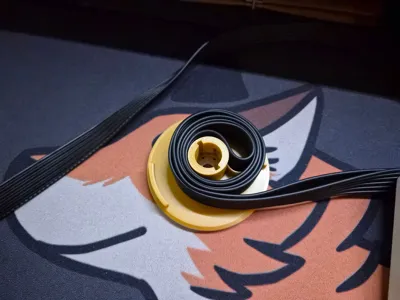
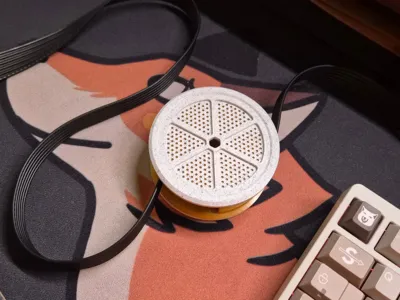
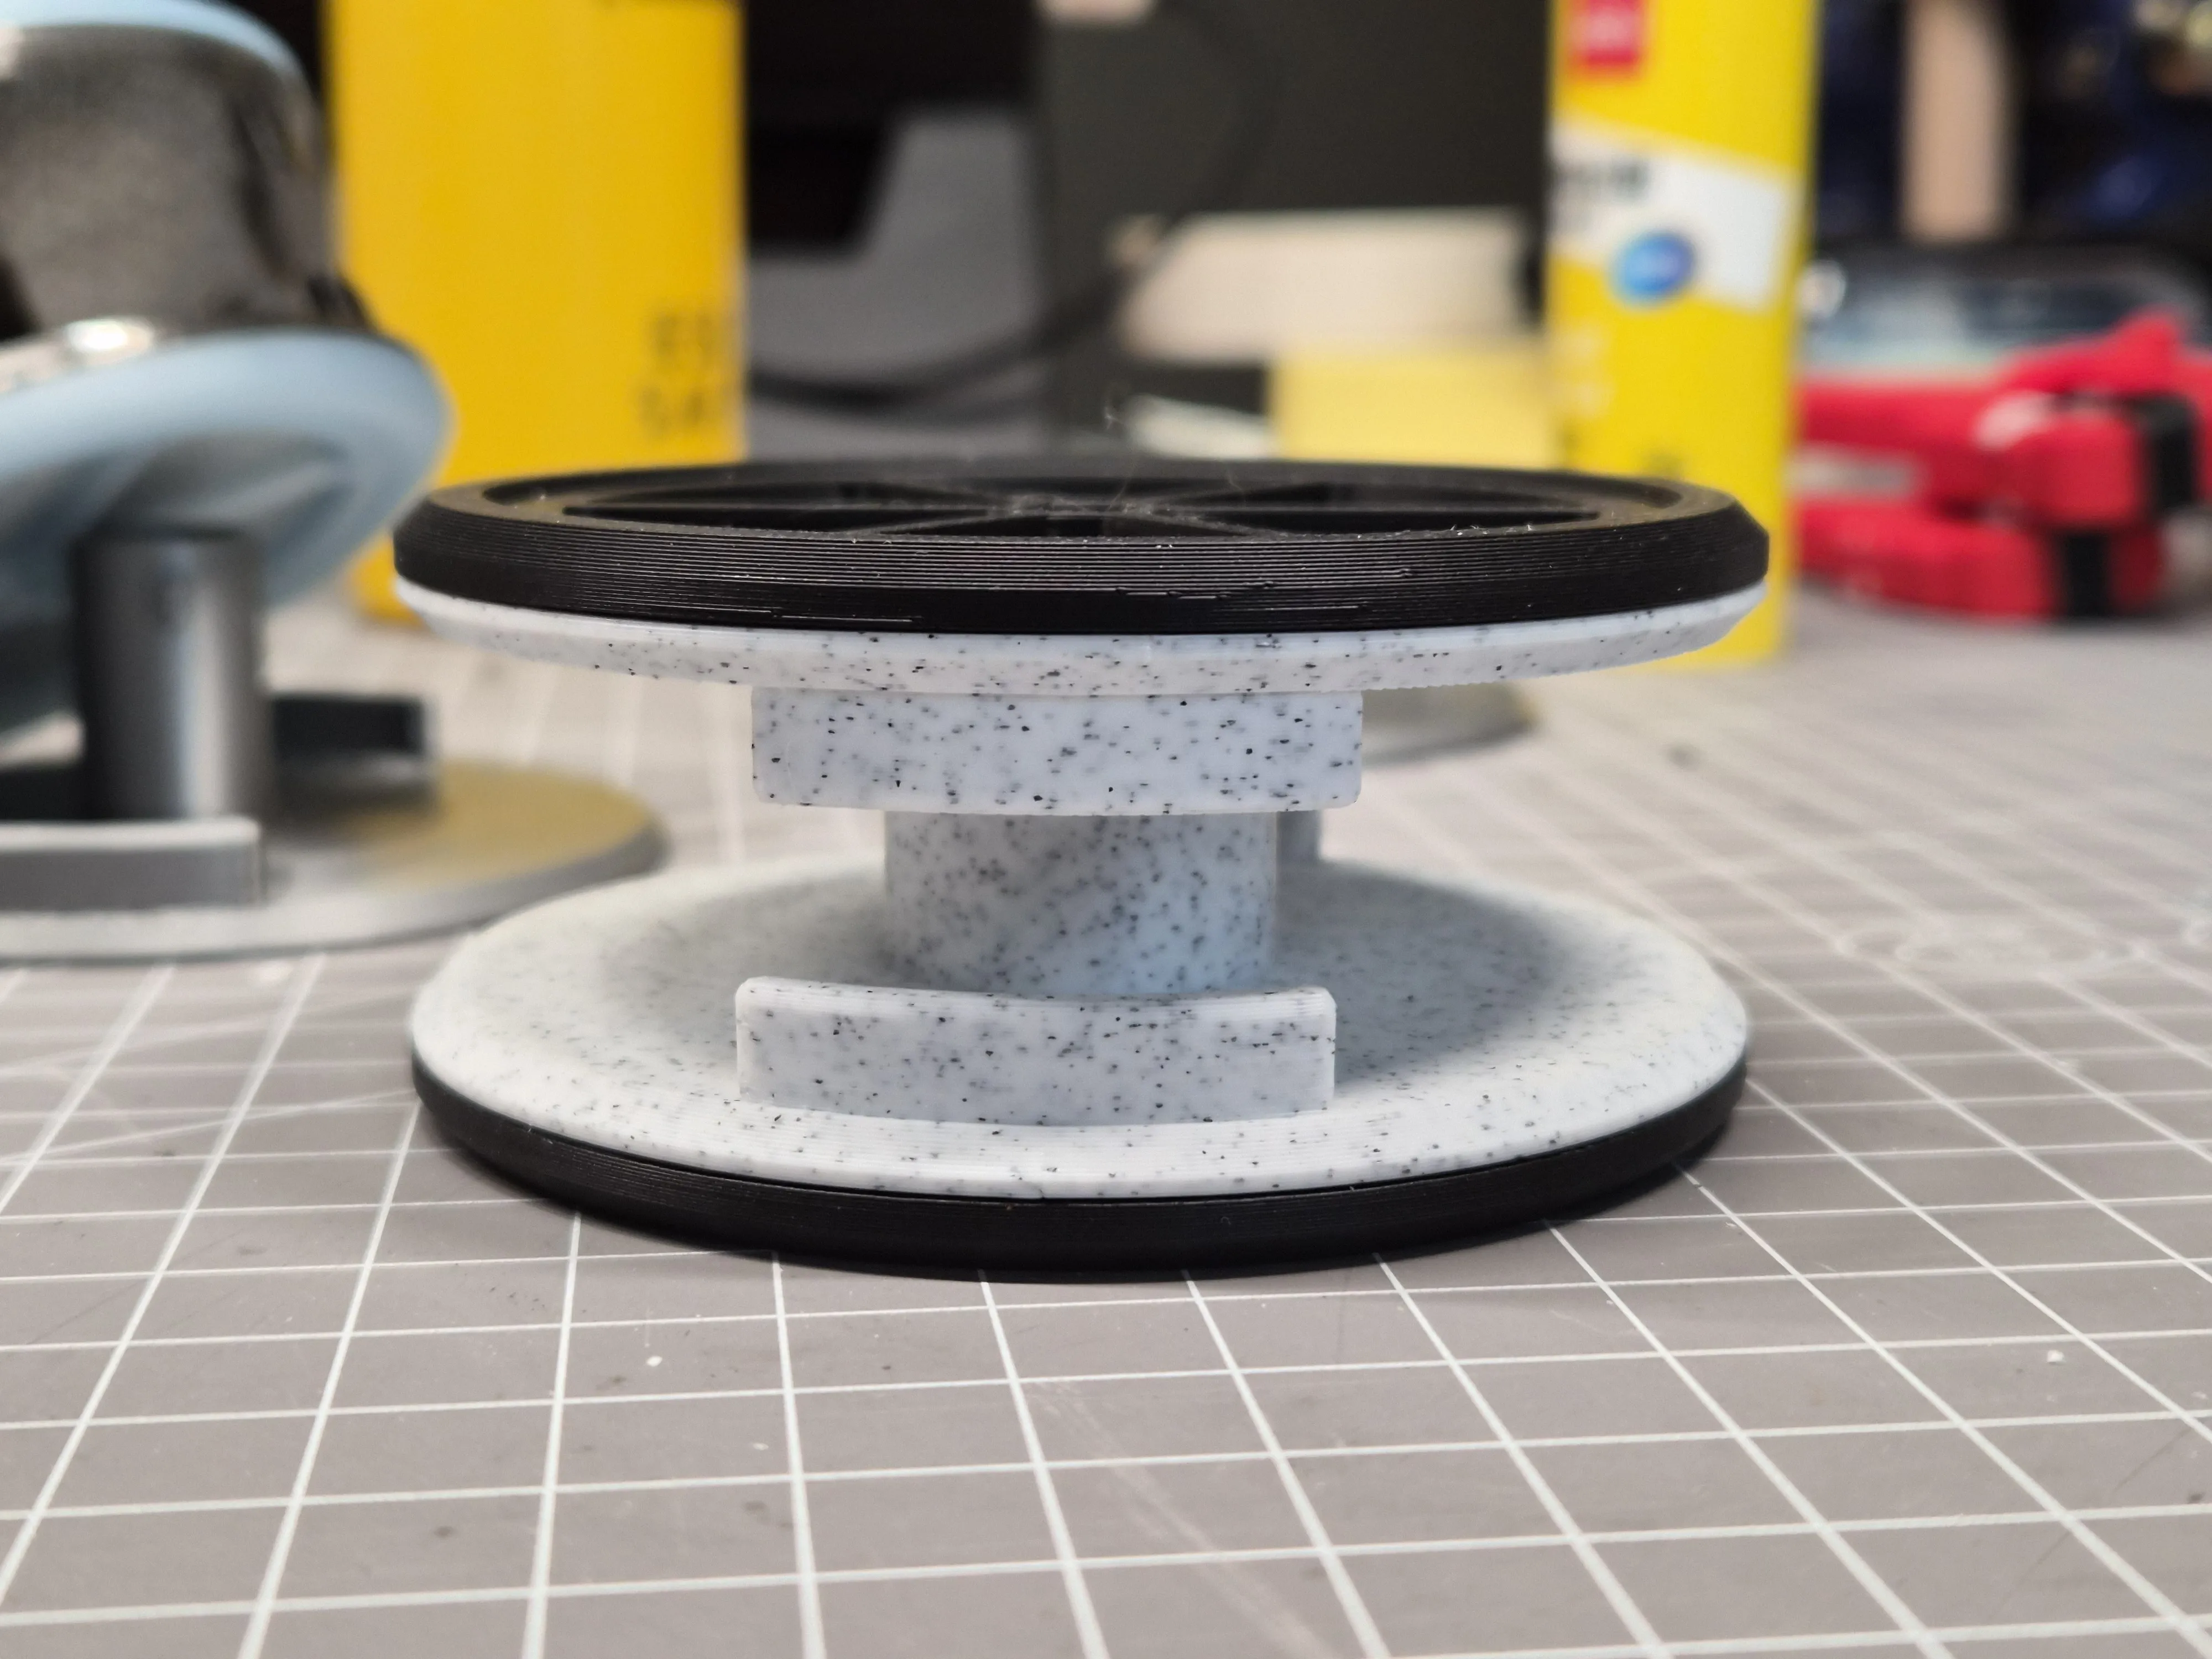
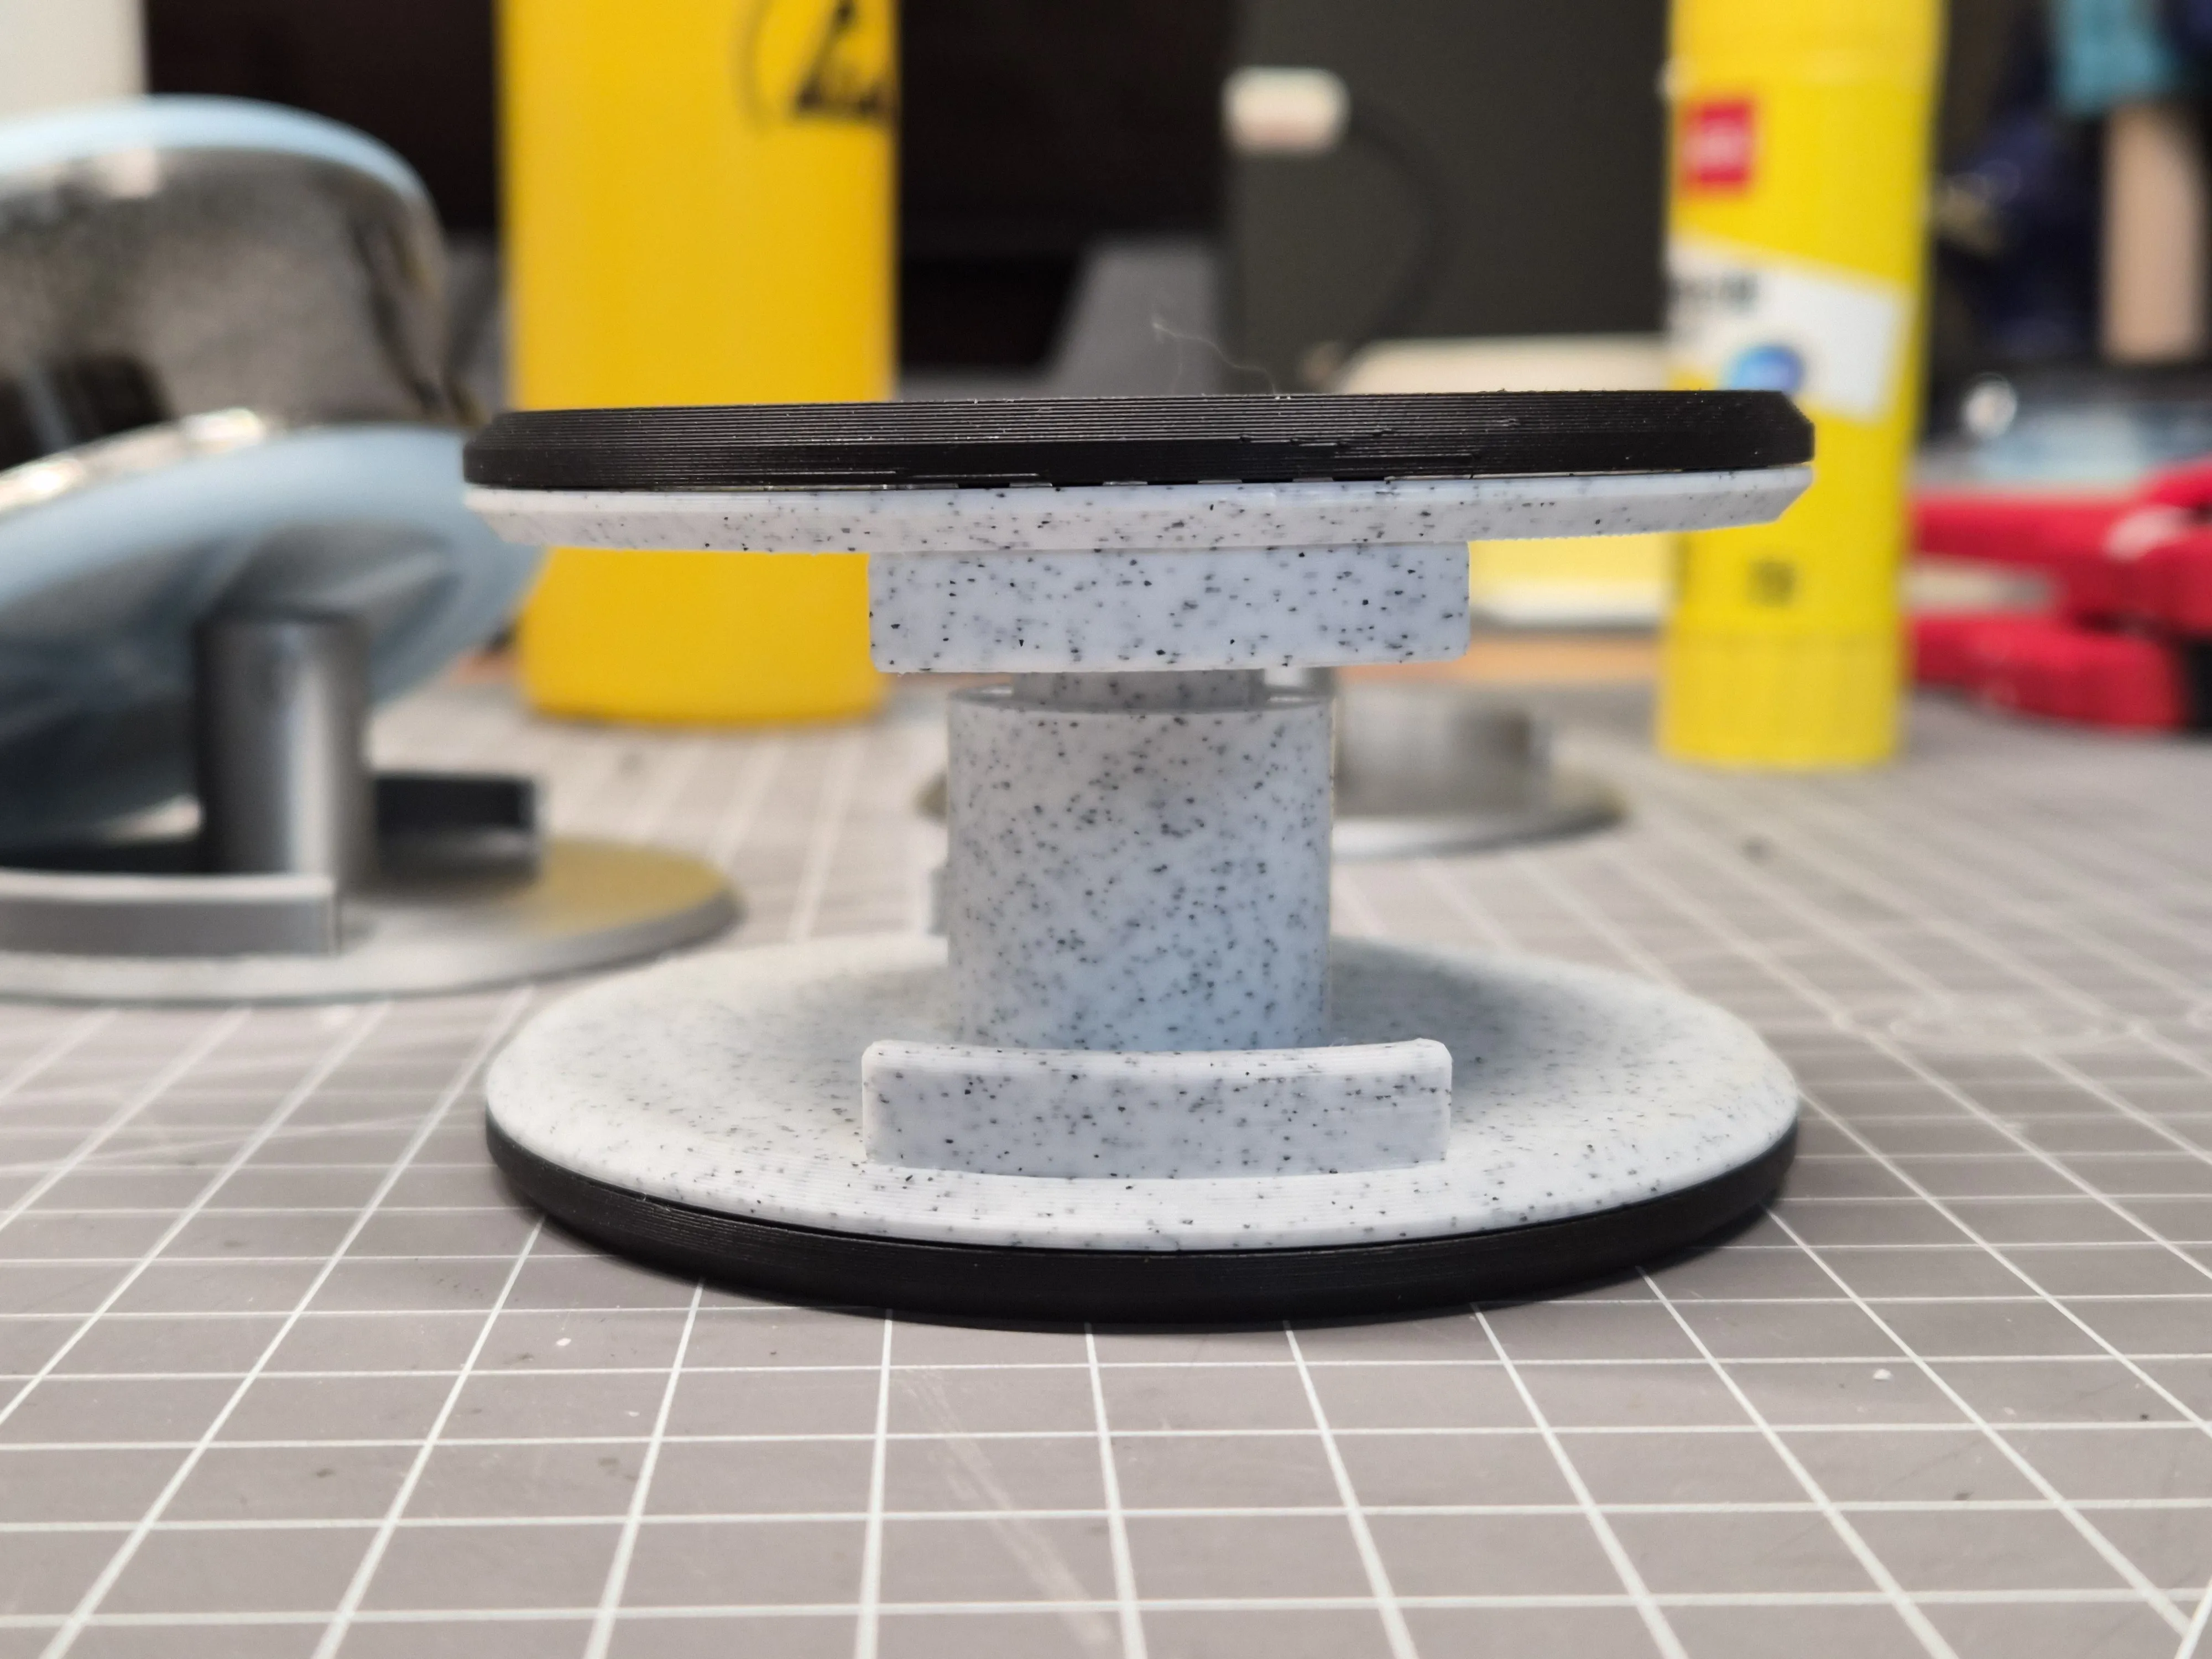
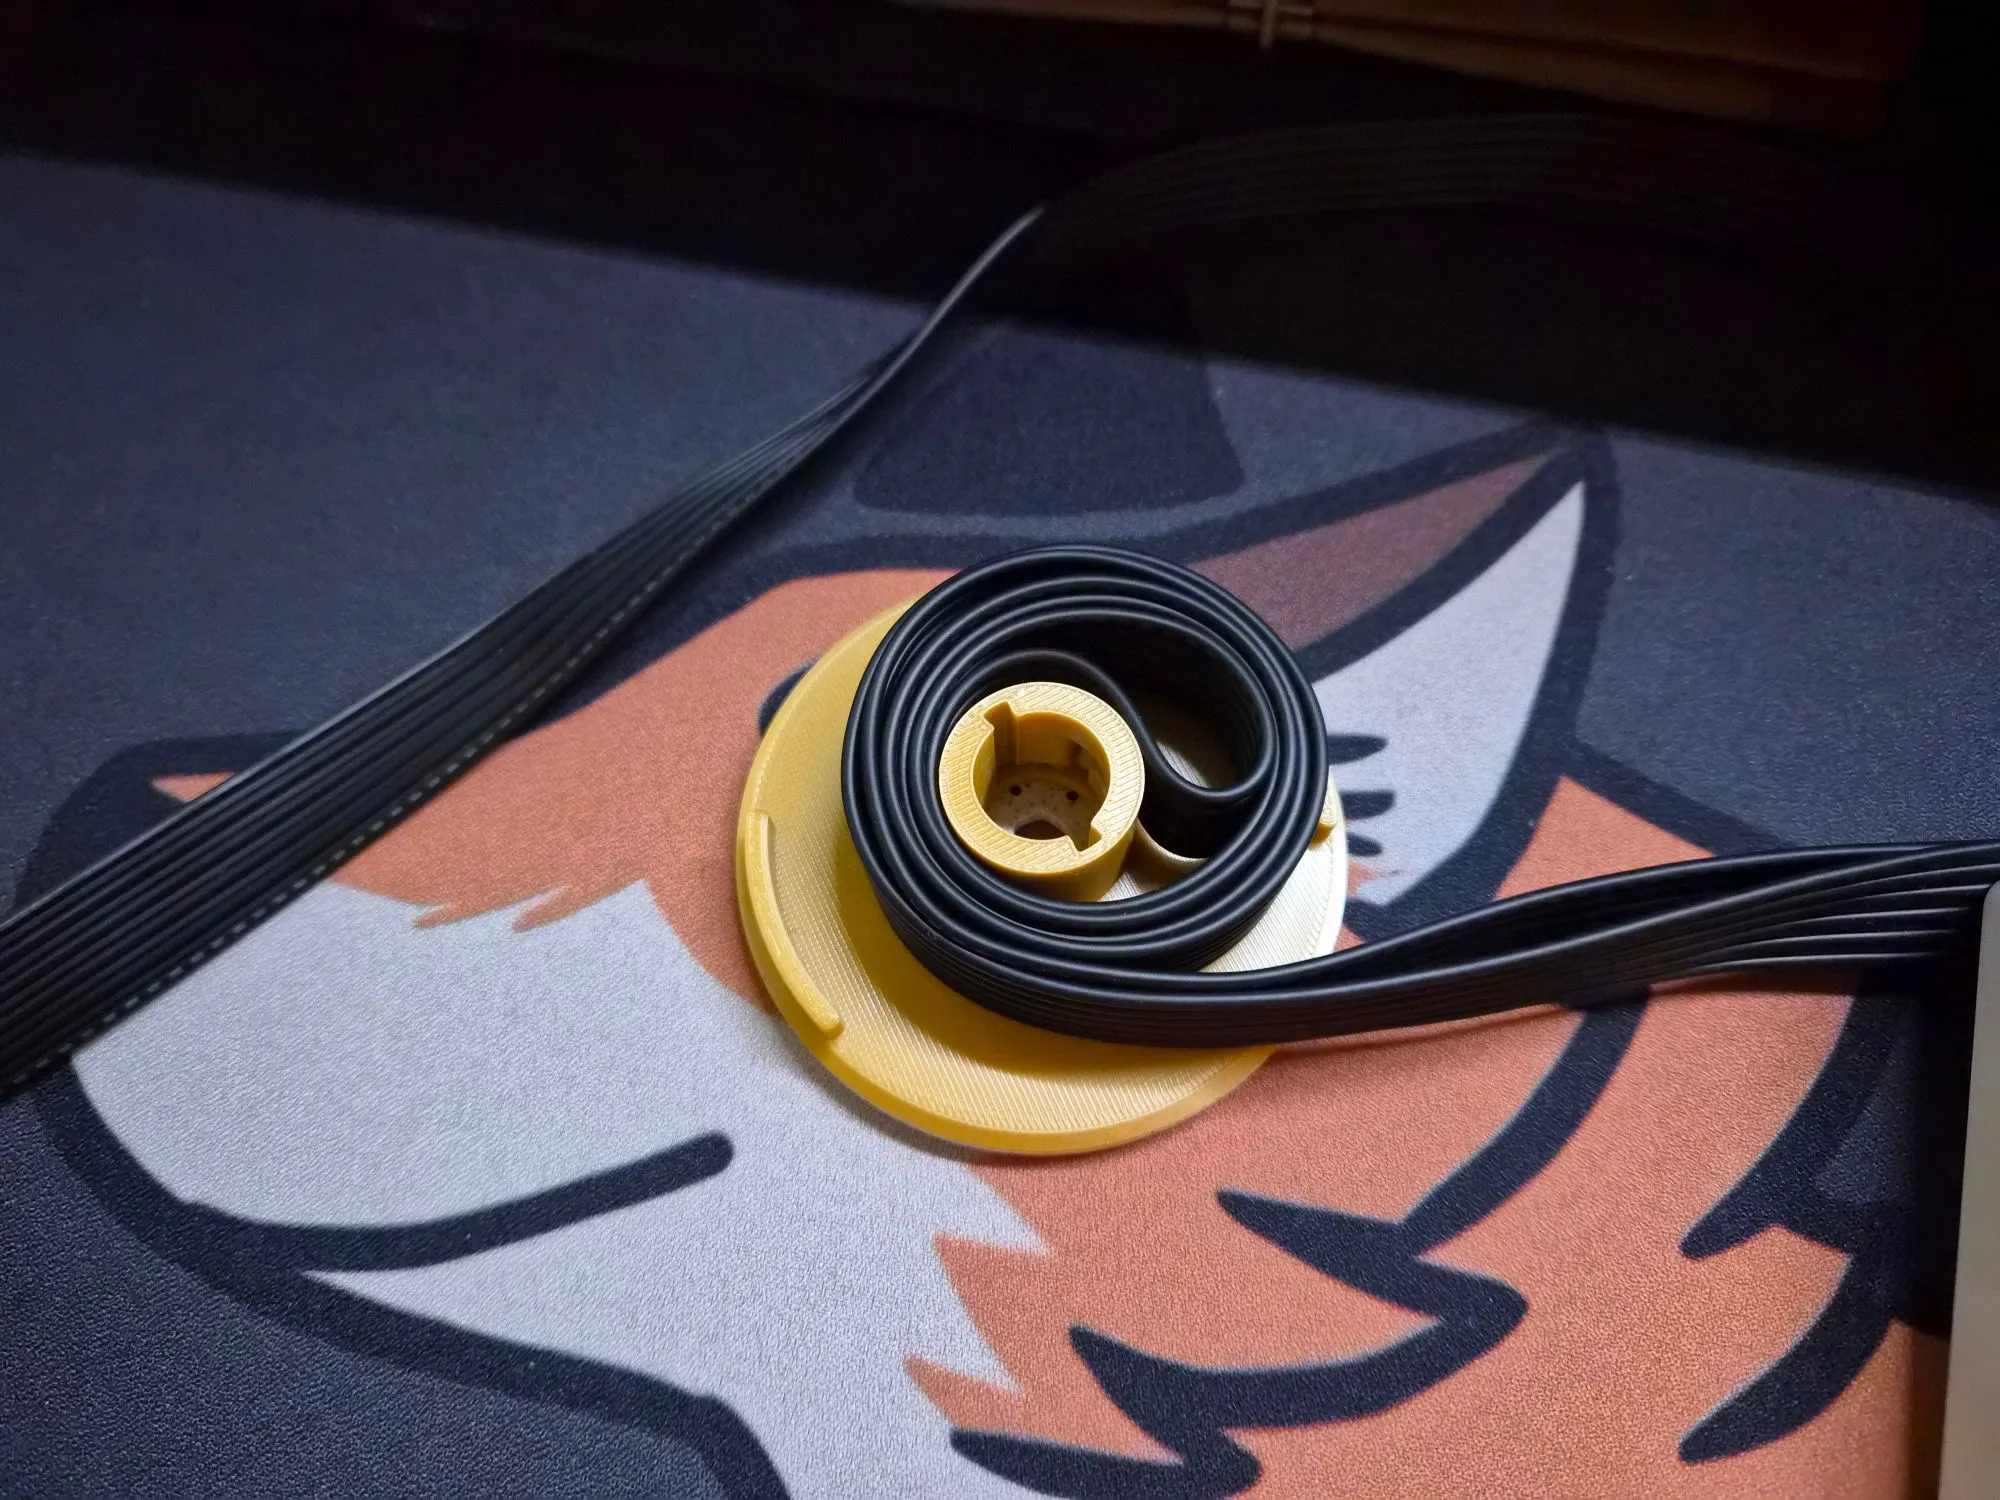
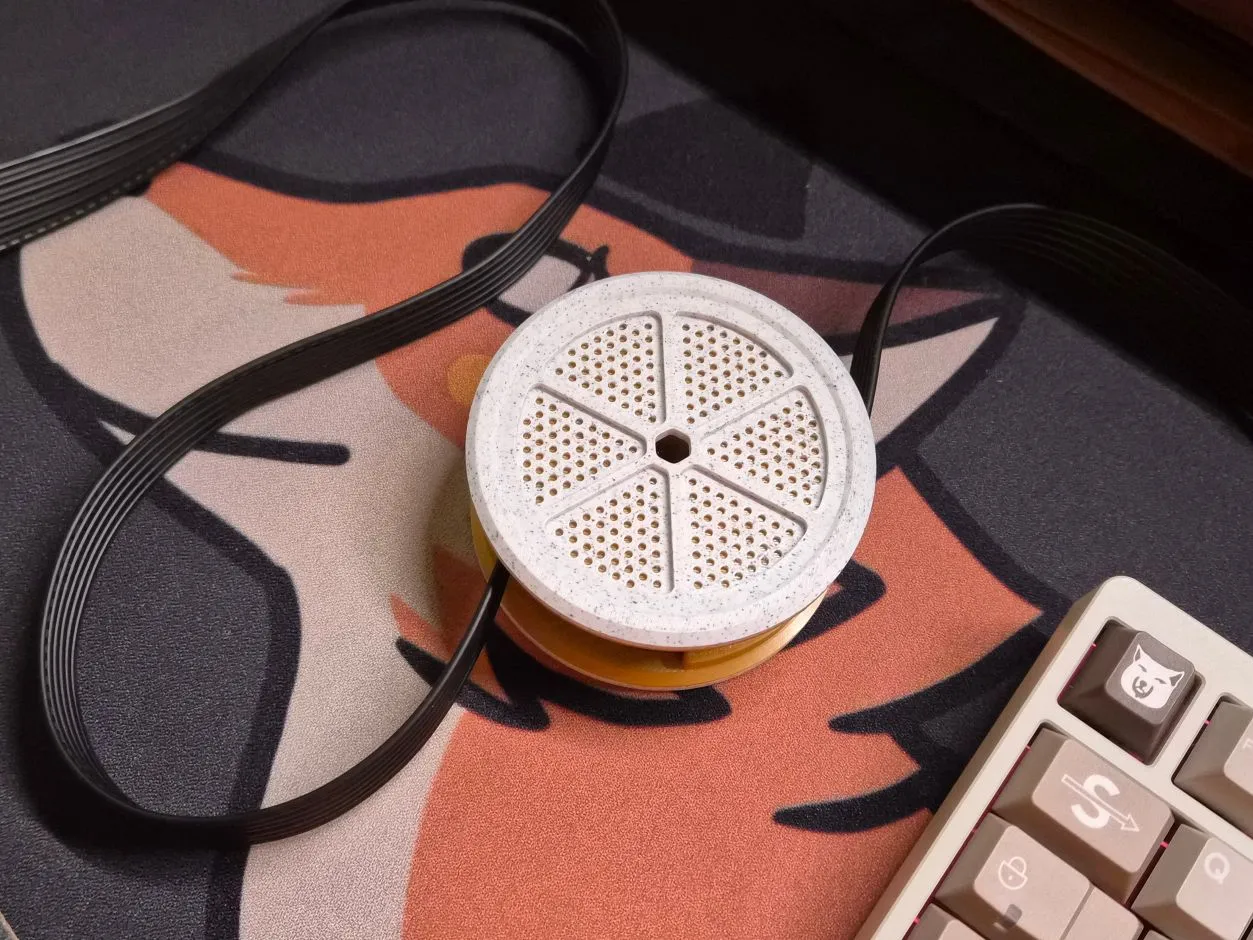
This is my first modeling work, a spool for the wide cables of Stax electrostatic headphones, designed to solve the problem of wide flat cables not being stored with traditional headphone cable organizers It features a modular design The spool body is inspired by film development reels, with two adjustable height settings The high setting allows for quick adjustment of the headphone cable length without fiddling with velcro The spool body can also be completely disassembled The decorative plates are pin-fixed and replaceable, inspired by the electrodes of the Stax 009 The spool body and decorative plates can be freely combined with different materials An integrated version will also be released later (currently being tested)2026/5/28 Integrated version testing completed and launched
The integrated version is suitable for users with extreme demands on aesthetics and feel The printing time and filament consumption are inferior to the modular version, and filament flexibility is lower When removing supports, be sure to use needle-nose pliers and wear gloves, being careful not to damage the cable guard When removing supports, try to remove them outwards to avoid breaking the shaft core (I have broken three myself, the wall thickness of the male shaft core has been significantly strengthened, but please still remove with care) Please try to use different material supports to ensure the contact surface with the headphone cable is as smooth as possible and to reduce the difficulty of support removalBelow is a display of the integrated version
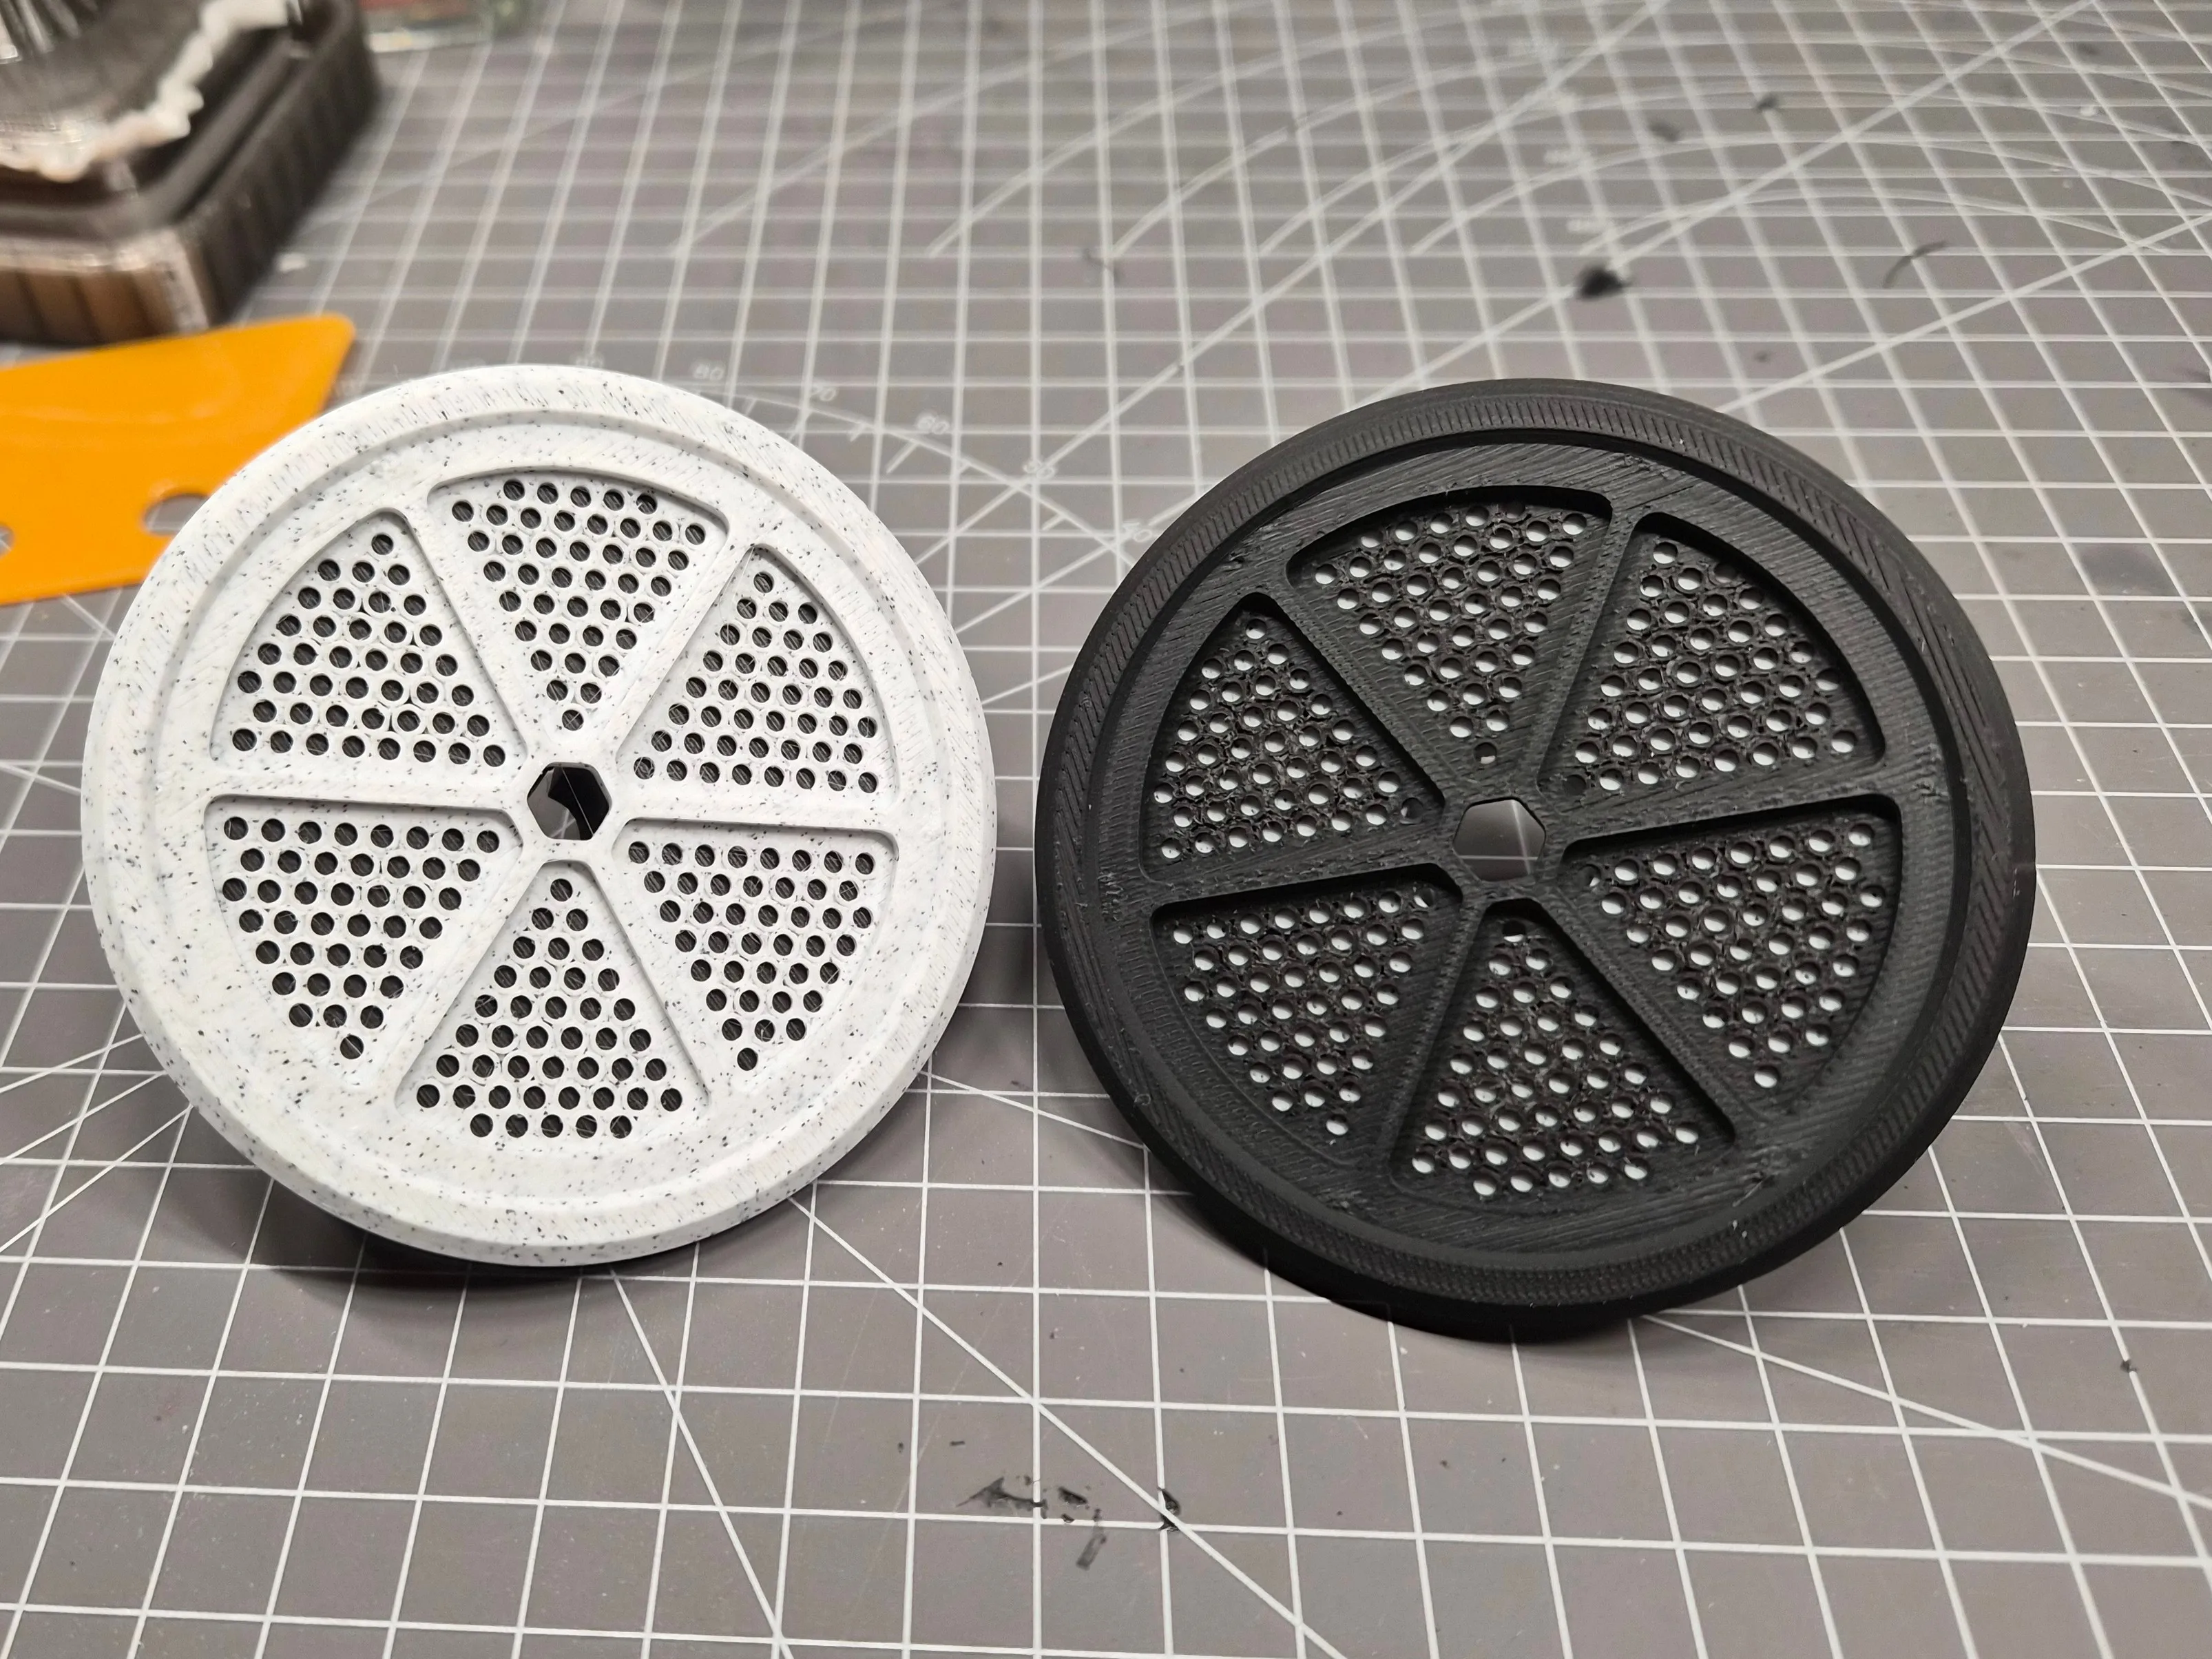
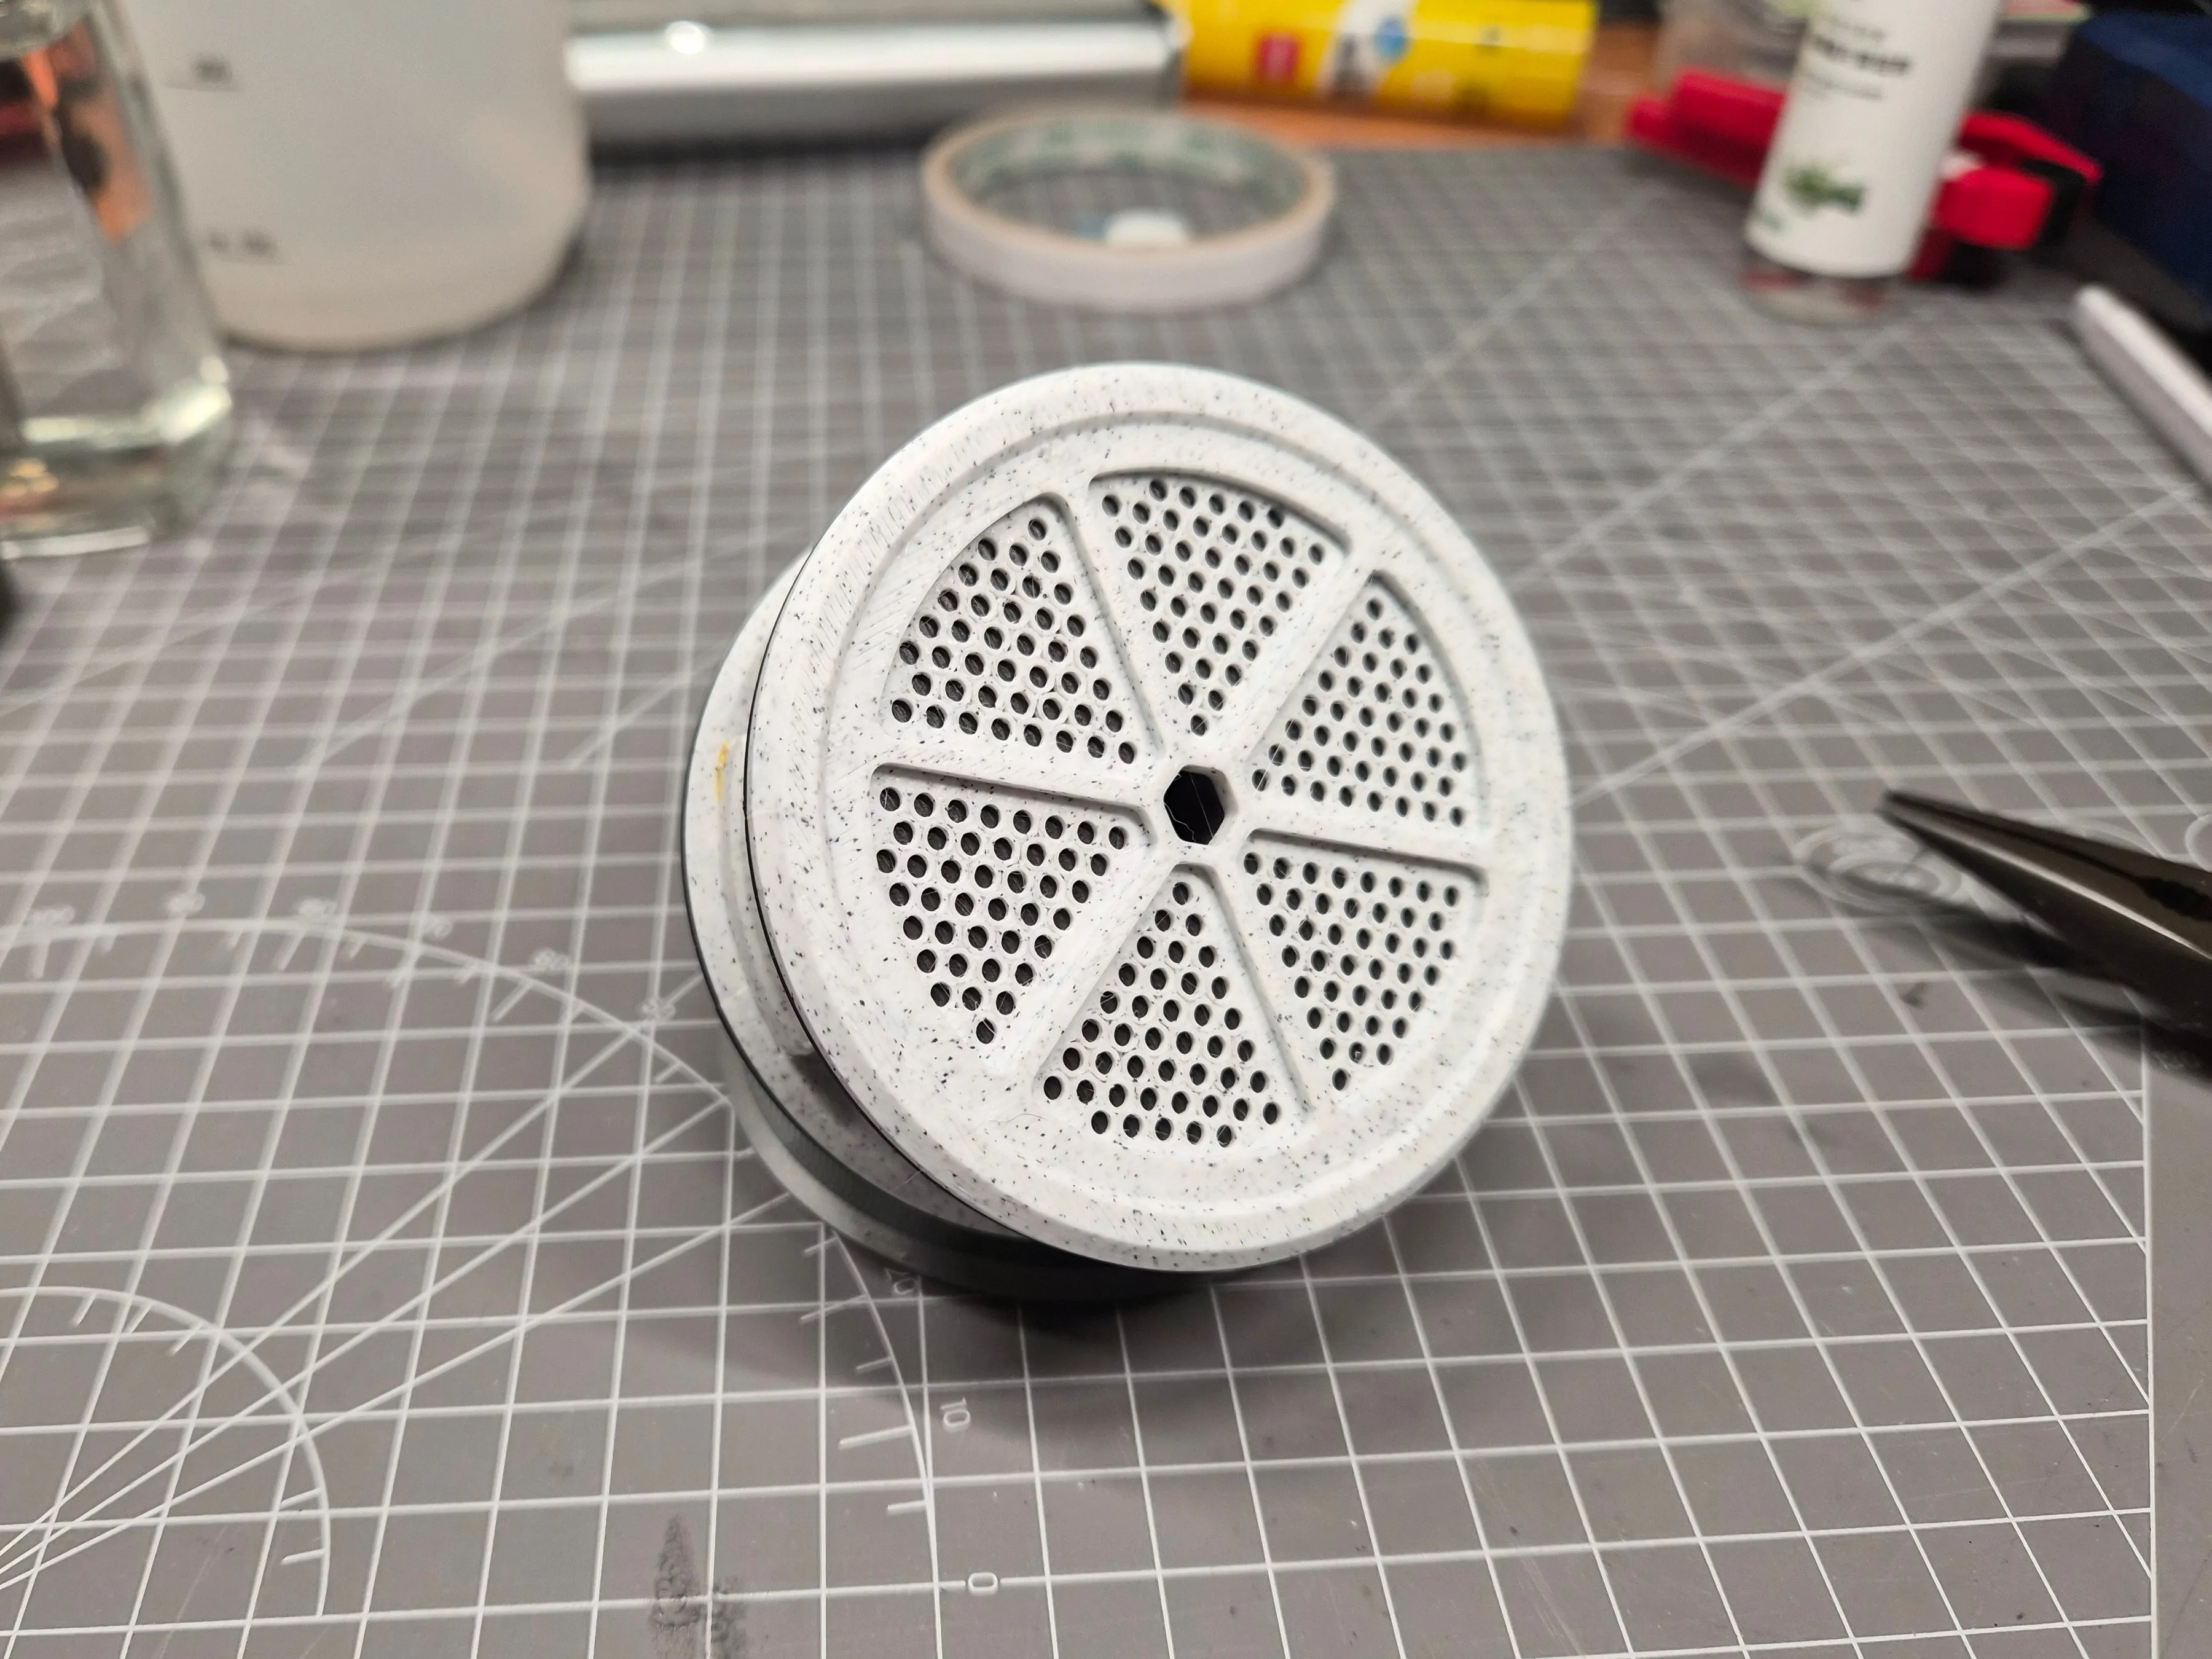
Height adjustment function display
Winding illustration
Printing and assembly precautions(Important, please read completely!!!!!)
There are many types of filament in the print files, remember to check the filament settings for each part!!!
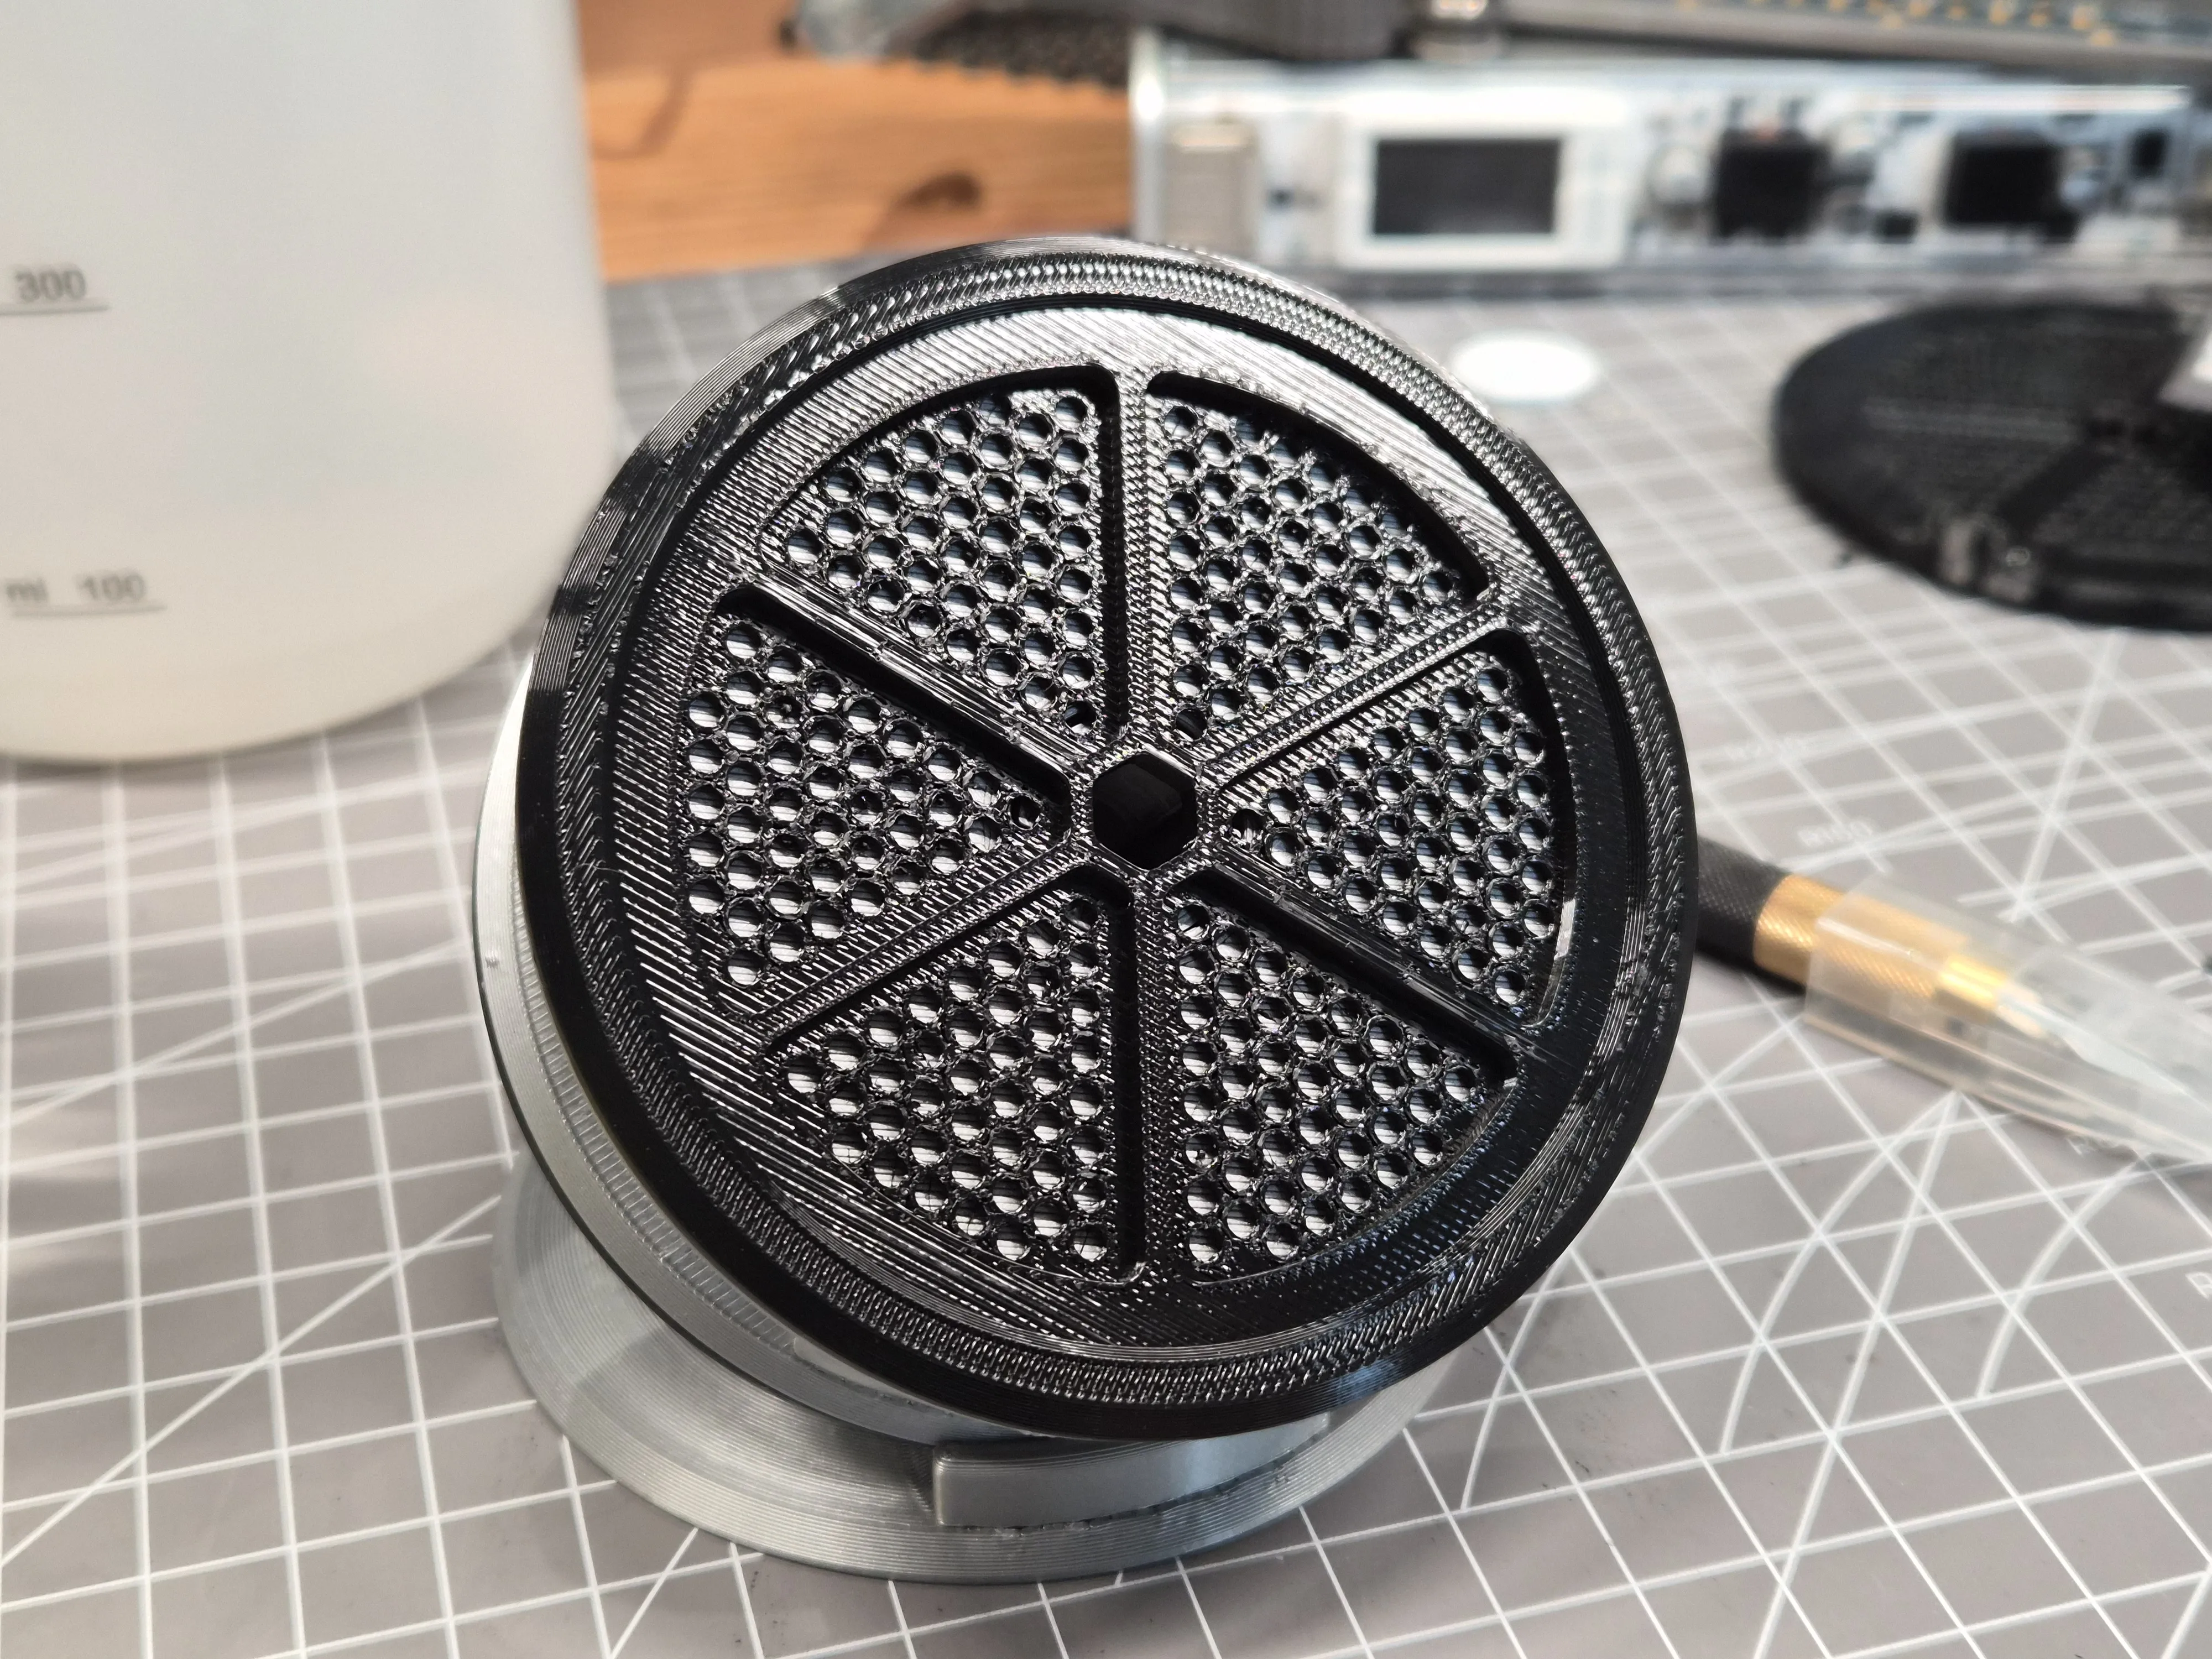
The tested filaments for the spool and decorative plates are PLA and PETG Both filament types can be used for the spool You can enable sport mode for faster printing, but the shaft hole might have stringing, leading to a loose fit for the decorative plates PETG spools might feel rough when adjusting For a perfect appearance and feel, please print with PLA It is recommended to enable different material supports Same material supports can also achieve a completely smooth effect for the spool adjustment slots at 0 height, but they will be slightly harder to removeIt is strongly recommended to use PLA for the decorative plates! Because the hole size is small, PETG is highly likely to experience stringing and poor quality (as shown in the figure)
PETG decorative plate effect
Removing supports for decorative plates
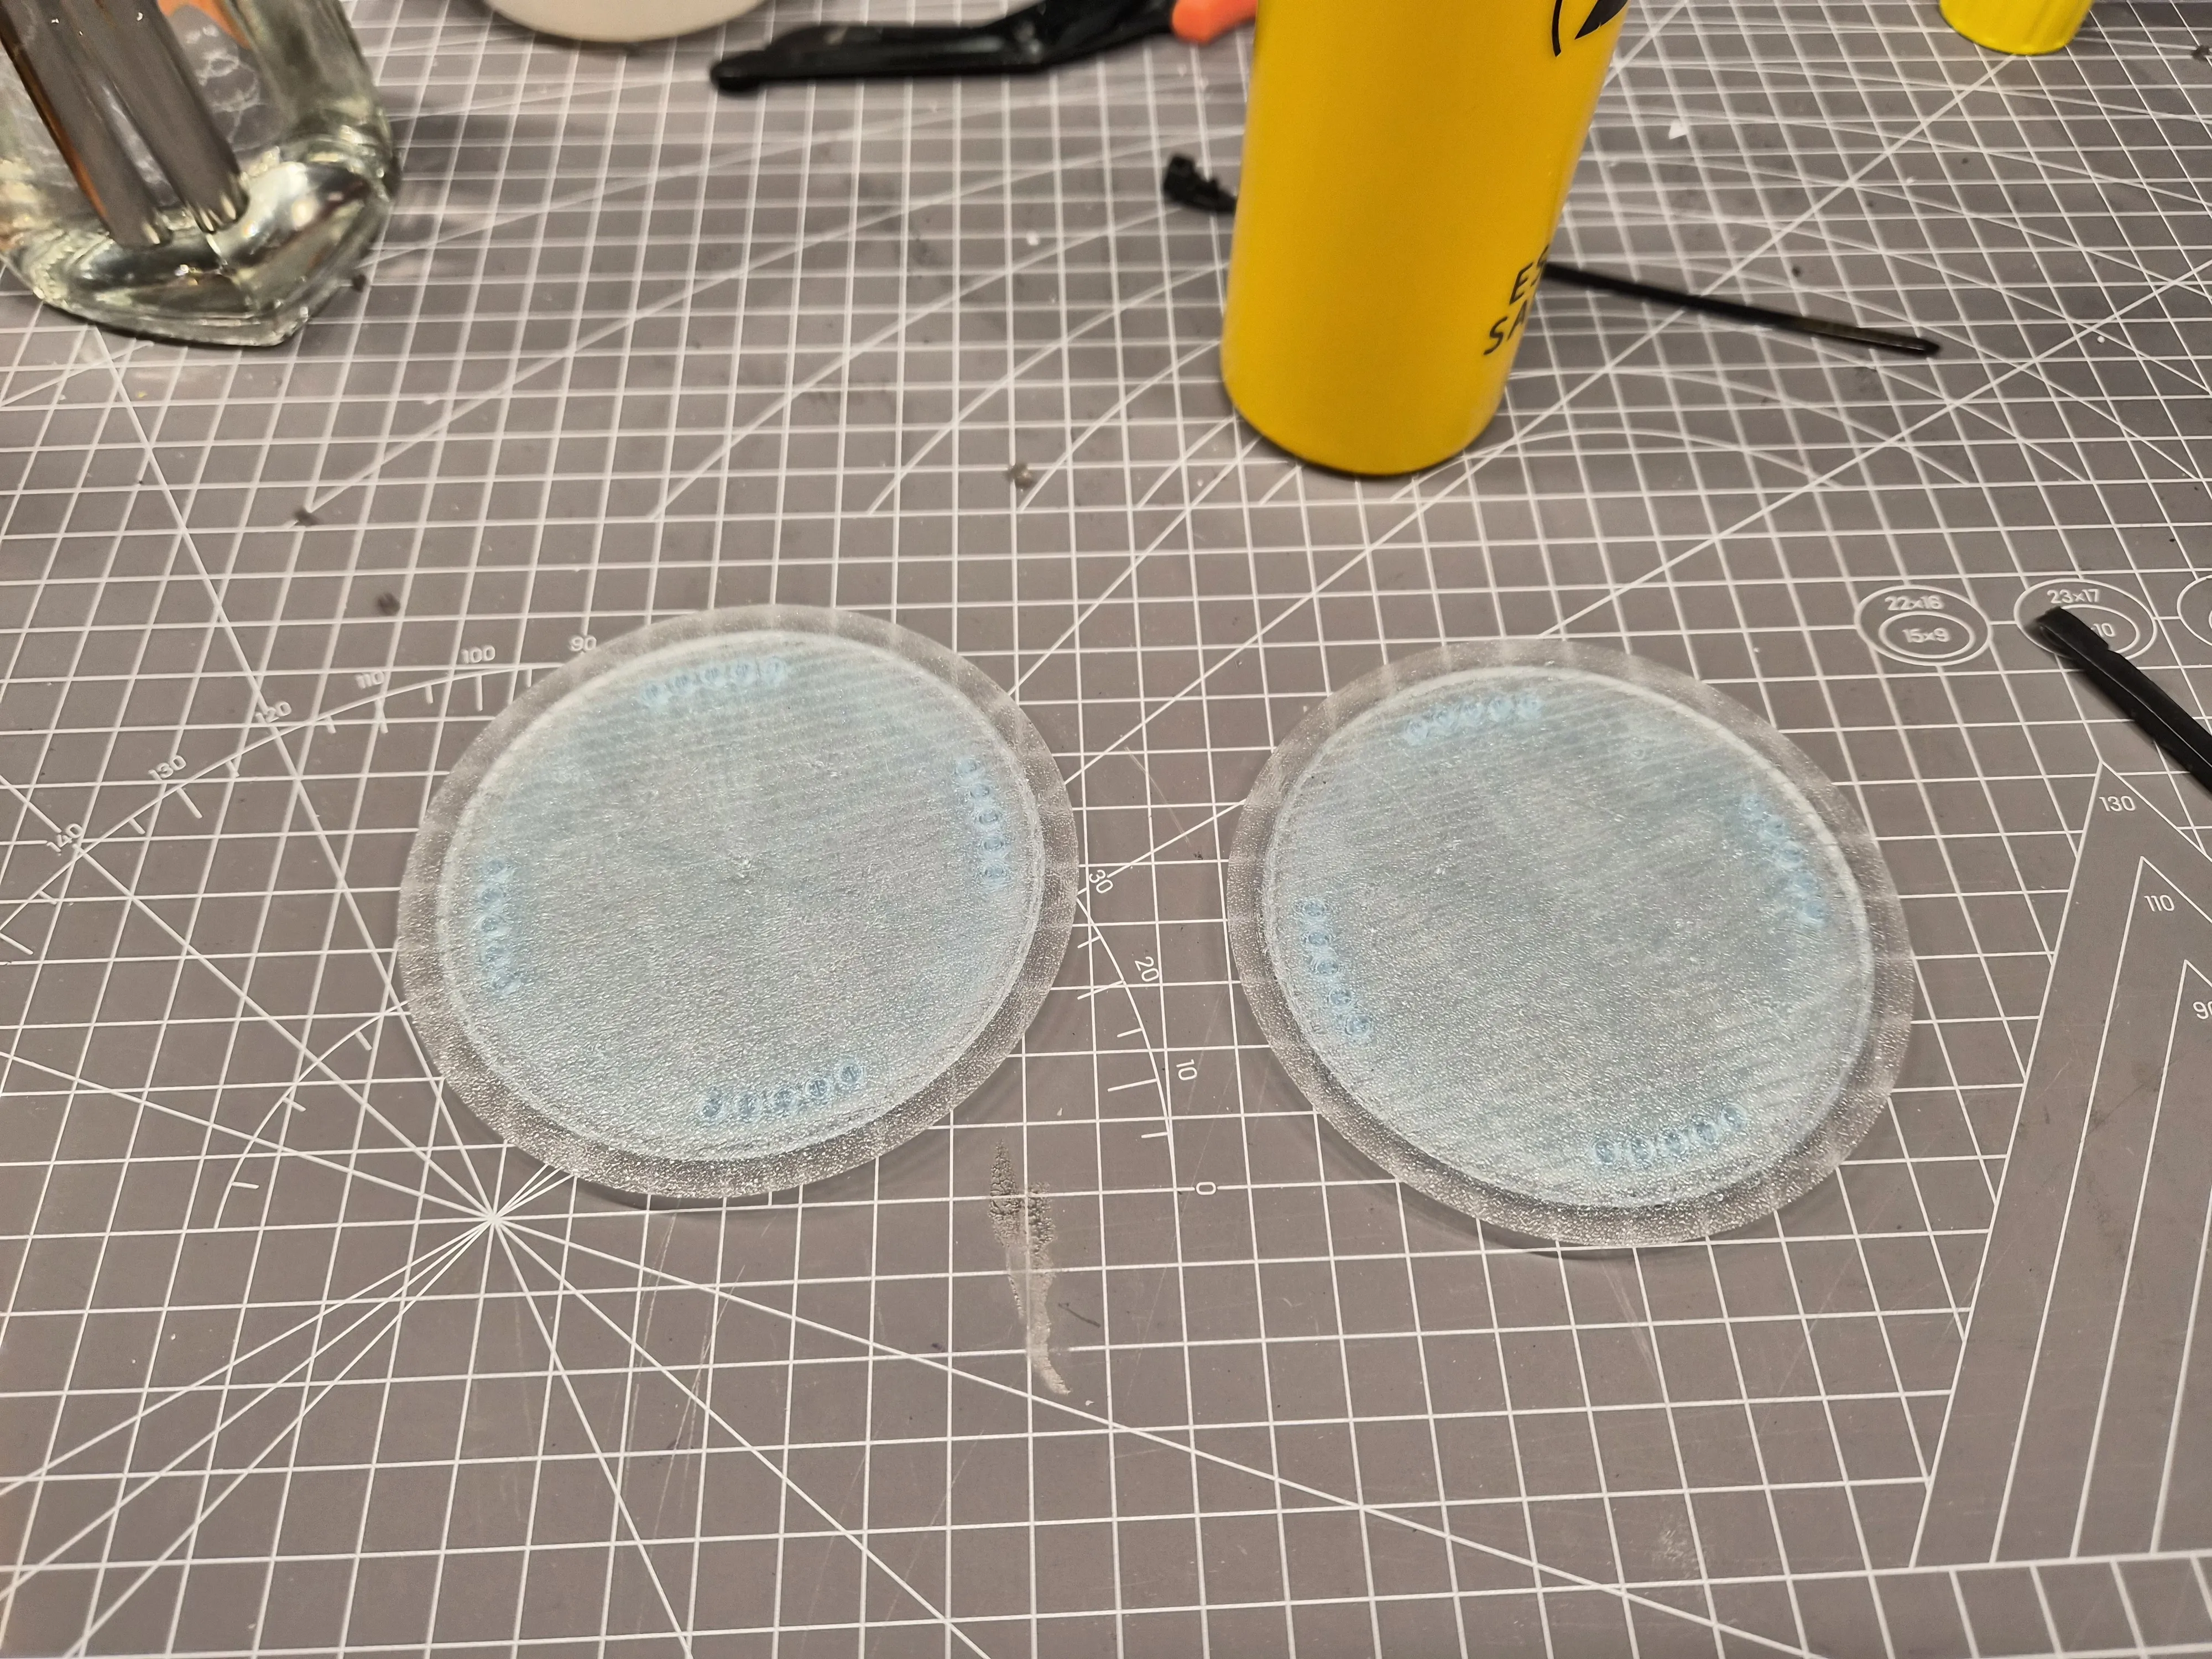
Be sure to cool the decorative plates to room temperature before removing supports It is highly recommended to use different material supports Gently pry the decorative plate and support plate apart by hand Then use a thin tool like a credit card or plastic pry bar to scrape along the gap between the decorative plate and the support plate (If you don't have the above items, a scraper can also be used, but be careful not to damage the decorative plate) Once the decorative plate is generally loose, try to pull it out verticallyThe decorative plate pins made of PLA are fragile!!! I reiterate, remove with care! Breaking a few pins in each set does not affect assembly, the design has sufficient redundancy
As shown, this is the back of the support plate
Finally, regarding assembly tolerances
The print files include decorative plates with 01mm and 03mm pin tolerances It is recommended to print the 03mm version first In ninety percent of cases, it will be securely fixed and relatively easy to disassemble If some are a bit loose, you can stick two pieces of double-sided tape on the back edge of the decorative plate to help secure it Only try the 01mm tolerance version if it is truly too loose!Boost Me (for free)
Thank you for liking my project!
This is my first modeling work! Some details are still a bit rough, so please provide feedback if you encounter any problems during use! Your suggestions are my most valuable experience!
Hope everyone enjoys listening!
License

This user content is licensed under a
Creative Commons Attribution-Noncommercial-Share Alike


Comment & Rating (0)