High-Power Pocket Shot (Slingshot) - GIF


Print Profile(1)
Bill of Materials


Description
Boost Me (for free)
Thanks :)
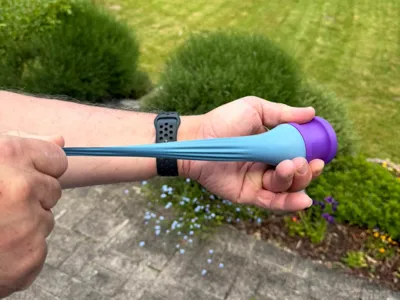
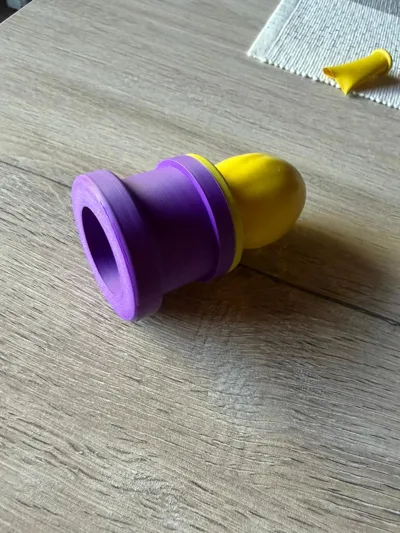
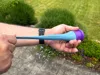
In short: This object is a highly compact, modern take on the traditional slingshot. It features a 3-part 3D printable design: a main body and a screw-on locking ring system that securely clamps a cut party balloon into place.
Don't let its simple look fool you—this pocket launcher is extremely powerful!
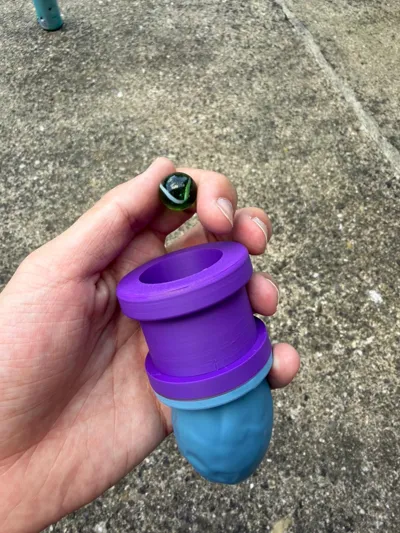
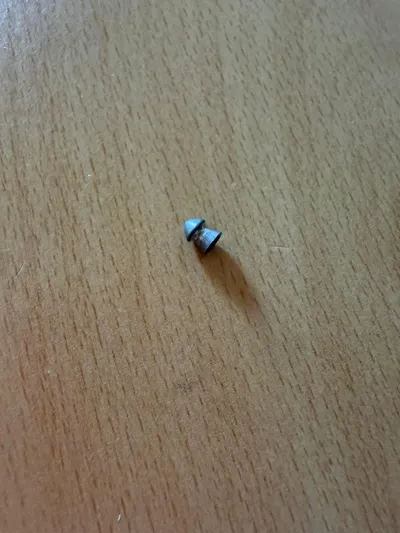
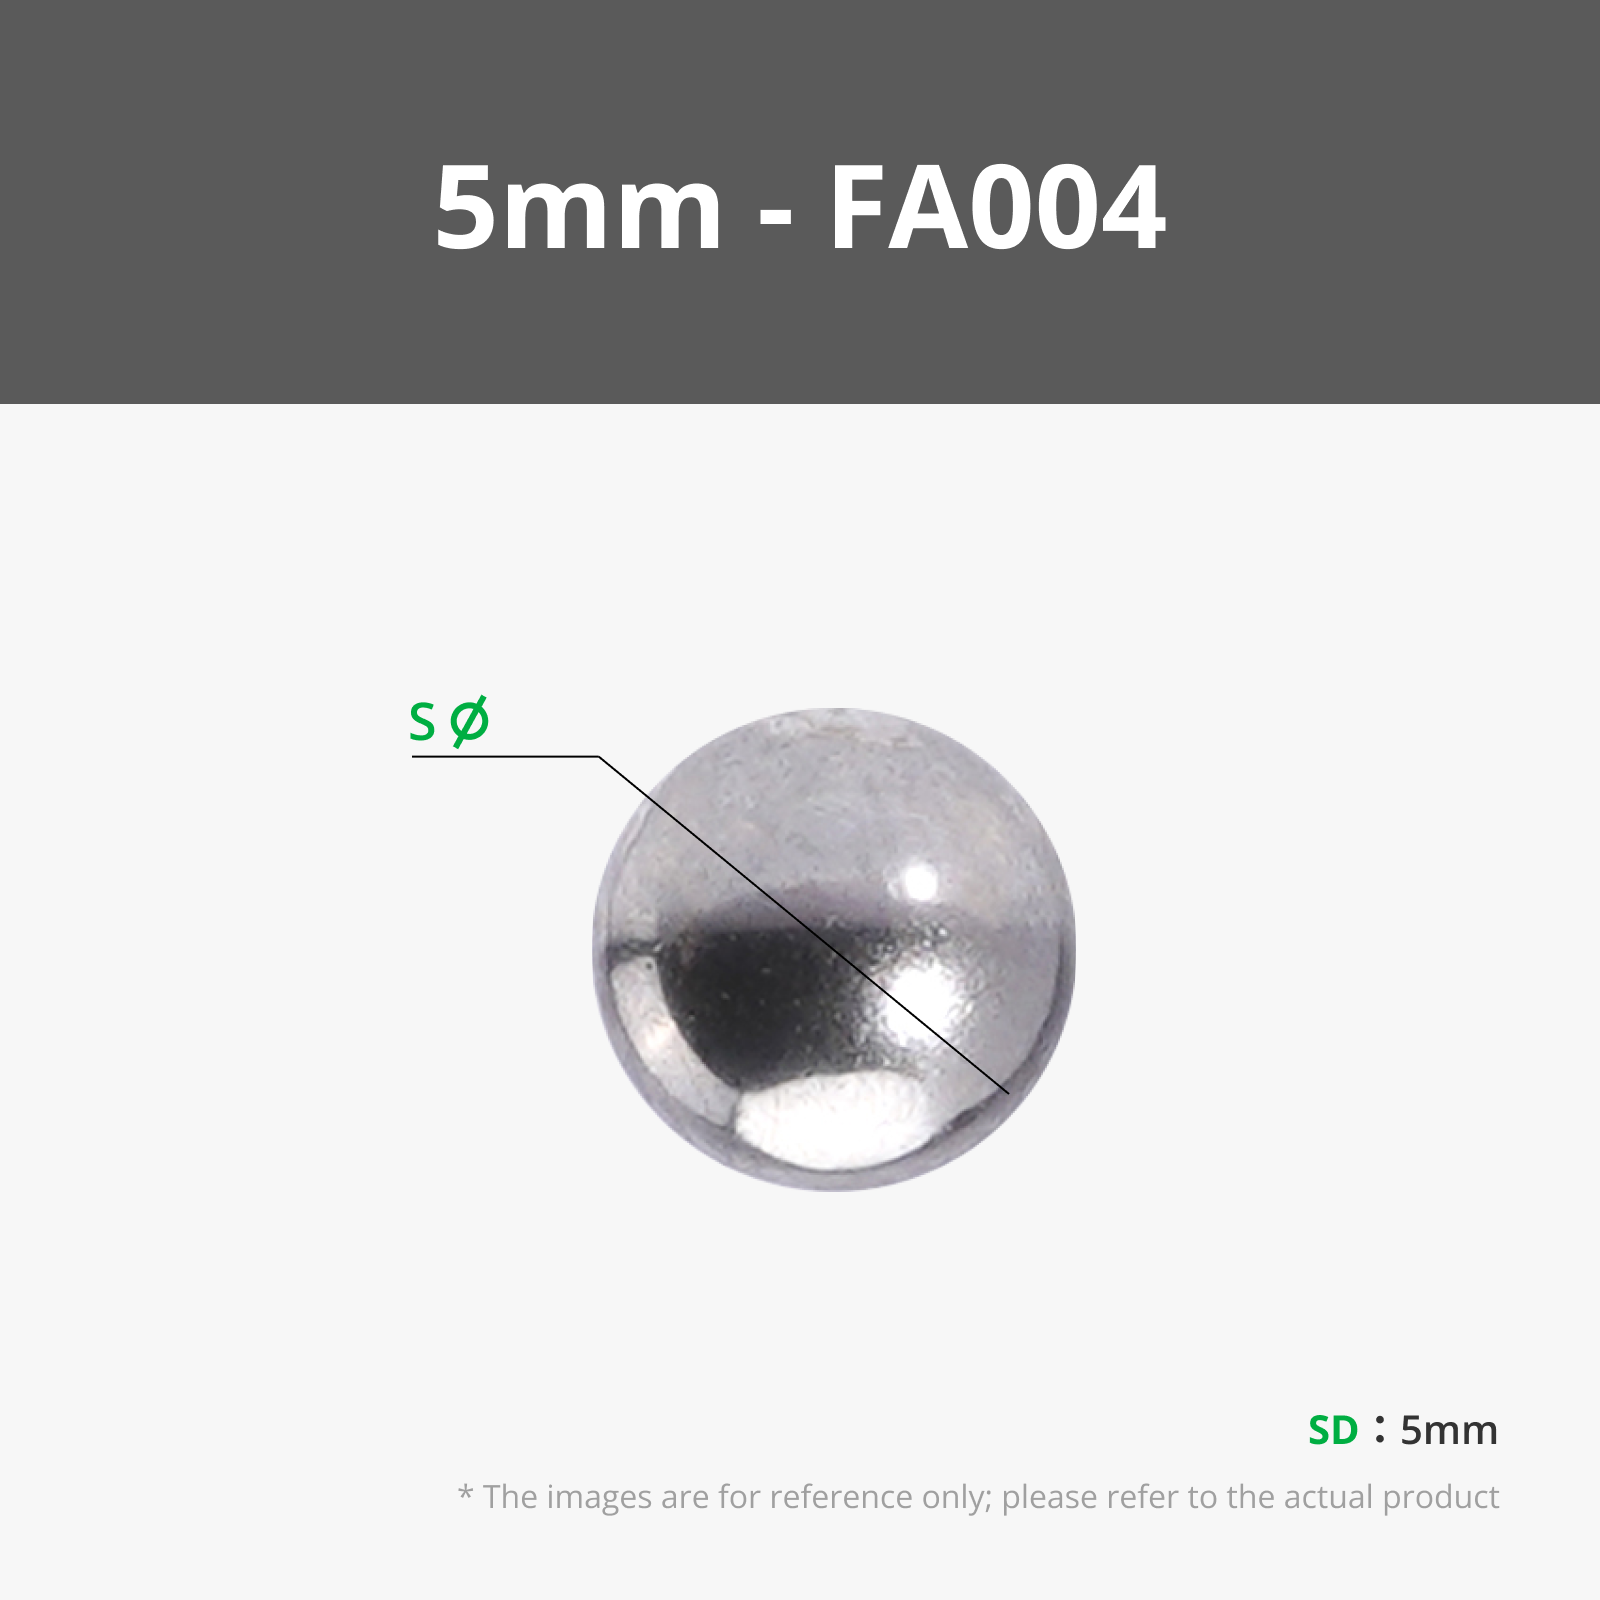
Ammo: For the video demonstration, I used standard air rifle pellets, but you can shoot almost anything with this! It works perfectly with regular marbles, steel balls, airsoft BBs, or even your own 3D-printed projectiles. ⚠️ Just make sure to avoid any sharp objects that could damage or cut the balloon.
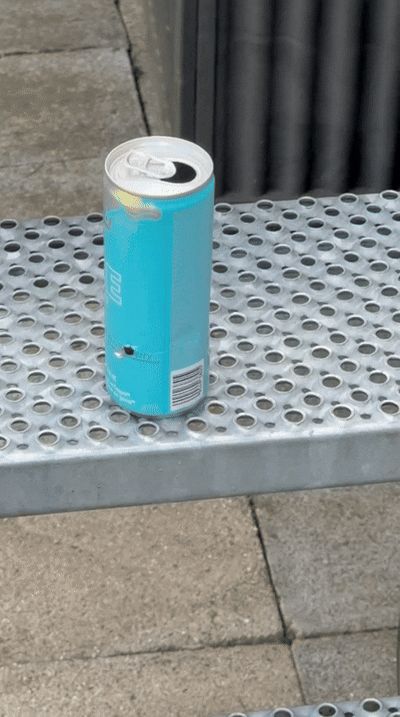
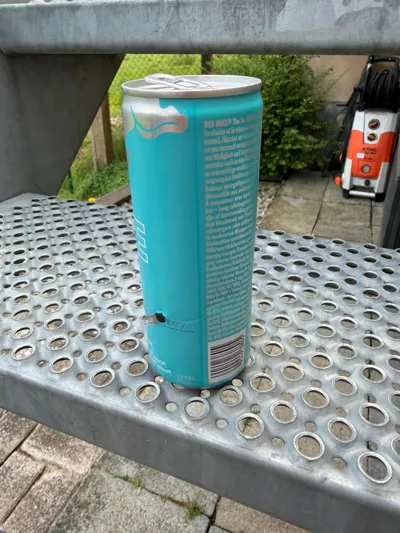
Power: As demonstrated in the videos, a single air rifle pellet can easily pierce right through a metal soda can with zero effort. Using a large marble or steel ball delivers an equally massive impact.
⚠️ WARNING – IMPORTANT SAFETY INFO: This is not a simple toy. If you choose to print and use this launcher, you must exercise extreme caution.
- NEVER aim at any person or animal.
- Do not shoot at hard or bouncy surfaces to prevent dangerous ricochets and bounce-backs.
Please use this responsibly and always wear eye protection.
🛠️ Assembly Instructions
Step 1: Cut the balloon
- Cut the party balloon precisely at this specific level.

Step 2: Insert the balloon
- Stretch and place the cut balloon onto the main body part as shown.
⚠️ Important: Make sure the balloon material does not cover the screw threads at all. It must sit completely flat on the rim so the parts can screw together properly.

Step 3: Place the locking ring
- Slide the locking ring over the balloon, aligning it with the threads.

Step 4: Screw tightly
- Screw the two printed parts together very tightly and correctly to securely lock the balloon in place. Your Pocket Shot is ready to go!

License
You shall not share, sub-license, sell, rent, host, transfer, or distribute in any way the digital or 3D printed versions of this object, nor any other derivative work of this object in its digital or physical format (including - but not limited to - remixes of this object, and hosting on other digital platforms). The objects may not be used without permission in any way whatsoever in which you charge money, or collect fees.
Comment & Rating (17)