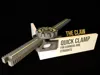
Corner Clamp - THE CLAW


Print Profile(1)
Bill of Materials

Description
THE CLAW – Fully 3D Printed Expandable Clamp
Hey Makers,
Who doesn’t know this situation?
You need a tool for a project… and of course you don’t have it at home.
That’s exactly what happened to me recently when I wanted to connect two wooden boards and realized I didn’t own a corner clamp.
The logical solution would have been driving 10 minutes to the hardware store.
But as every 3D printer owner knows, my first thought was:
“Naaah… I’ll just print one myself.”
So I searched on MakerWorld and found some really great designs.
But being a maker, I immediately thought:
“Naaah… I can design that myself.”
And here it is:
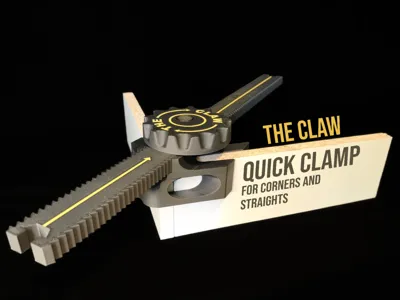
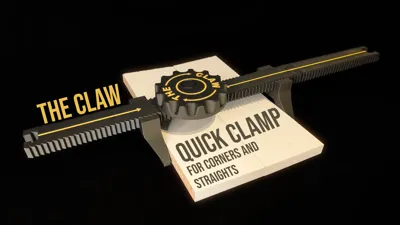
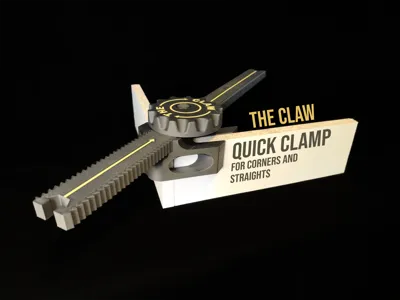
THE CLAW
A fully 3D printed, length-expandable clamp designed for both corner joints and straight connections.
By turning the handle, the mechanism pulls the clamp together by approximately 1 cm.
For rough positioning, the clamp jaws can simply be slid onto the rack before tightening.
In theory, the clamp can be extended infinitely, and the construction is surprisingly strong for a fully printed design.
Still, don’t overdo the force — it’s plastic after all. 😉
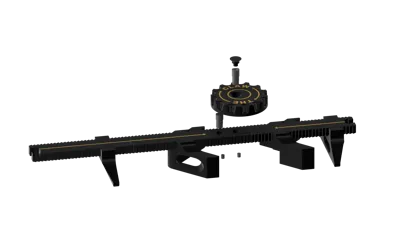
Assembly Instructions
Assembly is super simple.
You only need the printed parts and 3 drops of super glue.
1. Prepare the rack parts
Take Rack 1 and Rack 2.
Insert the pin without the hole into the rack section with the center cutout.
Insert the pin with the hole into the other rack section.
2. Lock the pins
Flip both rack sections over and align the pins so the small locking plugs can be inserted with a drop of super glue.
3. Connect the racks
Turn the parts back over and slide the two rack sections together.
4. Install the handle
Attach the handle:
- The pin with the hole must fit into the center hole of the handle.
- The pin without the hole must sit inside the circular groove of the handle.
5. Attach the end cap
Add a drop of glue into the hole of the pin and attach the end cap.
6. Done!
Start clamping things together with your new THE CLAW clamp.
Printing Notes
- Print orientation is already optimized.
- PLA, PETG, or ABS should all work fine.
- Higher wall count = stronger clamp.
- For maximum durability, PETG or ABS is recommended.
Happy printing and making!
License
You shall not share, sub-license, sell, rent, host, transfer, or distribute in any way the digital or 3D printed versions of this object, nor any other derivative work of this object in its digital or physical format (including - but not limited to - remixes of this object, and hosting on other digital platforms). The objects may not be used without permission in any way whatsoever in which you charge money, or collect fees.
Comment & Rating (0)