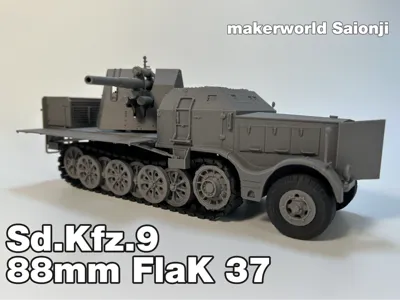
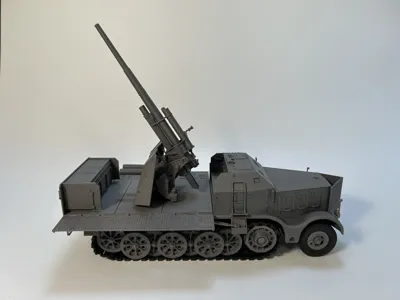
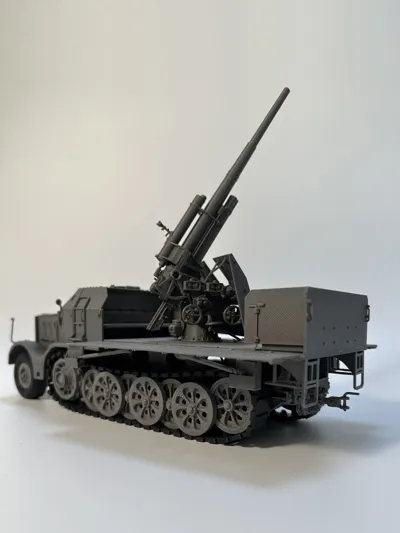
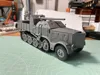
1:35 88mm Gun Carrier Sd.Kfz.9/88mm FlaK 37


Print Profile(2)
Description
I used a 0.4 nozzle. At this scale, I tried my best to preserve the original vehicle's details. Some parts are very small, please be careful when removing supports
The filament used is PLA. I printed the tracks and tires with black PLA
Parts marked with red arrows require glue for assembly, blue parts do not require glue
Here are the assembly instructions

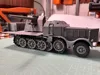
There are two types of outer road wheels, one is concave and the other is convex. The concave wheels are on the outermost side
The decorative cover for the drive wheel should be installed after the clips are in place. Be careful not to apply too much glue to the decorative cover, as it might glue the wheel in place

Don't forget to install the spare tire before gluing the rear platform


The rear mudguards have corresponding mounting holes


The side panels do not require glue for installation

The front and rear spade parts are different sizes, please note the distinction


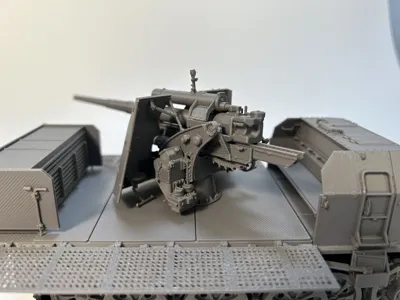
The following are the main gun assembly instructions. The main gun has many small parts, please be careful not to break them during installation

The two parts of the rail section should be installed as shown in the figure


Should be installed as shown in the figure

This part limits the elevation and depression of the main gun. No glue is needed. If the friction in the trunnion part is not enough to hold the main gun at a specific angle, this part can be used to maintain the angle


Should be installed as shown in the figure

The trunnion part does not require glue

Should be installed as shown in the figure


Should be installed as shown in the figure


The upper support of the gun shield corresponds to the gluing position as shown in the figure

The lower gluing position of the gun shield is shown in the figure


Boost Me (for free)
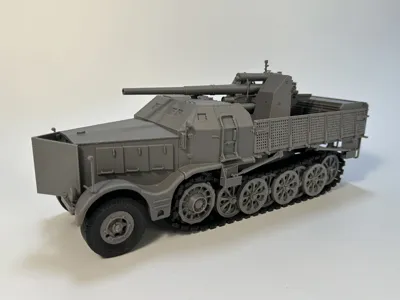
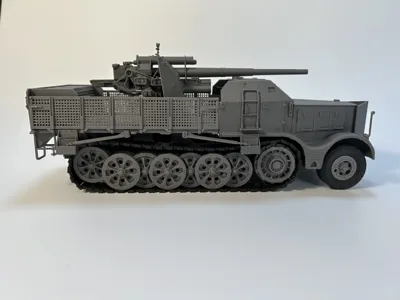
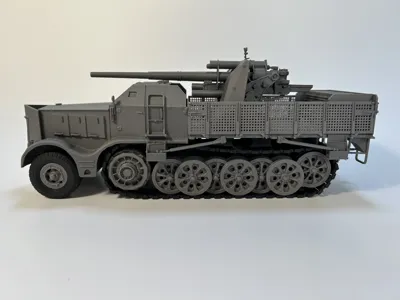
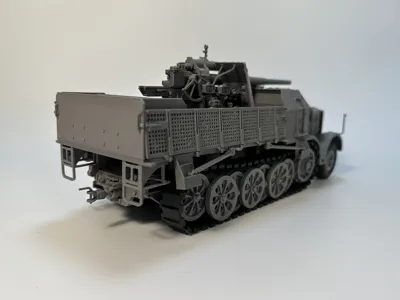
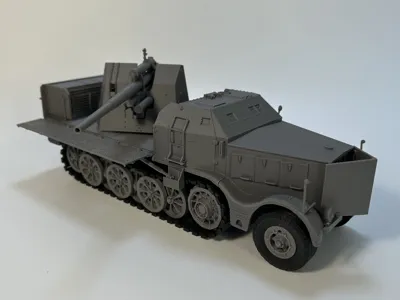
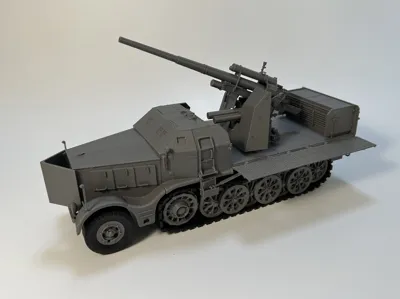
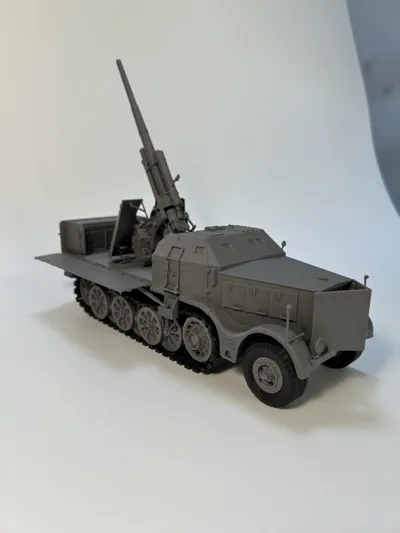
Finished model


License
You shall not share, sub-license, sell, rent, host, transfer, or distribute in any way the digital or 3D printed versions of this object, nor any other derivative work of this object in its digital or physical format (including - but not limited to - remixes of this object, and hosting on other digital platforms). The objects may not be used without permission in any way whatsoever in which you charge money, or collect fees.
Comment & Rating (17)