
USA Flag Challenge Coin Wall Hanger
Print Profile(3)
Description
Boost Me (for free)
If you enjoyed this model, please drop it a like and leave a comment. If you loved it, you could also give it a boost. Either way, these things let us know that this sort of model is where we need to dedicate our time and attention. Don't forget to toss us a Follow. Thanks so much for your support! Looking for a commercial license or a way to support our work? https://buymeacoffee.com/marsarunity Wanna see what else we can do? Check out our website! https://marsarunity.com/
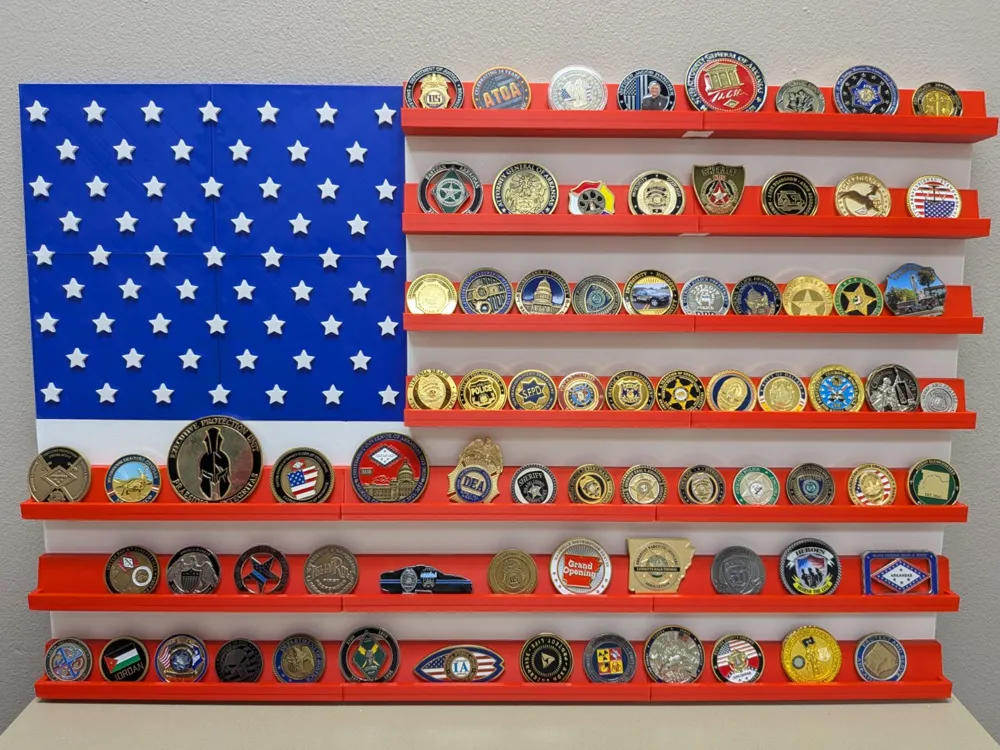
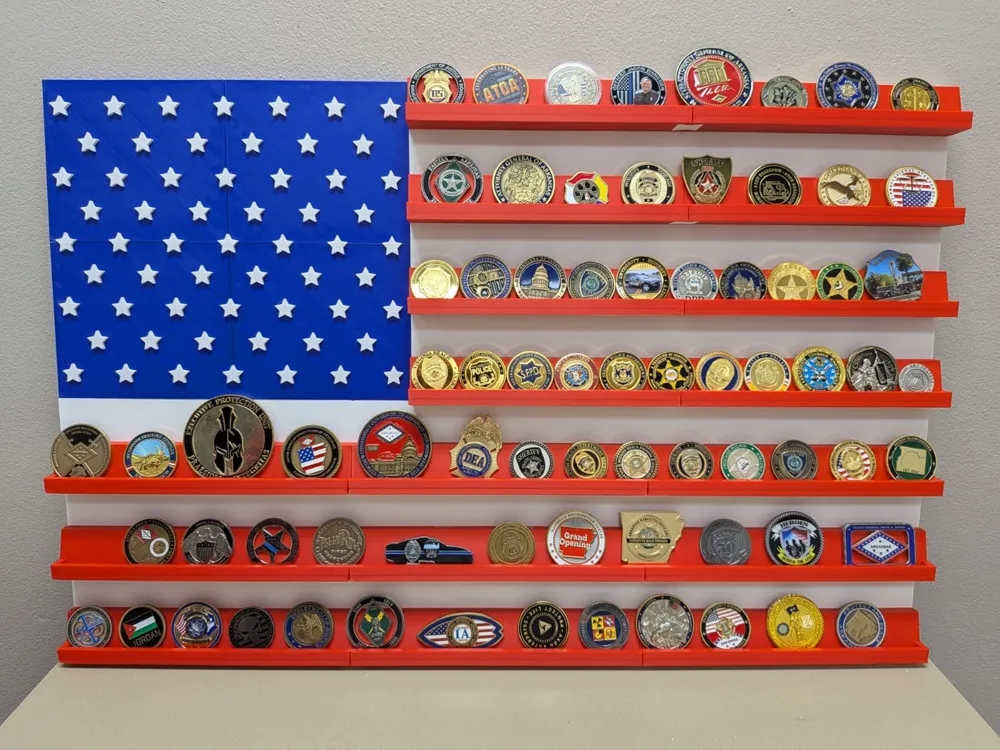
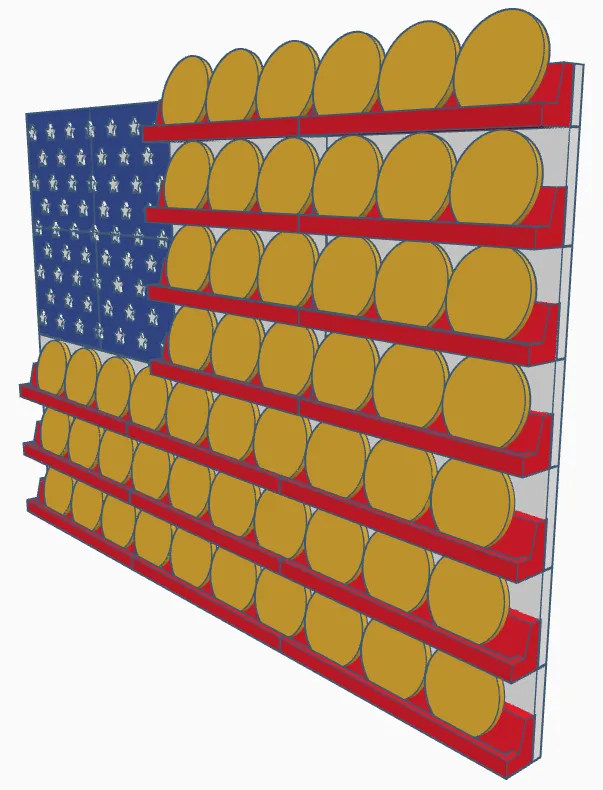
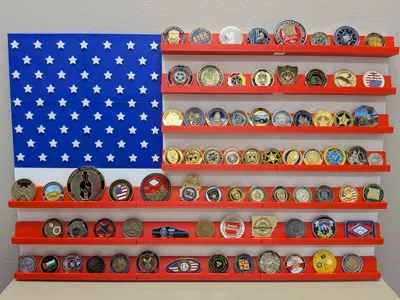
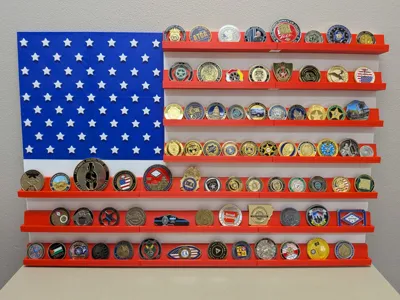
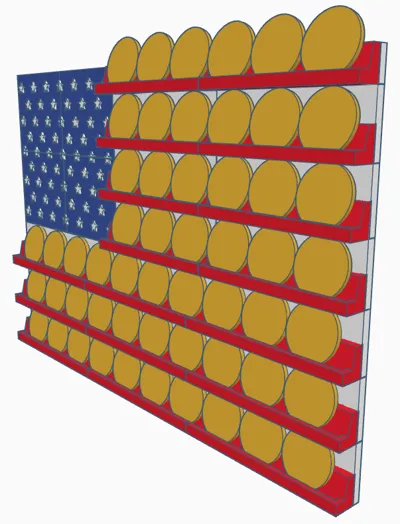
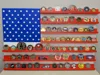
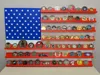
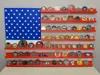
Thanks to popular demand, here is a wall mounted version of my USA Flag Challenge Coin Stand!
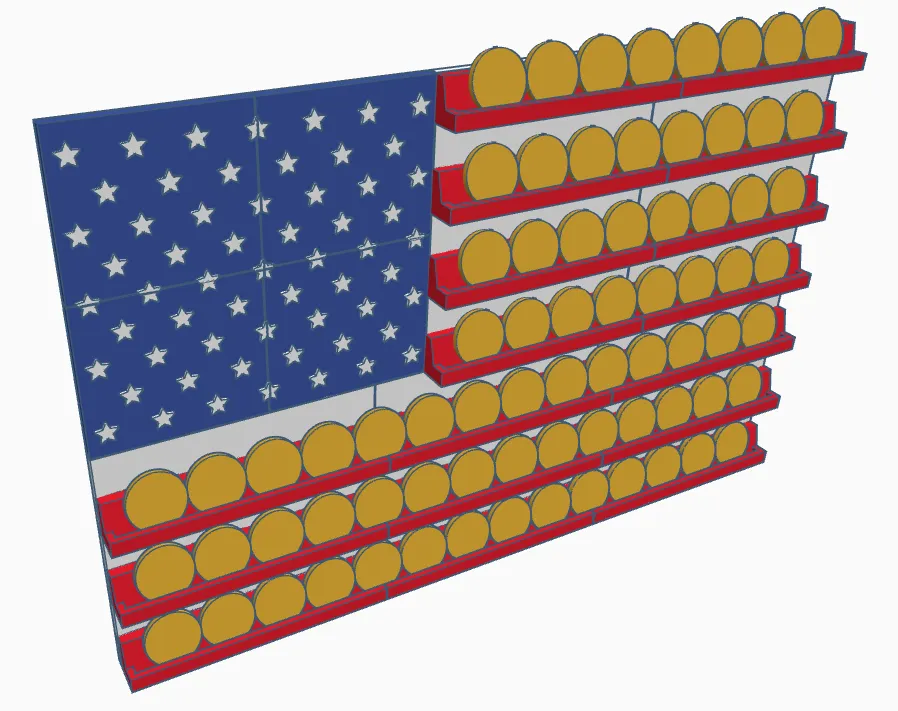
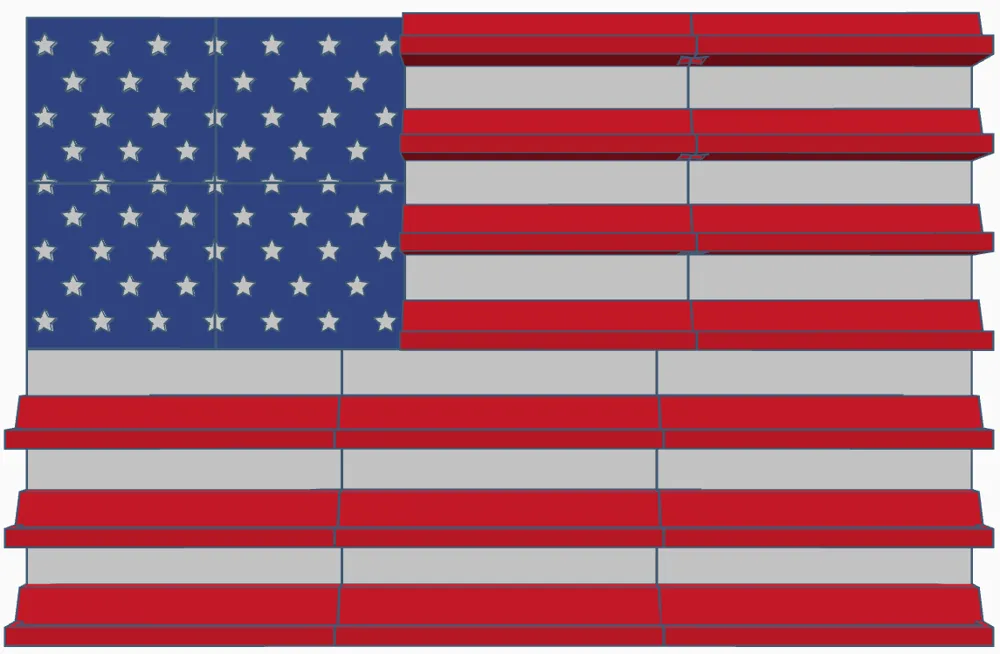
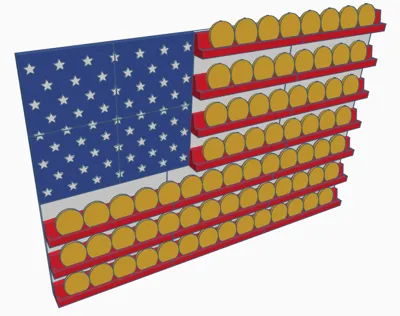
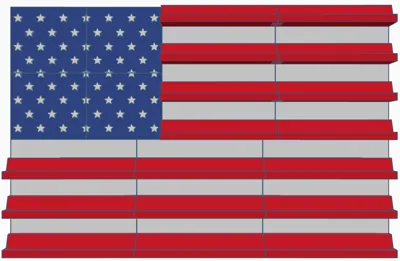
The overall dimensions are approximately 488mm tall, 750mm wide, and 40mm deep. There are 7 rows which can hold up to 65mm coins comfortably (bigger, if you put them under the Canton; where the stars are). This stand will hold over (70) 50mm coins with “elbow room” to spare!
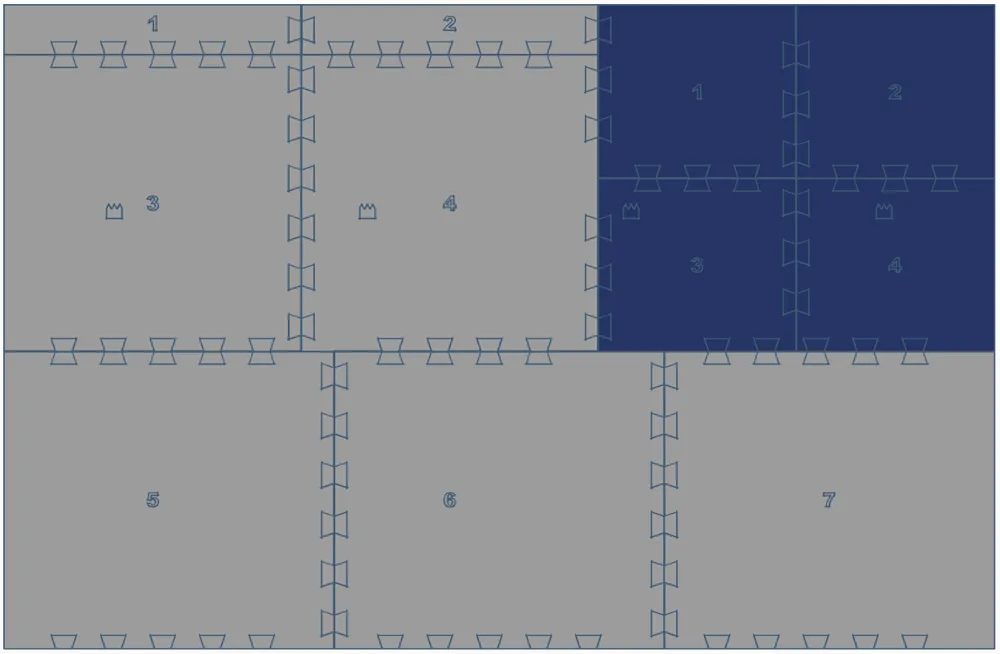
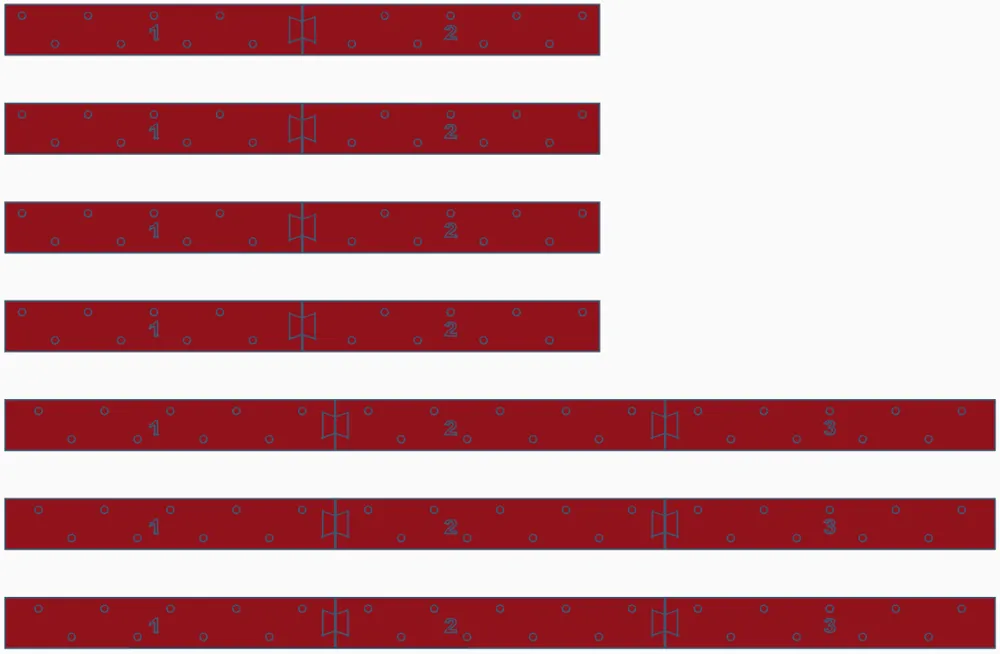
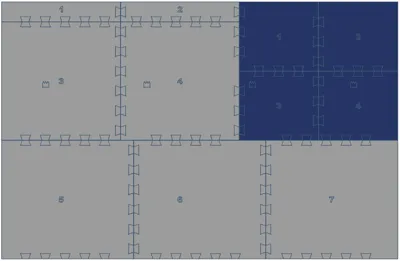
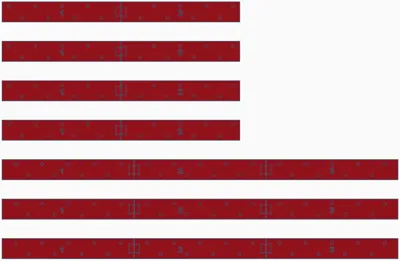
I highly recommend that you have a clean build plate with good adhesion. You will be printing some long, flat parts and don't want warping! All of the supports should be incredibly easy to remove. It's printed in pieces, easily assembled with included fishtail connectors and pegs. Superglue or better is a must! Reference the photos to help with assembly, but it should be pretty straightforward (fishtails go in the fishtail spots, pegs in the peg spots, 1 goes next to 2 goes next to 3, etc.). I found that printing and assembling all of the “back parts” (the white pieces and the Canton) first was best. Then, after all of the glue has set and the model is stable, glue the pegs into the white parts. While letting the glue set on the pegs, I assembled the stripes (red parts). Once the glue was set on everything, I applied a dab of glue into each peg hole on the back of the stripes and ran a line of glue down the middle of each stripe, horizontally. I liked the stripes up with the pegs and pushed down hard, making sure each peg was sunk into the stripes and the stripes didn't have any gaps between them and the white parts. I cannot stress this enough: LET THE GLUE SET!
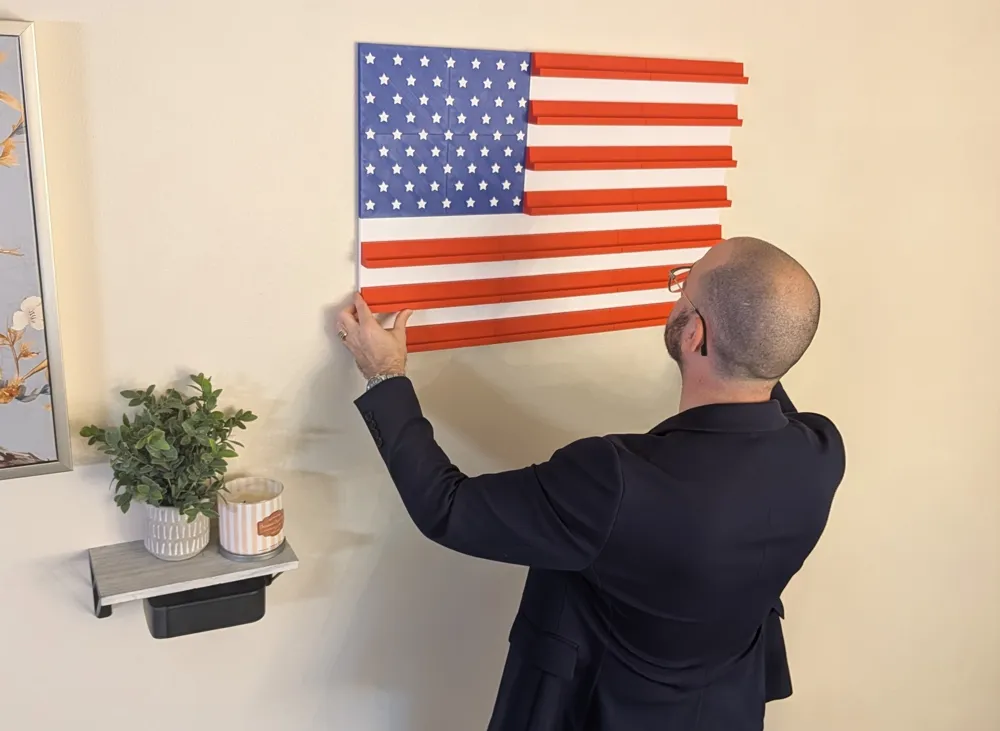
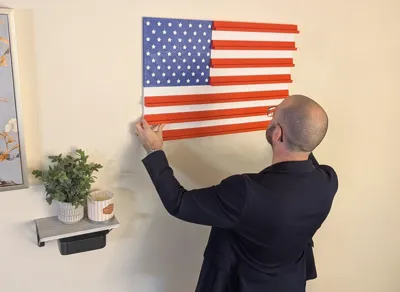
This thing is pretty heavy, so make sure you use sheetrock anchors or screw into studs when hanging! I've provided 4 nail holes and a nail hole guide for secure and easy hanging.
I've created a Plaque Holder, which you can attach to any of the three bottom backers. Attach one to the left, one in the middle, one on each the left and right, or attach one to all of them. The combinations are up to you! Use the Customize feature to type out what you want on the insertable plaque and glue it in after you print it.
Looking for a version that you can display on your desk or shelf? Check these out!
"Your Logo Here" Challenge Coin Stand
“Your Coin Here” Challenge Coin Stand
Let me know if there are any issues or if you have any questions. And, as always, I hope you enjoy!
License

You shall not share, sub-license, sell, rent, host, transfer, or distribute in any way the digital or 3D printed versions of this object, nor any other derivative work of this object in its digital or physical format (including - but not limited to - remixes of this object, and hosting on other digital platforms). The objects may not be used without permission in any way whatsoever in which you charge money, or collect fees.


Comment & Rating (2)