
Case For DMR Half Duplex PiStar with UPS Hat
Print Profile(1)
Bill of Materials



- Half-Duplex MMDVM Pi Hat x 1: https://a.co/d/0jiaqAe4
- Pi Zero 2 WH x 1: https://a.co/d/03nhjoPH
- UPS PI Hat for Pi Zero x 1: https://a.co/d/0blnPbqs
Description
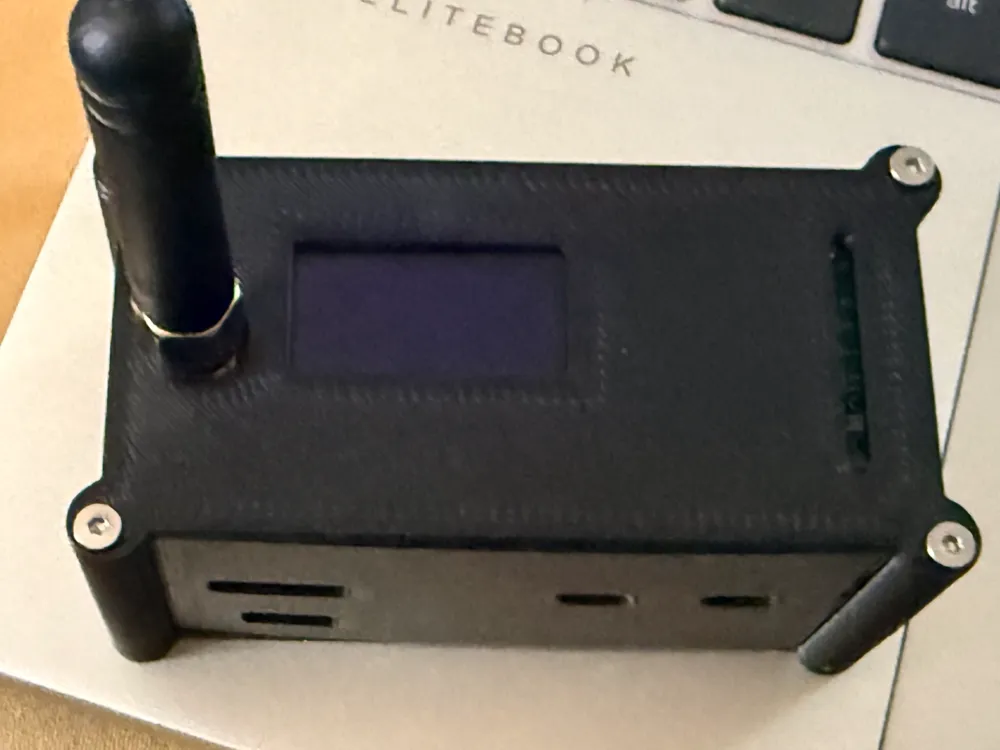
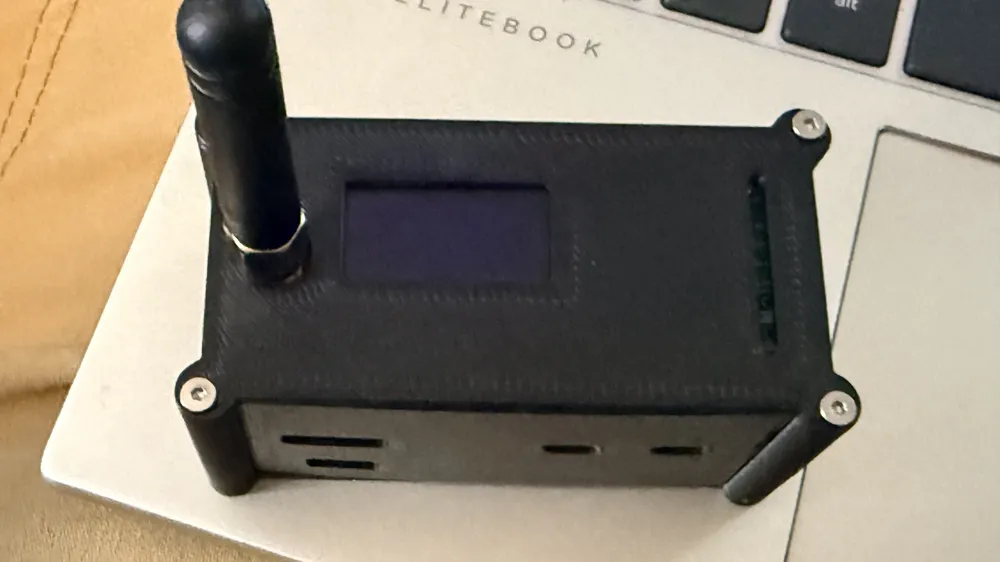
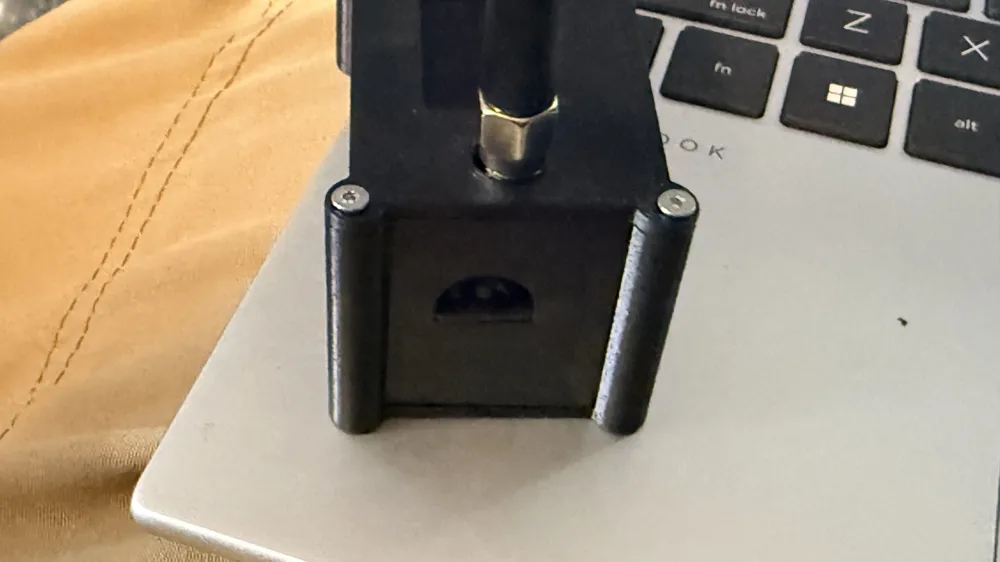
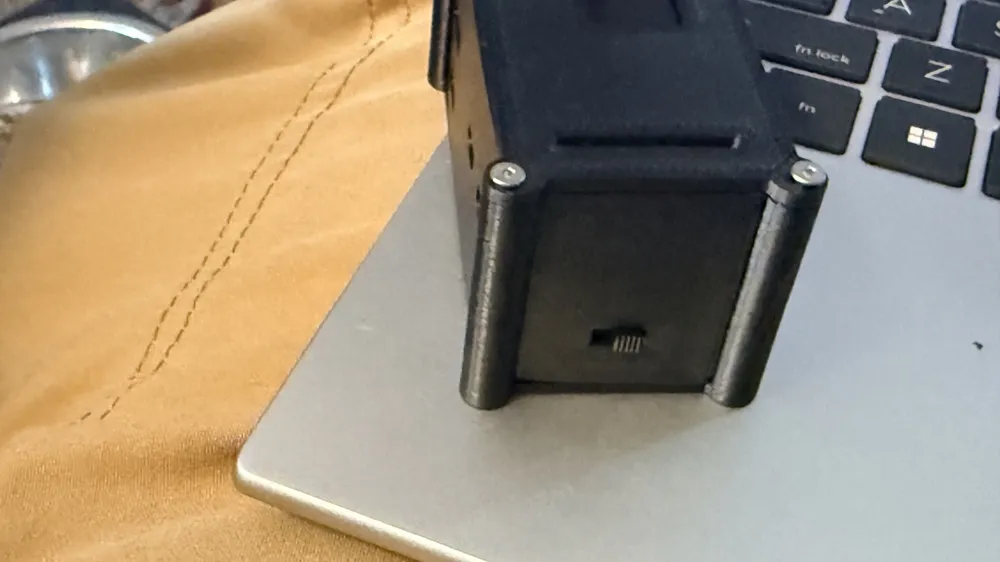
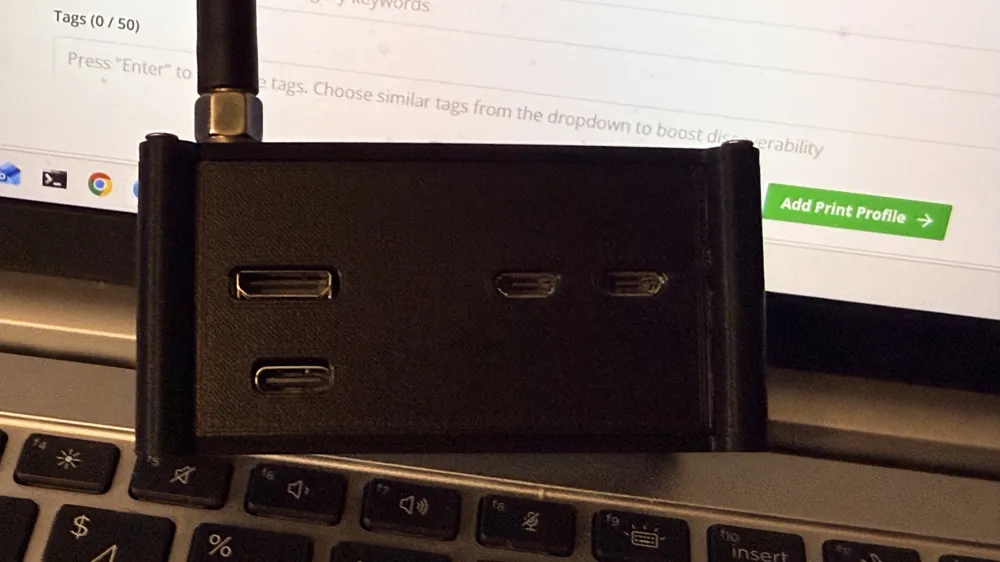
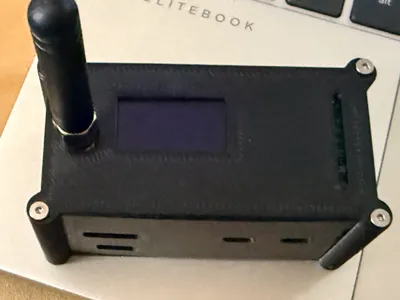
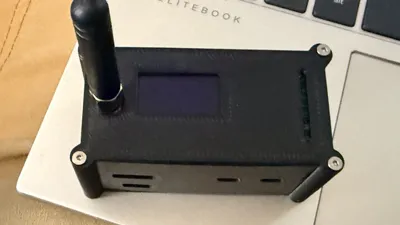
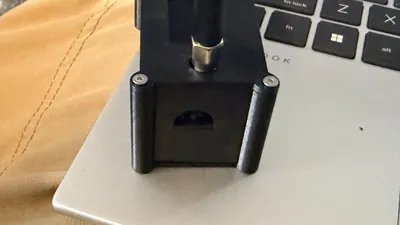
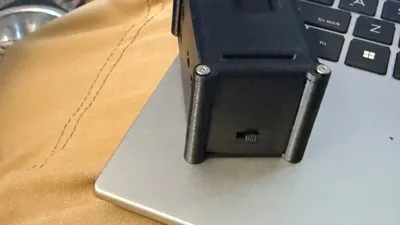
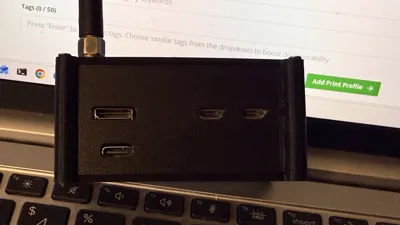
This is rev 0.9 of my new case for my half-duplex Pi-Star hotspot. I had previously built a Pi-Star hotspot using one of the commonly available MMDVM half duplex boards and a Pi Zero 2W. I carried it with me most places I go in my laptop bag, powered by a standard battery pack. However I was frustrated by the fact that every battery pack I tried would momentarily stop supplying power to the Pi when you plug the battery pack in to charge it, or when you unplugged it when it was finished charging. I found the solution in this UPS hat for the Raspberry Pi Zero https://a.co/d/03kCutAf . That meant however I needed a new case for the whole stack. I have plans to revise this case further, however after several iterations I feel comfortable sharing this as my first working case for the whole stack. The primary challenge was in being able to fit everything into the case, especially with the way that the switch on the UPS board sticks out. In order to make it all work, this initial revision prints as 5 separate pieces, the base with support columns on the four corners, and the back of the case, and then separate pieces for each end, and the front of the case as well as the lid.
To assemble you sandwich the two ends and the front against the assembled hotspot and slide that all down into the base support columns. The columns flex a bit so you have to make sure everything is fitting properly, and perhaps put a little pressure on them to hold them in place while you screw the lid down. The holes in the columns and the lid are designed for an M2 self threading screw. Once the lid is screwed in place it holds everything quite securely.
I suggest printing in PETG if it will be in a vehicle at all, as PLA tends to warp.
In the next revision I'm likely going to do some changes to have at least one of the two sides stay as part of the base. I actually started by designing one for my full duplex unit that has the antennas on the sides which made things more complex, and with the antenna port on the top the half-duplex is actually simpler.
The additional items in the BOM includes everything necessary to build the hotspot except for the microSD card and the software which can be downloaded from the Pi-Star or WPSD repositories depending on your preference.
Documentation (1)
License

You may create derivative works based on this object, provided that all such derivative works are published exclusively on the MakerWorld platform and include proper attribution to the original creator. You may not share, upload, host, distribute, or publish this object—or any derivative work of this object—on any other digital platform, marketplace, or distribution channel. Commercial use of this object and any derivative works is strictly prohibited. This includes, but is not limited to, selling, renting, sublicensing, or using the object in any context in which you receive monetary compensation or other financial benefits.


Comment & Rating (1)