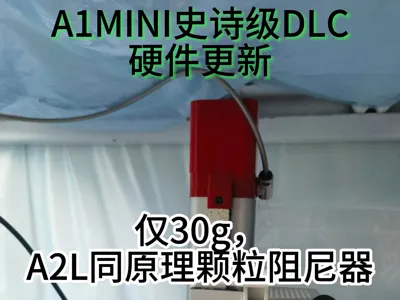
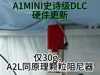
A1MINI particle damper, same principle as A2L, hardware upgrade


Print Profile(1)
Description
Boost Me (for free)
To the boss who boosts me
Never spaghetti, never clog
May your wealth flow in and good luck follow
May you have good health and everything go well
Still not boosting Then I'll have to kowtow to you
After watching the A2L launch event, where a particle damper was mentioned, I became very interested, so I looked up research papers and found this technology is indeed effective Therefore, I want to create an external particle damper for my A1 A1 mini KX and similar machines
The paper also mentioned Principles for Particle Size Selection
1. Advantages of Large Particles (Larger Diameter)
- More suitable for low-frequency excitation: Large mass, more energy consumed per collision
- Low collision frequency: Suitable for large amplitude vibration scenarios
- More regular movement: Less prone to particle agglomeration
- Applicable to: Large structures, low-frequency vibration control
2. Advantages of Small Particles (Smaller Diameter)
- More suitable for high-frequency excitation: Small mass, fast response speed
- Large friction surface area: More energy consumed by friction between particles
- Denser packing: Can increase particle number density
- Applicable to: High-frequency vibration, precision equipment vibration reduction
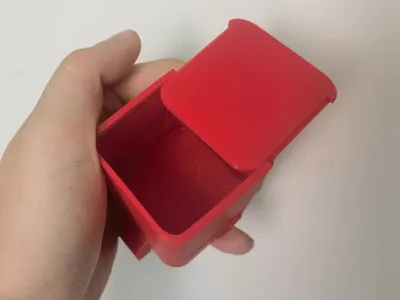
- I feel that 3D printers experience more high-frequency vibration, so I chose the smallest possible particles for filling
- The current test reference groups are fine sand and desiccant, and test results will be released later
- There are no test results yet, everyone is welcome to test together, I believe it will be useful
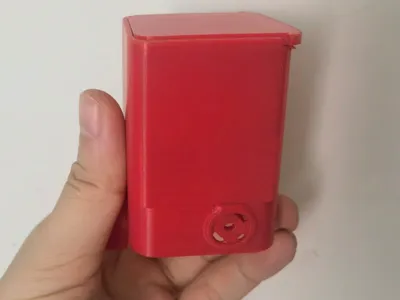
- Even if it's useless, it's only 30g anyway, so no real loss or trickery involved
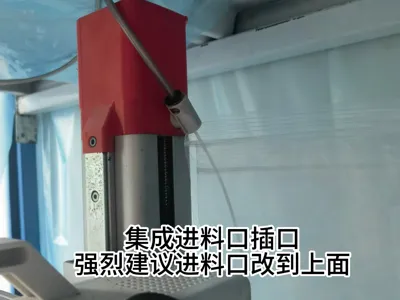
One last small tip: do not place any heavy objects on the gantry, including filament, as this can improve printing quality
Installation is very simple, just unscrew the original screws, replace them, and then tighten the screws
License
You shall not share, sub-license, sell, rent, host, transfer, or distribute in any way the digital or 3D printed versions of this object, nor any other derivative work of this object in its digital or physical format (including - but not limited to - remixes of this object, and hosting on other digital platforms). The objects may not be used without permission in any way whatsoever in which you charge money, or collect fees.
Comment & Rating (0)