
Passe-Partout/Collage maker for all frames
Print Profile(1)




Description
Custom Passe-Partout / Photo Mat Generator
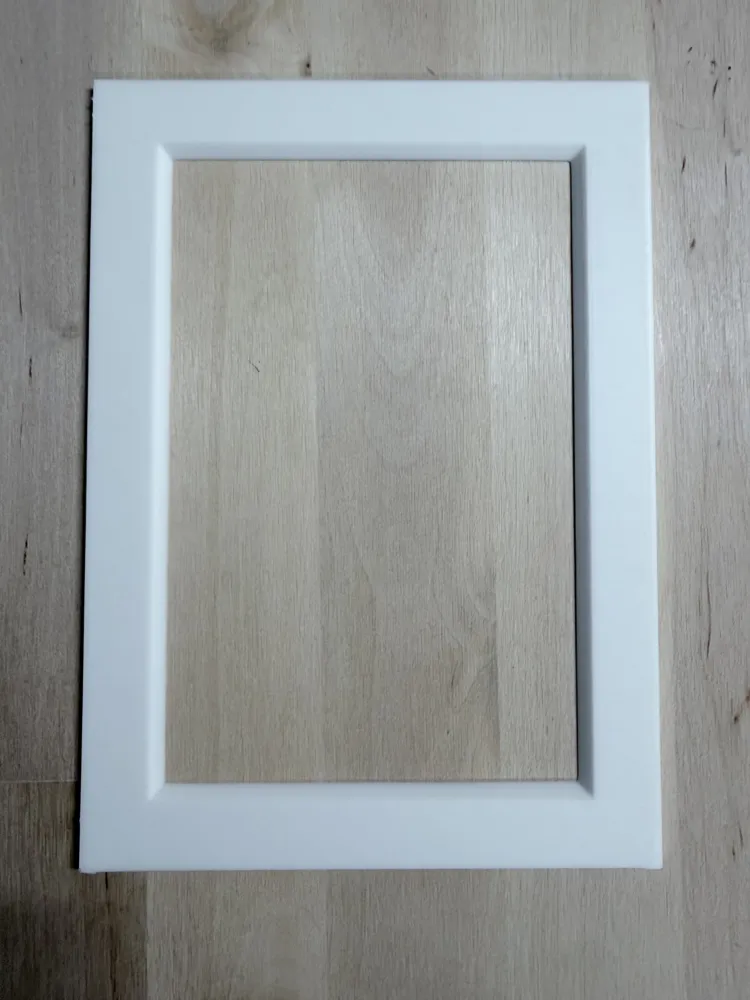
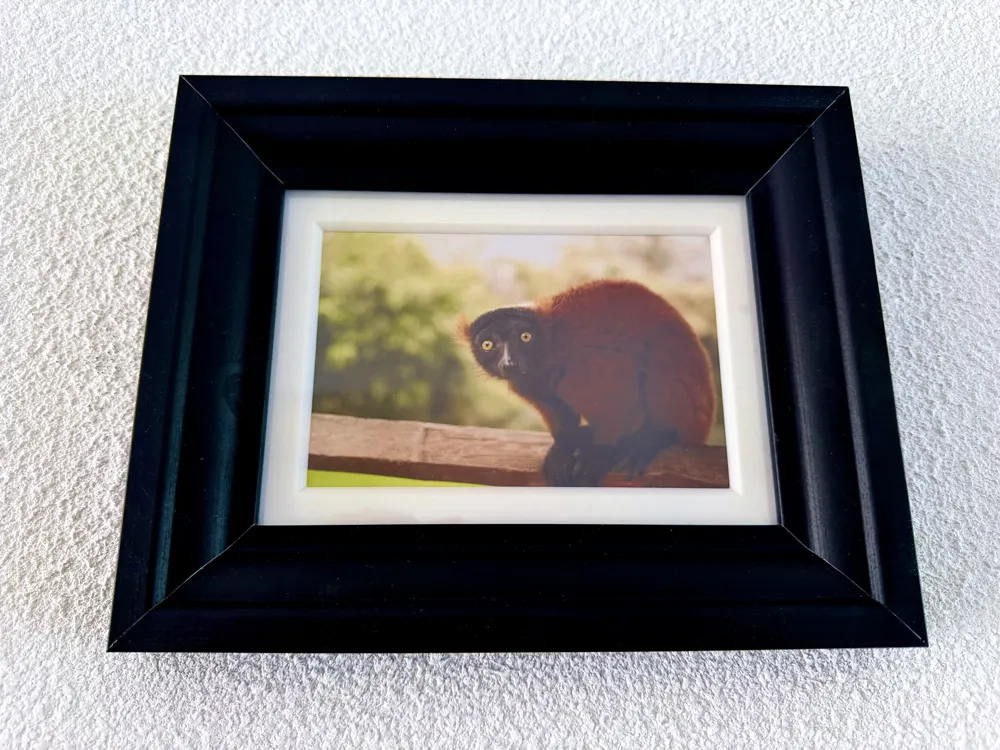
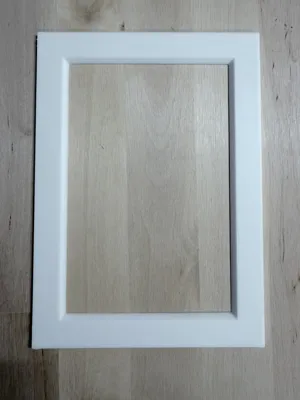
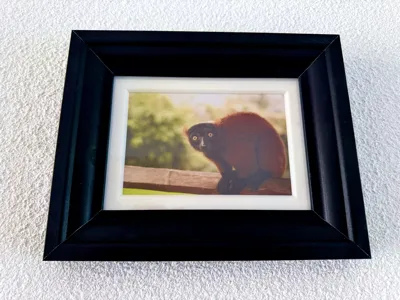
This is a parametric 3D-printable passe-partout, also called a photo mat: a flat frame with one or more openings for photos, prints, postcards, instant photos, or small artwork.
For normal use, you only need to pick a frame size, choose the photo or print size, choose a layout by name, and generate the model in MakerWorld's Parametric Model Maker. You can make a simple single cutout, a double layout, a clean stack, a grid, or a full collage without learning OpenSCAD.
For advanced users, there is also a small custom layout language made for this project. It can make more unusual layouts, but it is optional. Most people can ignore it and use the named layout options.
MakerWorld Use
Use this through MakerWorld's Parametric Model Maker:
- Choose the preset/profile for the outside frame size you want.
- Choose the photo or print size for slot 1, slot 2, and slot 3.
- Choose a named layout, such as Single portrait, Single landscape, Two portrait row, Two landscape stack, 2x2 portrait grid, or one of the collage layouts.
- Generate the model and slice it.
If a common outside frame size is missing, add it as another preset/profile for this parametric model. Please do not upload each size as a separate new model; the point of this project is that one parametric generator can cover many sizes.
Print Settings
Recommended starting settings:
- Material: PLA or matte PLA
- Layer height: 0.10 mm for the nicest top surface, or 0.20 mm for a faster print
- Nozzle: 0.4 mm
- Walls/perimeters: 2 or 3
- Top/bottom layers: 4 or more
- Infill: 10%, or higher if you want a stiffer mat
- Supports: no
- Brim: optional, useful for very large thin frames to reduce corner lifting
- Print orientation: flat on the bed
The model is designed to print as a simple flat part. Large frames are more likely to warp, especially with sharp corners and large uninterrupted flat areas, so use a clean bed, good first-layer adhesion, and a brim when needed.
Frame Sizes And Printer Bed Size
The outside frame size is the full printed object size. Your printer bed must fit that size.
Included common sizes:
| Preset | Outside size |
|---|---|
| passepartout_10x15 | 100 x 150 mm |
| passepartout_13x18 | 130 x 180 mm |
| passepartout_18x24 | 180 x 240 mm |
| passepartout_A4_21x30 | 210 x 297 mm |
| passepartout_24x30 | 240 x 300 mm |
| passepartout_30x30 | 300 x 300 mm |
| custom | User-defined size |
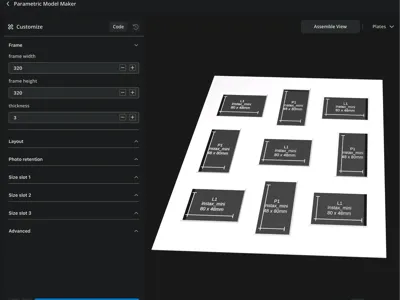
The custom/unlimited-size option is not a frame-size preset. In that version, you set the outside frame width and height yourself. Its default build limit is 320 x 320 mm, matching the large H-series style bed size, but you can override the build limit in the advanced settings if your printer can handle larger parts.
Common Settings
These are the settings most users will touch.
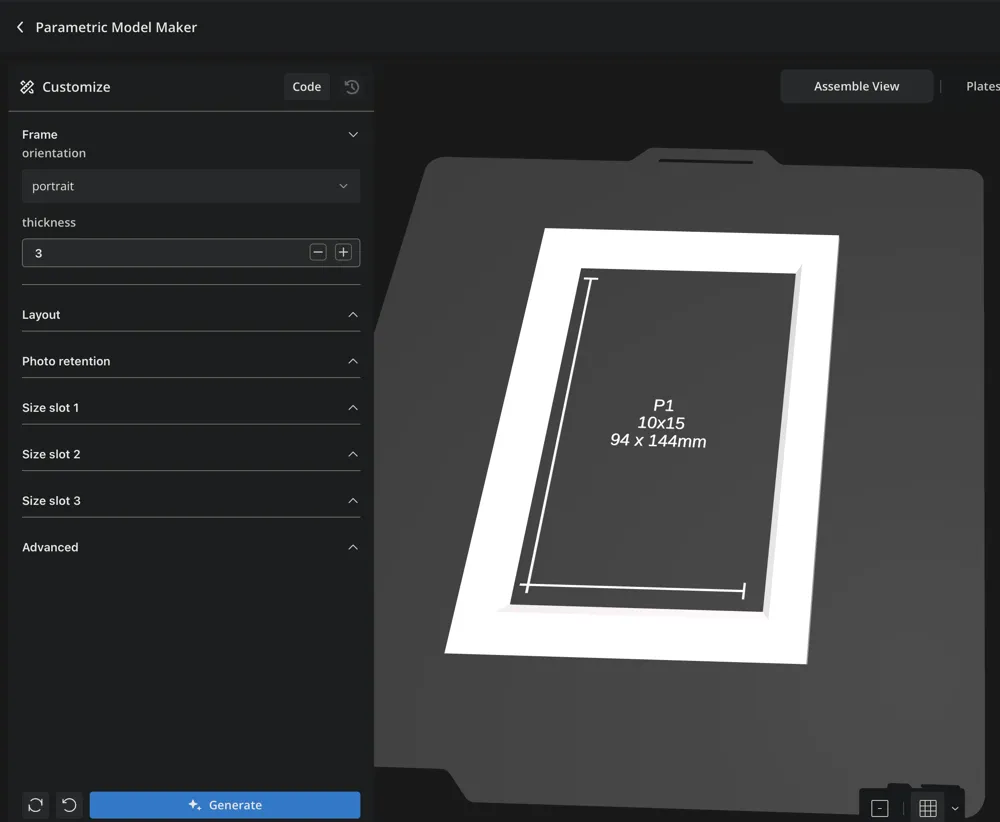
Orientation
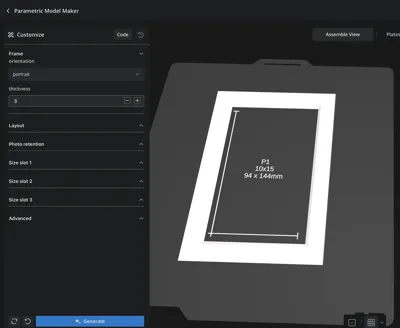
Sets the outside frame orientation for rectangular presets.
- Portrait: tall frame
- Landscape: wide frame
Square presets do not need orientation.
Layout
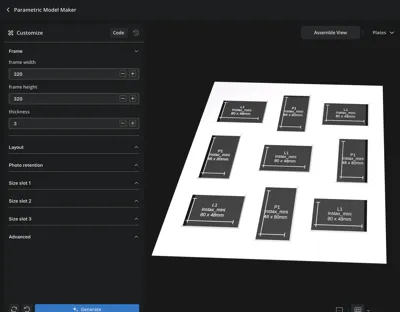
Chooses the arrangement of openings. Use the named options in the dropdown.
Common layout names include:
- Single portrait
- Single landscape
- Two portraits
- Two landscapes
- Two portrait row
- Two landscape stack
- Two portrait stack
- Two slot-2 portraits
- Two slot-2 landscapes
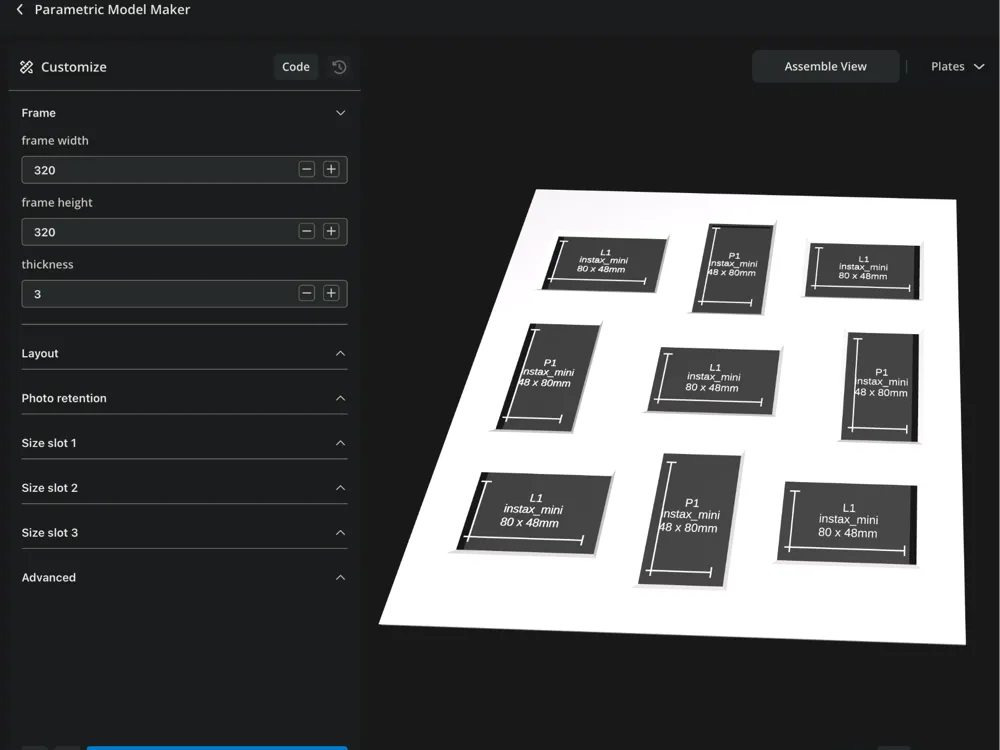
- 2x2 portrait grid
- 2x2 landscape grid
- 2-1-2 collage
- 3-1-3 collage
- 3x3 portrait grid
- 3x3 landscape grid
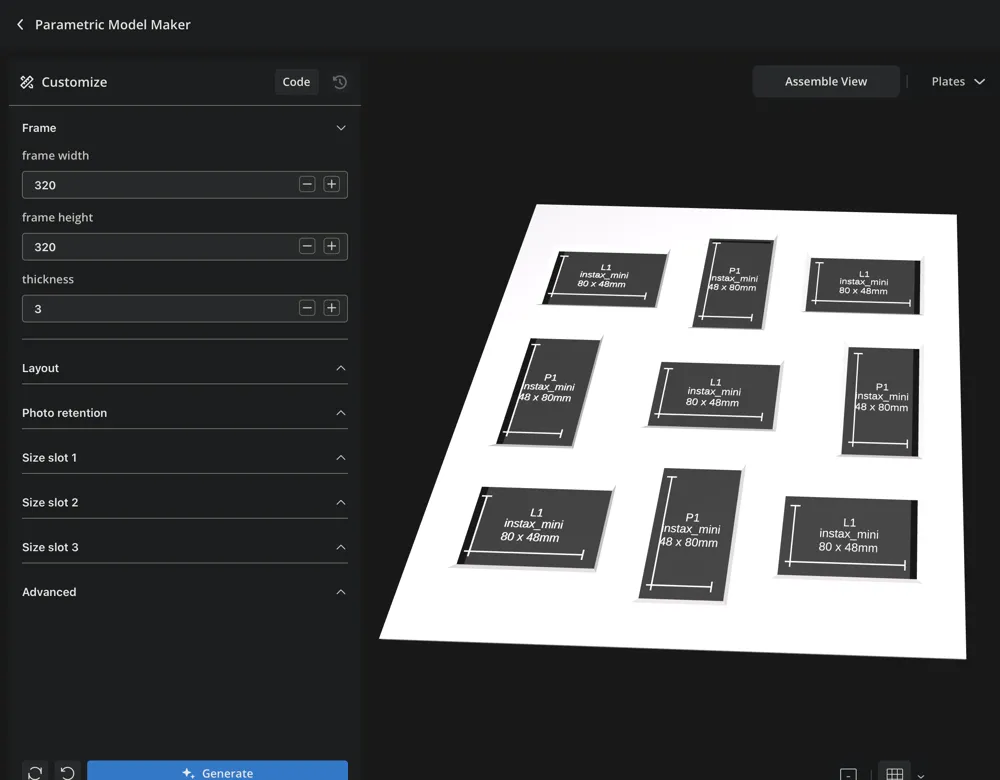
- 3x3 alternating
- Custom
Different frame-size presets show different layout choices. Small frames only show layouts that are likely to fit. Larger frames include more collage options.
Size Slot 1, Size Slot 2, Size Slot 3
The slots are reusable photo-size choices. A layout tells the model which slot to use for each opening.
Slot 1 is usually the main photo size. Slot 2 and slot 3 are useful for doubles and mixed collages.
In preview mode, each opening is labeled with a compact code such as P1 or L2. The letter shows portrait or landscape, and the number shows the slot. So if an opening says L2, change Size Slot 2 if that opening needs a different photo size.
Available sizes depend on the selected frame preset, but the project supports common sizes such as:
- Instax Mini
- Instax Square
- Instax Wide
- Polaroid
- 9 x 13 cm
- 10 x 10 cm
- 10 x 13 cm
- 10 x 15 cm
- 11 x 15 cm
- 13 x 13 cm
- 13 x 18 cm
- 15 x 15 cm
- 15 x 20 cm
For Instax and Polaroid presets, the size is the exposed/printed image area, not the full instant-film sheet including the white border.
- 20 x 20 cm
- 20 x 25 cm
- 20 x 30 cm
- 4 x 6 inch
- 5 x 7 inch
- 8 x 10 inch
- Custom
Important: custom width and height values only apply after you select Custom in that slot's size dropdown. If the slot is still set to a preset like 10 x 15 cm or Instax Mini, the custom numbers are ignored.
Photo Overlap
The passe-partout overlaps the photo by this many millimeters on each side. This helps hold the photo behind the opening.
The default is 3 mm. Set it lower for more visible photo area, or higher for more grip. Setting it to 0 makes the opening match the photo more closely, but the photo may fall out more easily.
Layout And Spacing Settings
Horizontal Margin And Vertical Margin
These set the border around the openings. Larger margins give a more traditional gallery-mat look. Smaller margins fit larger photos into the same outside frame.
If a layout does not fit, margins are one of the easiest things to reduce.
Horizontal Spacing Mode And Vertical Spacing Mode
These control how extra empty space is distributed between openings.
- Even: balanced spacing, best default
- Thirds: pushes spacing toward a rule-of-thirds feel
- Golden: uses a golden-ratio style spacing
These settings matter most for collages with multiple openings, especially layouts with even and odd rows mixed together. For simple layouts, single cutouts, and many basic doubles, changing the spacing mode may make little or no visible difference because there is not much extra spacing to redistribute.
If you are unsure, use Even.
Custom Layout Language
The custom layout language is optional. Use it only when the named dropdown layouts do not describe what you want.
Important: the text in the custom layout box only applies after you select Custom in the layout dropdown. If the layout dropdown is still set to Single portrait, Two portrait row, 2x2 grid, or another named option, the custom layout text is ignored.
Each opening is written as two characters:
- P means portrait
- L means landscape
- 1, 2, or 3 means use size slot 1, 2, or 3
Rows are separated with a slash /. Commas are still accepted for older saved settings, but slashes are safer in MakerWorld dropdown values.
Examples:
P1 L1 P1P1 P1/P1 L1/L1 P1/L2 P1P2/L3 P1P1/P1P1 L1P1L1/P1L1P1/L1P1L1
So P1/L2 means: portrait slot 1 on the top row, landscape slot 2 on the second row.
L1P1L1/P1L1P1/L1P1L1 means a 3 x 3 alternating collage.
This makes simple single cutouts, doubles, stacked layouts, grids, mixed collages, and completely over-the-top passe-partouts possible without redrawing the model.
Advanced Settings
Frame Width And Frame Height
These are the outside dimensions of the printed passe-partout in millimeters. In the normal frame-size presets they are usually controlled by the chosen orientation. In the custom/unlimited-size version, you can set them directly.
Thickness
The thickness of the printed mat in millimeters.
Thicker mats are stiffer and easier to handle. Thinner mats print faster and feel more like a paper passe-partout.
Custom Slot Width And Custom Slot Height
Used when a slot size dropdown is set to Custom. Enter the real photo or print size in millimeters.
Again, these values only apply when that slot is set to Custom.
Build Limit Width And Build Limit Height
These are safety limits for the printer bed size. The model checks whether the selected frame fits inside them. The default is 320 x 320 mm.
If you are using a larger printer, you can increase these advanced values. Only do this when your printer can actually fit the selected outside frame size.
Preview Warnings
In preview mode, the model checks whether the selected layout is printable. If something is wrong, it displays a warning.
Invalid Grammar
This only applies to the custom layout box.
Check that the layout dropdown is set to Custom, then check the custom layout text. Each opening must use P or L followed by 1, 2, or 3. Separate rows with slashes. Do not add spaces.
Example valid custom layouts:
P1 P1/P1 P1L2/P2P3
Frame Too Large
The outside frame is bigger than the configured build limit.
This is about printer bed size, not photo size. Choose a smaller frame preset, switch orientation if that helps your printer bed, or use a printer with a larger bed. If your printer can fit the frame but the model still warns, increase Build Limit Width and Build Limit Height in the advanced settings.
Invalid Layout
One of the selected openings cannot be made from the chosen size and overlap settings.
Check the slot shown in the preview label, then check that slot's photo preset or custom width and height. Also check Photo Overlap: if the overlap is too large for a very small photo, reduce it.
Row Too Wide
The openings do not fit horizontally inside the frame.
Try these fixes:
- Change the frame orientation
- Reduce horizontal margin
- Choose smaller photo sizes
- Use fewer openings in that row
- Use a larger frame preset
Layout Too Tall
The openings do not fit vertically inside the frame.
Try these fixes:
- Change the frame orientation
- Reduce vertical margin
- Choose smaller photo sizes
- Use fewer stacked rows
- Use a larger frame preset
License

You shall not share, sub-license, sell, rent, host, transfer, or distribute in any way the digital or 3D printed versions of this object, nor any other derivative work of this object in its digital or physical format (including - but not limited to - remixes of this object, and hosting on other digital platforms). The objects may not be used without permission in any way whatsoever in which you charge money, or collect fees.


Comment & Rating (0)