Search models, users, collections, and posts

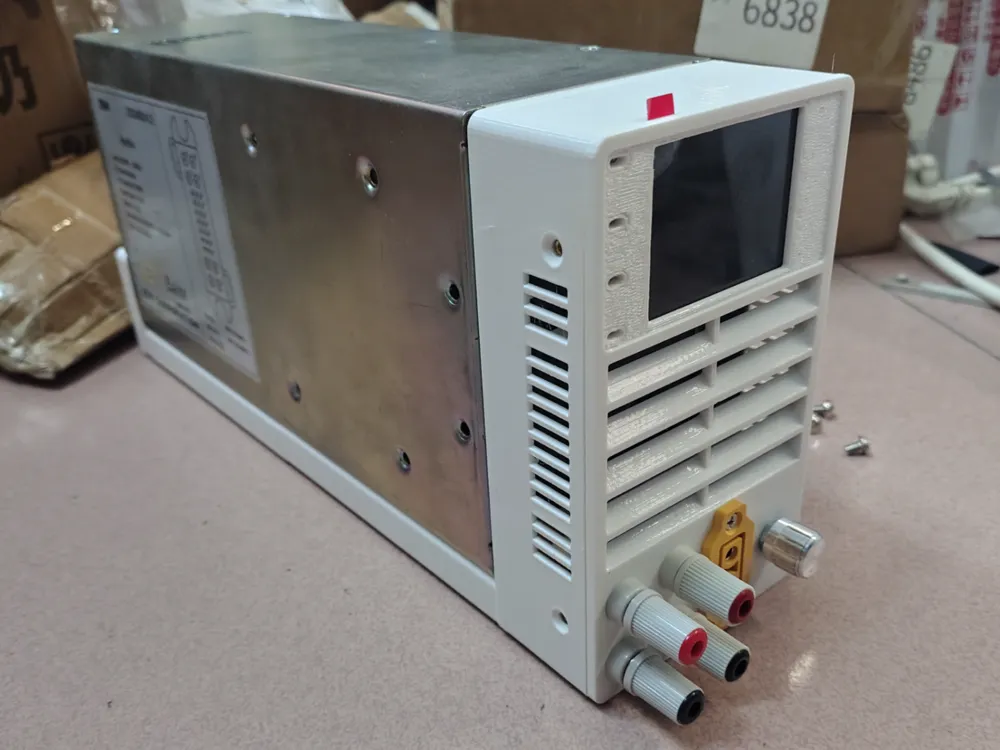
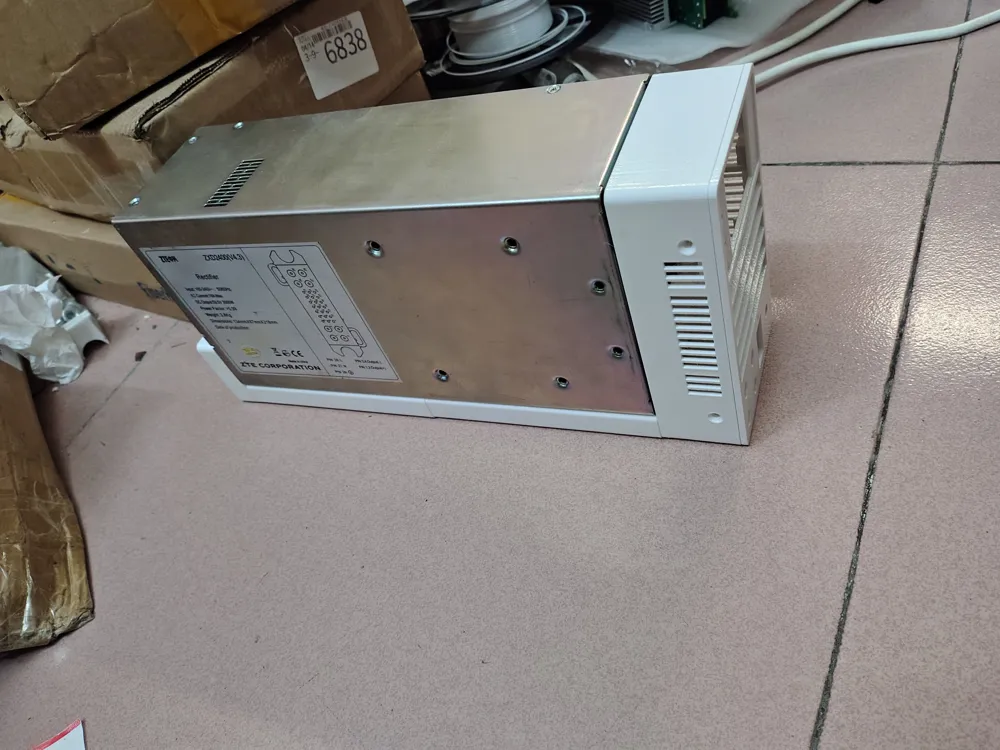
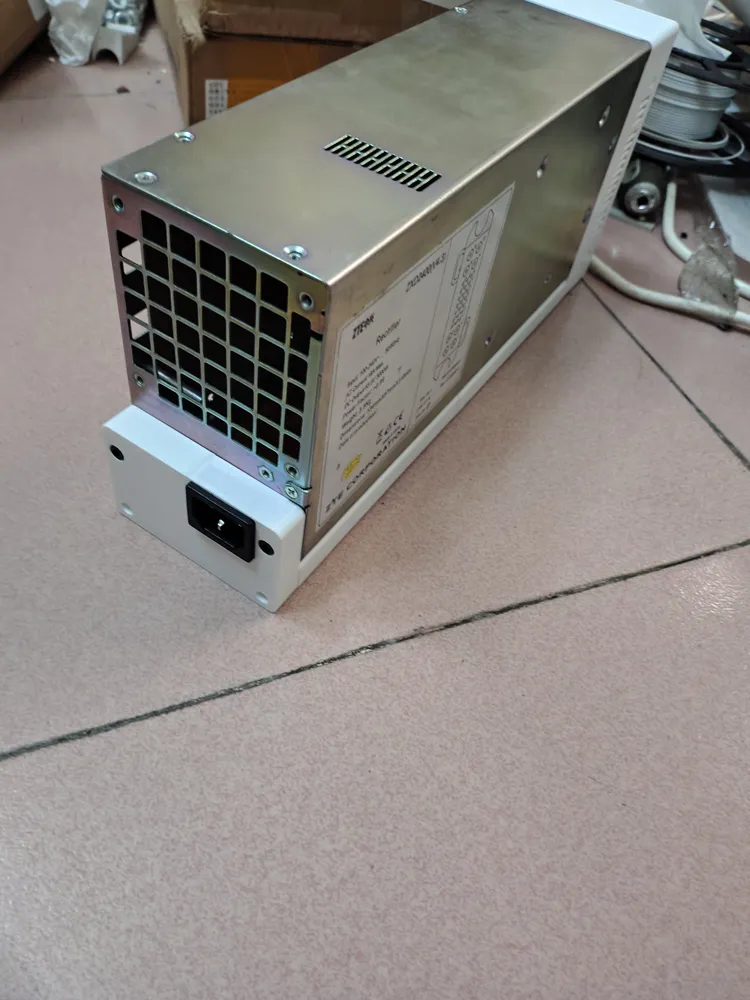
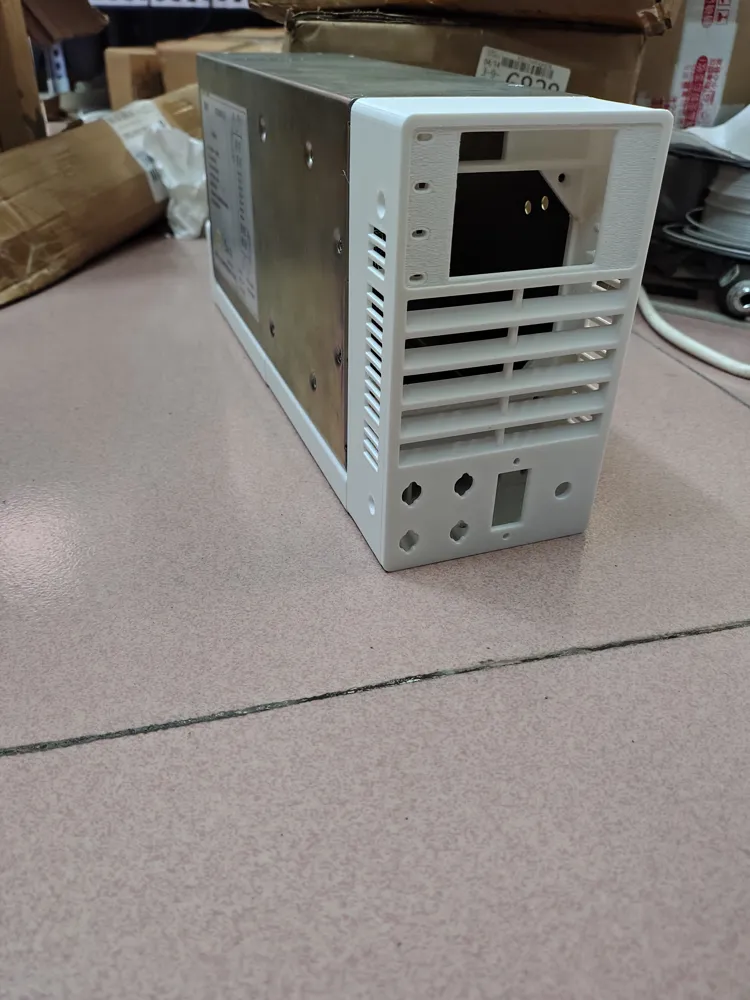
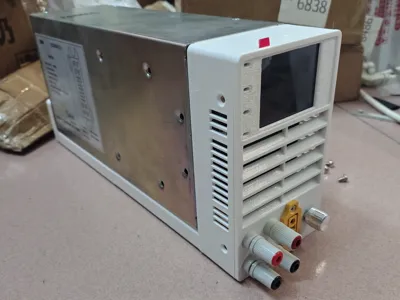
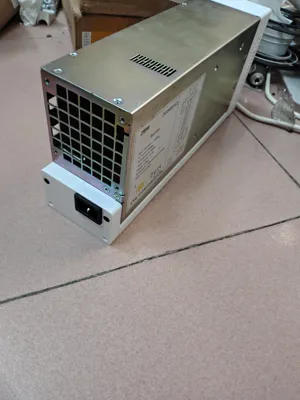
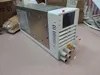
2400 Adjustable Power Supply 4th Gen Modified Panel
IP Report
Print Profile(1)
0.2mm layer, 2 walls, 100% infill
Designer
8.5 h
2 plates
Open in Bambu Studio
Boost
0
0
0
0
0
0
Released
Description
Content has been automatically translated.
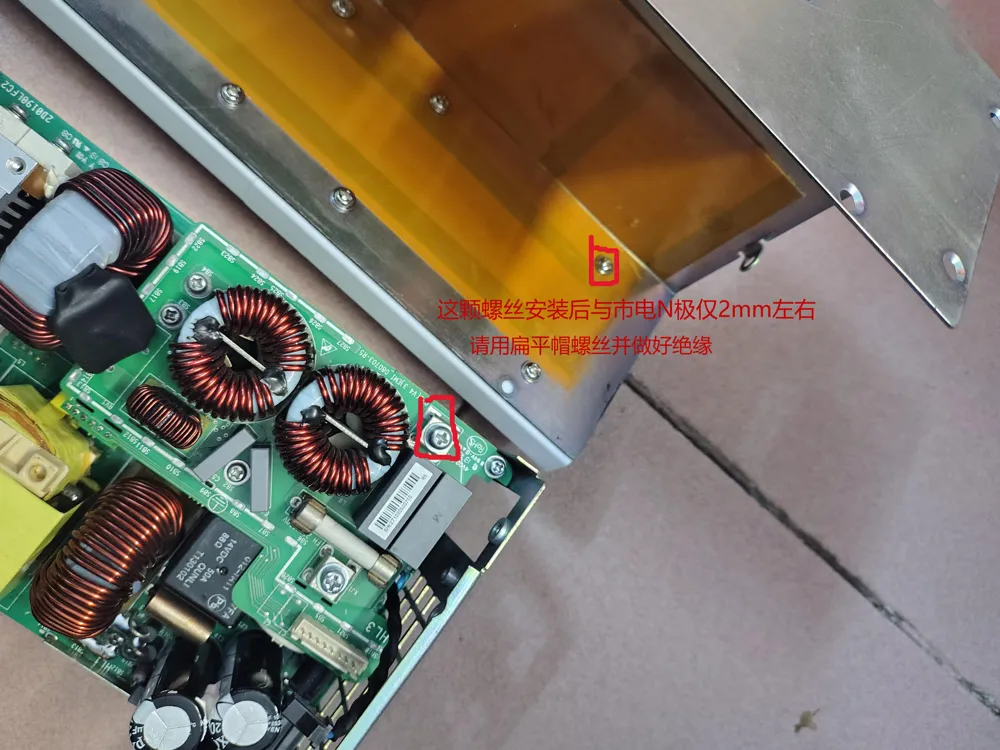
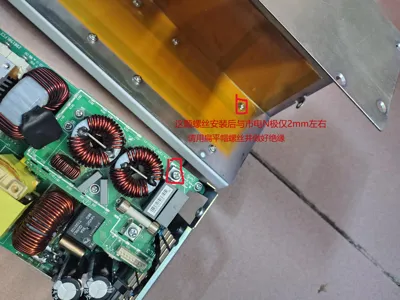
Please note that after installing one screw for the bottom pad, it will be approximately 2mm from the AC neutral terminal. Use a flat-head screw and ensure proper insulation
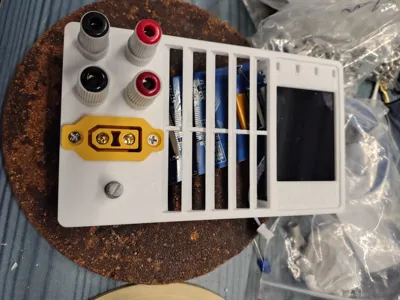
Using transparent audio terminals for high voltage applications can easily compromise safety
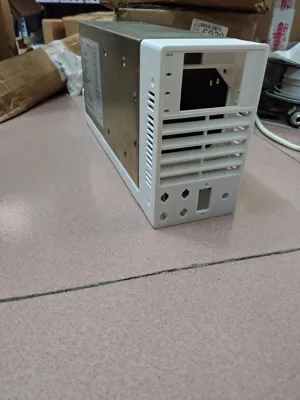
Running high-power output cables inside the metal enclosure can easily cause interference. Positioning them at the bottom allows for convenient routing
The front panel fan should be kept in its original mounting position to ensure proper cooling airflow
Carbon steel screws are recommended for the metal enclosure to prevent galvanic corrosion
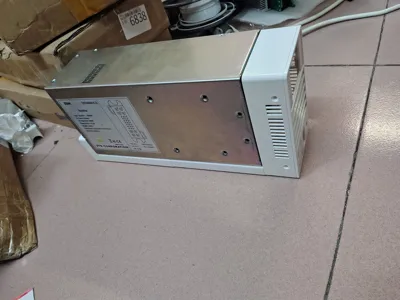
M3×6 countersunk screws: 5 for panel installation, 2 for bottom pad installation
M4×6 Phillips-head screws with washers: 8 for bottom pad installation. Remember to insulate the screw heads after installation
2 M4×16 hex socket screws and 2 M3×16 hex socket screws for rear panel installation
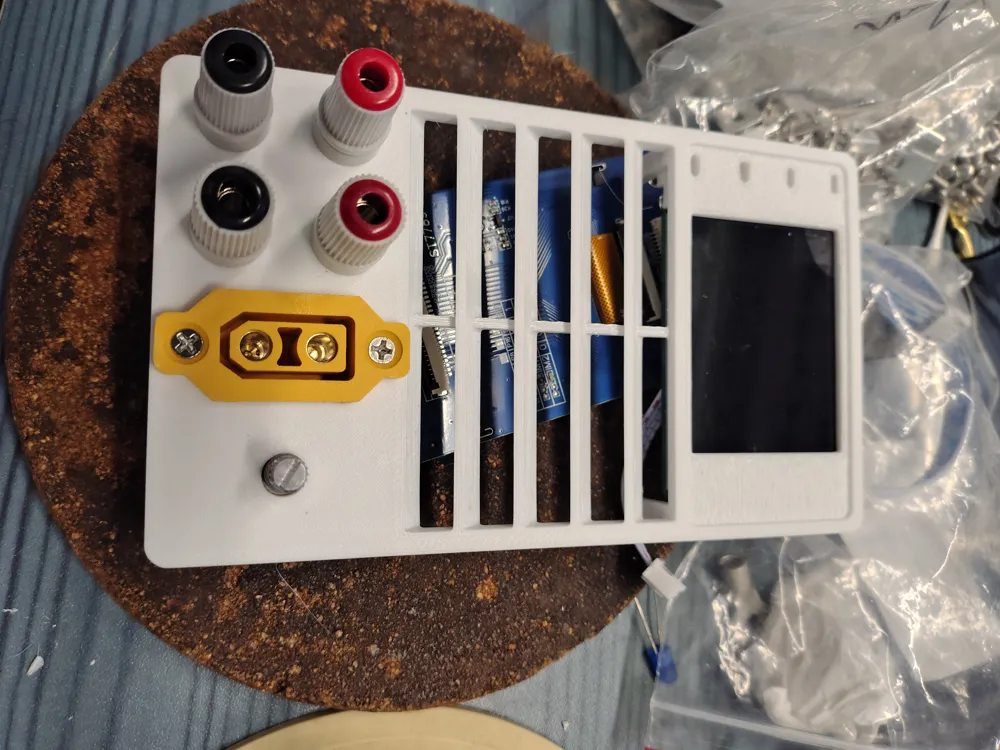
M3×3×4 heat set inserts: 5 for panel fastening, 4 for screen PCB fastening, 4 for bottom pad fastening
For the two bottom pads, use 8 M4×4×5 heat set inserts
The screw positions are designed with redundancy; installation can be determined by personal preference
The line loss compensation wire and encoder wire should be routed separately on either side of the fan
Solder the 4 5mm LEDs directly, paying attention to polarity
Please note that the four terminals are compactly designed and have not been validated in actual use; self-assessment is required
The terminals can be directly wired or connected with copper crimp terminals. When using copper crimp terminals for power connections, pay attention to their current carrying capacity
The difference between the two panels is that one requires using a craft knife to remove small supports before installing the acrylic panel. An open-source small board with an acrylic panel and a soldered terminal block will be available later
License

This user content is licensed under a Standard Digital File License.
You shall not share, sub-license, sell, rent, host, transfer, or distribute in any way the digital or 3D printed versions of this object, nor any other derivative work of this object in its digital or physical format (including - but not limited to - remixes of this object, and hosting on other digital platforms). The objects may not be used without permission in any way whatsoever in which you charge money, or collect fees.


Comment & Rating (0)