
Ikier K1 Pro Max 24/48W laser Box
Print Profile(1)
Bill of Materials
- HDF 6mm x 3: about 3m2
- Nut m5 x 84:
- washer fi 5.1 x 84:
- screw m5x16 x 84: flat rounded head
Description
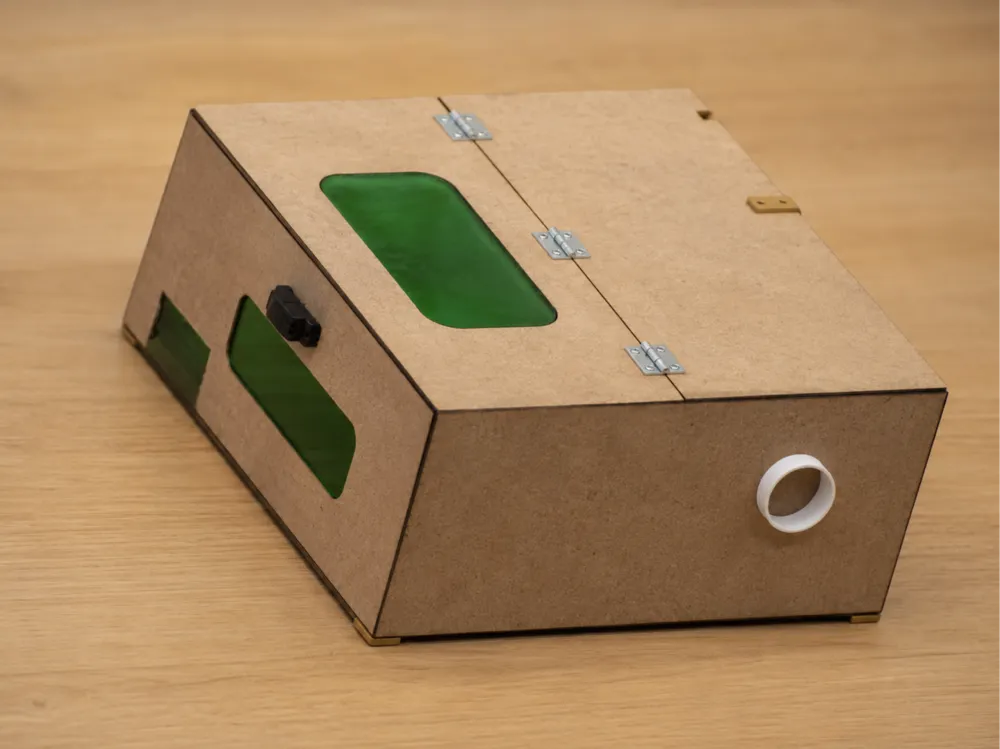
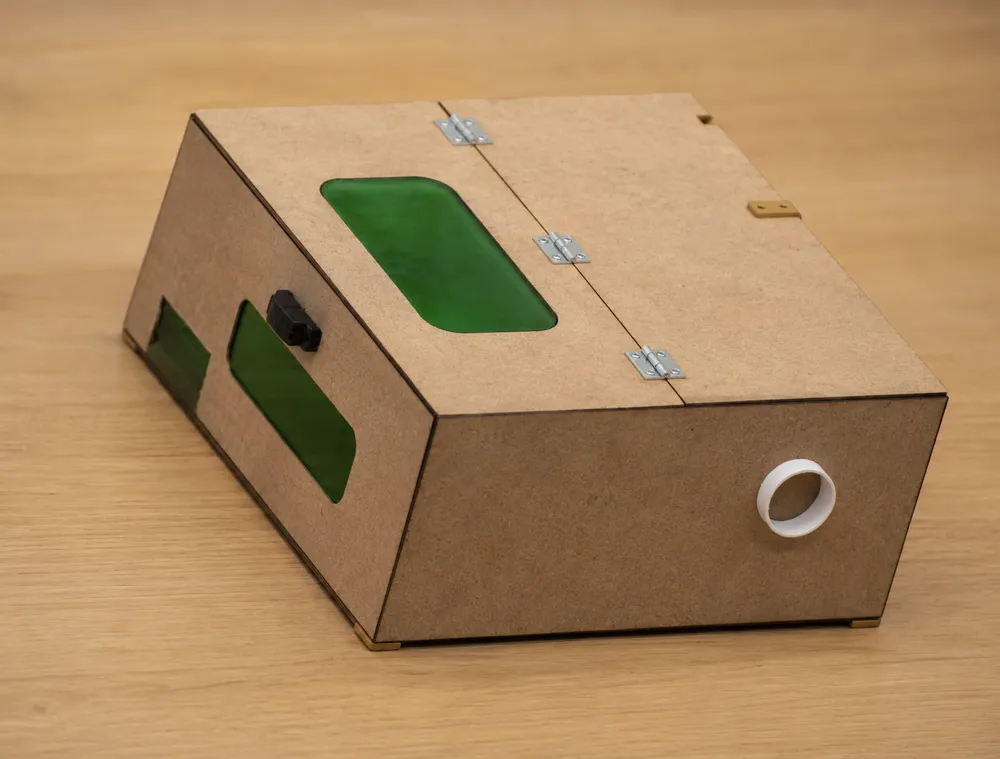
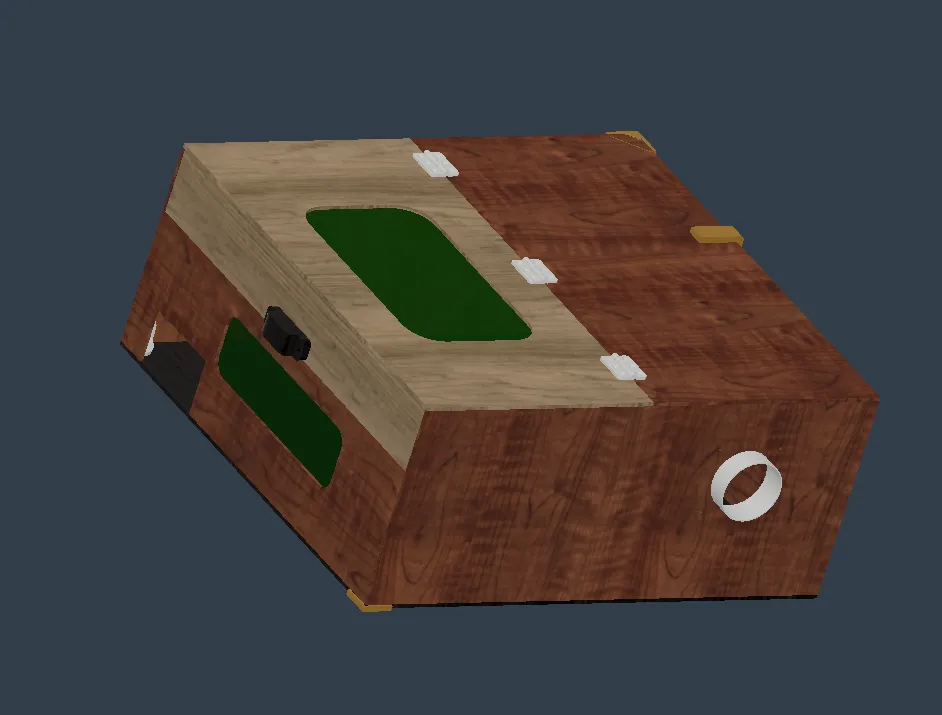
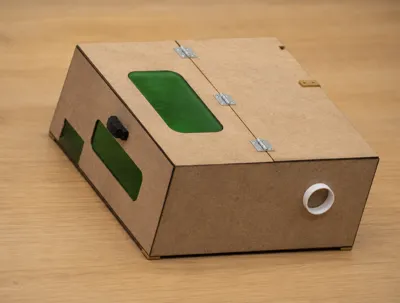
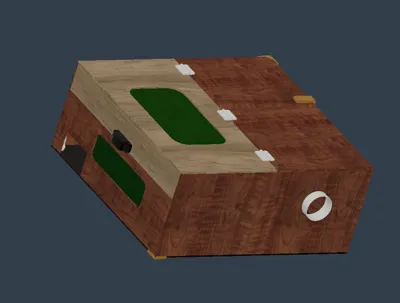
I created an enclosure for the new laser from 6mm HDF board. Attached are all the brackets, drilling templates, the enclosure model, and DXF files for each HDF or plexiglass element. All elements are mounted using m5x16 or m5x20 screws (as preferred), approximately 70-80 pieces.
How the assembly should look according to me:
- using the printed template, we secure the right, left, and rear walls at the corners.
- after ensuring the boards are securely fastened (the rear wall fits inside the side walls), drill holes using the template and screw in one bracket at half height.
- once the walls are screwed together, attach the corner pieces in 4 corners, aligning them with the bottom panel and the edge of the boards (the bottom of the enclosure and the top should lie flat against the walls).
- next, similarly, we mount the front wall containing the screen opening (holes can be cut using the attached DXF files).
- the next step is to assemble the top part of the enclosure, laying it evenly on all walls, aligning it at the corners (corner holes can be drilled using the template).
- we start assembling the lid → we place the top part flush with the previous board and push a small connector from the front so it aligns with the front. We drill holes according to the template, open it, mount the brackets, and assemble it entirely.
- finally, using the template, we drill one hole in the bottom board and screw the entire thing together.
Dimensions of 6mm HDF boards (8 elements):
Front for screen: 730x224mm
Small part of the lid: 730x106mm
Large part of the lid: 395x742mm
Top part of the enclosure: 395x742mm
Rear enclosure: 730x330mm
Right/left wall: 790x330mm
Base: 790x742mm
For assembly, we need:
- 11 x 6-hole bracket (not to be confused with the template)
- 6x 3-hole corner pieces
- 84 x m5x16 (or m5x20) screws and the same number of washers and nuts
- 4 x corner alignment template
- 1x template for drilling in the bottom and top boards
- 1x template for drilling holes for brackets
- 3x hinges (can be printed or purchased)
- 1 x exhaust pipe for 120mm fan and 100mm pipe
- 1 x filter cap
- 1x handle/grip
- optionally 1 or 2 plexiglass pieces
- 120mm fan (preferably USB powered)
TIP: it's worth keeping the piece after cutting out the screen opening to later cover the hole during burning.
Finally, it's worth protecting the entire thing with wood stain.
If anyone still has trouble with the assembly, I am happy to help.
License

You shall not share, sub-license, sell, rent, host, transfer, or distribute in any way the digital or 3D printed versions of this object, nor any other derivative work of this object in its digital or physical format (including - but not limited to - remixes of this object, and hosting on other digital platforms). The objects may not be used without permission in any way whatsoever in which you charge money, or collect fees.


Comment & Rating (0)