
Pin Medal Pokémon
Print Profile(8)




Bill of Materials




Description
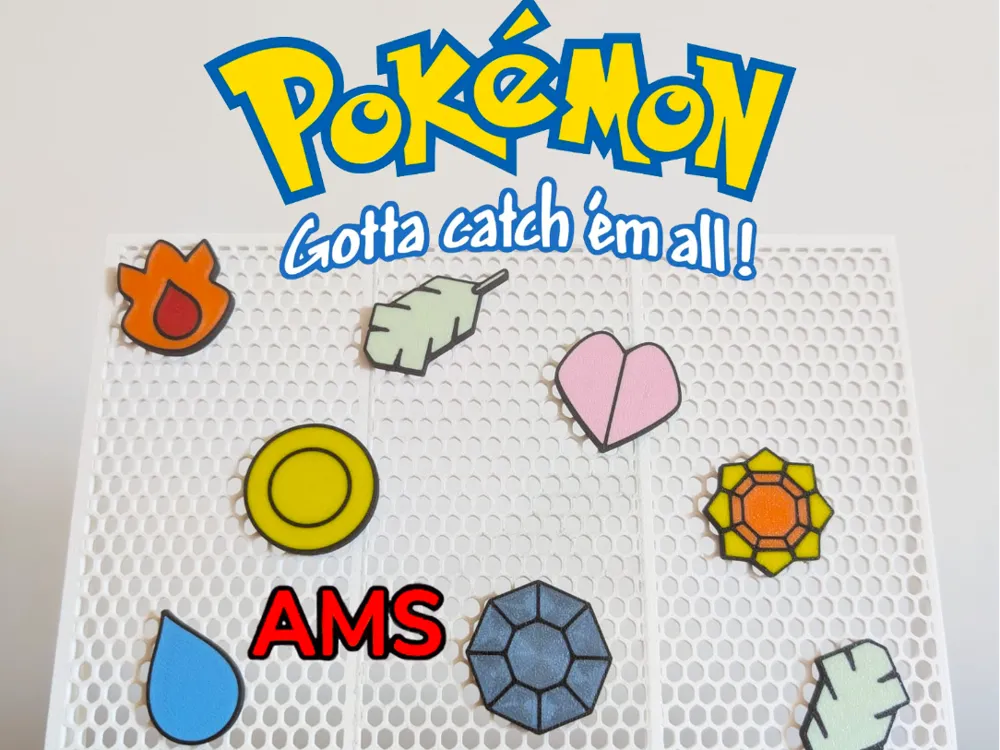
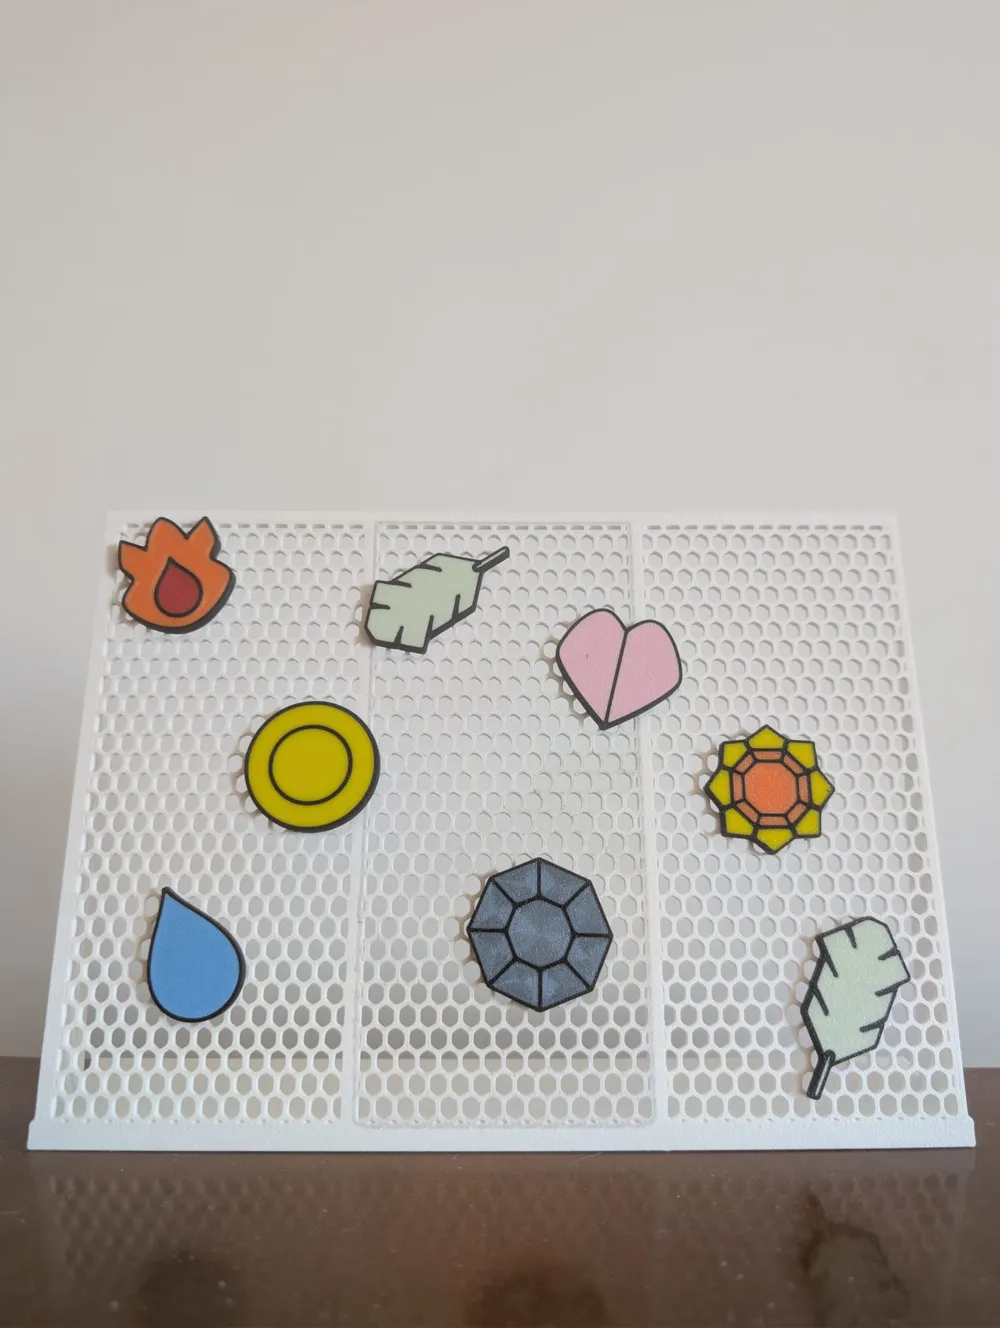
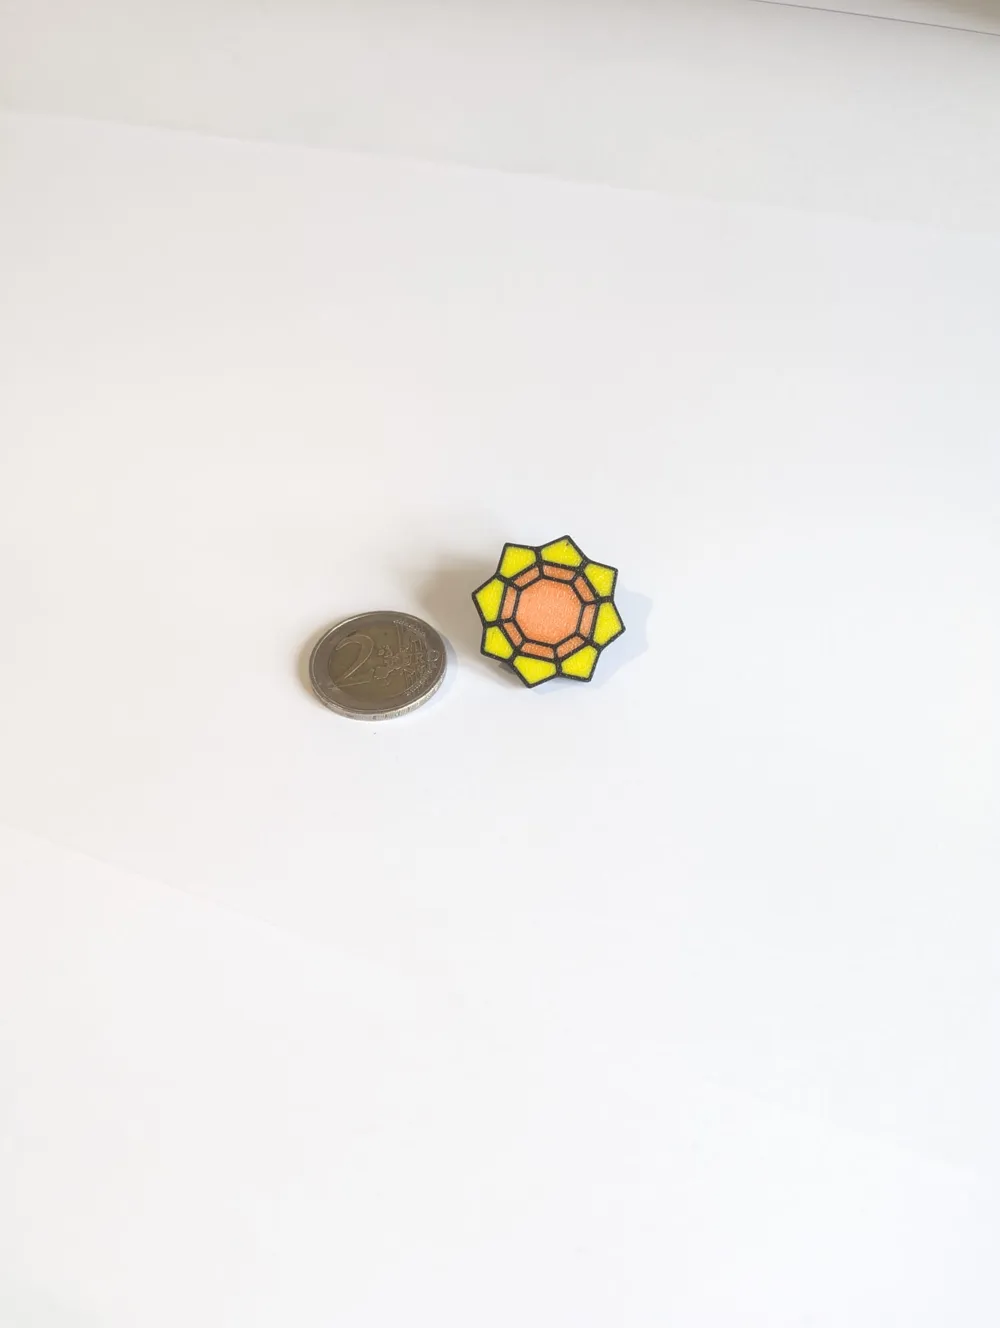
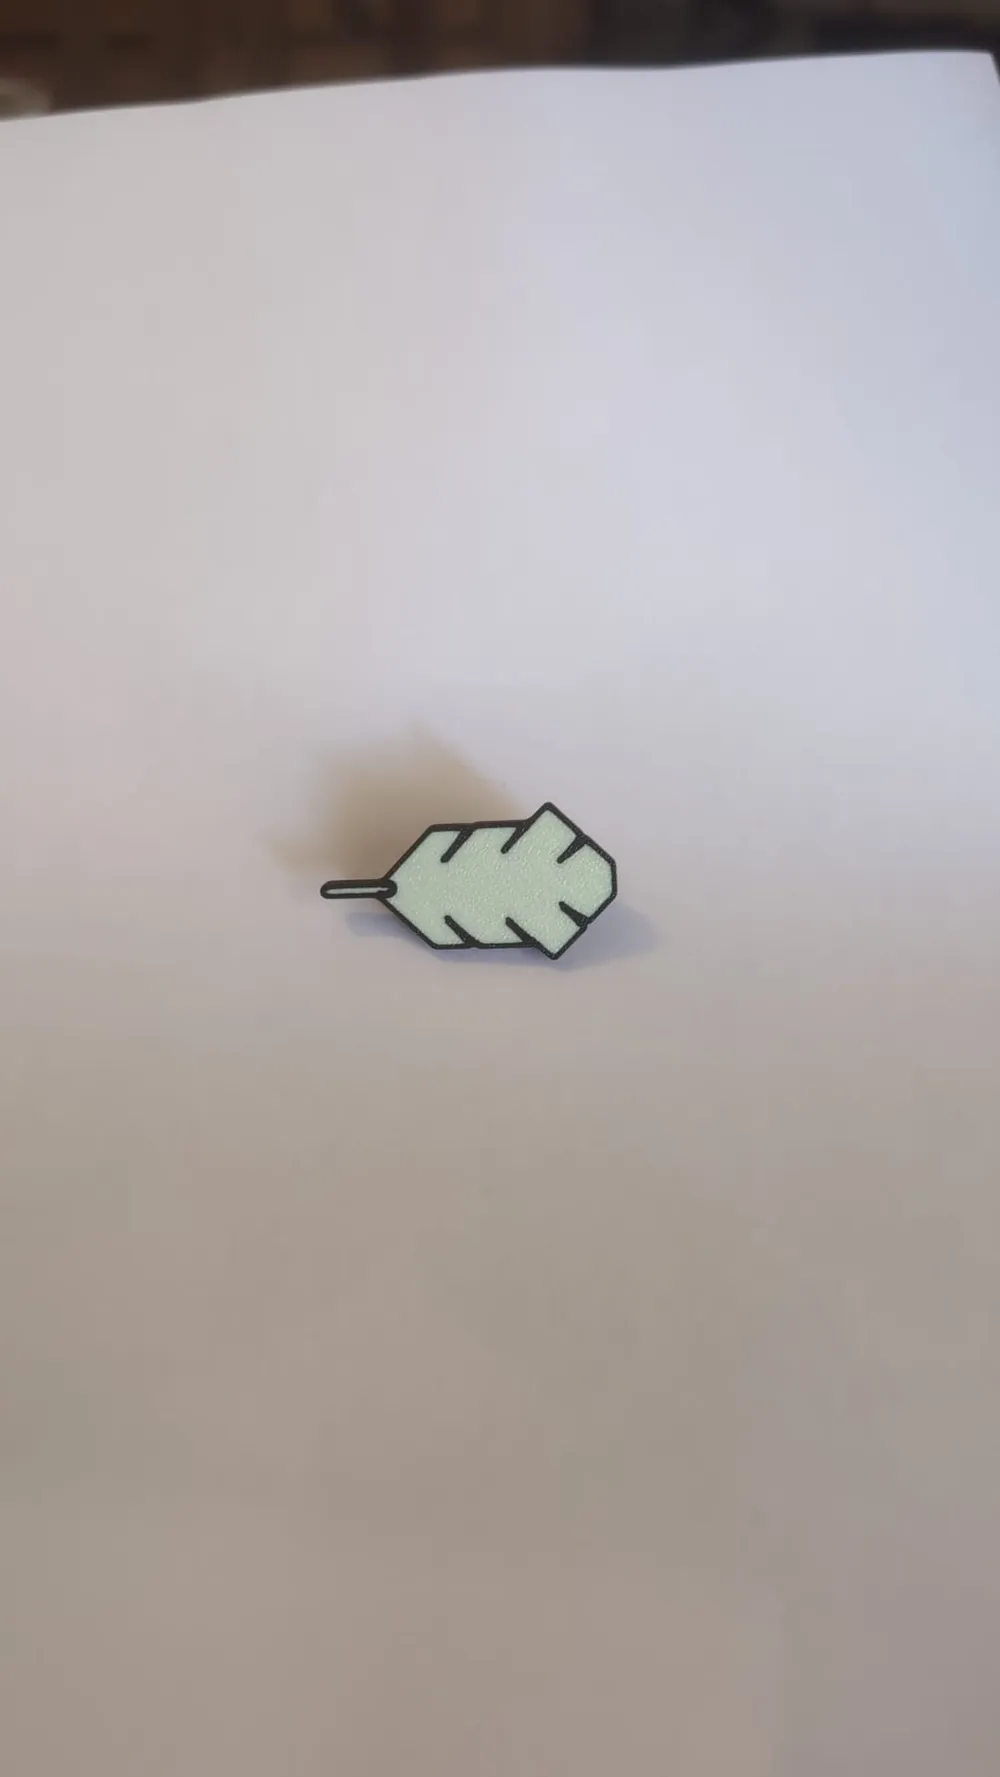
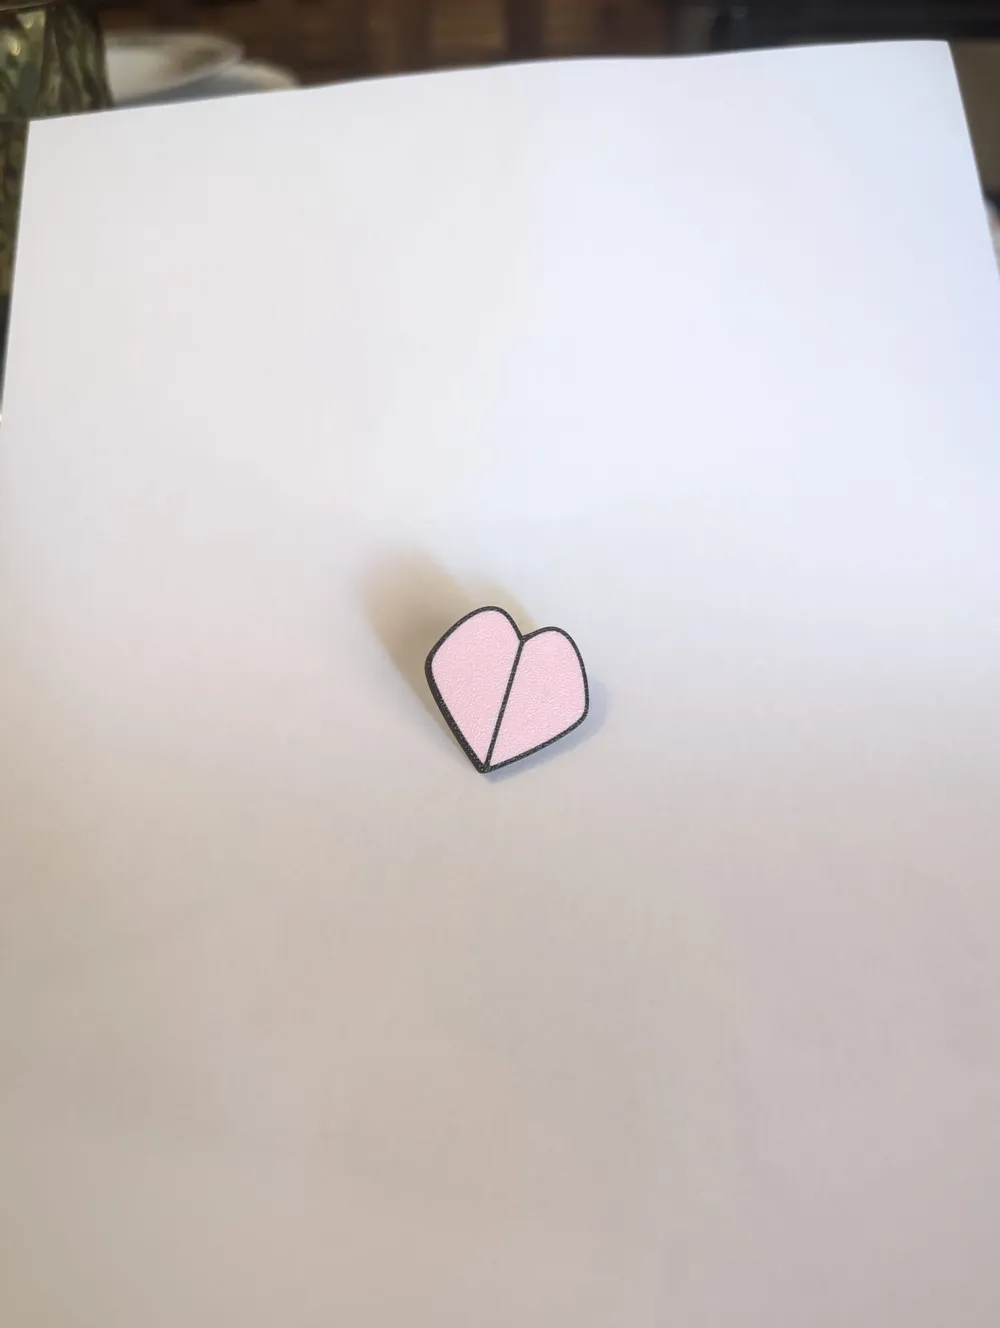
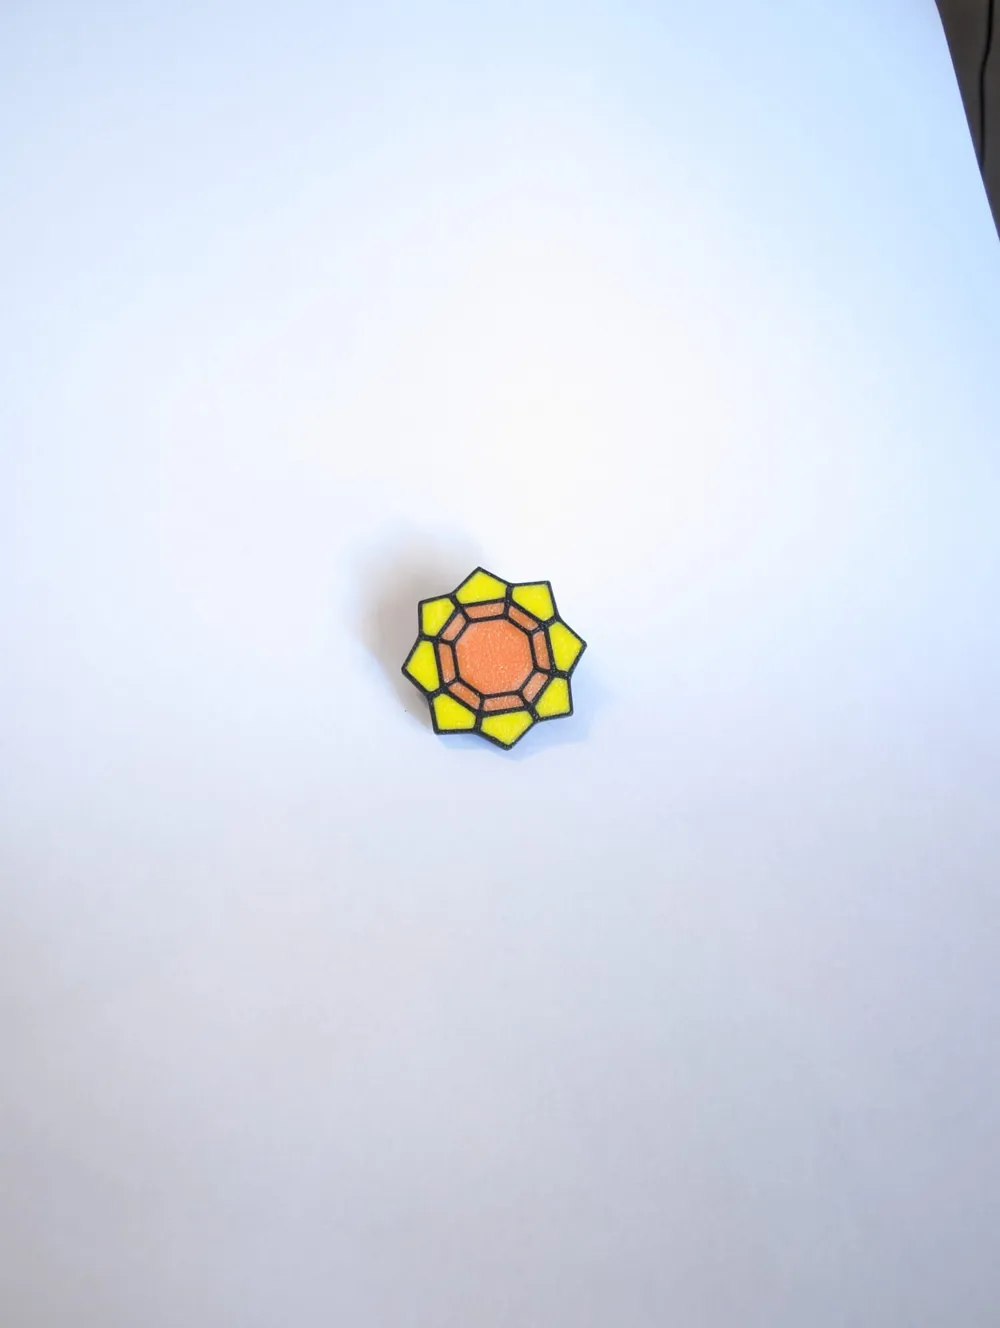
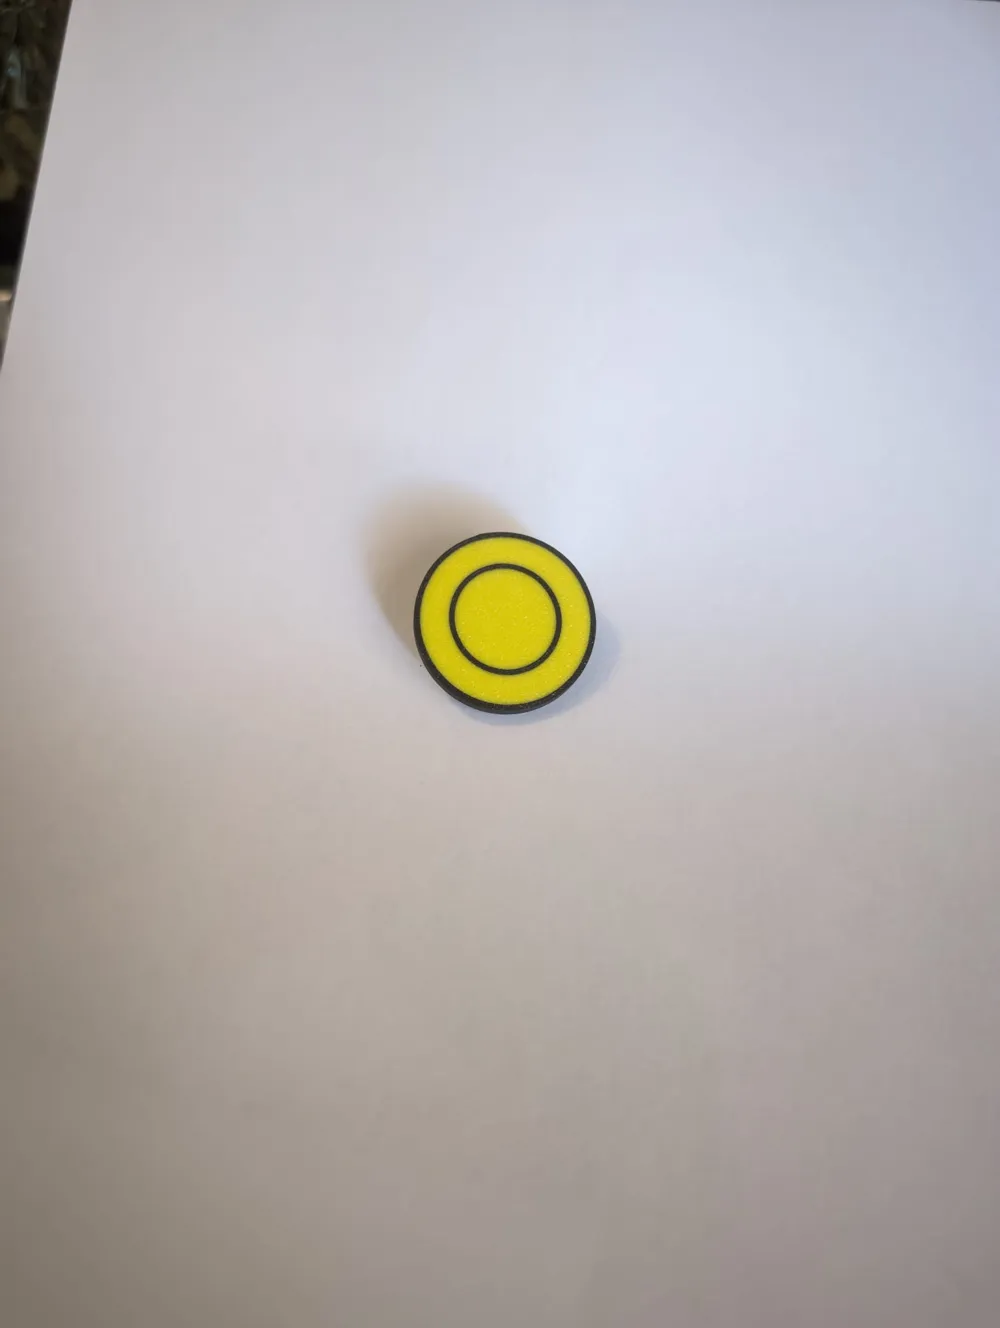
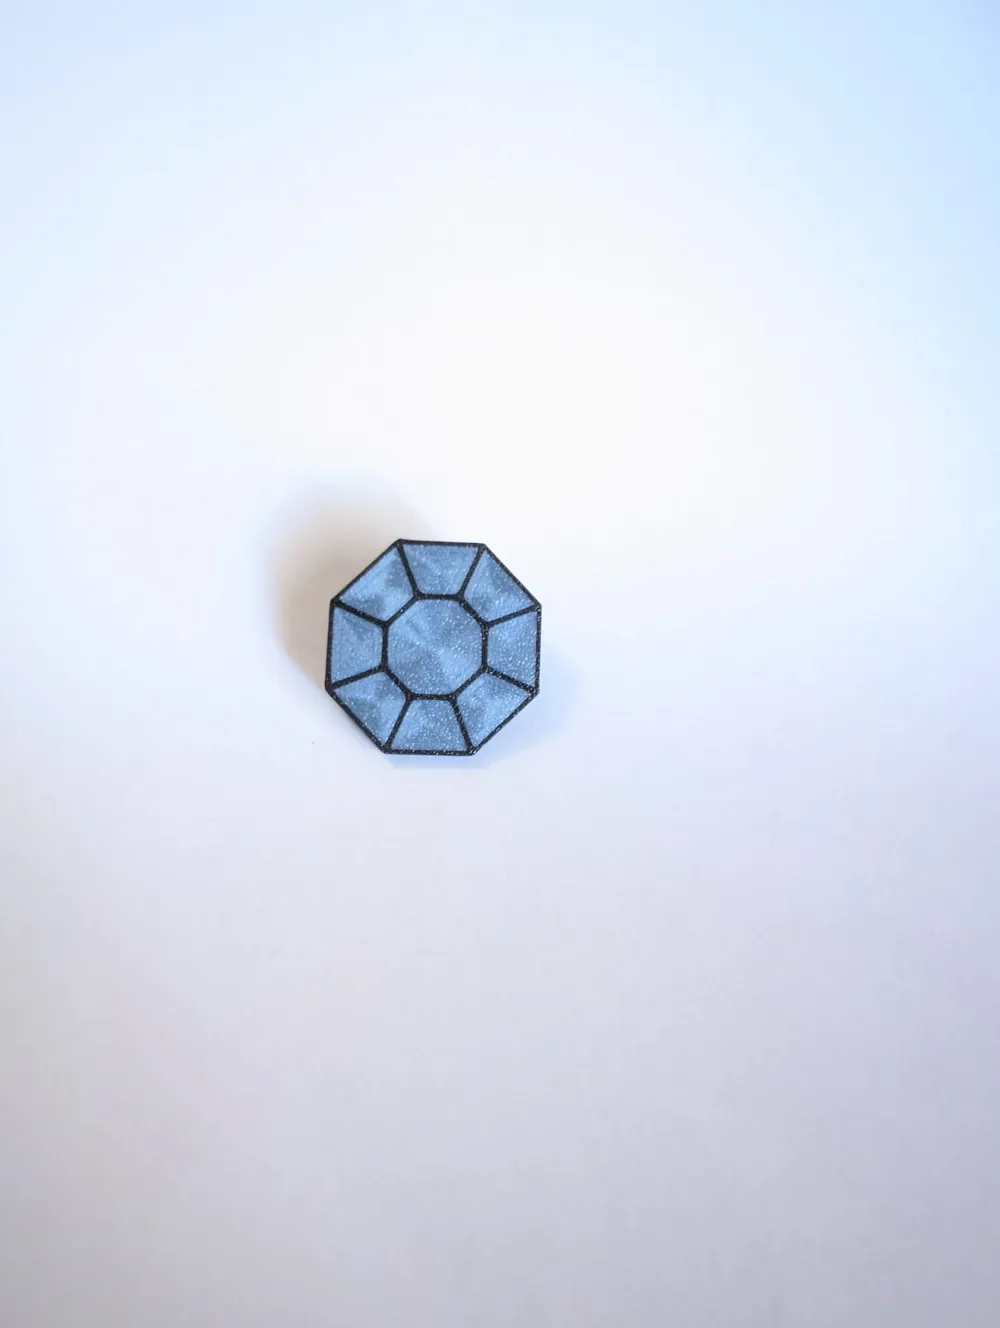
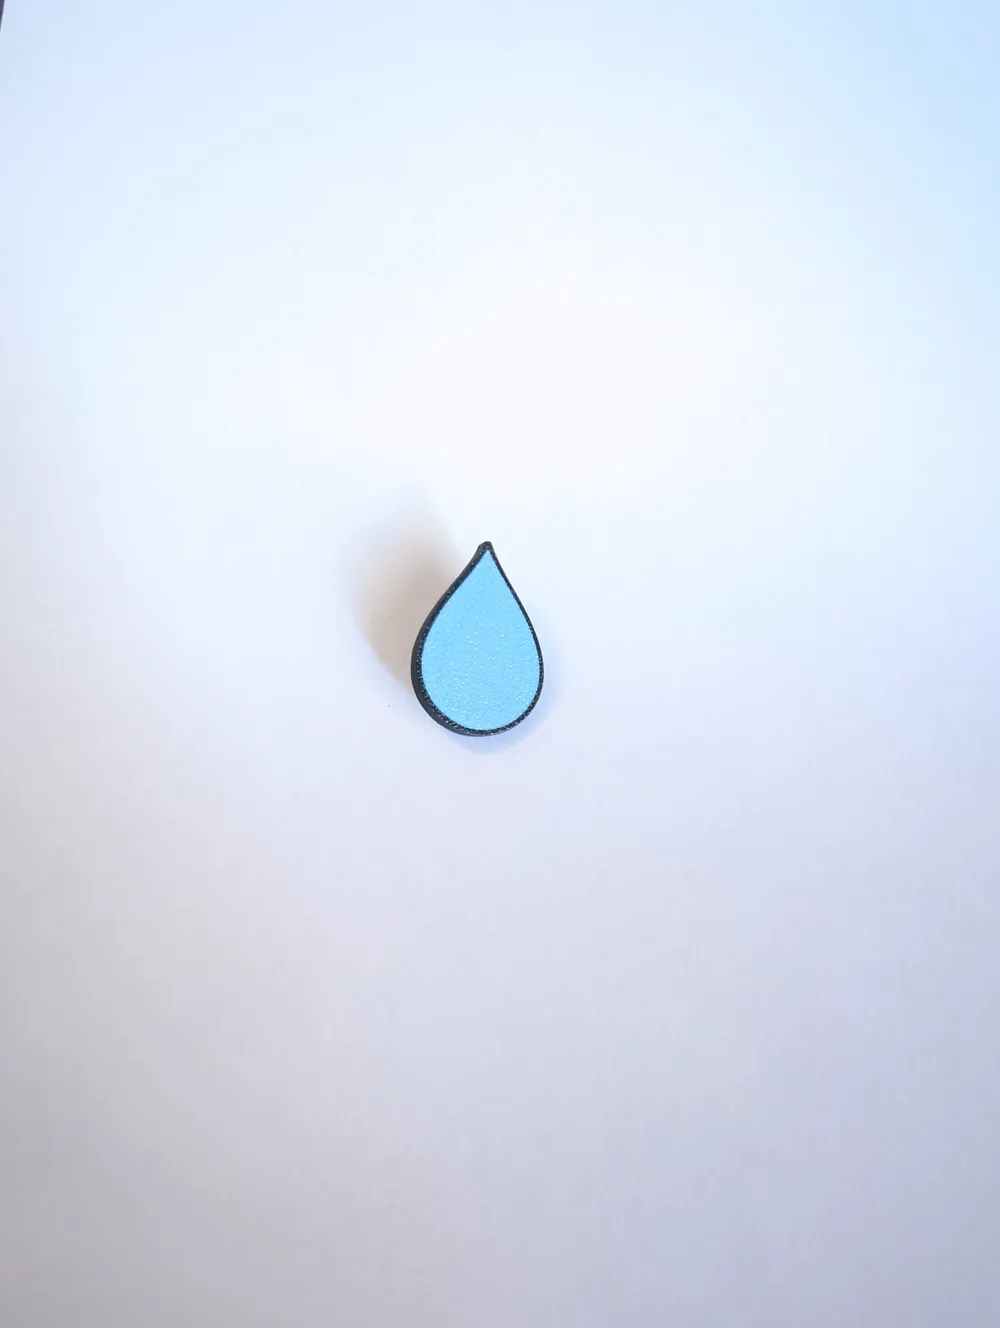
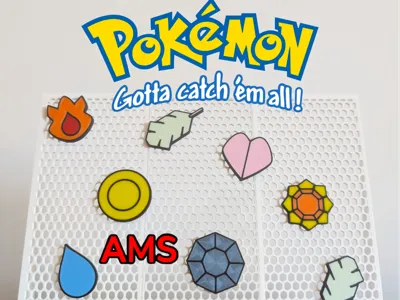
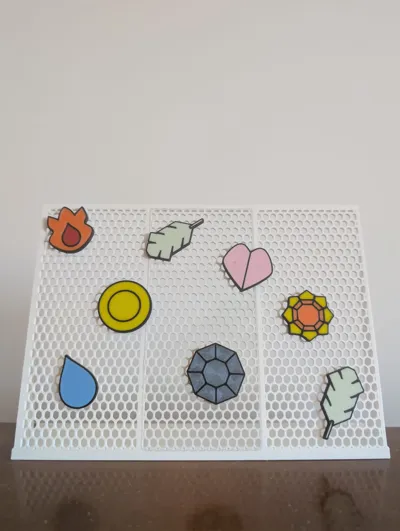
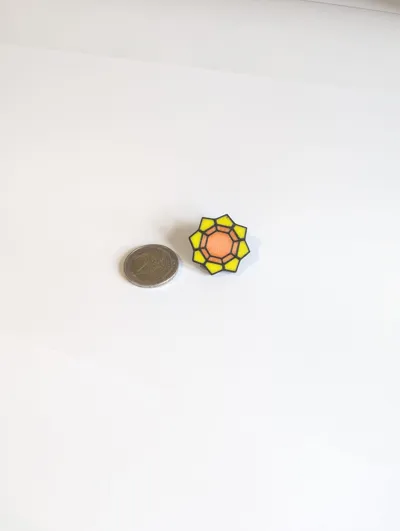
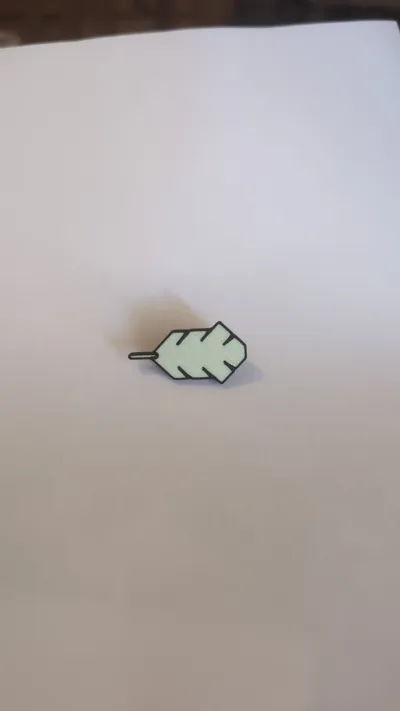
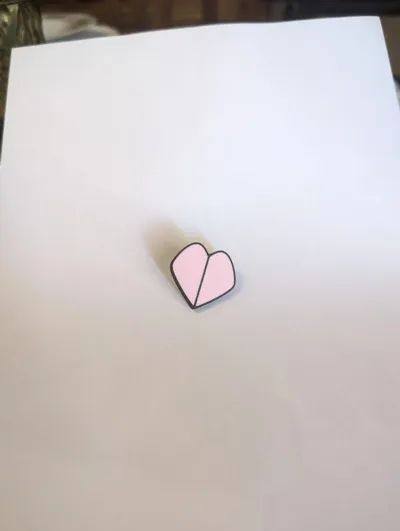
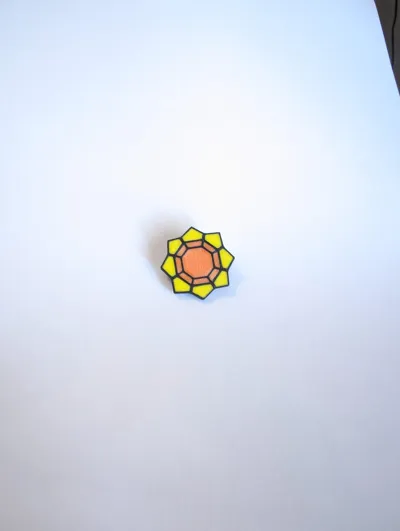
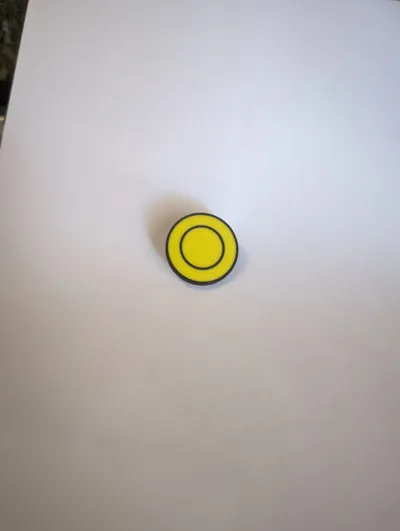
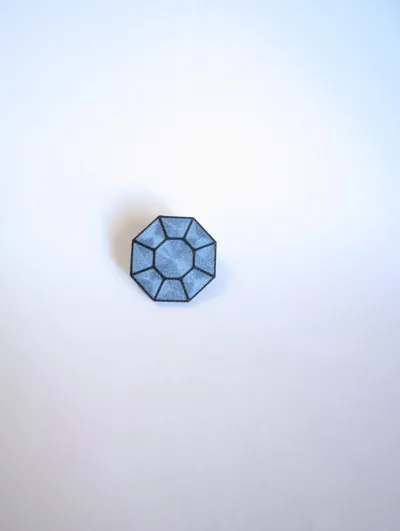
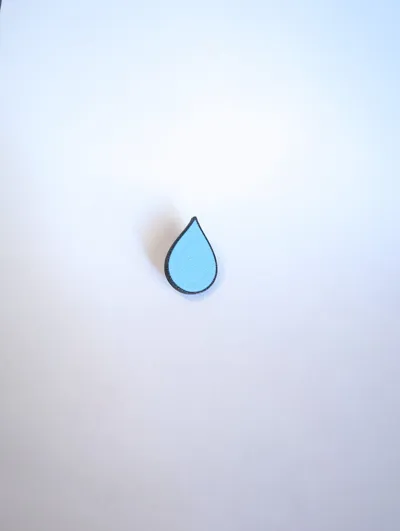
FINALLY THE BADGES IN A SINGLE MODEL! Yes, it made no sense to separate each badge into a different model, so here is the definitive model with the various badges for each print profile! What a struggle to get them all, how many hours spent in front of the Game Boy hidden under the covers so my parents wouldn't catch me! I lost 2 diopters with that screen! I always dreamed of having the real badges, now I can finally make my dream come true!
NB unfortunately the Rainbow badge cannot be printed without 2 AMS units, BUT! as soon as possible I will make one that will be assembled in pieces to create more plates and assemble it at the end :)
The modifications made to the speed and the first layer extruder are designed to make the grooves between two plastic lines less visible, you can modify these parameters as you wish to improve the first layer (the most important for this type of object).
The central hole is for gluing the pin that will hold the badge, I made it 4.8 mm, it's a bit tight to increase retention and you have to insert the pin by pushing it with small pliers, if you don't like it, just increase the size to 4.9 and it will enter without problems, I used normal super glue or similar to fix it to the hole.
Boost Me (for free)
A Boost for you is free, don't let it expire, it's very important for me to continue creating the best badges for you ❤
You can find the DIY badges I used on AliExpress, I'm sending you two photos just to understand:
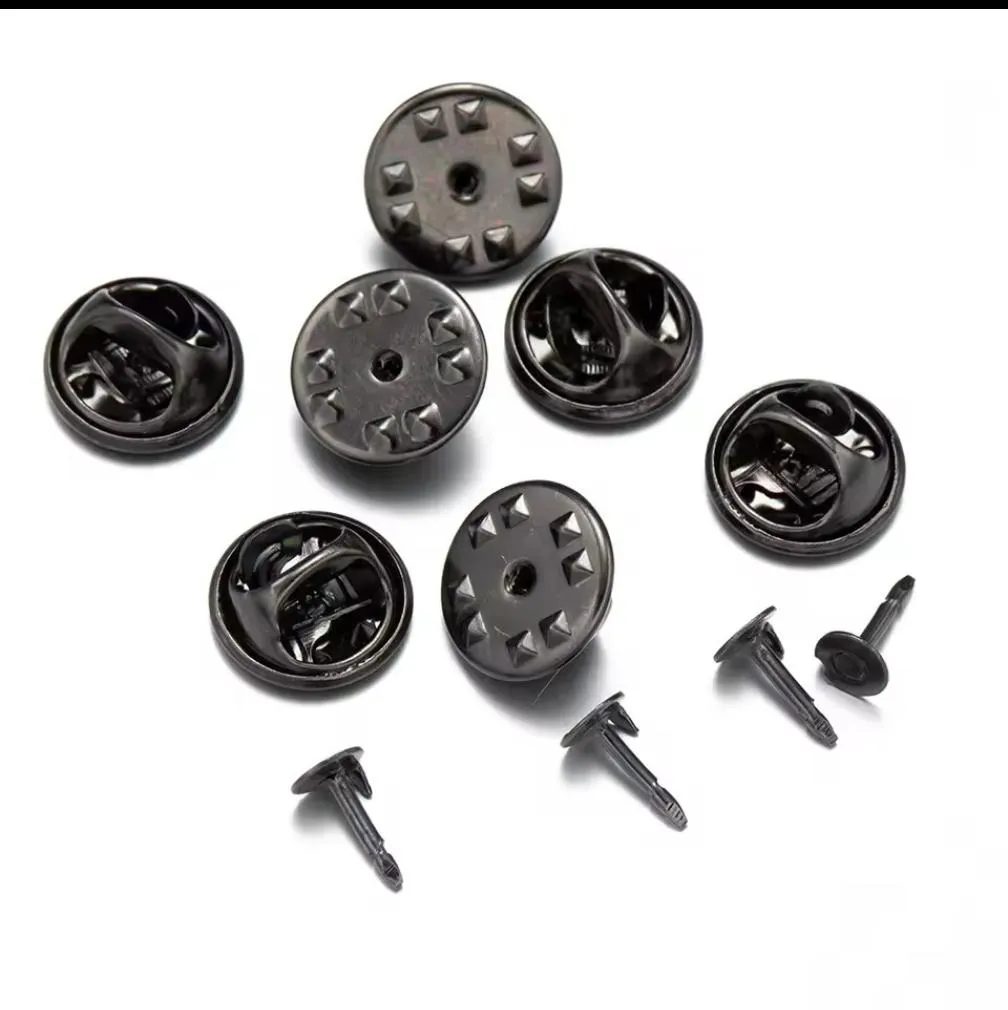
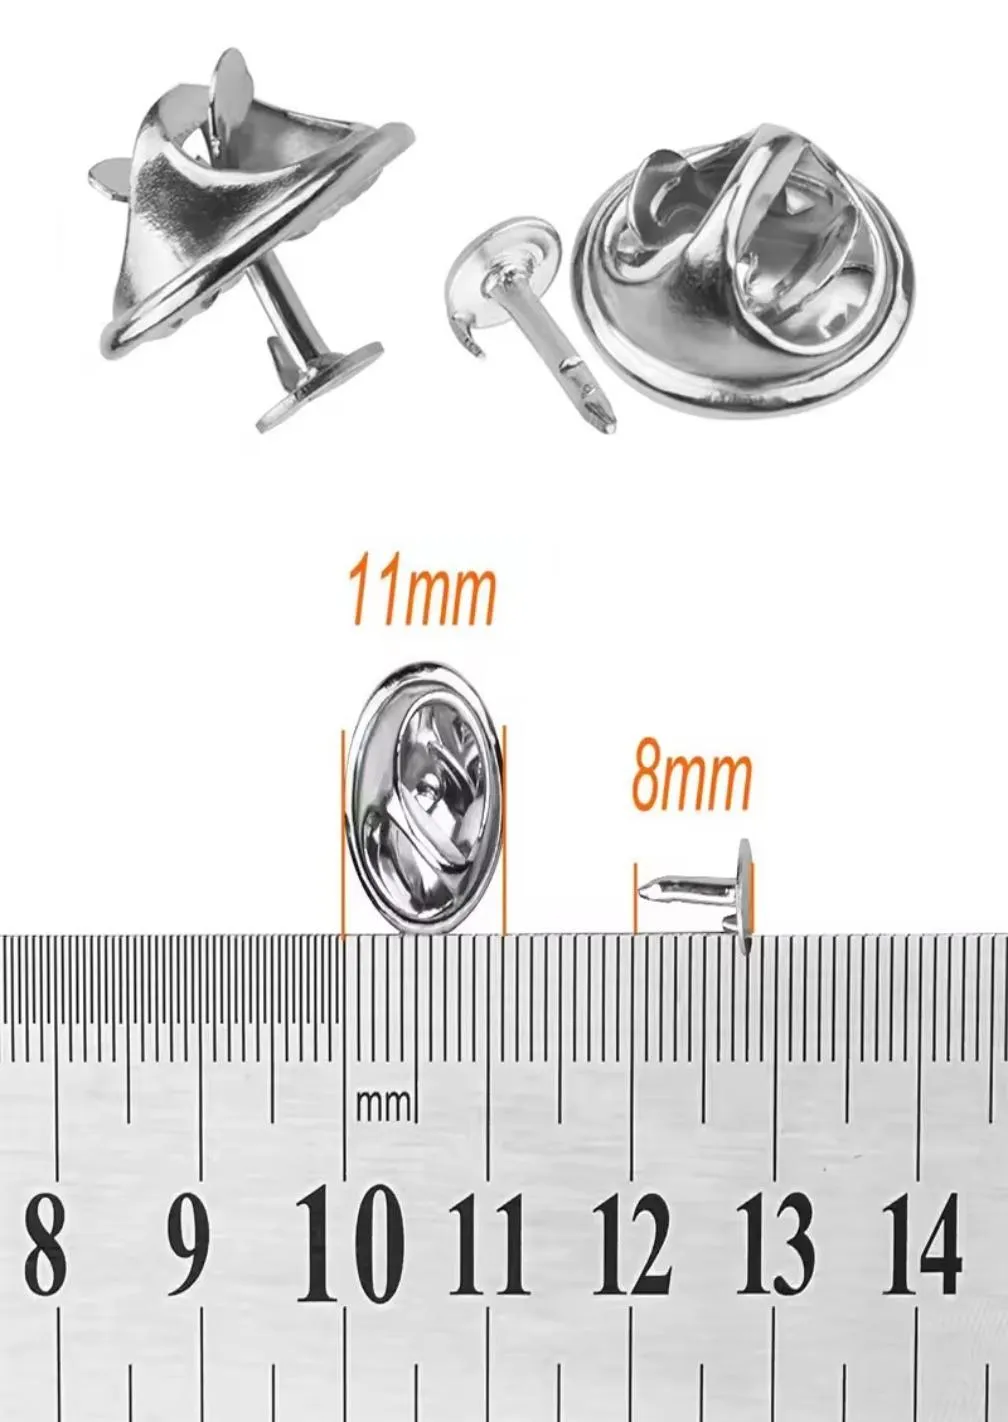
I recommend you get these, or if you choose others, modify the hole for the size of your badge base.
Thank you very much from Roa.
License

You shall not share, sub-license, sell, rent, host, transfer, or distribute in any way the digital or 3D printed versions of this object, nor any other derivative work of this object in its digital or physical format (including - but not limited to - remixes of this object, and hosting on other digital platforms). The objects may not be used without permission in any way whatsoever in which you charge money, or collect fees.


Comment & Rating (0)