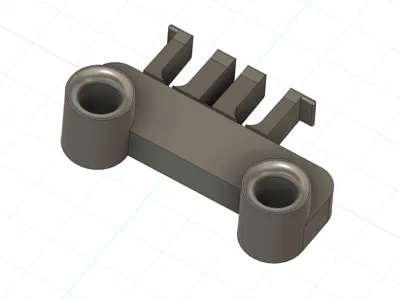
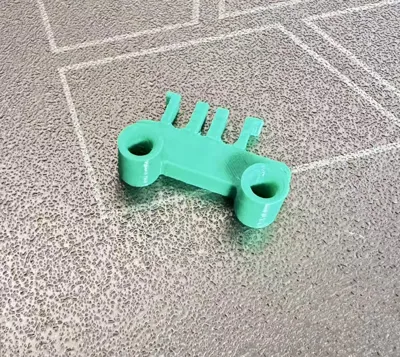
X2D Tool Head Filament Tube Fixing Clip


Print Profile(4)


Description
The X2D toolhead filament tube broke inside the toolhead, and it took a lot of effort to remove the broken filament tube
The toolhead filament tube sways back and forth and side to side during printing, and the longer the printing time, the more severe the wear on the filament tube. Wear is even worse with high-speed printing
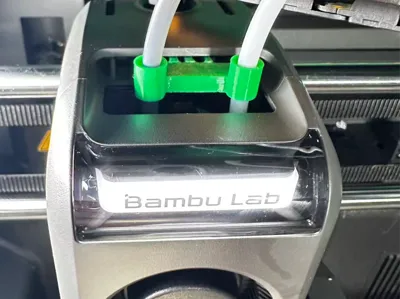
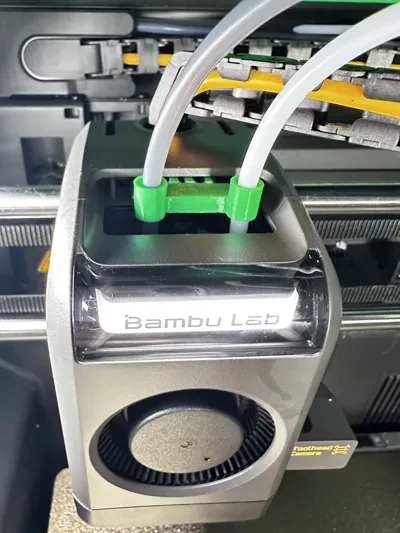
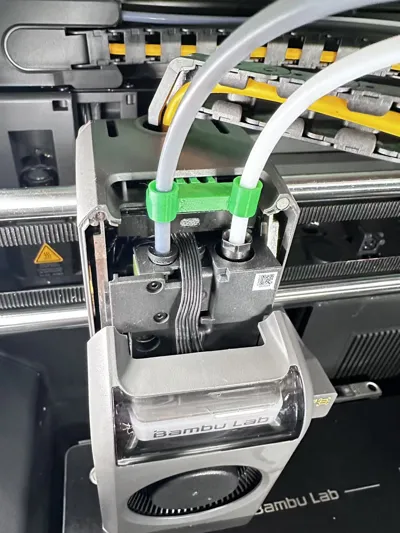
Using this clip can secure the filament tube so it won't shake when the pneumatic connector sways left and right
Installation Instructions
One, Disassembly Method:
To remove the main nozzle's gray filament tube, you need to first press down the pneumatic connector. Press it multiple times to fully release it before pulling out the filament tube. When installing, just push it straight in
To remove the auxiliary nozzle's white filament tube, you need the black plastic wrench from the toolkit. Turn counter-clockwise to loosen the nut and pull out the filament tube. When installing the filament tube, tighten it clockwise until you hear a click
Two, Installation Method:
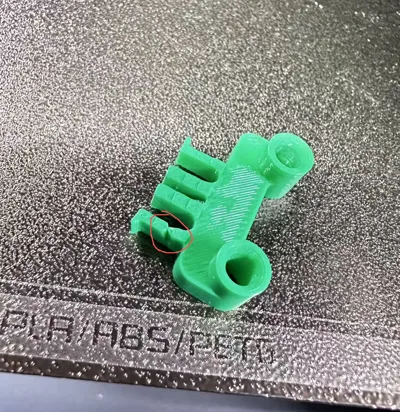
When installing, you need to insert it into the opening in the casing above the toolhead. First, insert it a little into the right auxiliary extruder side, then into the main extruder side, and then press them in together until they are firm
To remove the clip, you need diagonal pliers. Cut the frame on the main nozzle side, and it can then be pulled out
Three, Important Notes:
After printing, first use a filament tube to test the model's filament tube insert holes. 1, it is normal for the main nozzle's filament tube to be a bit tight. 2,ensure the auxiliary nozzle's filament tube can be pulled smoothly up and down,as the auxiliary nozzle needs to move up and down for normal switching.
If the test shows smooth pulling, you can install it directly.Some filaments shrink too much after printing, so if it's a bit tight, use a filament tube to pull it back and forth a few times to break it in. After installation, apply a little grease to the filament tube.
Four, Method for applying grease to the auxiliary nozzle filament tube:
1, Click theicon below the small house on the left side of the screen, then find and openNozzles and Extruders.Entering this interface allows manual nozzle switching (if a prompt appears after printing that switching is not possible, just restart the machine)"A checkmark ✓ indicates the currently active nozzle.While theleft main nozzle is checked ✓, apply a little grease to the auxiliary nozzle filament tube. Apply it above this bracket, as the filament tube moves downwards when switching to the auxiliary nozzle. After applying, click on the right (Auxiliary), then click on the left a few times to test for normal switching.
Updated on June 30th~
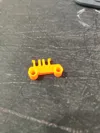
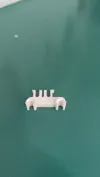
Added other versions of the model. You can print them all out and try; less than 10g of filament is enough
Added auxiliary nozzle with increased filament tube diameter, suitable for printing ABS
Added non-disassembly fixed clip
Added a main nozzle fixed clip
Solutions for errors that may occur when the auxiliary nozzle switches up and down
1, After printing, use tweezers to scrape off any protruding material from the seams inside the hole
2, You can add some grease as appropriate
3, You can install a riser to prevent the glass cover plate from pressing on the filament tube, which would increase the upward resistance of the nozzle
Solutions for concerns about filament tube rotation
If you are concerned that the main nozzle filament tube might still rotate, you can reinforce it by applying a film of Kafuter 704 (non-flowing type). This adhesive is elastic after drying, easy to remove, and high-temperature resistant
If you have any other questions during use, feel free to provide feedback online~
Boost Me (for free)
Thanks for boosting me, share the model with more friends

Comment & Rating (5)