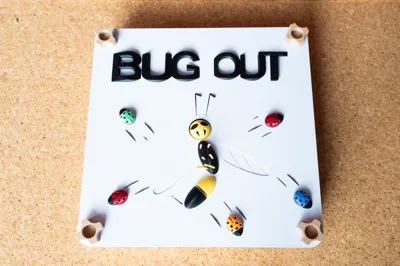
Bug Out! | Fully Mechanical Ladybug Rescue Game


Print Profile(1)
Bill of Materials


Description
Membership
support me and yourself by subscribing for a membership
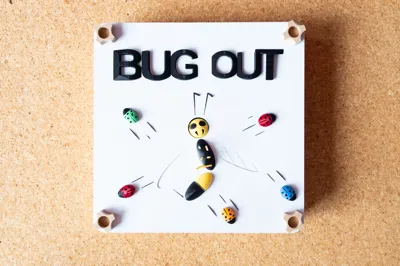
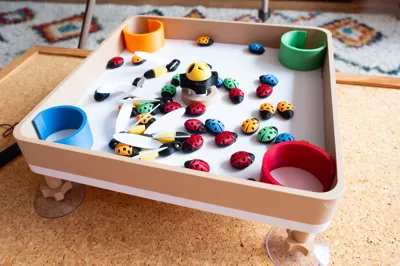
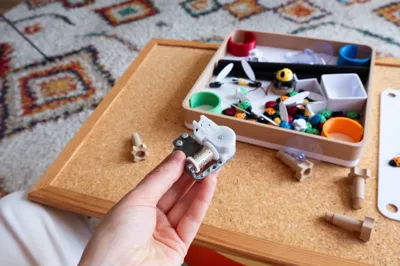
Bug Out!
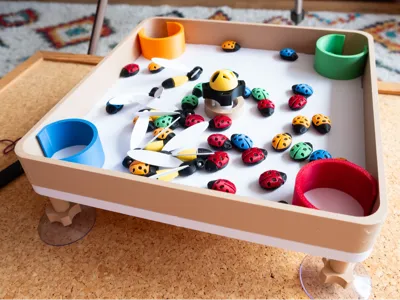
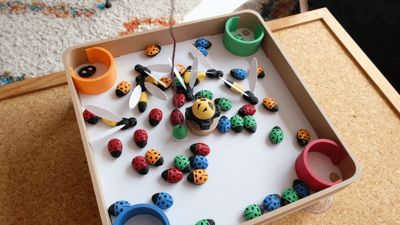
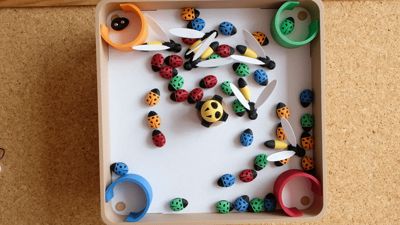
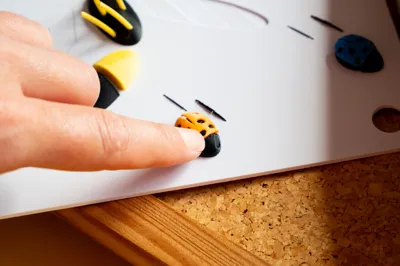
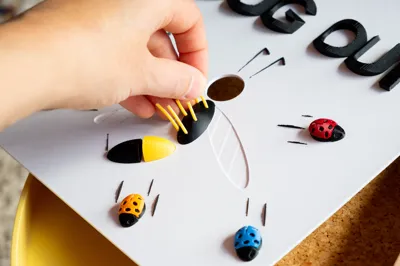
Bug Out! is a fast-paced tabletop game where players must rescue their ladybugs while avoiding the lurking parasitic wasp. The game combines timing, precision, and light strategy, making it fun for both kids and adults.
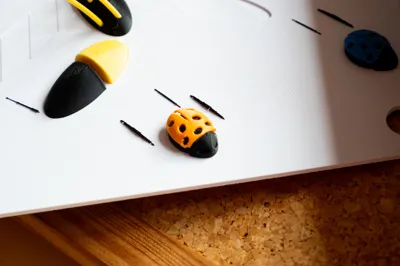
The ladybugs are fully moving game pieces powered purely by mechanics – no batteries or electronics required.
The entire game is driven by magnets, mechanical motion, and physical interaction, creating a unique, fully interactive tabletop experience.
! Safety Notice
This model contains small parts.
! Not suitable for young children.
Adult supervision is recommended during gameplay and assembly.
-----------------------------------------------------------------------------------------------------
A detailed PDF assembly guide is included in the download files.
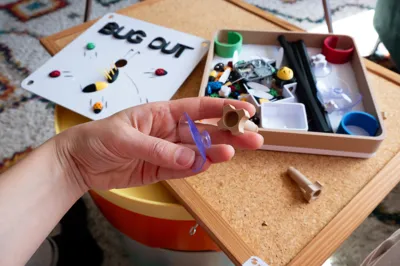
Recommended Tools
The following tools may be helpful during assembly:
- Flat-nose pliers
- Scissors
- Glue is recommended for decorative lid parts and for any components that fit slightly loose due to printer tolerances.
Additional Materials:
For the rotating Board
- 36× 5×2 mm magnets
- 4× 6×2 mm magnets
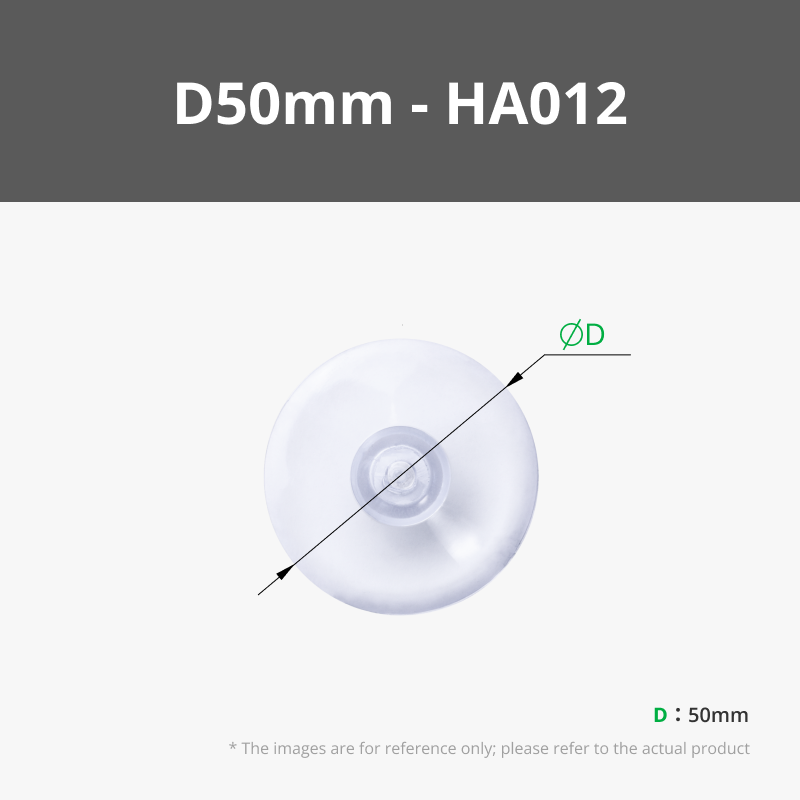
5× suction cups (50 mm)

1× wind-up music box mechanism

For the game Pieces
- 80× 6 mm steel balls (ladybugs)
- 12× 6 mm steel balls (wasps)
This is for:
- 40 ladybugs (10 per player)
- 6 parasitic wasps
For the fishing Rods
- 4× cords (~25 cm each)
- 8× 6×2 mm magnets
---------------------------------------------------------------------------------------------------------------------------------------------
Assembly guide and full game rules are included in the download files.
Lid Options
- The lid can be printed in single-color or dual-color.
- The dual-color version includes a quick rules guide printed on the inside.
! IMPORTANT: MAGNET SYSTEM (READ CAREFULLY)
Magnet placement is critical for correct gameplay. Incorrect polarity will break game functionality.
1. Rotating Board (Reference System)
- 36× 5×2 mm magnets
- 4× 6×2 mm magnets
→ All magnets in the rotating board must be inserted with the same polarity direction.
This part defines the reference magnetic field of the game.
2. Fishing Rods (Interaction System)
- 8× 6×2 mm magnets total:
- 4× white rod ends
- 4× black rod ends
Fishing rod magnets must be inserted with the opposite polarity compared to the rotating board magnets.
Rods must repel the rotating board magnets during gameplay
Do NOT match polarities between rod ends and board
Print Pauses & Magnet Installation
The magnets are inserted during the automatically programmed print pauses included in the print profiles.
White Plate
The white plate containing the rotating board pauses at Layer 12.
At this pause, insert:
- All rotating board magnets
- The magnets for the Easy Mode (white) fishing rod ends
Black Plate
The plate containing all black bodies of bugs etc pauses at Layer 14.
At this pause, insert:
- The magnets for the Hard Mode (black) fishing rod ends
Magnet Quality Requirement
Use strong neodymium magnets only.
Recommended:
- Bambu Lab magnets or equivalent high-quality magnets
- Weak magnets may cause gameplay issues or inconsistent movement
PRINT SETTINGS
Lid (with printed rules)
- Initial layer speed: 30 / 30 mm/s
VERY IMPORTANT
- Build plate must be perfectly clean
- Small text requires strong adhesion
- Poor bed preparation may cause rule text failure
Ladybug Shells
Can be printed without a brim:

- However:
- The provided profiles include a brim for safety due to the small contact area
Remove the brim only if you are confident in your printer's bed adhesion
! The shells are on the plate with the trays and rod ends - you have to print 4 times in 4 different colours. You can also merge de objects and put all the colours on one plate and set the settings to print by object. This will cancel the brim, be aware of that.
All screws, Legs + Rotating Plate
Print settings:
- 3 walls
- 100% infill
Required for:
- Structural strength
- Durable screw threads
! Do not overtighten screws.
Remaining Parts
- Standard print settings are sufficient.
! Allow large parts to cool completely on the build plate before removal to help prevent warping.
Assembly video:
Boost Me (for free)
Boost me for free if you like :) Thank you very much!
Documentation (2)
License
You shall not share, sub-license, sell, rent, host, transfer, or distribute in any way the digital or 3D printed versions of this object, nor any other derivative work of this object in its digital or physical format (including - but not limited to - remixes of this object, and hosting on other digital platforms). The objects may not be used without permission in any way whatsoever in which you charge money, or collect fees.
Comment & Rating (6)