
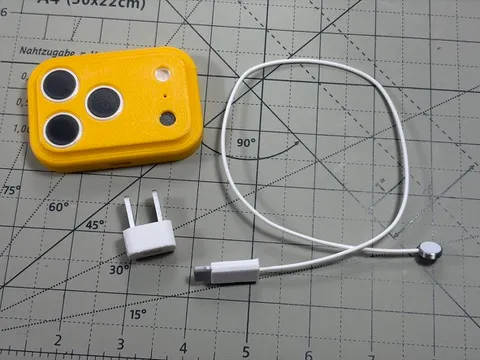
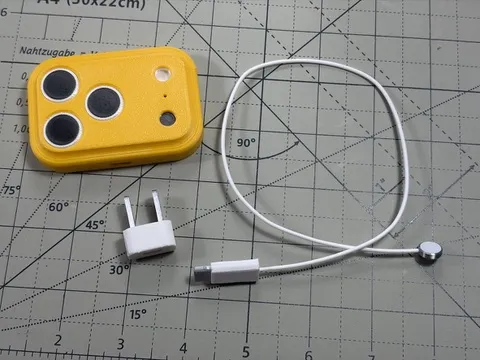
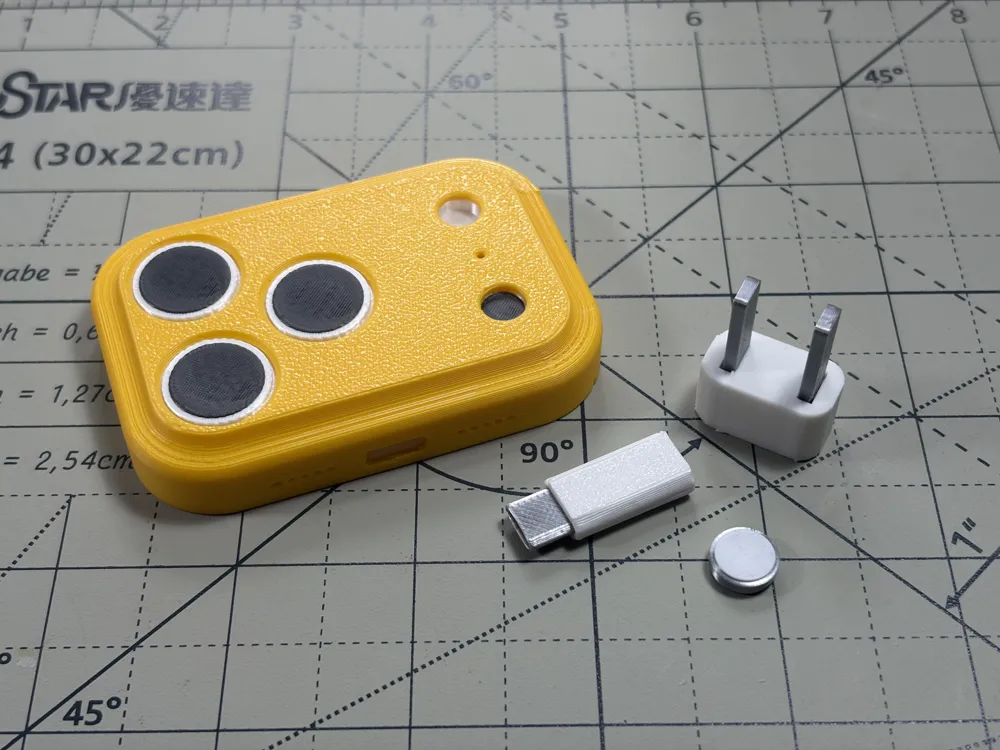
iPhone17Pro mini Case magsafe charger
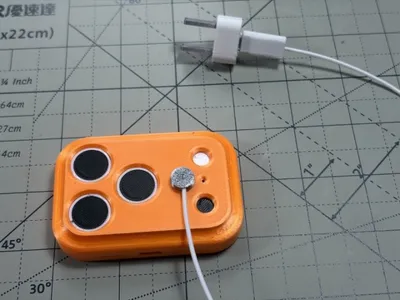
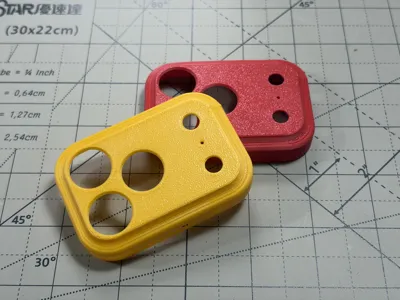
Print Profile(2)
Bill of Materials


Description
2026/06/23
Update:
Update notes
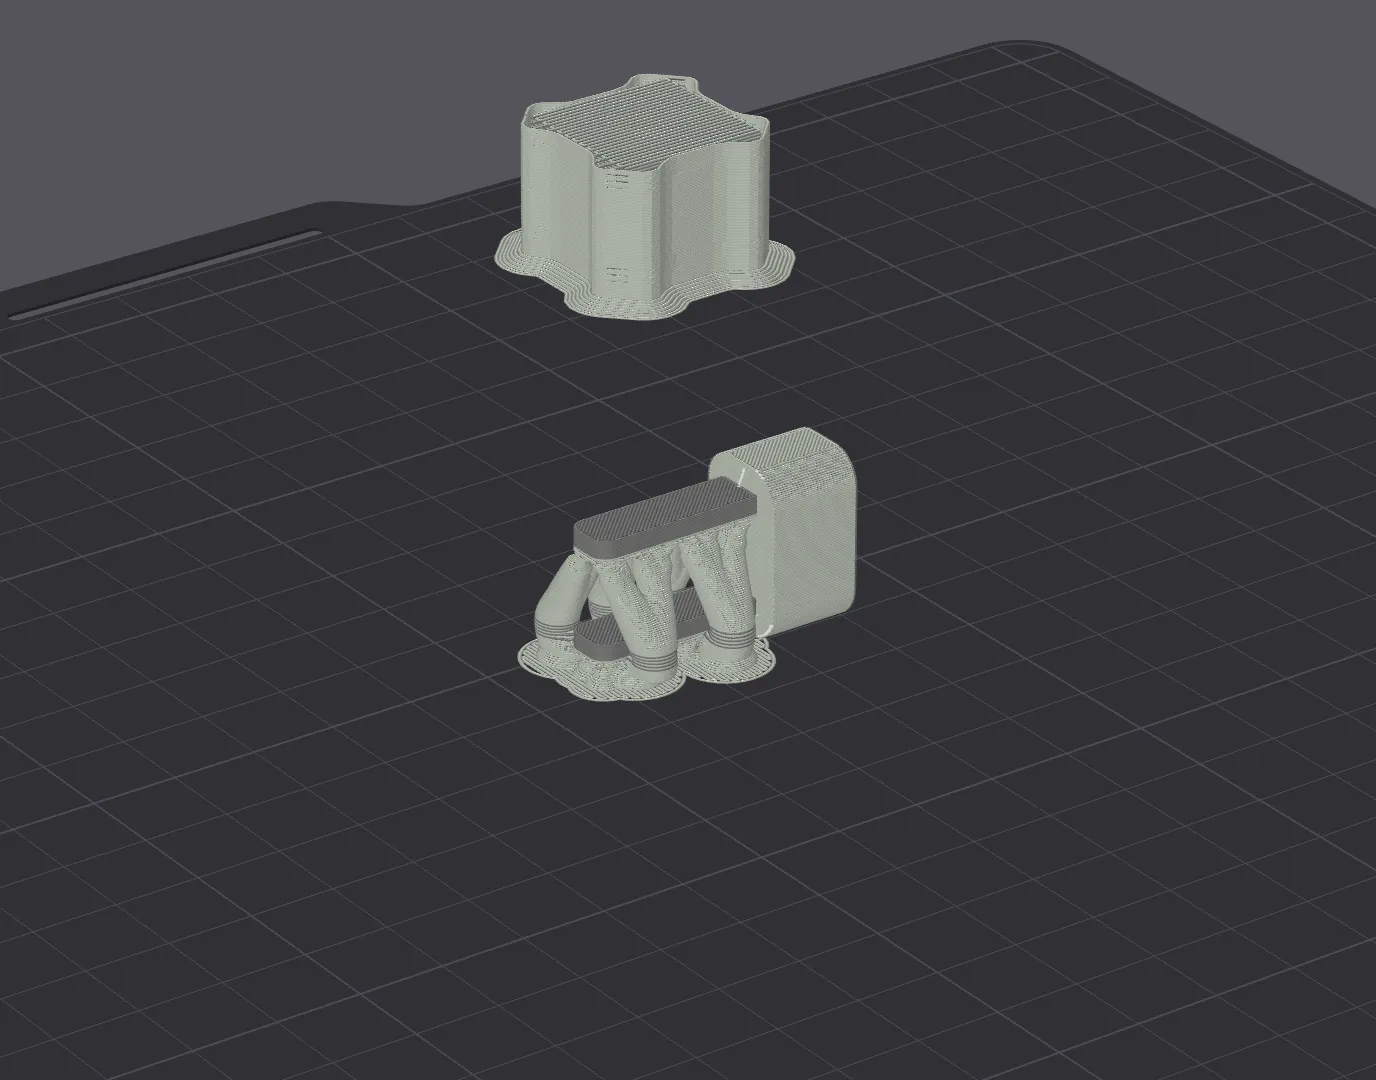
Some users reported that the model could be accidentally knocked off the build plate while inserting the plug parts during assembly.
Users reported that the model might be accidentally knocked off the build plate when inserting the plug parts during assembly
To address this issue, I have added a fully AMS-printable version of the plug.
To solve this issue, I added a plug version directly printable with AMS
The AMS version is included on the last plate.
The AMS version is placed on the last plate
It can be printed directly without pausing the print or inserting parts manually.
It can be printed directly without pausing the print or manually inserting parts in the middle
Thank you for the feedback and suggestions!
Thank you for your feedback and suggestions
====================================================================
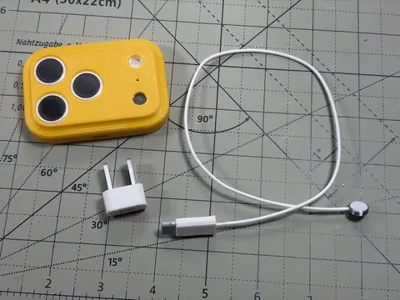
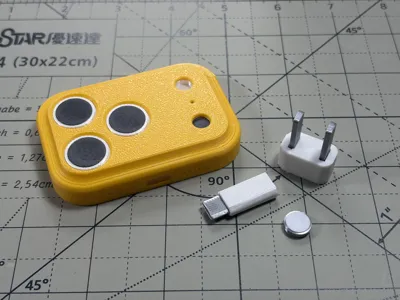
iPhone 17 Pro Mini Accessory Pack
iPhone 17 Pro Mini Accessory Pack
Complete your iPhone 17 Pro Mini display setup with matching cases, a MagSafe charger, and a power adapter.
Complete your iPhone 17 Pro Mini display model with matching cases, a MagSafe charger, and a power adapter
Perfect for collectors, display builds, photography props, and miniature setups.
Suitable for collection display, scene building, photography props, and miniature model making
iPhone17Pro mini
Model link:https://makerworld.com/zh/models/2208122-iphone-17-pro-mini#profileId-3232541
iphone17-pro-mini-box-packaging
Box packaging link:https://makerworld.com/zh/models/2720464-iphone17-pro-mini-box-packaging#profileId-3013602
Disclaimer
Disclaimer
These models are decorative accessories intended only for use with the 3D printed iPhone 17 Pro Mini model.
These models are only for use as display accessories for the 3D printed iPhone 17 Pro Mini
⚠️ Do NOT connect, plug in, or attempt to use the printed charger or power adapter with any real electronic device.
⚠️ Do NOT connect the printed charger or power adapter to any real electronic device
⚠️ Do NOT insert the printed power adapter into a real wall outlet.
⚠️ Do NOT insert the printed power adapter into a real power outlet
These models contain no functional electronic components and are intended for display, photography, prototyping, and collection purposes only.
These models contain no functional electronic components and are intended for display, photography, prototyping, and collection purposes only
Included Models
Included Models
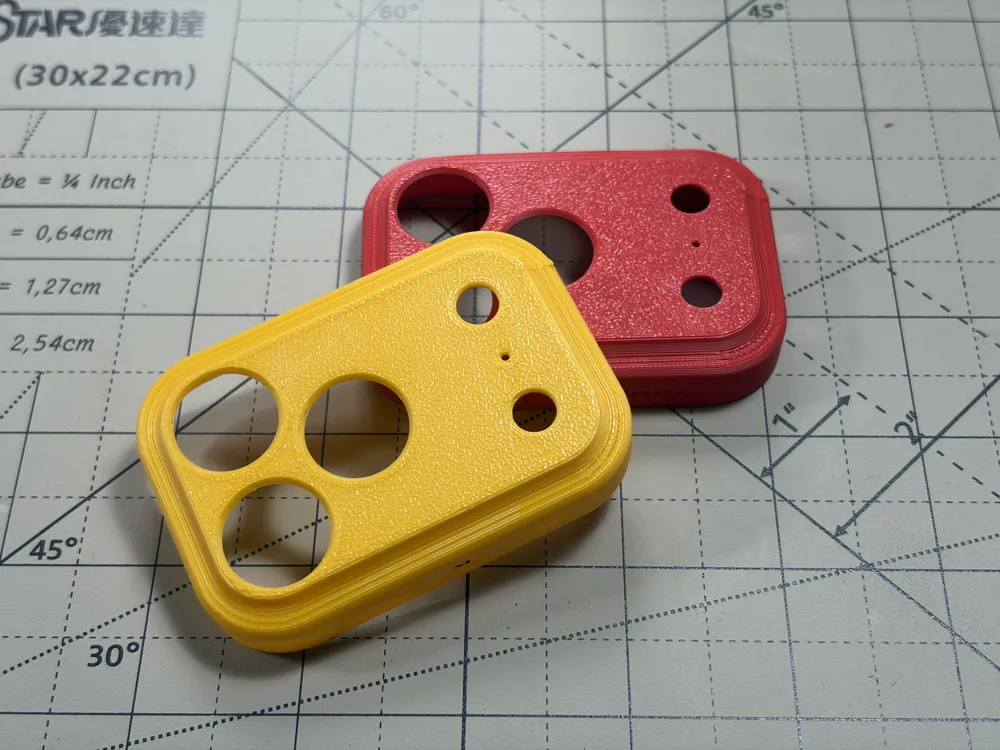
Cases
Cases
- Standard Case (buttons)
- Standard Case (with buttons)
- Standard Case (without buttons)
- Standard Case (without buttons)
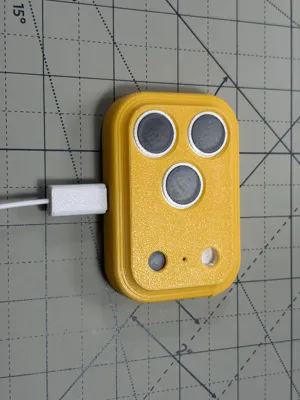
- MagSafe Case (buttons)
- MagSafe Case (with buttons)
- MagSafe Case (without buttons)
- MagSafe Case (without buttons)
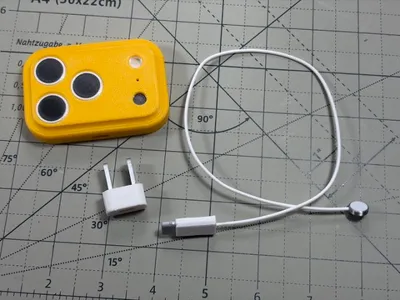
Charging Accessories
Charging Accessories
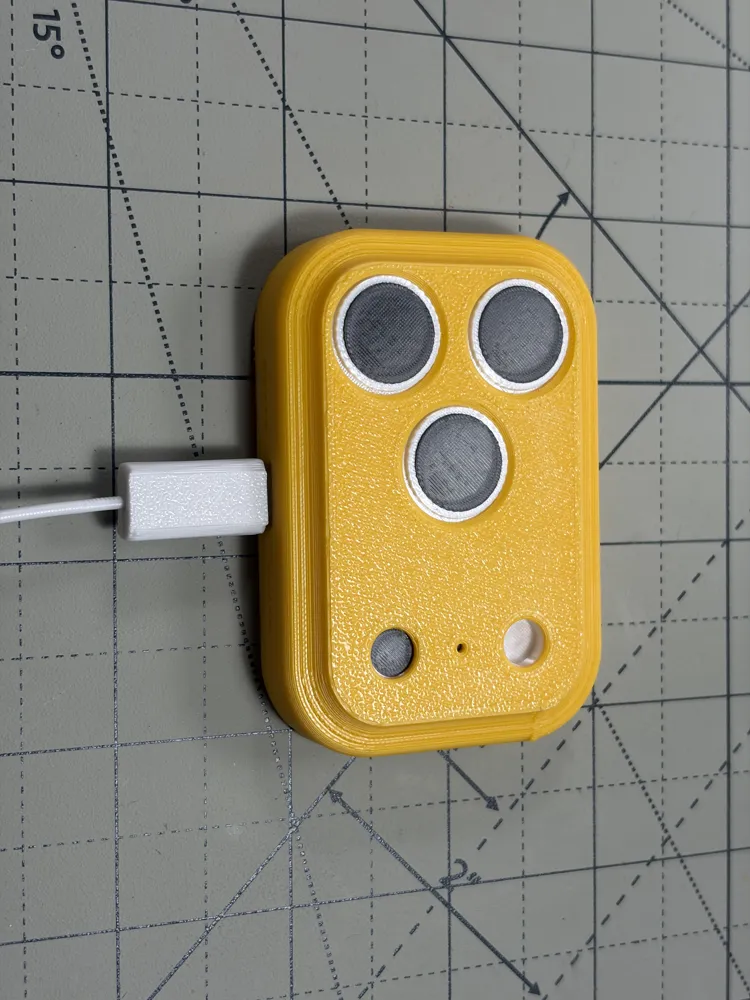
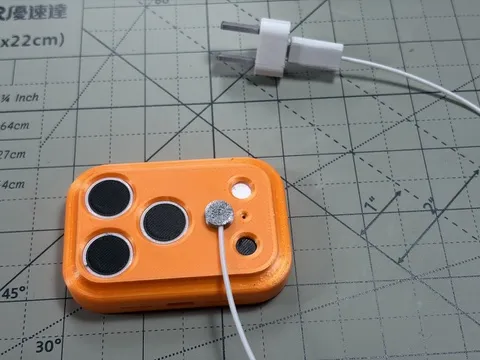
- MagSafe Charger
- MagSafe Charger
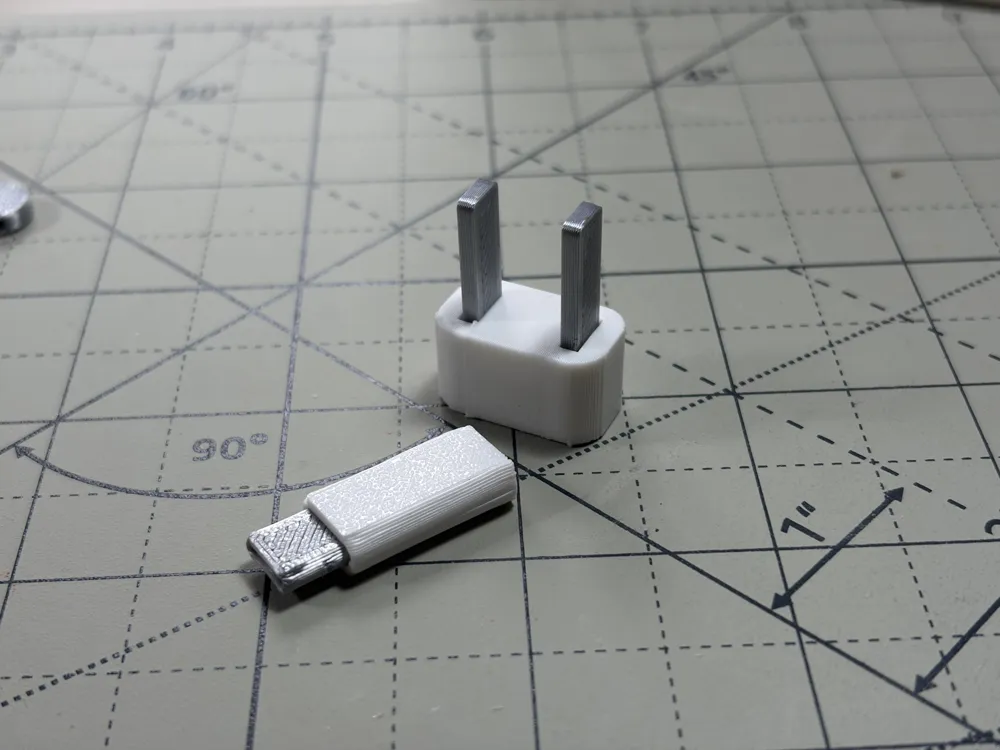
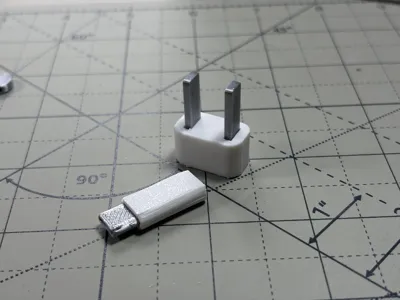
- Power Adapter
- Power Adapter
These accessories were designed specifically for the iPhone 17 Pro Mini display model.
These accessories are designed specifically for the iPhone 17 Pro Mini display model
Printing Instructions
Printing Instructions
Some models require print pauses and part insertion during printing.
Some models require pausing and inserting parts during printing
I have added the required pauses to my print profile.
I have added the required pauses in my print profile
However, after uploading and downloading the profile from MakerWorld, I noticed that some pause commands may disappear.
However, after uploading and re-downloading the profile from MakerWorld, I found that some pause commands may be lost
If your downloaded profile does not contain the pauses, please add them manually following the instructions below.
If your downloaded profile does not contain the pause points, please add them manually according to the instructions below
USB-C Connector
The first version of the MagSafe USB-C connector was too fragile.
The first version of the MagSafe USB-C connector was too fragile
Because of the print orientation along the Z-axis, the layer bonding strength was insufficient.
Due to printing along the Z-axis, the layer bonding strength was insufficient
As a result, the connector could easily break during handling.
Therefore, the connector is prone to breakage during use or handling
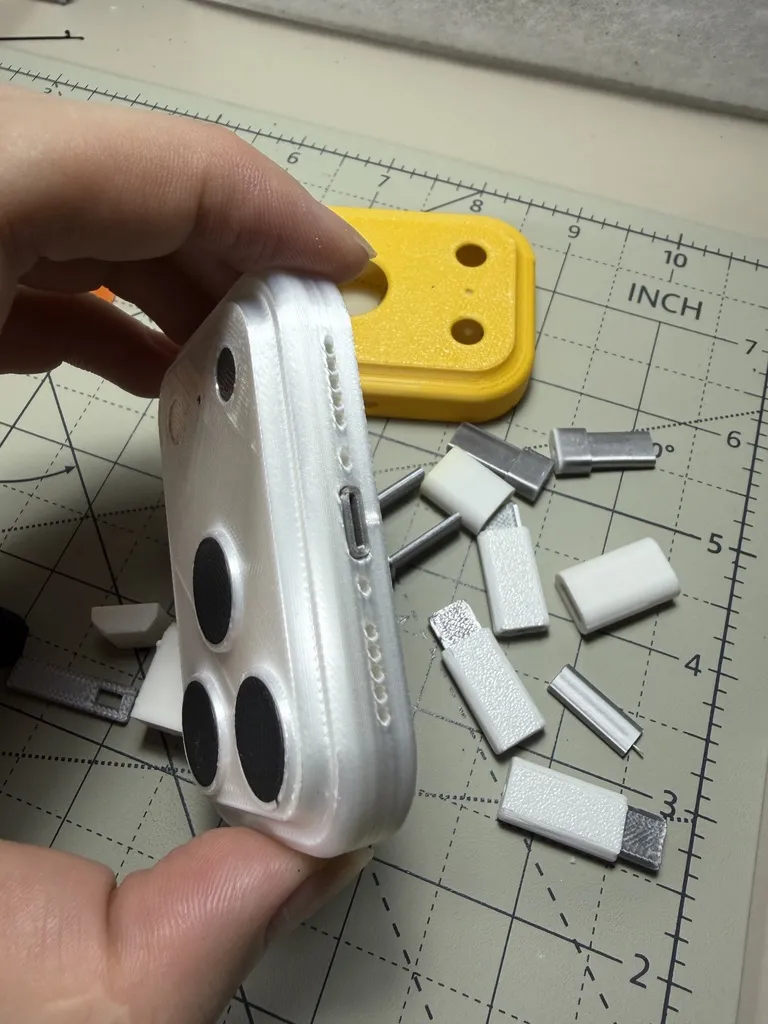
That is why the USB-C connector was redesigned into its current shape.
This is why I redesigned the USB-C connector into its current structure
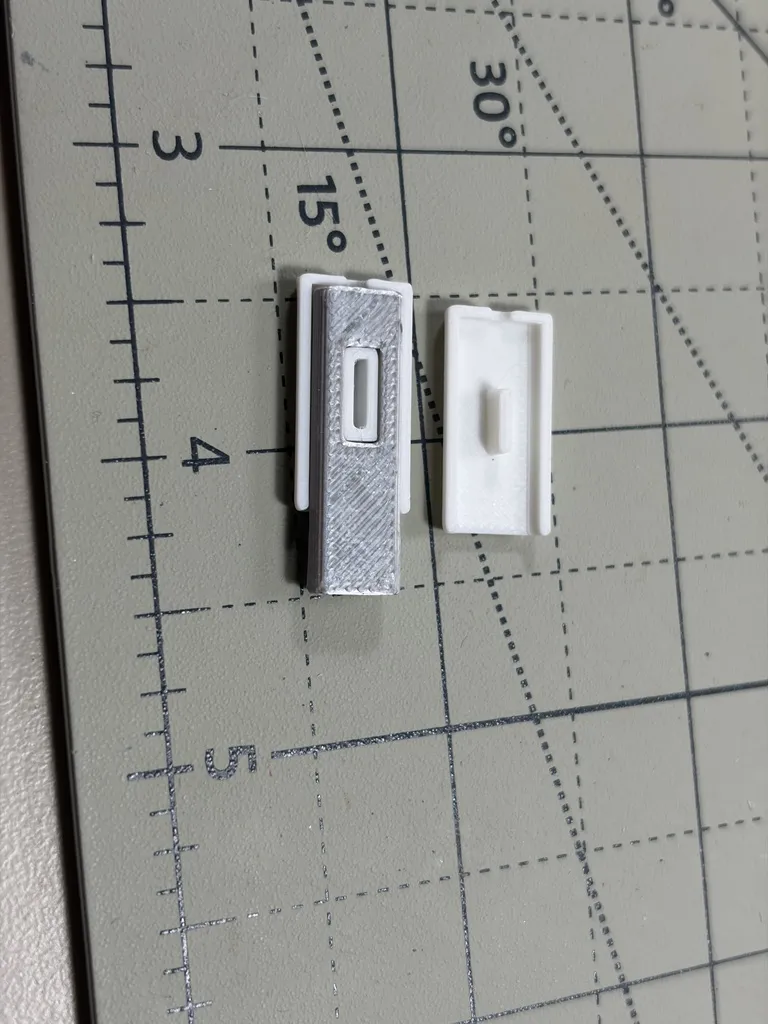
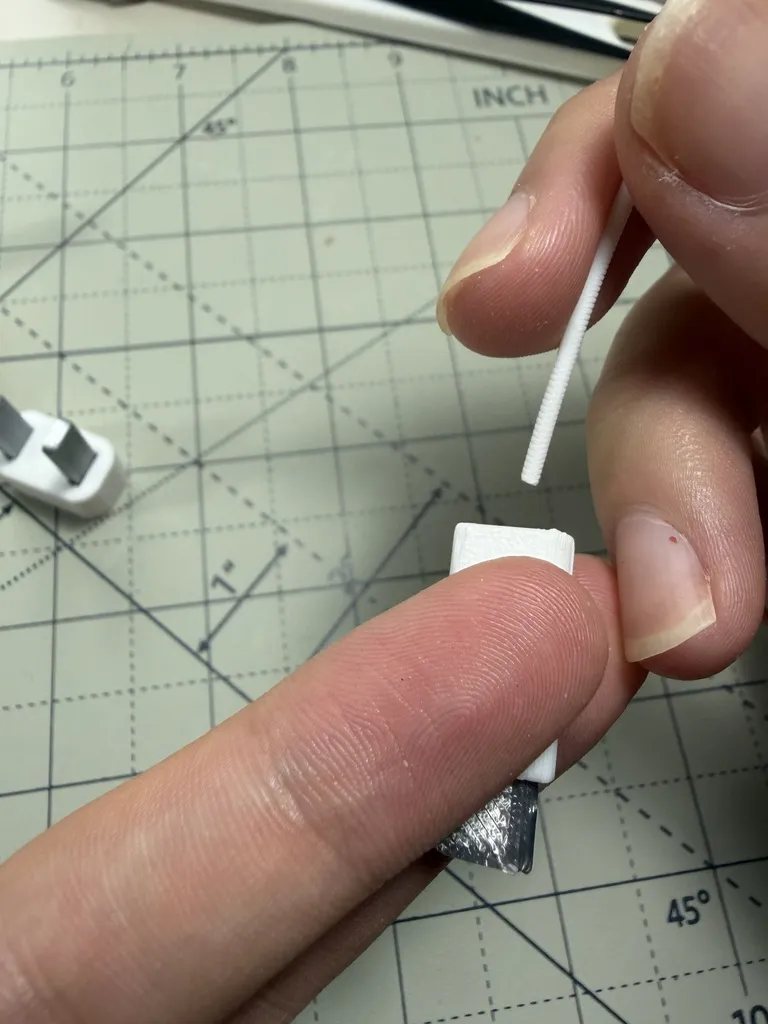
Cut a piece of filament to a suitable length and insert it into the hole on the bottom.
Cut a piece of filament to a suitable length and insert it into the hole at the bottom
If you don't want to print MagSafe, you can print two USB C
If you don't want to print MagSafe, you can print two USB C connectors
Power Adapter
Power Adapter
Print the two plug pieces first.
Print the two plug parts first
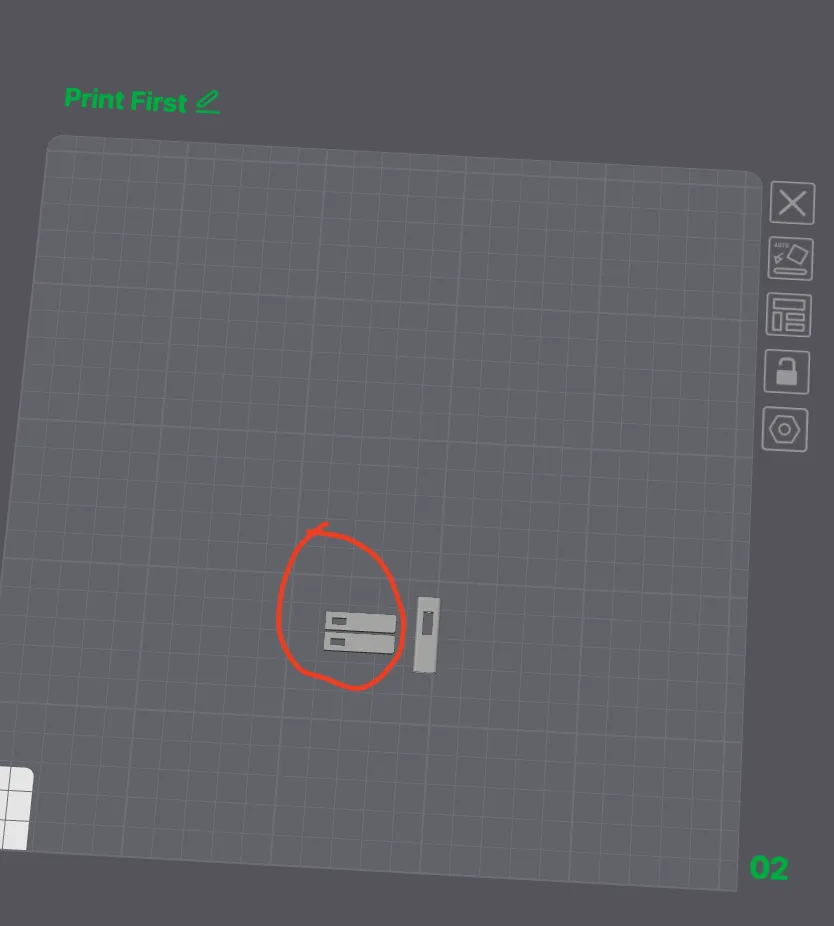
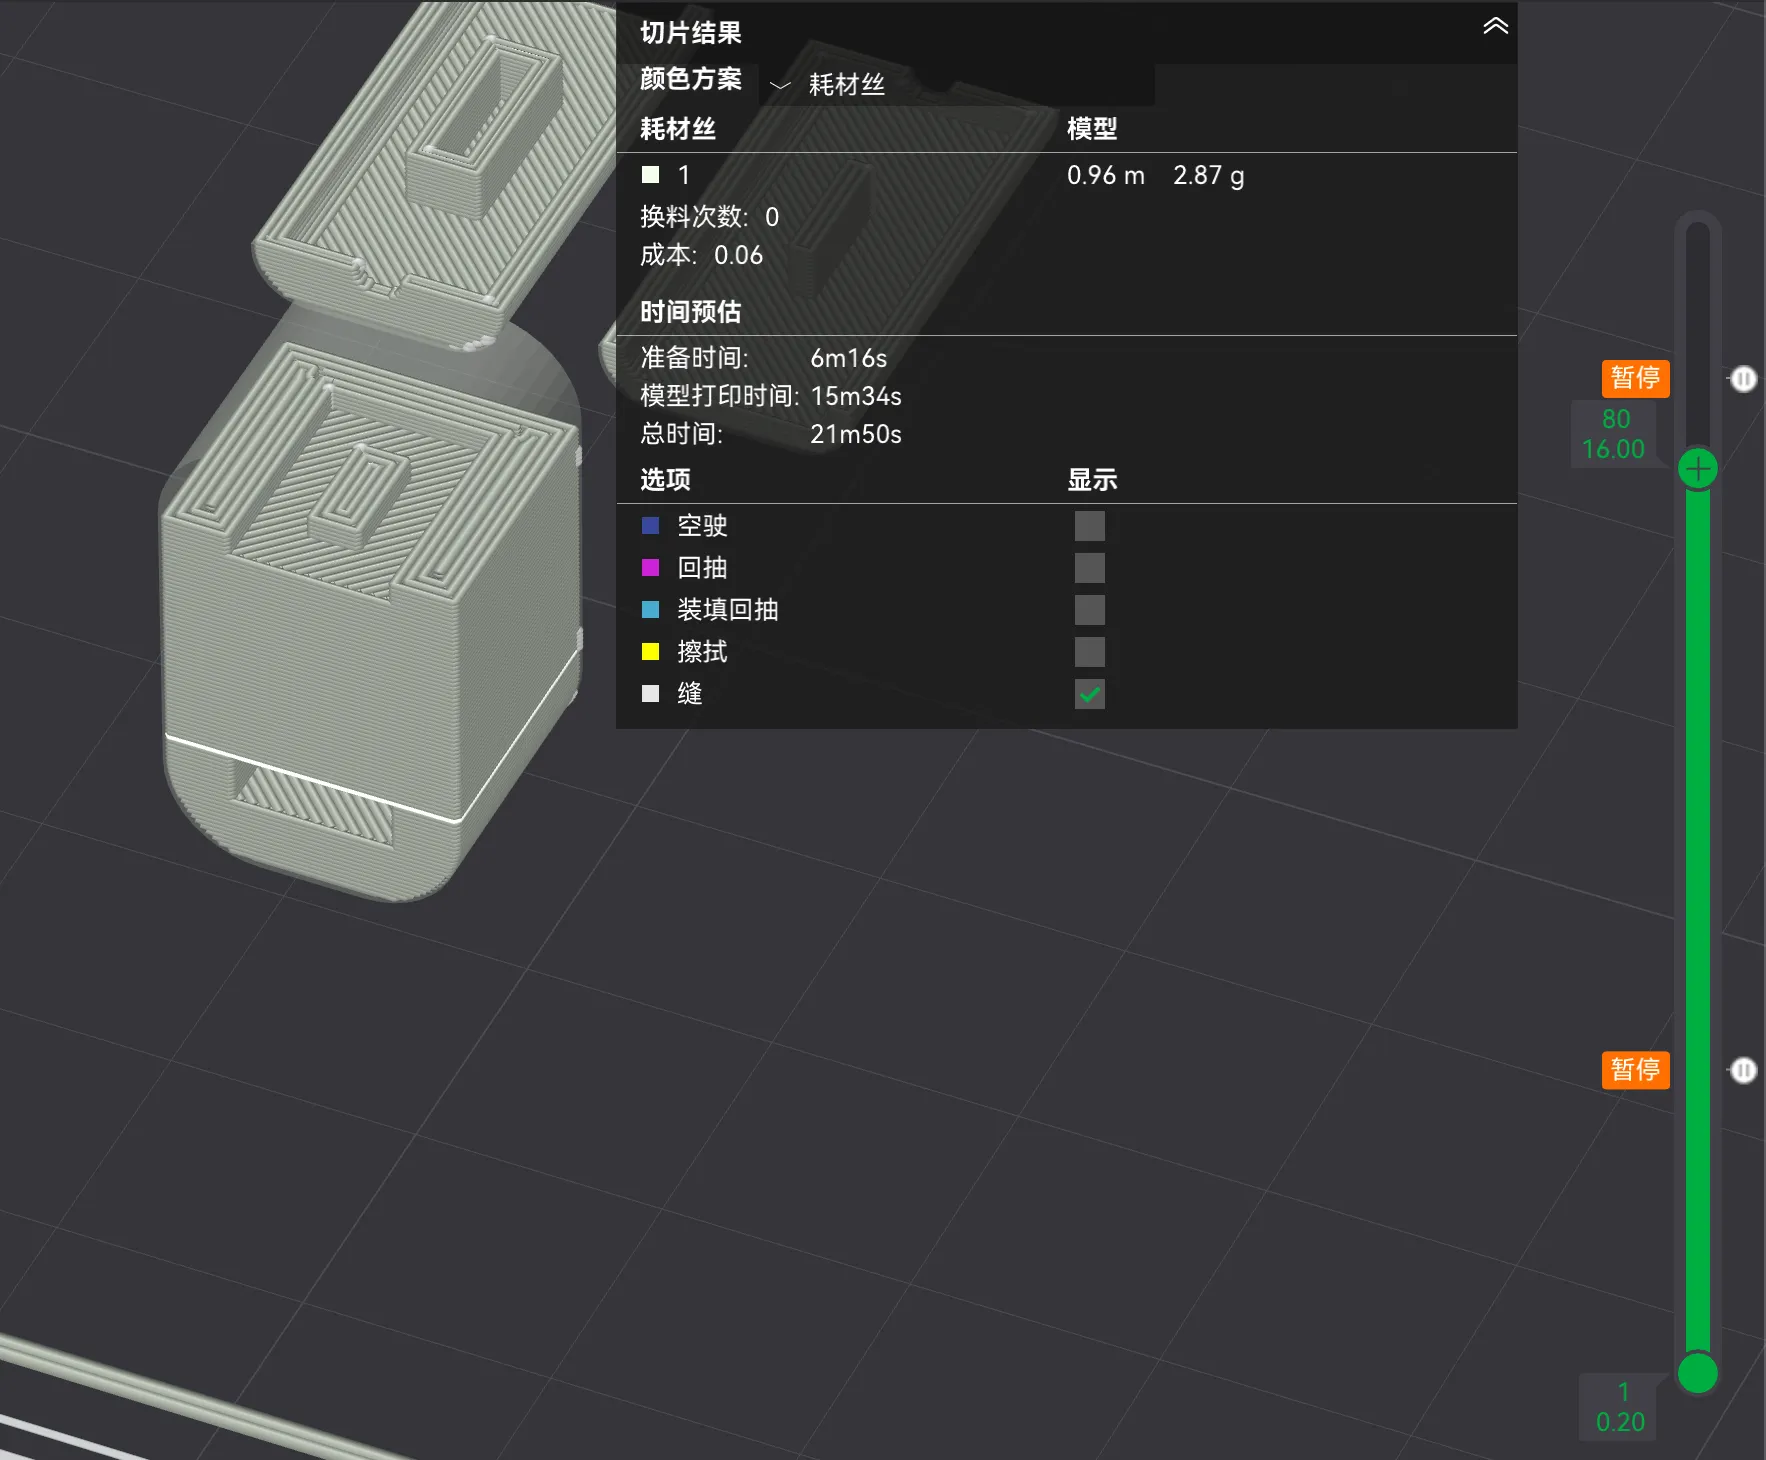
After that, insert the plug pieces into the designated slots during printing.
Then insert the plug parts into the corresponding positions during printing
Pause the print at Layer 26.
Pause the print at Layer 26
Pause the print again at Layer 88.
Pause the print again at Layer 88
After inserting the parts, resume printing.
Resume printing after inserting the parts
MagSafe Charger
MagSafe Charger
Before you print this, please note that because PLA filament is relatively rigid and the magnets are quite small, the magnetic effect may not be ideal.
Because PLA filament is relatively rigid and the magnet size is small, the magnetic attraction effect may not be ideal
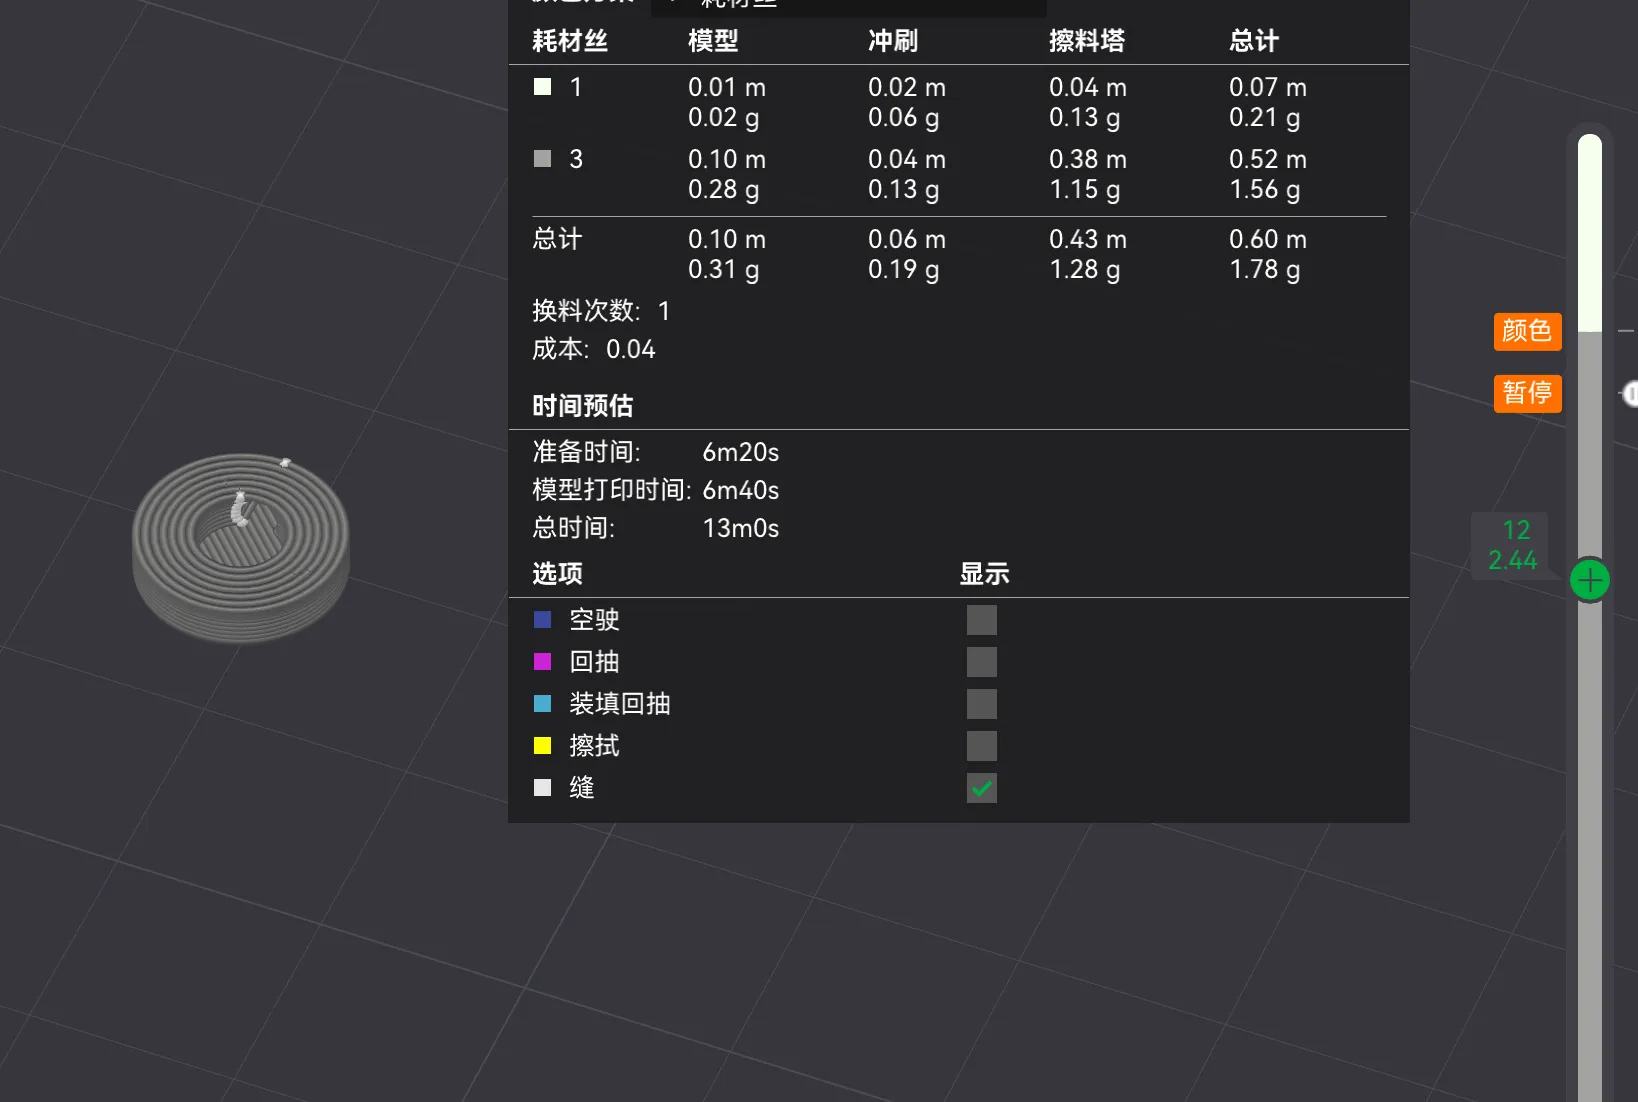
Pause the print at Layer 15.
Pause the print at Layer 15
Insert one 4×2 mm magnet into the designated slots.
Insert one 4×2 mm magnet into the reserved position
Resume printing and change the filament from silver to white on the next layer.
Resume printing and change the filament from silver to white on the next layer
If you have already printed the MagSafe case and inserted the magnet, make sure the magnets are installed with the correct polarity before resuming the print.
If you have already printed the MagSafe case and installed the magnet, please ensure the magnet polarity is correct before resuming printing
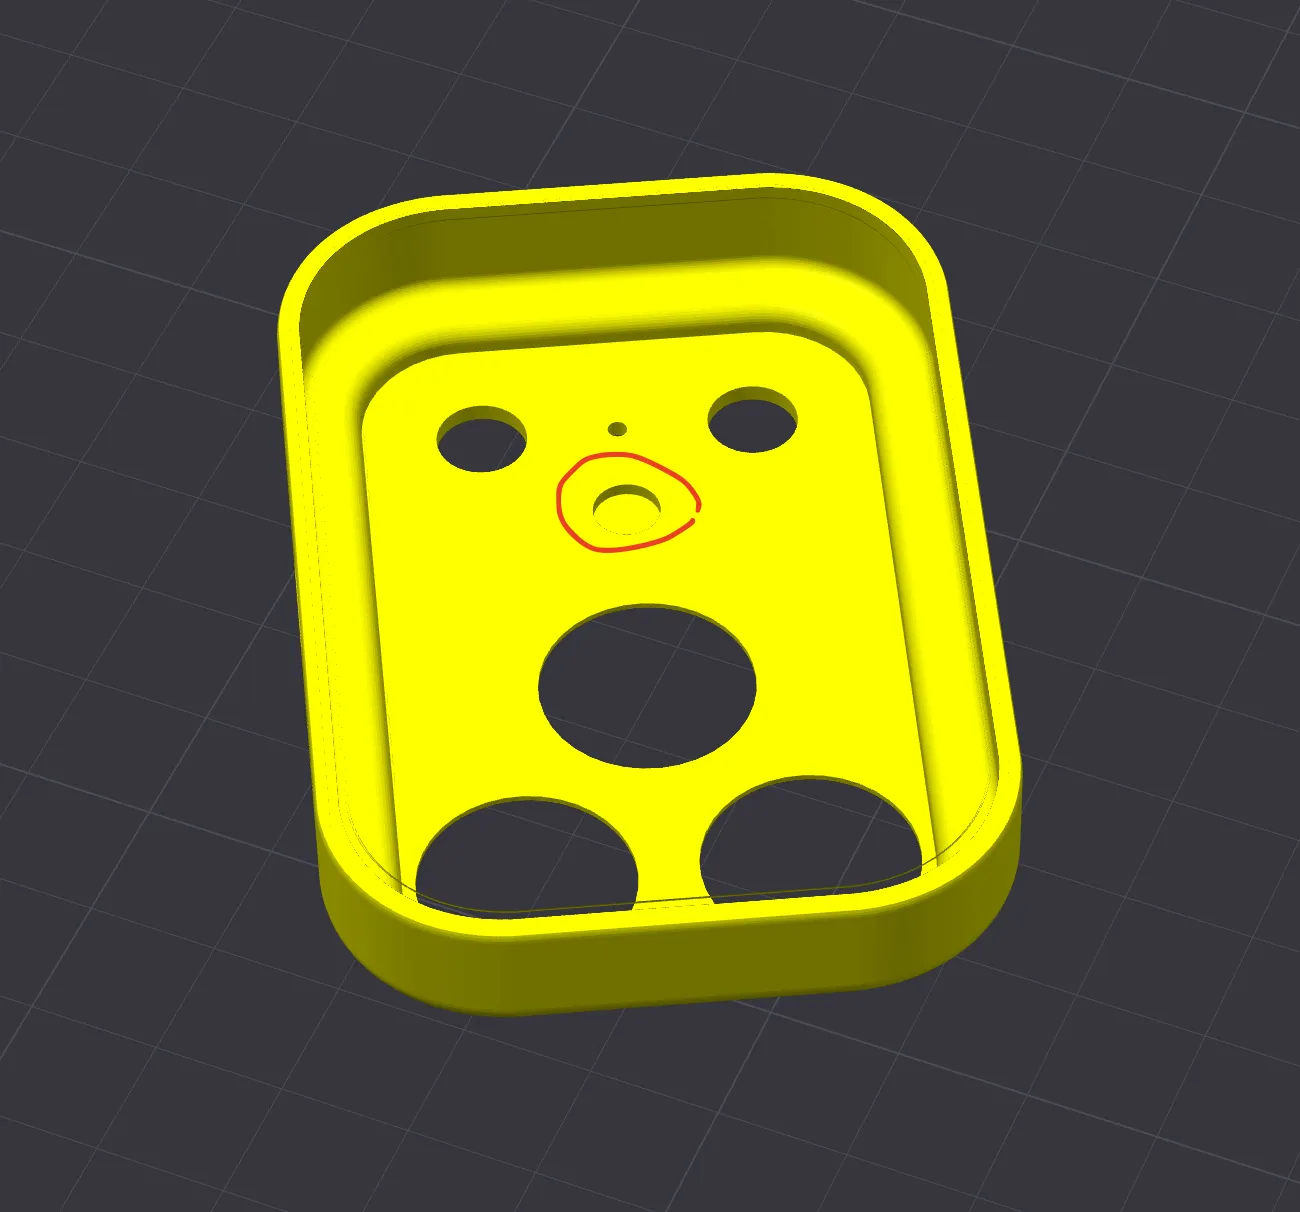
MagSafe Case
You can insert 5x1mm magnets after printing
You can insert 5x1mm magnets after printing
Boost Me (for free)
If you have any problems let me know
License

You may create derivative works based on this object, provided that all such derivative works are published exclusively on the MakerWorld platform and include proper attribution to the original creator. You may not share, upload, host, distribute, or publish this object—or any derivative work of this object—on any other digital platform, marketplace, or distribution channel. Commercial use of this object and any derivative works is strictly prohibited. This includes, but is not limited to, selling, renting, sublicensing, or using the object in any context in which you receive monetary compensation or other financial benefits.


Comment & Rating (20)