
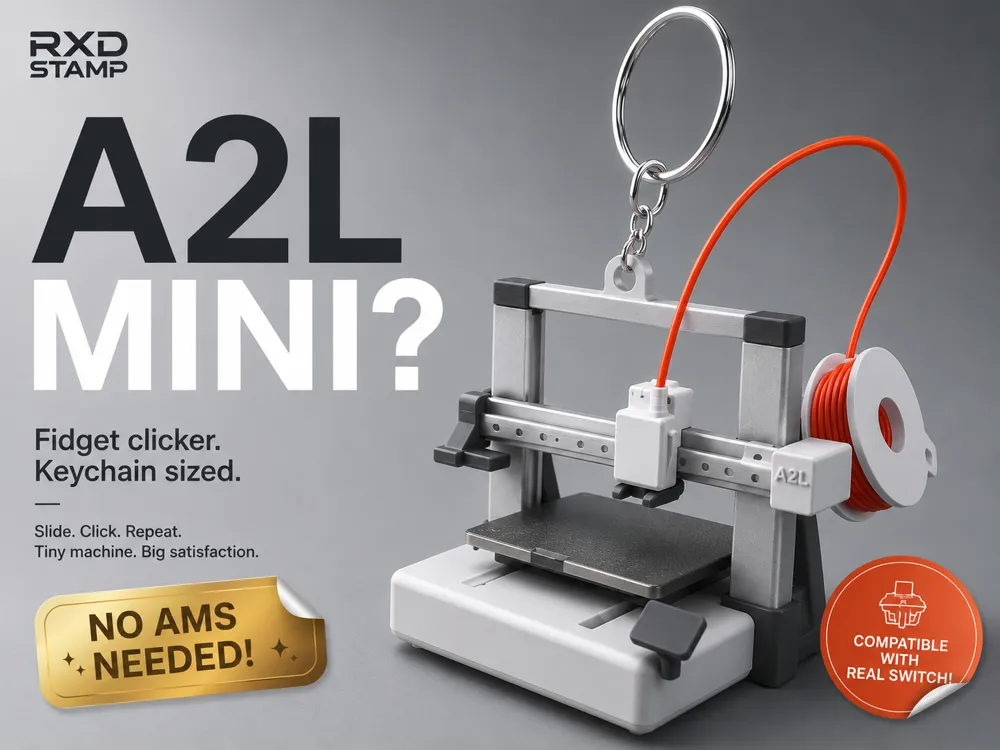
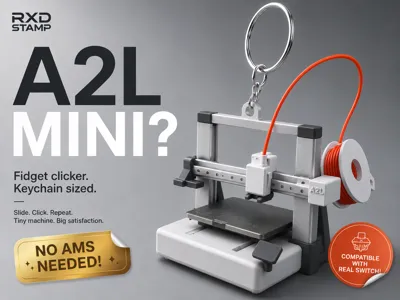
A2L "MINI?" Fidget clicker keychain
Print Profile(1)
Bill of Materials





- Any mx switch x 1: If u dont have one u can find the print version and try fitting it in
Description
Are you currently waiting for the brand-new Bambu Lab A2L to arrive at your doorstep? Or maybe you're still wondering whether you should get one?
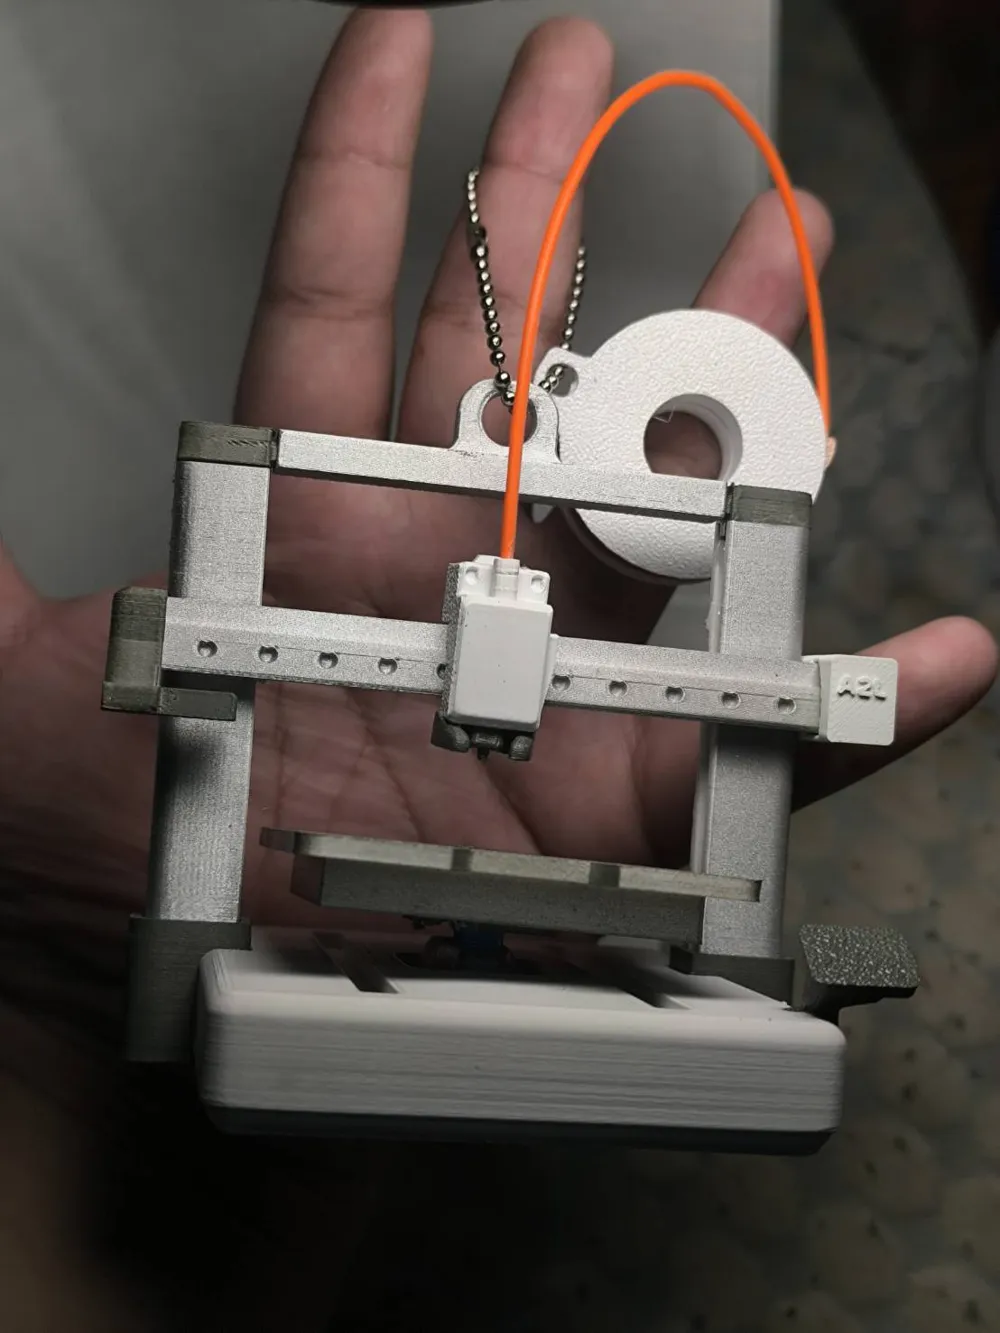
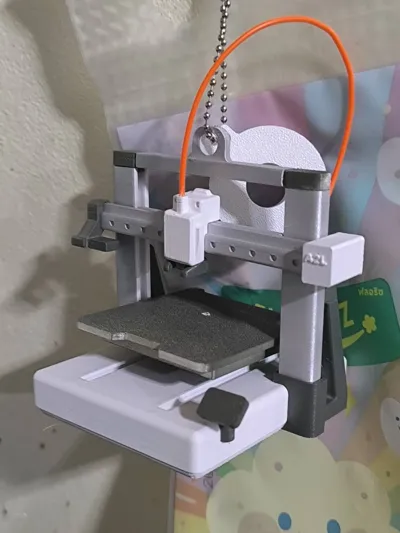
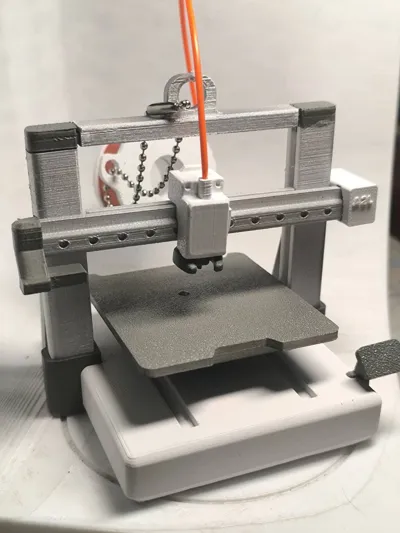
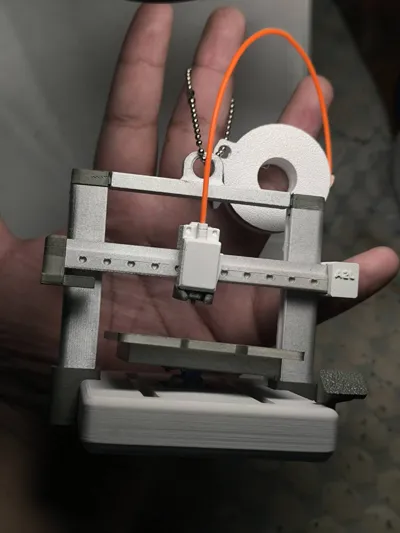
Why not check out our A2L Mini from RXD Stamp first!

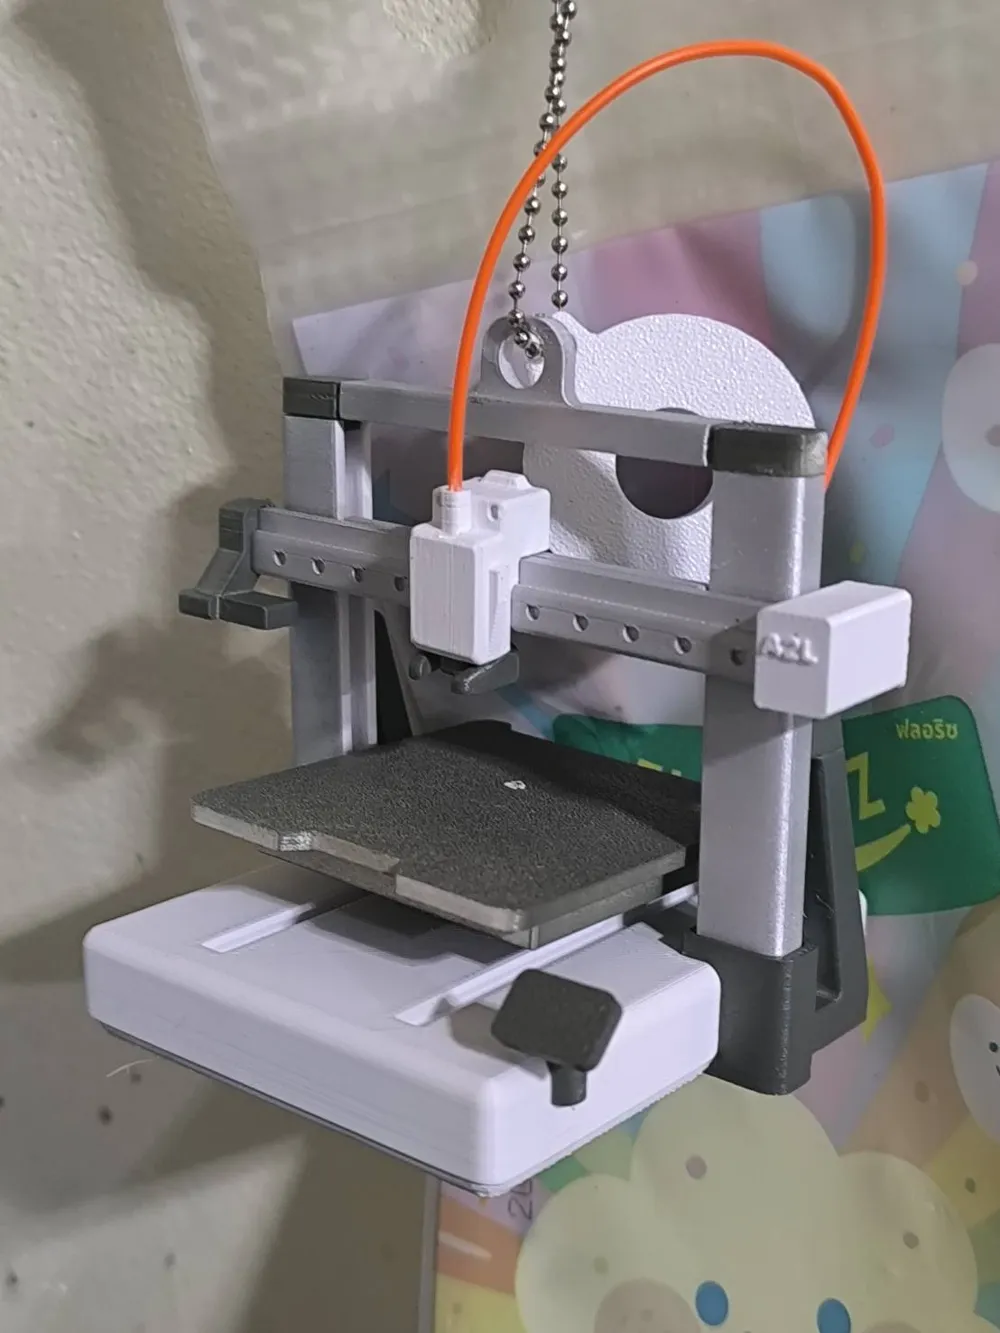
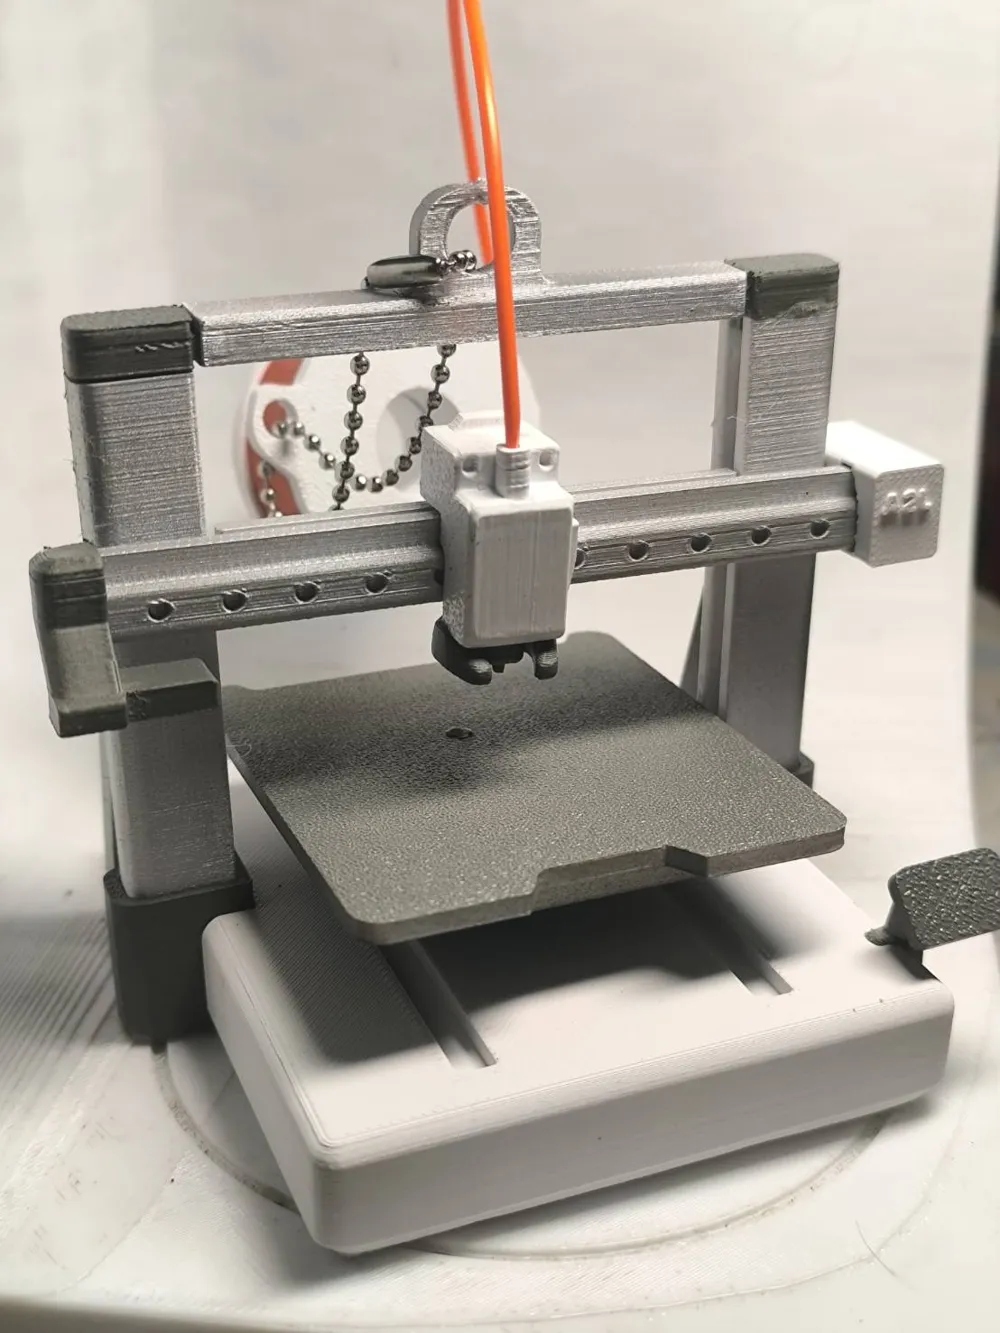
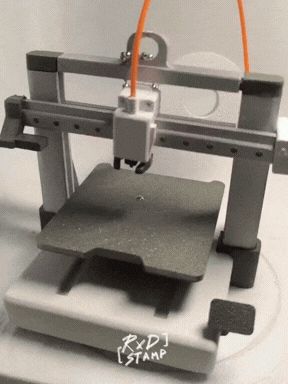
This little fidget clicker is compatible with mechanical keyboard switches, allowing you to carry a tiny version of the mighty A2L with you wherever you go. It even features a movable Z-axis that slides up and down! (Technically, the X-axis can slide too, but honestly... I'd recommend gluing that one in place. 😆)
The best part? This A2L Mini can be printed on an A1 Mini itself. How fitting is that? 😂
Every part is designed to be assembled using nothing more than a small amount of super glue. No special tools required.
[And most importantly: NO AMS NEEDED! ]
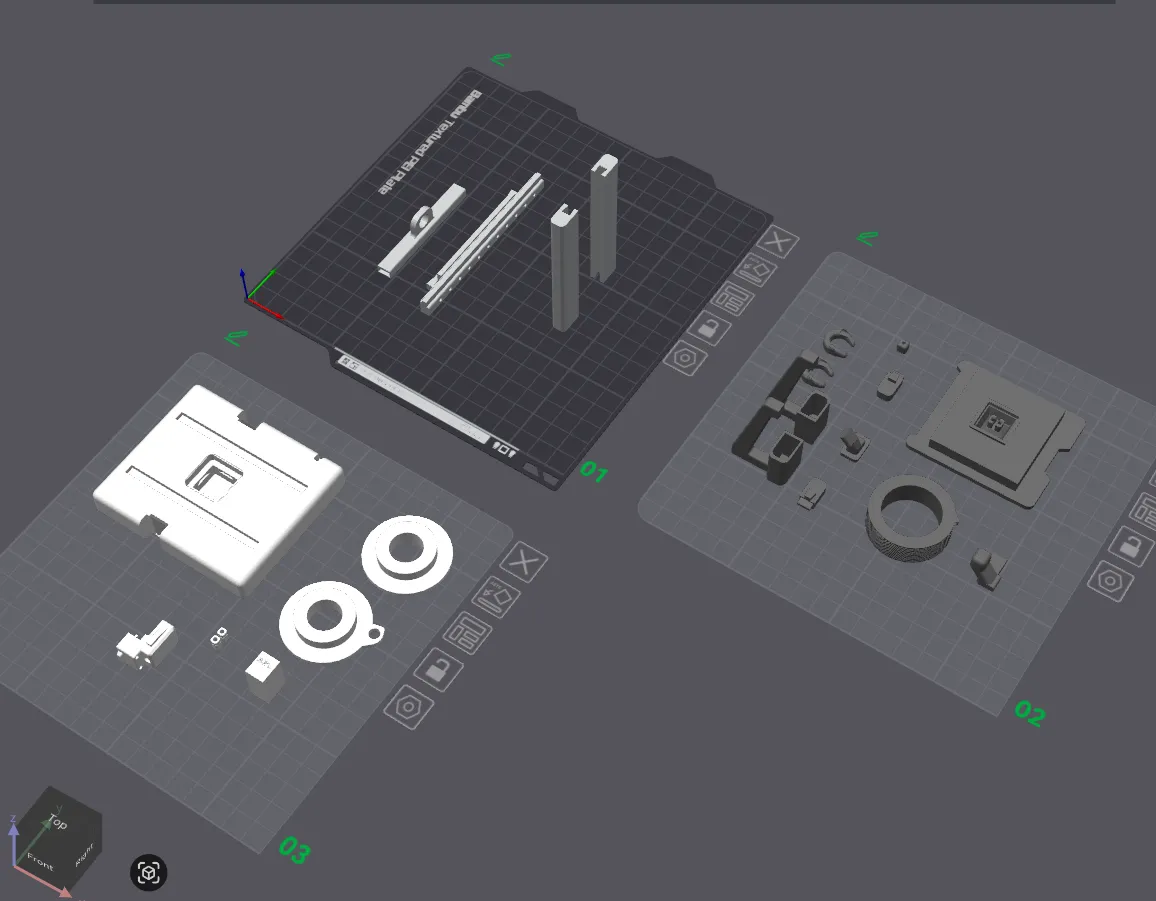
You can print each color separately on different plates, or print everything in white and paint the individual parts afterward. I've already separated the components to make painting easier if that's the route you'd like to take.
I've spent quite a bit of time dialing in the print settings, and my own print came out perfectly on the first try. If possible, I'd recommend leaving the provided parameters untouched. The model is quite small, so a 0.12 mm layer height is strongly recommended.
And one more thing:
Please don't increase the print speed.
Seriously. Don't do it.
Things might get a little... explosive. 💥😂
Assembly instructions will be uploaded soon, trust me—it's much easier to put together than it might look. 🙂
For the filament piece that feeds into the extruder, I recommend using a pair of fine-tipped flush cutters. Simply insert the tip into the guide hole I've included in the model and trim accordingly.
__________________________________________________________________________
As for the filament spool, pick whatever color makes you happy! It really just depends on what you've got sitting on your filament shelf. 😆
Give it a print and come show it off! I'd love to see everyone's version of the A2L Mini.
And don't be shy with the ratings—whether it's praise, suggestions, or constructive criticism, it all helps me improve future models. 😉
License

You shall not share, sub-license, sell, rent, host, transfer, or distribute in any way the digital or 3D printed versions of this object, nor any other derivative work of this object in its digital or physical format (including - but not limited to - remixes of this object, and hosting on other digital platforms). The objects may not be used without permission in any way whatsoever in which you charge money, or collect fees.


Comment & Rating (28)