Make your own lightbox lamp


Print Profile(1)
Description
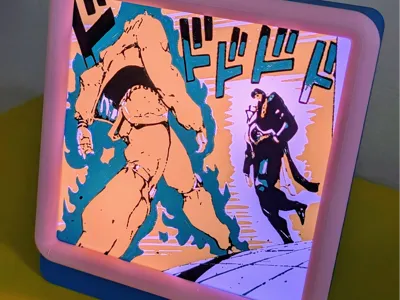
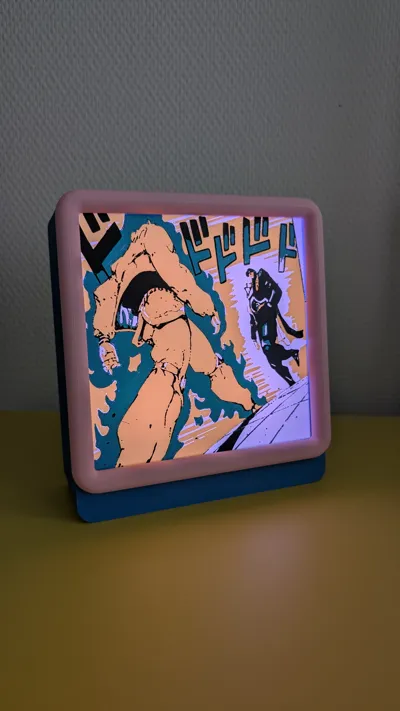
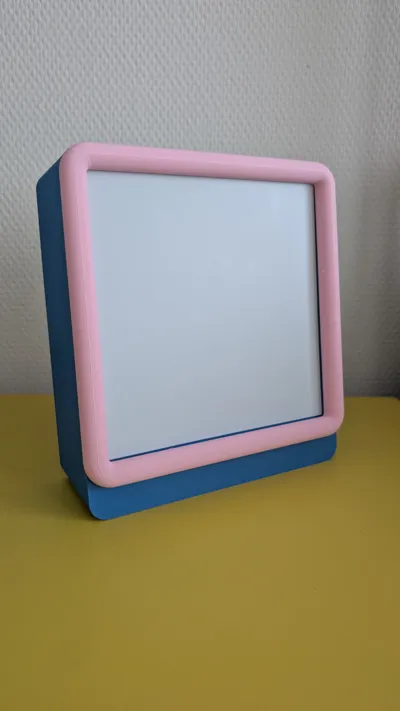
Make your own Lightbox bedside lamp!
Parts you'll need:
- 8 pieces of round 5 x 3 mm neodymium magnets (my all time favorite magnets btw, enough strength and very easy to incorporate in prints) https://nl.aliexpress.com/item/1005010132216395.html
- 1 piece female 5.5 x 2.1 mm DC connector (The hole in the back will be exactly 10 mm and using this connector ensures perfect fit and the parts are secure without the need of glue) https://nl.aliexpress.com/item/1005007077709964.html
- 1 piece 5.5 x 2.1 mm DC power supply 3A 5V (4 lights need at least 2.4 A) https://nl.aliexpress.com/item/32967617602.html
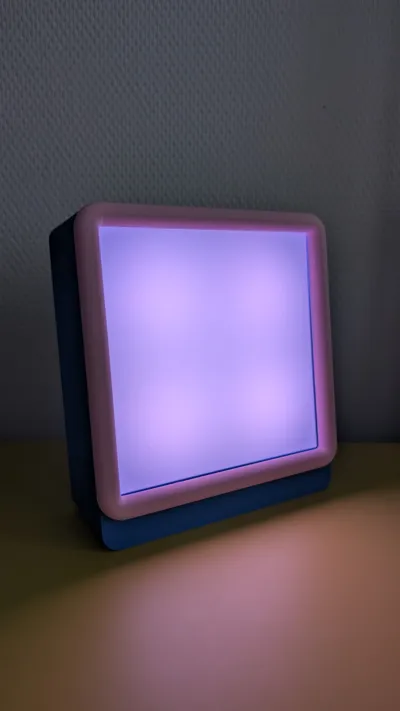
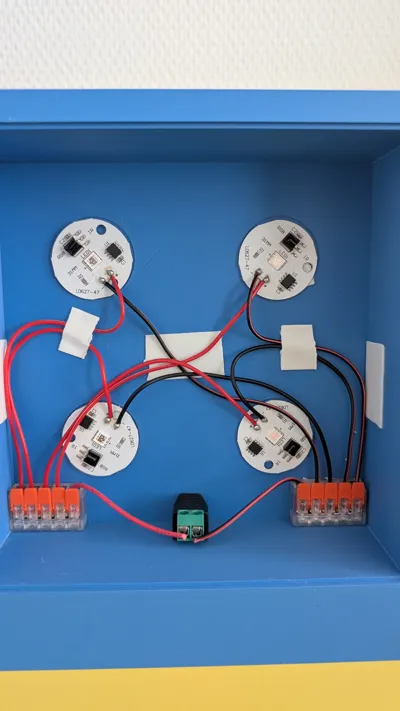
- 4 pieces round LED lights (buy with wires if you don't want to solder, ONE REMOTE WILL CONTROL THEM ALL!!!) https://nl.aliexpress.com/item/1005010748260162.html
- 2 pieces 5 entry wago-like connectors (completely optional, you can just clamp all cables together or solder them all together) https://nl.aliexpress.com/item/1005006962860090.html?
- 2 short cables to connect female DC connector to wago (again optional, you will have some extra wire from LEDs)
- Double sided tape (to attach LEDs to print and cable management)
Printing and assembly instructions:
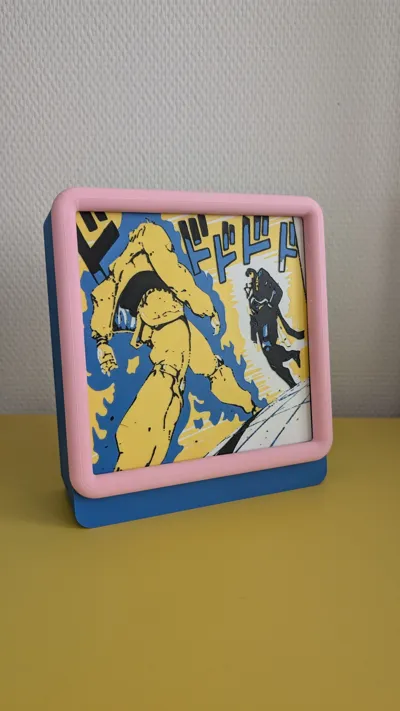
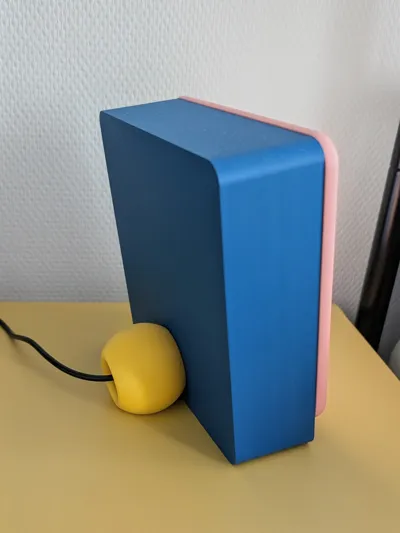
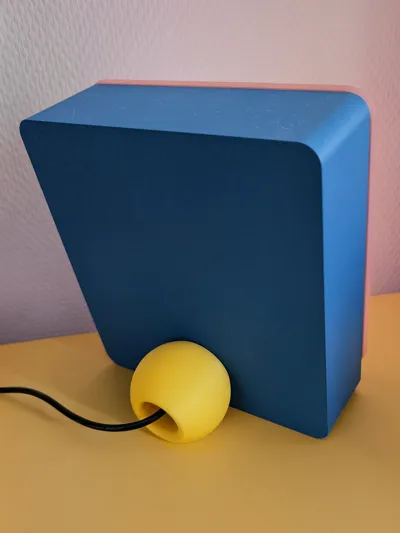
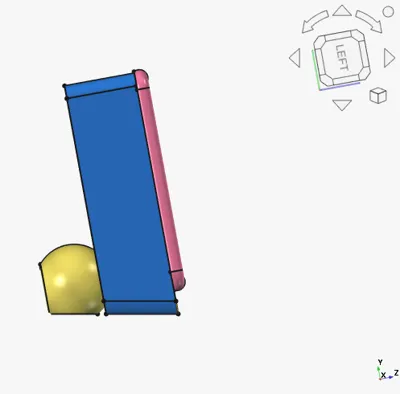
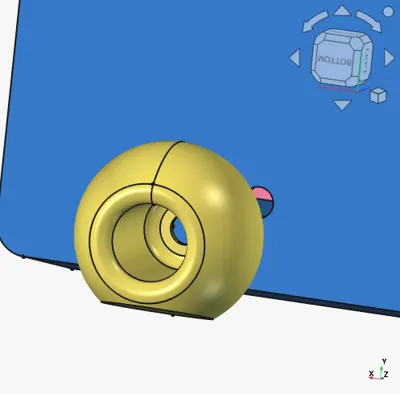
The main lamp body contains 3 parts: yellow stand piece, blue body and pink edge holding the image.

Female DC connector will hold the blue and yellow pieces together, or if you want to superglue them together, it will act as a guide

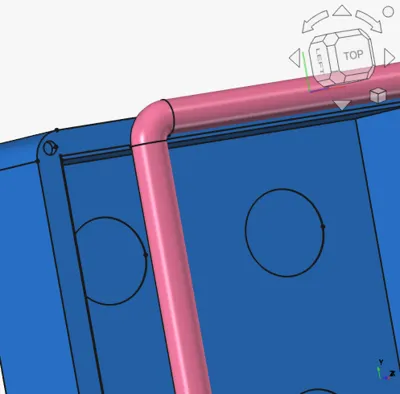
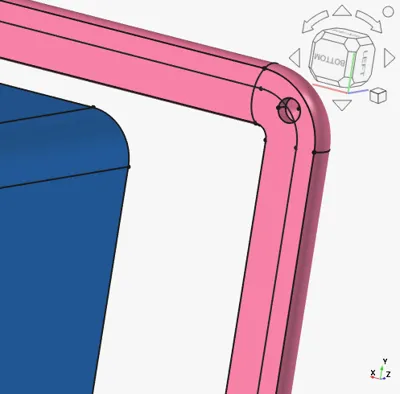
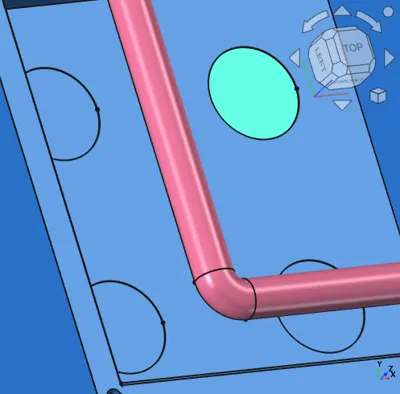
Both: blue and pink pieces have holes for magnets, the holes are designed in a way that no glue is needed, you just need to press them in! Make sure they are not opposing each other!

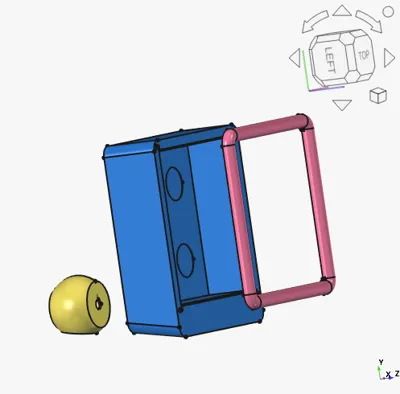
Additionally there are guide spaces for LEDs.

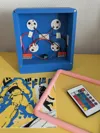
This is what it will look assembled:

Designing an image for the light box (150 x 150 mm, recommended thickness of 1-2 mm [NO MORE THAN 2mm])
- Find an image that you like, keep in mind that it should be a square, background will need to be white, and the final result will most likely have no more than 4 colors.
(Optional to make it look smoother) Go to https://www.vectorizer.io/ and upload your image. Use settings shown bellow:

Take a screenshot or download svg and go to https://kromacut.com/ . In 2D view scroll down to Palette. Select 4 colors, auto and click apply. This will fix the image for 3D viewer.

Go to 3D view, order colors by brightness (first white or brightest and last black or darkest), set bottom color to 1 mm and other colors to 0.2 mm and click Build 3D model. Again, make sure that the bottom color is the brightest otherwise light will not go through!

Download the model. Open it in bambustudio. Set size to 150 mm x 150 mm and leave height 1.6 mm. Check that layer height is 0.2 and the colors are correct and you are ready to print!

License
You shall not share, sub-license, sell, rent, host, transfer, or distribute in any way the digital or 3D printed versions of this object, nor any other derivative work of this object in its digital or physical format (including - but not limited to - remixes of this object, and hosting on other digital platforms). The objects may not be used without permission in any way whatsoever in which you charge money, or collect fees.
Comment & Rating (0)