
Stars set customizable points shapes glow dark
Print Profile(1)



Description
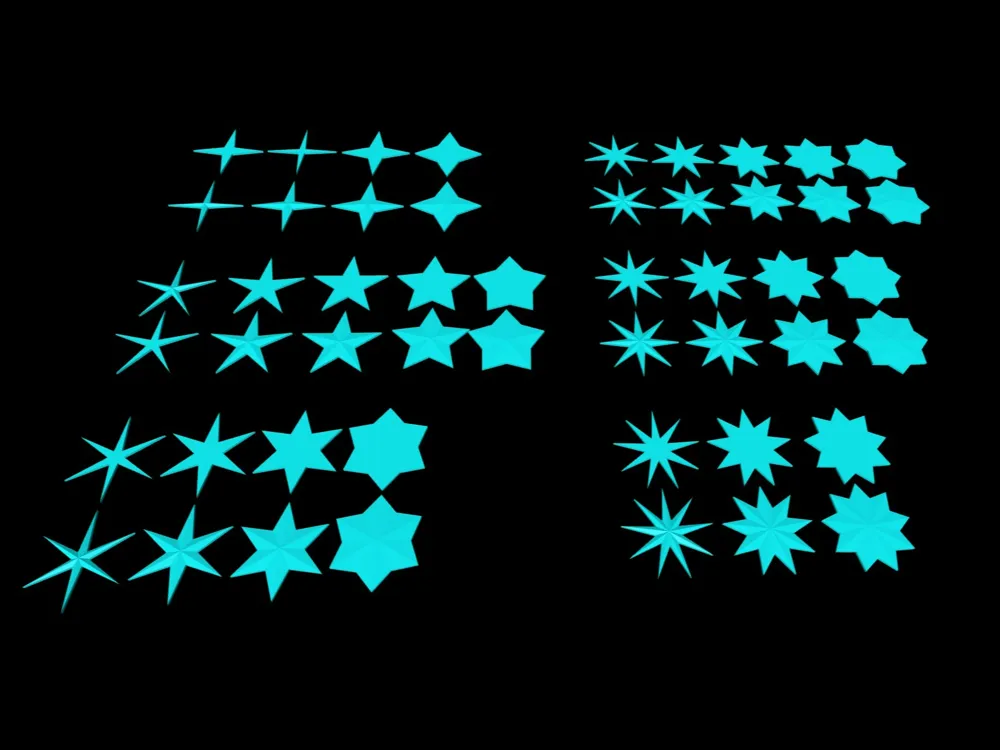
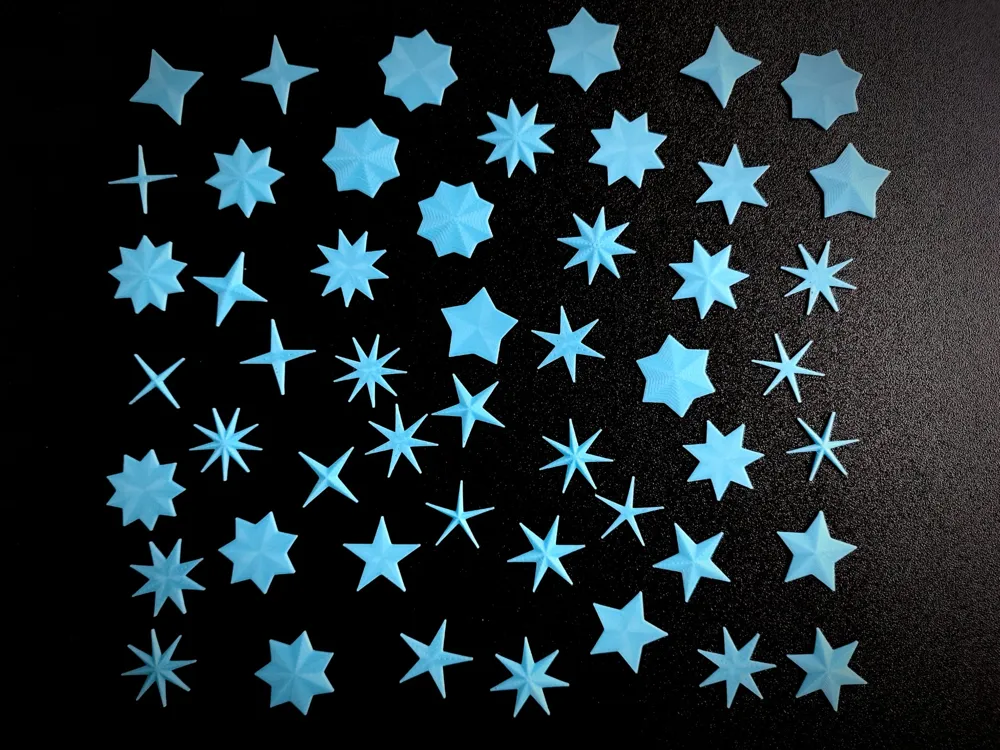
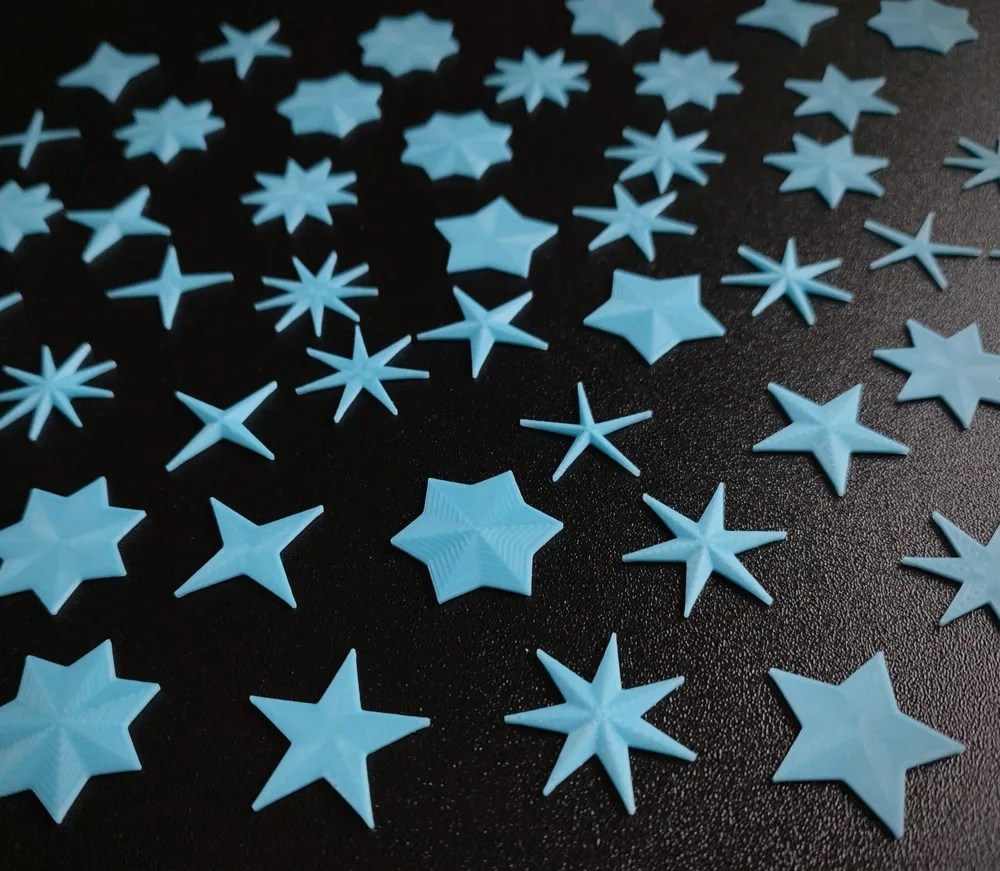
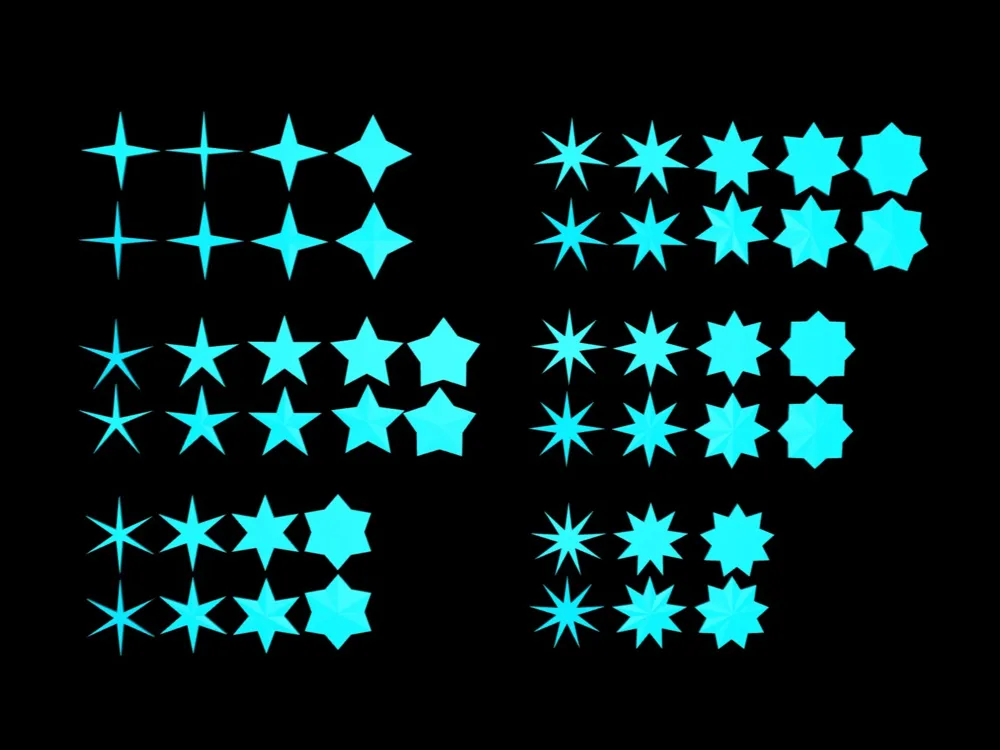
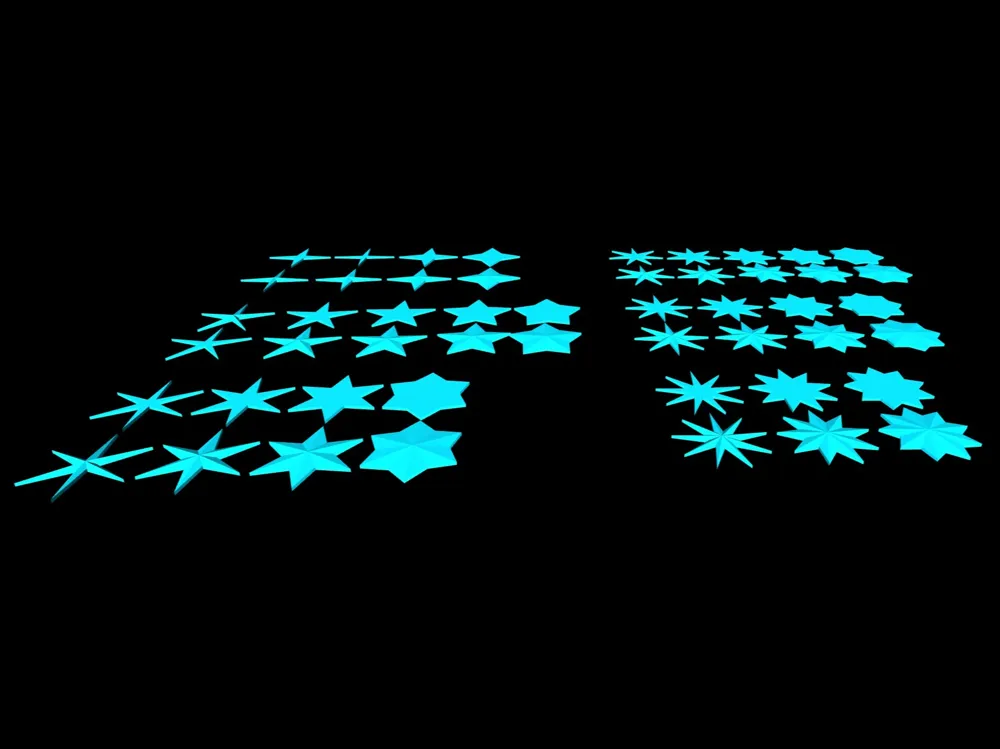
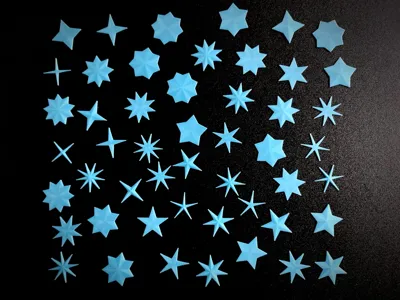
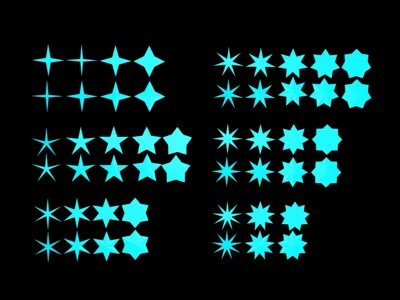
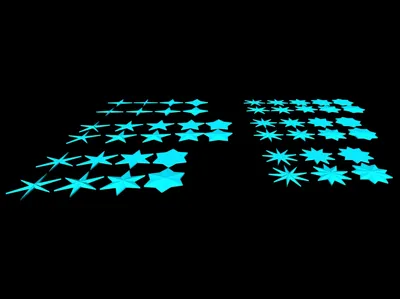
Glow-in-the-dark stars in various shapes with / without top raised decor
This collection contains stars with different numbers of points, shape and top decor variations with the option to create your own personalised star, choosing the number of points, size, thickness and whether to have a flat surface or a decorative relief pattern, just as you like, perfect for printing with glow-in-the-dark filament.
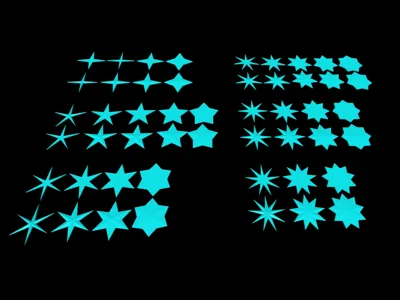
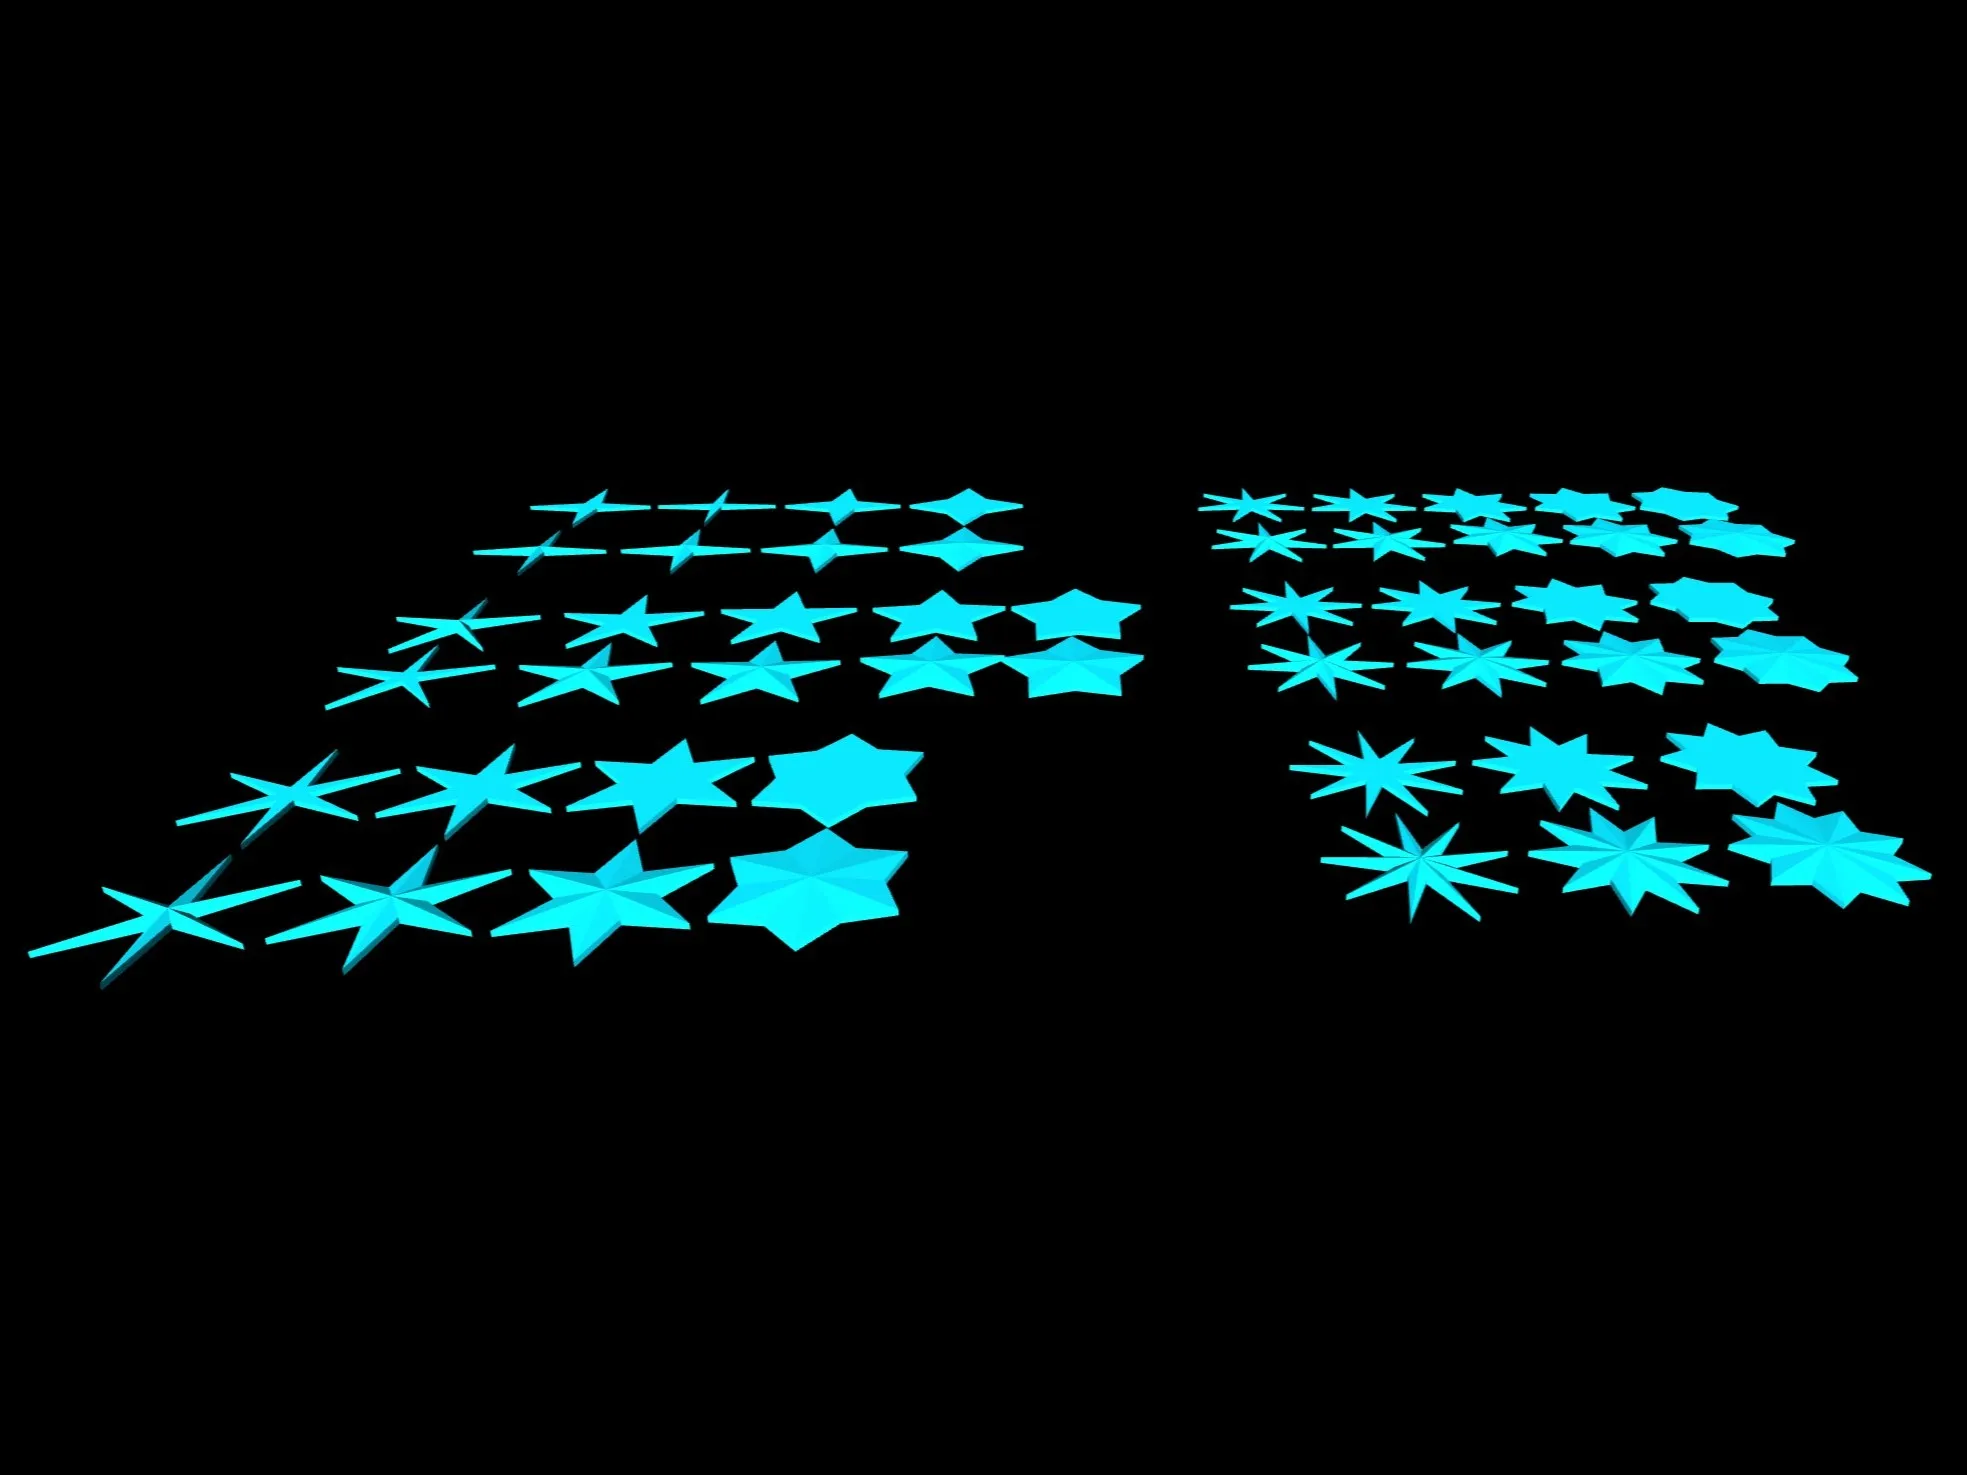
Ready-to-use Start (in STL files and in print profile) with various predefined configurations are included and can be printed immediately without any modification (available ready-to-use 4 to 9 pointed stars, either with raised decoration on the top or with a flat surface in 3 to 5 variants).
For users who want full control over the design, an editable Fusion 360 parametric model is also included, allowing easy customization of dimensions and geometry as thickness, star points and other settings. More details below.
Model details in brief:
Collection of star with:
- Different numbers of points
- Shape variations
- With flat top or
- With top raised decoration
- Available Ready to use parts as STL files and Bambustudio print profile with:
- With various predefined shape configurations
- 4 to 9 pointed stars
- For each variant, with different number of points, available 3 to 5 shape variants
Either with raised decoration on the top or with a flat surface (ideal if you stack them or stick them together)
- Possibility to Customize your own star directly in Makerworld
- Create your own star how you want and customise it!
Choose the number of points, size and thickness you want with customization tool directly in Makerworld
- Stars are perfect for printing with:
- Glow-in-the-dark filament (blue for a frozen effect, yellow for a warmth effect)
- Metallic filaments such as gold and silver
- Simple colours like yellow and blue, which look lovely when combined
Use your imagination and creativity! Combine colors and effects!
Dimesions:
- ready to use files are with 30 mm (1.1811 inches) diameter, 1mm height stars with no top decor, 2 mm height stars with decor.
- The dimensions can always be adjusted in the print profile using a scale factor to increase or decrease the XY or Z dimensions, or by creating your own custom star.
- Ideal for:
- Children's room decorations (walls, ceilings, hanging ornaments, constellations)
- Christmas and birthday decorations & cards ⭐
- Glow-in-the-dark decorations, prints, and object markers
- Decorative embellishments for gifts, frames, photos, cards, and other objects
- Educational geometry demonstrations
- Craft, DIY, creative projects, and custom lighting installations
Star STL files naming convention
All STL files follow the format: Star_vX_P-S
Where:
- Star = Model type name.
- X = Main version identifier (now v1)
- P = Number of star points (number 4 to 9)
- S = Shape subversion (1 and up depending on the model)
- Note: Within the same point count, subversions progressively modify the internal angles of the star:
- Lower subversion numbers have sharper, more acute inner angles.
- Higher subversion numbers have wider, more obtuse inner angles, resulting in a star that appears larger, fuller, and more visually imposing.
- Note: Within the same point count, subversions progressively modify the internal angles of the star:
- Some files may include the suffix _r at the end of the filename, meaning that this model feature a decorative top surface instead of a flat face.
File naming interpretation examples
Example 1:
- File name: Star_v1_7-3
- Meaning:
- v1 = Version 1 of the star series.
- 7 = Star with 7 points.
- 3 = Subversion 3 of the 7-point star design.
- Compared to Star_v1_9-1 for example, the model Star_v1_9-2 features slightly wider internal angles, giving the star a broader and more substantial appearance while preserving the same number of points.
- Meaning:
Example 2:
- File name: Star_v1_9-2_r
- Meaning:
- v1 = Version 1 of the star collection.
- 9 = Star with 9 points.
- 2 = Second shape variation.
- _r = with decorative raised surface variant.
- Meaning:
Top surface variant details
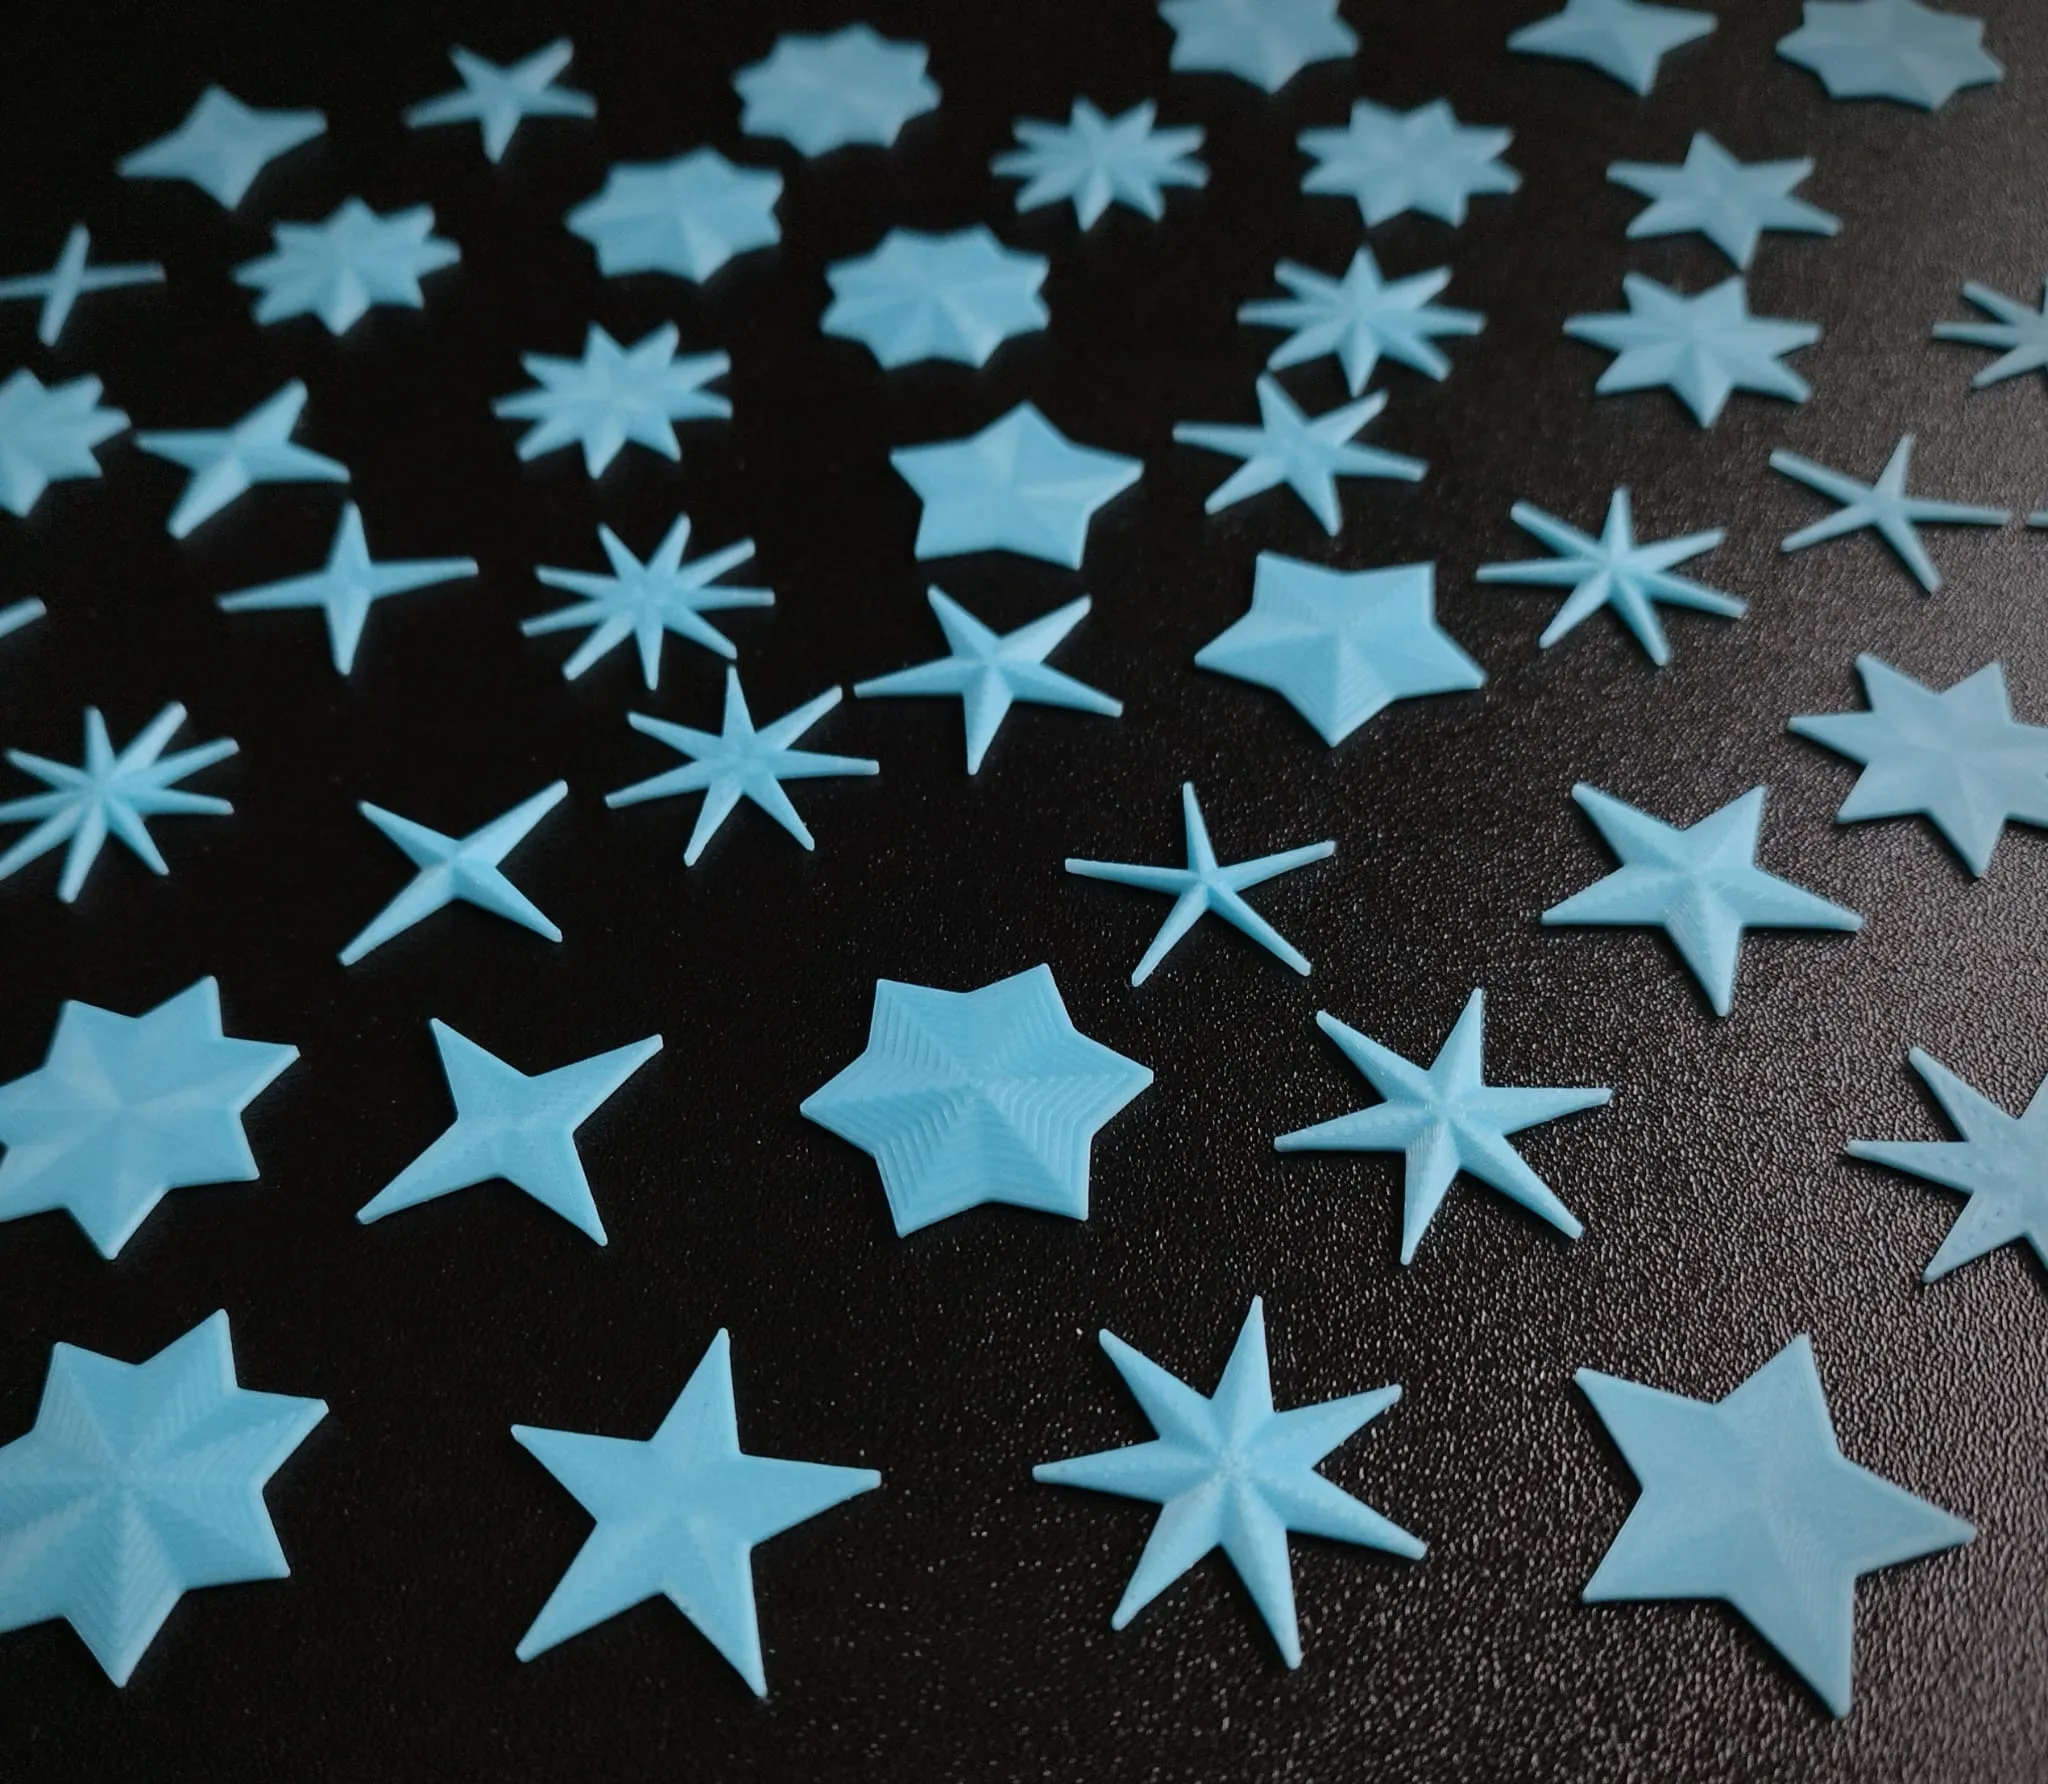
Models ending with the _r suffix feature a decorative top surface instead of a flat face.
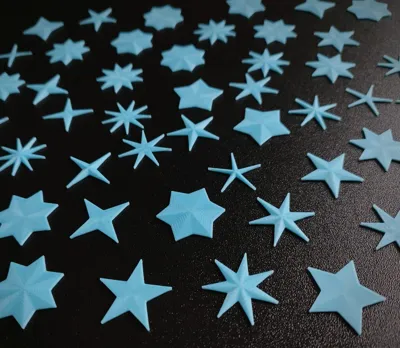
The upper surface incorporates a design inspired by a traditional compass rose, with chamfered details and highlighted geometric sections that emphasize the star's shape and symmetry.
The raised and recessed elements create additional depth, making the model more visually interesting and enhancing light reflections on the surface.
Compared to the standard flat-top version, the _r variant offers:
- Compass rose inspired detailing
- Chamfered decorative features
- Enhanced visual depth and texture
- Highlighted star segments and geometry
The overall dimensions and star geometry remain unchanged; only the top surface differs.
A flat surface is instead ideal if the stars are not to be glued together or stacked, or if you do not want a raised effect.
Parametric Fusion 360 File Included
An editable Autodesk Fusion 360 source file is included. The Fusion 360 model is parametric and allows users to modify parameters directly in Makerworld.
Fusion360 is free to use with a Hobbist licence for personal use.
Click “Customise”, adjust the settings, generate the STL file model, check that the result in 3D view is correct, export the resultinf STL file and finally print!
Editable user parameters in detail
The customisation screen that appears is shown below, displaying the default values and the following parameters, which you can change. These are described in detail one by one below. Update: Limits have now been set on the values to prevent problems and invalid parameter values.
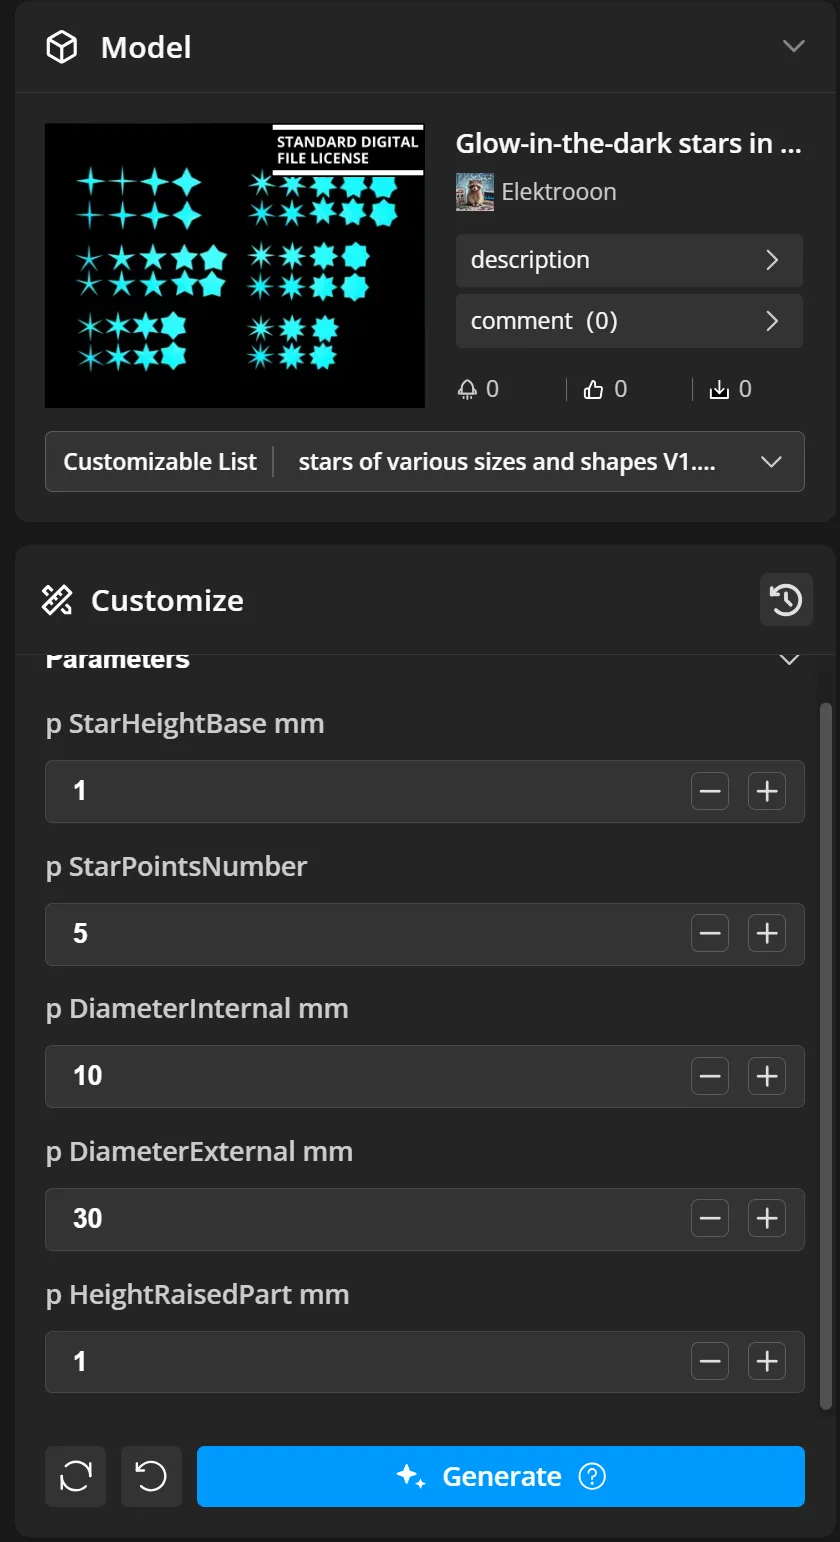
StarHeightBase (mm)
Defines the height of the star's base body, which is the straight section of the model before any chamfers or raised decorative features are applied.
Increasing this value makes the star thicker, while decreasing it creates a thinner profile.
StarPointsNumber
Defines the number of points of the star.
A minimum value of 4 points is recommended. Values above 10 points may cause adjacent points to become very close to each other, especially on smaller models, potentially reducing print quality and poor edges. When using a high number of points, consider increasing the overall star size.
With values of 3 or fewer points, the structure loses its star-like shape and ceases to make sense.
DiameterInternal (mm)
Defines the diameter of the inner circle from which the star points originate.
Lower values = (approaching zero, but never too close to zero) create sharper and more aggressive points. It is recommended to leave at least a few millimetres of internal diameter for a stable geometry and good printability.
- Higher values = move the inner vertices outward, producing wider and more obtuse points. As the internal diameter approaches the external diameter, the star gradually becomes more rounded and can eventually resemble a circle. Should be a value below the external diameter.
DiameterExternal (mm)
Defines the diameter of the outer circle that circumscribes the star.
This parameter determines the maximum overall width and height of the model in the XY plane and is effectively the star's overall size.
HeightRaisedPart (mm)
Defines the height of the raised decorative surface used in the decorative (_r) variants.
If no surface decoration is desired, a very small value such as 0.001 mm can be used (BUT NOT ZERO, MUST BE > 0), making the raised portion effectively invisible.
- If a decorative versions is desired, values of approximately 1 mm or greater are recommended. Increasing this value makes the decorative features more pronounced and progressively accentuates the central raised geometry, creating a sharper and more prominent appearance.
Customisation procedure and tips
Whenever you change the parameters, you need to click ‘Generate’ to apply the changes and update the displayed 3D model with your settings.
Each regeneration takes a few seconds and isn’t particularly fast (depend on the site and other stuff).
I therefore recommend using the online customisation feature in Makerworld only to modify the overall shape of the star, rather than the exact dimensions in general expecially in XY plane, to reduce the number of try and times you regenerate the model.
The recommended order is:
- Clic “Customize” on the model page
- The customization page opens with default settings (5 pointed star with relief decor)
- Change the number of points on the star
- Leave the outer diameter fixed and change only the inner diameter to alter the shape.
- Adjust the height of the raised section to make the raised decoration on the top appear or disappear
- Vary the thickness of the star
- If everything looks right, click ‘Generate’
- If the star you’ve got is OK, move on to the next step; otherwise, repeat the previous steps
- “Download” the customized model as STO file (NOT 3MF file!!!!, if downloaded from customization files it contains default not good settings!)
- Download my suggested print profile
- Remove any plates and stars you don’t need from the print profile before importing your star
- Import the star into in my print profile and now adjust the dimensions in the XY plane (width and length) by applying an equal scale factor in both X and Y axis
- Copy the star and create as many copies as you need to print on the plate
- There you go – you’ve saved time and got your stars!
NOTES:
- If you make a mistake and the star comes out badly or misshapen, you can always click “UNDO” or “RESET0” to the default correct settings and try again.
- When you need to download the model from the customization page, do not download 3MF files suggested by Makerworld Customization; instead, download the recommended print profile and import the STL file. If you export a 3MF file from the customisation window, the settings will not be suitable for the model and will contain default values. The print profile is the reference to use; it has been carefully checked, maintained and tested.
Model dimensions/size
Dimensions of the ready to use exported STL files are: all stars with 30 mm diameter, 1mm height stars with no top decor, 2 mm height stars with decor.
The total height of the star is calculated as: Total Height = StarHeightBase + HeightRaisedPart
If the model has been customised, the dimensions will be based on your selections.
This allows the base thickness and decorative relief height to be controlled independently while maintaining complete flexibility over the final model dimensions.
Suggestions for use
Stars are ideal for:
- Decorating children's rooms
- Decorating Christmas or birthday cards ⭐
- Creating Christmas decorations
- Hang from the ceiling or walls of your room and create your own constellations
- Hanging from objects or light switches that you want to find at night thanks to glow-in-the-dark filament
- Glue on any object as a decoration (gifts, cards, frames, photos, ….)
- Glow-in-the-dark decorative prints
- Wall / ceiling decorations
- Children's room décor
- Educational geometry demonstrations
- Craft and DIY projects
- Custom lighting and decorative installations
- Gift / Christmas cards
The parametric design makes the collection highly versatile for both hobbyists and professional makers seeking customizable star geometries.
3D printing settings and tips
- Layers: 0,1 mm
- Infill: 75 % to 100%
- Surface and bottom pattern: concentric, the print lines give a very pretty effect to stars
Plate: smooth or textured
Textured plate recommended if stars are to be glued to something, the texture provides more contact surface and allows better adhesion to the surface to which they will be glued.
- Material: PLA, ABS, etc
Ironing: not required
I suggest using the settings included in the included 3mf print profile created by me.
Tests and results: The model shown in the pictures was printed with yellow and "glow in the dark fluorescent blue" PLA filament, Bambulab P1S printer, 0.4 mm nozzle, cool PLA plate
⚠️NOTES
- Print at reduced speed to achieve a better result. Depending on the print settings, printing may be less well executed.
- Better print with AUX fan OFF
- Prolonged use of the glow-in-the-dark filament may erode the extruder due to its abrasiveness. Inform yourself and equip yourself with the right equipment, extruder etc. suitable for the filament.
If you liked this model or found it useful, please consider to leave a Comment, a Like, a Boost and rate the print profile ⭐!
If you have any questions, suggestions or requests regarding my designs, please leave a comment!
Your feedback is very important to me! Thank you so much ❤️!
See my other creations here on https://makerworld.com/@Elektrooon/upload or click the image below!
Boost Me (for free)
If you liked my model or enjoy using it, please consider making a Boost 🚀❗ Your support helps me keep creating and improving models like this, with new upgrades and enhancements that you can benefit from too! Thank you very much! ❤️ Elektrooon 🦝

License

You shall not share, sub-license, sell, rent, host, transfer, or distribute in any way the digital or 3D printed versions of this object, nor any other derivative work of this object in its digital or physical format (including - but not limited to - remixes of this object, and hosting on other digital platforms). The objects may not be used without permission in any way whatsoever in which you charge money, or collect fees.


Comment & Rating (0)