
Print Profile(1)
Description
Boost Me (for free)
If you like it
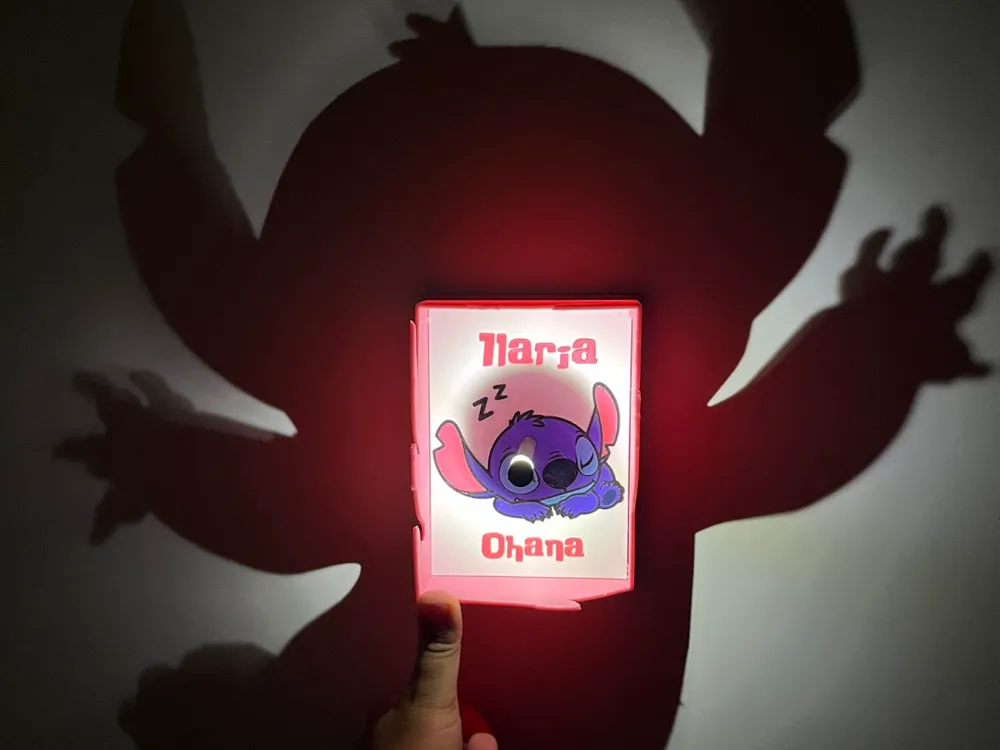
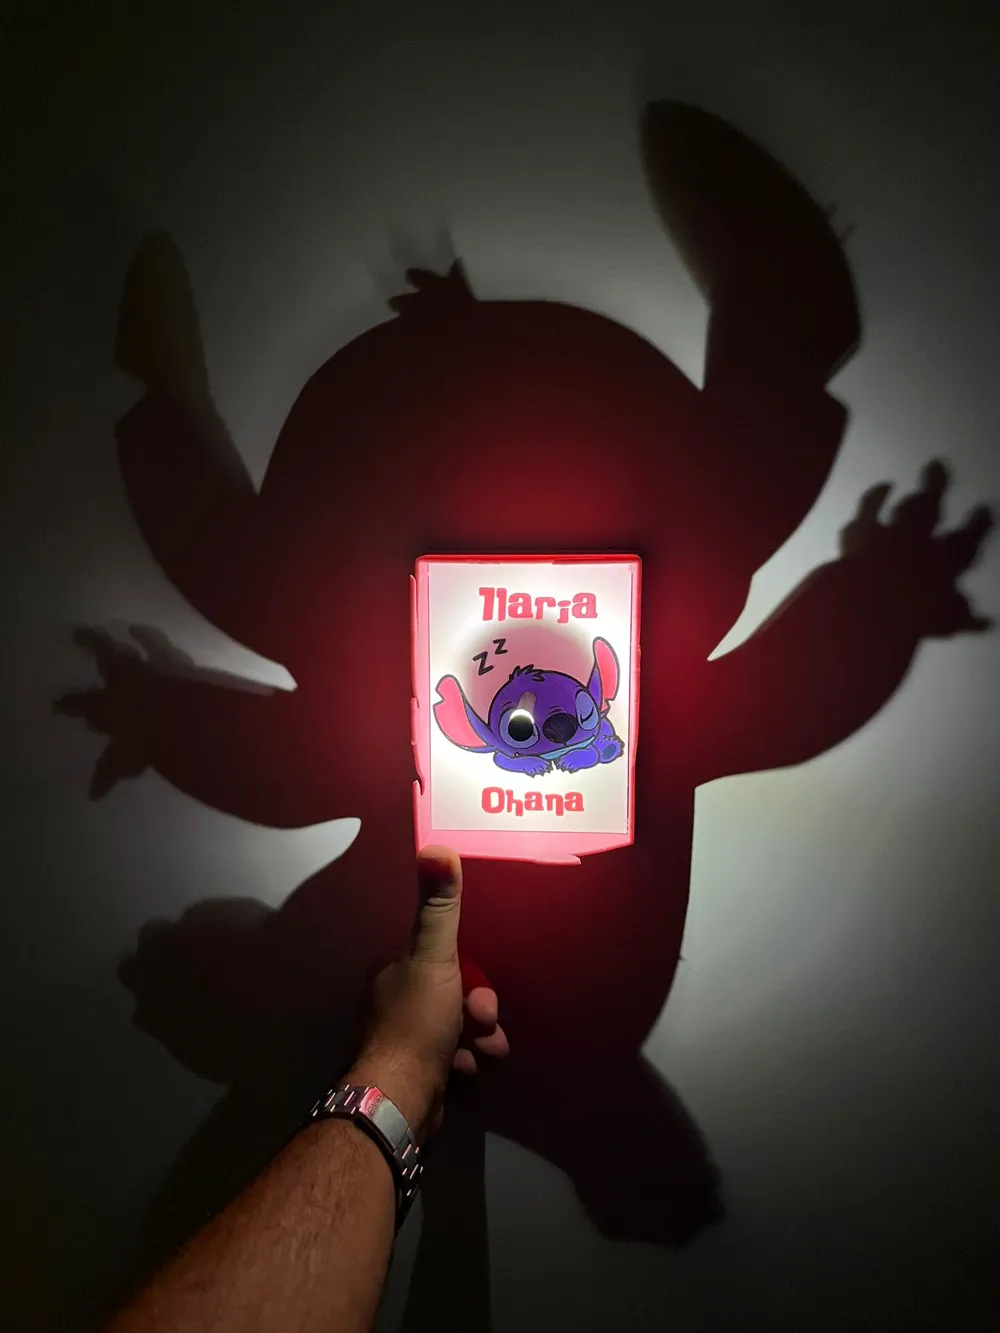
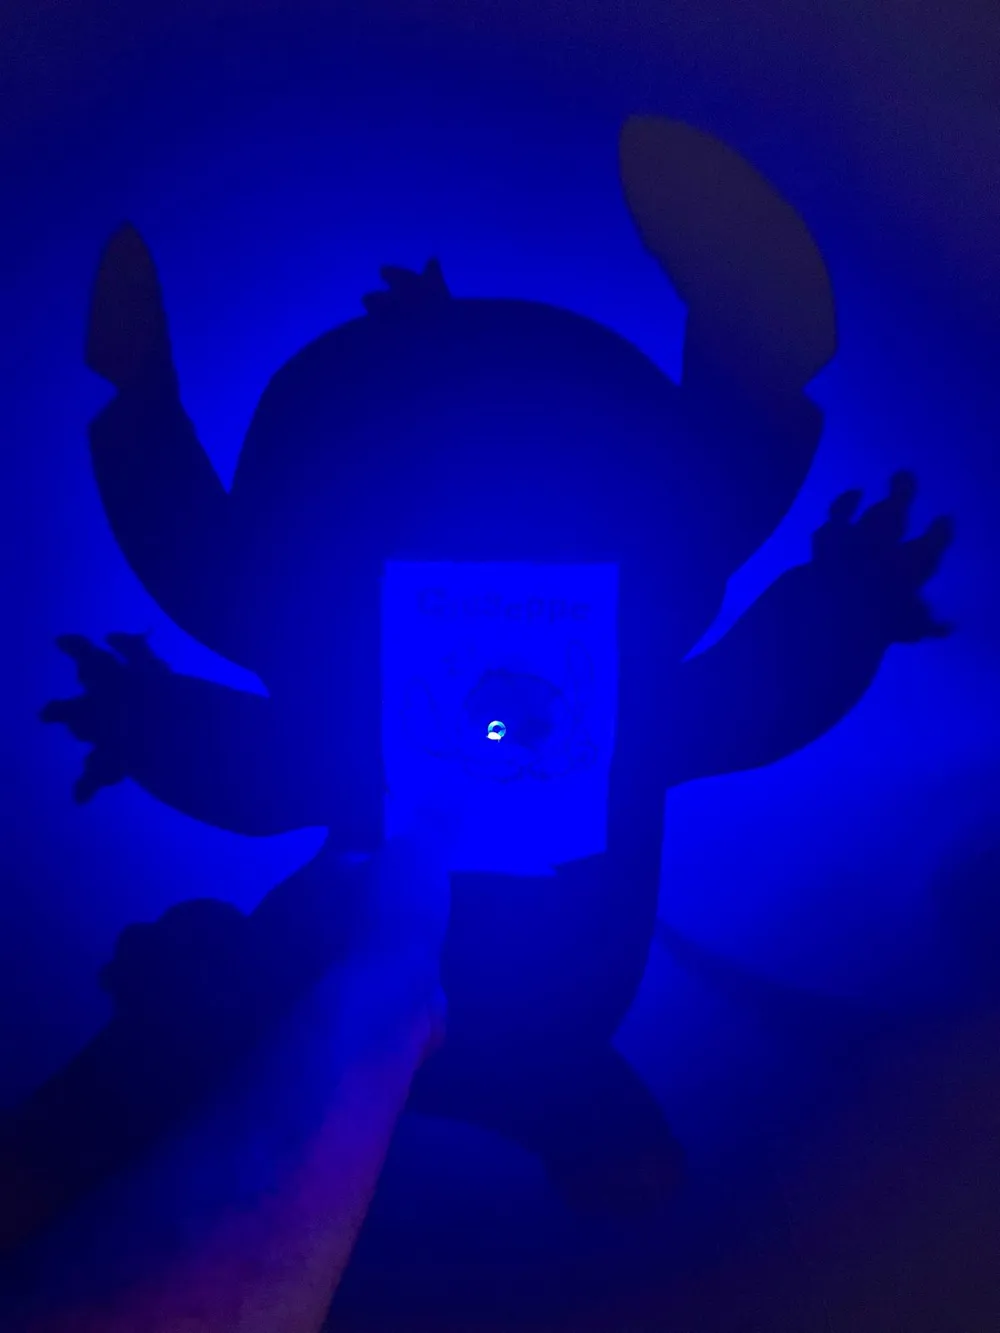
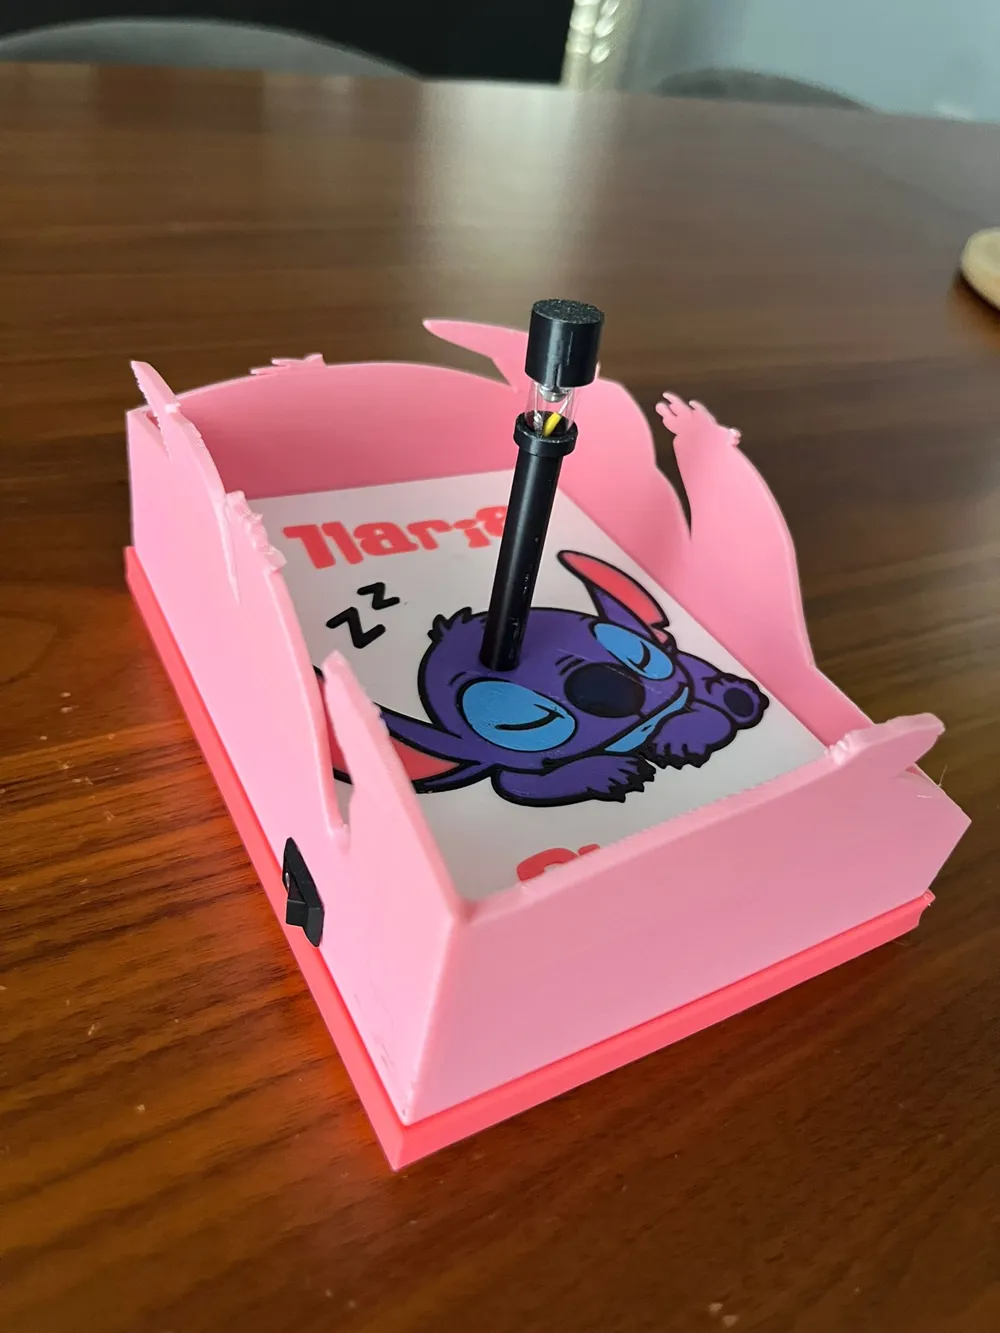
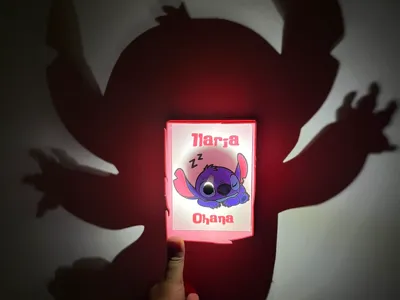
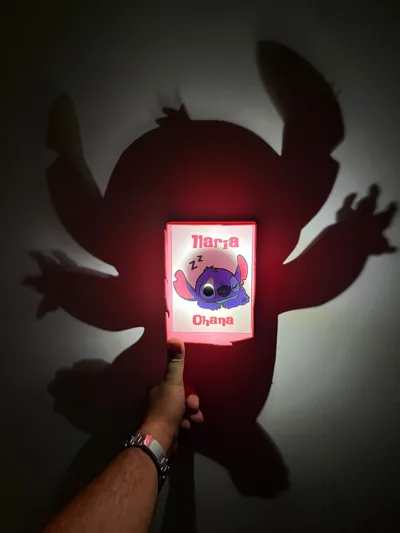
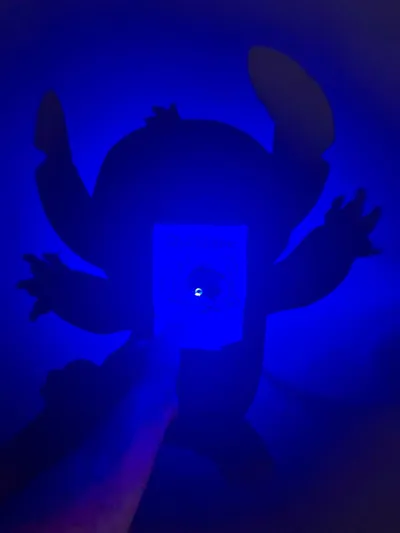
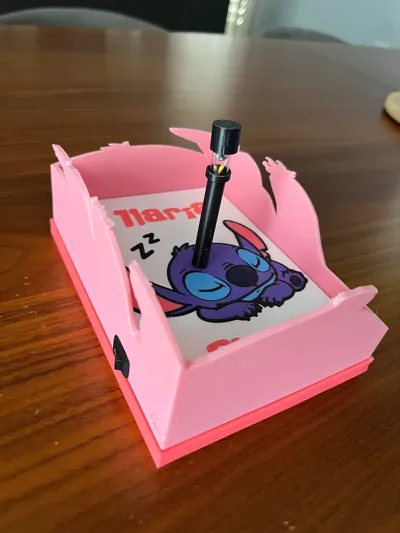
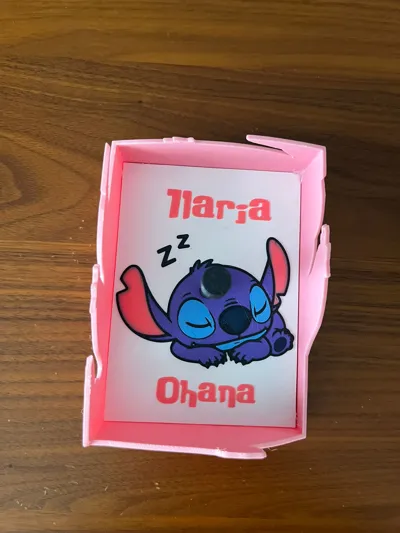
I created this shadow projection lamp, also known as a Shadow Lamp, inspired by Stitch. I present it as a night light, featuring a sleeping Stitch image.
The accessories needed to complete it are an AA battery box, an on/off switch with an embedded size of 20x12.5mm, an LED, and a small piece of transparent PET, possibly cut from a water bottle, measuring 15mm x 27mm.
The Box will be printed in one piece with added supports.
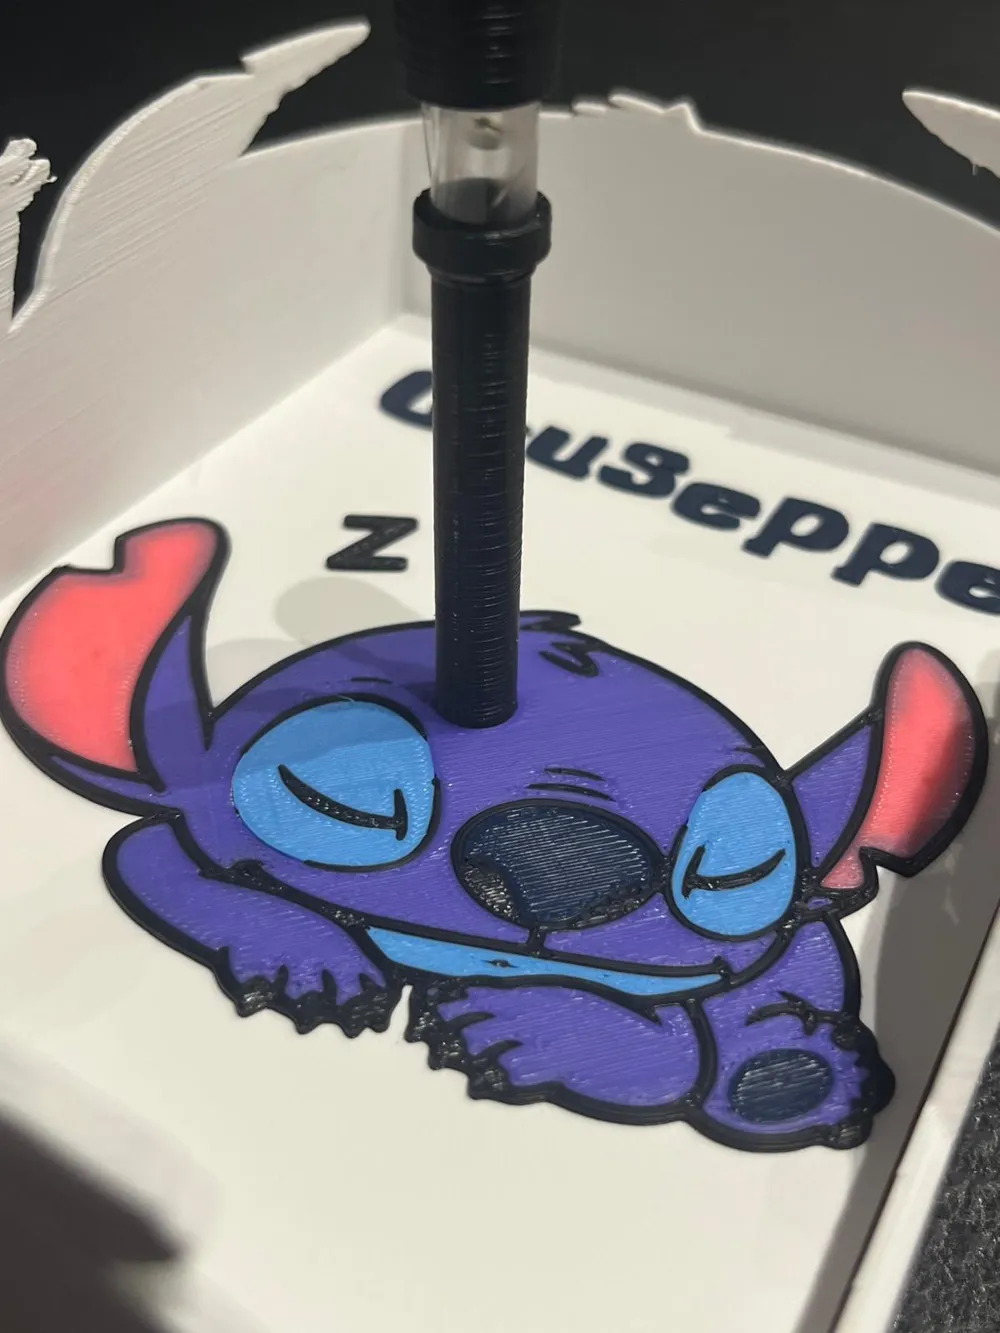
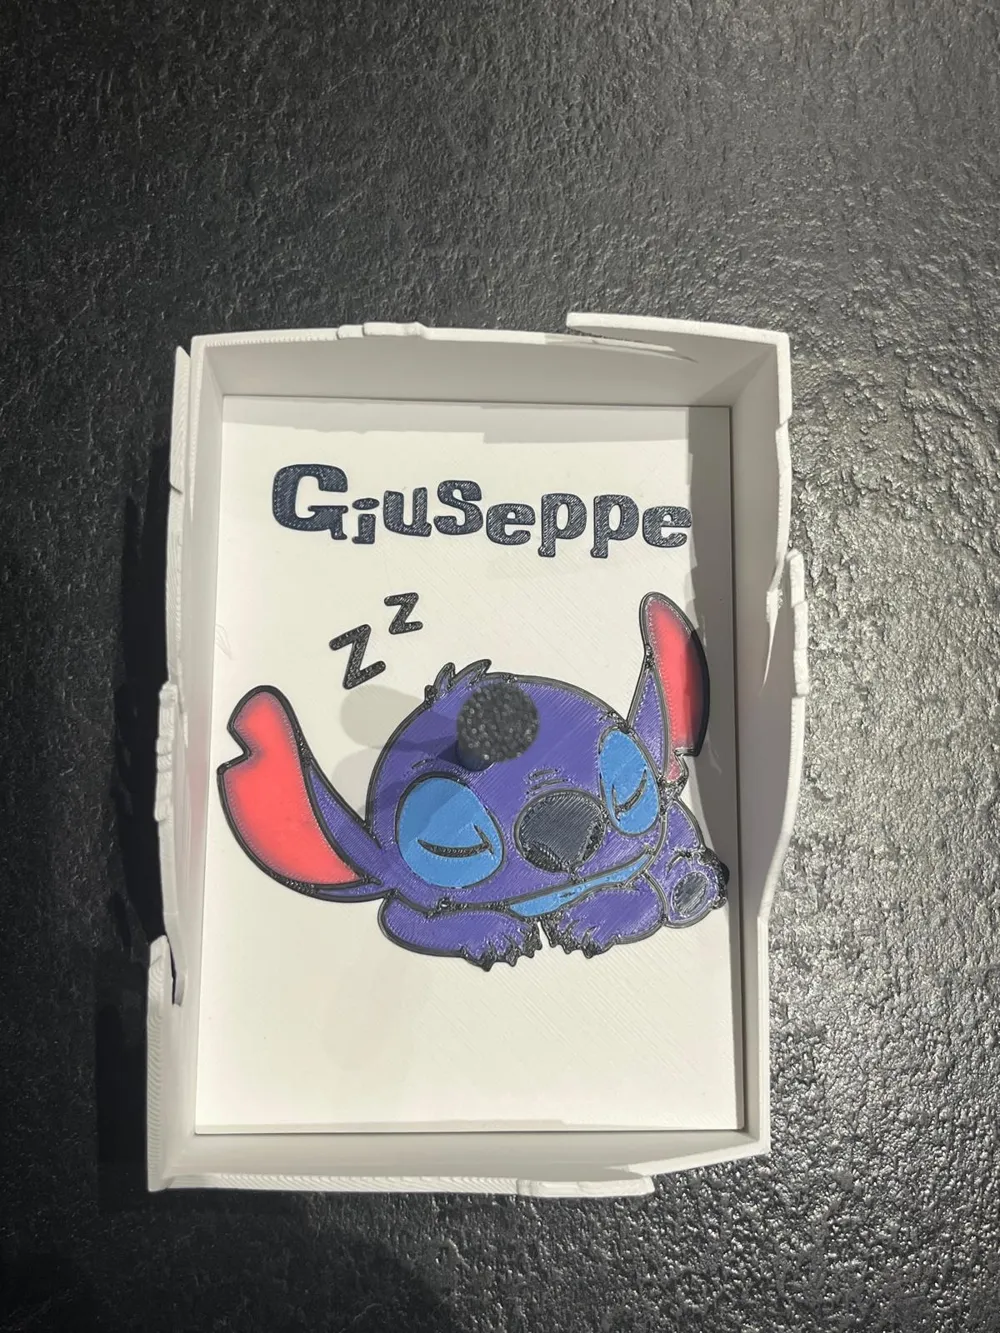
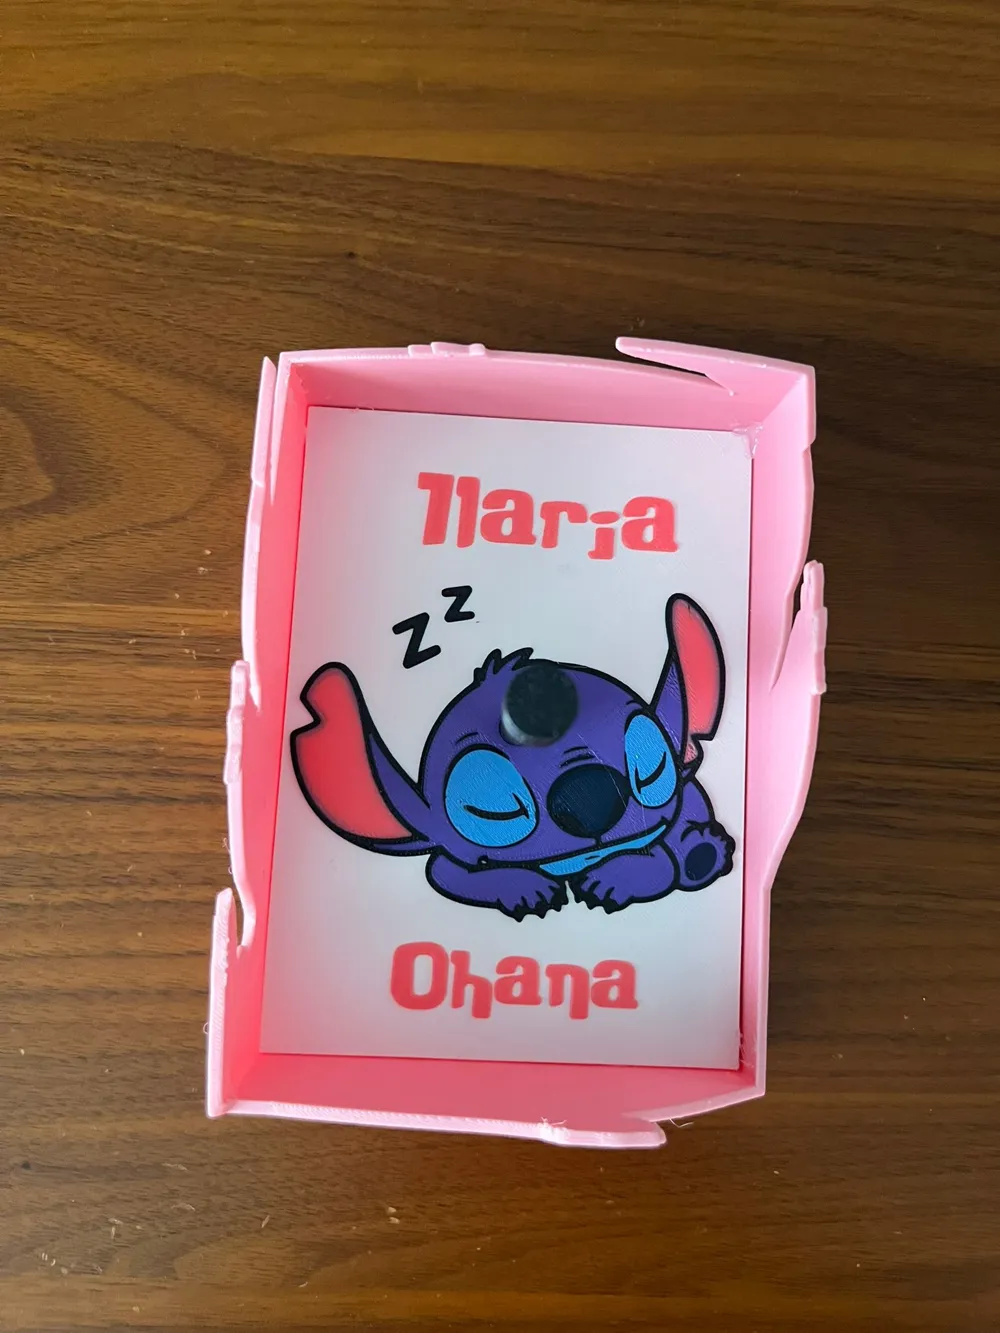
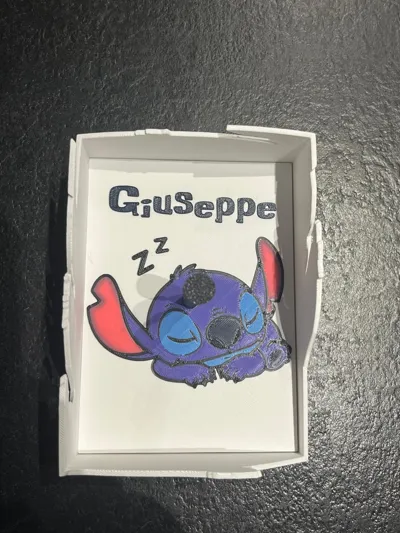
The small panel included in the print profile features the word “Ohana” with space above to add your children's names. In the photo, the name Giuseppe is for demonstration purposes only and is not actually included in the print profile. The STL file has no text, only the Stitch image, so you can color it as you wish.
Assembly
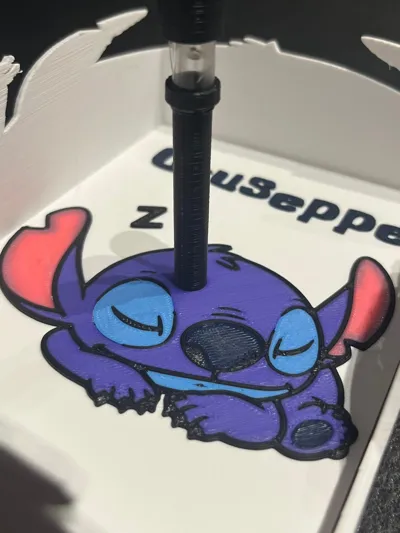
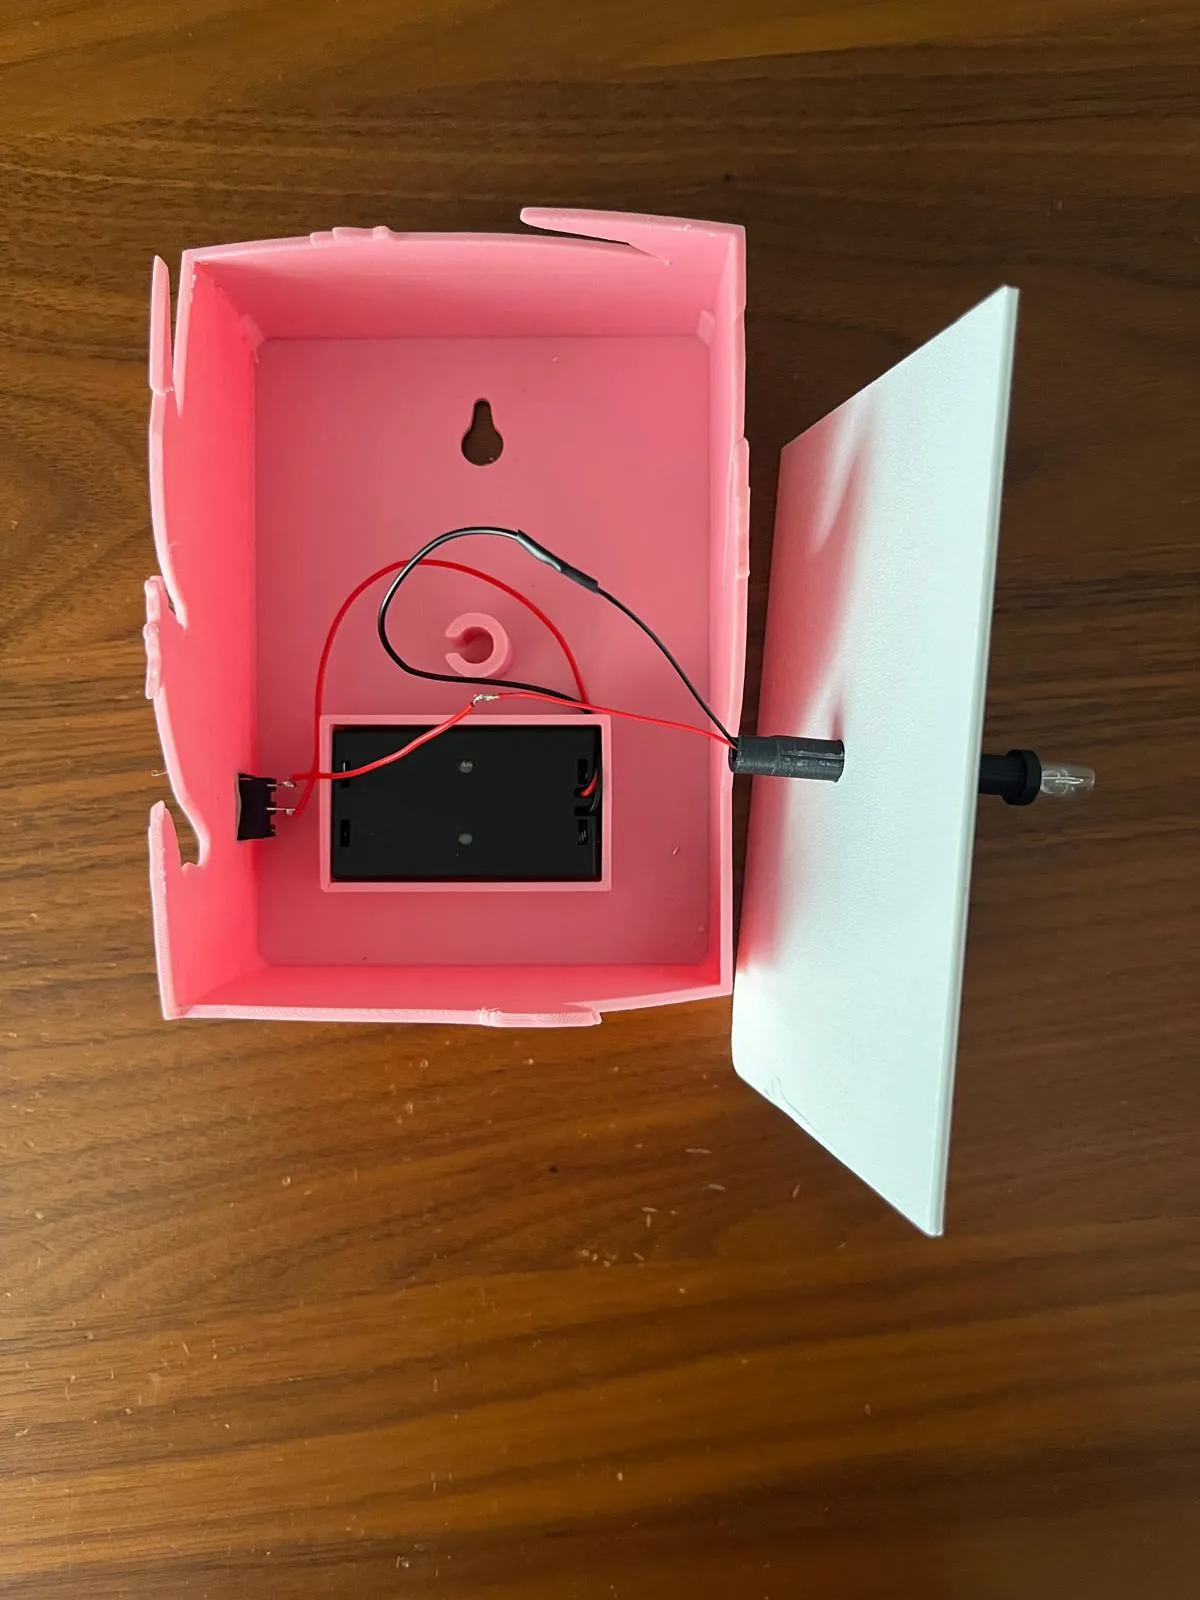
Insert the switch into its designated slot and connect one pole to the positive terminal of the battery pack. CAUTION: first, thread the battery pack wires through the small hole in the dedicated central space. The other pole of the switch will be connected to the positive terminal of the LED. The negative pole of the LED will then be connected directly to the negative pole of the battery pack. CAUTION: first, thread the LED wires through the “LED rod,” which will already be inserted into the closing panel with the design.
Once the connections are made as indicated above, secure the battery pack to the small panel. This panel will slide until it seats on the 4 corner blocks, in addition to the space dedicated to the battery pack. CAUTION: I repeat, the battery pack wires must pass through the specially created hole.
At this point, simply close the LED with the small piece of transparent PET. This piece will be wrapped around the top of the LED rod and secured with the “LED shield block.” Finally, using hot glue, seal it with the “LED Cap.”
License

You shall not share, sub-license, sell, rent, host, transfer, or distribute in any way the digital or 3D printed versions of this object, nor any other derivative work of this object in its digital or physical format (including - but not limited to - remixes of this object, and hosting on other digital platforms). The objects may not be used without permission in any way whatsoever in which you charge money, or collect fees.


Comment & Rating (1)