
Motorized TurnTable with Interchangeable Top Plate
Print Profile(1)

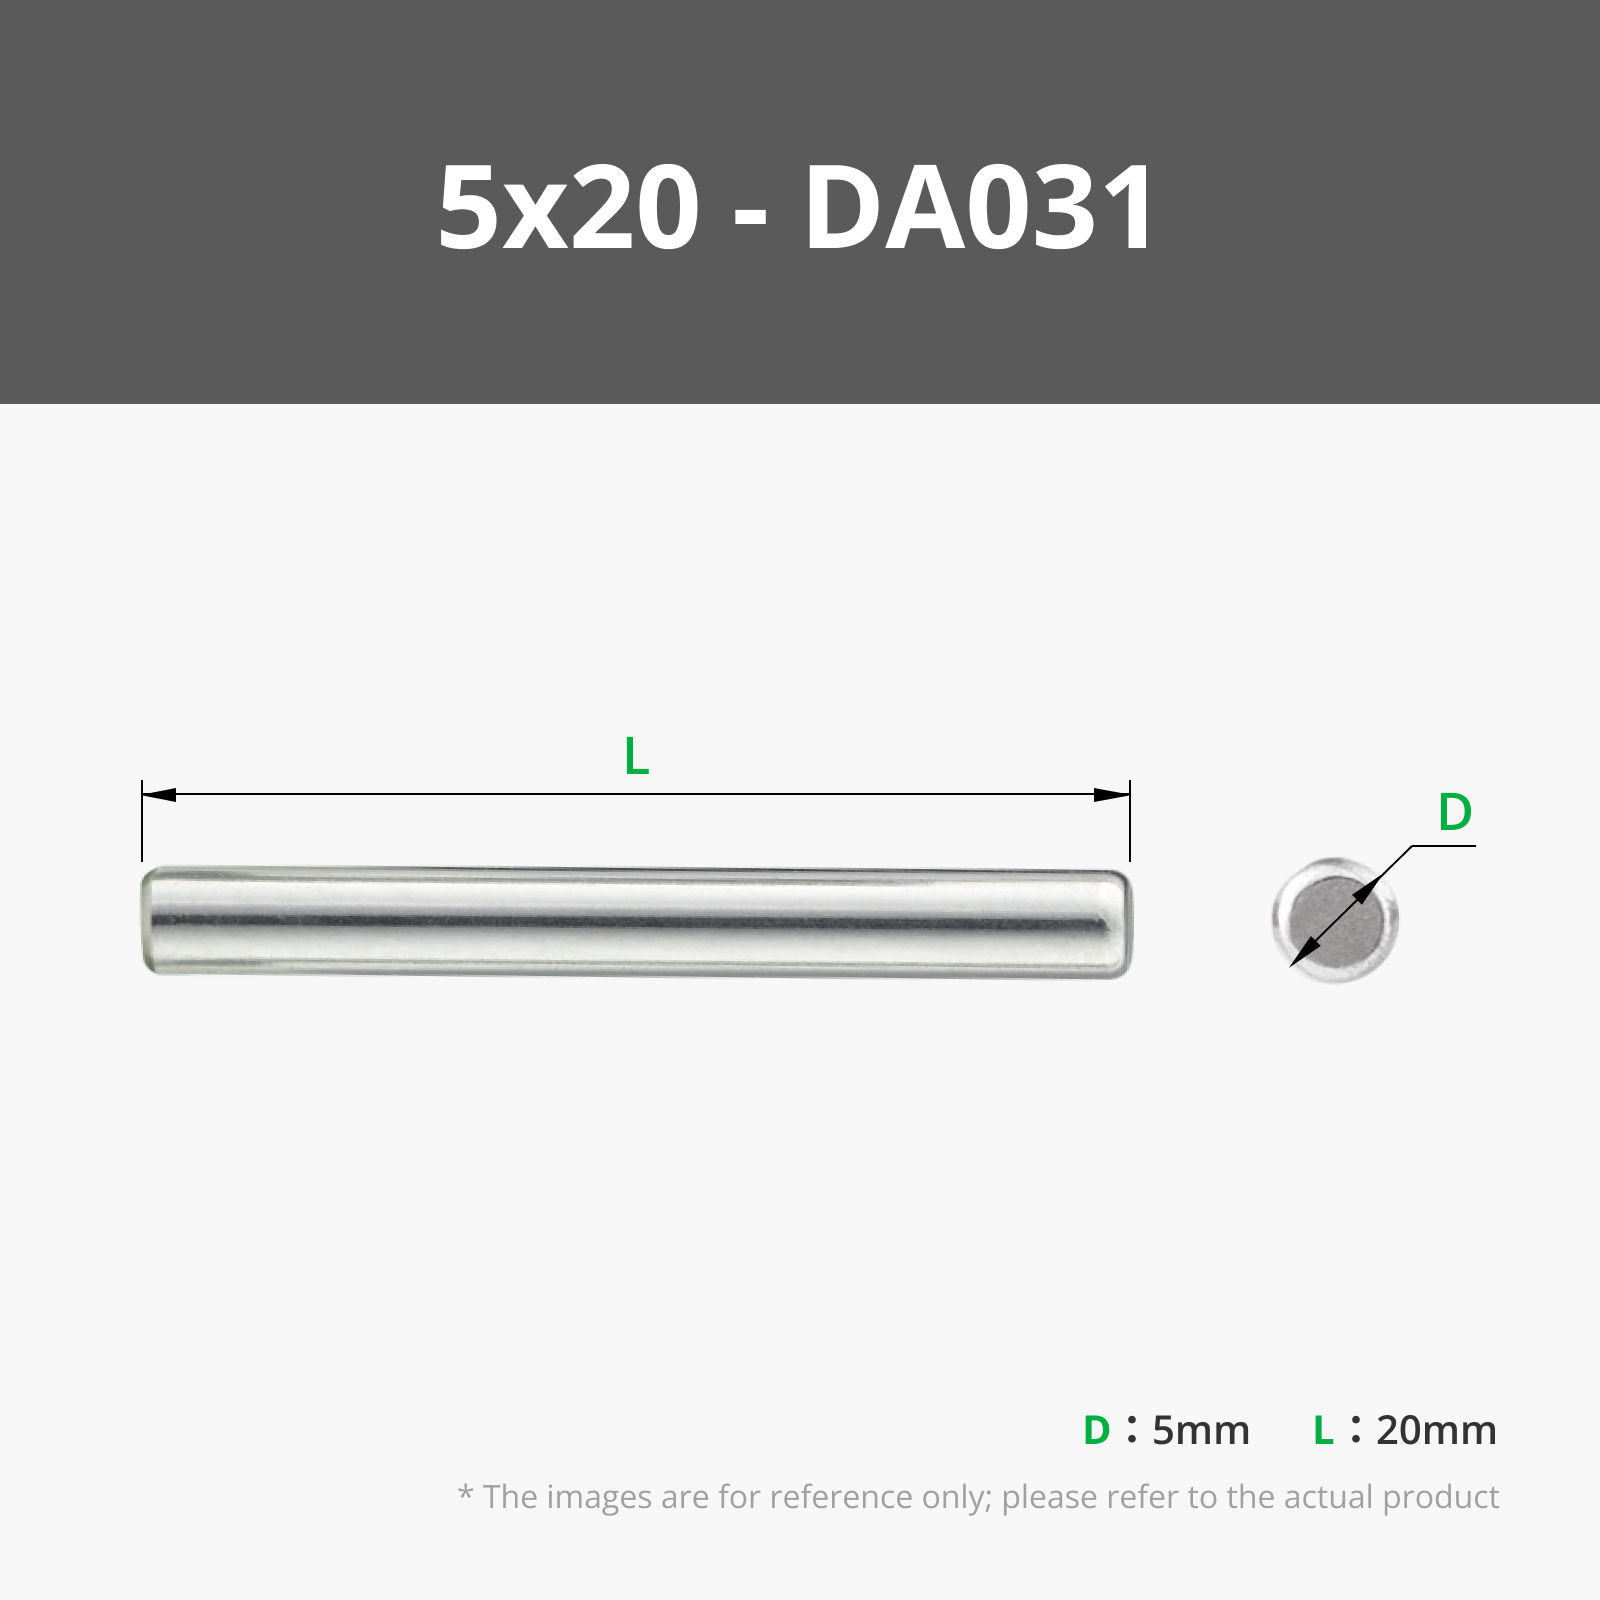
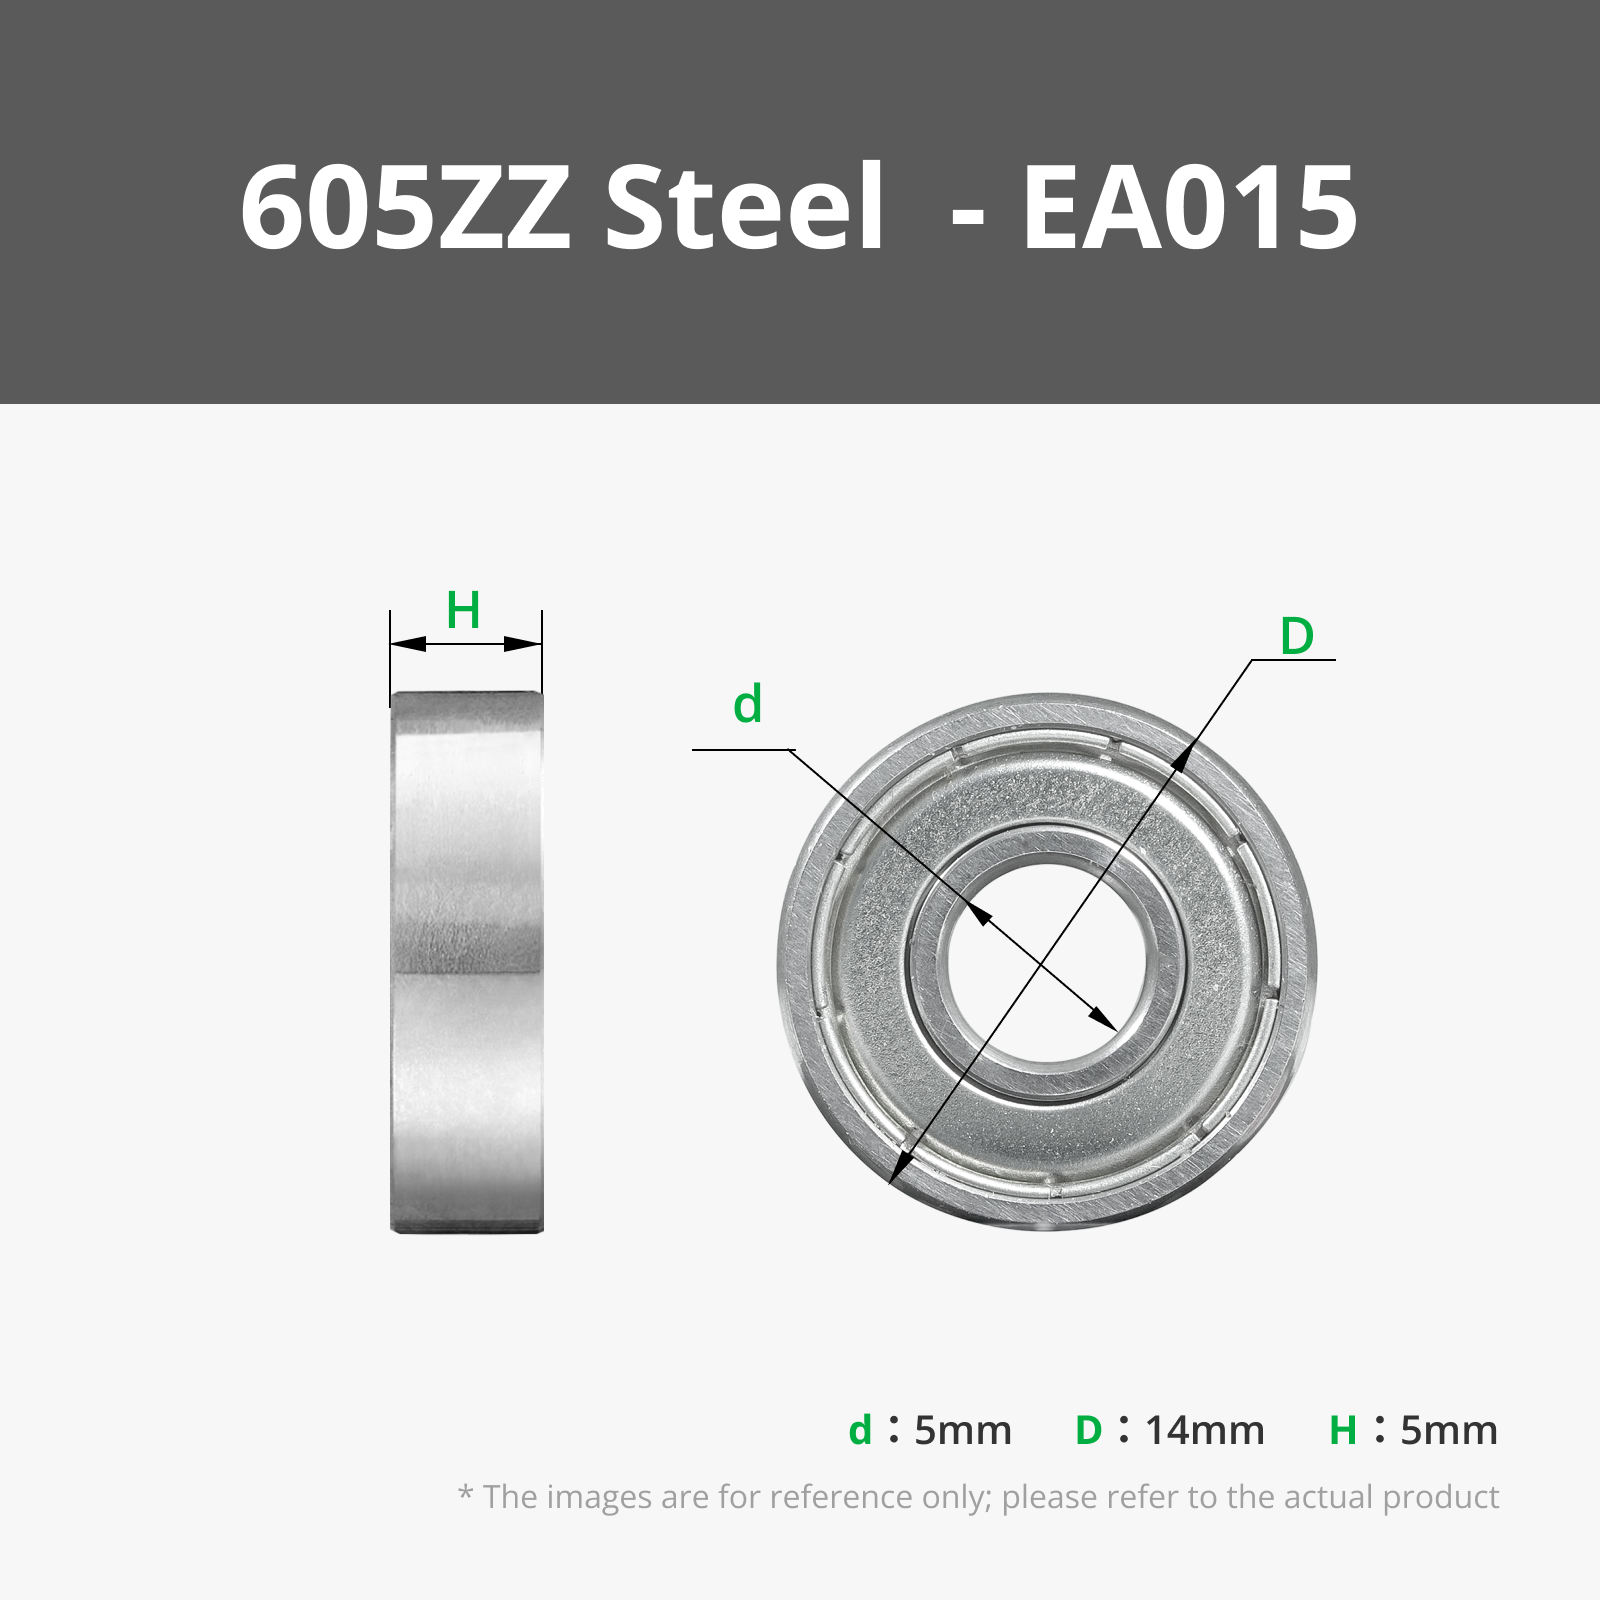
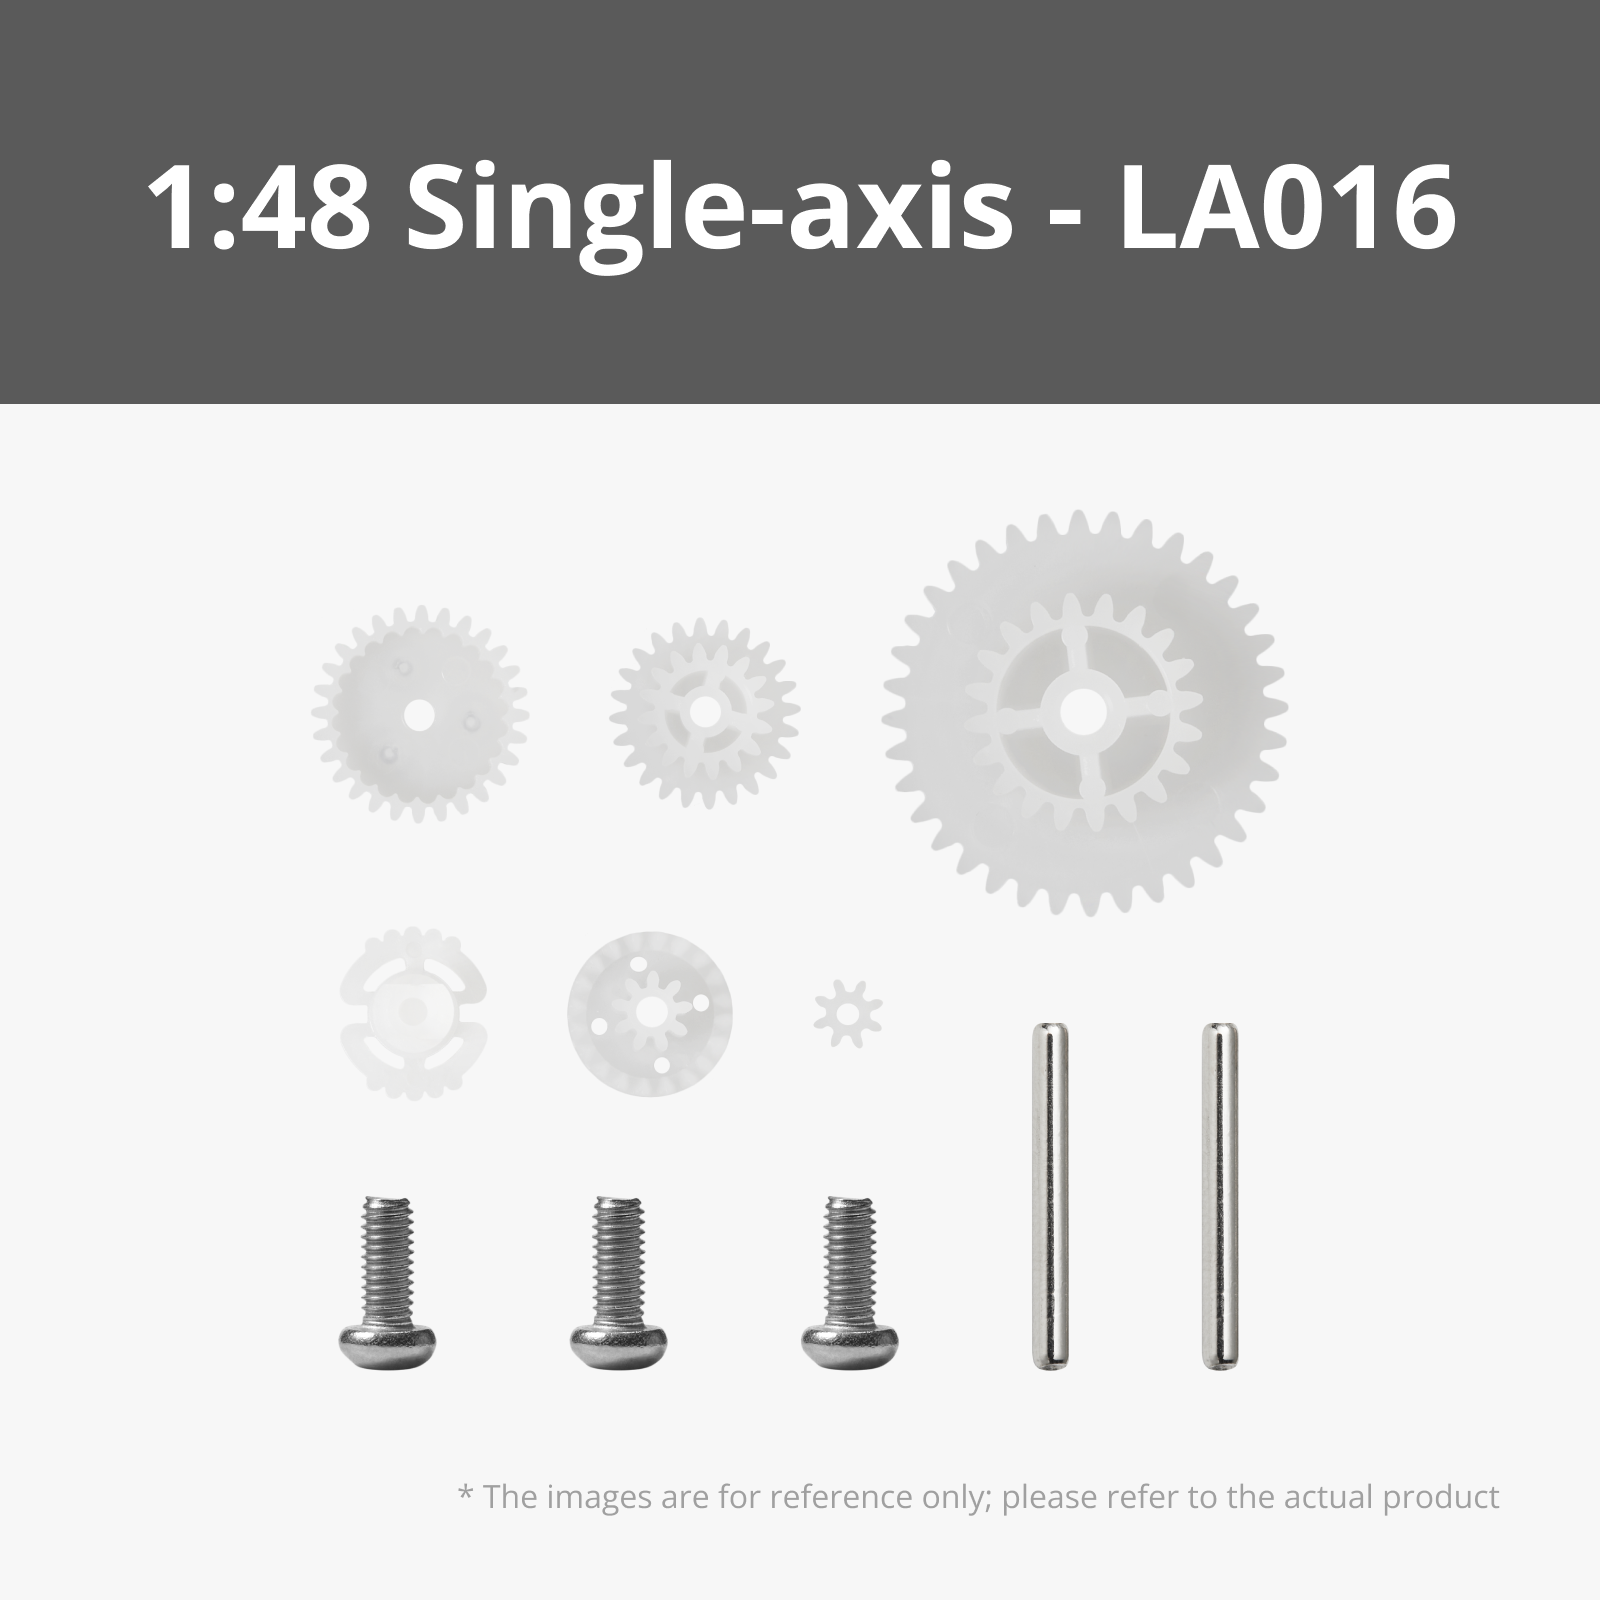
Bill of Materials



Description
Boost Me (for free)
If you like this design, consider giving it a boost or leaving a comment — it really helps! 🙌
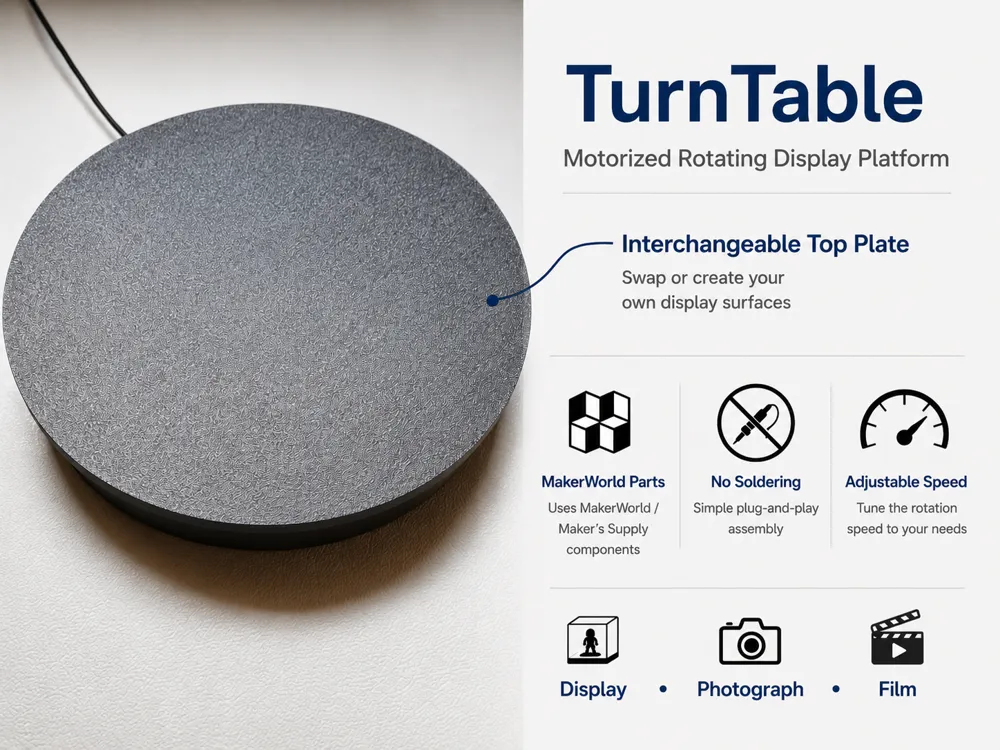
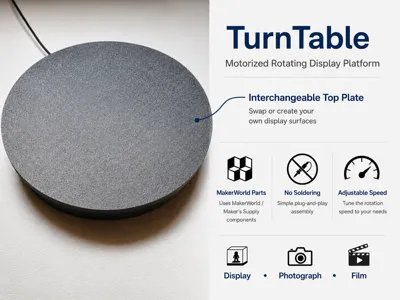
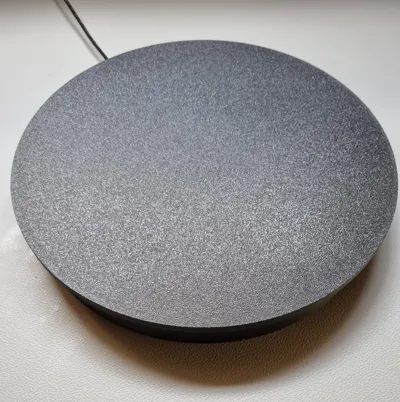
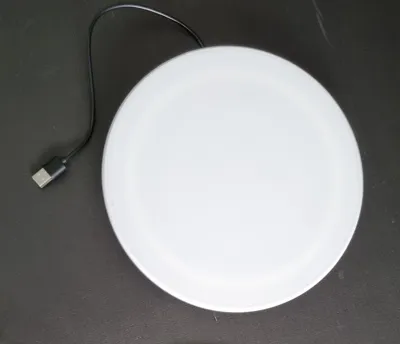
TurnTable is a motorized rotating platform designed for displaying, photographing, and filming 3D prints, scale models, collectibles, and other creations.
No soldering required – all electronics use Maker's Supply components and simple plug-and-play connections
Whether you want to showcase a model on your desk, create smooth 360° product videos, or record eye-catching MakerWorld clips, TurnTable provides a simple and reliable rotating display solution.
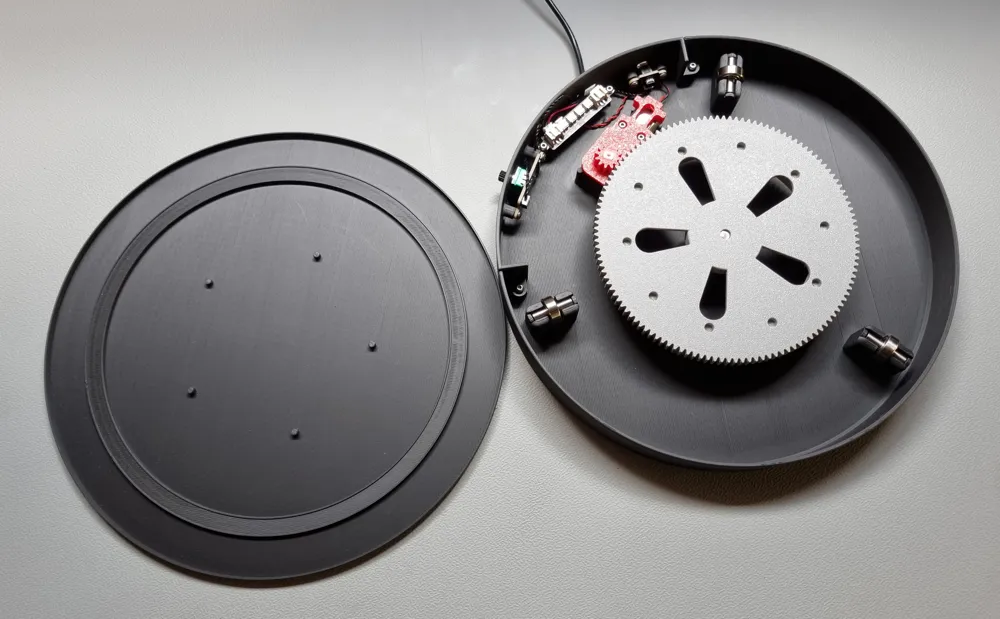
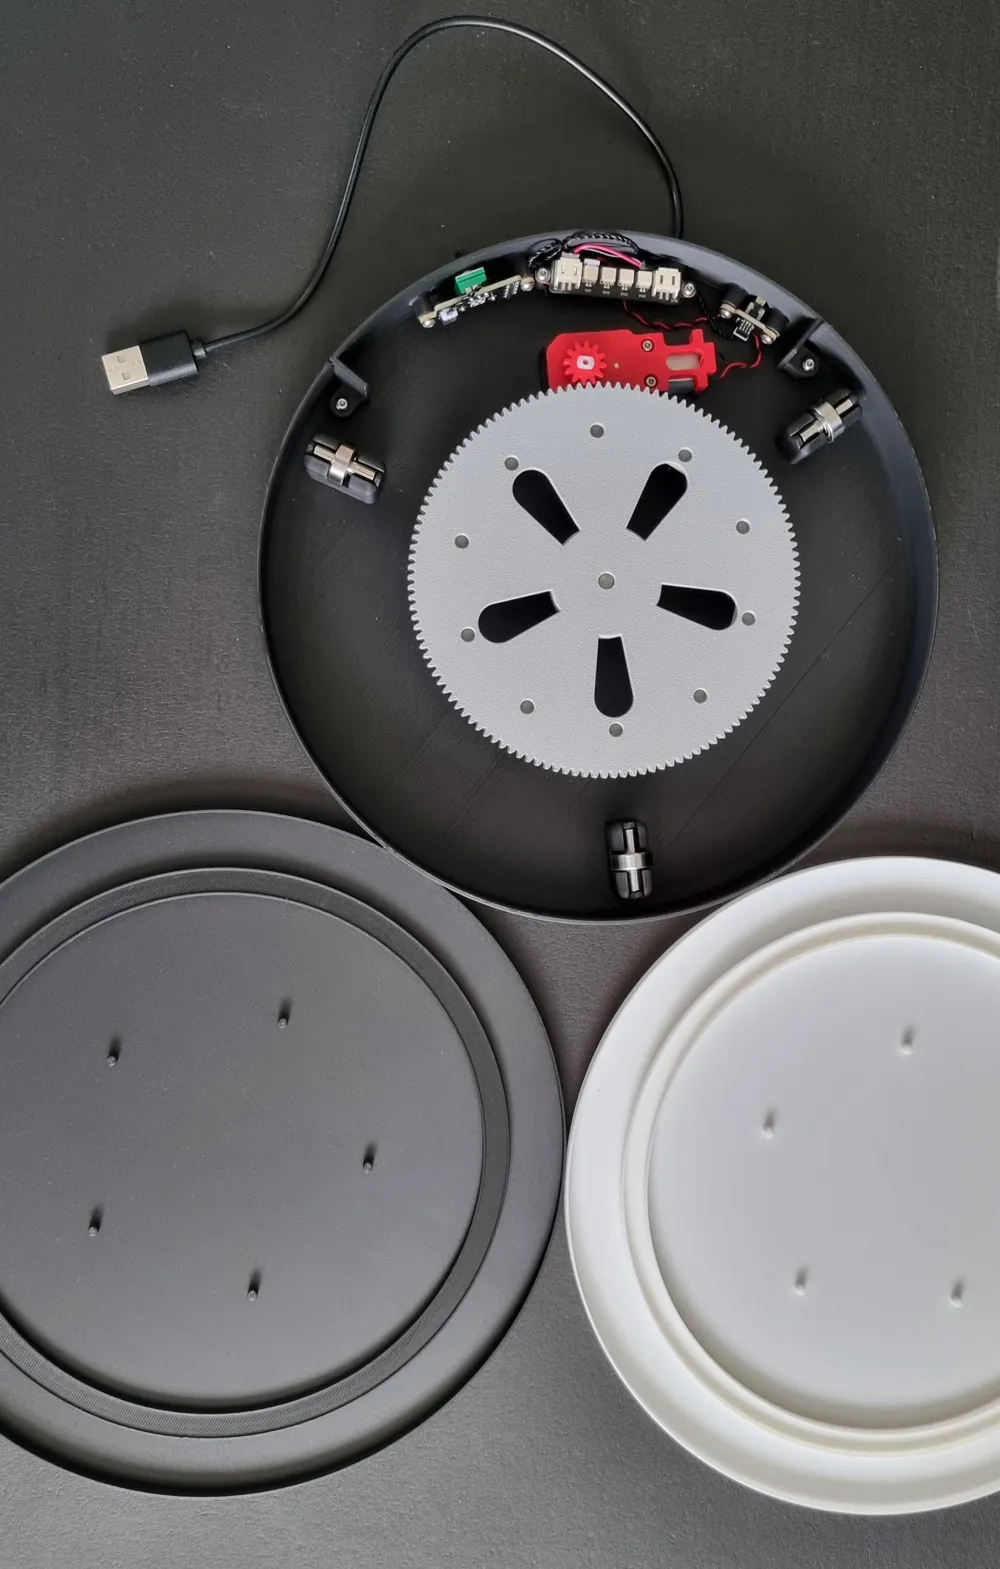
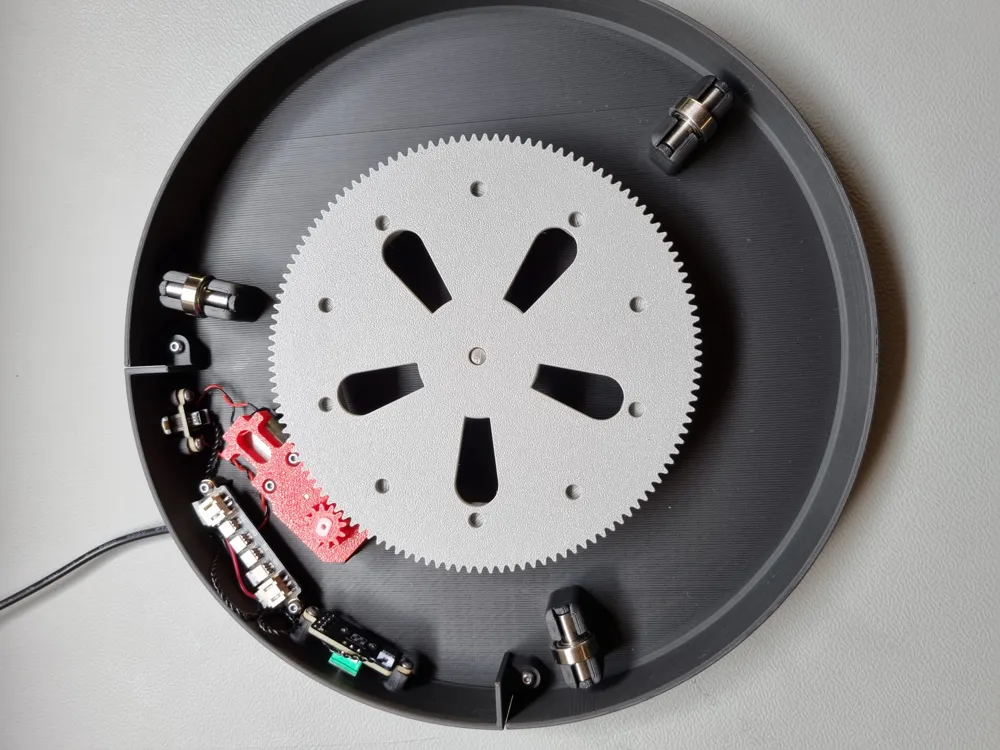
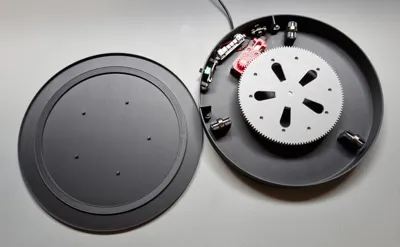
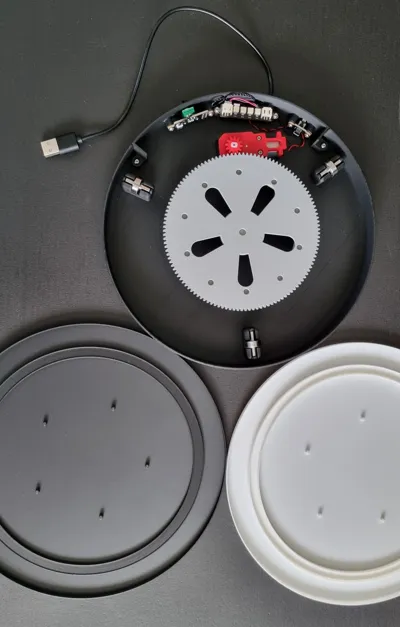
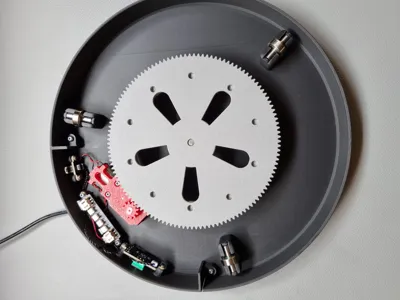
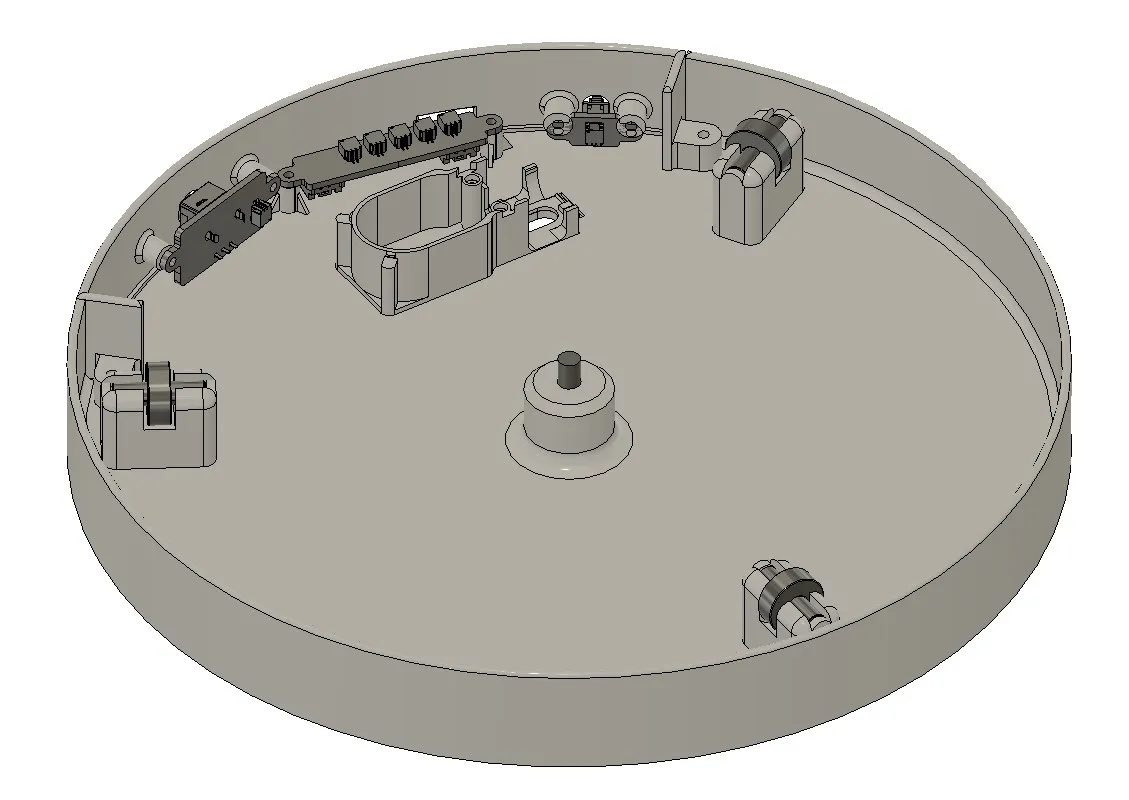
The platform uses a gear-driven drive system powered by a compact DC motor and supported by ball-bearing rollers for smooth, stable rotation. The integrated speed controller allows the rotation speed to be adjusted to suit different display and filming needs.
A key feature of the design is the removable top plate. It drops into position without screws, making it easy to swap display surfaces or create custom platform designs while keeping the same drive system.
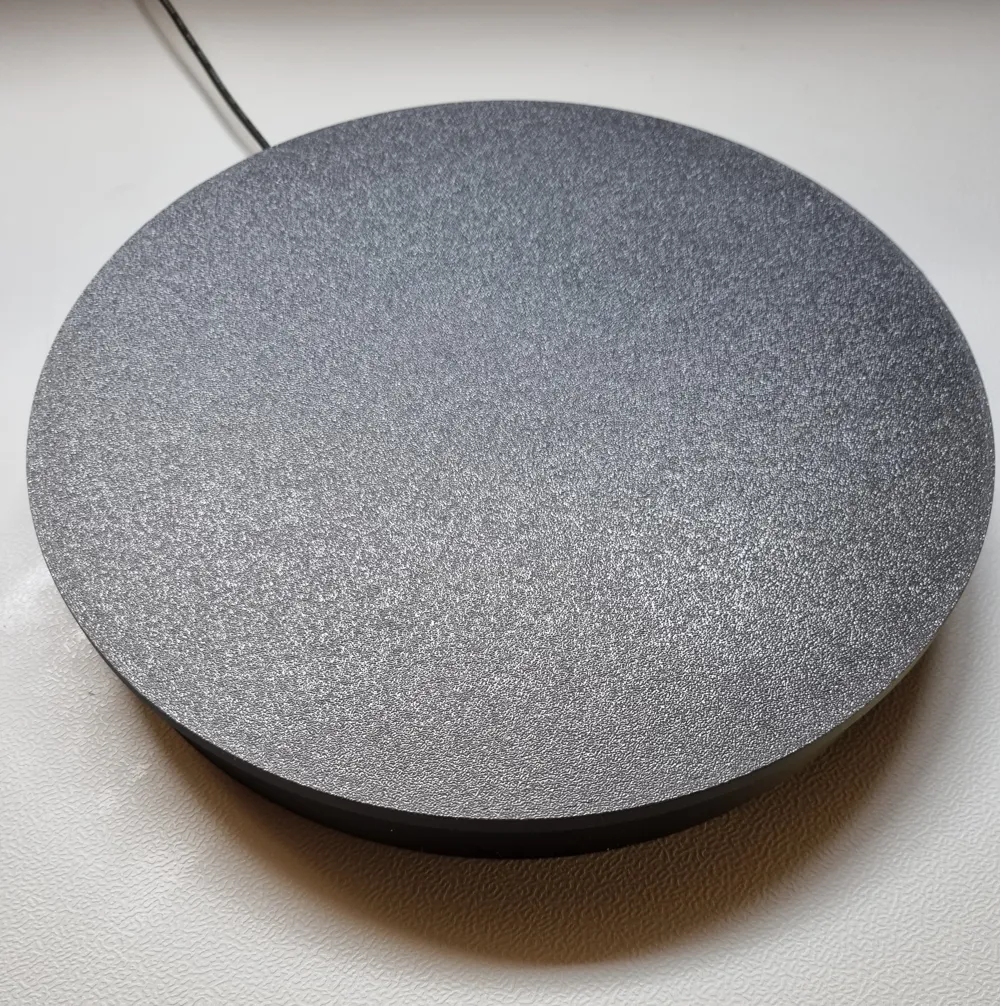
The included top plate has a diameter of 220 mm, providing ample space for most 3D prints, collectibles, and scale models. Because the top plate is a separate component, larger or custom-designed plates can easily be created while reusing the same base and drive mechanism.
The top plate is also included as a STEP file to make customization easy. Design your own display surfaces, photography plates, photogrammetry/scanning plates, model-specific platforms, or even larger top plates to suit your needs, all while reusing the same base and drive mechanism.
Features
- No soldering required
- Uses only readily available Maker's Supply components
- Simple plug-and-play assembly
- Easy electrical connections using Maker's Supply modules
- Smooth 360° rotation
- Adjustable rotation speed
- Integrated on/off switch
- Stable ball-bearing supported platform
- Removable and interchangeable top plate
Assembly:
Insert the bearing in the center gear 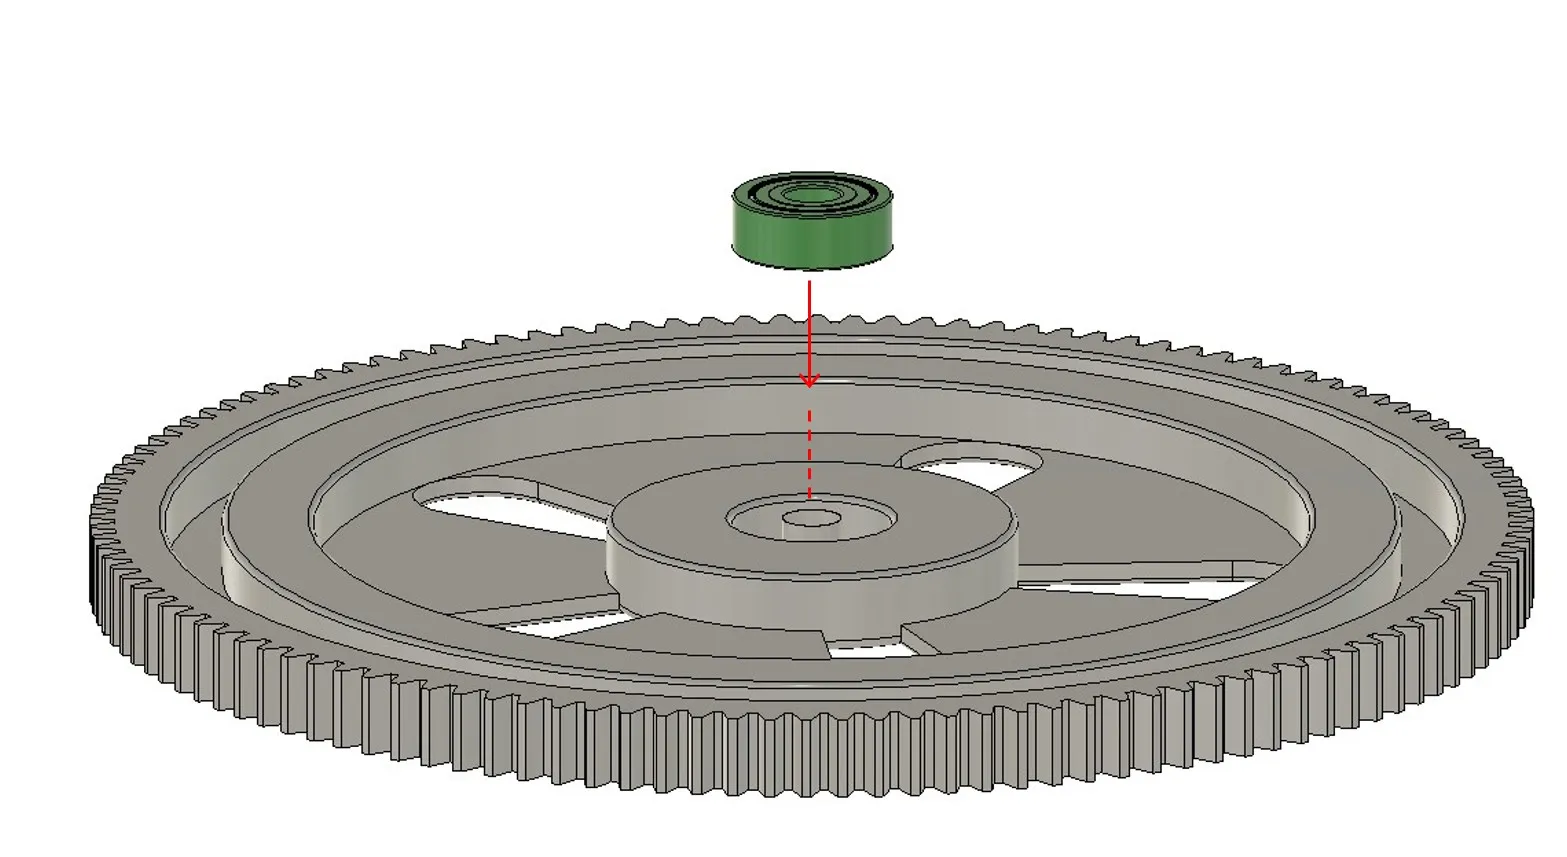
Insert 3 dowels in 3 bearings 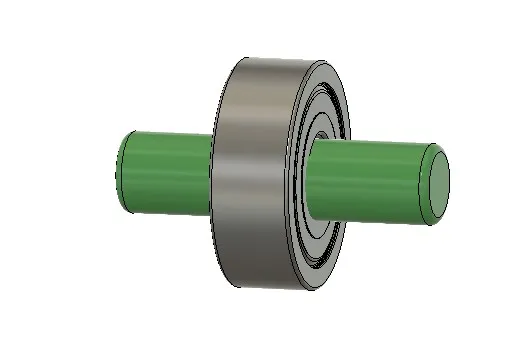
Insert the center dowel in the base plate
- Insert the assembled bearings in the slots in the base plate
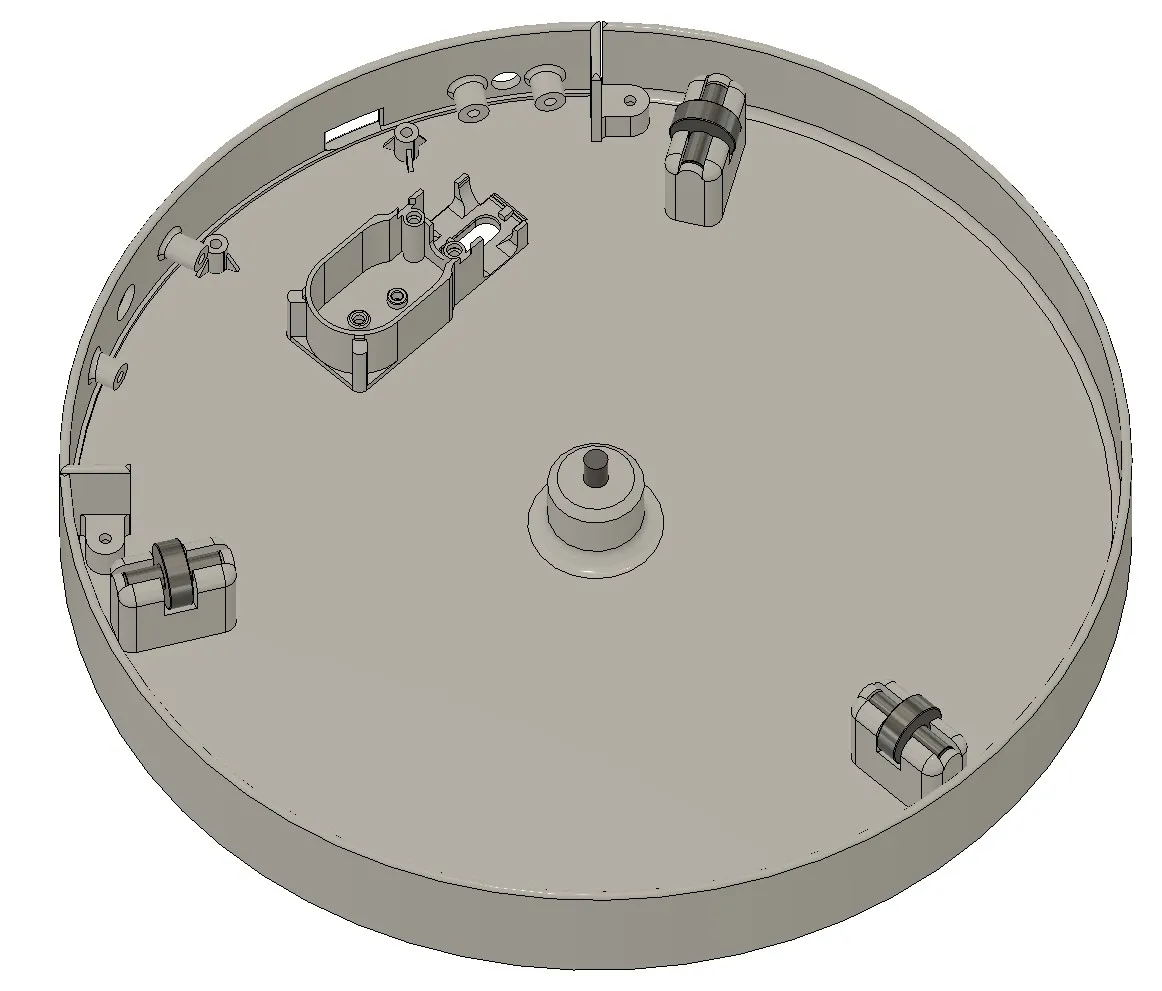
Secure the Self Locking Switch and the Potentiometer Board in the electronics compartment with four screws. 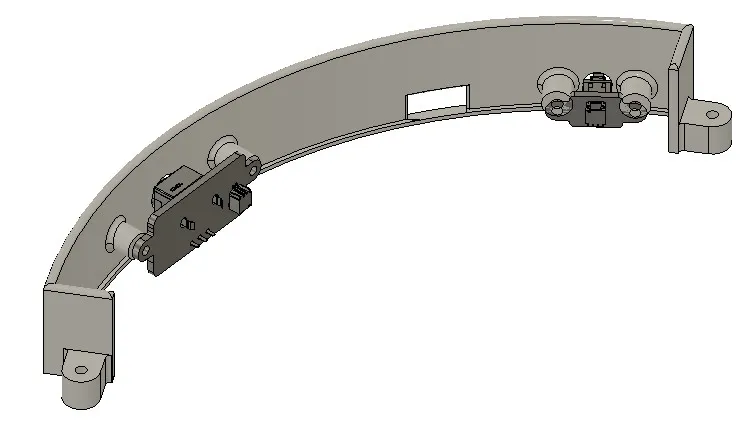
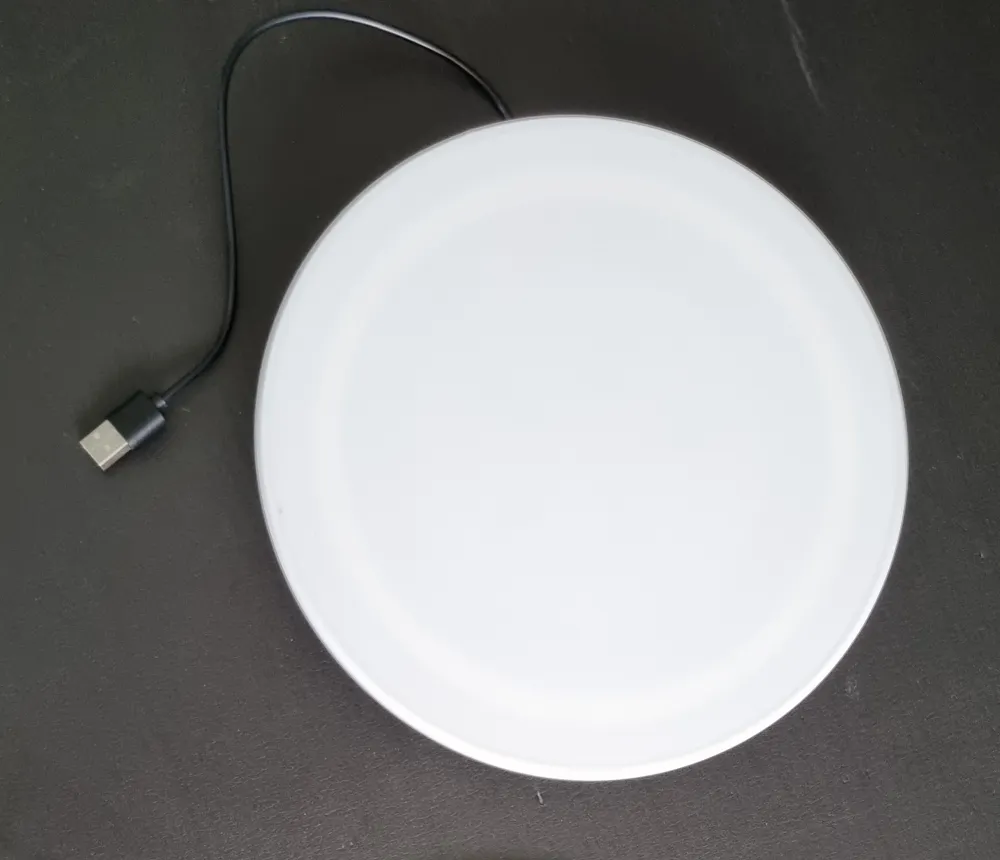
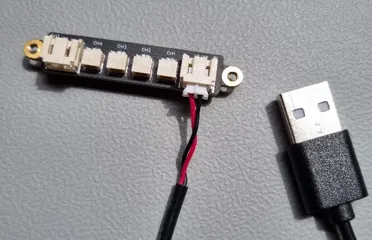
Pull the small connector from the USB cable through the small square cutout on the electronics compartment from the outside to inside. 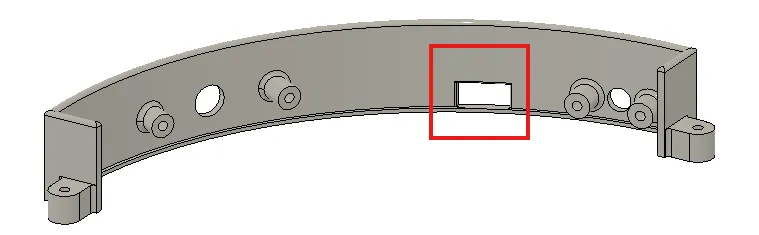
- Connect the SH connector from the USB cable to the IN port of the Power Distribution Board (PDB)
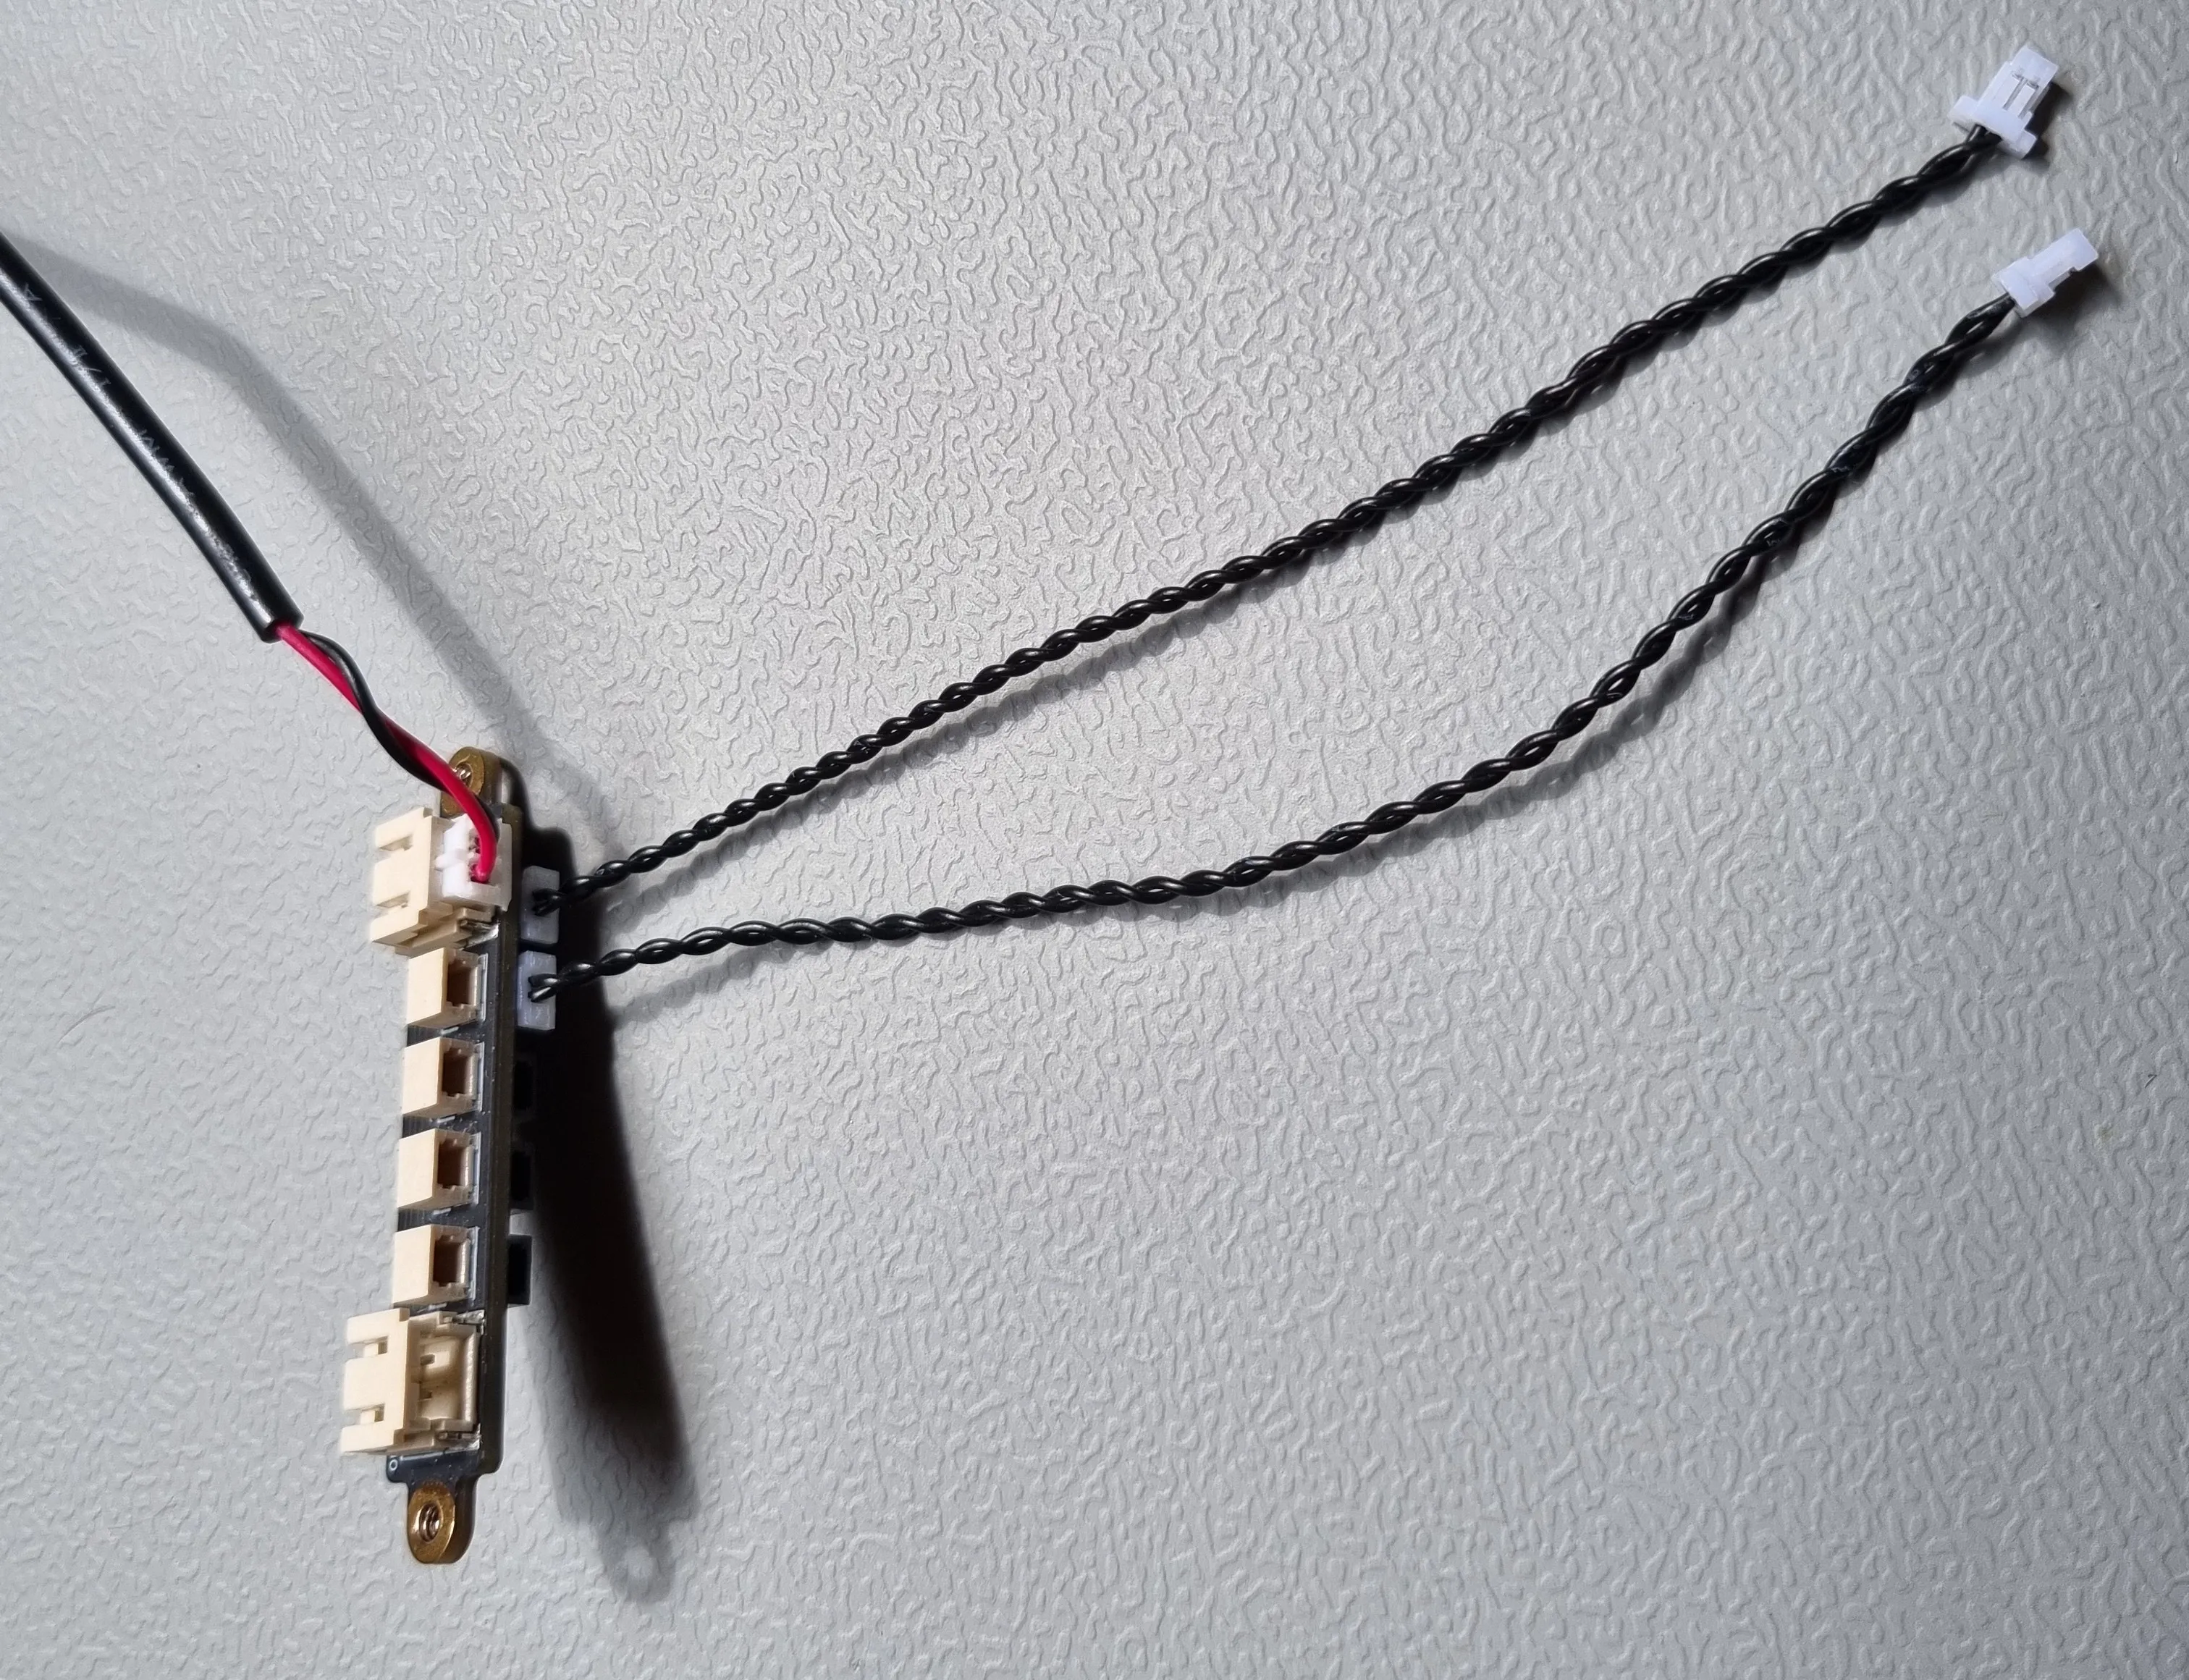
Connect the Self-Locking Button Switch cable from SW0 on the PDB to the switch.
- Connect the Potentiometer cable from SW1 on the PDB to the Potentiometer Board.
Connect the Motor to CH1 on the Power Distribution Board. 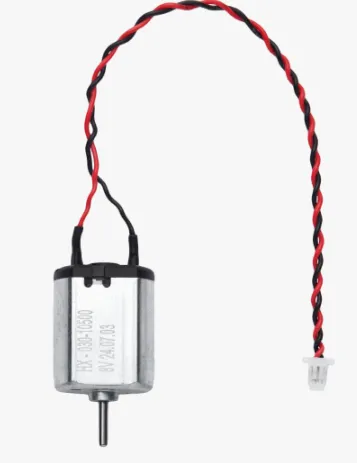
Secure the Power Distribution Board with the connected cables in the Baseplate with 2 screws 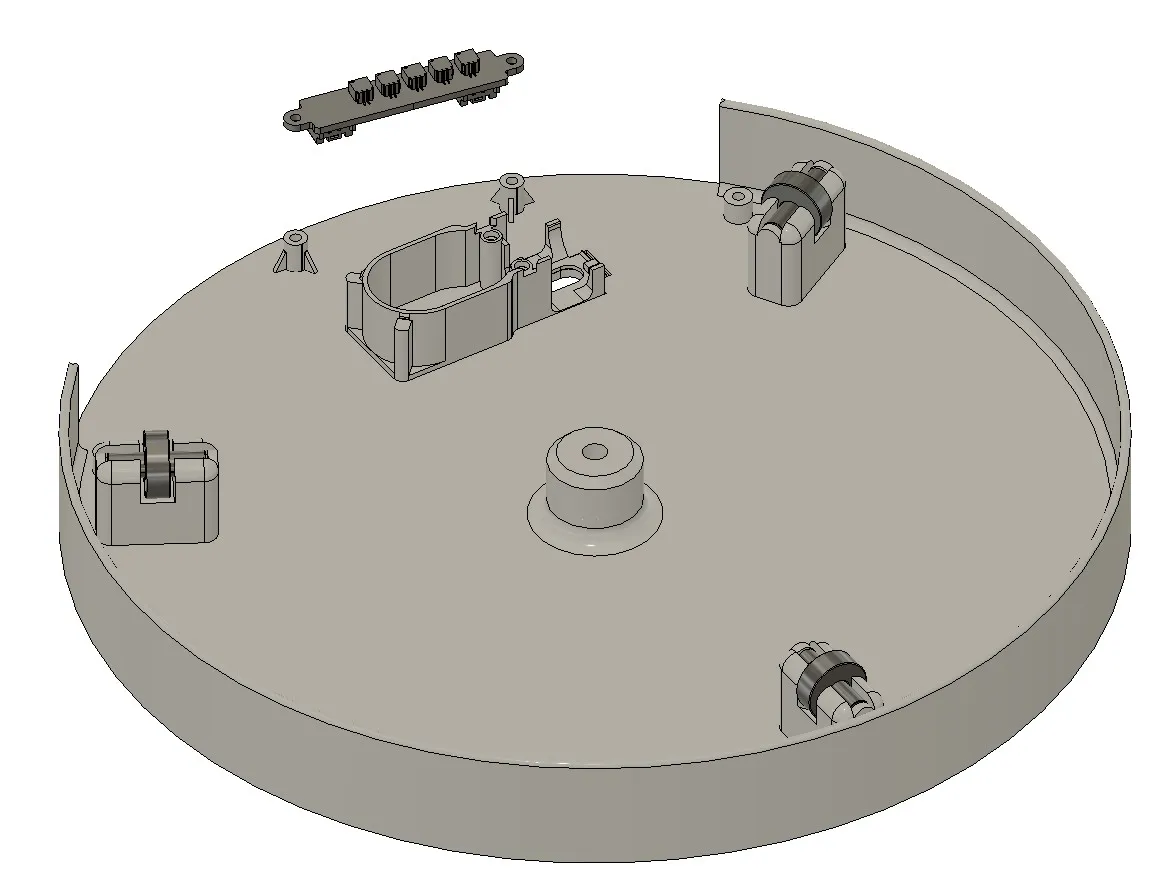
Install the electronics compartment in the base plate using two screws Assemble the reduction gear kit 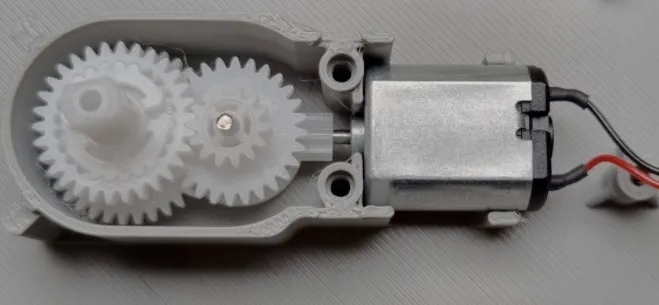
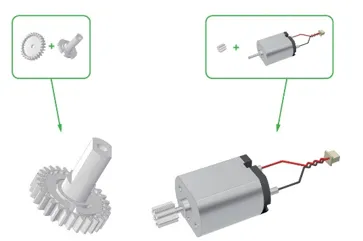
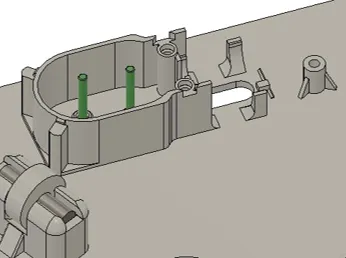
TIP: I put a piece of duct tape under the motor to reduce vibrations further. 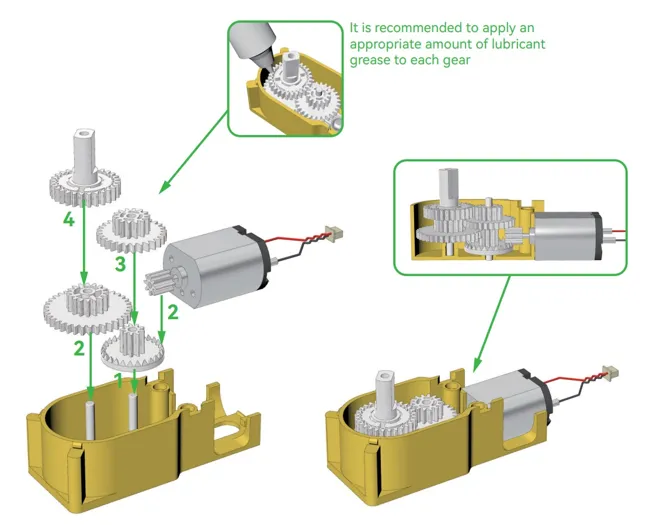
Install the motor cover 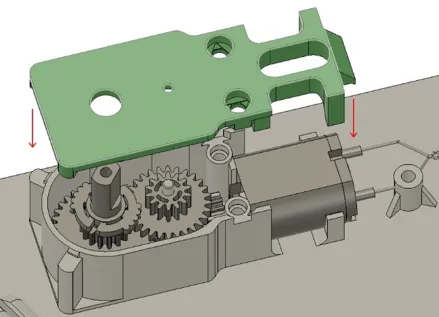
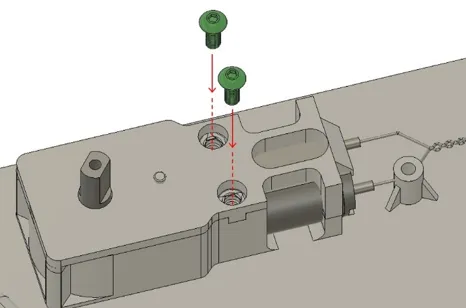
Press the main gear assembly onto the center shaft. Avoid applying excessive force. Excessive pressure may push the center shaft too far into the gear, causing increased friction and preventing smooth rotation.
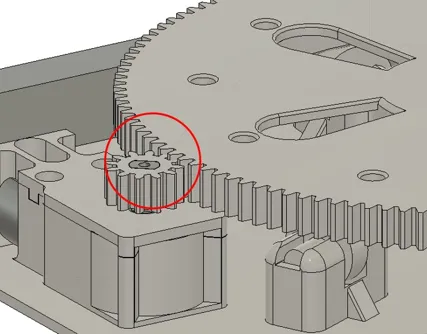
- Install the pinion gear.
- The pinion gear is intentionally positioned slightly lower than the main gear.
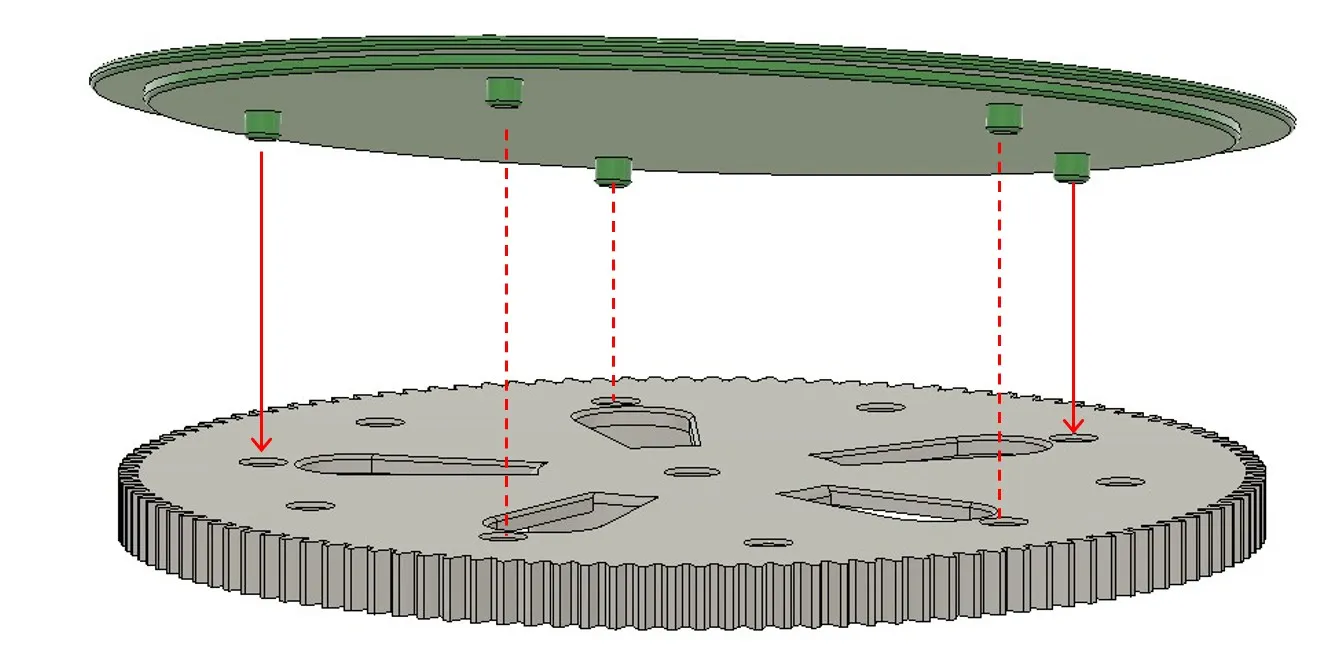
Install the topcover Disc
Congratulations, you've completed your TurnTable.
If you like, you can make custom top cover discs in other colors or even a top cover for scanning; the step file is included.
Membership
Subscribe for a Commercial License to sell physical prints of my models! License stays valid as long as the subscription is active.
© 2026 3Core
License

You shall not share, sub-license, sell, rent, host, transfer, or distribute in any way the digital or 3D printed versions of this object, nor any other derivative work of this object in its digital or physical format (including - but not limited to - remixes of this object, and hosting on other digital platforms). The objects may not be used without permission in any way whatsoever in which you charge money, or collect fees.


Comment & Rating (5)