
Fidget EDC Economy Class Mini Buckyball Magnetic Slider
Print Profile(1)
Description
Personal Compendium No.137, Production Difficulty: ⭐⭐⭐
Original Author: Zak Studio
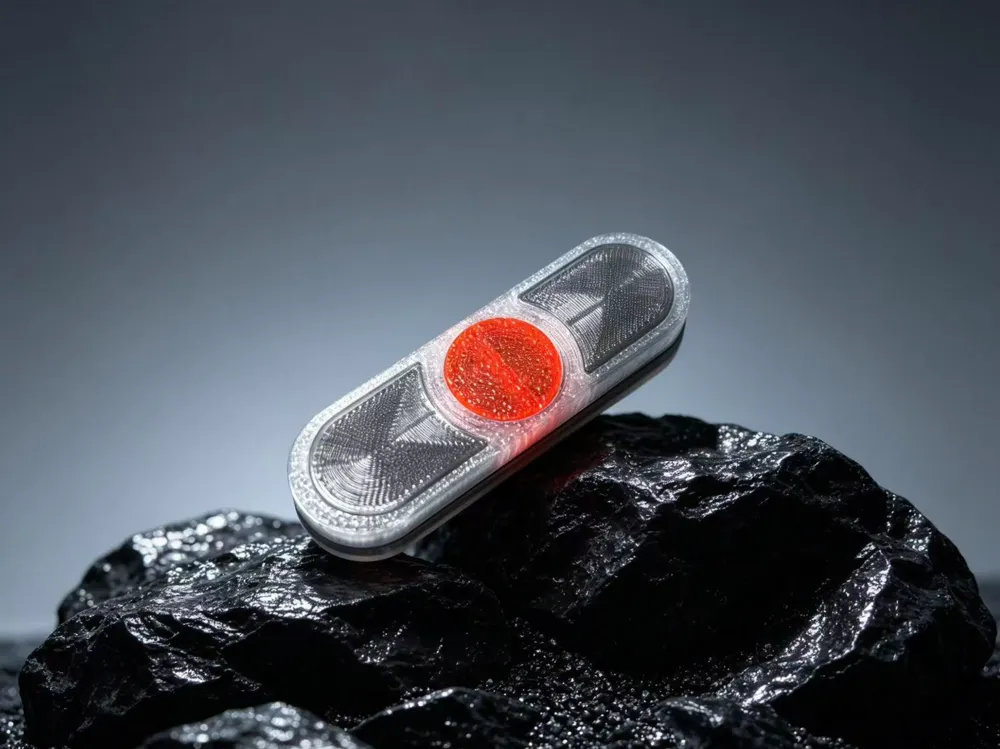
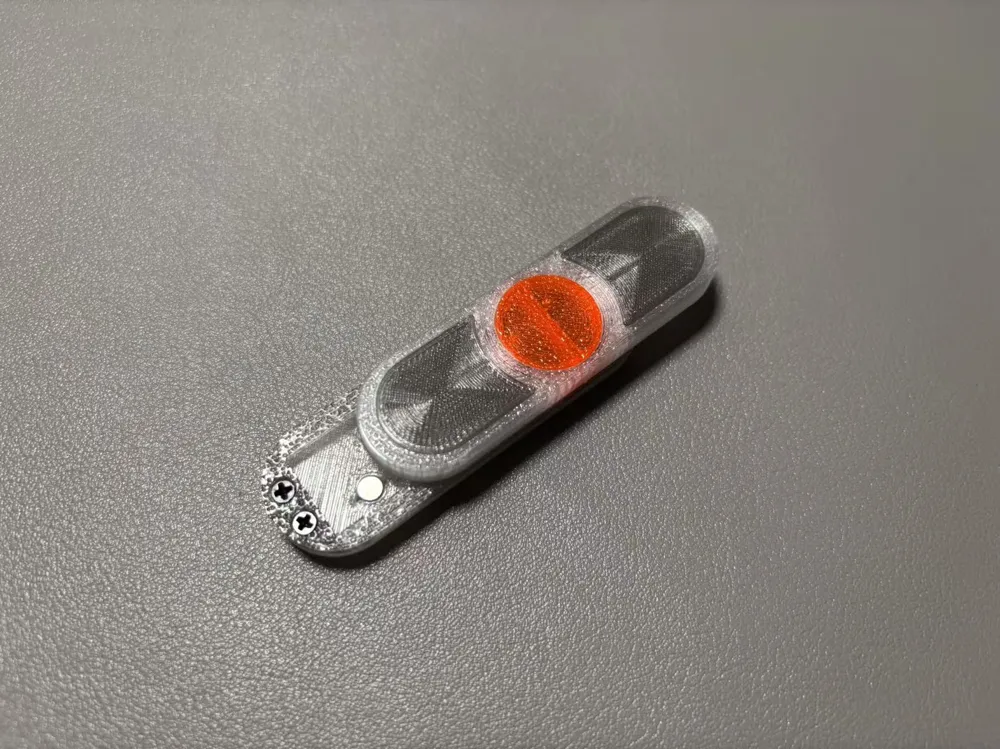

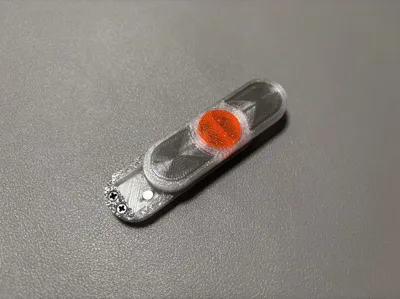
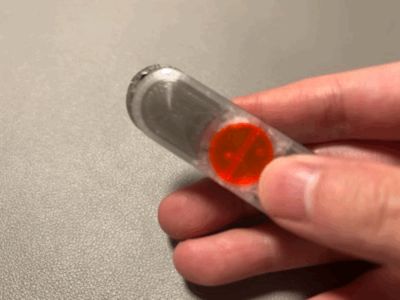
Economy class. The principle of the Buckyball bounce is similar to that of a fidget toy, and its appearance can be described as simple. However, it excels in tactile feel and visual bounce, and combined with the original's fair price, Zak is indeed a conscientious studio. The print has been modified based on my understanding, mainly adjusting the connection structure, and the accessories and installation are not difficult. It is recommended to print the top cover in a transparent color, and refer to the Transparent/Translucent PLA/PETG filament printing guide | Bambu Lab Wiki to achieve the best effect
PETG printing requires glue spray, otherwise there is a high probability of failure!
Regular printing plate 1-3, plate 4 is the 5mm*3mm magnet added version
Plate 5 is the combined limit guide rail, offering higher stability, the installation order needs to be adjusted by yourself, it must be snapped in before the limit
If you feel the magnetic force is not strong enough, it is not necessary to increase the magnet size, you can prioritize removing the middle anti-scratch sheet
Accessories to prepare:
- 8 M2*4mm countersunk screws
- 8 4mm*3mm magnets (must be N52)
- 2 3mm Buckyballs (N52 recommended, 4mm Buckyballs also work normally)
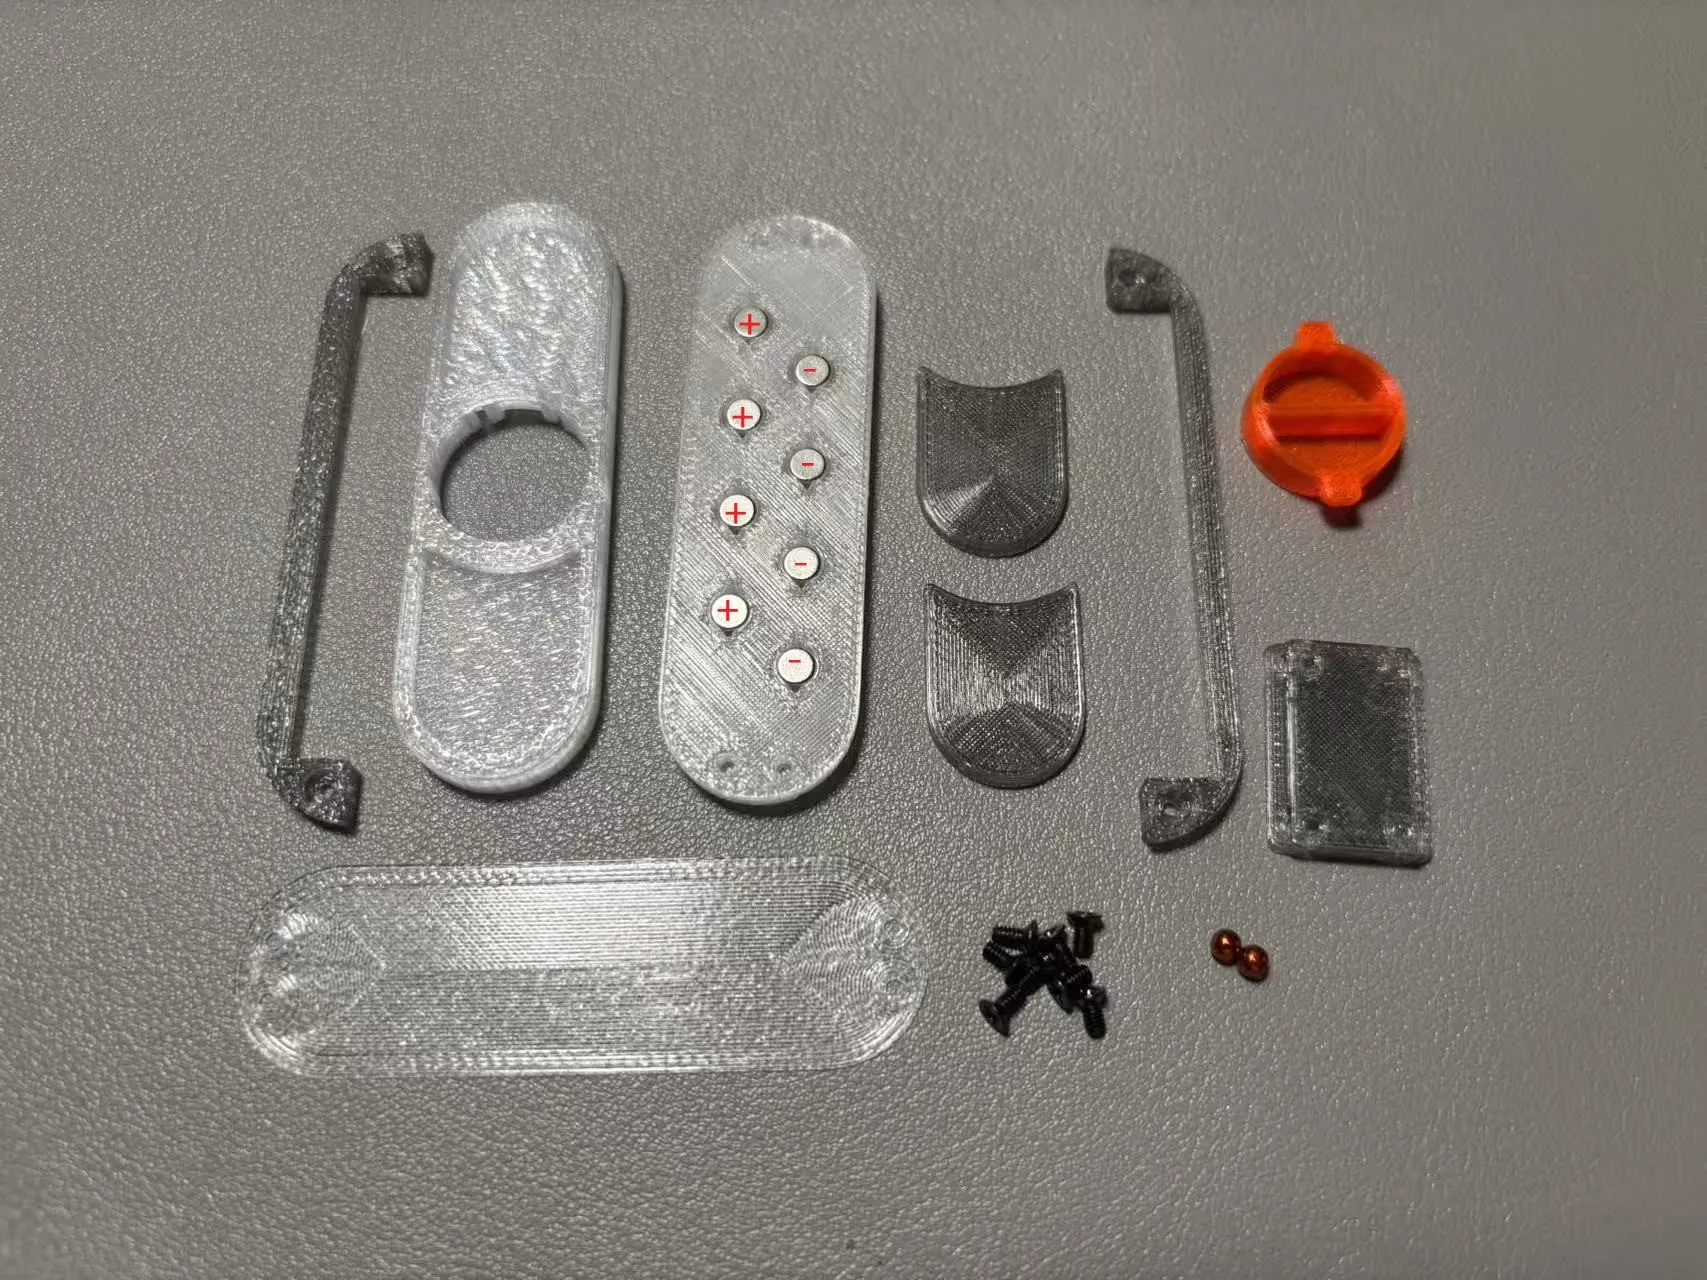
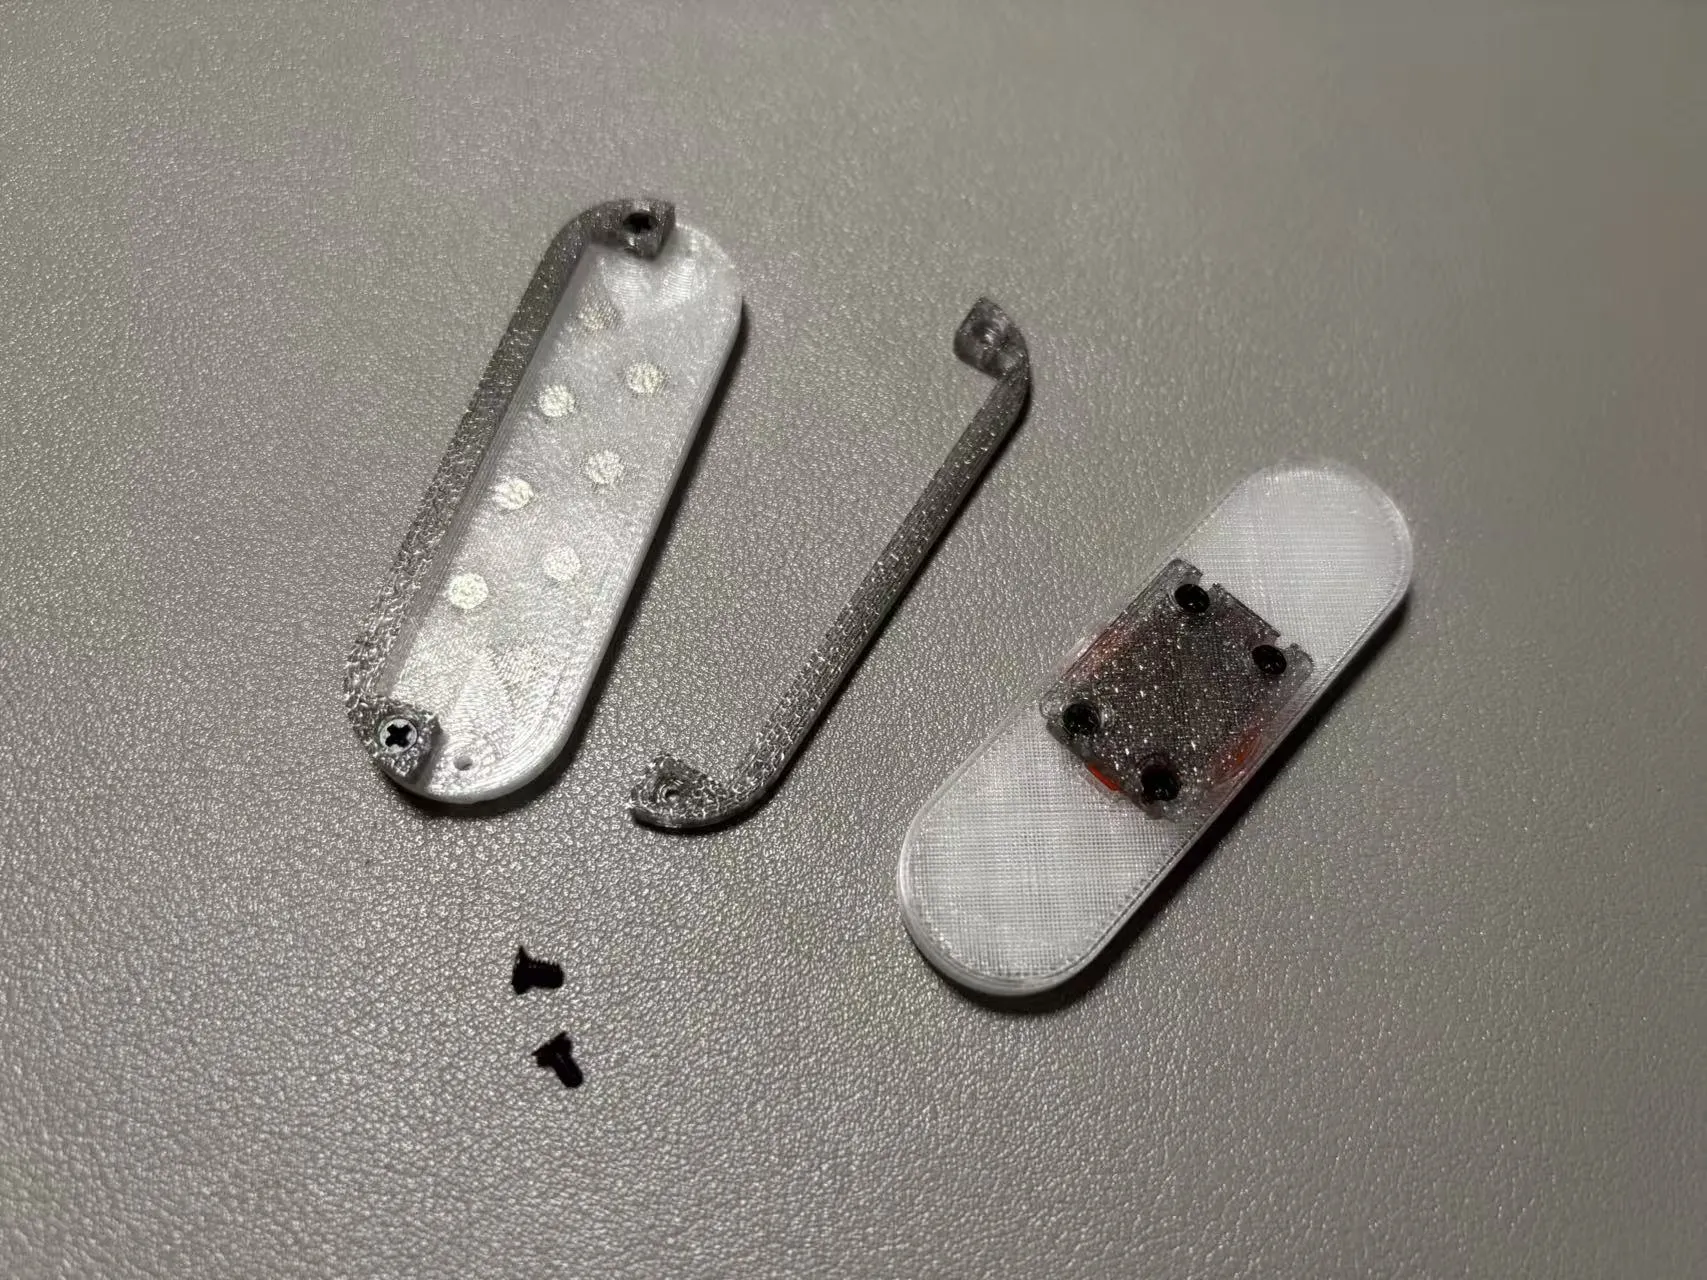
Parts overview (magnets are in place, magnetic directions are marked, left and right columns are opposite)
Assembly steps:
① Prioritize installing the two decorative decals on the top cover and the middle transparent compartment, then place 2 Buckyballs. Afterwards, cover with the limit block and fix it using 4 M2*4mm countersunk screws
② Install the bottom plate magnets, paying attention to the magnetic direction; then cover with the anti-scratch sheet, first use 2 M2*4mm countersunk screws to fix one side of the guide rail
③ Combine the parts from the previous two steps, install the other side guide rail, twist in the remaining 2 M2*4mm countersunk screws to fix, and then it is complete
License

You shall not share, sub-license, sell, rent, host, transfer, or distribute in any way the digital or 3D printed versions of this object, nor any other derivative work of this object in its digital or physical format (including - but not limited to - remixes of this object, and hosting on other digital platforms). The objects may not be used without permission in any way whatsoever in which you charge money, or collect fees.


Comment & Rating (0)