
Print Profile(3)
Description
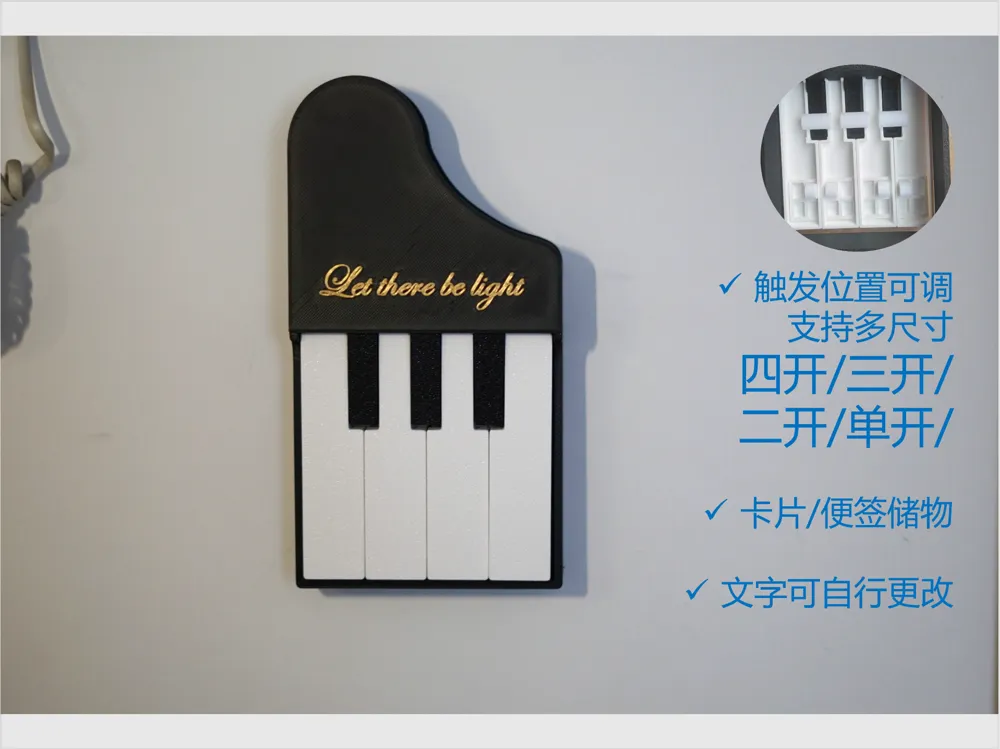
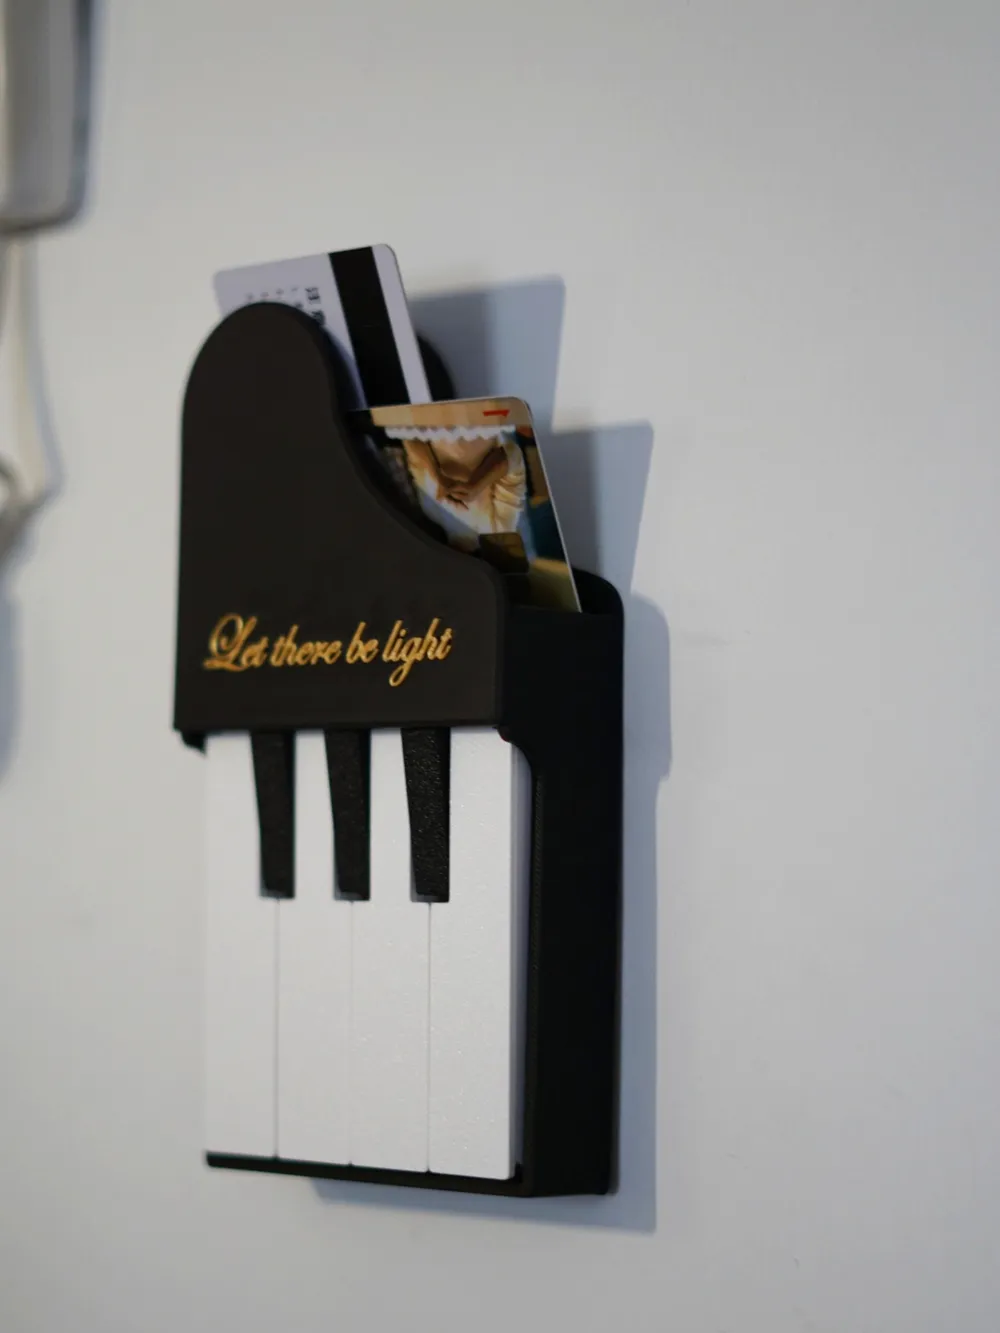
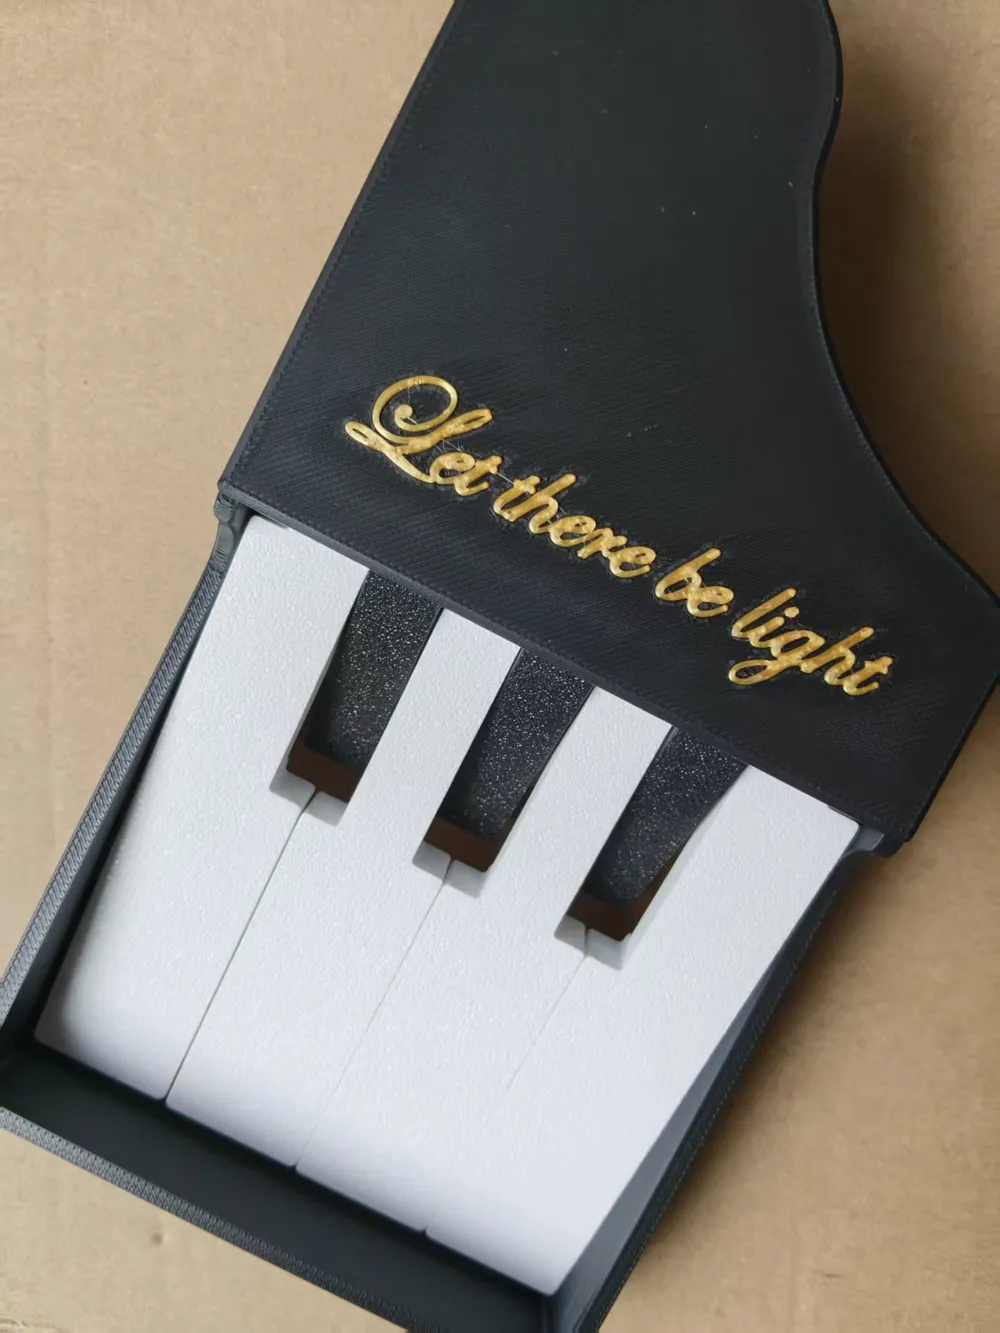
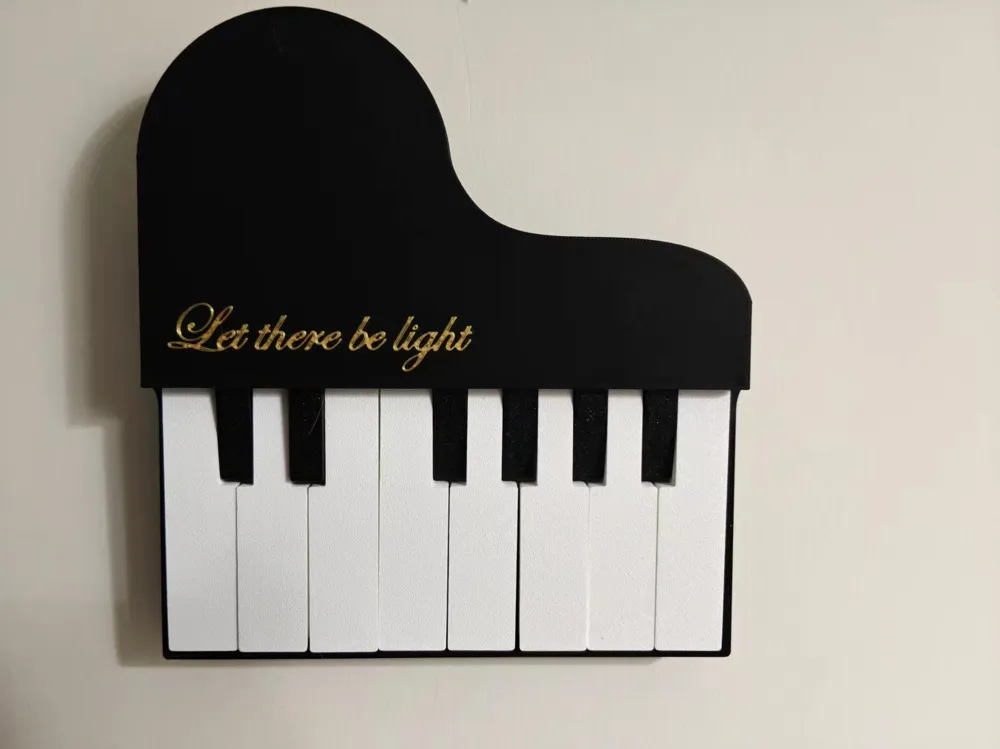
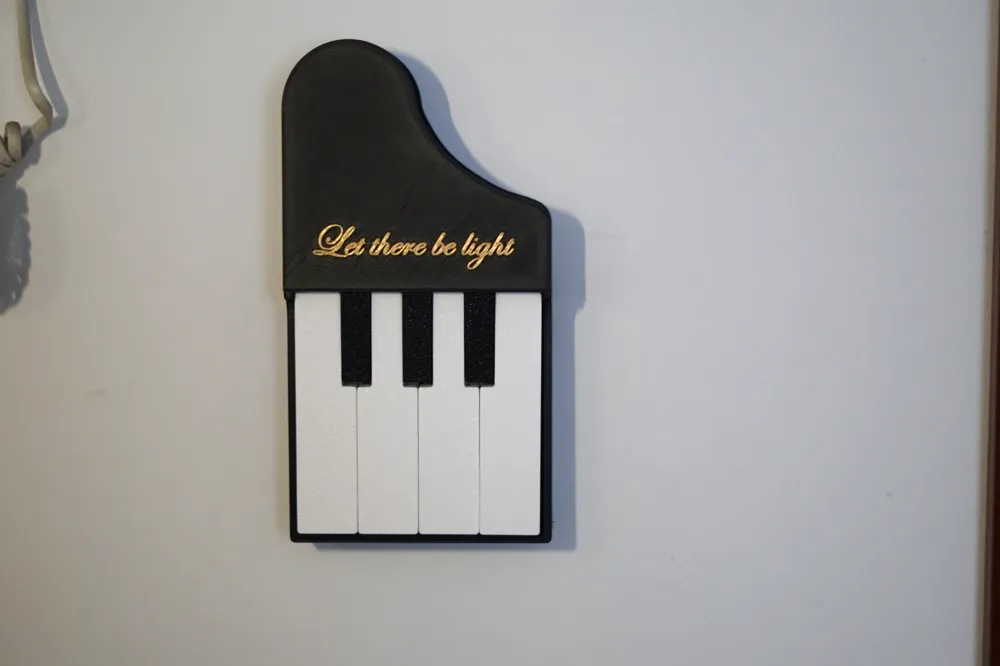
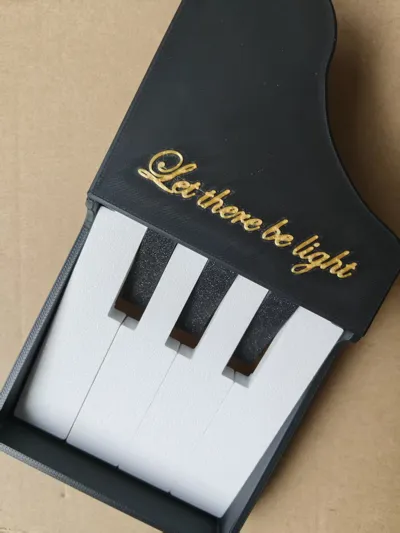
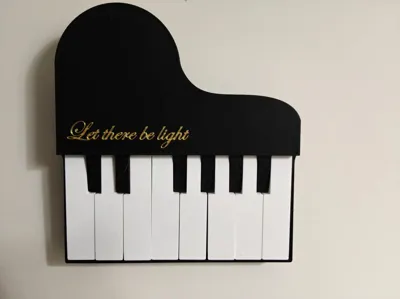
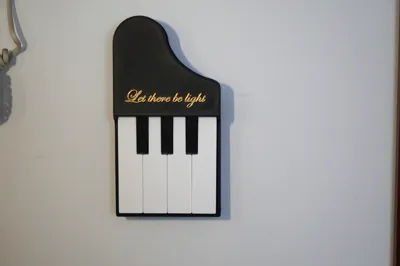
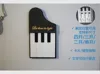
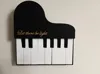
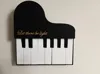
A switch cover with a piano and piano key design
Printable on A1 mini without multiple colors, for single switches
White key for on, black key for off
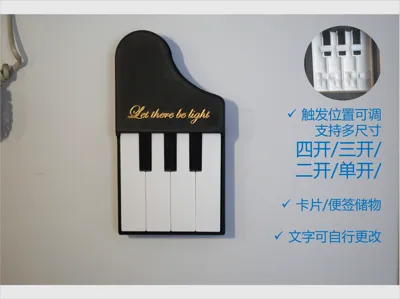
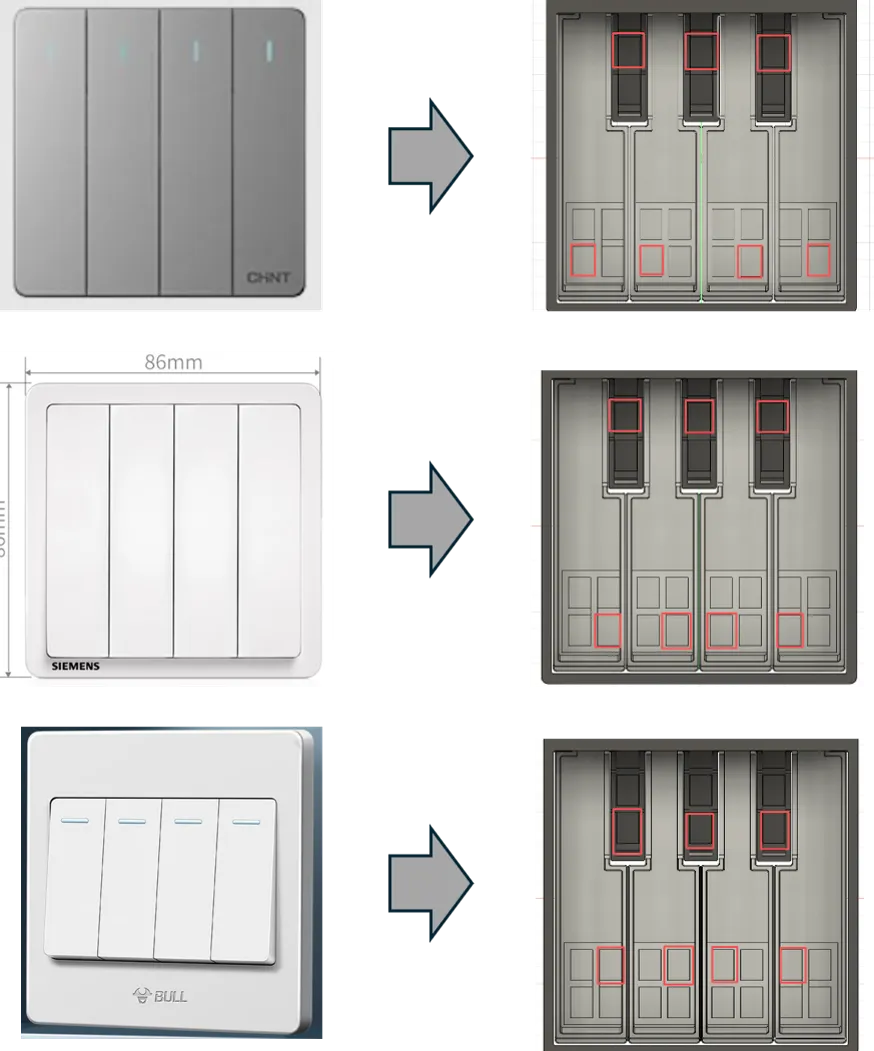
- Compatible with multi-size four/three/two/single-gang Type 86 switch panels (tested as shown below, please provide dimensions for any size issues to add/modify)
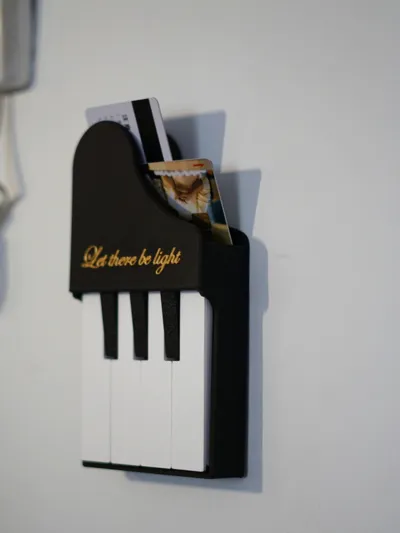
- Can store items like electricity cards/water cards/notes/keys
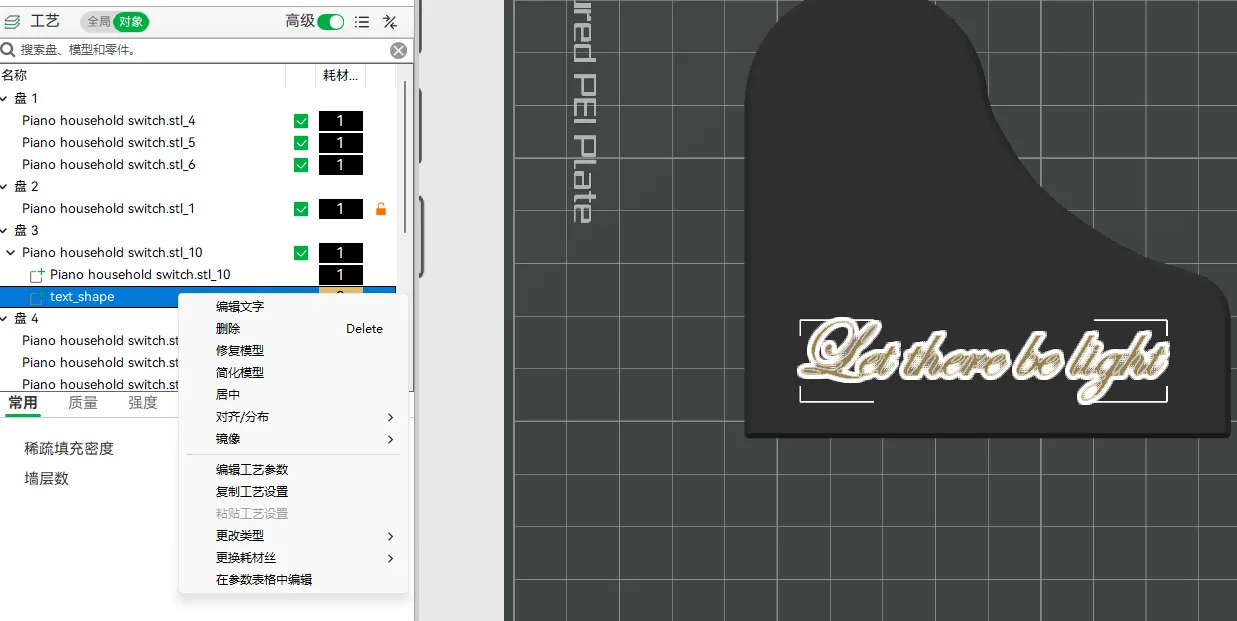
- Text can be modified or SVG images can be inserted in Bambu Studio
[0625 Update: Added support for double-gang Type 86 switches] Applicable for two Type 86 switches installed closely side-by-side
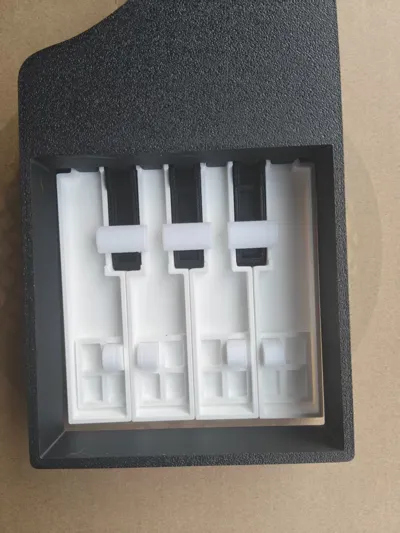
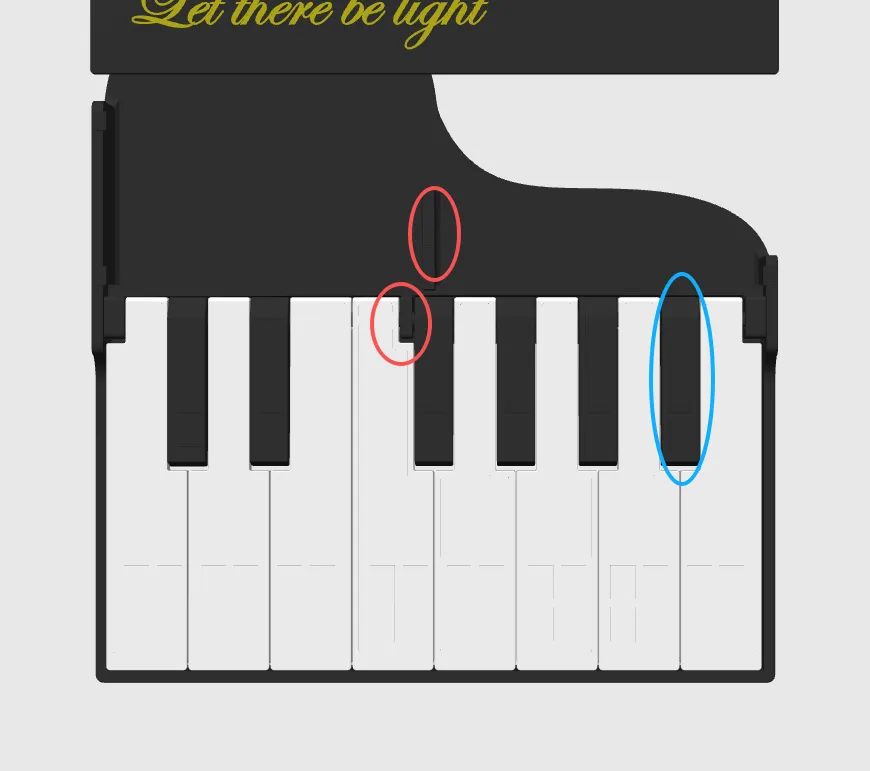
1. Support for the shaft and panel has been added at the red circle, and the white key in this position is rather special; please pay attention to the assembly order.
2. The black key in the blue circle does not conform to the actual piano key arrangement; it should be one key position to the right. However, given the need to turn off the light and the difficulty in handling half a key, it was moved here.
3. The original inner wall distance of a single frame was 86.15mm, which fit perfectly. This time, an additional 0.15mm was added, making it 172.3mm, considering that two actually installed switches might not fit as snugly (friends who have printed this, please share photos, thank you).
Recommended installation method for "trigger keys" on different sized panels:
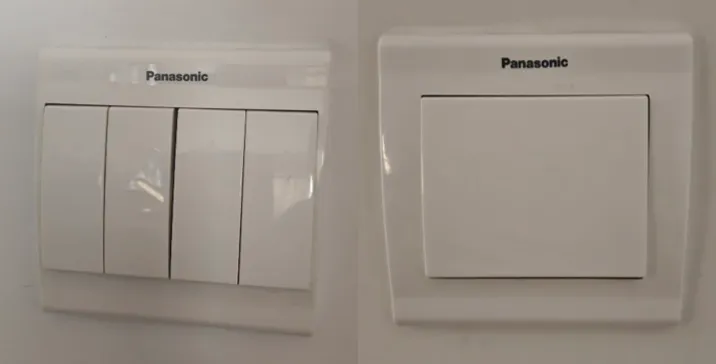
What I have at home and confirmed to be usable is
How to adjust text
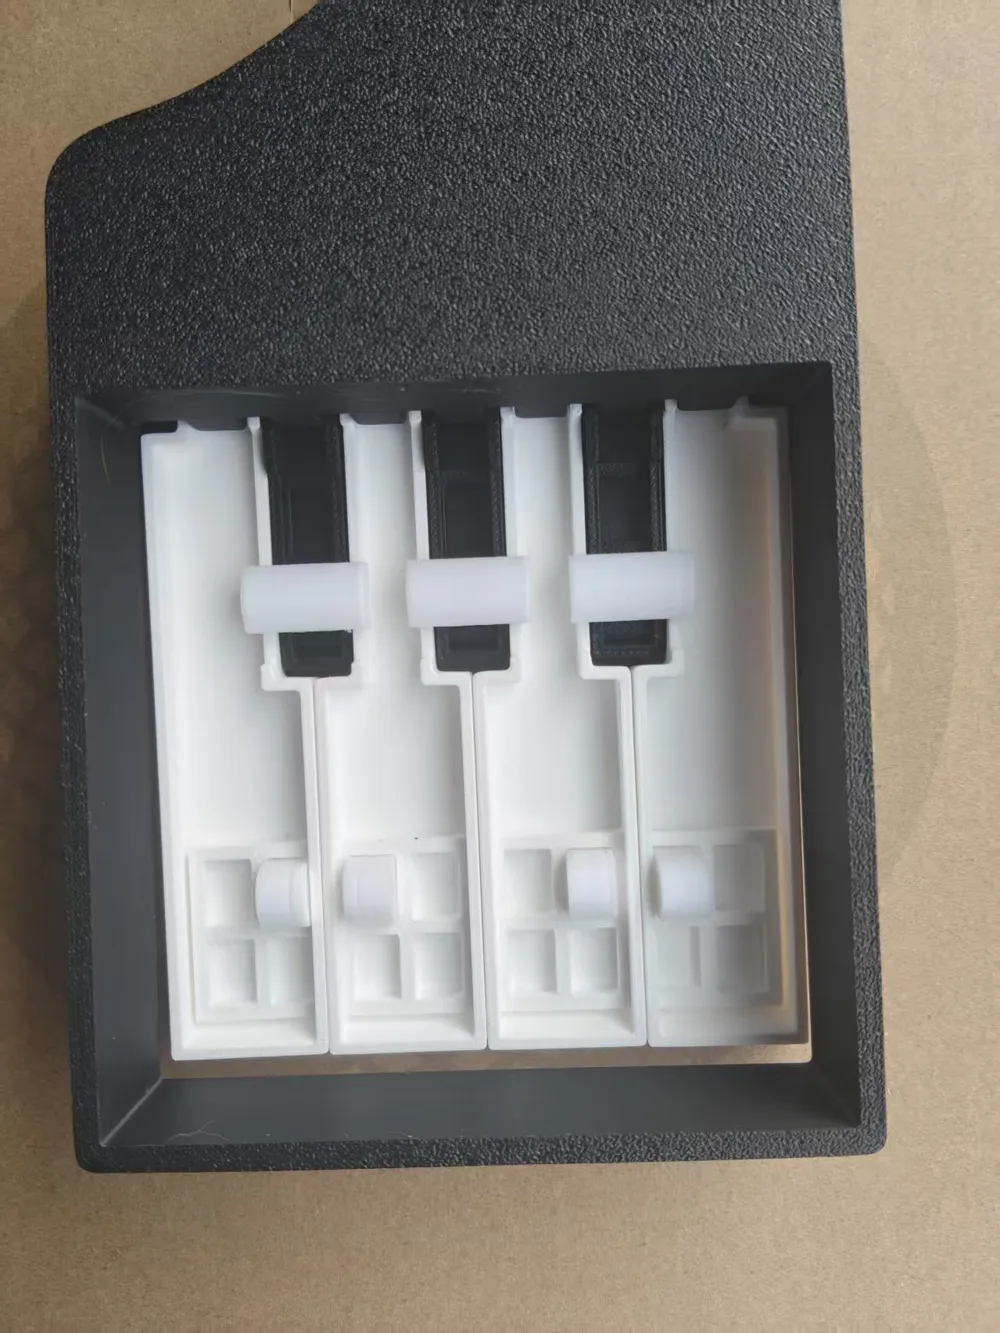
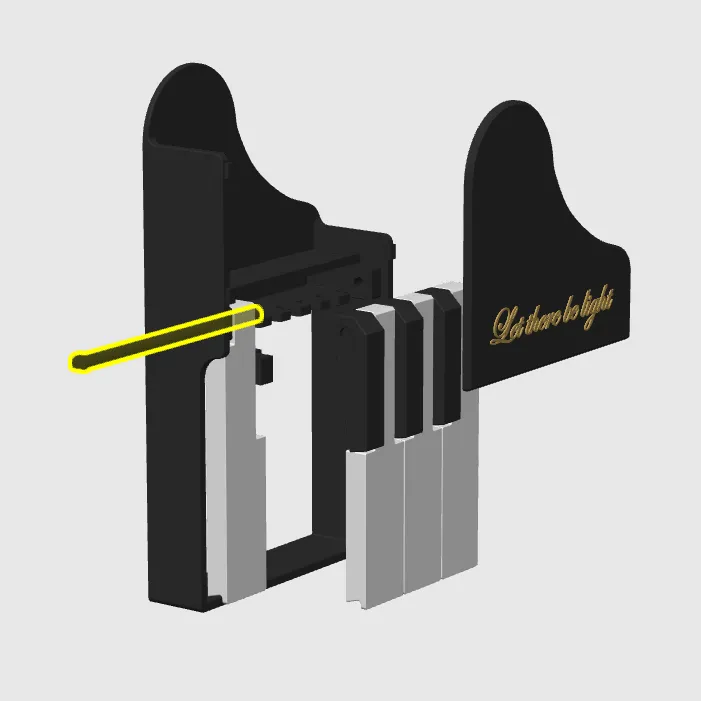
After installing the trigger keys in the appropriate position for your switch, pass the shaft through the "piano key" and then attach the panel (the panel and main body may require super glue)
Boost Me (for free)
Thanks for viewing till the end. If this was helpful, thank you for your likes and support.
License

You may create derivative works based on this object, provided that all such derivative works are published exclusively on the MakerWorld platform and include proper attribution to the original creator. You may not share, upload, host, distribute, or publish this object—or any derivative work of this object—on any other digital platform, marketplace, or distribution channel. Commercial use of this object and any derivative works is strictly prohibited. This includes, but is not limited to, selling, renting, sublicensing, or using the object in any context in which you receive monetary compensation or other financial benefits.


Comment & Rating (0)