
C battery to CR2 (including dummy battery and battery compartment protective shell)
Print Profile(2)
Description
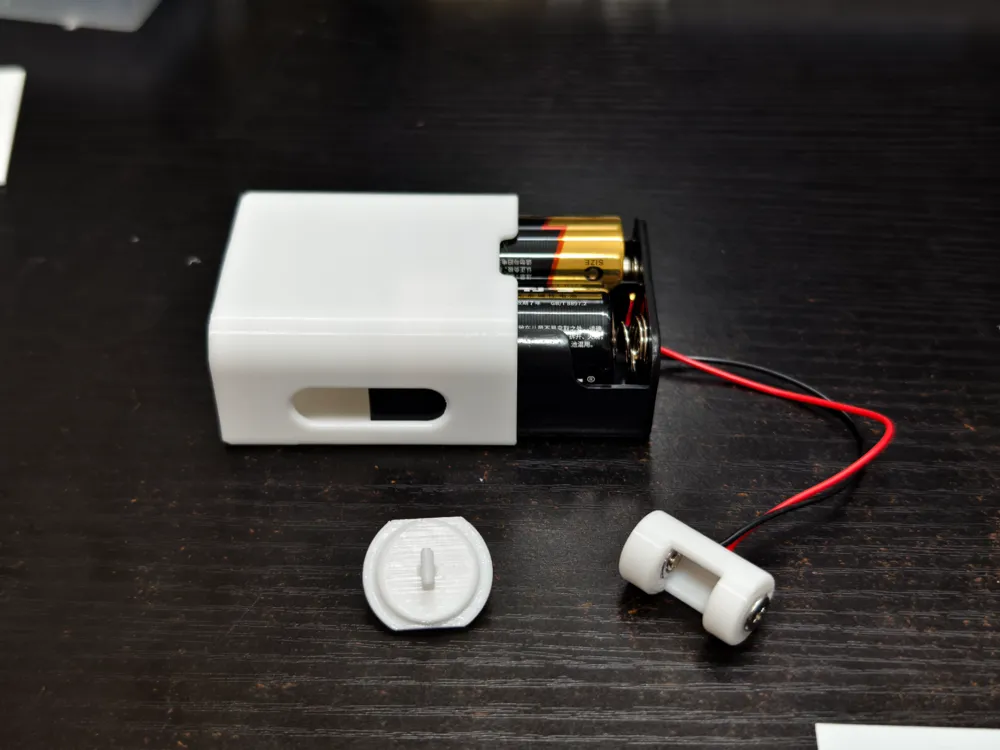
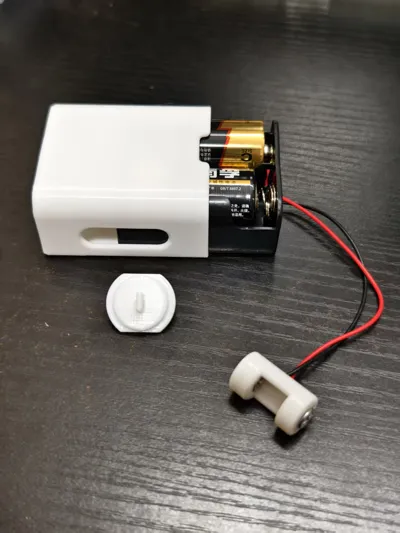
To address the issues of low capacity and high replacement costs of CR2 batteries, I designed this long-endurance modification kit that converts C batteries to CR2. With this kit, you can use two ordinary C batteries in series, requiring only a C battery series holder, to perfectly replace the original device's CR2 battery power without soldering. This significantly extends the device's battery life, making it very suitable for power-hungry sensors or smart home devices
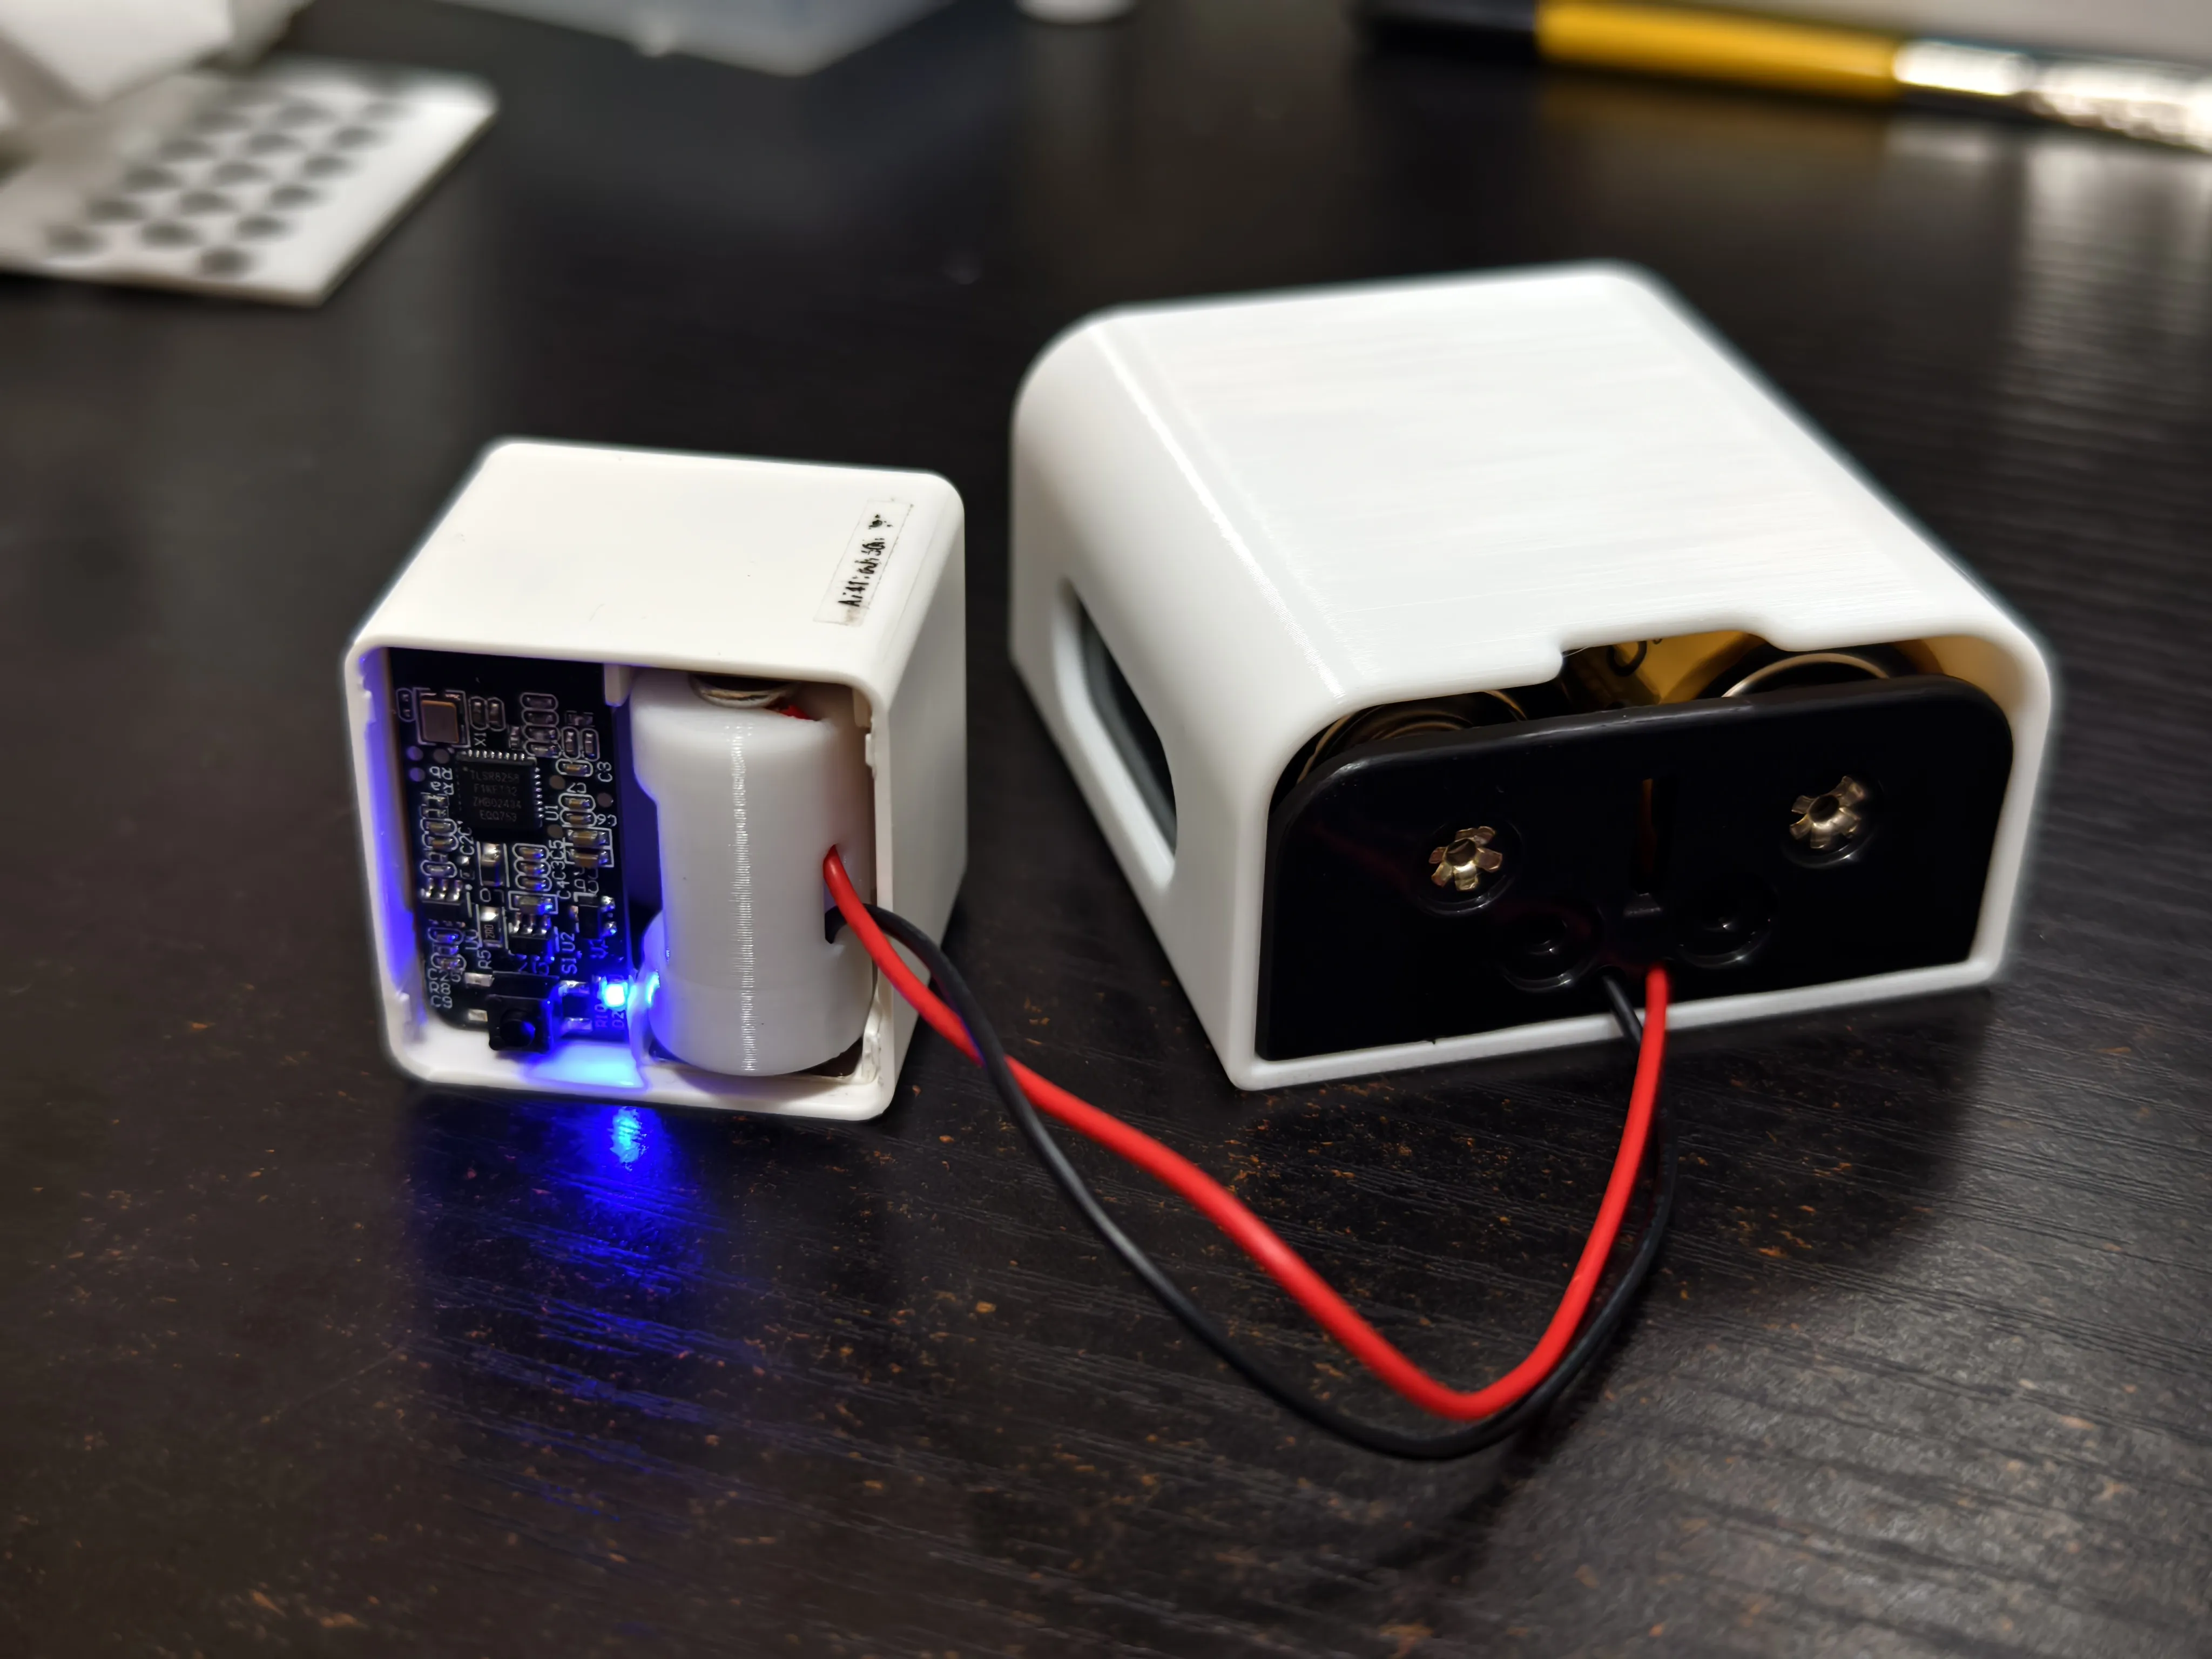
📦 What components does the kit include?
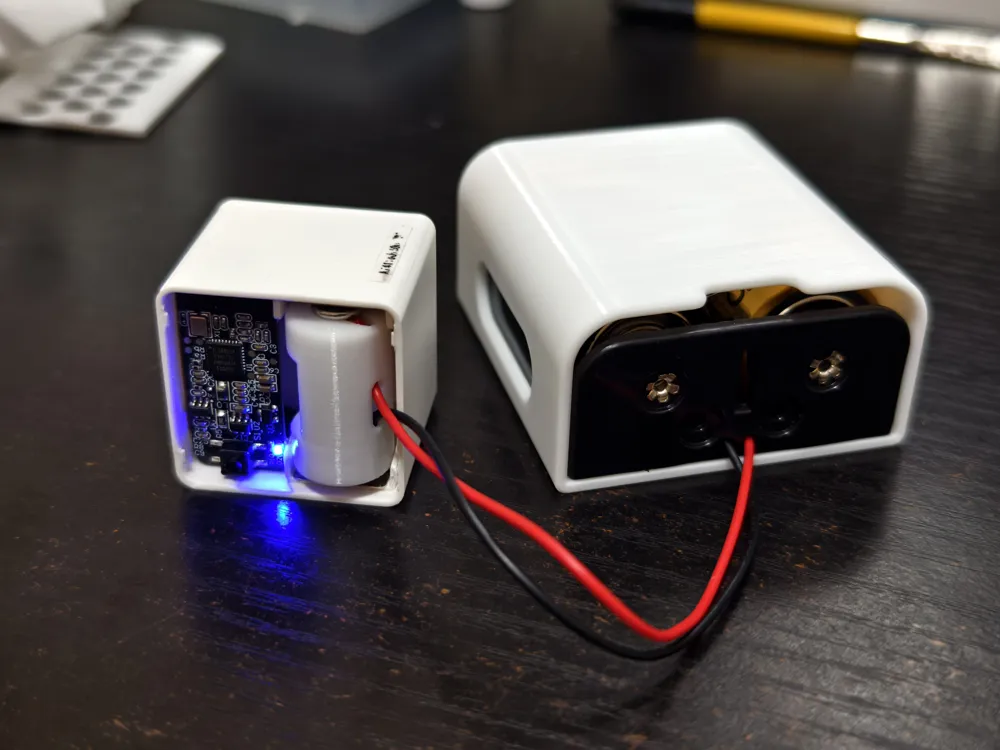
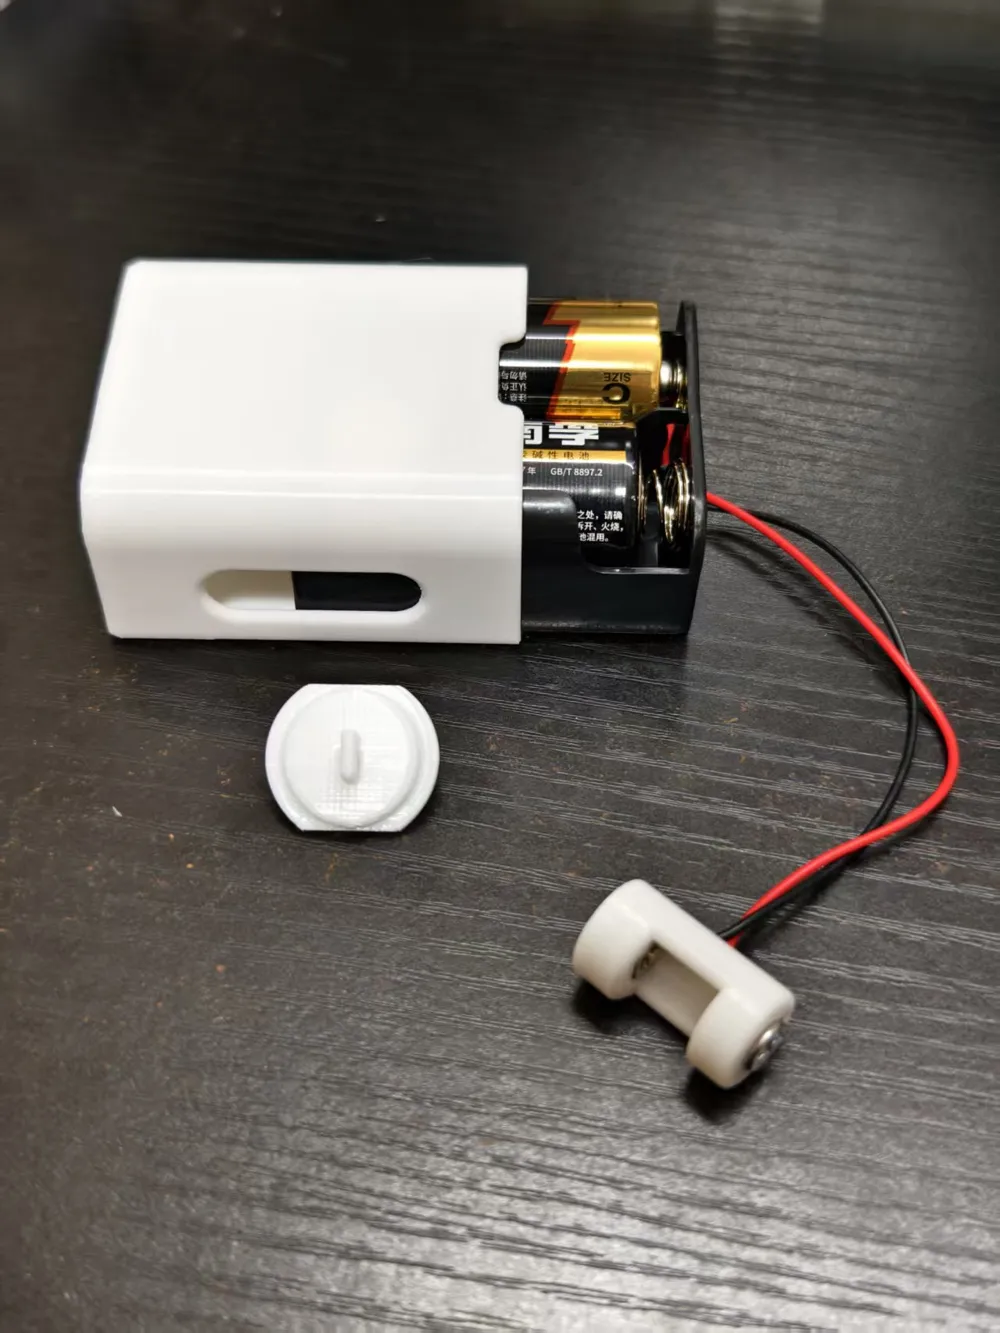
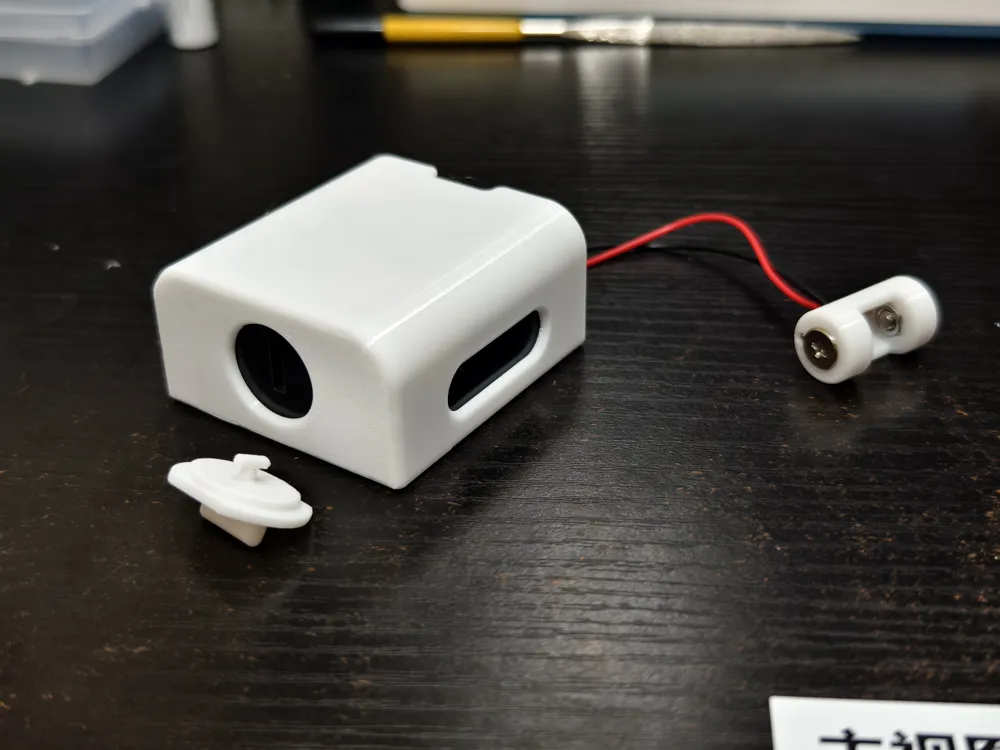
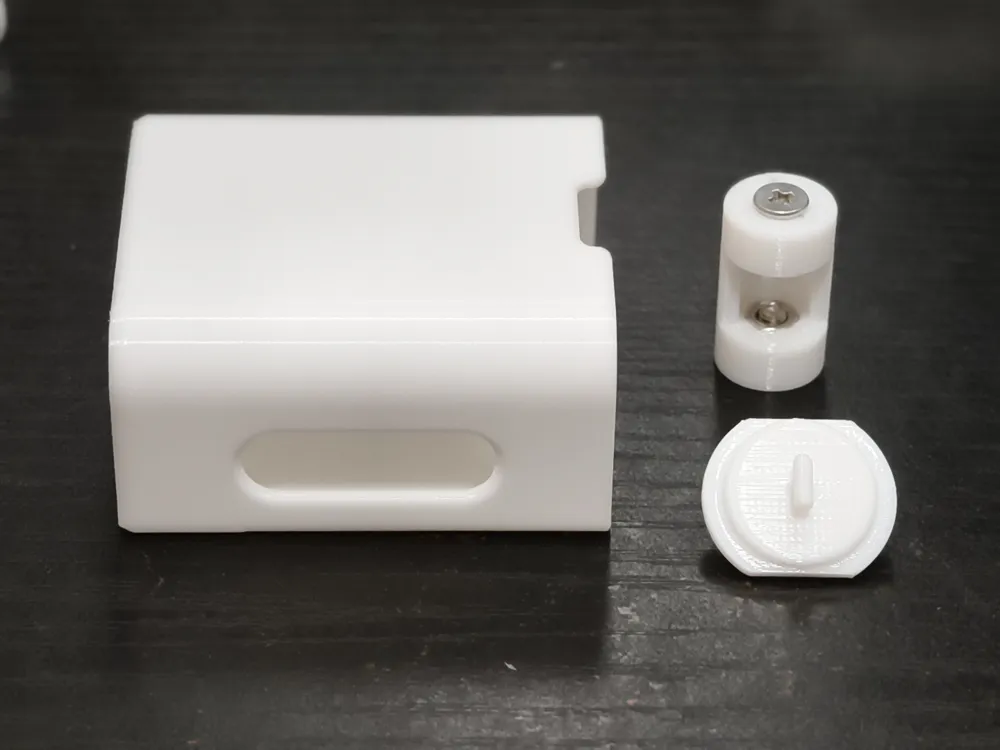
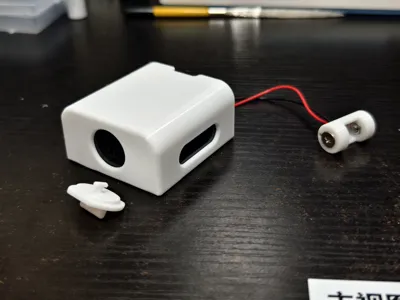
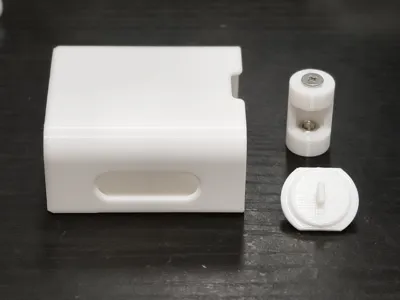
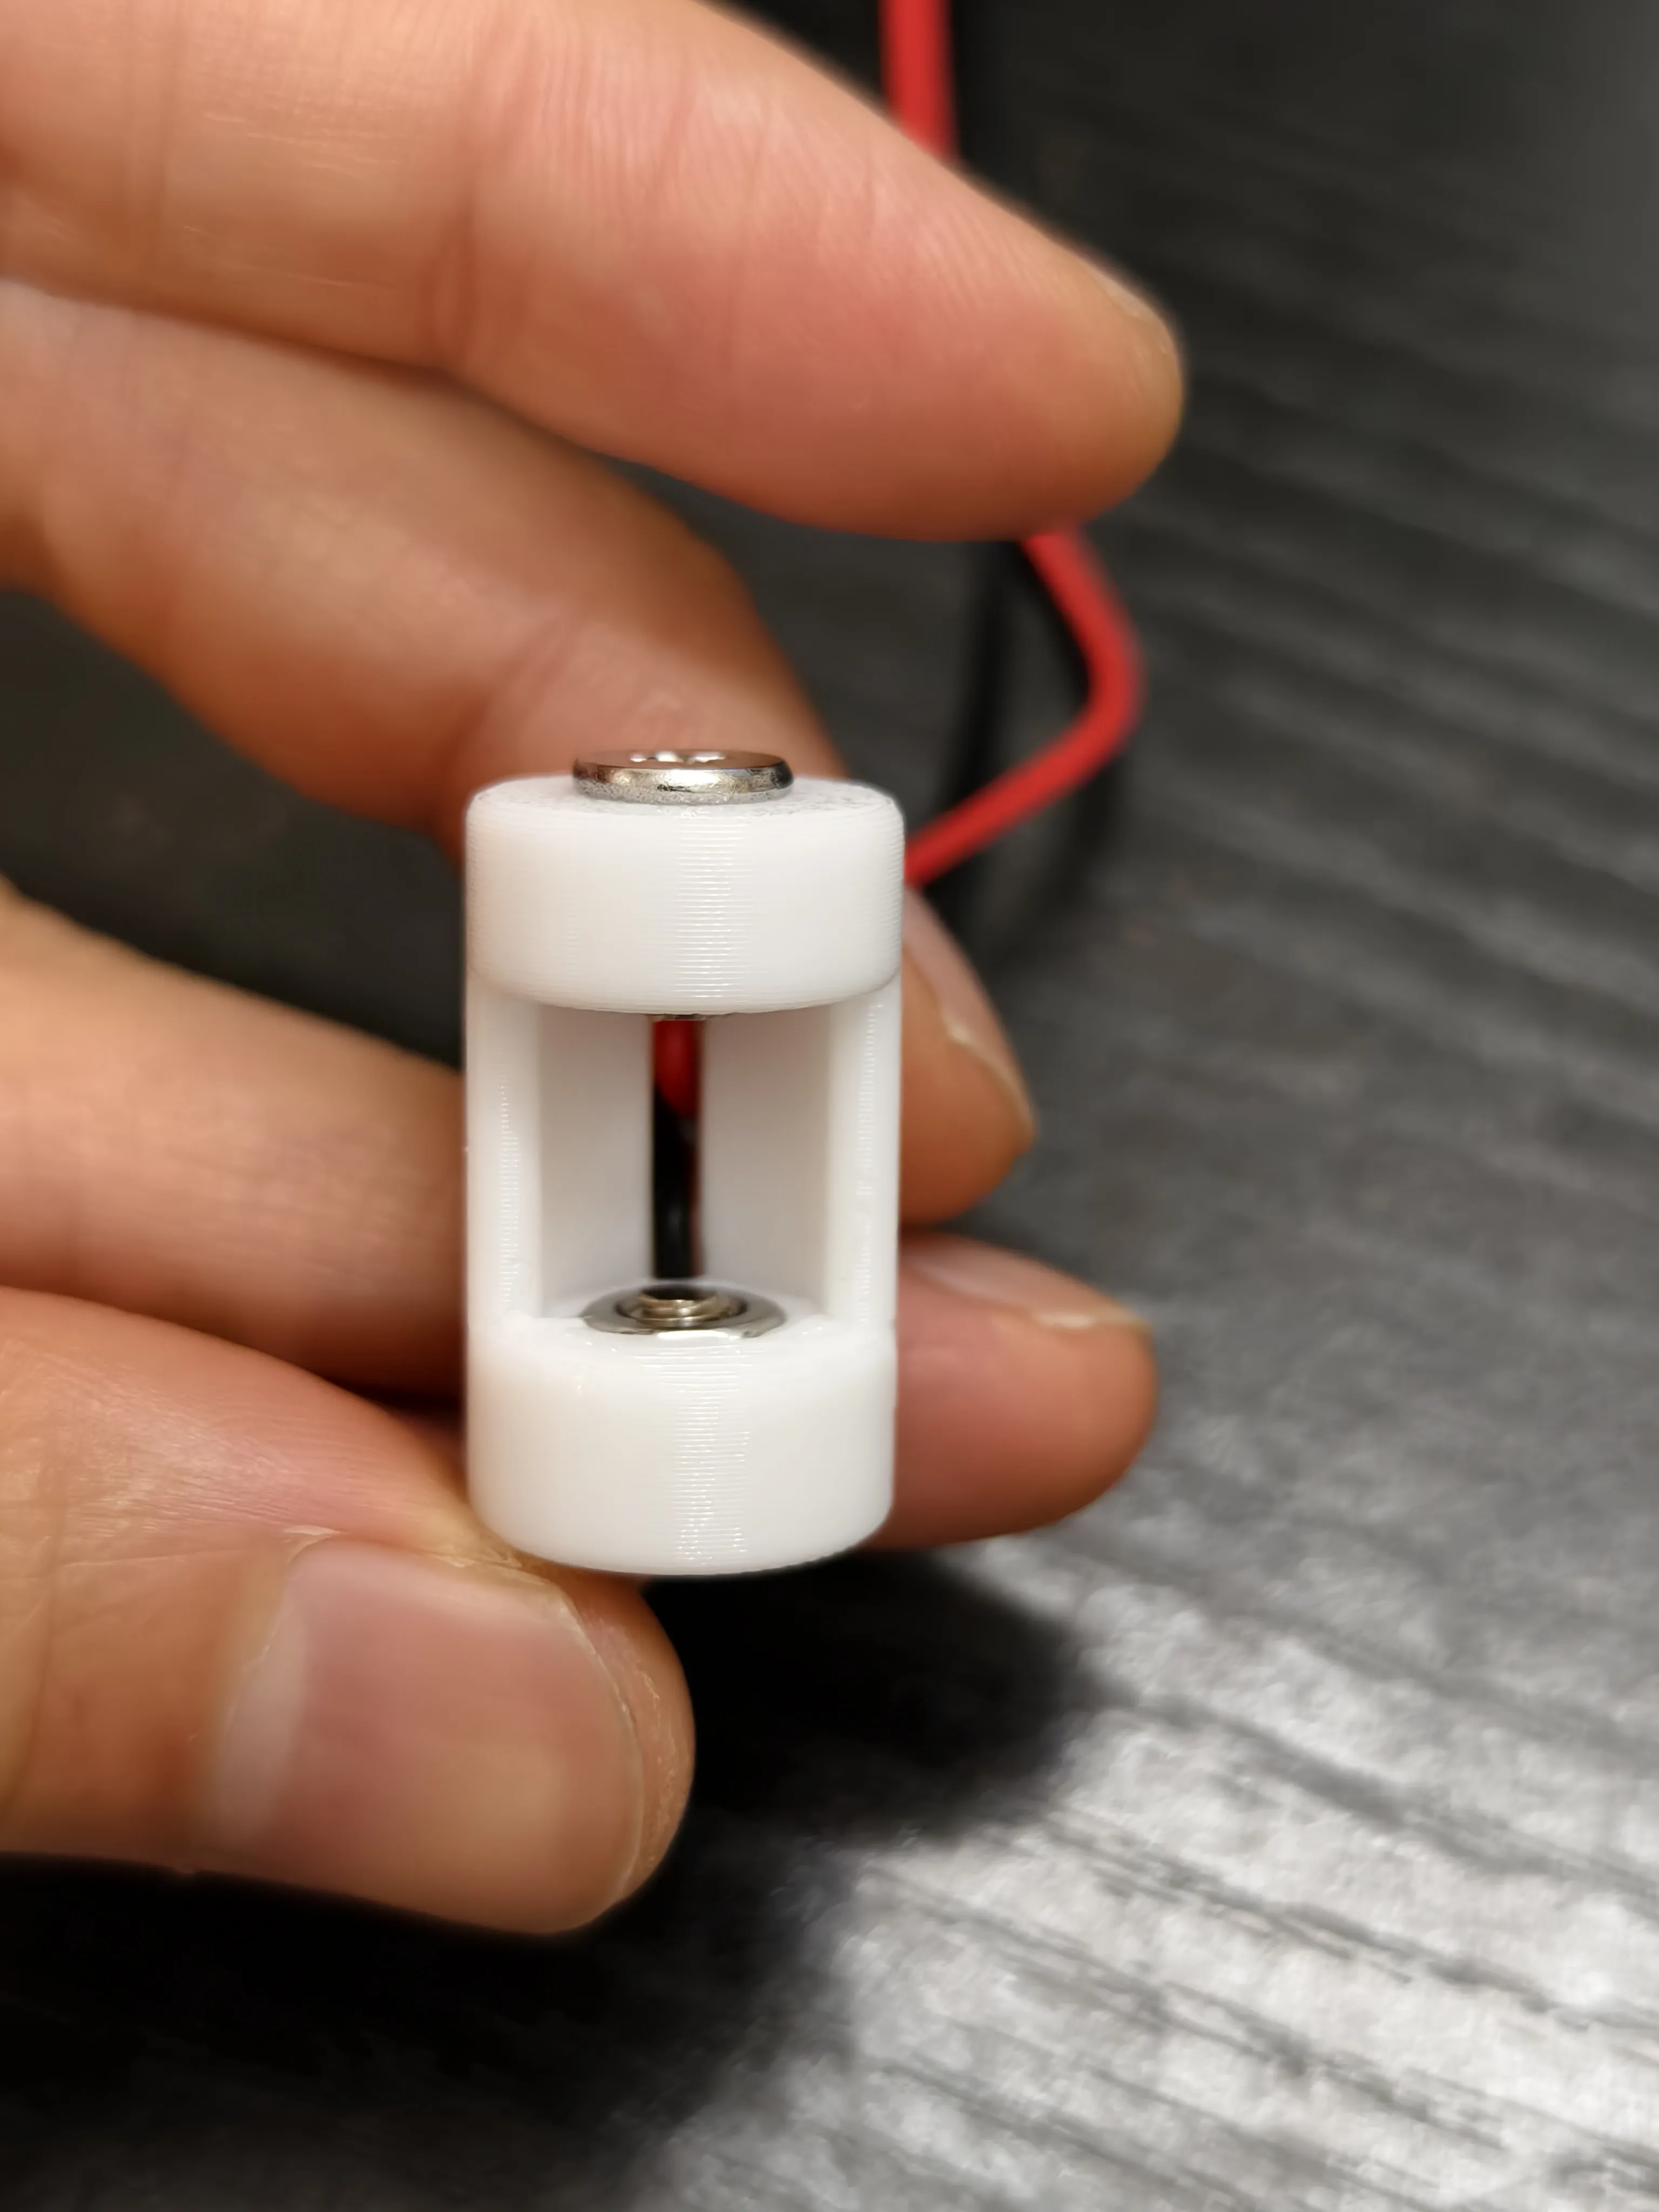
1. CR2 dummy battery: Used to be placed in the original device's battery compartment, acting as a conductive placeholder. It's fixed by winding wires and a nut to prevent loosening, no soldering required.
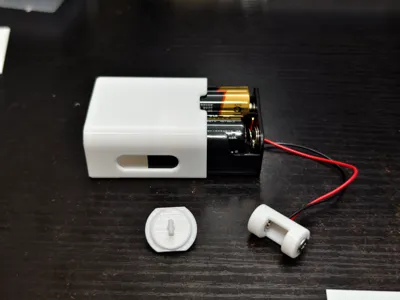
2. C battery holder: Needs to be purchased, accommodates two C batteries in series, costs about two yuan each. It's recommended to use the linked model to ensure optimal installation, perfect compatibility of clasps, locks, and dimensions
Purchase link: [Taobao] Four-fold compensation for fakes https://e.tb.cn/h.RqOtp8XQjKZm86h?tk=CJtfgT9uryJ CZ321 "1, 2, 3, 4 cell C battery holder with wires, no cover, battery base, Type C, series, C battery compartment"
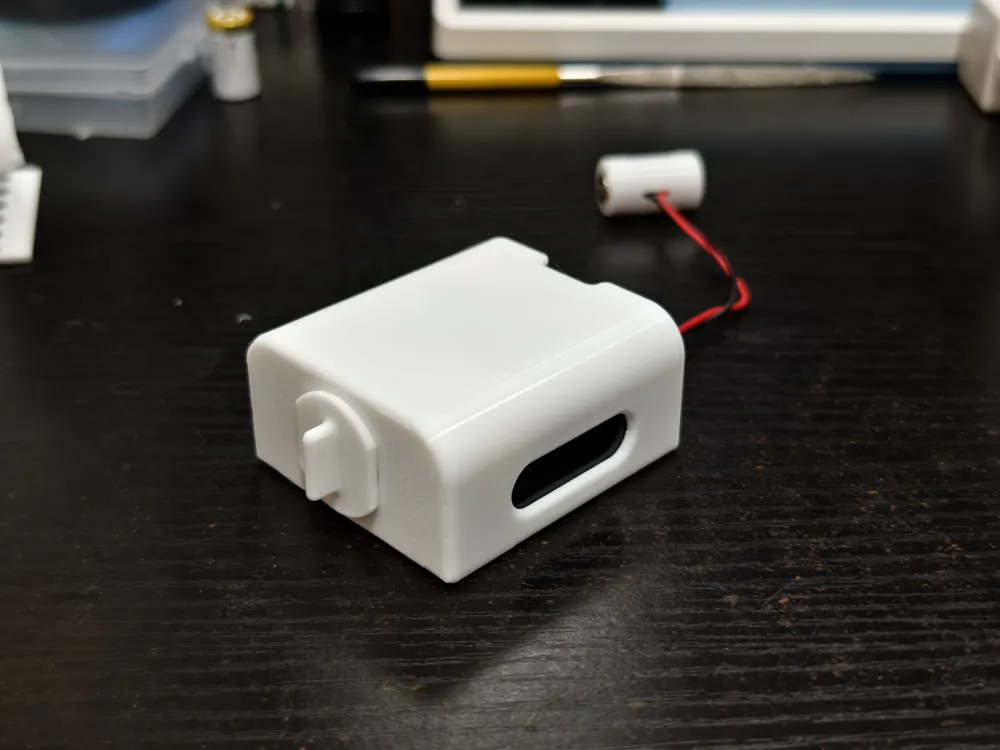
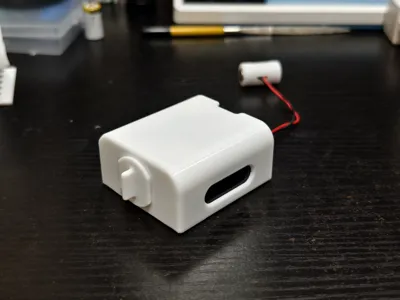
3. Anti-slip sleeve: A custom-designed external protective shell that perfectly wraps the battery holder, preventing the battery from accidentally falling out during movement or vibration. It has internal bump latches that "click" into place when installed. To remove, simply push it out from the bottom. Installation and removal are very smooth. At the same time, it also utilizes the battery holder's own pre-drilled holes to design an exclusive lock, providing double insurance, making it suitable for vibrating environments and ensuring it never loosens
⚙️ Printing advice:
Filament choice: PETG and PLA are both suitable
Supports: The orientation has been set, the lock requires a small amount of normal supports, which are easy to remove. The print profile has been optimized, try not to modify it, and print directly
🔧 Assembly tips:
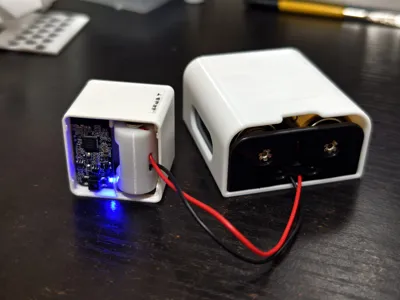
After printing, thread the positive and negative wires of the battery holder into both ends of the dummy battery. Wiring holes are reserved in the model. The positive terminal is designed to protrude 1mm more than the negative for easy differentiation. For the negative terminal, to increase contact area, I used an M4*8 screw (head diameter 9mm). For the positive terminal, an M4*8 screw (head diameter 8mm) was used. For simplicity, you can just use one type, M4*8, as long as the head diameter is not greater than 9mm. Wrap the wires directly around the top of the screws and secure them with nuts. It is recommended to test the output voltage with a multimeter after assembly to ensure it is normal
License

You shall not share, sub-license, sell, rent, host, transfer, or distribute in any way the digital or 3D printed versions of this object, nor any other derivative work of this object in its digital or physical format (including - but not limited to - remixes of this object, and hosting on other digital platforms). The objects may not be used without permission in any way whatsoever in which you charge money, or collect fees.


Comment & Rating (0)