
SketchFold foldable Tablet Stand for Drawing
Print Profile(1)
Description

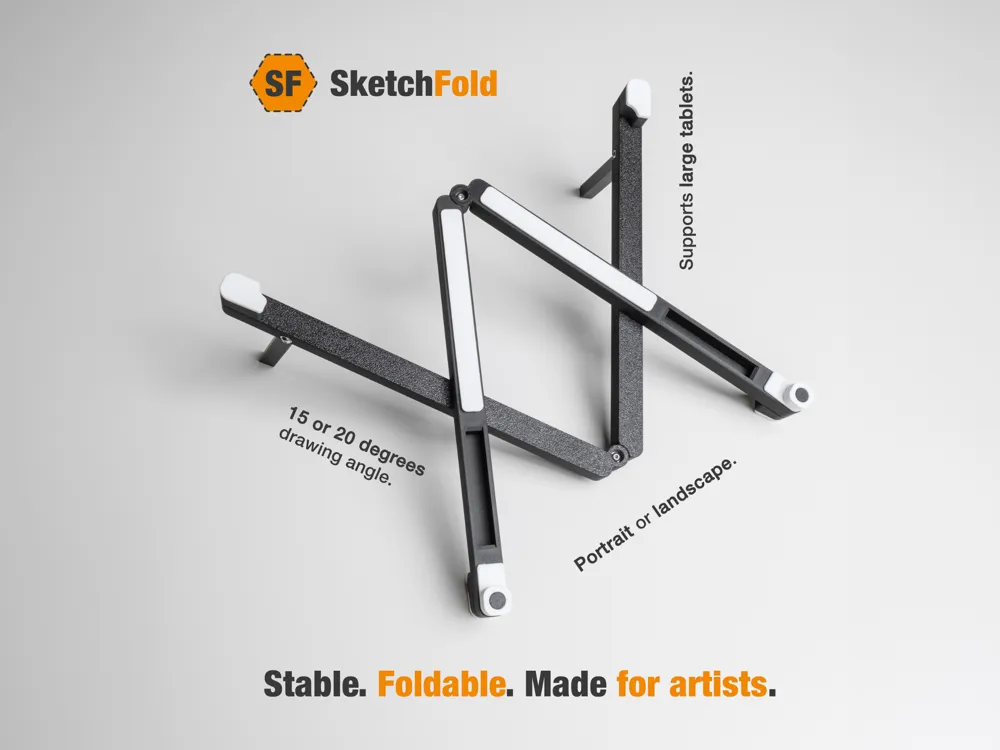
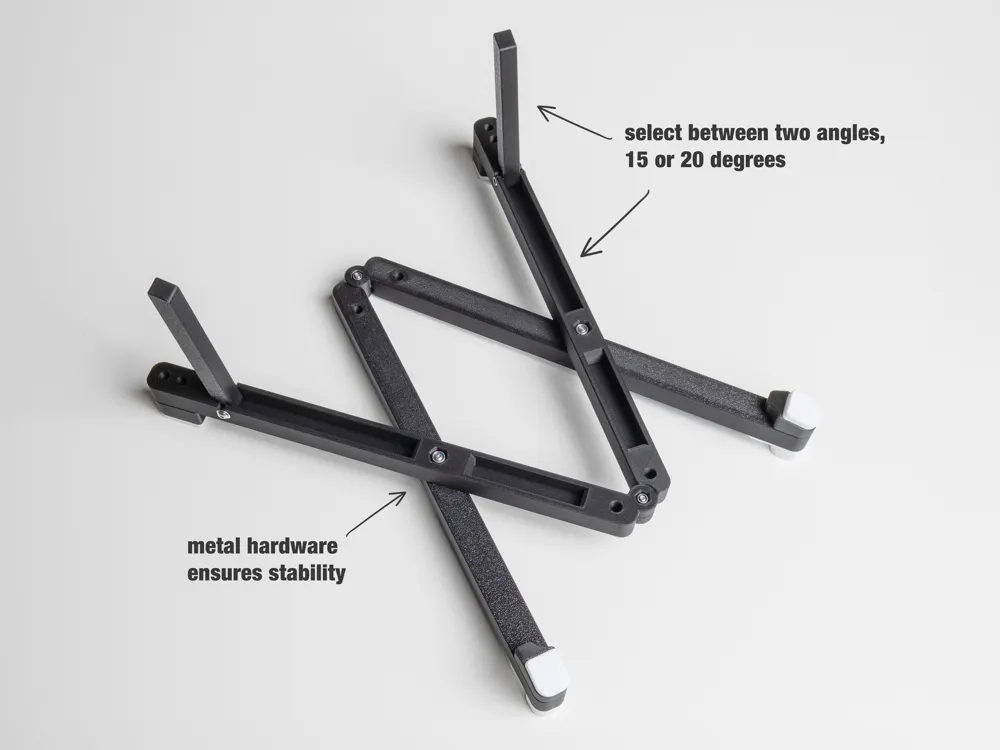
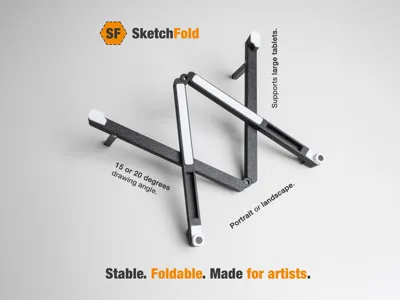
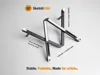
A foldable tablet stand for drawing, with selectable angle 15 or 20 degrees, for landscape and portrait orientation, for small and large tablets.
Features
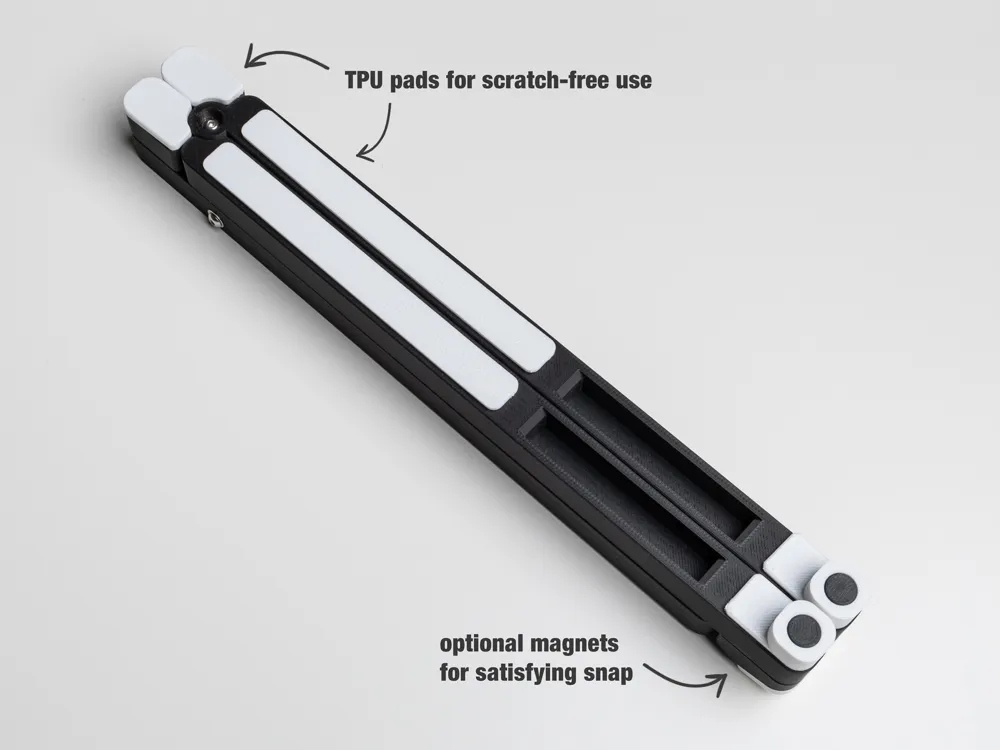
- Compact foldable
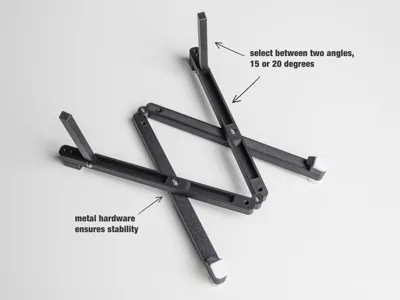
- Very stable thanks to screw connections
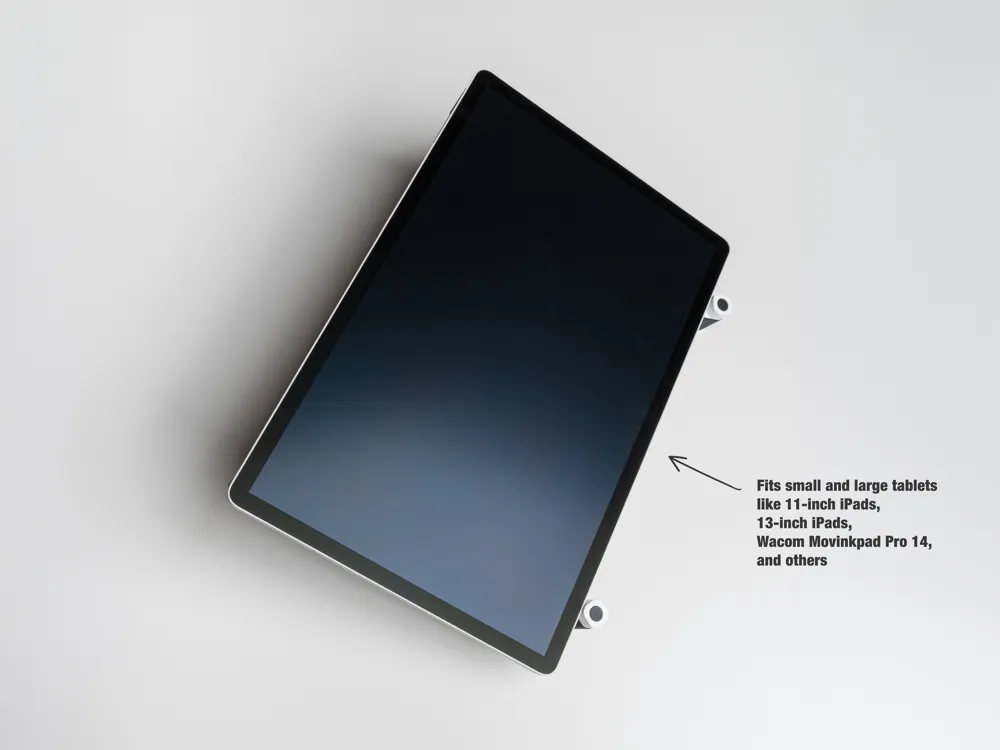
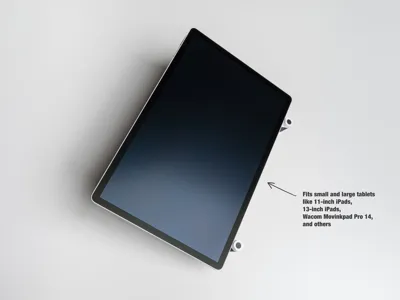
- Suitable for tablets up to approx. 15 inches in size, e.g. iPad Pro 11/13 inches, Wacom Movinkpad Pro 14, Wacom Intuos 5, XP-Pen Tablets, ...
- Usable in landscape and portrait format, as it is freely adjustable
- Feet easily replaceable, for angles 15 or 20 degrees
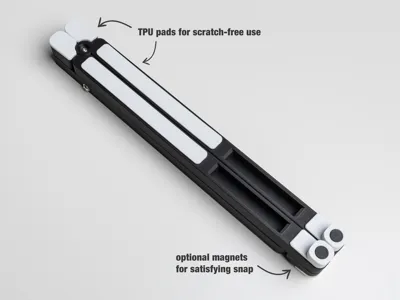
- Optional magnetic closure (6 x 3 mm magnets)
- TPU pads, so that the tablet rests firmly and is not scratched
- Minimal support structures during printing
Printing
- Depending on whether you want to use the 15 degree or 20 degree angle, print the corresponding plate "15 degrees" or "20 degrees".
- Additionally print the plate "Base parts".
- Print the plates with the TPU parts
- Here I used Bambulab TPU 90A and had good experiences with it.
- The infill for some of the objects is set to 10% so that they "spring" a bit better.
- The parts have been optimized for fit and low tolerances - deviations may occur depending on the filament you use.
- With PLA Matte from Bambulab I have achieved perfect results and fit.
- The settings in the print profile were chosen for high detail accuracy and yet very good strength.
Assembly
You will need the following tools:
- M3 Allen key
- M4 Allen key
- Some superglue
(Optional) Small tweezers (for inserting magnets or locking nuts)
Assembly of the feet into the lower supports
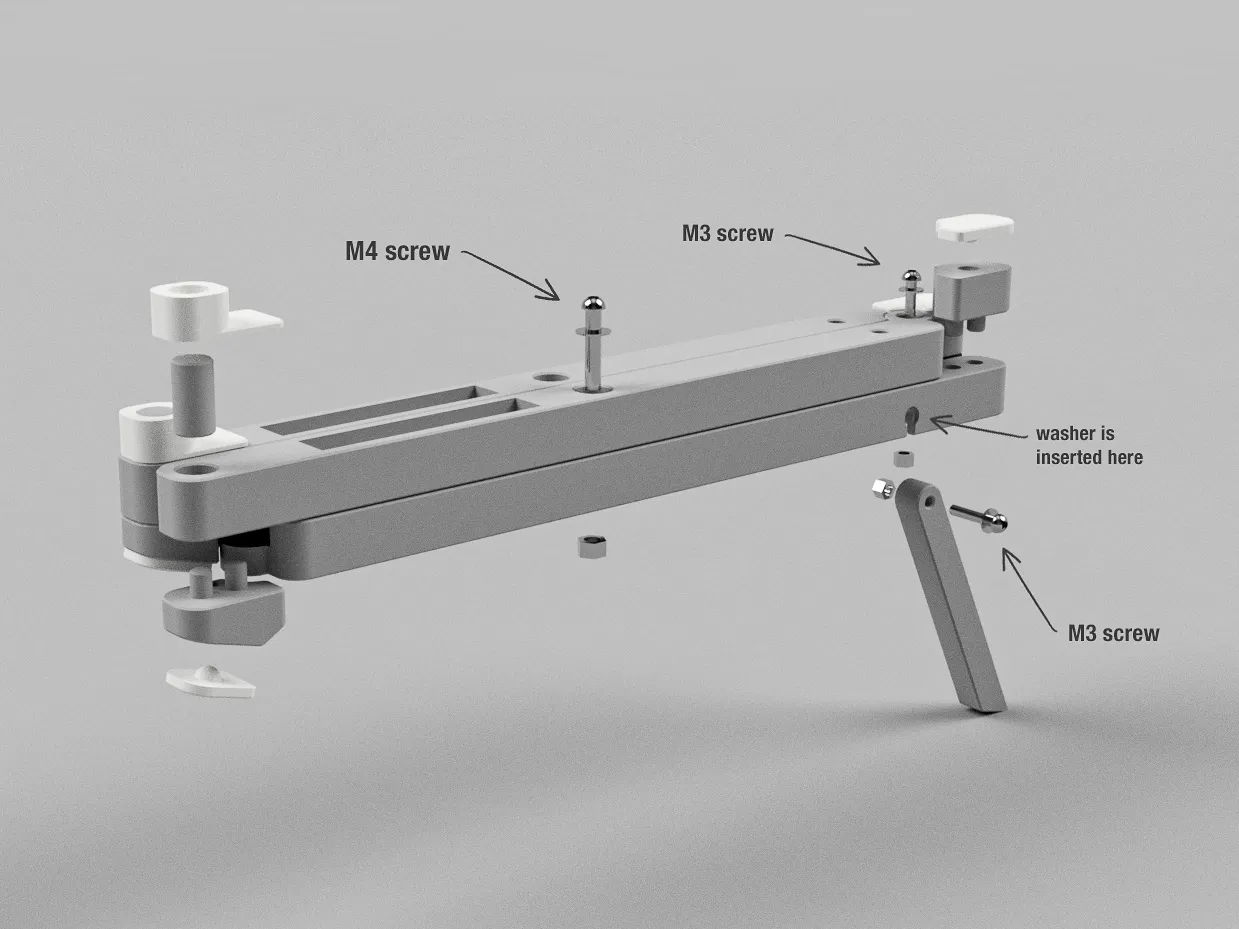
- Assemble the desired feet (for 15 or 20 degree angle) with the two 16 mm M3 screws as shown.
- Use the corresponding lower supports for the feet (feet and supports are each on their own print plate)
- On the screw head side, an M3 washer is placed underneath, recognizable by the small recess in the model.
- On the opposite side, press an M3 locking nut (stop nut) into the designated receptacle.
- Pay attention to the correct orientation of the foot's bevel!
- By carefully tightening the screw, you can adjust the ease of movement for unfolding the foot.
- Repeat the above steps for the second foot.
Assembly of the lower and upper supports
- The lower supports are those where you mounted the feet in the previous step. u003cli>Insert an M3 x 10 mm screw with a washer through the round opening of one swivel joint.u003cli>Insert an M3 locking nut (stop nut) into the square opening of the other swivel joint.u003cli>Place an M3 washer between the parts of the swivel joint and screw the parts together.
- The washer between the two parts ensures smooth operation of the joint.
u003cli>Repeat these steps for the two upper supports. You can recognize the upper supports by the shorter milling (the lower supports have a longer milling into which the feet are folded).
Connecting upper / lower supports
- Insert an M4 locking nut / stop nut into the square opening of the lower supports. u003cli>Insert an M4 x 20 mm screw incl. washer into the round opening of the upper supports.u003cli>Screw the upper and lower supports together.u003cli>By carefully tightening the screws, you can adjust the ease of movement of both swivel joints.u003cli>After this step, you can now fold the stand open and closed.u003c/ul>
- You can recognize the lower attachments by the bevels. u003cli>Fold the stand together. This makes it easy to recognize the correct orientation of the lower attachments.
- You will find 4 pins on the print plate - choose the ones that fit better in the hole.
- Fold the stand together. This makes it easy to recognize the correct orientation of the upper attachments.
- Insert the respective attachment into the two holes on the top side of the lower support. u003cli>If necessary, secure the attachments to the respective support with a little superglue.
- You can glue the TPU pads with some superglue or with very thin double-sided tape. u003cli>If you are not yet completely sure which angle (15 or 20 degrees) you want to use, do not yet glue the pads for the lower attachments firmly! There are two different variants for 15 or 20 degree inclination!
- 15 degrees: The "flat" pads u003cli>20 degrees: The "slightly beveled" pads
- For additional stability, there is an optional TPU insert that can be attached to the underside once the stand is unfolded. Simply remove it before folding the stand back together.
- Fold-out feet
- 2x pan head screws M3 x 16 mm
- 2x M3 washers (up to 7.1 mm outer diameter)
- 2x M3 hex locking nuts
- Joint connections top/bottom
- 2x pan head screws M3 x 10 mm
- 4x M3 washers (up to 7.1 mm outer diameter)
- 2x M3 hex locking nuts
- Middle joint connections
- 2x pan head screws M4 x 20 mm
- 2x M4 washers (up to 9.1 mm outer diameter) u003cli>2x M4 hex locking nut
Assembly of the bottom attachments
ATTENTION
If you want to use the magnetic closure, insert a 6 x 3 mm round magnet into the designated slot of the attachment. Pay attention to the correct polarity of the magnets! The two lower attachments should then "attract" and not "repel".
The magnetic closure creates a nice "click" when folding the stand.
u003cli>Insert the respective attachment into the two holes on the underside of the upper support.u003cli>If necessary, secure the attachments to the respective support with a little superglue.u003cli>Insert a pin into the respective hole on the top side of the respective upper support.
Assembly of the top attachments
Assembly of the TPU pads
Attach the desired variant to the underside of the lower attachments:
Optional TPU support
Congratulations! You have successfully completed the assembly. 🙂
Required Material
The following material is required:
Boost Me (for free)
If you like this model, I would be very happy about a boost!
License

You shall not share, sub-license, sell, rent, host, transfer, or distribute in any way the digital or 3D printed versions of this object, nor any other derivative work of this object in its digital or physical format (including - but not limited to - remixes of this object, and hosting on other digital platforms). The objects may not be used without permission in any way whatsoever in which you charge money, or collect fees.


Comment & Rating (0)