
A must-print for Bambu Lab X&P series! Top light remote-controlled cooling riser (Seamlessly compatible with X2/P2 official external exhaust fan)


Print Profile(1)

Description
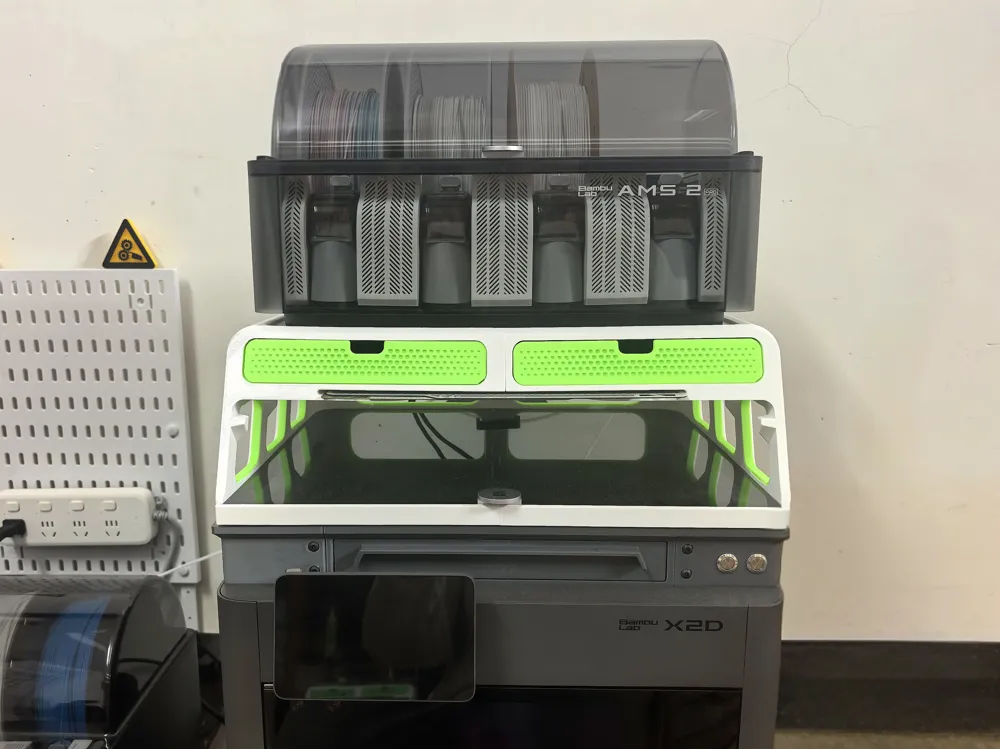
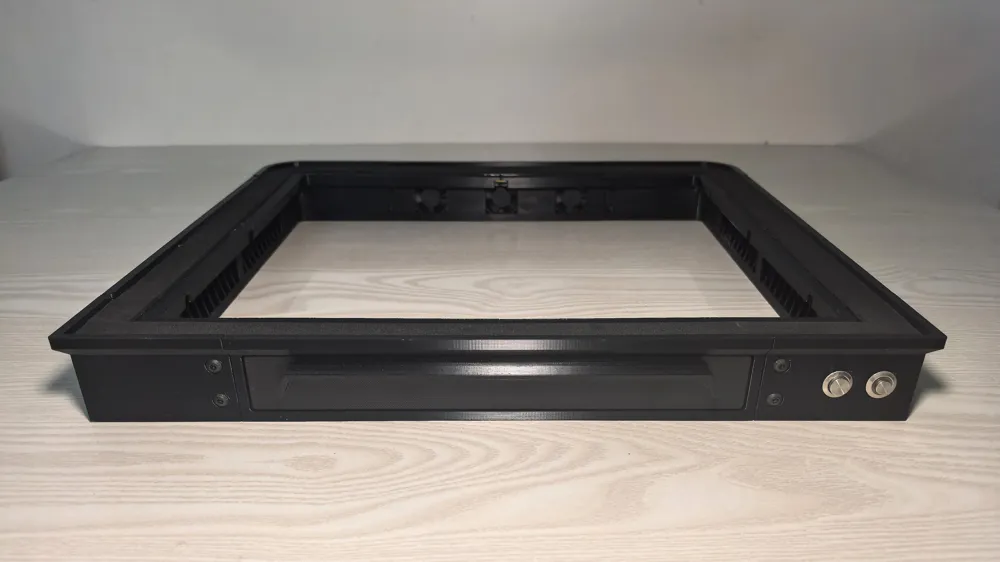
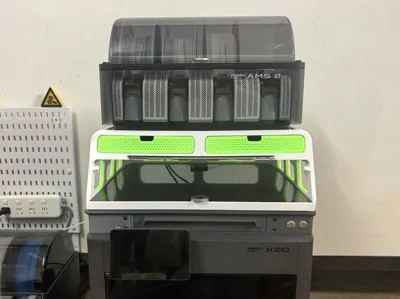
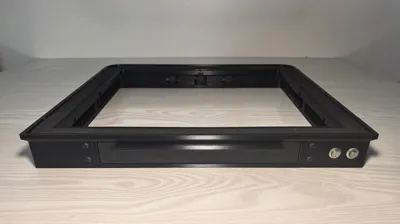
Bambu Lab X/P Series Universal | Magnetic Cooling Riser with Remote Dimmable Lighting (Compatible with P1/X1/P2S/X2D)
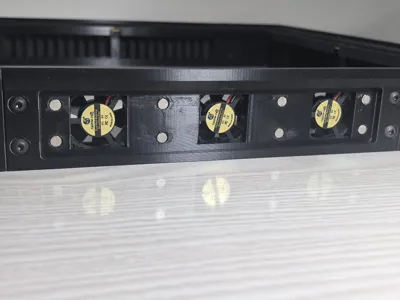
Bambu Lab desktop 3D printer cooling riser, perfectly compatible with P1, X1, P2S, X2D. The entire unit features a four-sided magnetic opening and closing cooling window structure, allowing for quick ventilation and heat dissipation upon opening. The rear supports two versions of cooling structures, allowing you to choose a rear cooling vent with an additional 3010 active fan (for X1/P1)
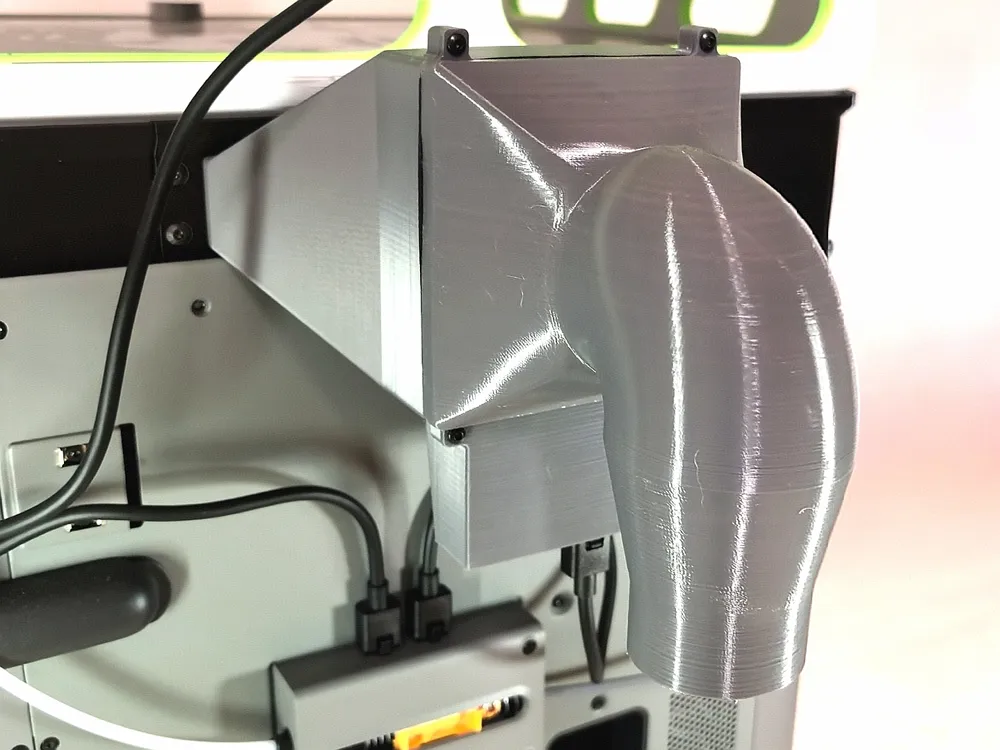
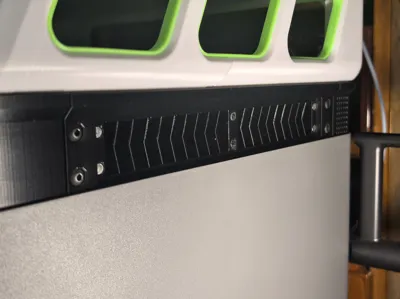
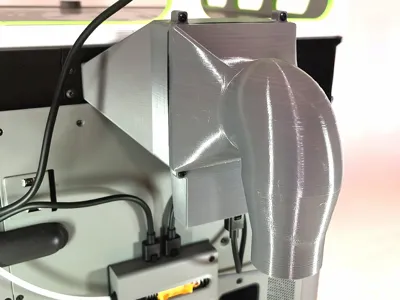
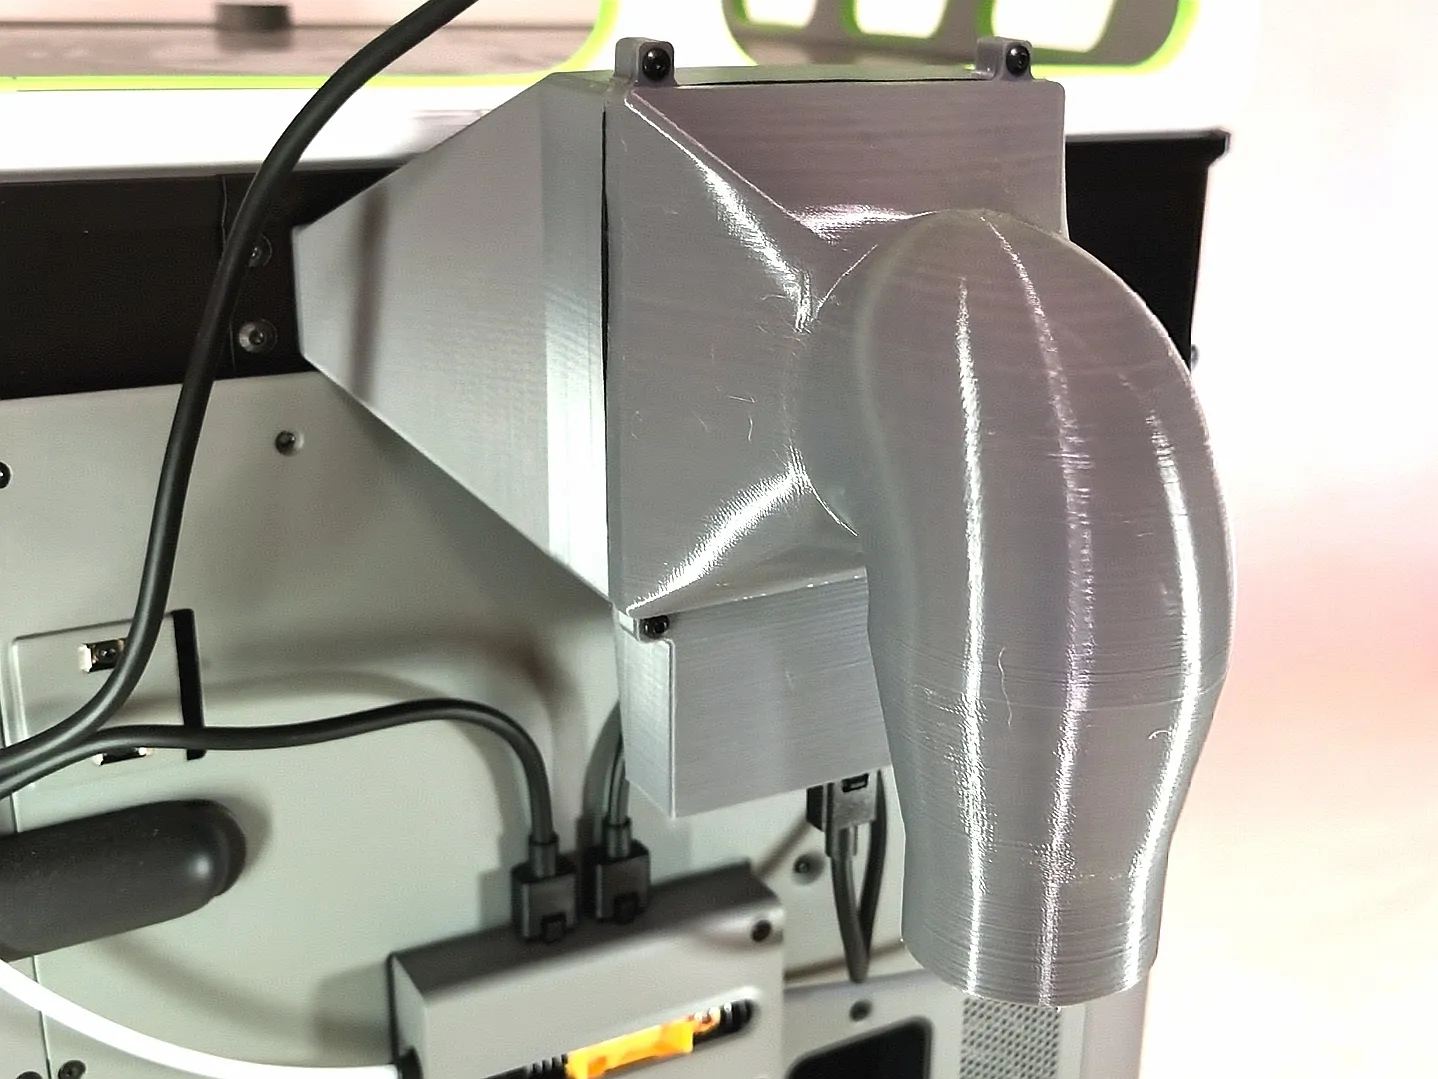
or you can choose a rear cooling vent directly compatible with the original P2S/X2D external exhaust fan (see link below for details)
This riser is a **must-have accessory for Bambu Lab X/P series printers**. After elevation, it allows the feeding PTFE tube to stretch, completely eliminating wear on the print head's front tubing during printing
After the machine body is raised, the hot air inside the chamber naturally rises, and the cooling efficiency of the top external exhaust duct is far superior to rear exhaust. The official top-mounted external exhaust significantly enhances the exhaust effect for P2S and X2D!!!!
For relevant model files and detailed installation guide, see link: https://makerworld.com/en/models/2656193-tuo-zhu-x2d-han-p2s-yuan-han-feng-shan-ding-bu-ci#profileId-3069641
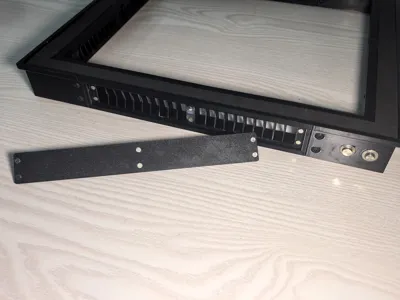
The cooling windows feature a magnetic design, allowing for quick closure to retain heat in winter and easy removal for heat dissipation during high summer temperatures. Installation and removal are convenient
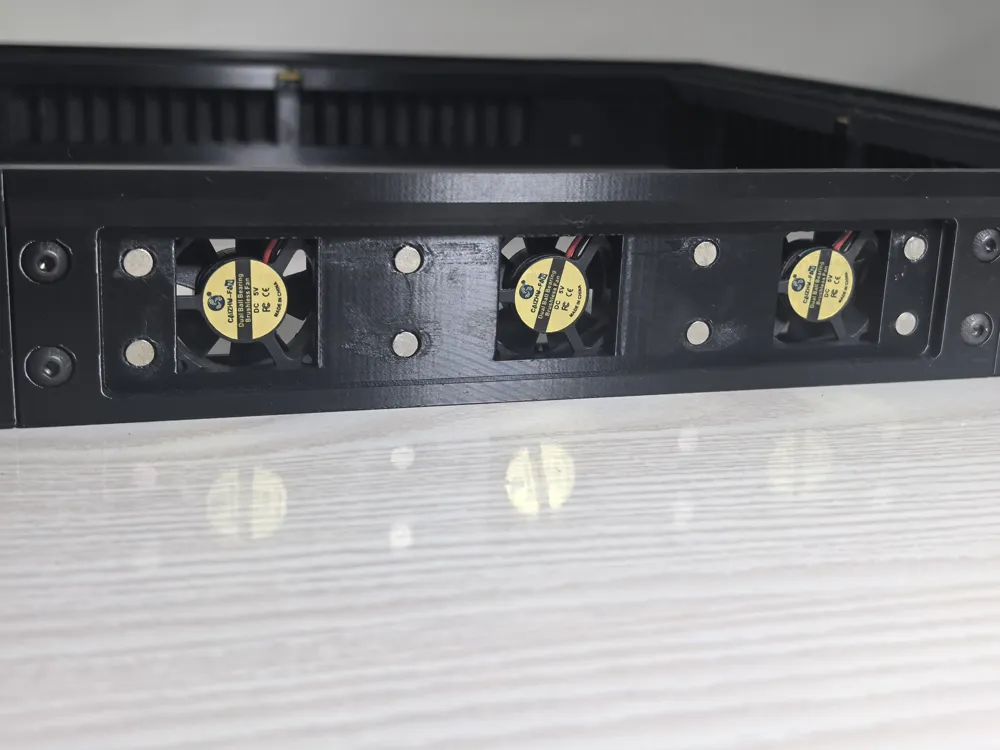
For X1 and P1, a 3010 fan can be added to the rear, which, combined with the magnetic cooling windows, avoids repeatedly removing the top glass cover for cooling, making it more convenient.
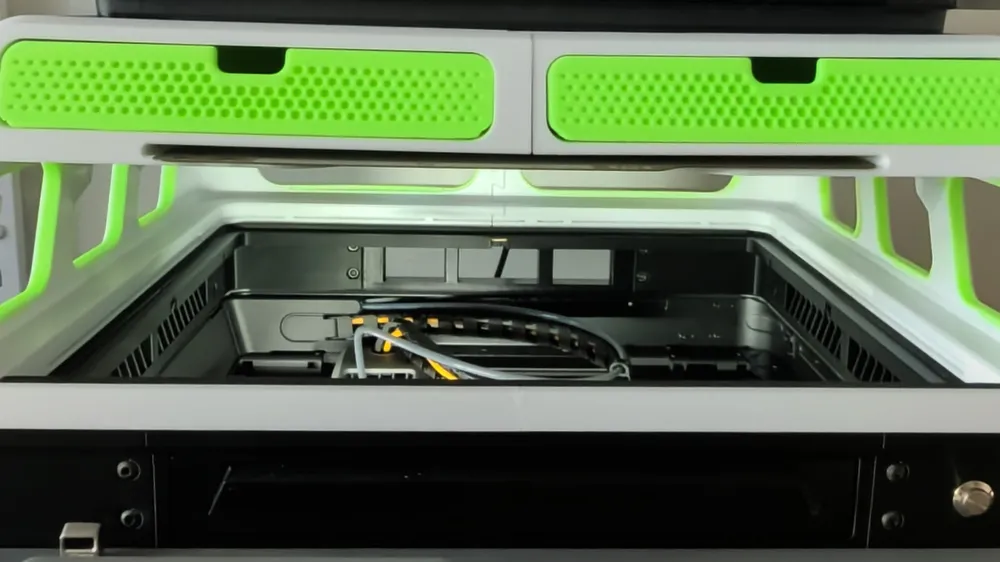
It comes with an internal fill light with PWM dimming capability, solving the problem of dim interiors in X1/P1 and lack of light during power-off maintenance for P2S/X2D, balancing both heat retention and rapid cooling needs
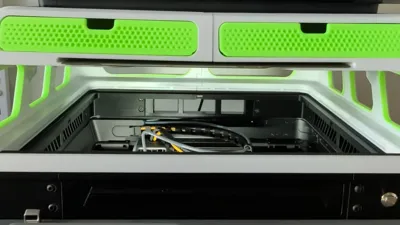
The top supports stacking and installing an exclusively improved version of the multi-functional riser with drawers
On top of this riser, you can stack and install an exclusively modified multi-functional riser with drawers, greatly enhancing the user experience and functionality, forming a complete integrated top-mounted riser solution. It fits seamlessly, balancing cooling, lighting, and neat storage, making it a highly practical integrated modification riser for Bambu Lab printers. For relevant model files and detailed installation guide, see link:

I. Overall Structural Features
Fully printable body: All enclosures, frames, and structural components can be self-printed, no sheet metal parts required.
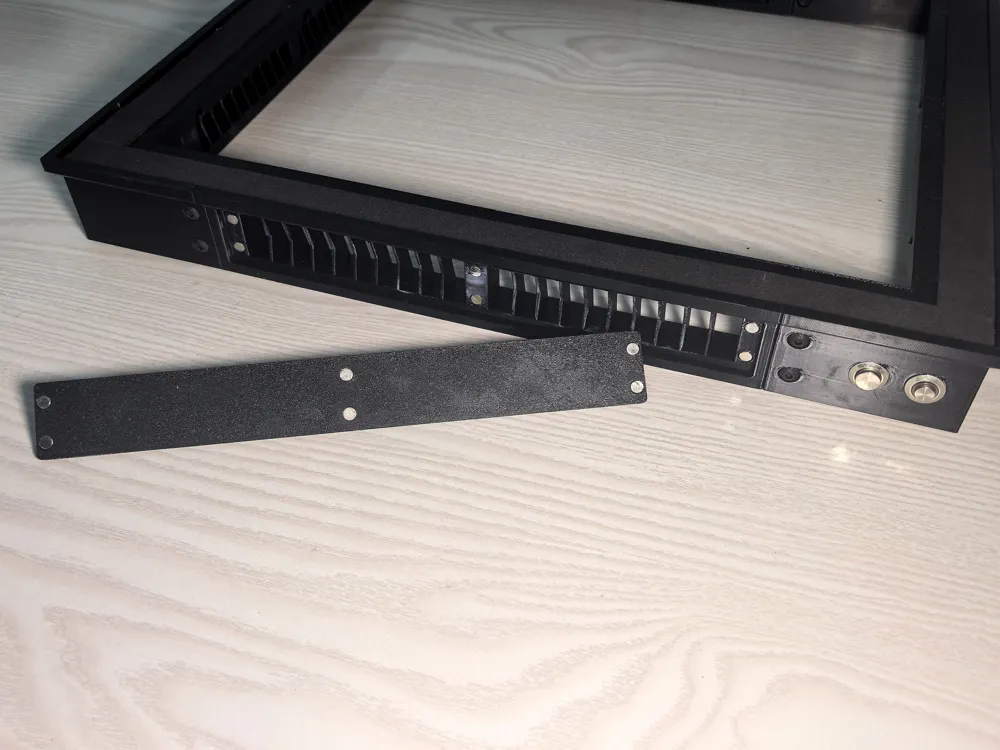
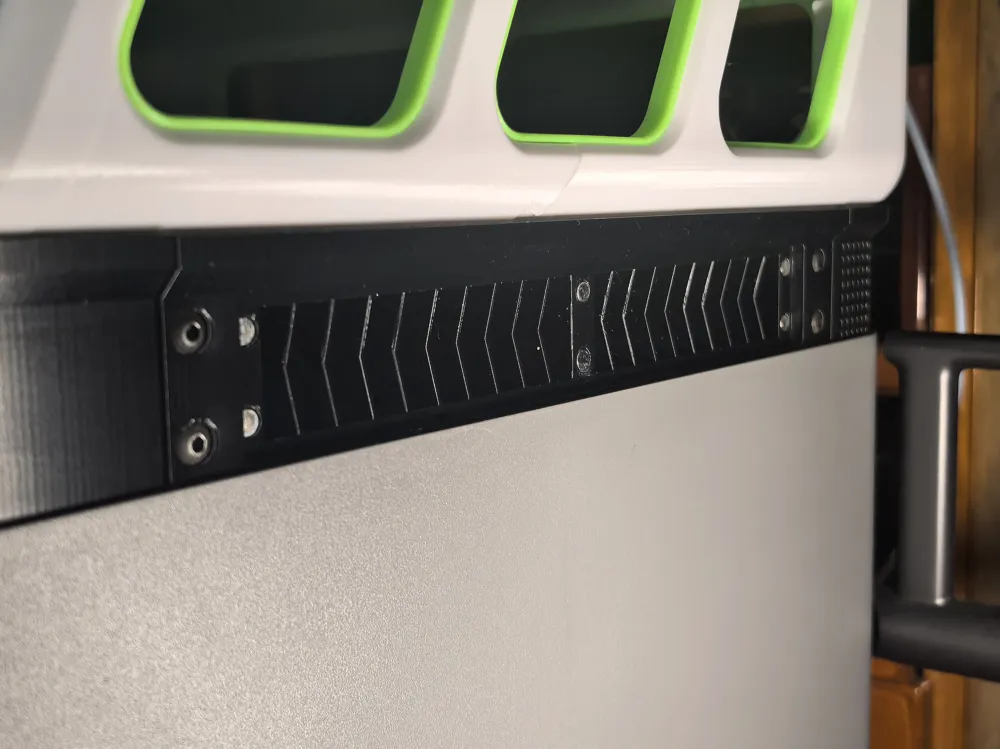
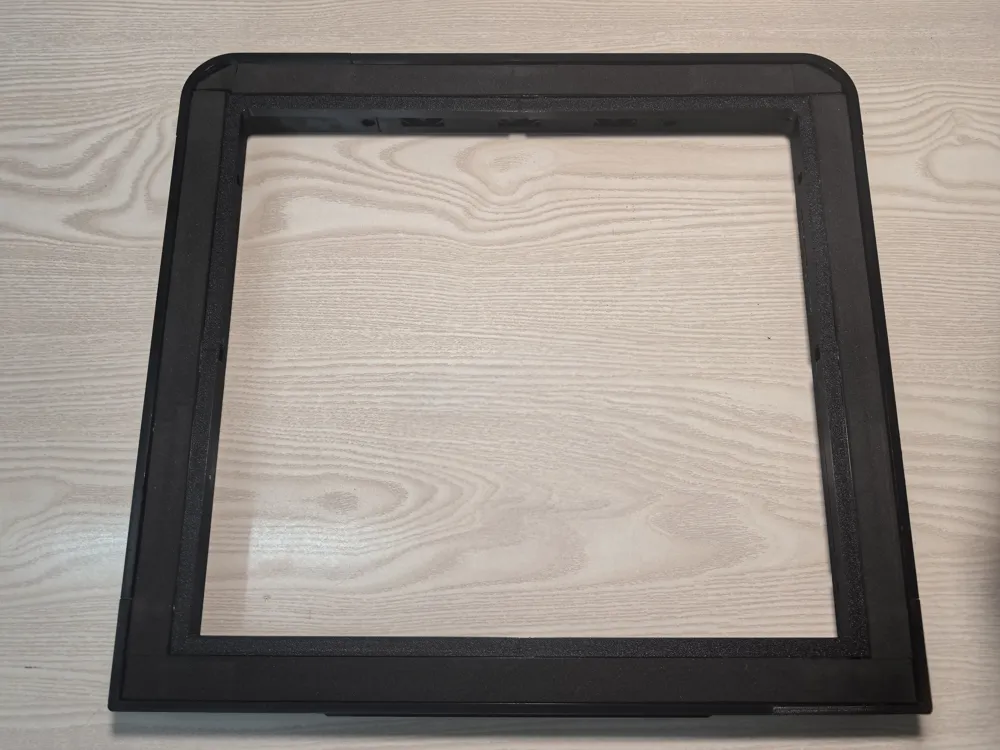
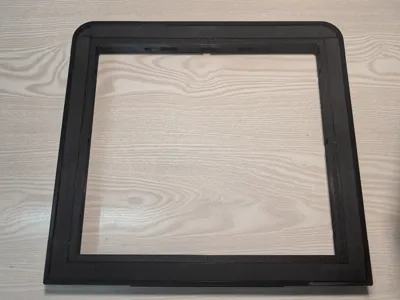
Four-sided magnetic cover plates: Front, back, left, and right magnetic panels can be opened. For daily dust protection, opening the cover creates convection cooling windows, quickly expelling accumulated heat from the bottom.
Dual-mode rear cooling
P1 / X1: Reserved space for 3 x 3010 fans for active exhaust.
P2S / X2D: Dedicated rear structure, allowing direct installation of the original external fan assembly (installation guide link provided separately).
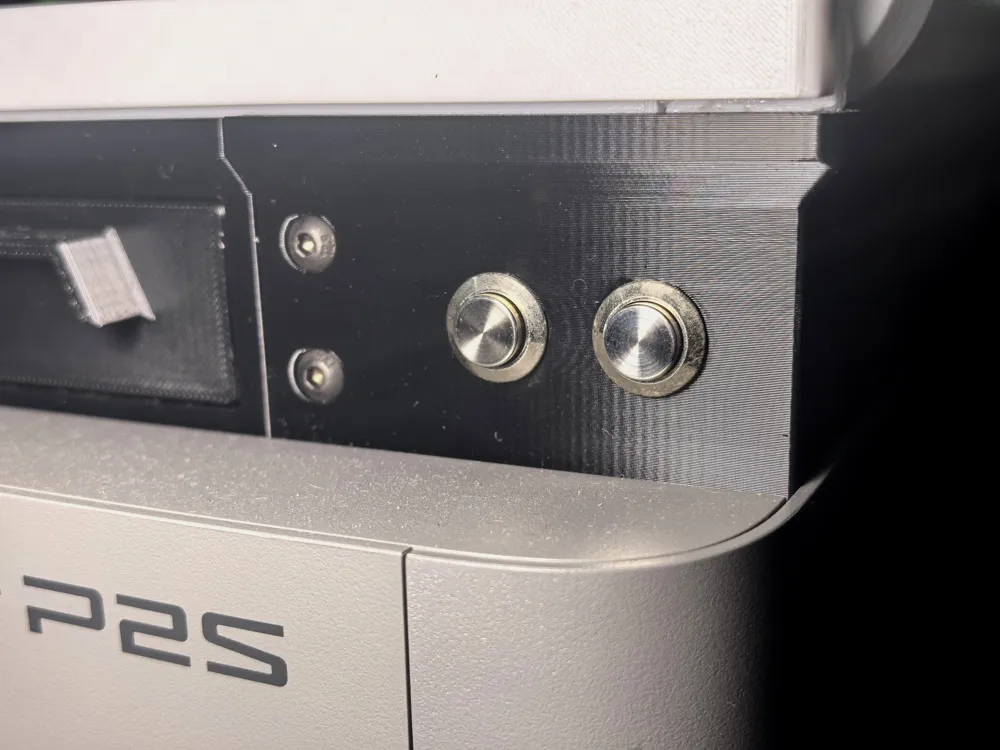
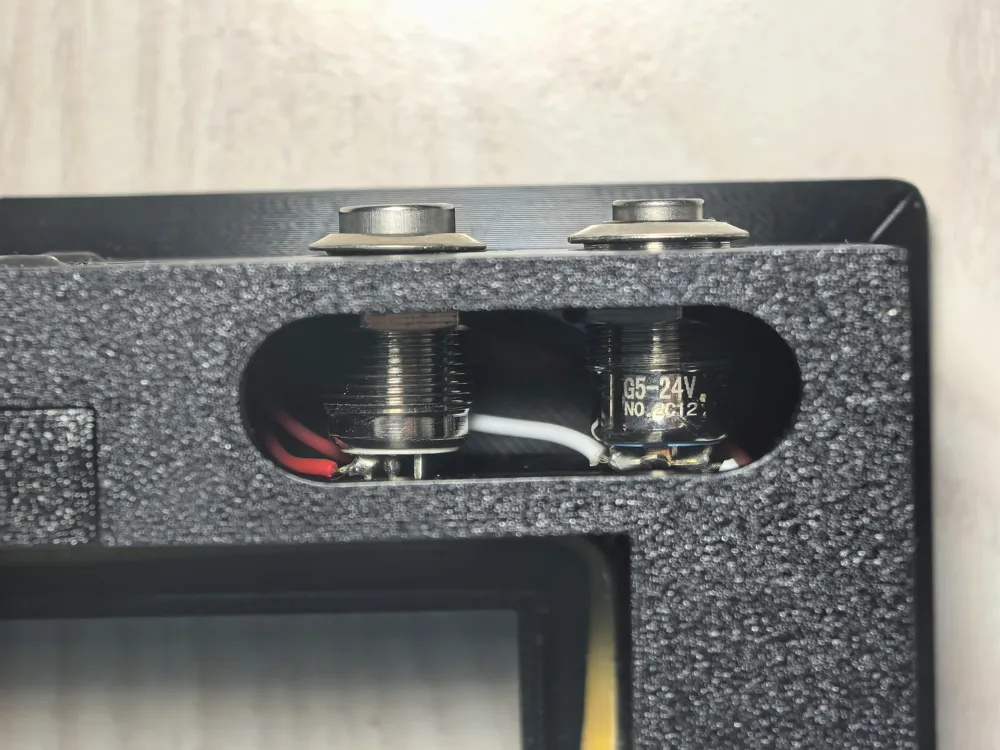
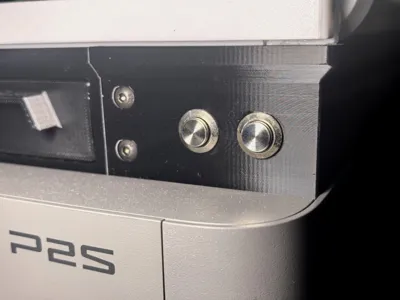
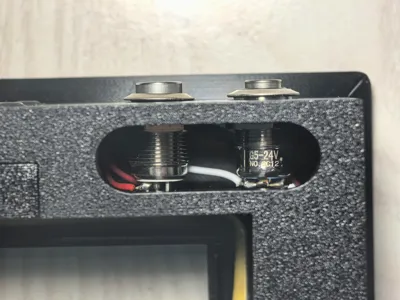
Independent dual-control circuit: Two buttons on the front panel, controlling the fill light and rear fan respectively. The unused fan buttons on X2D and P2S can be reserved for power supply to future expansion kits.
Remote dimmable ambient light: Built-in light trough with PWM remote module, supporting remote brightness adjustment.
Stackable expansion: The top can be stacked with an exclusively modified riser with drawers for storing tools and accessories
II. **Detailed Installation Guide (Must Read)**
1. Main Frame Assembly (Screws + Embedded Nuts)
All splicing structures of the entire machine are fixed using a unified "embedded nut + external screw" method:
Each splicing piece has reserved hidden holes for nuts on its inner side;
First, snap all nuts into their corresponding slots to secure them;
After the parts are aligned and fitted, simply screw in the external screws to tighten;
No exposed messy structures, strong overall rigidity, no shaking or wobbling
2. PWM Dimming Module Installation (Dedicated Compartment on the Rear Right)
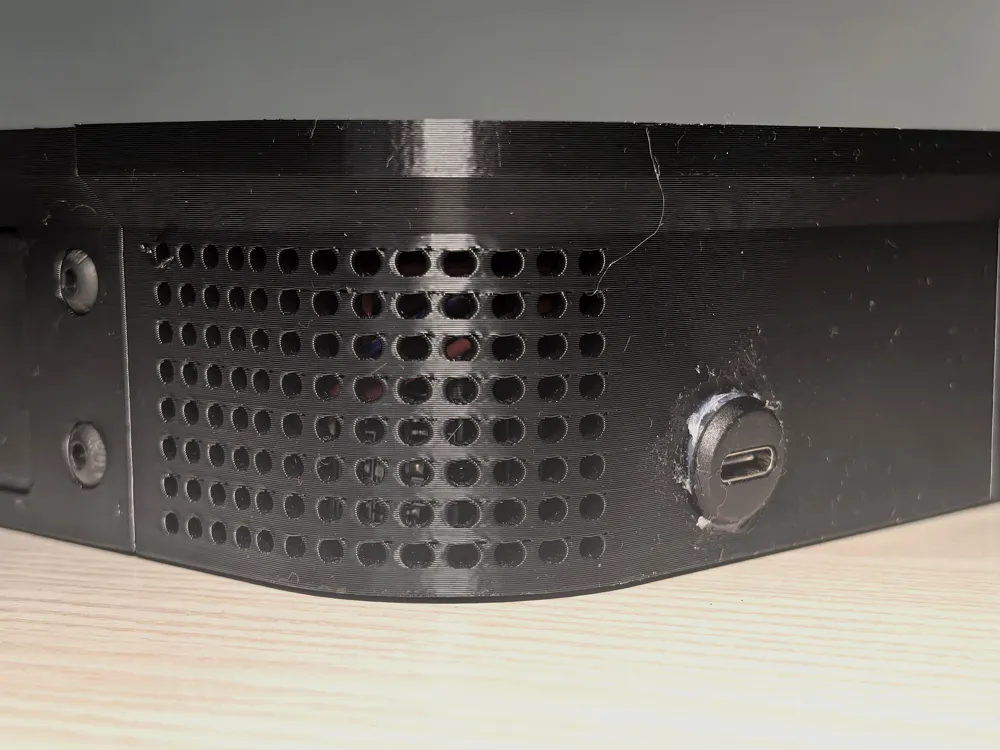
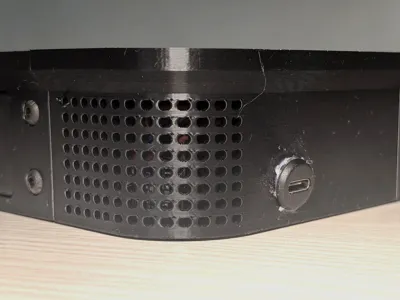
The rear right of the riser is the Type-C power input area, with a dedicated small compartment with cooling holes for the dimming module;
Apply a small amount of hot melt glue to the back of the PWM module and fix it flat inside the compartment;
Be sure to align the direction: the module's infrared receiver head should face outwards and align with the cooling holes to ensure normal reception of remote control signals
3. Wiring, Cable Management, and Cover Plate Installation
The body is designed with fully hidden wiring to eliminate messy exposed wires:
The top has an integrated cable channel, where all light wires, button wires, and power supply wires are routed;
The four corners of the machine have hollow cable management compartments (front left, front right, rear left, rear right), where all excess long wires and components can be stored;
After securing the light strip mounting groove with retaining clips, there are several M2 screw holes on the edge. Use M2×6mm round head screws to fix it to the outer frame, then adhere the light strip along the groove, and connect the light strip's wire end from the front right slot to the PWM dimming module.
Zoned layout and fixation:
**Front right corner: install two control buttons;**
**Rear right corner: Type-C input + PWM dimming module;**
After all wiring and components are fixed, cover each position with a cover plate and paste sponge strips on top to completely hide the wiring
4. Circuit Wiring Method (Standardized)!!
The wiring logic is simple, neat, safe, and stable:
**After the Type-C main input is connected, all negative poles are connected in parallel and aggregated into a common negative pole;**
The positive pole splits into two paths, connecting to the two independent buttons on the front respectively;
The buttons output two paths: one goes to the PWM dimming module, which then connects to the light strip;
**The other path, if for X1/P1 printers, can be directly connected to the 3010 fan,**
**If for X2D/P2S, it needs to be reserved and stored next to the module for power supply to future expansion kits. Excess wire ends should be fully insulated with black electrical tape**
5. Magnetic Side Panel Installation
**Pay attention to the polarity of the magnets!!** It is recommended that the cover plate and base each have a unified polarity. A small drop of liquid strong glue like 502 can be applied to the magnet installation holes, then align the magnet polarity and press it in.
**Except for the X2D/P2S dedicated rear cooling vent and dedicated heatsink which use magnets with a diameter of 6mm * height of 6mm (two 6*3mm versions can be stacked), all other heatsink bases and cover plates use 5*2mm neodymium magnets. Do not confuse the models**
6. Bottom Finishing Installation
After the entire machine is assembled, apply self-adhesive sponge pads around the cable channel to provide anti-slip and shock absorption, then place the entire unit on top of the printer
III. Important Notes (Must Read)
**The infrared receiver head of the PWM module must be aligned with the rear cooling holes to receive external remote control signals.**
**Wiring must be split, and negative poles must be common ground**
**Do not randomly split positive and negative poles; unify negative poles to common ground and split positive poles for buttons to avoid flickering lights and unstable power supply.**
**For P1/X1, install the 3010 fan version rear panel; for P2S/X2D, use the original fan dedicated air duct rear panel. Do not mix them**
**For X2D/P2S, one switch path is not connected to the 3010 fan; the wire should be reserved at the rear right circuit installation area for future expansion accessory installation (will be open-source)**
**Spare wire ends must be wrapped with insulating tape to prevent internal short circuits.**
**Do not forcibly install magnetic cover plates.**
**IV. Parts Shopping List**
Essential Basic Parts:
①Strong Magnets: 5*2MM [at least 52 pieces] + 6*6MM [16 pieces] (required for X2D/P2S dedicated rear cooling vent and external exhaust fan, or two 6*3MM magnets can be purchased and stacked for a total of 32 pieces)
https://e.tb.cn/h.RJgeGydGK4qDIUr?tk=6UuMghNSSlU
②Screws: M4*16 + M2*6 + Nuts: M4 standard nuts
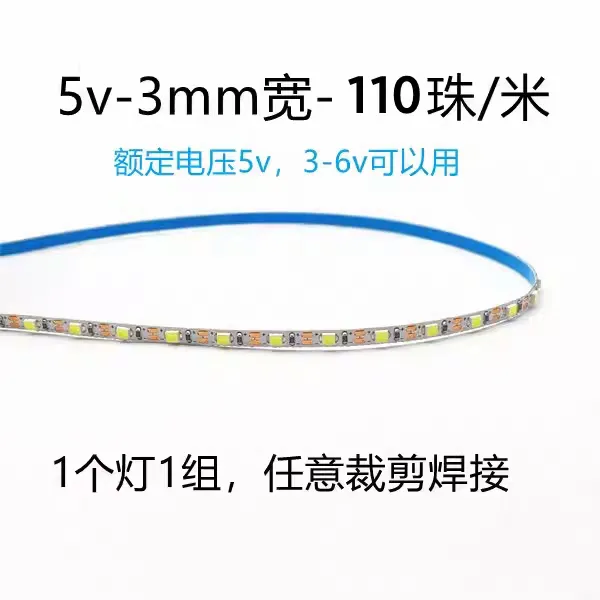
③5V LED light strip: white light is sufficient, https://e.tb.cn/h.RKSnqy40SADy8fO?tk=zKtGgh7l34h
④One set of PWM remote dimming module: https://e.tb.cn/h.Rq33aFyfVxL1Cwe?tk=o72xgh7hpJV

⑤Type-C power supply interface (same as shown in figure): https://e.tb.cn/h.RrQPPN8MKnA3Cwq?tk=9ZMYgh7fSNM

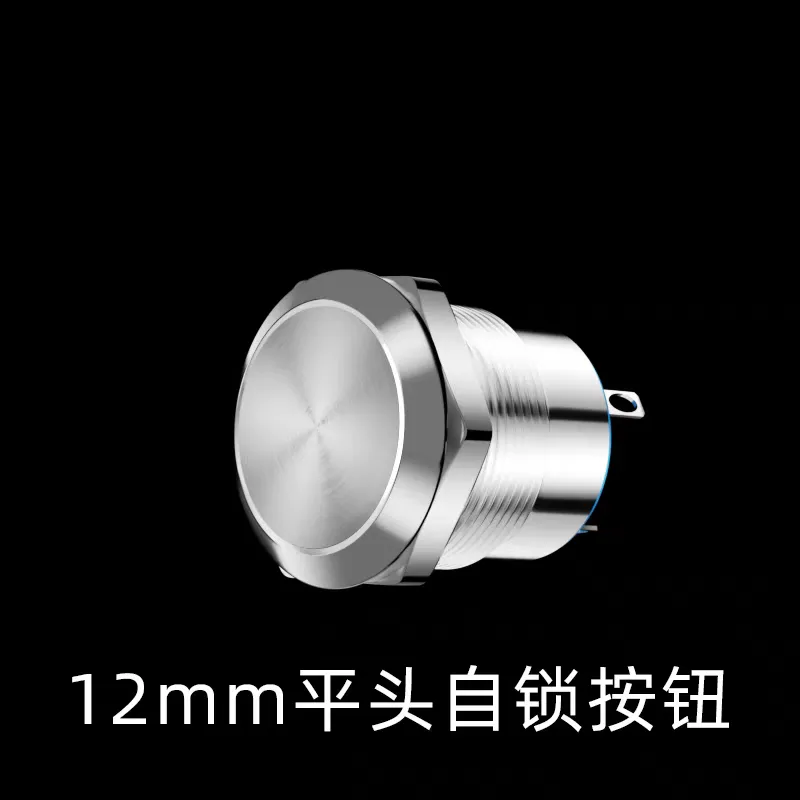
⑥Ultra-short self-locking buttons ×2 (must be ultra-short) 12mm flat head self-locking two-pin short type: https://e.tb.cn/h.RKSk9eGRWChhTU1?tk=dyJ5gh78gKo
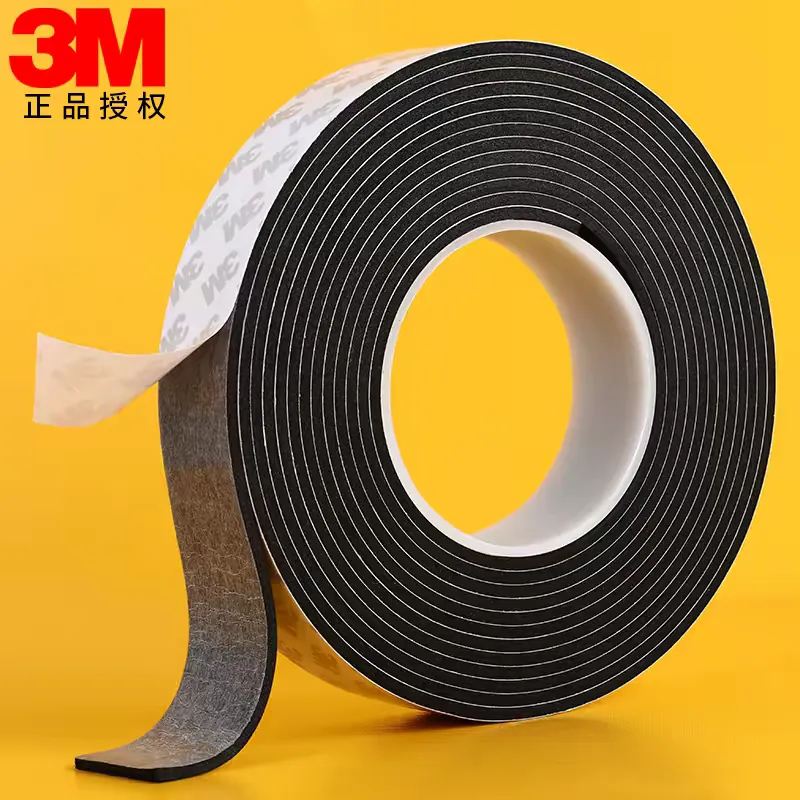
⑦Self-adhesive sponge strip, 2cm wide, 2mm thick: https://e.tb.cn/h.RrKUSVDn9emWO0R?tk=6beYghNtGZJ
⑧Electrical wires, hot melt glue, some black electrical insulating tape \ 502-type liquid super glue
Model-Specific Accessories (Choose One)
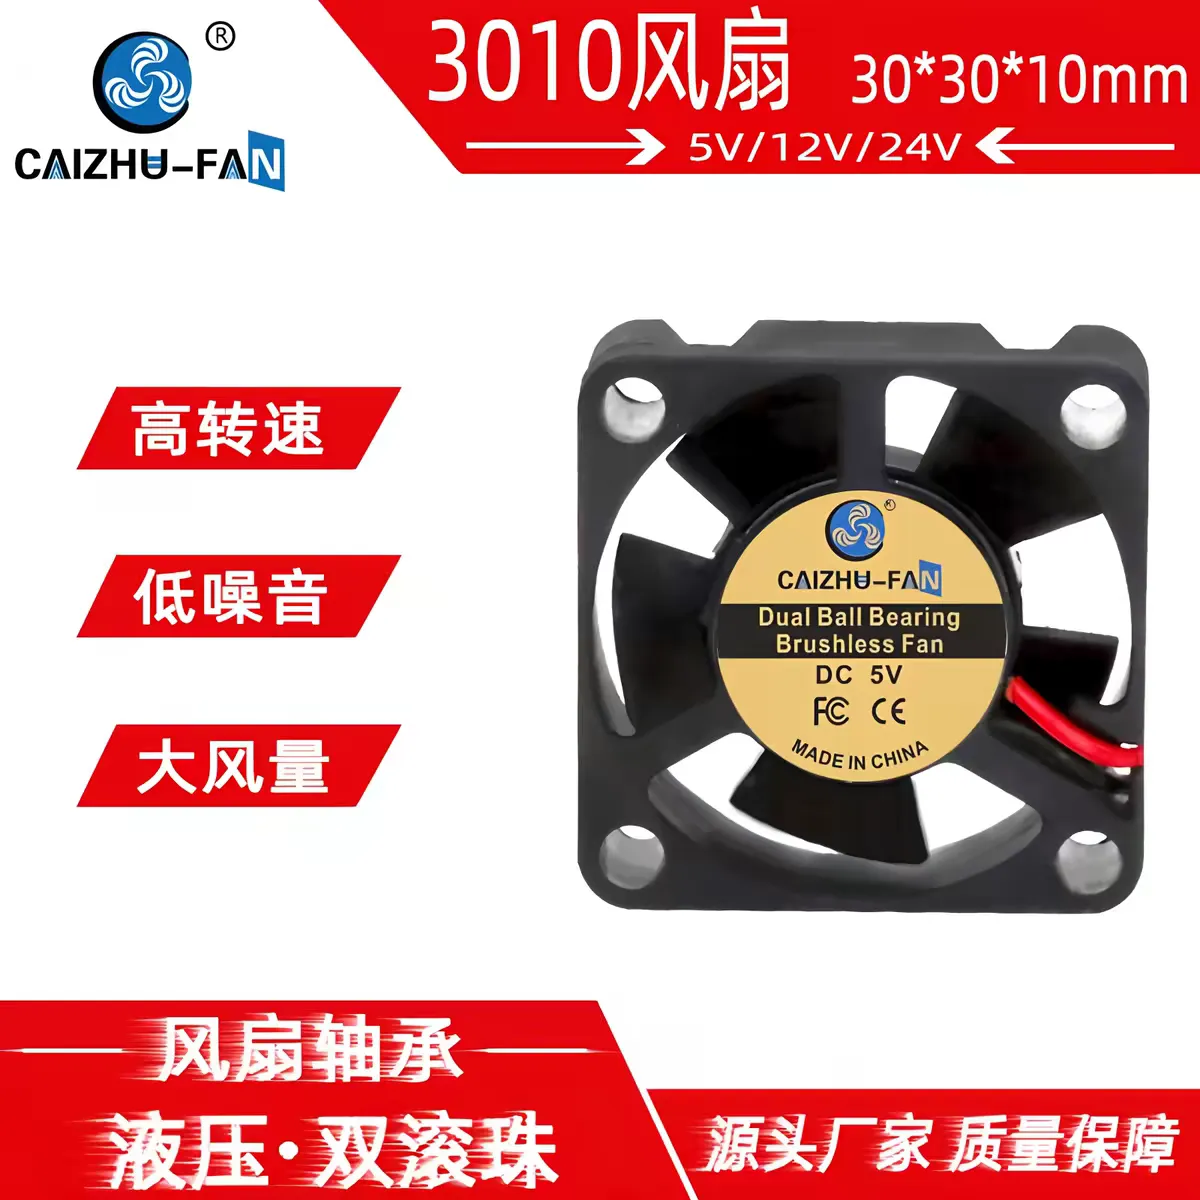
3010 dual ball bearing fan 11000 RPM [5V ×3 pieces] (for P / X1 users): https://e.tb.cn/h.RrKuv6IedvH7NKn?tk=ww7jghnRALi
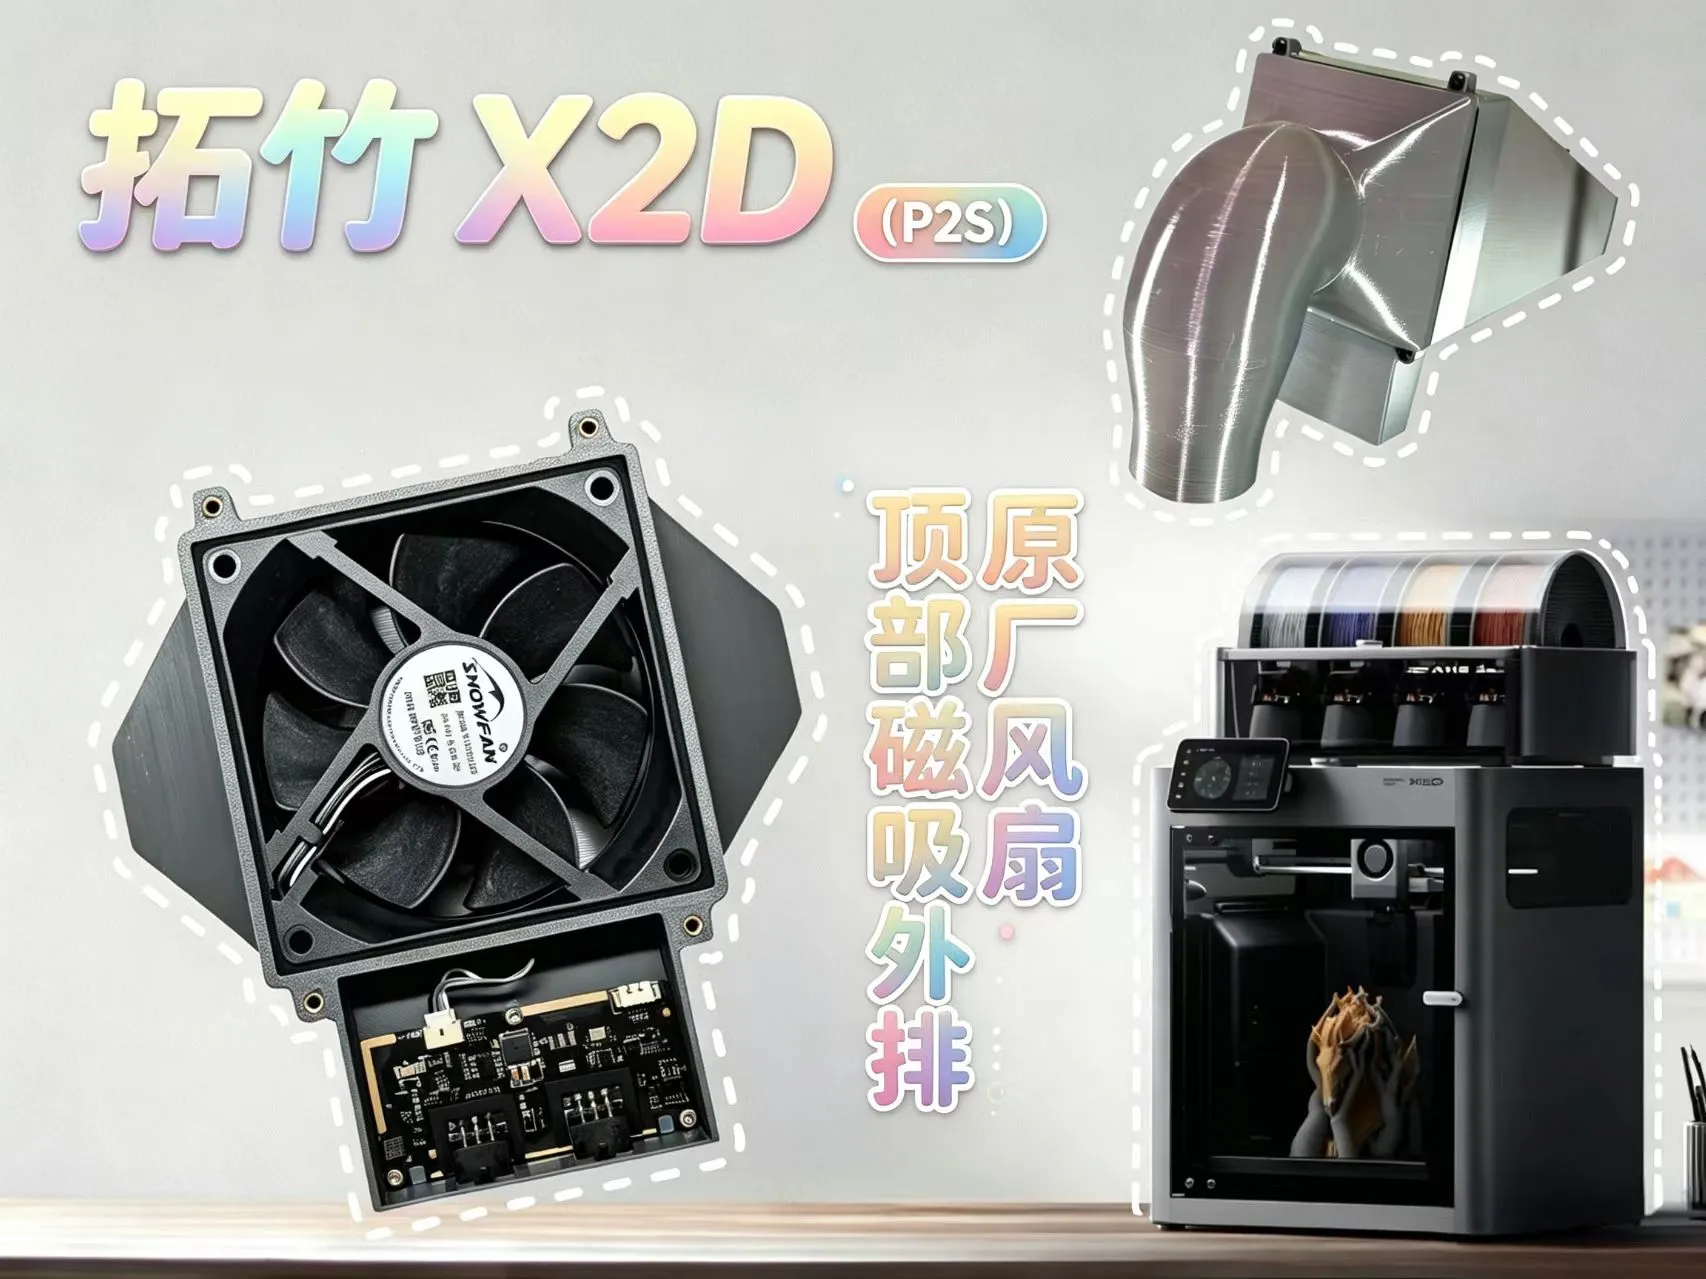
Bambu Lab original P2S / X2D external exhaust fan assembly. For installation details and model, see link: https://makerworld.com/en/models/2656193-tuo-zhu-x2d-han-p2s-yuan-han-feng-shan-ding-bu-ci#profileId-3069641
Optional Expansion Accessories
Stackable drawer riser. For installation details and model, see link:
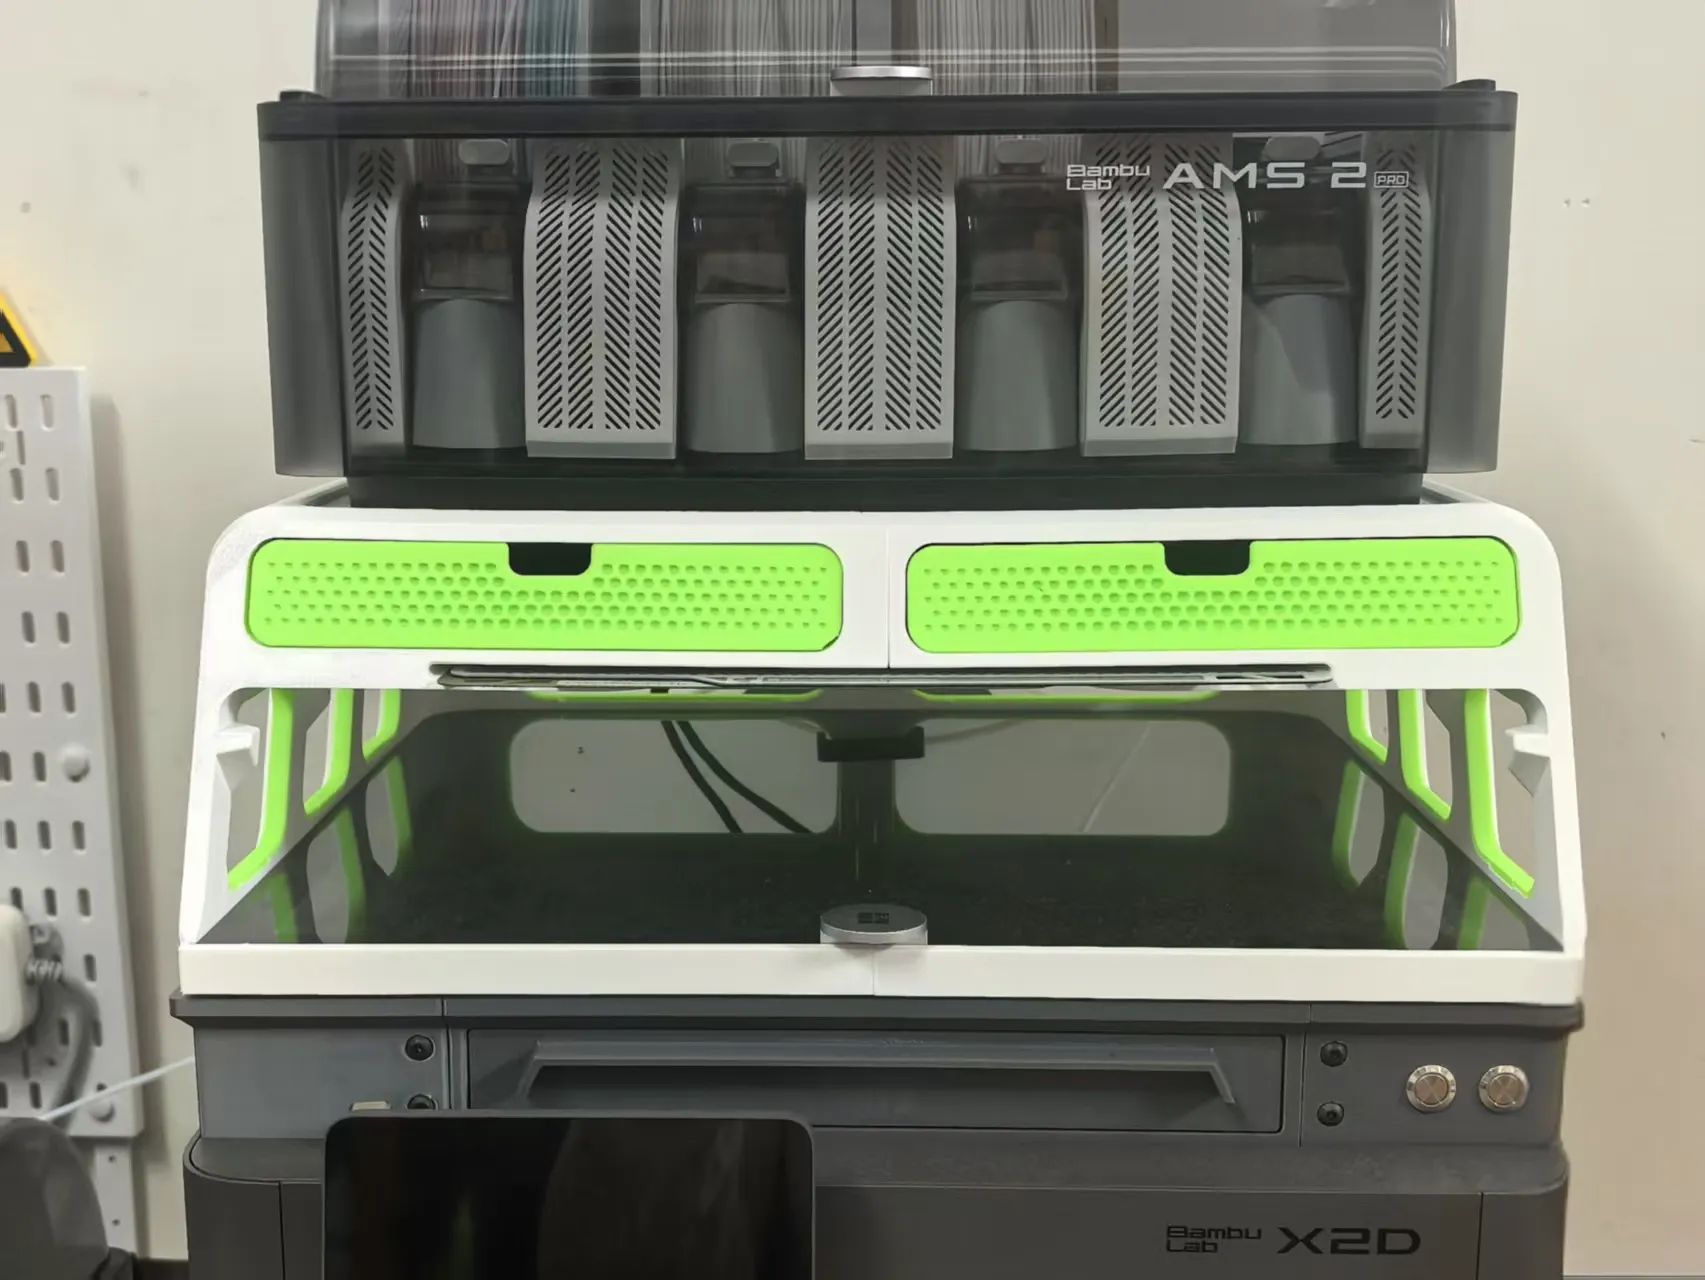
Subsequent dedicated expansion kits (currently under development, open source, links will be updated once completed, you can bookmark this to check later)
Documentation (1)
License

You shall not share, sub-license, sell, rent, host, transfer, or distribute in any way the digital or 3D printed versions of this object, nor any other derivative work of this object in its digital or physical format (including - but not limited to - remixes of this object, and hosting on other digital platforms). The objects may not be used without permission in any way whatsoever in which you charge money, or collect fees.


Comment & Rating (0)